Articles
How To Install Range Hood
Modified: January 6, 2024
Learn how to install a range hood with our informative articles. Follow our step-by-step guide to ensure proper installation and ventilation in your kitchen.
(Many of the links in this article redirect to a specific reviewed product. Your purchase of these products through affiliate links helps to generate commission for Storables.com, at no extra cost. Learn more)
Introduction
Welcome to our comprehensive guide on how to install a range hood in your kitchen. A range hood is an essential appliance that helps keep your kitchen clean and odor-free by removing smoke, steam, and cooking odors from the air. Installing a range hood may seem like a daunting task, but with the right tools and knowledge, you can easily tackle this project.
In this article, we will walk you through the step-by-step process of installing a range hood. We will cover everything from measuring and preparing the space, selecting the right range hood, gathering the necessary tools and materials, to the actual installation process itself. By following these instructions, you can confidently install your range hood and enjoy a well-ventilated and fresh-smelling kitchen.
Before we begin, please note that this guide is intended for homeowners who are comfortable with basic DIY tasks. If you are unsure of your abilities or do not feel confident in working with electrical wiring, it is highly recommended to hire a professional electrician to assist you with the installation.
Now, let’s get started on our journey to install your very own range hood!
Key Takeaways:
- Proper preparation is key to successful range hood installation. Measure the space, select the right hood, gather tools, and prepare the mounting area for a smooth and efficient installation process.
- After installation, prioritize regular maintenance, monitor ventilation, and consider additional safety measures for optimal range hood performance. Always consult professionals for guidance and prioritize safety.
Read more: How To Install Island Range Hood
Step 1: Measure and Prepare
The first step in installing a range hood is to measure the available space and prepare the area where the hood will be installed. Here’s what you need to do:
- Measure the space: Use a tape measure to determine the width and depth of the area where the range hood will be installed. This will help you choose a hood that fits perfectly into the space.
- Check for clearance: Ensure that you have enough clearance above the cooking surface for the range hood. Typically, you’ll need a minimum of 24 to 30 inches of clearance between the cooktop and the bottom of the hood. Refer to the manufacturer’s guidelines for the specific clearance requirements.
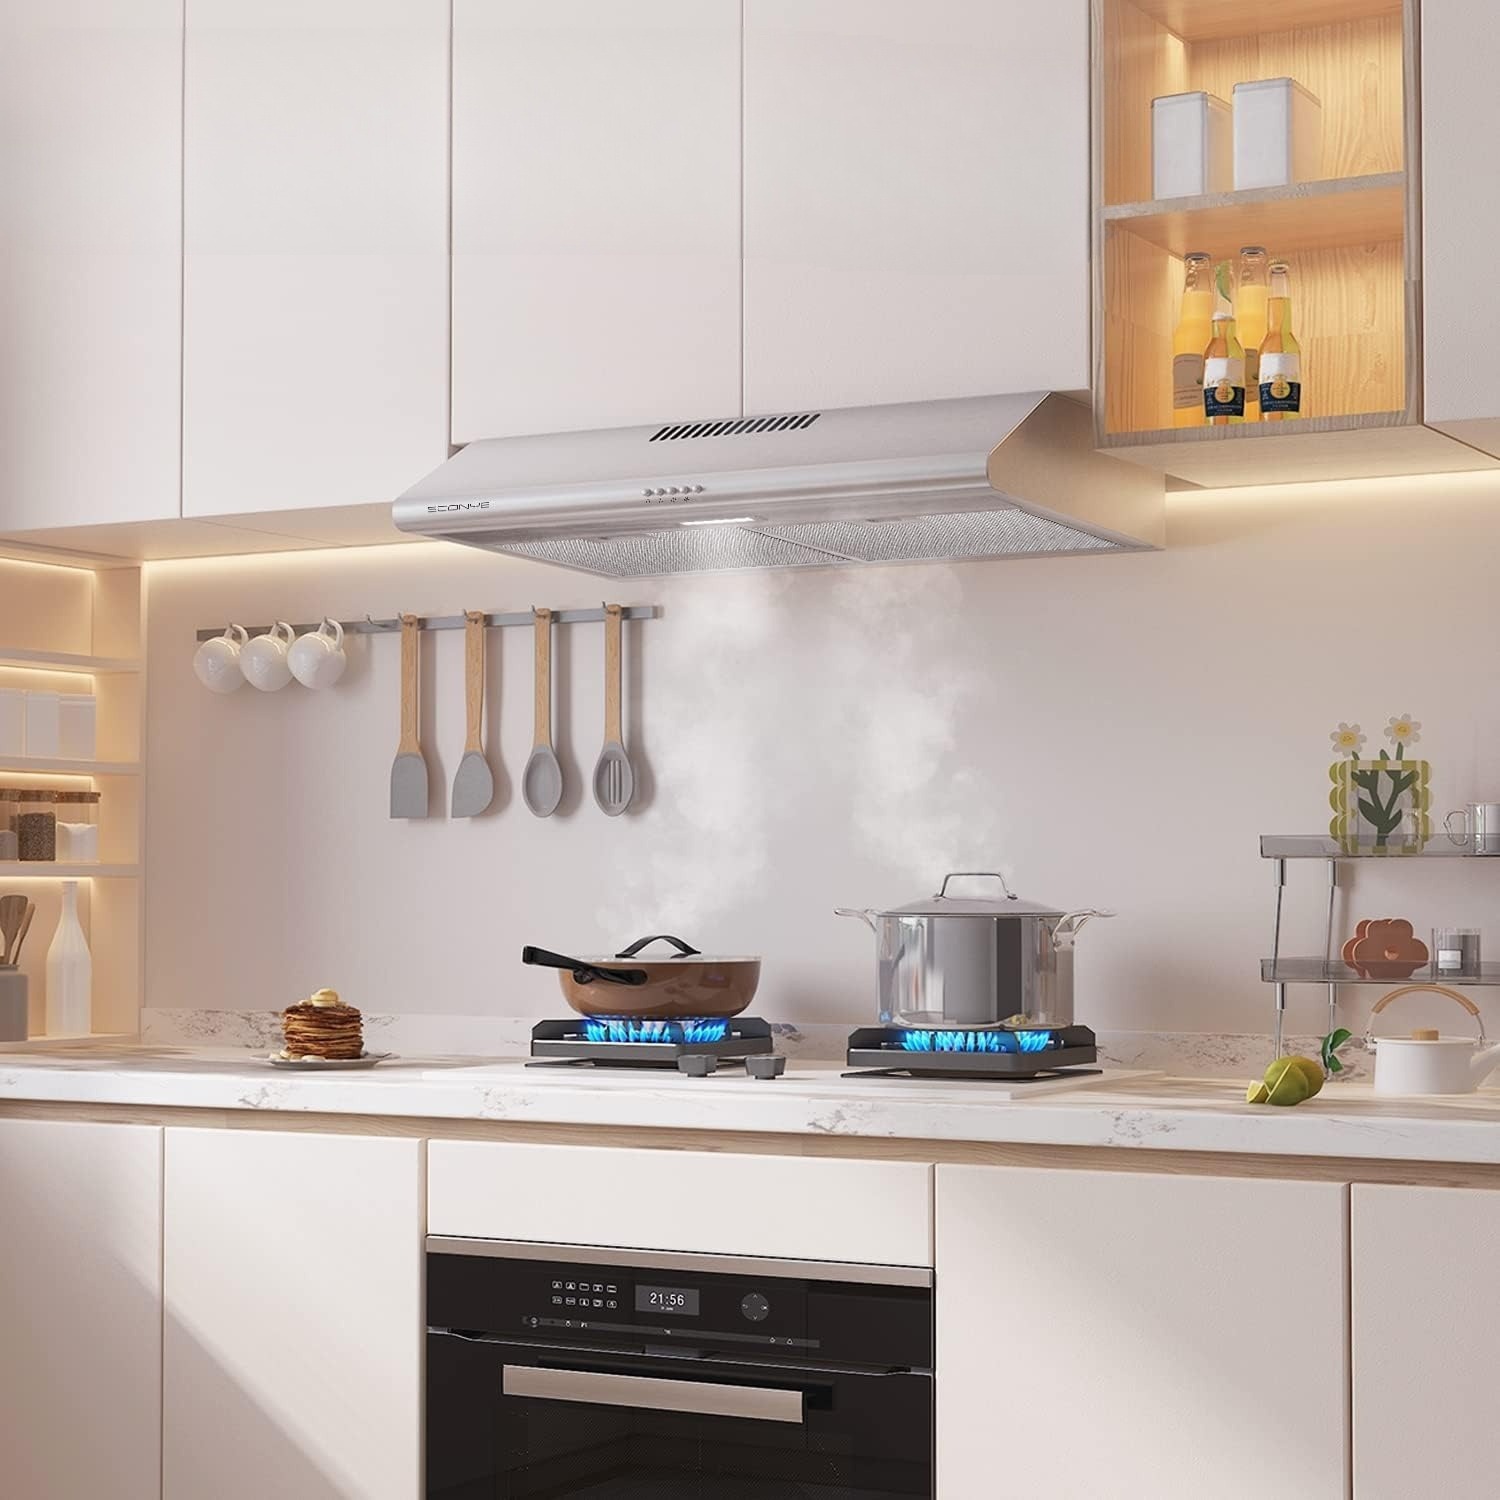
- Check for a venting option: Determine whether your kitchen has an existing venting system or if you will need to install one. If there is an existing ductwork, ensure that it is in good condition and properly sized for the range hood. If not, you may need to consider installing a ductless hood or consult a professional for assistance with installing ductwork.
- Prepare the mounting location: Clear the area where the range hood will be mounted. Remove any cabinets, shelves, or other obstacles that may be in the way. Also, ensure that there is a nearby electrical outlet for power supply.
By taking these measurements and preparing the space, you will have a better understanding of what size and type of range hood you need, as well as ensure that the installation process goes smoothly. Once you have completed these steps, you can move on to selecting the right range hood for your kitchen.
Step 2: Select the Range Hood
Choosing the right range hood is crucial for the effective ventilation of your kitchen. Here are some factors to consider when selecting a range hood:
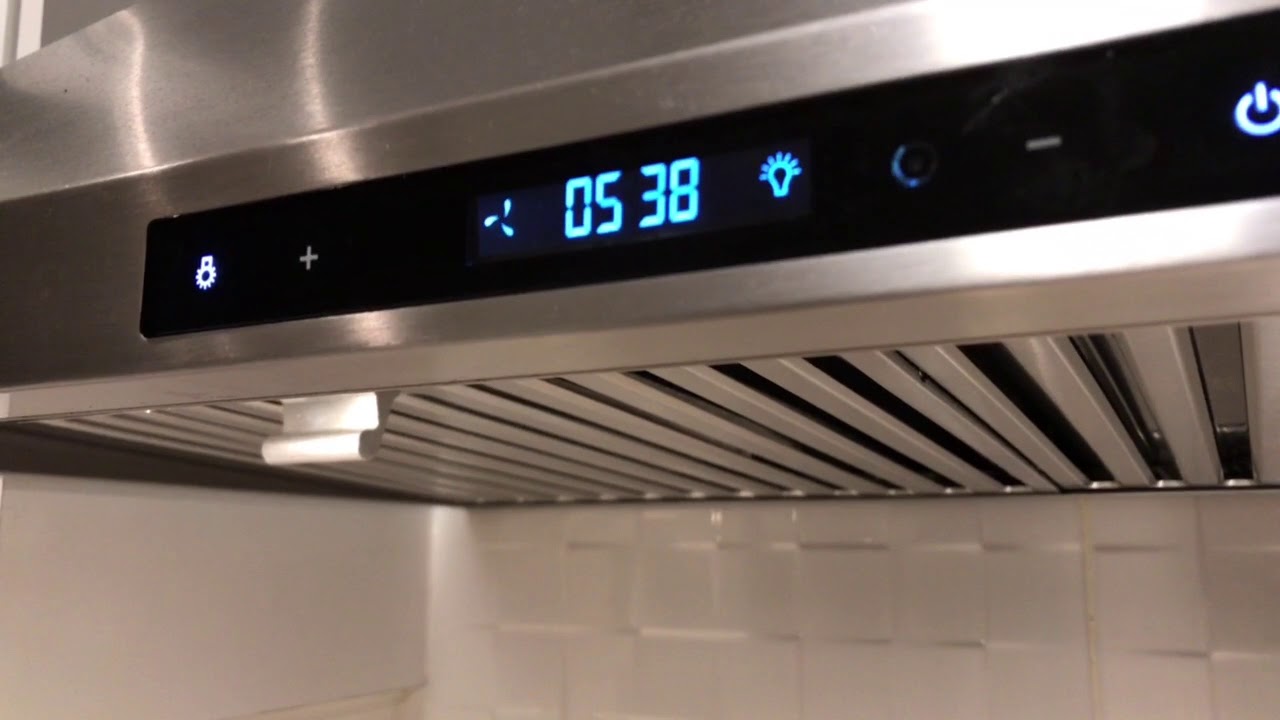
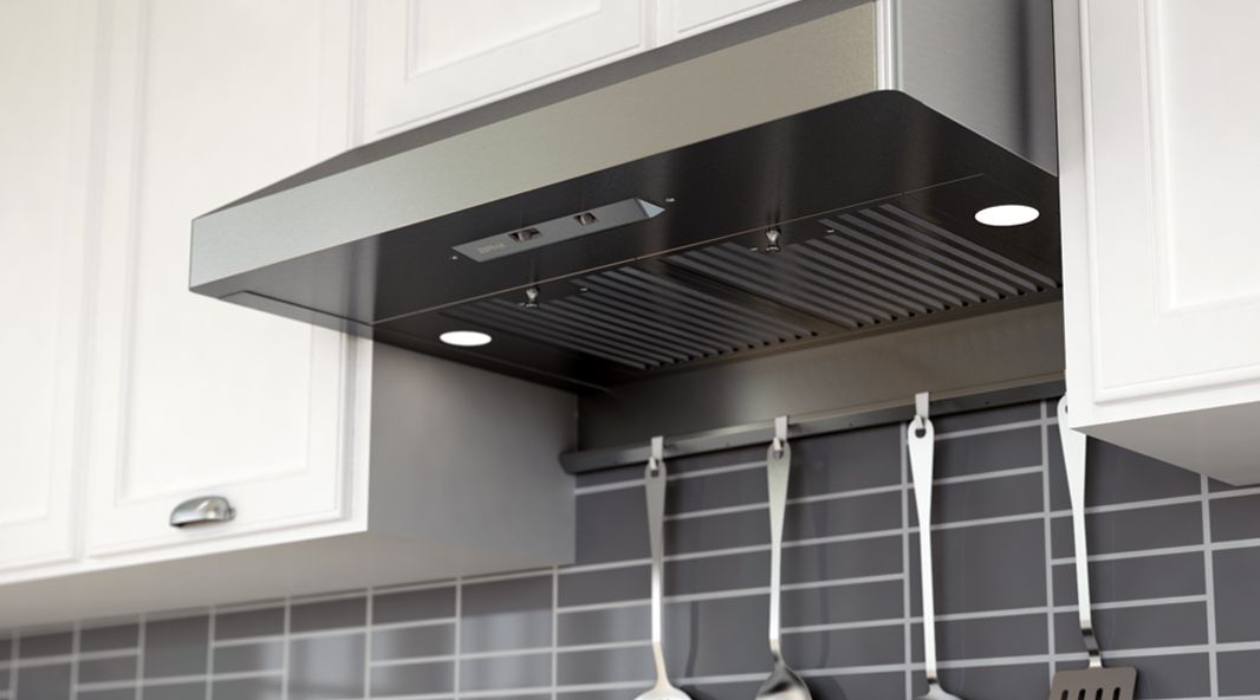
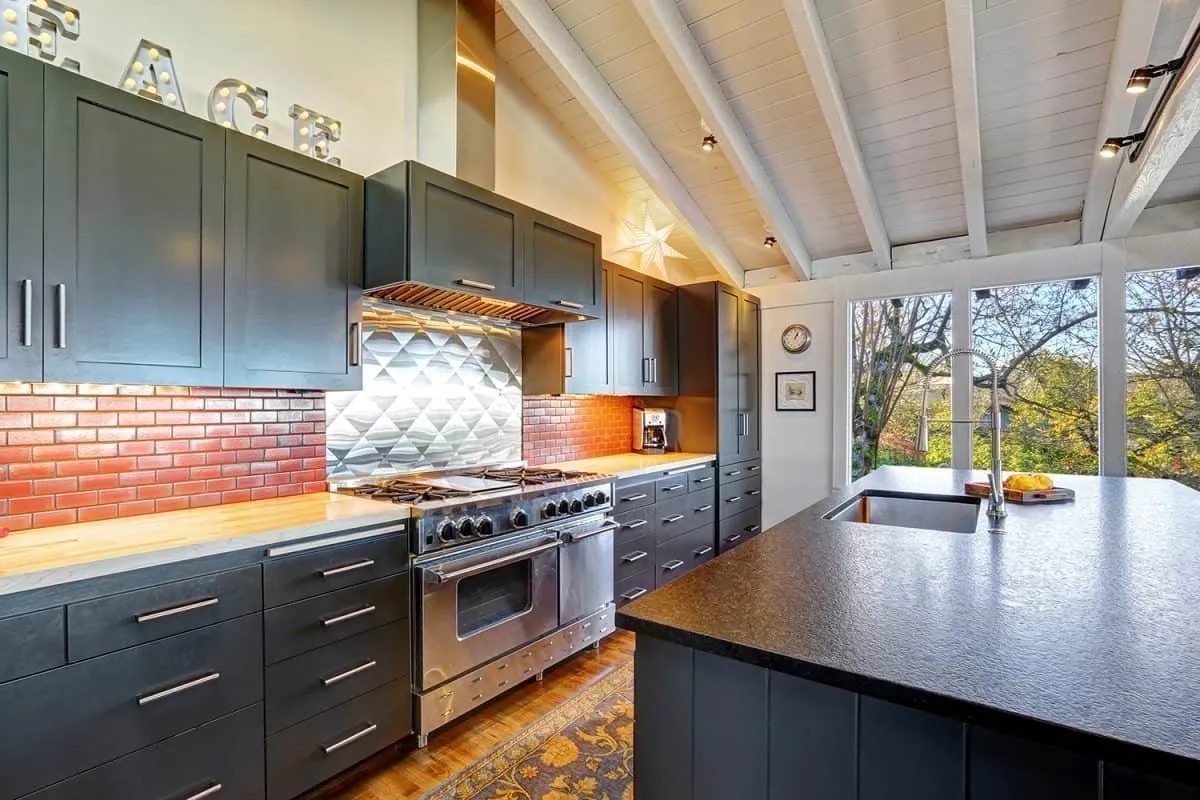
- Type of range hood: There are several types of range hoods available, including wall-mounted, under-cabinet, island, and downdraft hoods. Consider the layout and design of your kitchen to determine which type of hood will be most suitable.
- Airflow capacity: Look for a range hood with adequate airflow capacity to effectively remove smoke, steam, and cooking odors from your kitchen. The airflow capacity is measured in cubic feet per minute (CFM), and it should be matched to the size of your cooking surface.
- Filtration system: Consider whether you prefer a hood with a ducted or ductless filtration system. Ducted hoods vent the air outside the house through a duct system, while ductless hoods recirculate the air back into the kitchen after filtering it through a charcoal or carbon filter.
- Size and design: Ensure that the range hood you choose fits the dimensions of the space and complements the aesthetic of your kitchen. Measure the width, depth, and height requirements to find a hood that fits perfectly.
- Noise level: Take into account the noise level of the range hood. Look for models that have sound dampening features or offer quieter operation, especially if your kitchen is open to the living area.
- Energy efficiency: Consider energy-efficient range hoods that will not only reduce your energy consumption but also save you money on utility bills in the long run.
Take your time to research and compare different range hood options. Read reviews, consult experts, and visit home improvement stores to see the range hoods in person. Once you have selected the right range hood for your kitchen, you can move on to the next step.
Step 3: Gather Tools and Materials
Before you begin the installation process, it’s important to gather all the necessary tools and materials. Here’s a list of items you’ll need:
- Range hood: Choose the range hood that you selected in Step 2. Ensure that it comes with all the required mounting hardware and installation instructions.
- Tape measure: Use a tape measure to accurately measure the dimensions of your space and ensure a proper fit for the range hood.
- Pencil: Use a pencil to mark the exact locations where the range hood will be mounted and where any holes need to be drilled.
- Electric screwdriver/drill: An electric screwdriver or drill will come in handy for removing cabinets, drilling holes, and securing screws during the installation process.
- Screwdriver: Have both a flathead and a Phillips screwdriver on hand for any screws that need to be tightened or loosened.
- Adjustable wrench: An adjustable wrench will be necessary for tightening nuts and bolts during the installation process.
- Electrical tester: Use an electrical tester to ensure that the power is properly shut off before working with electrical connections. This will help prevent any potential electrical shocks or accidents.
- Ductwork and connectors: If your range hood requires venting, you may need ductwork and connectors to properly route the exhaust air to the outside of your home. Ensure that the size and length of the ductwork are appropriate for your range hood.
- Venting accessories: Depending on the venting system you choose, you may need additional accessories such as wall or roof caps, vent covers, or duct tape to secure the connections.
- Electrical wires and connectors: If you are installing a ductless range hood, you’ll need electrical wires and connectors to connect the range hood to the power supply.
It’s important to have all these tools and materials ready before you start the installation process to ensure a smooth and efficient process. Once you have everything gathered, you can proceed to the next step of preparing the mounting area.
Step 4: Prepare the Mounting Area
Before you can install the range hood, it’s important to properly prepare the mounting area. Here are the steps to follow:
- Remove cabinets or shelves: If there are any cabinets or shelves above the cooking area where the range hood will be installed, remove them to provide enough space for the hood. Use a screwdriver or electric drill to remove the screws and lift the cabinets or shelves off the wall.
- Locate wall studs: Use a stud finder to locate the wall studs where the range hood will be mounted. It’s important to secure the hood to the studs for stability and support. Mark the stud locations with a pencil.
- Mark mounting holes: Position the range hood in its intended location and align it with the marked studs. Use a pencil to mark the mounting holes on the wall. Also, mark any holes that need to be drilled for venting or electrical wiring. Ensure that the range hood is level.
- Drill holes: Use an electric drill to drill holes for the mounting screws and any necessary ventilation or electrical wiring. Be sure to use the appropriate drill bit size for the task.
- Install wall anchors (if necessary): If you’re mounting the range hood on drywall or a wall surface that doesn’t have studs in the right locations, you may need to use wall anchors for additional support. Insert the wall anchors into the drilled holes according to the manufacturer’s instructions.
- Screw in mounting screws: Align the mounting holes on the range hood with the drilled holes in the wall. Use a screwdriver or electric screwdriver to securely fasten the mounting screws into the wall or wall anchors. Double-check that the range hood is level and aligned properly.
By preparing the mounting area and ensuring a secure installation, you’ll create a stable base for the range hood. This step sets the foundation for the remaining installation process. Once you have completed this step, you can move on to installing the ventilation ducts, which will be covered in the next step.
Read more: Who Installs A Range Hood
Step 5: Install the Ventilation Ducts
If your range hood requires venting, it’s essential to properly install the ventilation ducts to ensure the efficient removal of smoke, steam, and odors from your kitchen. Here’s how you can install the ventilation ducts:
- Measure and cut the ductwork: Measure the distance between the range hood and the exterior wall or roof where the vent will be installed. Using a tape measure, mark the appropriate length on the ductwork and cut it using tin snips or a duct cutter. Ensure that the cut edges are smooth and free of any sharp edges or burrs.
- Position and secure the ductwork: Position the cut ductwork in place, ensuring that it reaches the exterior wall or roof. Use metal screws or HVAC tape to secure the ductwork to the range hood’s exhaust outlet. If necessary, use elbows or connectors to create bends or join sections of ductwork.
- Route the ductwork: Carefully route the ductwork through the cabinets, walls, or ceiling, following the designated path. Ensure that the ductwork is properly supported and secured along its entire length to prevent sagging or disconnections. Use metal straps, hangers, or brackets to secure the ductwork to nearby surfaces or joists.
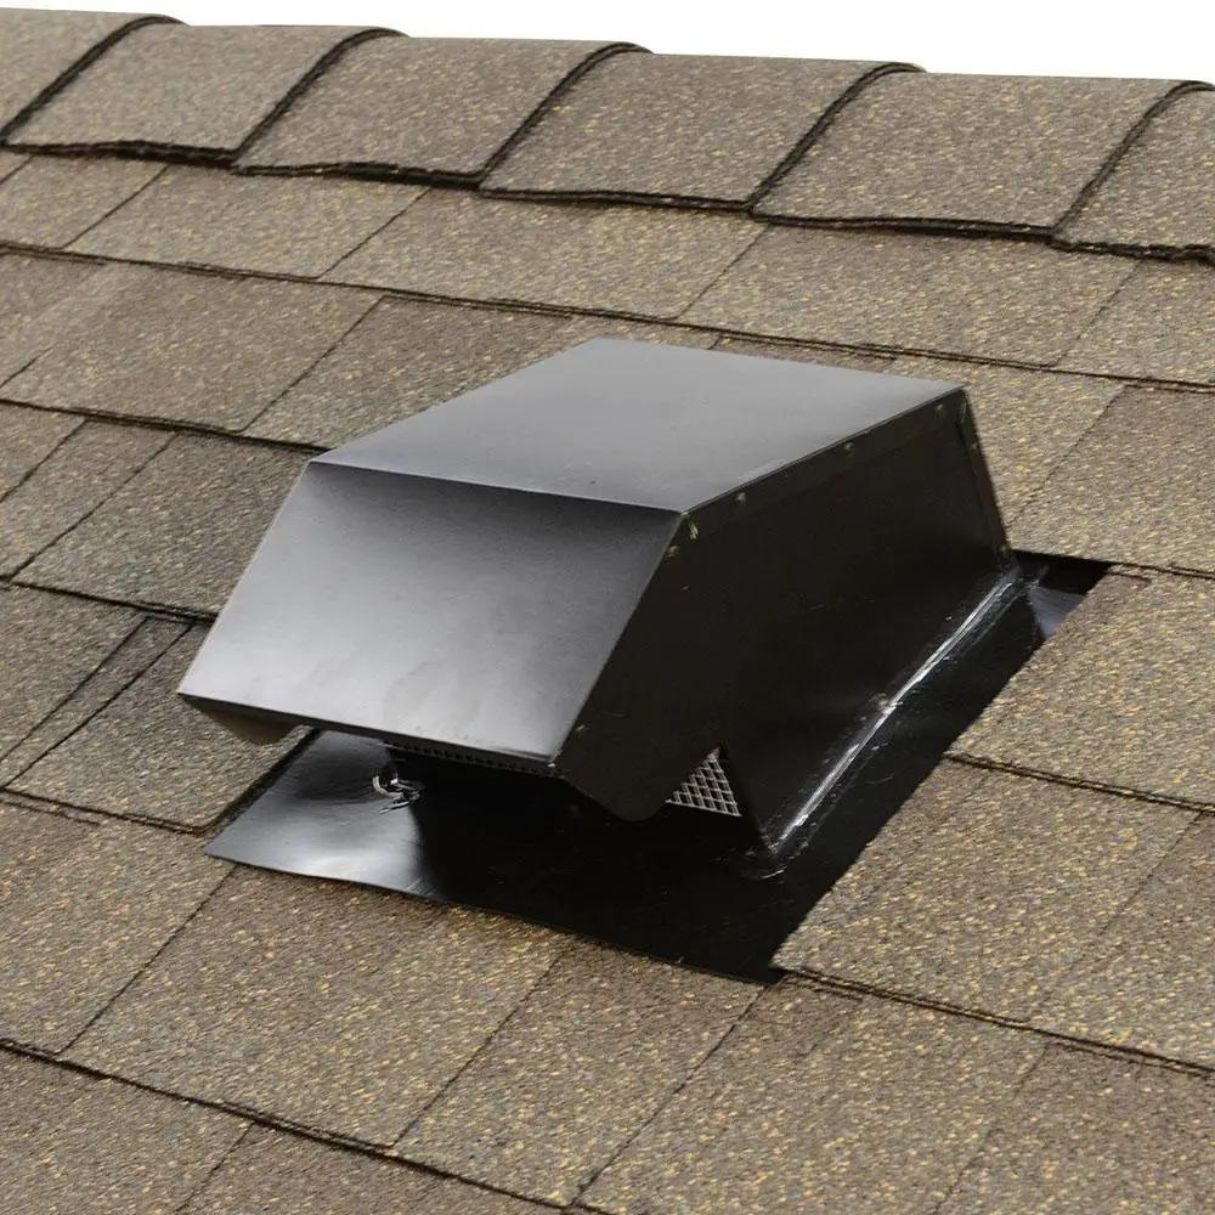
- Install the exterior vent cover: Once the ductwork reaches the exterior of your home, install the appropriate vent cover or cap. This will help to prevent debris, pests, and inclement weather from entering the ductwork. Secure the vent cover with screws or other fasteners according to the manufacturer’s instructions.
- Inspect the ductwork: After installing the ventilation ducts, thoroughly inspect the connections to ensure that they are secure and airtight. Test the joints by running your hand along the seams, feeling for any air leaks. If you detect any leaks, use HVAC tape or duct sealant to seal them.
Proper installation of the ventilation ducts is crucial for the effective functioning of your range hood. It allows for the proper ventilation and removal of cooking byproducts from your kitchen. Once you have completed this step, you can move on to the actual mounting of the range hood, which will be covered in the next step.
When installing a range hood, make sure to carefully follow the manufacturer’s instructions for proper placement and secure mounting. It’s also important to consider the ventilation requirements for your specific kitchen setup.
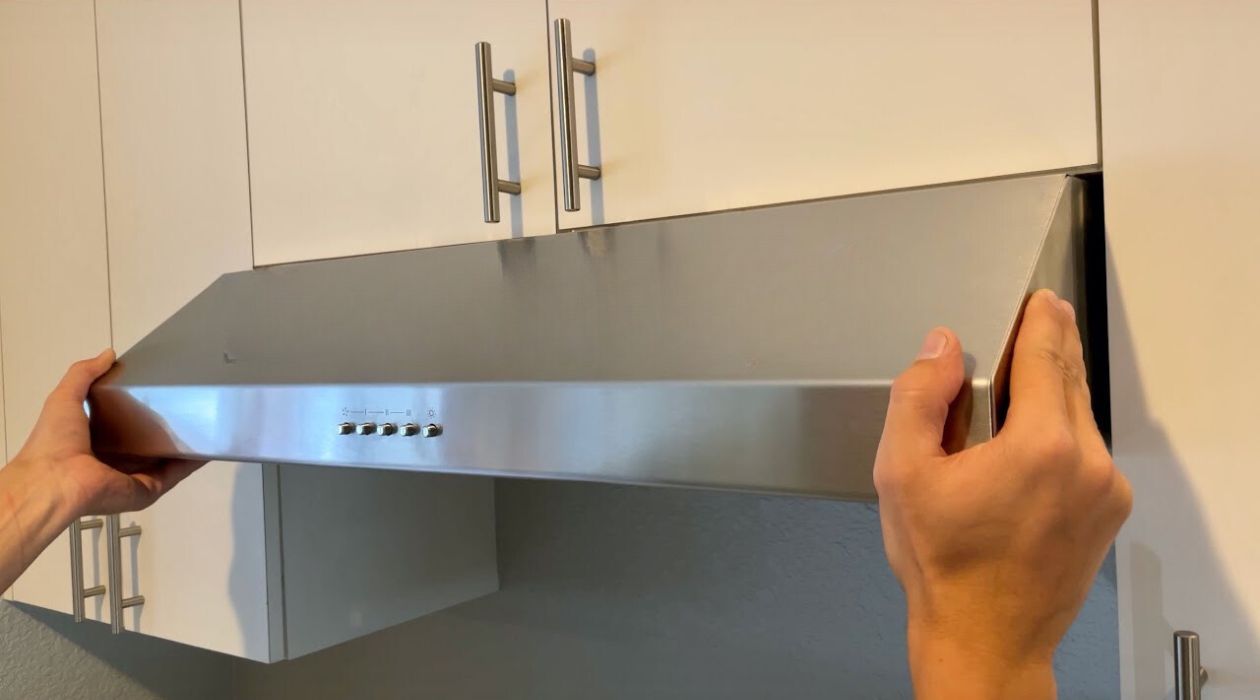
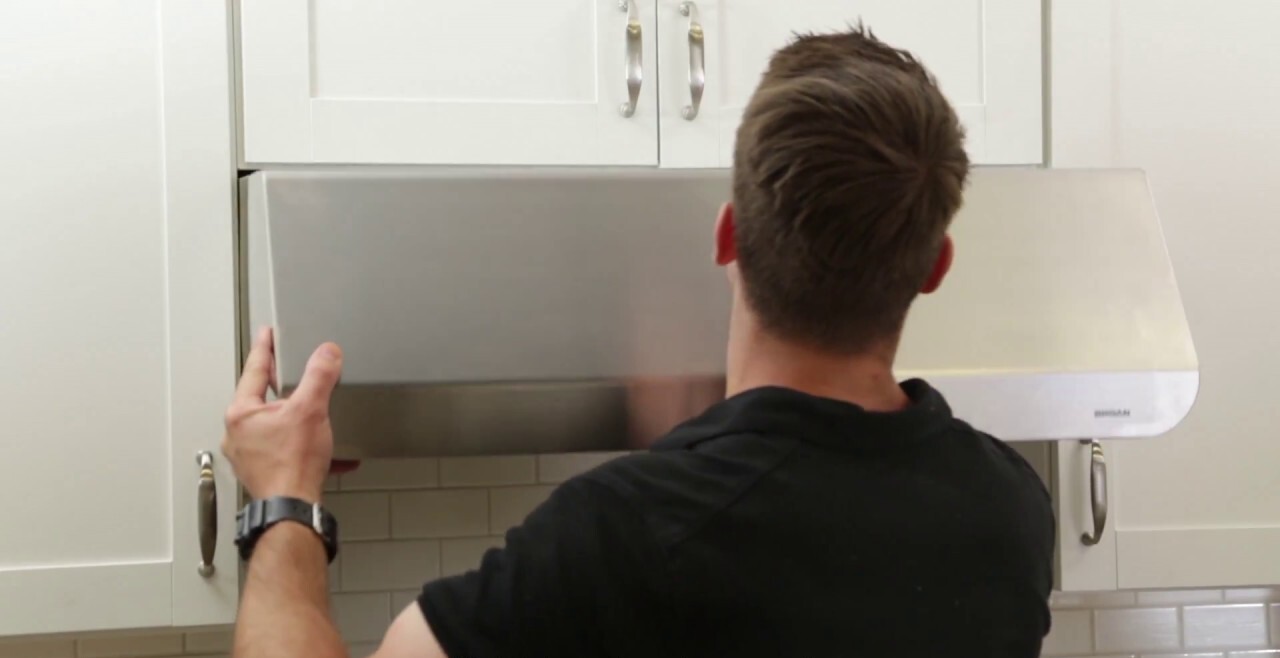
Step 6: Mount the Range Hood
Now that you have prepared the mounting area and installed the ventilation ducts, it’s time to mount the range hood. Follow these steps to securely mount the hood:
- Position the range hood: Carefully lift the range hood and position it onto the mounting screws or anchors on the wall. Ensure that it is aligned with the previously marked mounting holes.
- Secure the range hood: Use a screwdriver or electric screwdriver to tighten the mounting screws, securing the range hood to the wall or wall anchors. Make sure to tighten the screws securely, but be careful not to overtighten them, as it can damage the hood or the wall.
- Level the range hood: Use a bubble level to ensure that the range hood is level. Adjust the position if necessary and tighten the mounting screws further once it is properly aligned.
- Reassemble cabinets or shelves: If you removed any cabinets or shelves during the preparation phase, now is the time to reassemble them. Use the appropriate screws or fasteners to secure them back in place.
- Double-check stability: Once the range hood is securely mounted, give it a gentle shake to ensure that it is stable and well-supported. If it feels loose or wobbly, double-check the mounting screws and connections to ensure they are properly tightened.
By following these steps, you will have successfully mounted the range hood in your kitchen. The next step will involve connecting the electrical wiring to power the range hood, which we will cover in detail in the following section.
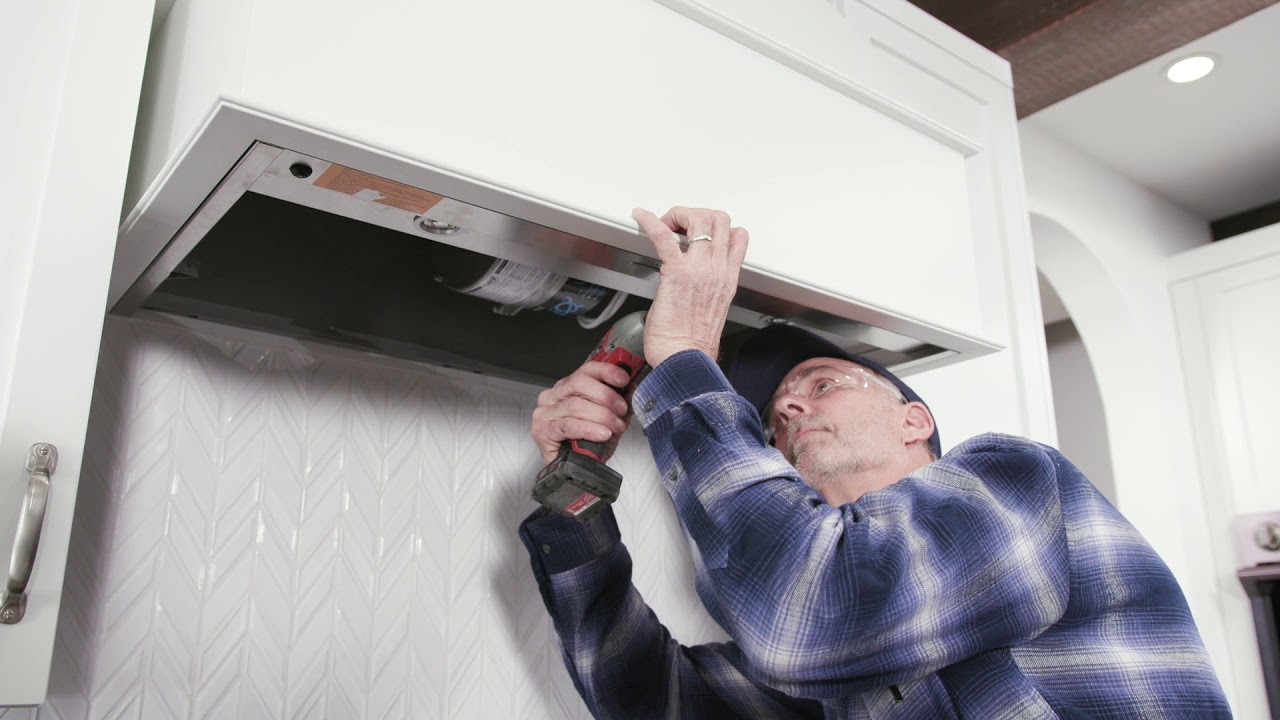
Step 7: Connect the Electrical Wiring
Connecting the electrical wiring is an important step in installing a range hood. It ensures that the hood has the necessary power supply to operate effectively and safely. Follow these steps to connect the electrical wiring:
- Turn off the power: Before working with any electrical connections, ensure that the power to the range hood circuit is turned off at the main electrical panel. Use a voltage tester to double-check that there is no power running to the circuit.
- Remove the electrical junction box cover: Locate the electrical junction box at the back of the range hood. Use a screwdriver to remove the cover of the junction box, exposing the electrical connections inside.
- Connect the electrical wiring: Inside the junction box, you will find wires – usually black, white, and green (or bare copper). Connect the black wire from the range hood to the black (hot) wire in the electrical box and secure them together with a wire nut. Repeat the process for the white (neutral) wires and the green (or bare copper) grounding wires.
Note: It’s essential to follow the manufacturer’s wiring instructions and any local electrical codes. If you are unsure about the wiring process, consider hiring a licensed electrician to assist you.
- Secure the electrical connections: Once the wires are connected, carefully tuck them into the junction box and secure them with cable clamps or connectors. This will protect the wires and prevent them from being accidentally pulled out of the junction box.
- Replace the junction box cover: With the electrical connections secured, replace the cover on the junction box and screw it back into place using the provided screws.
- Turn on the power and test the range hood: Once all the electrical connections are made and securely fastened, restore power to the range hood circuit at the main electrical panel. Test the range hood by turning it on and ensuring that it operates properly.
By correctly connecting the electrical wiring, you will ensure the safe and efficient operation of your range hood. Always prioritize safety when working with electricity, and if you are unsure about any aspect of the wiring process, consult a professional electrician.
Step 8: Test and Secure the Range Hood
After successfully connecting the electrical wiring, it’s time to test and secure the range hood to ensure its proper functioning. Follow these steps to complete this final stage of the installation process:
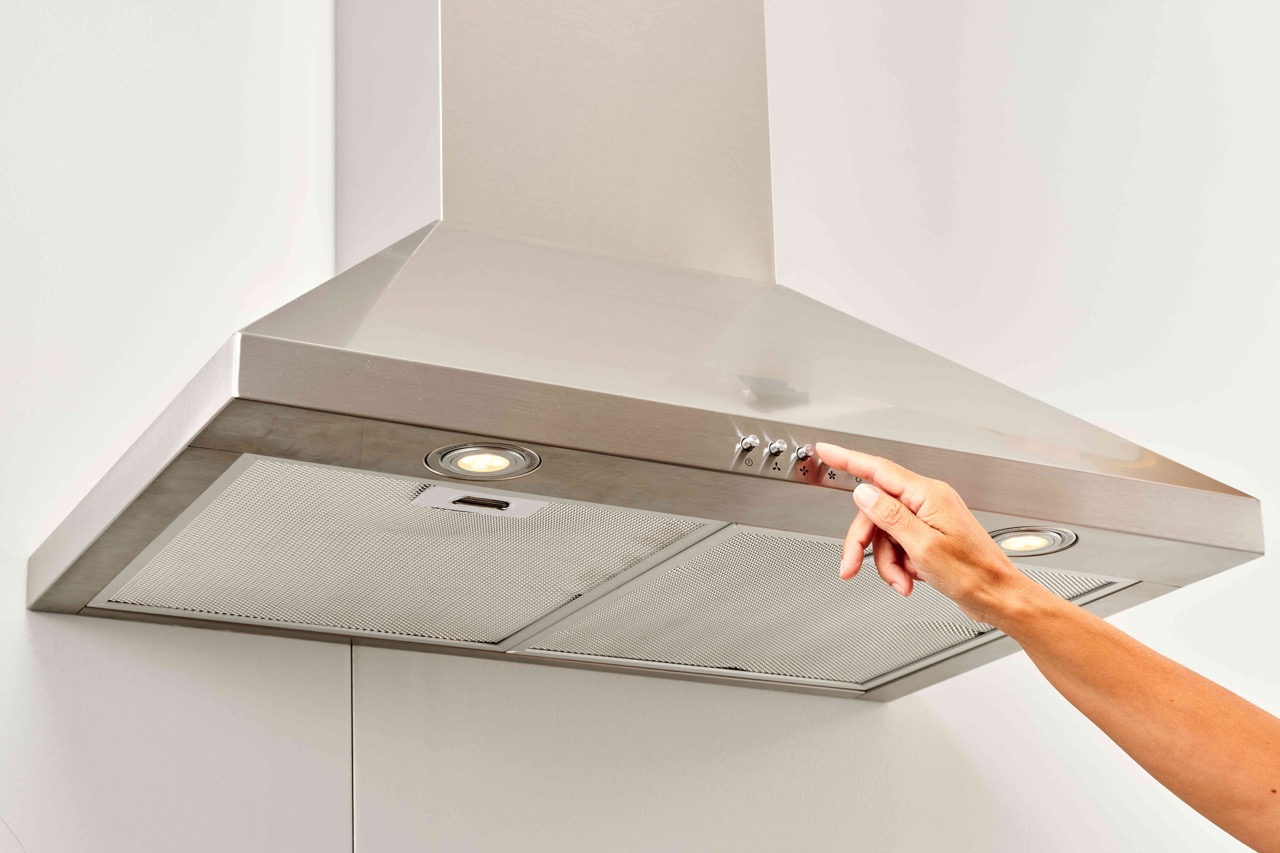
- Test the range hood: Turn on the range hood and check that it is running smoothly. Listen for any unusual sounds or vibrations that may indicate a problem. Verify that the fan is properly ventilating the air and that the lights, if applicable, are working as expected.
- Adjust the fan speed and settings: If your range hood has variable fan speeds or adjustable settings, test and adjust them according to your preferences. This will allow you to customize the hood’s operation to suit your cooking needs.
- Tighten all connections: Carefully inspect all the connections, including the mounting screws and ventilation ducts, making sure they are secure and properly tightened. If any connections feel loose, use a screwdriver or appropriate tool to tighten them as necessary.
- Check for any leaks or damage: Examine the venting system for any signs of leaks, especially around the joints and connections. Ensure that the ductwork is properly sealed and that there are no gaps or damage that could compromise its functionality. If any issues are detected, address them promptly.
- Secure the range hood: If your range hood has additional securing mechanisms, such as brackets or screws, ensure that they are properly fastened and provide adequate stability. This will help prevent any movement or vibrations during operation.
By following these steps, you will be able to test and secure the range hood, ensuring that it operates effectively and reliably. Performing a thorough inspection and addressing any issues will help avoid future problems and maximize the longevity of your range hood. With the range hood now installed and secured, you are ready to consider any additional considerations for optimal performance and safety, as discussed in the next step.
Read more: How To Install ZLINE Range Hood
Step 9: Additional Considerations
While you have successfully installed and tested your range hood, there are a few additional considerations to keep in mind for optimal performance and safety. Here are some important points to consider:
- Clean and maintain the range hood: Regularly clean the range hood filters, grease traps, and ventilation ducts to prevent the buildup of grease and debris. This will help maintain the efficiency of the hood and prevent potential fire hazards.
- Replace filters as needed: Depending on the type of range hood you have, it may require regular filter replacements. Follow the manufacturer’s recommendations for filter replacement intervals to ensure the hood continues to operate at its best.
- Monitor for proper ventilation: Regularly check the airflow and ventilation in your kitchen to ensure that the range hood is effectively removing smoke, steam, and odors. If you notice any issues, such as poor suction or lingering smells, inspect the ductwork and filters for blockages or damage.
- Consider installing a smoke alarm: To enhance safety in your kitchen, install a smoke alarm or connect the range hood to your existing smoke alarm system. This will provide an additional layer of protection in case of any cooking-related fires or emergencies.
- Stay familiar with the manufacturer’s guidelines: Refer to the range hood’s user manual or manufacturer’s guidelines for specific care and maintenance instructions, as well as any warranty information. Adhering to these guidelines will help ensure the longevity and proper functioning of your range hood.
- Consult a professional if needed: If you have any concerns or questions about your range hood installation or maintenance, it’s always advisable to consult a professional electrician or appliance technician for assistance. They can provide expert guidance and ensure that everything is functioning properly and safely.
By considering these additional factors and taking proper care of your range hood, you can enjoy a clean and well-ventilated kitchen for years to come. Congratulations on successfully installing your range hood and enhancing the functionality of your cooking space!
Conclusion
Installing a range hood is a rewarding project that improves the ventilation and air quality of your kitchen. With the step-by-step guide provided in this article, you now have the knowledge and confidence to successfully install a range hood in your kitchen.
We began by discussing the importance of measuring and preparing the space, followed by selecting the right range hood to suit your needs. Gathering the necessary tools and materials was the next step, ensuring you have everything required for a smooth installation process.
We then covered preparing the mounting area, installing the ventilation ducts, and mounting the range hood securely to the wall. Connecting the electrical wiring and testing the hood’s functionality were also covered in detail.
In addition, we emphasized the importance of considering additional factors such as regular maintenance, filter replacements, monitoring ventilation, and consulting professionals as needed for optimal performance and safety.
By following these steps and considering the additional tips provided, you can enjoy a clean, well-ventilated kitchen free from smoke, odors, and grease buildup.
If you have any concerns or questions during the installation process or throughout the lifespan of your range hood, always consult a professional for guidance. Safety should always be a priority when working with electrical connections and ventilation systems.
Now, armed with this knowledge, it’s time to take on the installation of your range hood and transform your kitchen into a more pleasant and enjoyable cooking space!
Frequently Asked Questions about How To Install Range Hood
Was this page helpful?
At Storables.com, we guarantee accurate and reliable information. Our content, validated by Expert Board Contributors, is crafted following stringent Editorial Policies. We're committed to providing you with well-researched, expert-backed insights for all your informational needs.


0 thoughts on “How To Install Range Hood”