Home>Storage Ideas>Kitchen Storage>How To Install An Over-the-Range Microwave To Save Kitchen Space
Kitchen Storage
How To Install An Over-the-Range Microwave To Save Kitchen Space
Modified: January 18, 2024
Learn how to install an over-the-range microwave for efficient kitchen storage. Utilize valuable space and optimize your kitchen layout with this easy step-by-step guide.
(Many of the links in this article redirect to a specific reviewed product. Your purchase of these products through affiliate links helps to generate commission for Storables.com, at no extra cost. Learn more)
Introduction
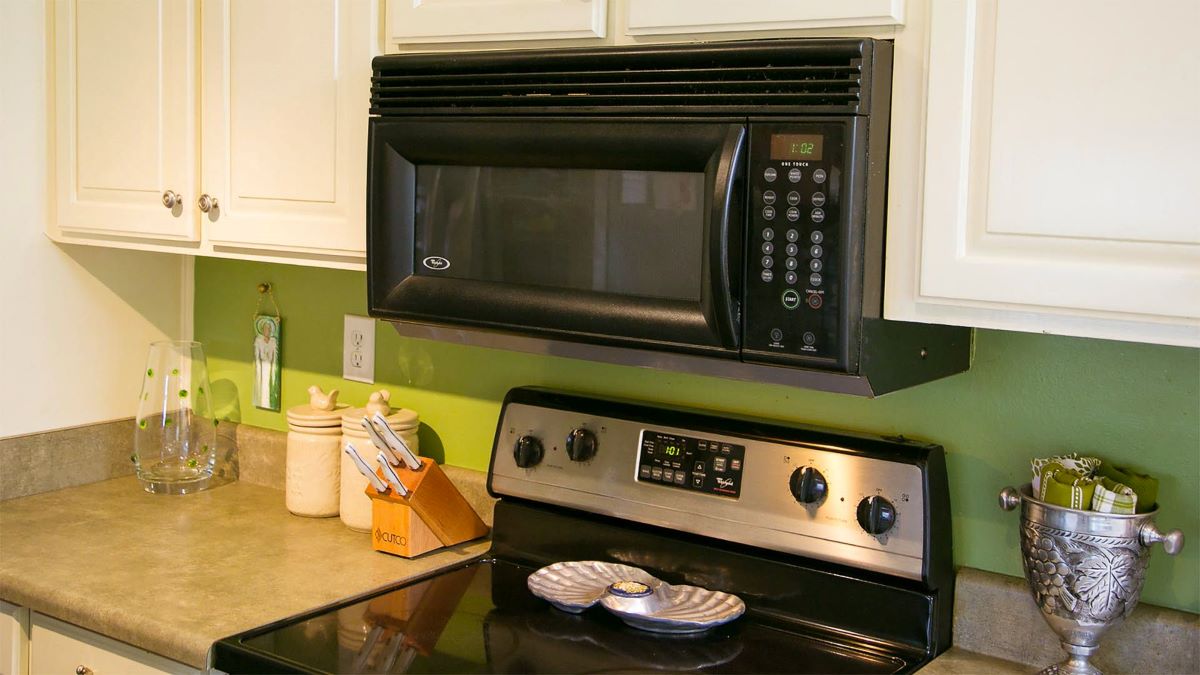
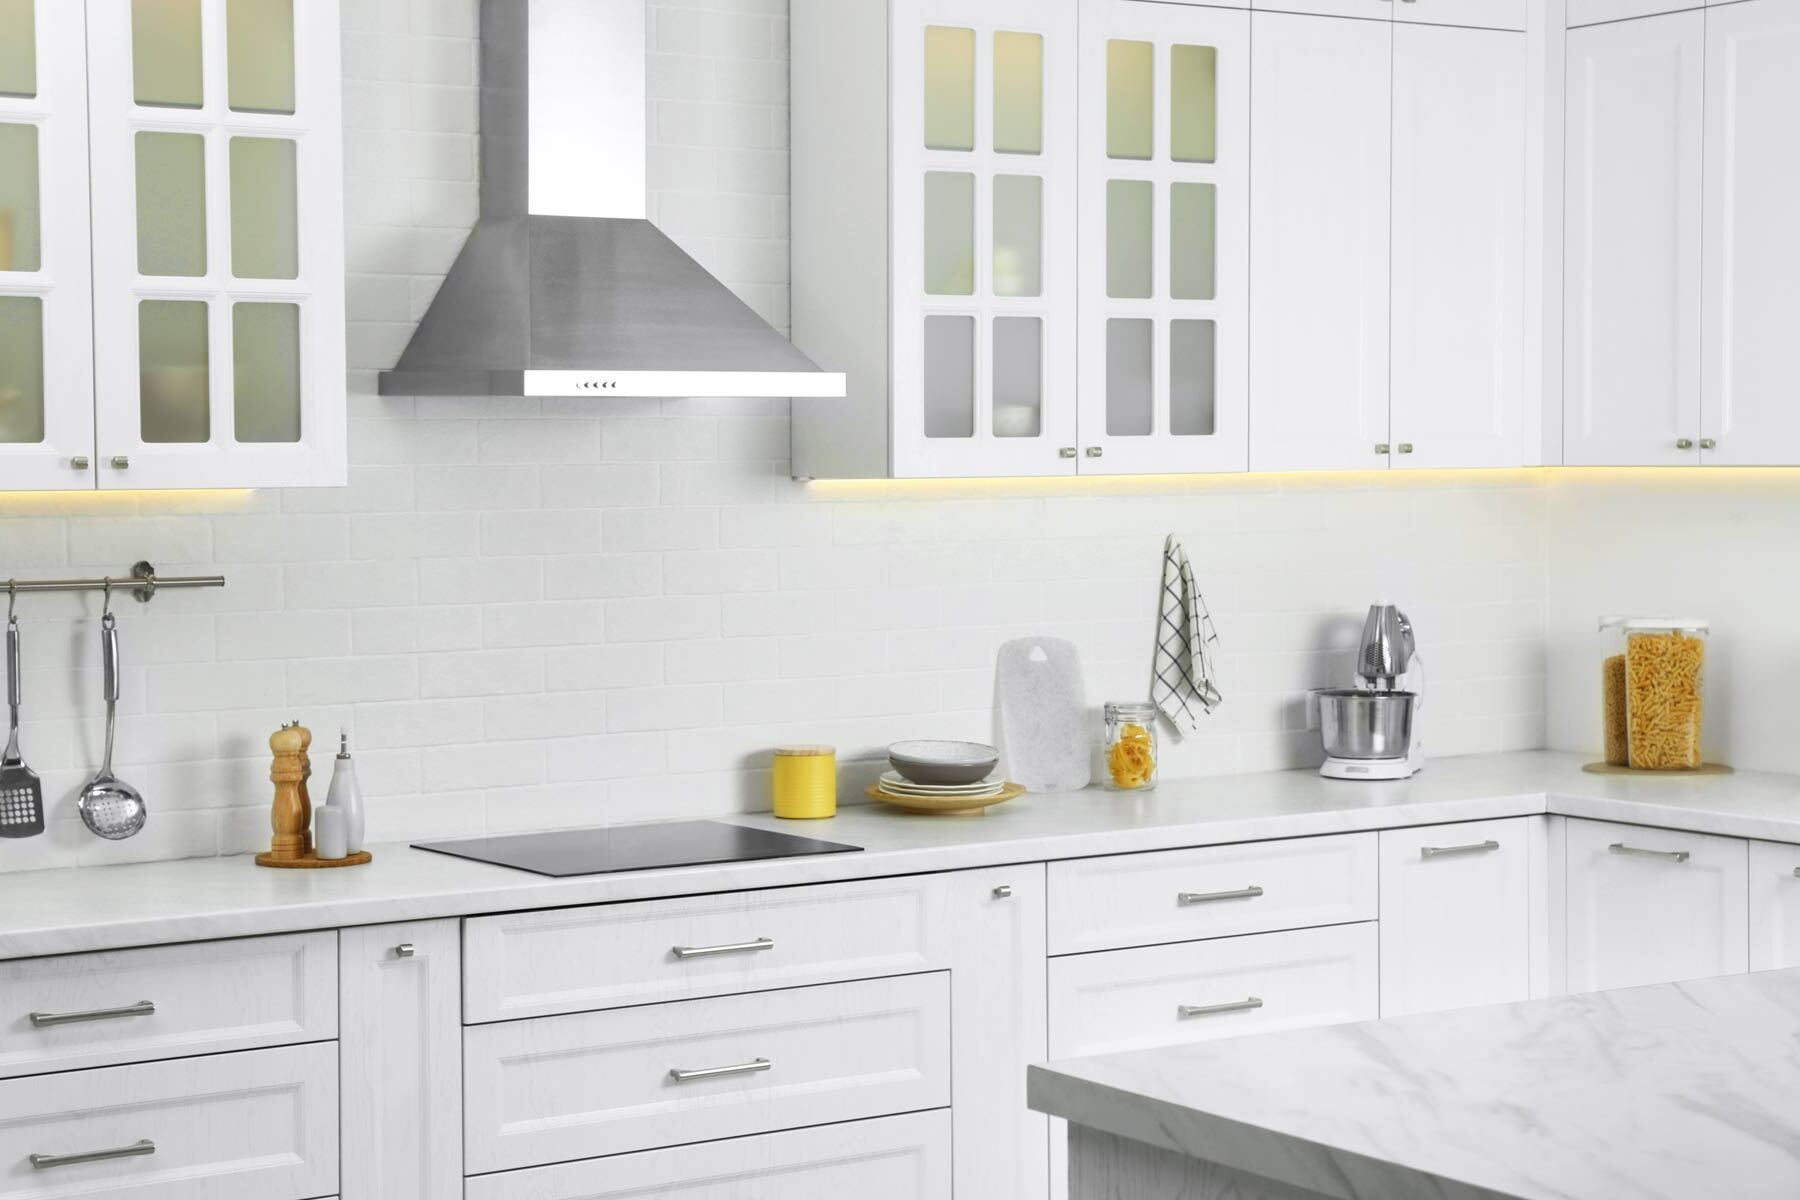
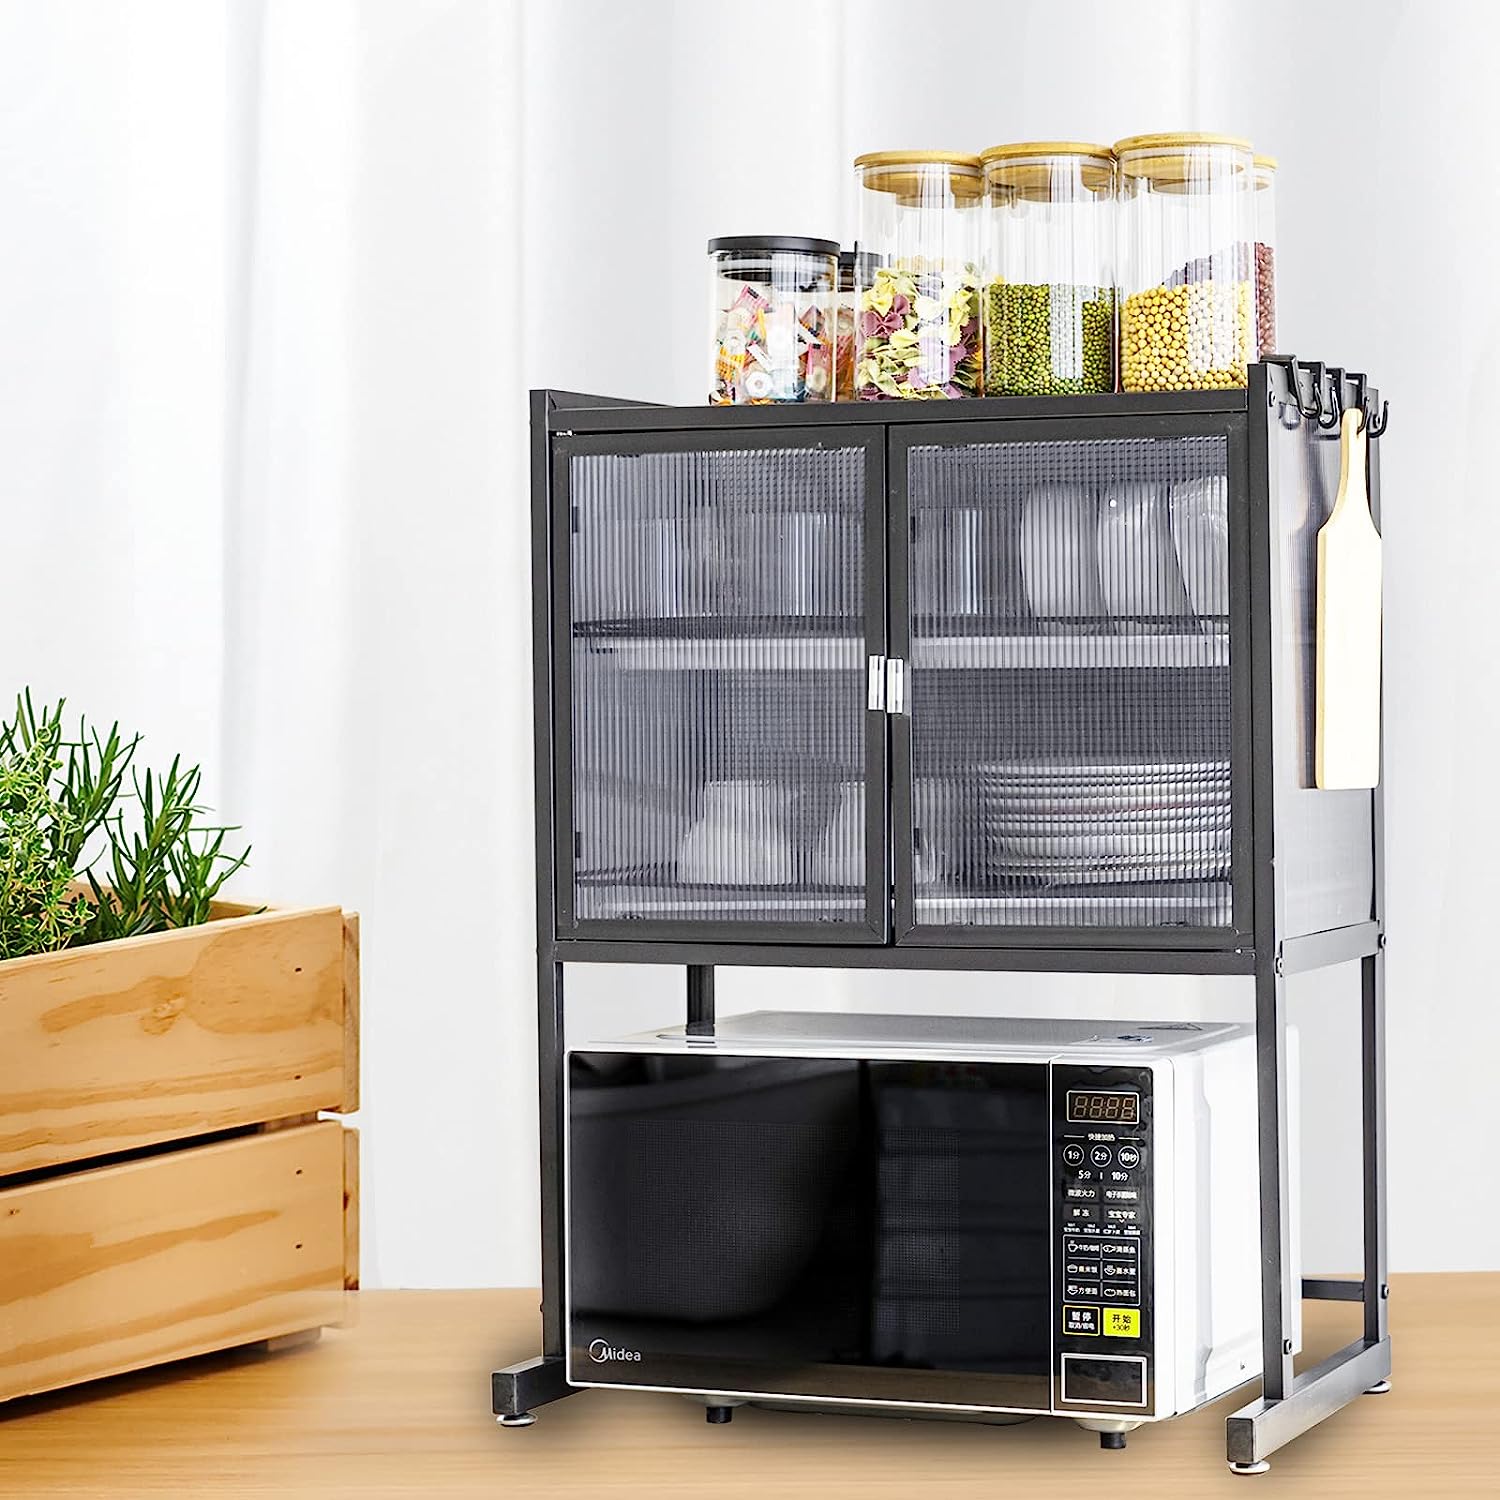
Welcome to the world of kitchen storage ideas! If you’re tired of cluttered countertops and limited space in your kitchen, you’ve come to the right place. In this article, we will explore the benefits of installing an over-the-range microwave to save valuable kitchen space.
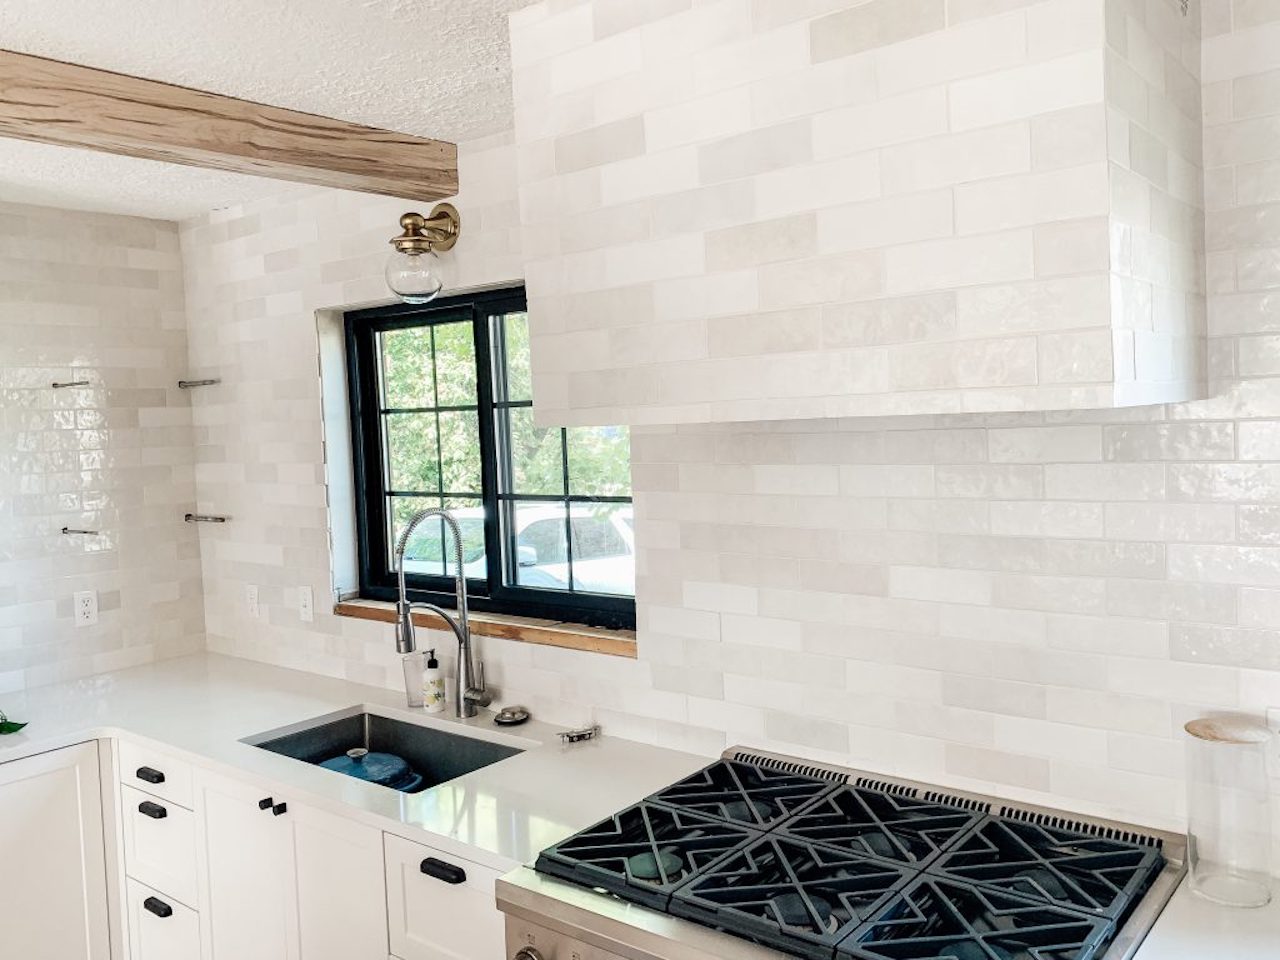
The kitchen is the heart of the home, but it can easily become overwhelmed with appliances, cookware, and food items. Finding ways to maximize storage and create a more organized space is essential for any home cook or food enthusiast. An over-the-range microwave not only offers convenience in cooking and reheating, but it also saves countertop space by integrating seamlessly into your kitchen layout.
Installing an over-the-range microwave may seem like a daunting task, but with the right knowledge and tools, it can be a straightforward process. In this article, we will take you through the step-by-step process of installing an over-the-range microwave to help you achieve a clutter-free and functional kitchen.
Before we dive into the installation process, it’s important to note that every kitchen is unique, so there may be variations in the specific steps required for your microwave model or kitchen setup. Be sure to consult the manufacturer’s instructions for your particular microwave and, if needed, seek professional assistance to ensure a safe and secure installation.
Now, let’s get started on maximizing your kitchen space with a stylish and space-saving over-the-range microwave!
Key Takeaways:
- Installing an over-the-range microwave not only saves valuable kitchen space but also enhances convenience in cooking and reheating. By following the step-by-step process, you can achieve a clutter-free and functional kitchen with ease.
- Prioritizing safety, proper measurements, gathering essential tools, and following manufacturer’s instructions are crucial for a successful over-the-range microwave installation. Enjoy the benefits of a more organized and efficient kitchen space!
Read more: How To Install Over Range Microwave Oven
Step 1: Measure and Prepare the Space
Before you begin the installation process, it’s crucial to measure your available space and ensure that it can accommodate an over-the-range microwave. This step will help you determine the appropriate size for your new appliance and prevent any last-minute surprises.
Here are the key steps to take:
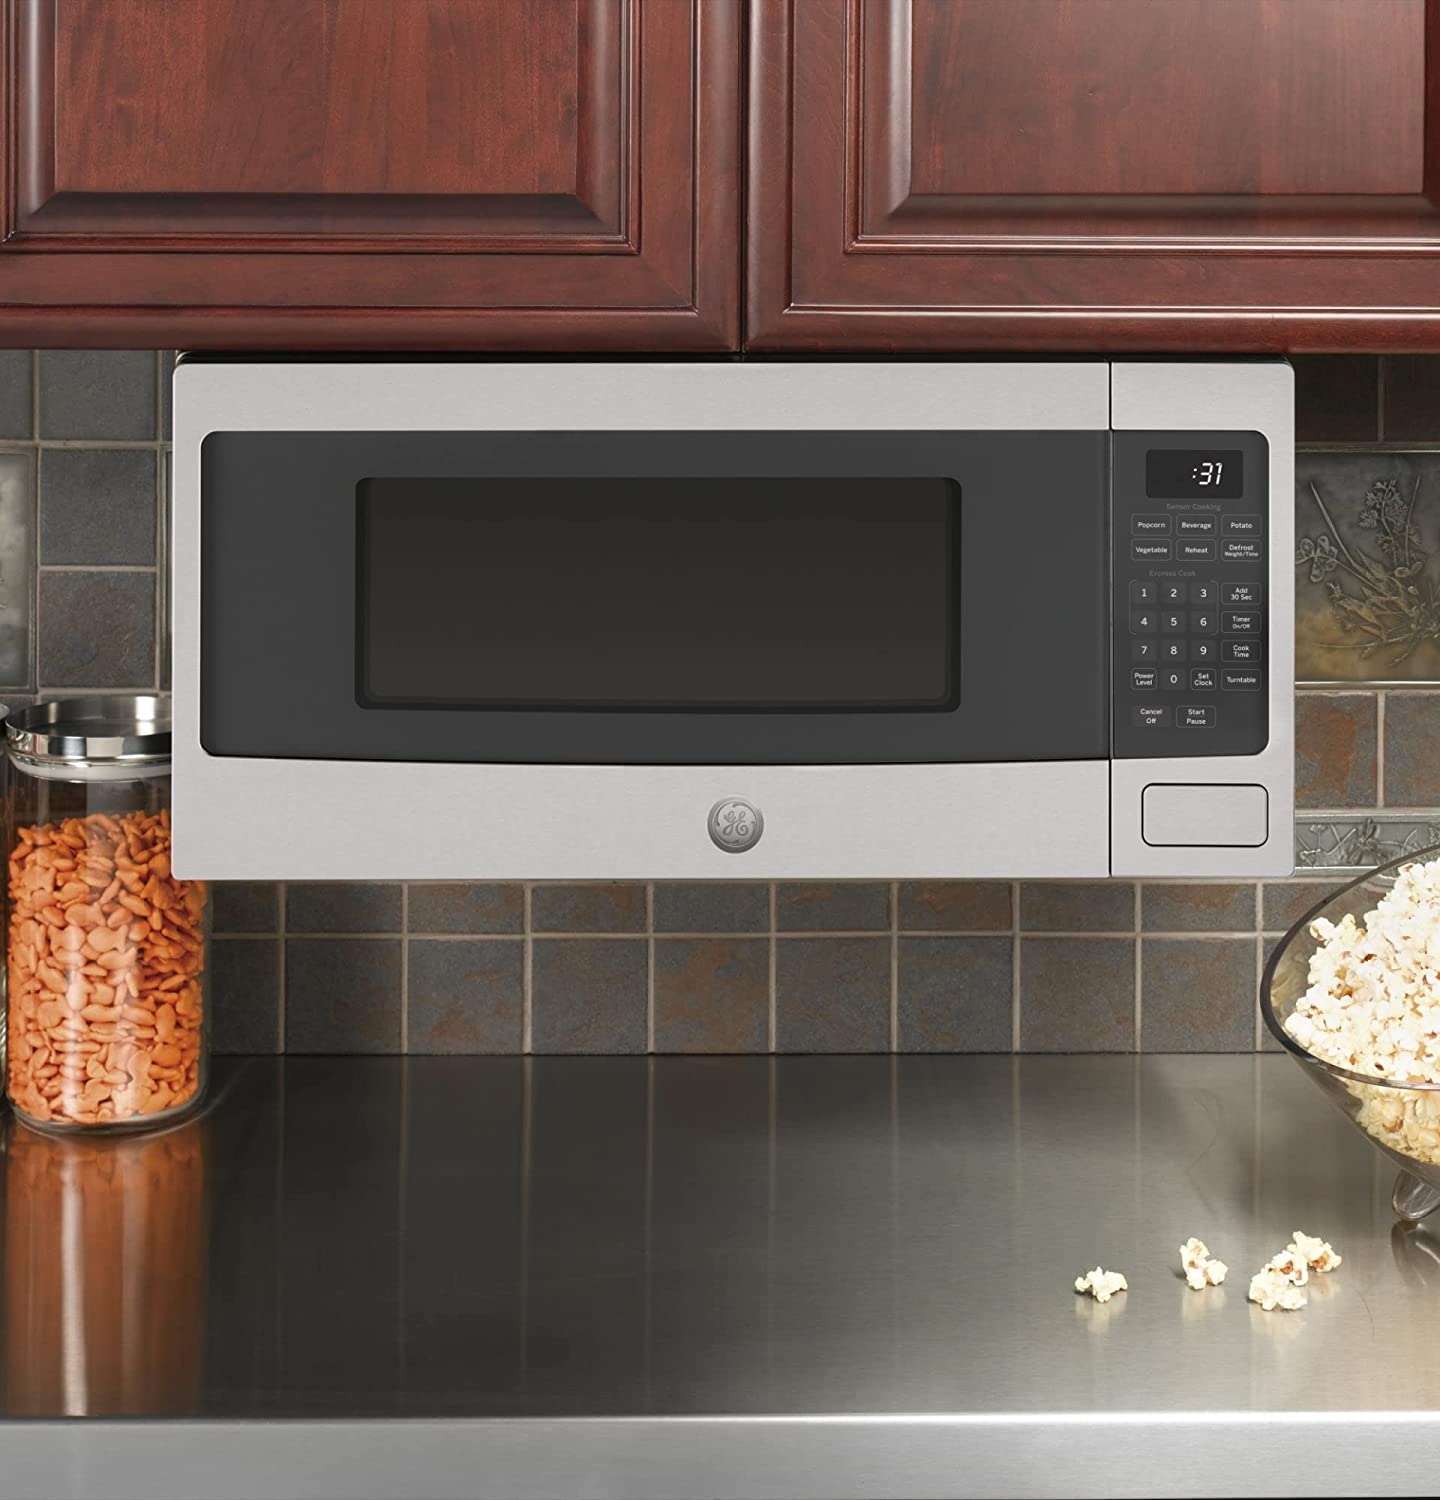
- Measure the width: Use a measuring tape to determine the width of the space where the microwave will be installed. Most over-the-range microwaves are 30 inches wide, but it’s essential to measure the precise width to avoid any potential fit issues.
- Measure the height: Measure the height from the stovetop to the bottom of the upper cabinets. Most over-the-range microwaves require a minimum of 15 inches of clearance, but it’s always a good idea to check the manufacturer’s instructions for the exact measurement.
- Measure the depth: Measure the depth from the back wall to the front of the upper cabinets. This measurement will ensure that the microwave doesn’t protrude too far into the kitchen space.
Once you have taken accurate measurements, it’s time to prepare the space for the installation:
- Clear the area: Remove any items or obstacles from the areas surrounding the installation space to create a clean and clutter-free working environment.
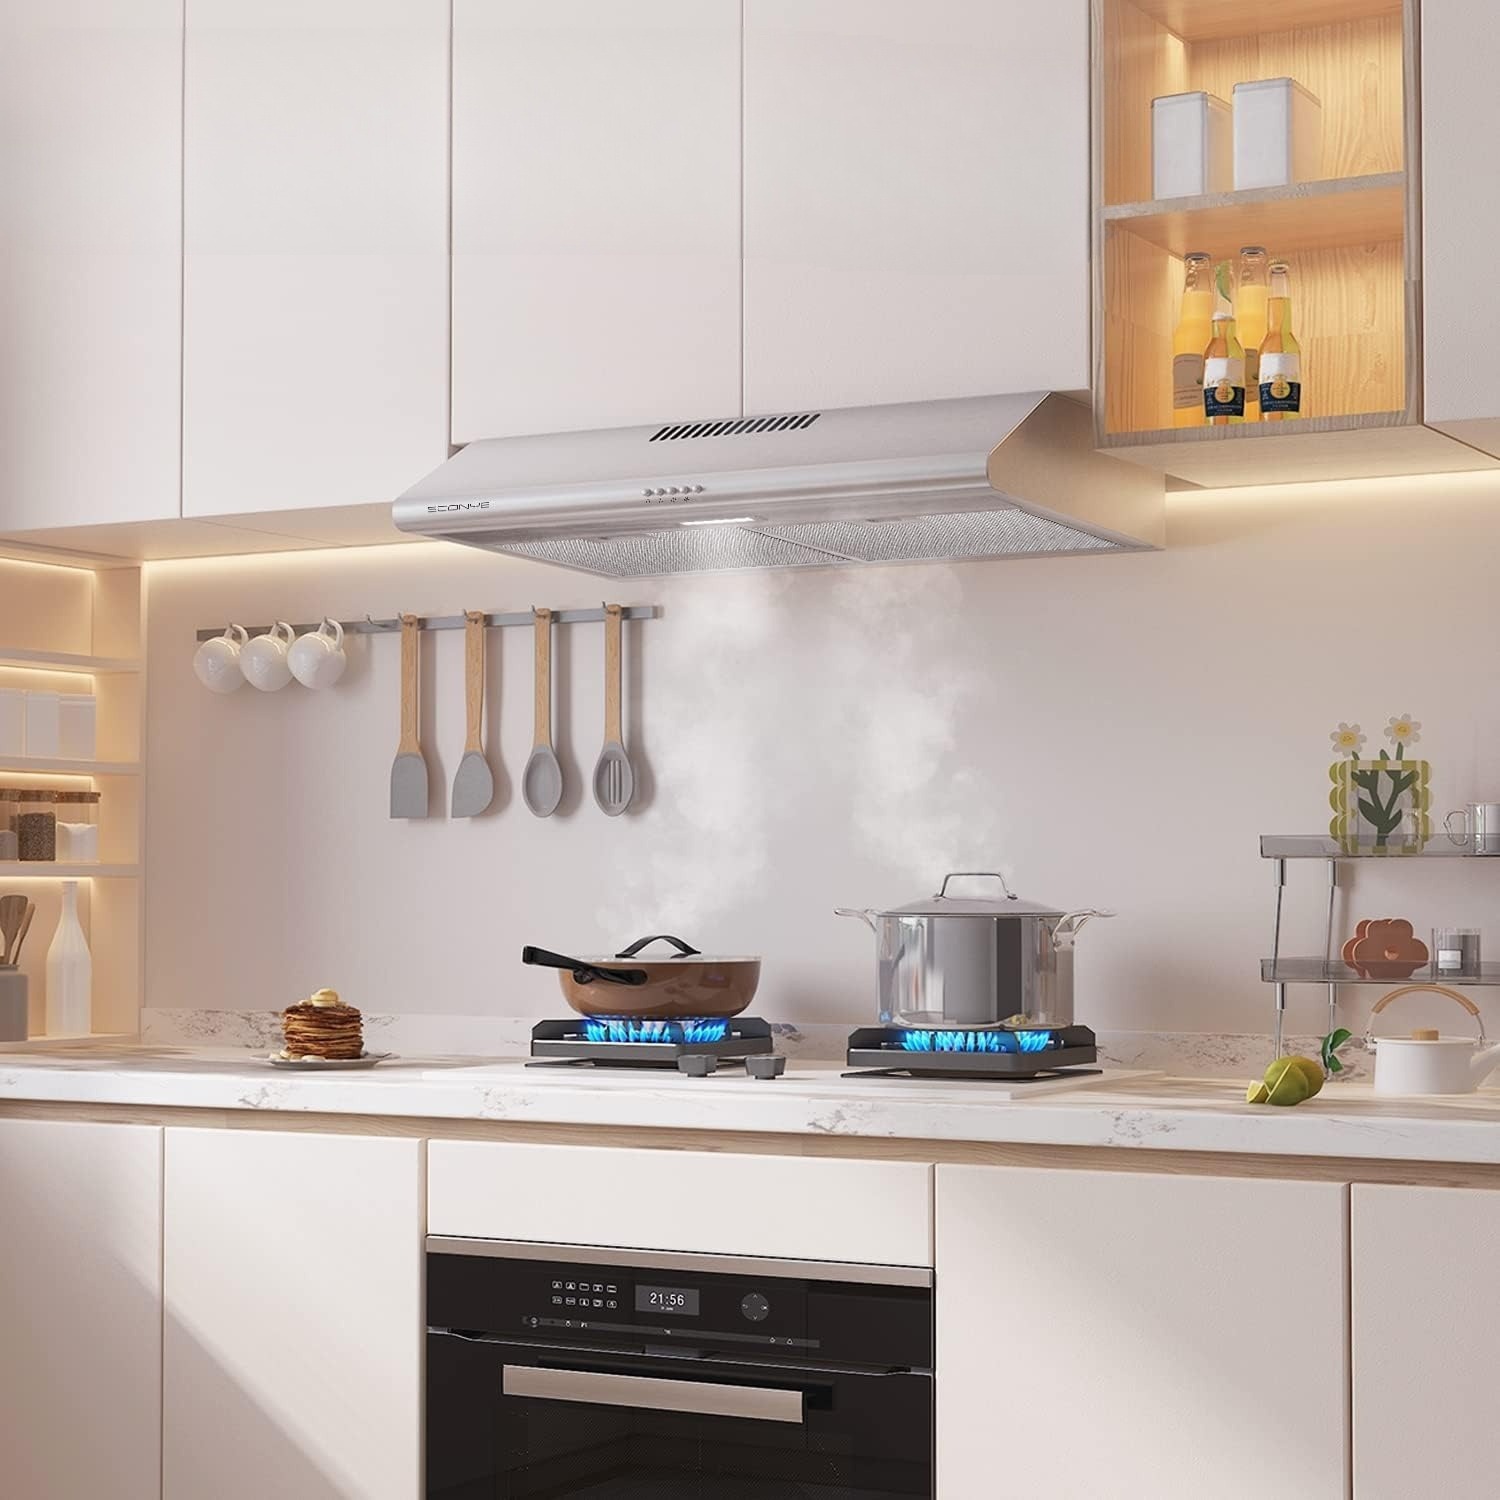
- Ensure proper ventilation: Check if there is an existing vent or ductwork above the cooking range. If not, you may need to install a ductless or ducted ventilation system to vent the microwave properly.
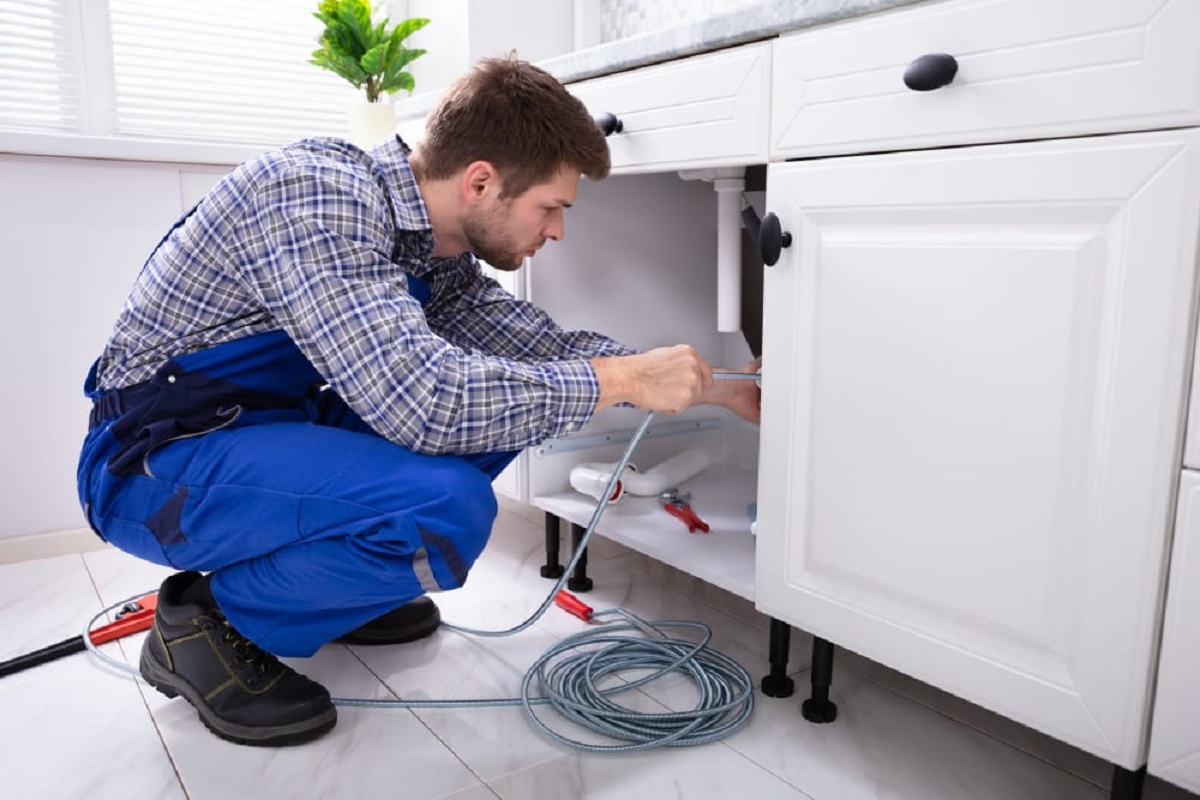
- Check the electrical requirements: Make sure there is a dedicated electrical circuit near the installation area to provide power to the microwave. Consult an electrician if additional wiring is necessary.
By taking accurate measurements and preparing the space, you can ensure a smooth and successful installation process for your over-the-range microwave. In the next step, we will gather the required tools and materials to proceed with the installation. Stay tuned!
Step 2: Gather Required Tools and Materials
Before you begin installing your over-the-range microwave, it’s crucial to gather all the necessary tools and materials. Having everything you need on hand will make the installation process much smoother and more efficient.
Here’s a list of the essential tools and materials you’ll need:
- Over-the-range microwave: Choose the model that suits your needs and kitchen space requirements.
- Mounting hardware: This usually comes with the microwave and includes the mounting bracket and screws for securing the microwave to the wall and cabinetry.
- Power drill: You’ll need a drill to create pilot holes for the mounting screws and any necessary holes for the venting or electrical connections.
- Stud finder: Use a stud finder to locate the wall studs behind the installation area. This will ensure sturdy and secure mounting of the microwave.
- Screwdriver: A screwdriver will be needed to tighten or loosen screws during the installation process.
- Measuring tape: You’ll need a measuring tape to ensure accurate placement and alignment of the microwave.
- Pliers: Pliers may come in handy for removing or adjusting existing electrical connections or venting ducts.
- Electrical tape: Use electrical tape to secure and insulate any exposed wires or connections.
- Caulking gun and caulk: If applying caulk is necessary for a finished and professional look, you’ll need a caulking gun and caulk appropriate for your kitchen’s materials.
- Protective gloves and safety glasses: It’s always important to prioritize safety during the installation process, and wearing protective gloves and safety glasses can help prevent injuries.
Ensure that you have all these tools and materials readily available before starting the installation. This will save you time and frustration, allowing the process to go smoothly.
In the next step, we will discuss how to turn off the power to the microwave area to ensure safety during the installation. Stay tuned!
Step 3: Turn off Power to the Microwave Area
Before you begin installing your over-the-range microwave, it’s crucial to turn off the power supply to the microwave area. This step ensures your safety and prevents the risk of electrical shock during the installation process.
Follow these steps to turn off the power:
- Locate the circuit breaker: Identify the circuit breaker corresponding to the microwave’s power supply. It may be labeled “microwave” or “kitchen appliances” on the breaker panel.
- Switch off the circuit breaker: Flip the switch that corresponds to the microwave to the “off” position.
Turning off the power at the circuit breaker will ensure that no electricity is flowing to the microwave’s electrical connections, reducing the risk of electrical shock during the installation process.
Additionally, it’s a good practice to use a non-contact voltage tester to verify that the power has been successfully turned off before proceeding with any electrical work. Simply hold the tester near the electrical connections to confirm the absence of electrical current.
Remember, safety should always be the top priority. If you’re uncomfortable working with electrical connections or unsure about the steps involved, consult a professional electrician to ensure a safe and successful installation.
With the power turned off and safety ensured, you’re now ready to move on to the next step: determining the venting option and installing ductwork (if needed) for your over-the-range microwave. Stay tuned!
Step 4: Determine Venting Option and Install Ductwork (if needed)
Proper ventilation is essential when installing an over-the-range microwave. It helps to remove cooking odors, steam, and grease from your kitchen, ensuring a clean and healthy environment. In this step, we will discuss how to determine the venting option that suits your kitchen setup and how to install ductwork if it is required.
Here’s what you need to do:
1. Determine the venting option: Based on your kitchen’s configuration and the existing venting system, you have two venting options: ducted or ductless.
- Ducted venting: This option requires connecting the microwave’s vent to an existing duct system that leads outside your home. It is the most effective way to remove smoke, steam, and odors from the kitchen. If your kitchen already has a ducted ventilation system, ensure that the microwave’s vent aligns with the ductwork.
- Ductless venting: If ductwork is not available or difficult to install, a ductless venting system can be used. This option involves installing a charcoal filter in the microwave to absorb cooking odors before recirculating the air back into the kitchen. Keep in mind that ductless venting may not be as effective in removing steam and heat from the kitchen as ducted venting.
2. Install ductwork (if needed): If you opt for ducted venting and there is no existing ductwork in place, you will need to install it. Here’s how:
- Marks the location: Using a pencil, mark the location on the wall where the ductwork will be installed. Ensure it aligns with the microwave’s vent opening.
- Check for obstructions: Before cutting into the wall, check for any electrical wiring, plumbing, or other obstructions that could interfere with the installation. If you encounter any obstructions, consult a professional for assistance.
- Cut a hole: Use a reciprocating saw or a drywall saw to carefully cut a hole in the marked location on the wall for the ductwork. Take caution to avoid damaging any hidden electrical wiring or plumbing.
- Connect the ductwork: Attach the necessary ductwork pieces to connect from the microwave’s vent opening to the exterior of your home. Secure the joints with appropriate duct tape or metal clamps to ensure a tight and secure fit.
Remember to follow the manufacturer’s instructions for your specific microwave model and venting requirements when determining the venting option and installing ductwork. If you’re unsure about the process or need assistance, consult a professional to ensure a proper installation.
With the venting option determined and the ductwork installed (if required), you are ready to move on to the next step: installing the mounting plate for your over-the-range microwave. Stay tuned!
When installing an over-the-range microwave, make sure to secure it to the wall studs for stability and use a mounting template for accurate placement. Also, ensure proper ventilation for the microwave.
Read more: How To Replace Range Hood With Microwave
Step 5: Install Mounting Plate
Once you have determined the venting option and, if necessary, installed the ductwork, it’s time to move on to installing the mounting plate for your over-the-range microwave. The mounting plate provides the necessary support to secure the microwave to the wall and cabinetry. Follow these steps to install the mounting plate:
- Locate the wall studs: Use a stud finder to locate the wall studs behind the installation area. Mark the studs with a pencil for reference.
- Line up the mounting plate: Position the mounting plate against the wall, aligning it with the marked studs. The top of the mounting plate should be level with the bottom of the upper cabinets.
- Mark the screw holes: With the mounting plate in position, mark the screw holes on the wall using a pencil or marker. These holes will be used to attach the mounting plate to the wall studs.
- Pre-drill pilot holes: Use a power drill with a drill bit slightly smaller than the screws you will be using. Pre-drill pilot holes at the marked locations to make it easier to drive in the screws.
- Attach the mounting plate: Line up the mounting plate with the pilot holes and use a screwdriver or power drill to drive in the screws securely. Ensure the mounting plate is level and firmly attached to the wall studs.
Before proceeding, double-check that the mounting plate is securely attached to the wall and level. This will ensure a stable and safe installation for your over-the-range microwave.
Keep in mind that the specific steps for installing the mounting plate may vary depending on the microwave model and the manufacturer’s instructions. Always consult the manual provided with your microwave for accurate and detailed installation guidelines.
With the mounting plate securely in place, you are now ready to move on to the next step: mounting the microwave itself. Stay tuned!
Step 6: Mount the Microwave
Now that you have installed the mounting plate, it’s time to mount the over-the-range microwave. This step involves attaching the microwave to the mounting plate for a secure and stable installation. Follow these steps to mount the microwave:
- Enlist the help of a friend: Due to the size and weight of the microwave, it is advisable to have someone assist you in this step.
- Align the microwave: Carefully lift the microwave and align the slots on the back of the microwave with the tabs on the mounting plate. Ensure that the microwave is level and centered over the cooking range.
- Slide the microwave onto the mounting plate: With the help of your assistant, slide the microwave onto the mounting plate. Make sure the slots on the microwave engage firmly with the tabs on the mounting plate.
- Secure the microwave: Depending on your microwave model, there may be additional securing mechanisms such as screws or locking bars. Follow the manufacturer’s instructions to secure the microwave tightly to the mounting plate.
- Check for stability: Give the microwave a gentle shake to ensure that it is securely mounted and does not wobble. If necessary, adjust the positioning and securing mechanisms until the microwave is stable.
It’s important to follow the manufacturer’s instructions for your specific microwave model throughout the mounting process. These instructions will provide you with any additional steps or precautions that may be necessary.
Once the microwave is securely mounted, take a step back and admire your handiwork. You have successfully installed an over-the-range microwave that will save valuable kitchen space and add convenience to your cooking routine.
With the microwave mounted, we will now move on to the next step: connecting the power supply. Stay tuned!
Step 7: Connect Power Supply
With the over-the-range microwave securely mounted, it’s time to connect the power supply. This step involves ensuring the microwave is properly wired and receives the necessary electrical power to function. Follow these steps to connect the power supply:
- Locate the electrical outlet: Identify the electrical outlet near the installation area where the microwave will be plugged in. Ensure the outlet is compatible with the microwave’s power requirements.
- Prepare the power cord: If the microwave comes with a detachable power cord, attach it to the designated port on the microwave. Ensure it is firmly connected and secure.
- Route the power cord: Carefully route the power cord through the designated opening at the top or back of the microwave. Avoid any sharp edges or areas where the cord may get pinched or damaged.
- Plug in the microwave: Insert the power plug into the electrical outlet. Ensure it is fully inserted and secure in the outlet.
- Turn on the power: Locate the circuit breaker that corresponds to the microwave’s power supply and flip the switch to the “on” position.
- Test the microwave: Turn on the microwave and verify that it powers on and operates correctly. Test various functions such as heating or defrosting to ensure everything is functioning as expected.
It’s important to follow the manufacturer’s instructions for your specific microwave model when connecting the power supply. These instructions will provide you with any additional steps or precautions that may be necessary.
If you are unsure about electrical connections or have any concerns, it is recommended to consult a professional electrician to ensure a safe and proper installation.
With the power supply connected, we’re almost done with the installation process. The next step will be to secure the microwave and perform final testing. Let’s move on!
Step 8: Secure Microwave and Test
Congratulations on reaching the final step of installing your over-the-range microwave! In this step, we will focus on securing the microwave in place and performing a final test to ensure everything is working correctly.
Follow these steps to secure the microwave and perform the final test:
- Tighten mounting screws: Double-check that the mounting screws are securely tightened. Use a screwdriver to ensure that the microwave is firmly attached to the mounting plate and does not shift or move during use.
- Check for levelness: Use a level tool to verify that the microwave is level both horizontally and vertically. Adjust the position if necessary and tighten the mounting screws again.
- Inspect the venting: Examine the venting system to ensure that it is properly connected and secure. Double-check that there are no kinks or obstructions in the ductwork that could restrict airflow.
- Perform a test run: Turn on the microwave and test its various functions such as cooking, reheating, and defrosting. Verify that the buttons, timers, and sensors are all working correctly.
- Test the exhaust fan: Turn on the exhaust fan feature of the microwave and ensure that it is effectively venting steam and odors out of the kitchen.
- Check for any issues: Pay attention to any unusual noises, smells, or malfunctions during the test run. If you notice anything out of the ordinary, consult the manufacturer’s instructions or contact customer support for assistance.
By securing the microwave and performing a final test, you can ensure that the installation is complete and that the microwave is installed correctly and functioning as intended.
Remember to keep the manufacturer’s instructions and warranty information in a safe place for future reference.
With the microwave secured and tested, you have successfully completed the installation process!
Enjoy your new over-the-range microwave and the extra kitchen space it provides. Now you can cook and reheat meals with ease while maintaining a clutter-free and organized kitchen.
Thank you for following this step-by-step guide. If you have any further questions or need additional assistance, don’t hesitate to reach out. Happy cooking!
Conclusion
Congratulations on successfully installing your over-the-range microwave and optimizing your kitchen space! By following the step-by-step guide outlined in this article, you have transformed your cooking area into a more organized and efficient space. Now, you can enjoy the convenience and functionality of your new appliance while keeping your countertops clear.
We started by measuring and preparing the space, ensuring that your kitchen has enough room for the microwave. Then, we gathered all the necessary tools and materials for the installation process, ensuring a smooth and efficient workflow.
We then turned off the power to the microwave area to prioritize safety. After that, we determined the venting option and, if necessary, installed ductwork to properly ventilate the microwave. Next, we installed the mounting plate, providing a sturdy foundation for the microwave to be securely mounted.
Connecting the power supply was the next step, ensuring that the microwave has the necessary electrical power to operate. Finally, we secured the microwave in place and performed a thorough test to ensure everything is in working order.
With your over-the-range microwave properly installed, you now have a clutter-free countertop and more space to move around in your kitchen. Meal preparation and cooking will be more convenient than ever before.
Remember to consult the manufacturer’s instructions for any specific guidelines or recommendations regarding your microwave model.
Thank you for following this comprehensive installation guide. If you have any further questions or need assistance, feel free to reach out. Enjoy your new over-the-range microwave and happy cooking!+
Frequently Asked Questions about How To Install An Over-the-Range Microwave To Save Kitchen Space
Was this page helpful?
At Storables.com, we guarantee accurate and reliable information. Our content, validated by Expert Board Contributors, is crafted following stringent Editorial Policies. We're committed to providing you with well-researched, expert-backed insights for all your informational needs.


0 thoughts on “How To Install An Over-the-Range Microwave To Save Kitchen Space”