Home>Articles>How To Paint Your Countertops To Look Like Marble
Articles
How To Paint Your Countertops To Look Like Marble
Modified: January 20, 2024
Learn how to transform your countertops into stunning marble with this step-by-step guide. Find expert articles and tips on painting countertops for a flawless finish.
(Many of the links in this article redirect to a specific reviewed product. Your purchase of these products through affiliate links helps to generate commission for Storables.com, at no extra cost. Learn more)
Introduction
Are you tired of the look of your old, worn-out countertops? Do you dream of having elegant marble countertops but don’t want to spend a fortune on real marble? Well, you’re in luck! With a little creativity and some paint, you can transform your countertops to mimic the luxurious appearance of marble.
Painting your countertops to look like marble is a cost-effective and DIY-friendly way to upgrade your kitchen or bathroom. Not only will it give your space a fresh and stylish look, but it can also add value to your home. This article will guide you through the step-by-step process of painting your countertops to achieve a stunning marble-like finish.
Before we dive into the details, let’s go over the materials you’ll need for this project:
Key Takeaways:
- Transform your countertops into luxurious marble-like surfaces with a cost-effective and DIY-friendly painting process. Elevate the look of your kitchen or bathroom while adding value to your home.
- Attention to detail, patience, and proper maintenance are key to achieving and preserving the stunning marble-like finish of your painted countertops. Enjoy the elegance and sophistication of your budget-friendly transformation.
Read more: How To Make Countertops Look Like Marble
Materials Needed
- Primer
- Acrylic paint in various shades of white and gray
- Paintbrushes in different sizes
- Sea sponge
- Veining brush or small paintbrush
- Feather
- Water-based polyurethane sealer
- Painter’s tape
- Sandpaper or sanding block
- Degreaser
- Tack cloth
- Drop cloth or plastic sheeting
Key Takeaways:
- Transform your countertops into luxurious marble-like surfaces with a cost-effective and DIY-friendly painting process. Elevate the look of your kitchen or bathroom while adding value to your home.
- Attention to detail, patience, and proper maintenance are key to achieving and preserving the stunning marble-like finish of your painted countertops. Enjoy the elegance and sophistication of your budget-friendly transformation.
Read more: How To Make Countertops Look Like Marble
Materials Needed
Before you start painting your countertops to achieve a marble-like finish, gather the following materials:
- Primer: Choose a high-quality primer that is specifically designed for use on countertops. This will help the paint adhere better and provide a smooth base for the paint.
- Acrylic paint in various shades of white and gray: Look for acrylic paint in shades that resemble different types of marble. White and various shades of gray are commonly used to achieve a realistic marble effect.
- Paintbrushes in different sizes: You’ll need a variety of paintbrushes, including small brushes for detail work and larger brushes for covering larger areas. Synthetic brushes are typically recommended for acrylic paints.
- Sea sponge: A sea sponge will be used to create the texture and natural variations found in marble. It helps to achieve a more realistic look.
- Veining brush or small paintbrush: A veining brush or a small paintbrush will be used to create the distinctive veining patterns commonly seen in marble. This will add depth and character to your painted countertops.
- Feather: A feather can be used to soften and blend the veining, creating a more natural appearance.
- Water-based polyurethane sealer: Once the paint has dried, a water-based polyurethane sealer will protect the painted surface and make it more durable. This will also give your countertops a glossy finish similar to real marble.
- Painter’s tape: Painter’s tape will be used to protect surrounding surfaces, such as walls or cabinets, from accidental paint drips or smudges.
- Sandpaper or sanding block: If your countertops have any imperfections, such as scratches or rough spots, sandpaper or a sanding block can help smooth them out before applying the primer.
- Degreaser: Before painting, it’s important to thoroughly clean your countertops to remove any grease or grime. Use a mild degreaser and a soft cloth or sponge for this step.
- Tack cloth: A tack cloth is a sticky cloth that helps remove any remaining dust or debris from the countertops before applying the primer and paint.
- Drop cloth or plastic sheeting: To protect your floors and surrounding areas from paint splatters and spills, lay down a drop cloth or use plastic sheeting.
Once you have gathered all the necessary materials, you’re ready to move on to the next step: prepping the countertops.
Prepping the Countertops
Before you begin painting your countertops, it’s essential to properly prepare the surface to ensure the best possible results. Follow these steps to prep your countertops:
- Clear the countertops: Remove any items or objects from the countertops, such as appliances, utensils, or decor. This will make it easier to work on the surface without any obstructions.
- Clean the countertops: Start by cleaning the countertops thoroughly with a mild degreaser and a soft cloth or sponge. This will remove any grease, grime, or residue that can interfere with the adhesion of the primer and paint. Rinse the countertops with clean water and allow them to dry completely.
- Protect surrounding areas: Use painter’s tape to cover and protect the surrounding surfaces, such as walls or cabinets, from accidental paint splatters or drips. Lay down a drop cloth or use plastic sheeting to protect the floors and make cleanup easier.
- Sand the countertops (if necessary): If your countertops have any imperfections, such as scratches, nicks, or rough spots, you may need to sand them down. Use sandpaper or a sanding block to gently smooth out these areas. After sanding, wipe away any dust or debris with a tack cloth.
- Apply primer: Apply a thin and even coat of primer to the countertops using a paintbrush or roller. Make sure to follow the instructions on the primer’s packaging for drying time and additional coats, if needed. The primer will help the paint adhere better and provide a smooth base for the paint colors.
- Allow the primer to dry: Let the primer dry completely according to the manufacturer’s instructions. This is usually around 24 hours, but it may vary depending on the product and environmental conditions.
By properly prepping the countertops, you’ll create a clean and smooth surface for applying the paint. This will ensure better adhesion and longevity of the painted finish. Now that your countertops are prepped, it’s time to move on to the next step: priming the countertops.
Priming the Countertops
After prepping the countertops, the next step in painting them to look like marble is priming. Priming is essential as it provides a smooth and even base for the paint. Here’s how to prime your countertops:
- Choose the right primer: Select a high-quality primer that is specifically designed for use on countertops. Look for a primer that is compatible with both the type of surface you’re working on and the type of paint you’ll be using.
- Prepare the primer: Follow the manufacturer’s instructions to prepare the primer for application. This may include stirring the primer thoroughly or diluting it with a specified amount of water.
- Apply the primer: Using a paintbrush or roller, apply a thin and even coat of primer to the countertops. Work in small sections to ensure complete coverage. Pay special attention to any seams or edges to ensure they are well-primed.
- Smooth out any brush or roller marks: After applying the primer, use a brush or roller in a light, smooth motion to remove any visible brush or roller marks. This will help create a seamless and professional-looking finish.
- Allow the primer to dry: Follow the drying instructions provided by the primer manufacturer. Generally, you’ll need to wait for the primer to dry completely before moving on to the next step. This can take anywhere from a few hours to overnight.
- Inspect the primed surface: Once the primer is dry, inspect the surface for any imperfections or uneven areas. If necessary, lightly sand the primed surface with fine-grit sandpaper to smooth out any rough spots.
- Remove any dust: After sanding, wipe away all dust and debris from the primed surface using a tack cloth. This will ensure a clean, smooth surface for the next steps of the painting process.
Priming the countertops is a crucial step as it allows the paint to adhere better and provides a solid foundation for the subsequent layers of paint. Taking your time to properly prime the countertops will ensure a more professional and long-lasting marble-like finish. With the countertops primed and ready, it’s time to move on to the next exciting step: creating the base coat.
Creating the Base Coat
Once you have primed your countertops, it’s time to create the base coat that will serve as the foundation for the marble-like finish. The base coat will provide the overall color and background texture for your painted countertops. Here’s how to create the base coat:
- Select the base color: Choose a shade of white or light gray as the base color for your countertops. This will serve as the background for the marble veins and create the illusion of depth.
- Mix the paint: Mix the base color paint with a small amount of water to create a slightly translucent effect. This will allow the primer to show through slightly, mimicking the natural veining and variation found in real marble.
- Apply the base coat: Use a paintbrush or roller to apply the base coat to the countertops. Work in small sections, making sure to cover the entire surface evenly. Apply the paint in thin layers, allowing each layer to dry before applying the next one.
- Blend the paint: To create a more organic and natural look, use a sea sponge to lightly dab and blend the paint while it is still wet. This will help create texture and variations in color, simulating the natural patterns found in marble.
- Allow the base coat to dry: Once you have applied the base coat and achieved the desired texture and color, let it dry completely. This typically takes a few hours, but drying times may vary depending on the type of paint used and the environmental conditions.
The base coat is an important step in mimicking the look of marble. It sets the stage for the subsequent layers of paint and veining details. Make sure to take your time and create a base coat that is realistic and visually appealing. With the base coat complete, it’s time to move on to the next step: applying the veining.
When painting your countertops to look like marble, be sure to use a high-quality primer and paint specifically designed for use on countertops. This will ensure a durable and professional-looking finish.
Applying Veining
One of the defining characteristics of marble is its veining patterns. These veins add depth and intricacy to the overall appearance. To create a realistic marble-like finish on your countertops, you’ll need to apply veining. Here’s how:
- Choose the veining color: Select a shade of gray or a color that is slightly darker than your base coat. This will represent the veins in the marble.
- Mix the paint: Mix the veining color paint with a small amount of water to make it more translucent, similar to the base coat. This will ensure that the veins appear natural and blend seamlessly into the base coat.
- Prepare a veining brush or small paintbrush: A veining brush or a small paintbrush with fine bristles will be used to apply the veins. You can also use a feather or a thin artist’s brush to create softer edges and more organic-looking veins.
- Study the look of real marble: Take a close look at pictures or samples of real marble to observe the patterns and shapes of the veins. This will help you recreate the natural flow and appearance of marble veins on your countertops.
- Start applying the veins: Dip the veining brush or paintbrush into your diluted veining paint. Practice on a piece of paper or a spare surface until you feel comfortable with the technique. Then, begin applying the veins onto the dry base coat using light and smooth strokes. Follow the patterns and shapes you observed from real marble, creating branching or swirling veins.
- Blend and soften the veins: After applying a vein, use a feather or a clean dry brush to gently blend and soften the edges of the vein. This will create a more natural and seamless appearance.
- Experiment and adjust: Don’t be afraid to experiment and adjust as you go along. Marble veins are unique, and each piece of marble has its own character. Play with different techniques and sizes of veins to achieve the desired look.
- Step back and assess: Periodically step back and assess the overall look of the veins. Make any necessary adjustments or additions to ensure consistency and balance throughout the countertops.
- Allow the veining to dry: Once you’re satisfied with the veining, let it dry completely. This may take a few hours, but drying times can vary depending on the paint and environmental conditions.
Applying the veining is a crucial step in creating the illusion of genuine marble. Take your time, observe real marble for inspiration, and fine-tune your technique to achieve a realistic and visually stunning veining pattern. With the veins in place, we’re ready to move on to the next step: adding depth and dimension.
Adding Depth and Dimension
Now that you have applied the veining to your countertops, it’s time to add depth and dimension to enhance the realistic marble-like effect. This step will bring your painted countertops to life and make them visually captivating. Here’s how to add depth and dimension:
- Choose additional shades: Select a few additional shades of gray or a color slightly darker than your base coat and veining color. These shades will be used to create shadows and highlights.
- Mix the paint: Dilute the additional shades of paint with a small amount of water, similar to how you did with the base coat and veining paint. This will create a translucent effect that blends seamlessly into the existing layers.
- Start adding shadows and highlights: Use a small paintbrush or a sponge to apply the additional shades strategically. Apply the darker shades in areas where shadows would naturally occur, such as along the edges or within the veining. Apply the lighter shades in areas that would catch highlights, such as high points or curved areas of the countertops.
- Blend the paint: After applying the additional shades, use a sponge or a soft brush to blend the paint gently. The goal is to create smooth transitions between the different shades and tones. This blending technique will add depth and realism to the overall appearance.
- Layer and build up the colors: Repeat the process of adding shadows and highlights, layering the different shades gradually. This step helps create depth and dimension by mimicking the variations found in real marble.
- Step back and assess: Periodically step back and assess the overall look of your countertops. Make any necessary adjustments or touch-ups to ensure a balanced and realistic representation of marble.
- Allow the paint to dry: Once you are satisfied with the depth and dimension, allow the paint to dry completely. This can take several hours, depending on the paint used and the environmental conditions.
Adding depth and dimension is a crucial step in creating a convincing marble-like finish. It brings your countertops to life by replicating the natural variations and shading seen in real marble. Take your time, be patient, and experiment with different shades and blending techniques to achieve the desired effect. With depth and dimension added, it’s time to protect your masterpiece by sealing the countertops.
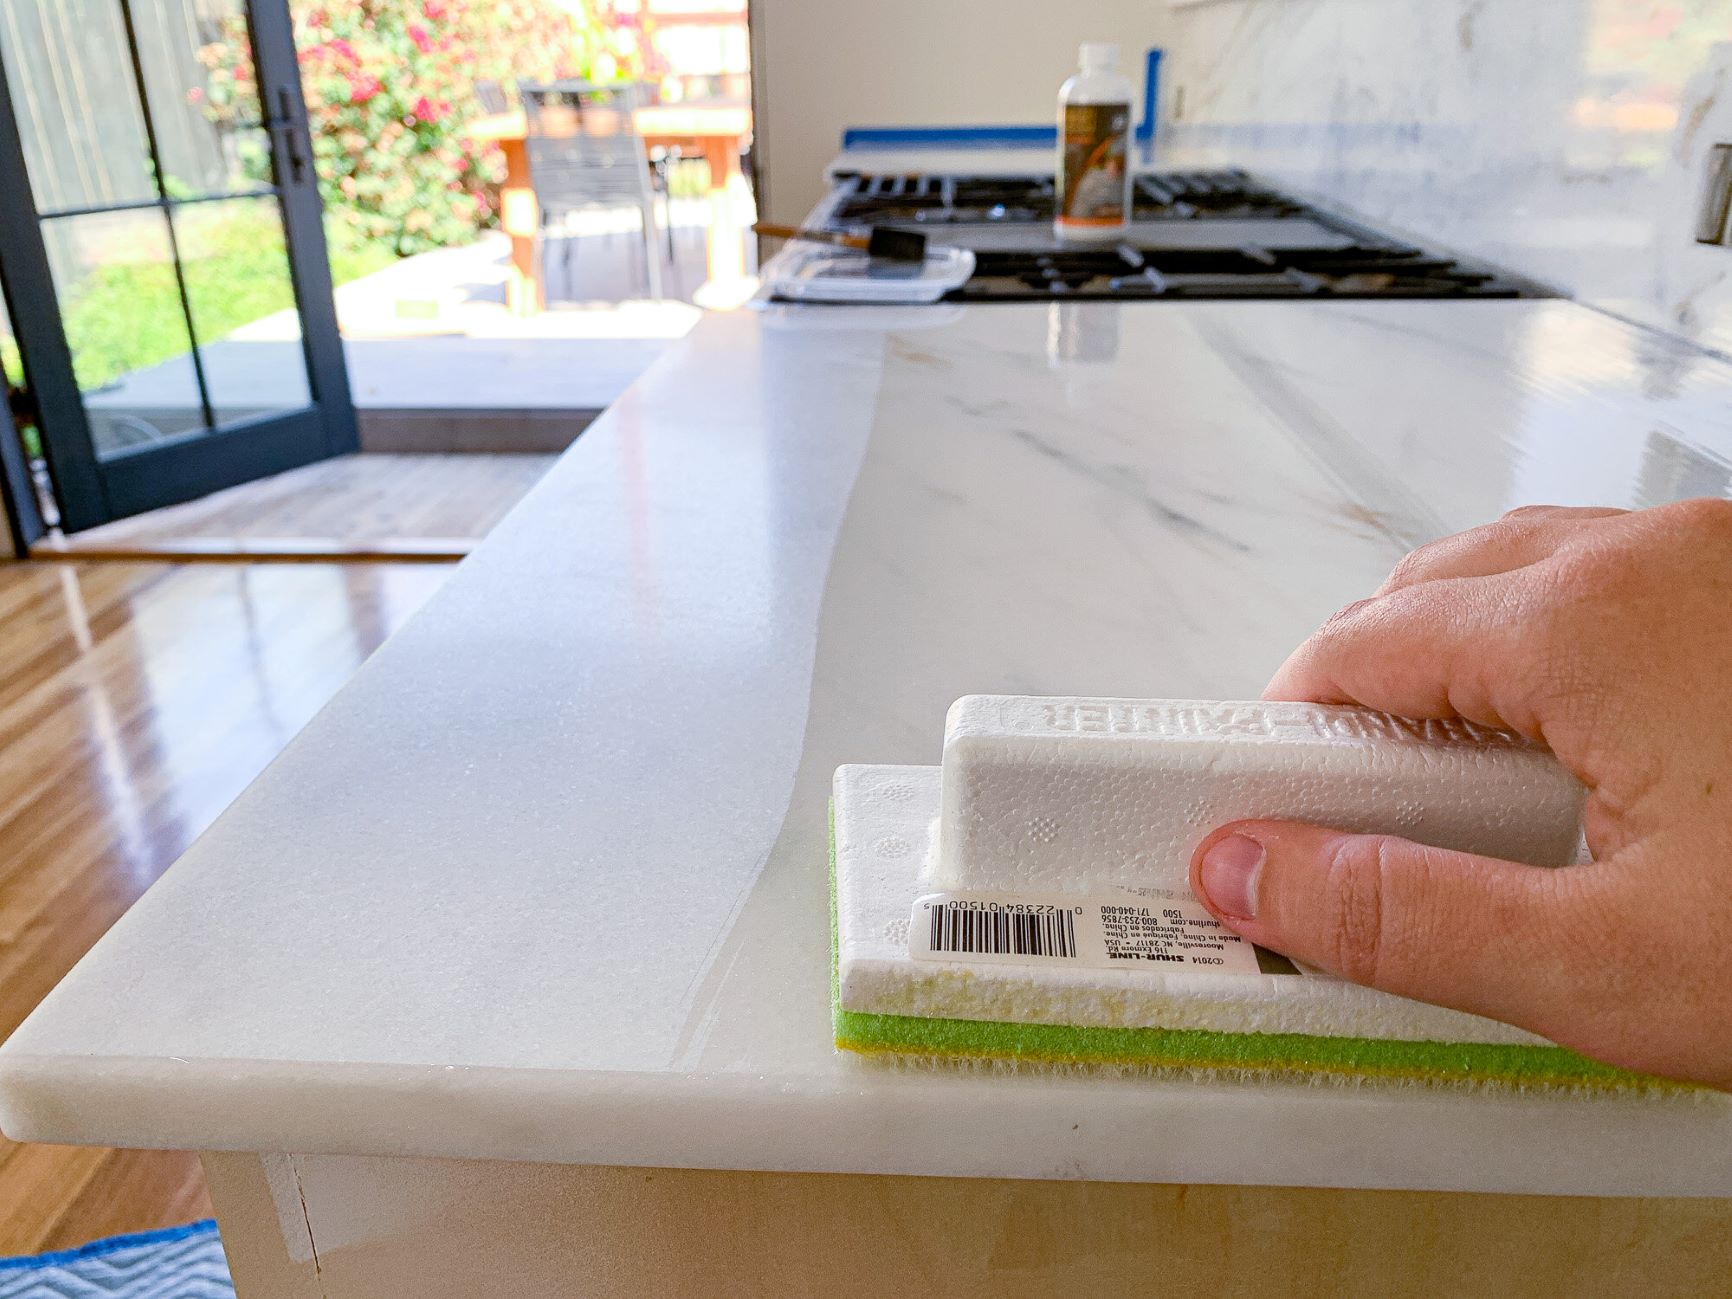
Sealing the Countertops
After putting in all the hard work to paint and create a stunning marble-like finish on your countertops, it’s important to seal them to protect the surface and ensure longevity. Sealing the countertops will also add a polished and glossy appearance, similar to real marble. Here’s how to seal your painted countertops:
- Select the right sealer: Choose a water-based polyurethane sealer designed for use on countertops. Look for a sealer that is specifically formulated to resist stains, scratches, and heat.
- Prepare the countertops: Make sure the painted surface is clean and completely dry before applying the sealer. Remove any dust or debris from the countertops using a tack cloth.
- Apply the sealer: Using a paintbrush or a roller, apply a thin and even coat of the sealer to the entire painted surface. Make sure to cover all areas, including the edges and corners.
- Allow the sealer to dry: Follow the manufacturer’s instructions regarding drying time. Typically, the sealer will need to dry for several hours or overnight. Avoid using the countertops until the sealer has fully cured.
- Apply additional coats (if necessary): Depending on the sealer and the desired level of protection, you may need to apply multiple coats. Follow the manufacturer’s instructions, allowing each coat to dry before applying the next one.
- Sand between coats (if necessary): If recommended by the sealer manufacturer, lightly sand the countertops between coats using fine-grit sandpaper. This will help create a smooth and flawless finish.
- Final curing and drying: Once you have applied the final coat of sealer, allow the countertops to cure and dry completely. This may take a few days, so it’s essential to avoid placing any objects or applying pressure on the surface during this time.
By sealing your painted countertops, you will protect the surface from stains, scratches, and daily wear and tear. The sealer will help maintain the appearance of your marble-like finish and make it easier to clean and maintain in the long run. With the countertops sealed, you’re almost done. The final step is to learn how to properly maintain your newly painted countertops.
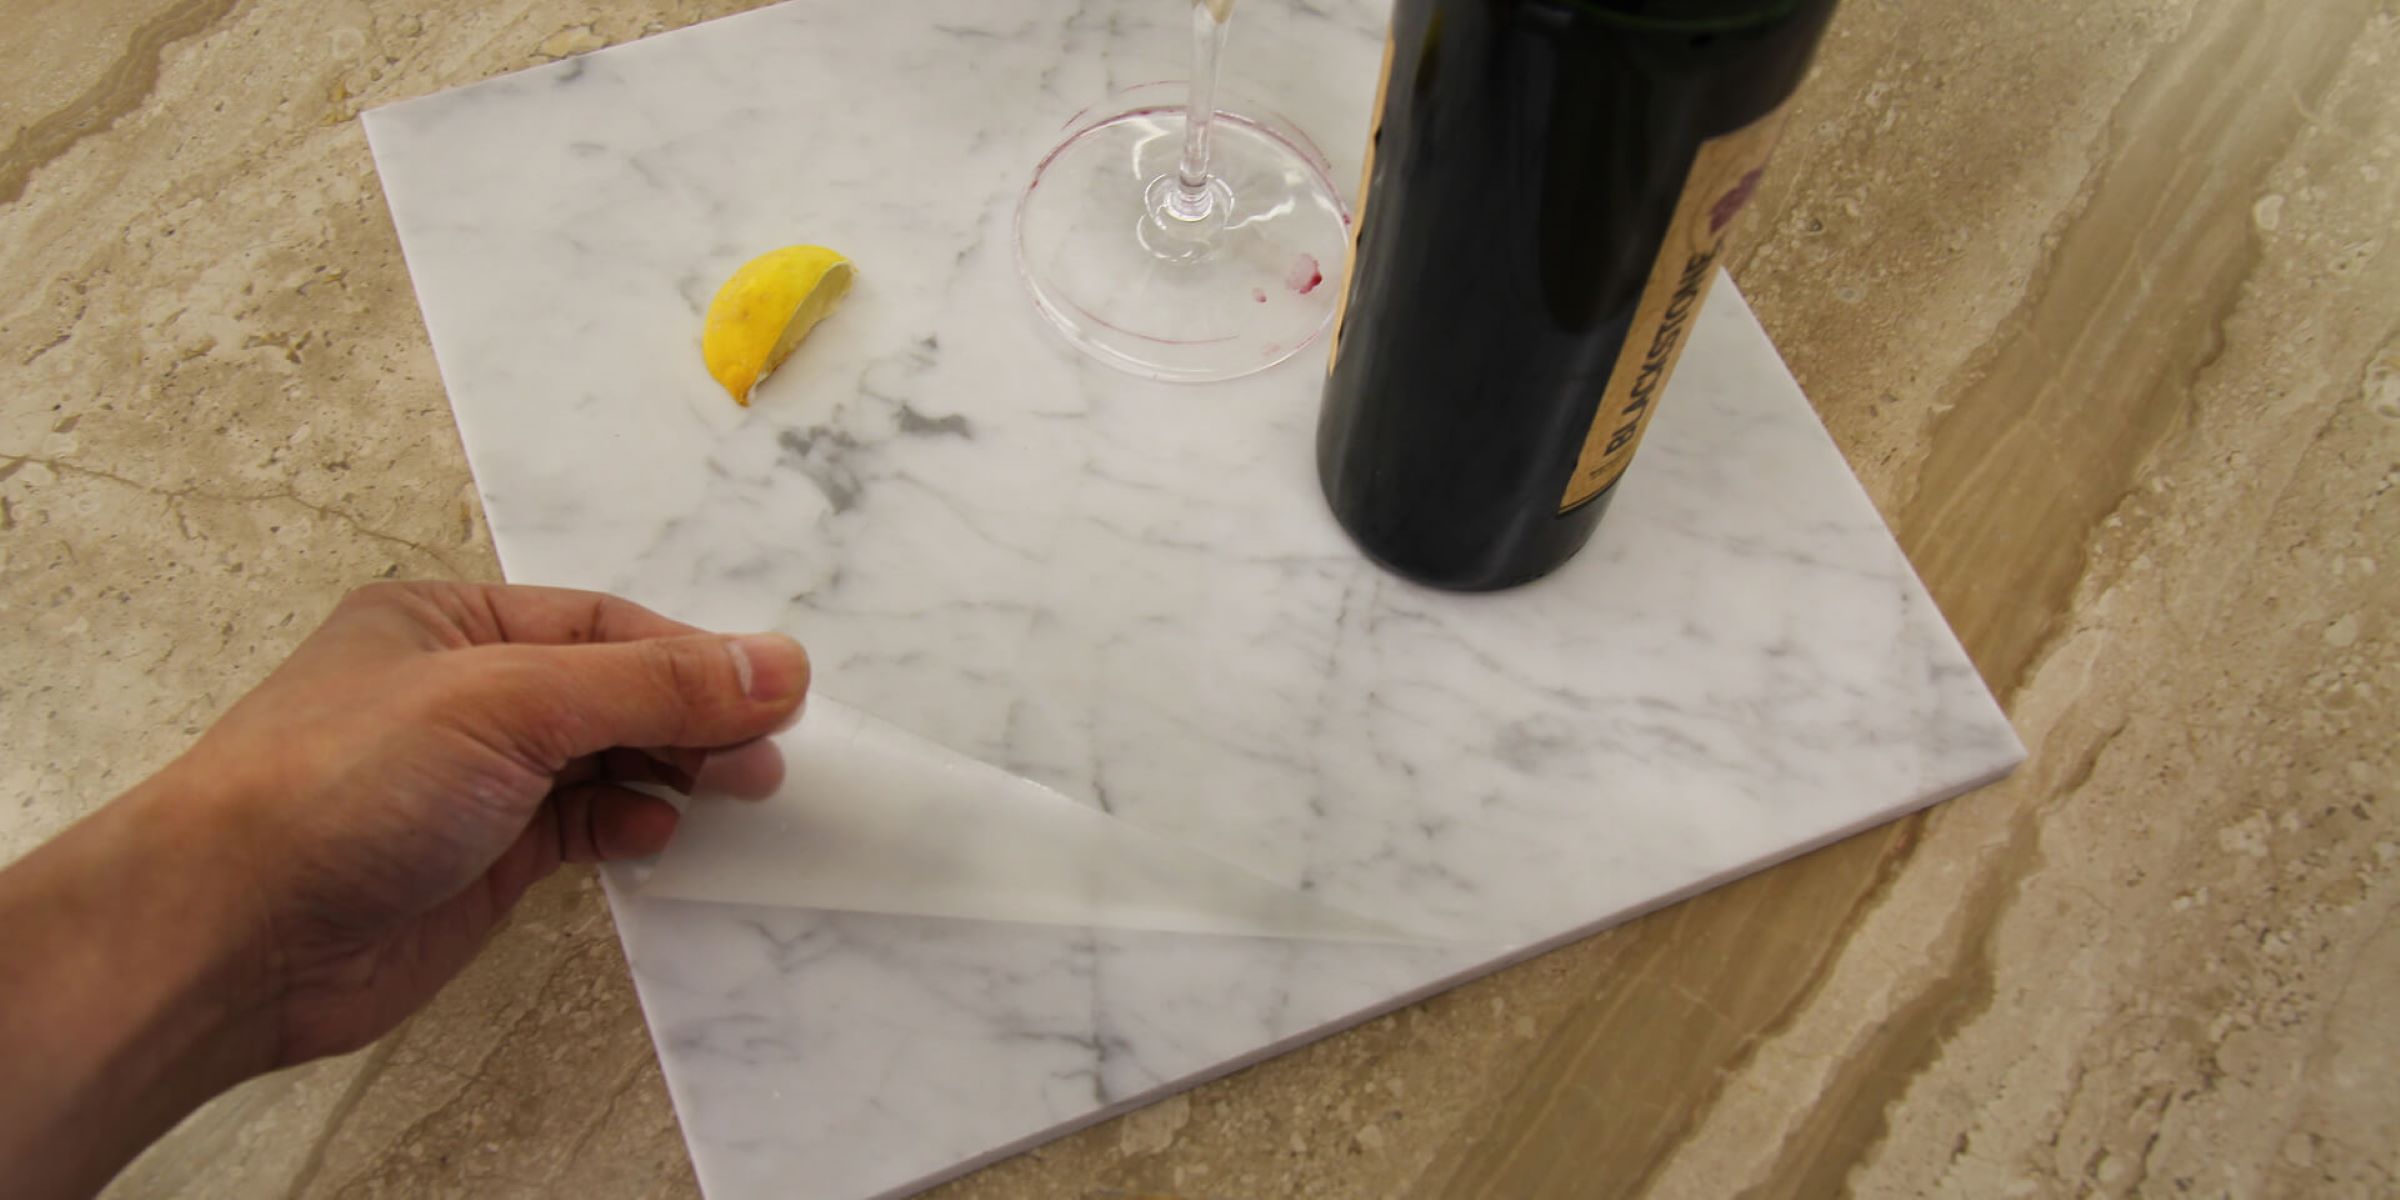
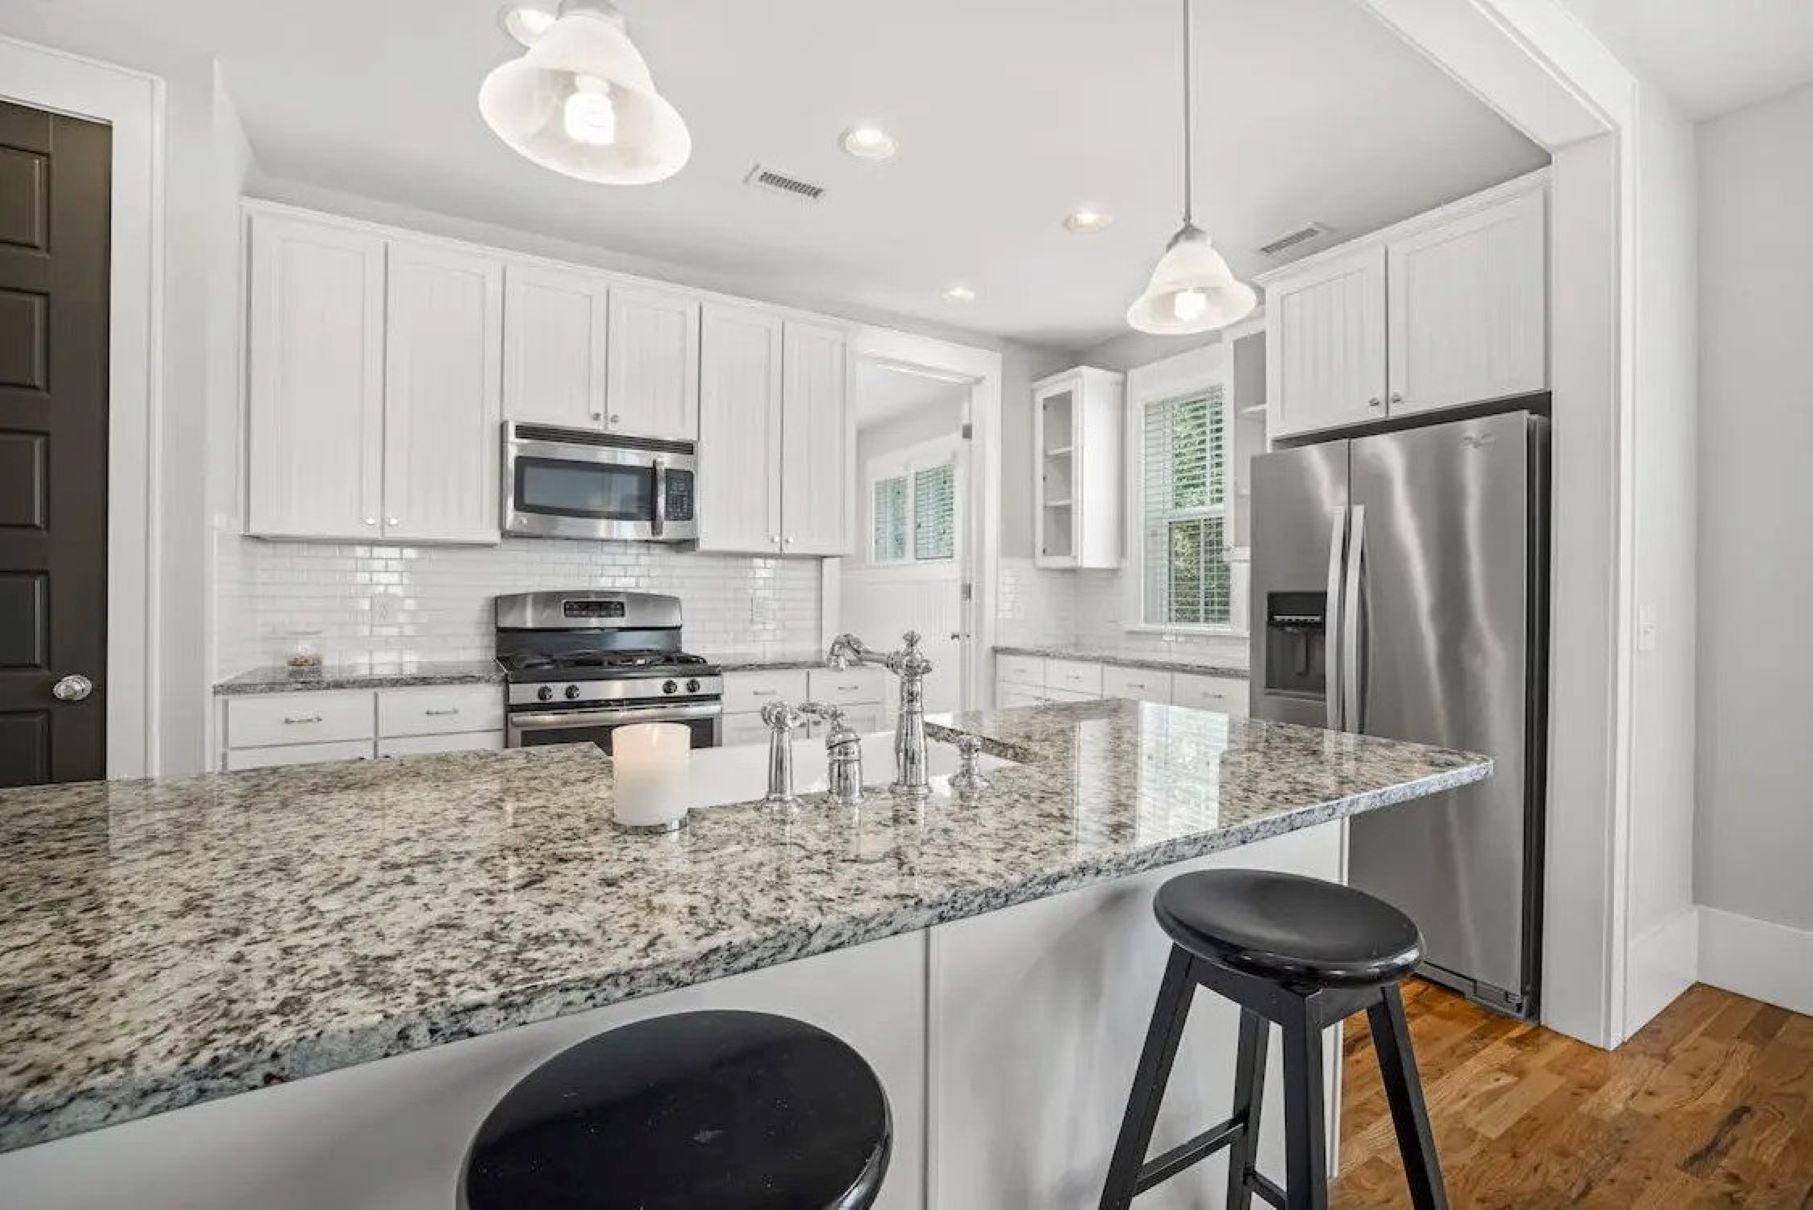
Read more: What Are Marble Countertops
Maintaining the Painted Countertops
After successfully painting your countertops to achieve a beautiful marble-like finish, it’s important to know how to properly maintain them to ensure their longevity and keep them looking their best. Here are some tips for maintaining your painted countertops:
- Use gentle cleaning products: Avoid using abrasive cleaners or harsh chemicals that can damage the painted surface. Instead, opt for mild dish soap or a non-abrasive, pH-neutral cleaner. Gently wipe the countertops with a soft cloth or sponge.
- Prevent scratches and cuts: While the paint is durable, it’s still important to avoid dragging heavy or sharp objects across the surface. Use cutting boards or hot pads to protect the countertops from scratches, cuts, and heat.
- Wipe up spills promptly: To prevent staining, clean up spills immediately. Blot the area with a clean cloth or paper towel, rather than rubbing, which can spread the spill and potentially damage the paint.
- Avoid harsh cleaning tools: Stay away from abrasive scrub brushes, steel wool, or scouring pads, as these can scratch or dull the painted surface. Instead, use soft sponges or microfiber cloths for cleaning.
- Reapply sealer if necessary: Over time, the protective sealer may wear down. If you notice that liquids are no longer beading on the surface, it may be time to reapply a coat of sealer. Follow the manufacturer’s instructions for proper application.
- Regular maintenance and cleaning: Keep your painted countertops looking their best by regularly wiping them down with a soft cloth or sponge. This will remove dust, dirt, and everyday surface grime. Avoid using excessive force while cleaning to prevent accidental damage.
- Avoid harsh chemicals: Refrain from using strong chemicals, such as bleach or ammonia-based cleaners, on the painted countertops. These can strip away the sealer and potentially cause discoloration or damage to the paint.
- Be cautious with sharp objects: Take care when handling sharp objects, such as knives or utensils, on the painted countertops. Scratching the surface with a sharp edge can damage the paint and affect the appearance of the marble-like finish.
By following these maintenance tips, you can ensure that your painted countertops retain their beauty and durability for years to come. Regular cleaning and gentle handling will help preserve the finish and keep your kitchen or bathroom looking elegant and stylish.
With proper care, your painted countertops will continue to impress guests and provide you with the look of luxurious marble without the hefty price tag. Enjoy your newly transformed countertops!
Conclusion
Congratulations on successfully transforming your countertops to resemble luxurious marble! By following the step-by-step process outlined in this article, you have been able to create a stunning and cost-effective marble-like finish. Painting your countertops not only gives your space a fresh and stylish look but also adds value to your home.
Throughout this journey, you have prepped the countertops, applied primer, created a base coat, added veining, added depth and dimension, sealed the countertops, and learned how to maintain them. Each step was carefully executed to achieve a realistic and visually captivating marble effect.
Remember, the key to a successful painted countertop project is in the attention to detail and the patience invested in each stage. By using the right materials, following the proper techniques, and maintaining the countertops well, you can enjoy the beauty of marble-like surfaces for years to come.
Now, step back and admire your work. Your new countertops exude elegance and sophistication, transforming the entire look of your kitchen or bathroom. Your guests will be amazed at the stunning marble-like finish and will never guess that it was achieved through the artful application of paint.
As with any DIY project, if at any point you feel unsure or overwhelmed, don’t hesitate to seek professional assistance. Painting countertops to look like marble is a skill that takes time and practice to master, and there are experts out there who can help you achieve the desired results.
So, go ahead and enjoy your beautiful, budget-friendly marble-inspired countertops. Take pride in the fact that you were able to transform a tired and outdated surface into a focal point of beauty and sophistication. Share your journey with others and inspire them to explore the world of DIY home renovations.
Thank you for joining us on this exciting adventure of painting countertops to look like marble. We hope you found this article informative and helpful. Happy painting!
Frequently Asked Questions about How To Paint Your Countertops To Look Like Marble
Was this page helpful?
At Storables.com, we guarantee accurate and reliable information. Our content, validated by Expert Board Contributors, is crafted following stringent Editorial Policies. We're committed to providing you with well-researched, expert-backed insights for all your informational needs.


0 thoughts on “How To Paint Your Countertops To Look Like Marble”