
Articles
How To Layer A Duvet And Quilt
Modified: October 18, 2024
Learn how to layer a duvet and quilt in this informative article. Discover the best techniques and tips to create a cozy and stylish bed.
(Many of the links in this article redirect to a specific reviewed product. Your purchase of these products through affiliate links helps to generate commission for Storables.com, at no extra cost. Learn more)
Introduction
When it comes to creating a cozy and stylish bedroom, layering your duvet and quilt can add depth and warmth to your bedding ensemble. Not only does it enhance the visual appeal of your bed, but it also provides an extra layer of comfort for a good night’s sleep. Whether you’re a seasoned interior design enthusiast or a novice looking to upgrade your bedding game, this comprehensive guide will walk you through the steps of successfully layering a duvet and quilt.
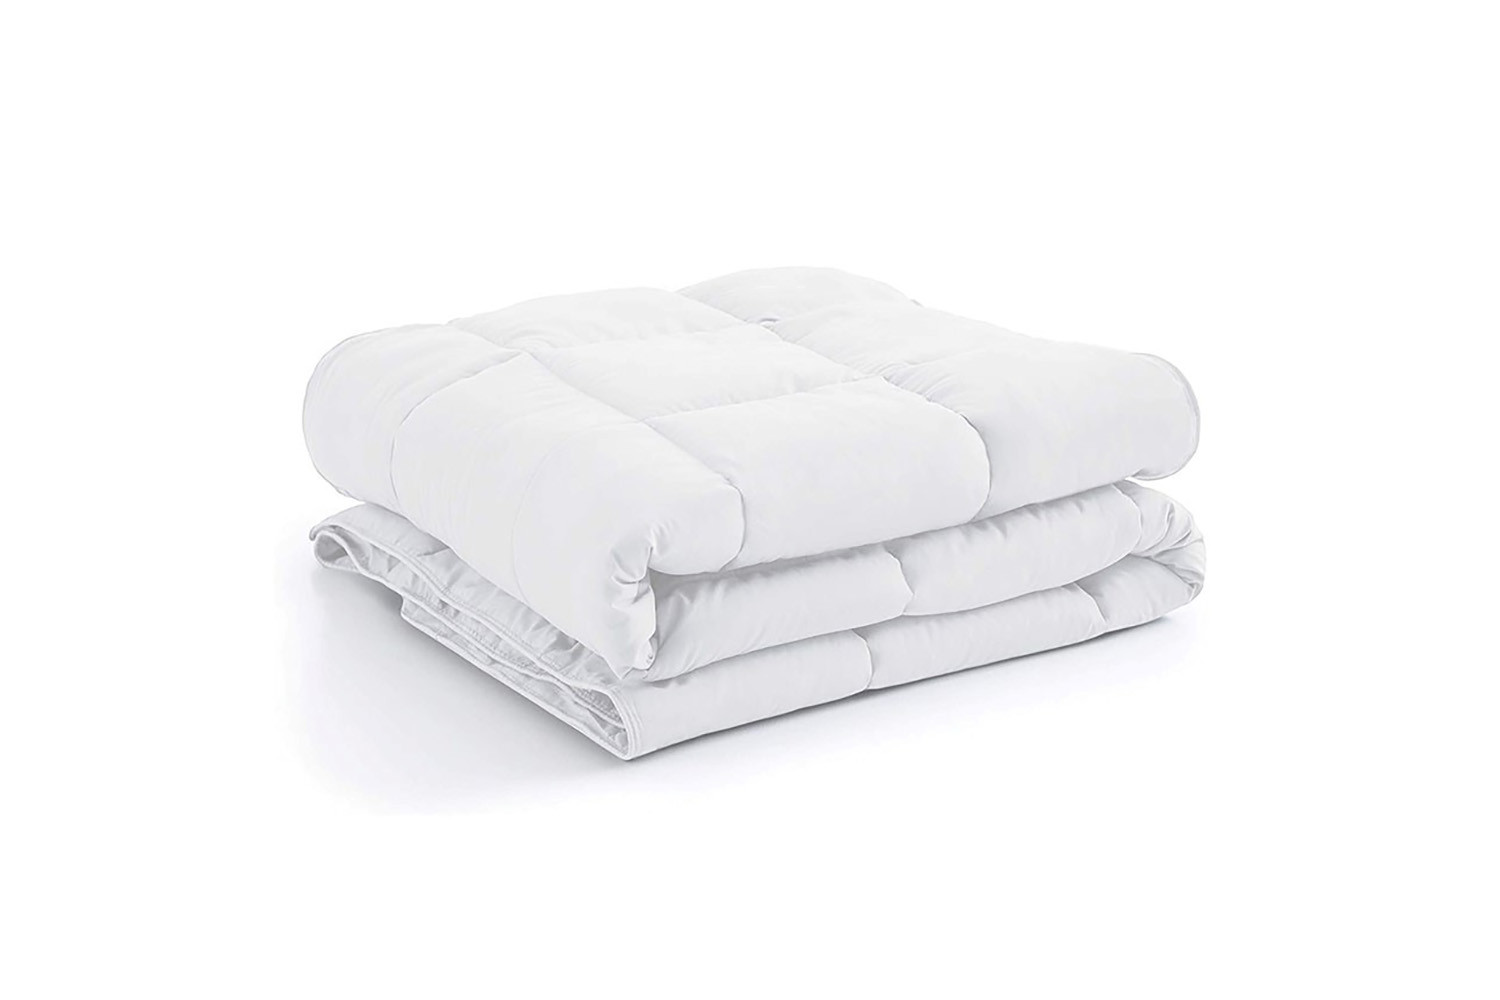
Before we dive into the process, let’s clarify the difference between a duvet and a quilt. A duvet is a soft, fluffy, and usually down-filled comforter-like bedding piece that is typically plain in design and comes in various sizes to fit different bed frames. On the other hand, a quilt is a decorative bedspread made of fabric and padding, with a stitched or quilted pattern.
Now that we have a basic understanding of the two, let’s move on to the step-by-step process of layering them to achieve a perfectly styled bed.
Key Takeaways:
- Create a cozy and stylish bedroom by layering your duvet and quilt. This not only enhances visual appeal but also provides extra comfort for a good night’s sleep. Embrace the warmth and luxury of a perfectly layered bed!
- Prepare your duvet and quilt, align the corners and edges, and secure them for a polished look. Enjoy a restful night’s sleep surrounded by warmth and comfort. Embrace the effort put into creating a beautifully layered bed!
Read more: How To Turn A Duvet Cover Into A Quilt
Step 1: Gather your materials
Before you begin layering your duvet and quilt, it’s important to gather all the necessary materials. Here’s what you’ll need:
- A duvet
- A quilt or quilt cover
- Pillows
- Fitted sheet
- Flat sheet (optional)
- Pillowcases
- Bed skirt (optional)
- Decorative pillows (optional)
Make sure that your duvet and quilt are appropriate for the size of your bed and match your desired style and color scheme. Additionally, ensure that your pillows are clean, comfortable, and properly sized for your bed.
If you prefer to use a fitted sheet and flat sheet underneath your duvet and quilt for added comfort and convenience, have those ready as well. Similarly, if you wish to incorporate a bed skirt or decorative pillows into your overall bed design, have those on hand.
It’s important to prepare all of your materials beforehand to streamline the layering process and ensure a cohesive look.
Step 2: Prepare your duvet and quilt
Now that you have gathered all the necessary materials, it’s time to prepare your duvet and quilt before layering them on your bed.
Start by fluffing your duvet and quilt to remove any wrinkles or creases. Give them a good shake to distribute the filling evenly and restore their loftiness. This will not only make them look more visually appealing but also ensure maximum comfort when you sleep.
If your duvet and quilt are machine washable, it’s a good idea to give them a quick wash and dry according to the instructions on the labels. This will help maintain their freshness and cleanliness. However, if they cannot be machine washed, you can simply spot clean any stains or spills with a gentle detergent and warm water.
Once your duvet and quilt are clean and fluffed, you can move on to the next step of layering them on your bed.
Step 3: Place the duvet inside the quilt cover
Now that your duvet and quilt are prepared, it’s time to start layering them on your bed. The first step is to place the duvet inside the quilt cover.
Lay the quilt cover flat on your bed with the opening facing towards the foot of the bed. Unbutton or unzip the closure, if applicable, to fully open up the quilt cover.
Take your duvet and hold it at two corners, then align it with the top of the quilt cover. Start by inserting one corner of the duvet into the corresponding corner of the quilt cover, ensuring that the corners are well-aligned.
Gently shake and pull the duvet downwards, allowing it to fill up the quilt cover. Continue to align the corners as you go and make sure the duvet is spread out evenly within the cover.
Once the duvet is fully inserted, secure the closure of the quilt cover, whether it’s buttons, snaps, ties, or a zipper. Ensure that the closure is fastened securely to prevent the duvet from shifting or coming out of the quilt cover.
Smooth out any wrinkles or folds on the surface of the quilt cover by gently tugging and adjusting the fabric. Make sure the duvet is centered within the cover and covers the entire surface area.
By placing your duvet inside the quilt cover, you not only protect the duvet from dust and stains but also create a layered look that adds visual interest to your bed.
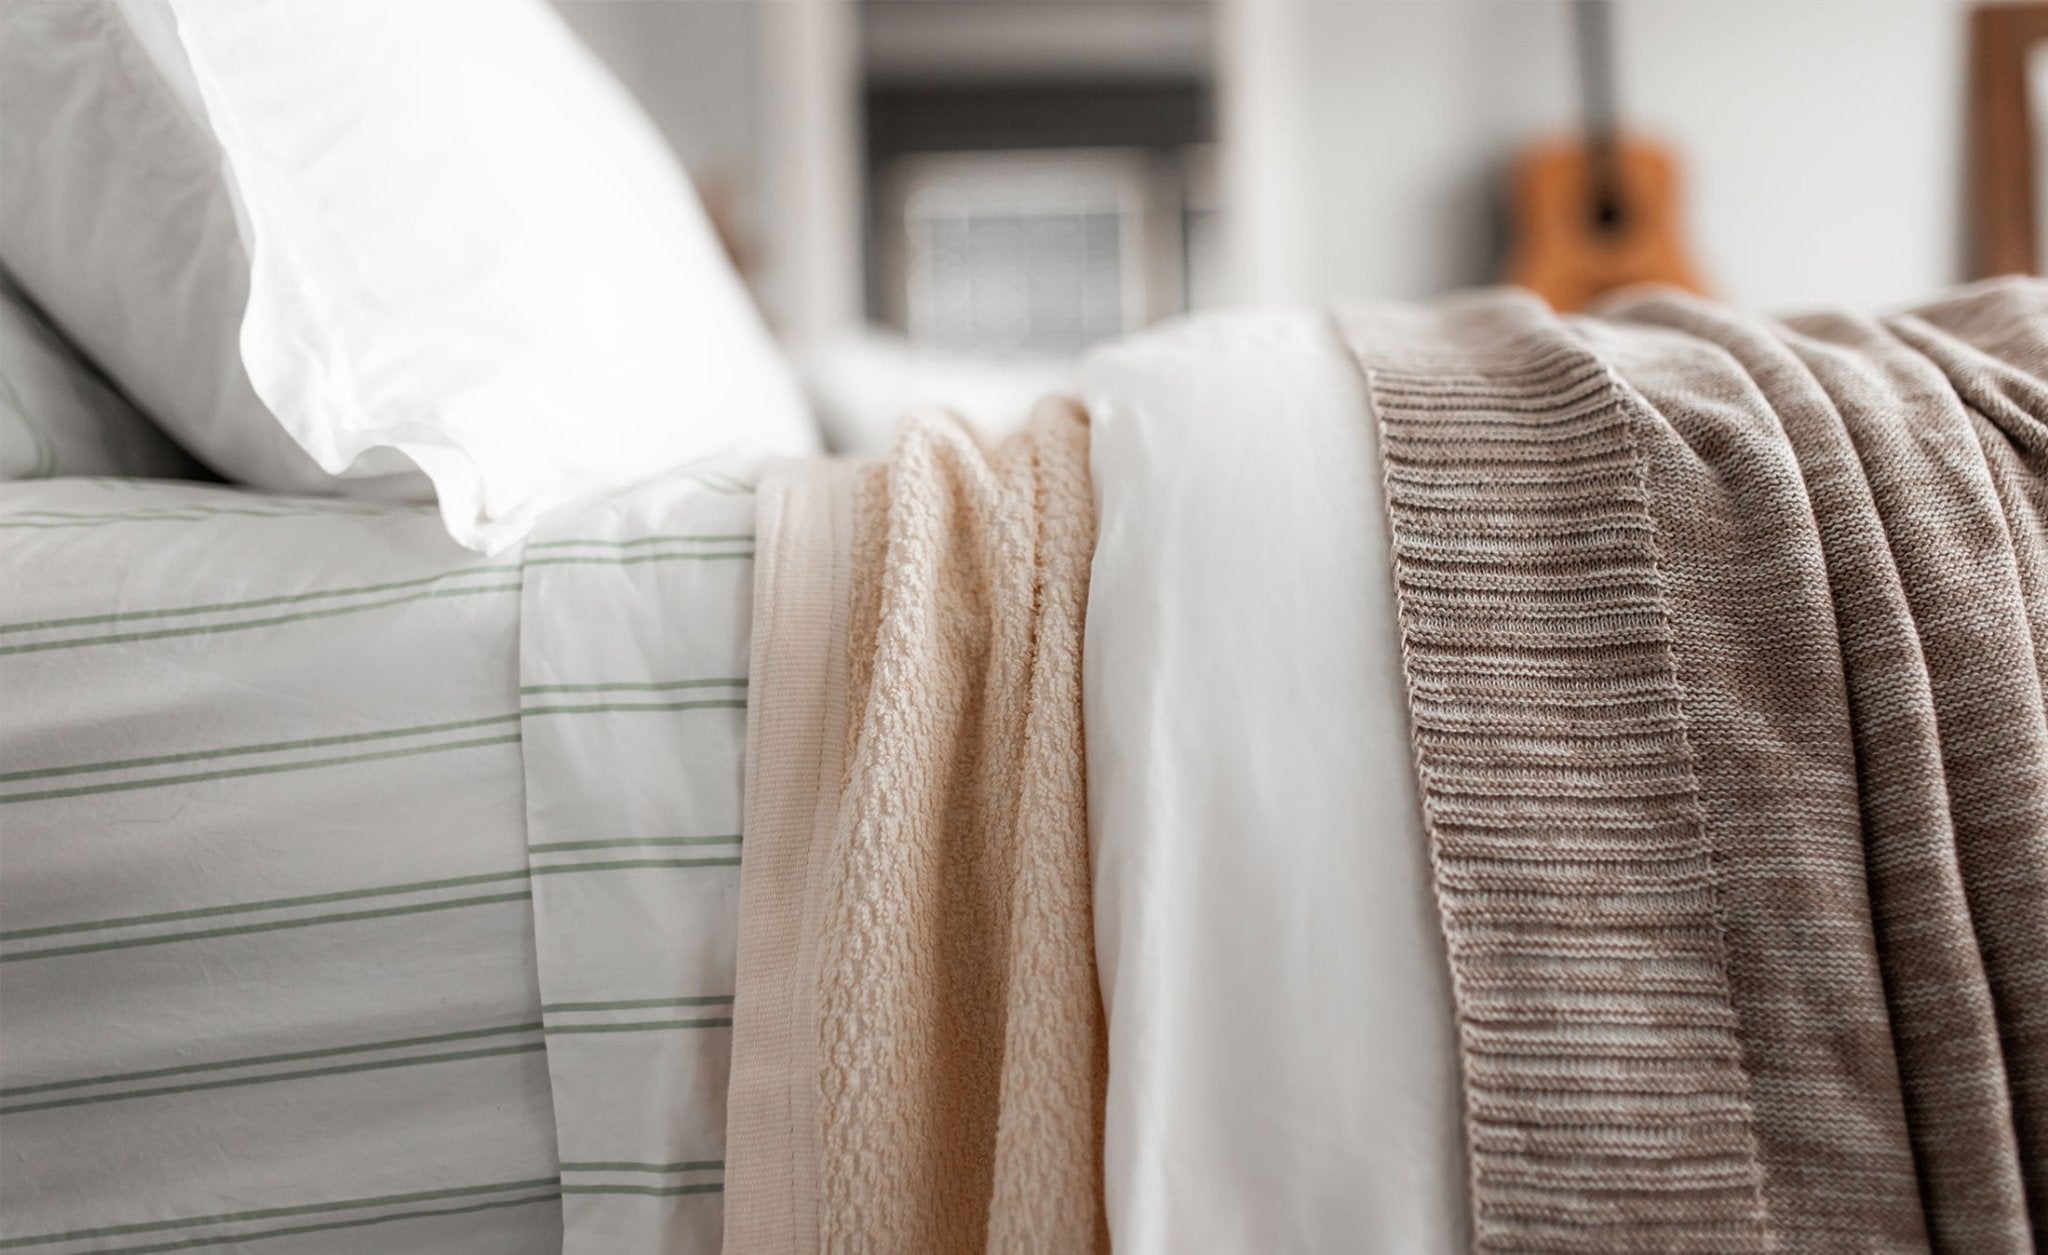
When layering a duvet and quilt, start with the duvet as the bottom layer and then add the quilt on top for extra warmth and style. Make sure to align the corners and edges for a neat and tidy look.
Step 4: Align the corners and edges
Now that you have the duvet inside the quilt cover, it’s time to ensure that the corners and edges are properly aligned for a neat and polished look.
Start by smoothing out the quilt cover and duvet to eliminate any lumps or unevenness. Use your hands or a gentle patting motion to distribute the filling evenly and create a smooth surface.
Next, focus on aligning the corners of the duvet and quilt cover. Gently pull the corners of the quilt cover to match them up with the corners of the duvet. This will prevent any bunching or excess fabric in the corners, giving your bed a more professional and tailored appearance.
In addition to the corners, make sure that the edges of the duvet and quilt cover are also aligned. Run your hands along the sides to smooth out any wrinkles or misalignment. Adjust as necessary to ensure that the edges of the duvet and quilt cover are parallel and harmonious.
By taking the time to align the corners and edges, you’ll achieve a clean and cohesive look that reflects a well-made bed.
Step 5: Secure the corners and edges
Now that you have aligned the corners and edges of your duvet and quilt cover, it’s important to secure them to prevent any shifting or movement while you sleep.
Start by tucking the excess fabric at the foot of the bed underneath the mattress. This will help keep the duvet and quilt cover in place and prevent them from sliding off during the night.
Next, for added security, consider using duvet clips or fasteners to hold the corners of the duvet and quilt cover together. These clips can be easily attached to the inside corners of the duvet and help secure it within the quilt cover, minimizing any shifting or bunching.
If you don’t have duvet clips, you can also use safety pins or even large binder clips to hold the corners together. Just make sure to place them on the inside of the quilt cover where they won’t be visible.
In addition to securing the corners, you can also use quilt pins or fabric tape to secure the edges of the duvet and quilt cover. This will keep them neatly in place and prevent any sagging or movement.
By taking these extra steps to secure the corners and edges, you can ensure that your duvet and quilt stay in place and maintain their desired appearance throughout the night.
Step 6: Shake and fluff the duvet and quilt
After securing the corners and edges, it’s time to give your duvet and quilt a final shake and fluff to enhance their appearance and comfort.
Start by standing at the foot of your bed and grab the top corners of the duvet and quilt cover. Give them a firm shake to distribute the filling evenly and create a plump and inviting look.
Next, use your hands to smooth out any wrinkles or folds on the surface of the duvet and quilt cover. Gently pull and adjust the fabric to create an even and smooth appearance across the bed.
Take a few moments to fluff the pillows as well, giving them a good shake and patting them to restore their shape and fluffiness.
If your duvet and quilt have a textured or quilted pattern, use your hands to gently brush the fabric in the same direction to emphasize the design and create a visually appealing look.
Finally, step back and assess your bed’s overall appearance. Make any necessary adjustments to ensure that the duvet and quilt are evenly distributed, the pillows are fluffed, and the bed looks inviting and well-put-together.
Shaking and fluffing your duvet and quilt not only enhances their visual appeal but also helps create a cozy and inviting bed that you can’t wait to snuggle into.
Step 7: Enjoy your perfectly layered duvet and quilt!
Congratulations! You’ve successfully layered your duvet and quilt, and now it’s time to enjoy the cozy and stylish bed you’ve created. Here are a few final tips to make the most of your perfectly layered bedding:
- Arrange your decorative pillows and cushions to add an extra touch of style and comfort. Play with different sizes, textures, and patterns to create a visually appealing arrangement.
- If you included a flat sheet in your bedding ensemble, tuck it in neatly around the mattress for a crisp and polished look.
- Consider adding a bed skirt if you want to hide the space underneath the bed or add an extra decorative element.
- Ensure that the entire bed is styled and aligned with the overall theme and decor of your bedroom.
- Regularly fluff and rotate your duvet and quilt to maintain their loftiness and prevent any uneven wear.
Now, climb into your perfectly layered bed, snuggle up, and enjoy a restful night’s sleep surrounded by warmth and comfort. The layers of your duvet and quilt will provide the ideal amount of insulation to keep you cozy during colder nights.
Remember, layering your duvet and quilt is not only functional but also adds visual interest to your bedroom. It creates a luxurious and inviting atmosphere that you’ll look forward to coming home to at the end of a long day.
So, take a moment to appreciate the effort you’ve put into creating a beautifully layered bed, and embrace the comfort and style it brings. Sweet dreams!
Frequently Asked Questions about How To Layer A Duvet And Quilt
Was this page helpful?
At Storables.com, we guarantee accurate and reliable information. Our content, validated by Expert Board Contributors, is crafted following stringent Editorial Policies. We're committed to providing you with well-researched, expert-backed insights for all your informational needs.









0 thoughts on “How To Layer A Duvet And Quilt”