Home>Gardening & Outdoor>Landscaping Ideas>How To Remove The Top Layer Of Grass
Landscaping Ideas
How To Remove The Top Layer Of Grass
Modified: August 17, 2024
Learn effective landscaping ideas with our step-by-step guide on how to remove the top layer of grass. Enhance your outdoor space with our expert tips.
(Many of the links in this article redirect to a specific reviewed product. Your purchase of these products through affiliate links helps to generate commission for Storables.com, at no extra cost. Learn more)
Introduction
Are you looking to transform your outdoor space with a fresh landscaping design? Perhaps you want to start from scratch and remove the top layer of grass to lay the groundwork for a new and vibrant landscape. Whether you envision a lush garden, a modern patio, or a captivating pathway, the process of removing the top layer of grass is a crucial first step in achieving your landscaping goals.
In this comprehensive guide, we will explore the step-by-step process of removing the top layer of grass to pave the way for a stunning outdoor revamp. From preparing the necessary tools and materials to applying effective removal methods, we will cover every aspect of this transformative endeavor. By the end of this guide, you will be equipped with the knowledge and confidence to embark on this landscaping journey and create the outdoor oasis you've always dreamed of.
So, roll up your sleeves, put on your gardening gloves, and let's dive into the art of removing the top layer of grass to unlock the full potential of your outdoor space.
Key Takeaways:
- Removing the top layer of grass for a new landscape involves clearing the area, choosing a removal method, and preparing the soil for a fresh start. It’s a creative and transformative process that sets the stage for outdoor beauty.
- By following the steps in this guide, you can turn your outdoor space into a vibrant oasis. From clearing the area to envisioning your design, the process is a blank canvas for your landscaping dreams.
Read more: How To Layer Landscaping
Step 1: Preparing the Tools and Materials
Before delving into the process of removing the top layer of grass, it’s essential to gather the necessary tools and materials for a smooth and efficient operation. Here’s a rundown of the items you’ll need:
- Gardening Gloves: Protect your hands from dirt, debris, and potential hazards while working in the outdoor environment.
- Shovel: A sturdy shovel is indispensable for digging and lifting the top layer of grass and soil.
- Tarp or Plastic Sheets: Use these to collect and transport the removed grass and soil, keeping the surrounding area clean and organized.
- Wheelbarrow: Ideal for transporting heavy loads of grass and soil with minimal strain.
- Watering Can or Hose: Keep the area moist to ease the removal process and minimize airborne dust.
- Pruning Shears or Lawn Edger: These tools are handy for cutting and defining the edges of the area to be cleared.
- Safety Goggles: Protect your eyes from flying debris and dust particles during the removal process.
- Work Boots: Sturdy and supportive footwear is crucial for navigating the outdoor terrain safely.
Once you have assembled these tools and materials, you’ll be well-prepared to proceed with the next steps of removing the top layer of grass. With the right equipment at your disposal, you can tackle this landscaping project with confidence and precision.
Step 2: Clearing the Area
With your tools and materials at the ready, it’s time to clear the designated area and prepare it for the removal process. Follow these steps to effectively clear the space:
- Mark the Boundaries: Begin by clearly marking the boundaries of the area from which you intend to remove the top layer of grass. This can be done using stakes and string, providing a visual guide for the upcoming tasks.
- Trim the Edges: Use pruning shears or a lawn edger to neatly trim the edges along the marked boundaries. This step ensures a clean and defined area for the removal process.
- Remove Debris: Clear the area of any rocks, branches, or other debris that may impede the removal process or pose safety hazards. A tidy workspace is essential for smooth and efficient progress.
- Water the Area: Thoroughly water the marked space to moisten the top layer of grass and soil. This will facilitate easier removal and minimize the dispersion of dust particles during the process.
- Clear Vegetation: If there are any large plants or shrubs within the designated area, consider transplanting them to a temporary location to protect them during the removal process.
By meticulously clearing the area and attending to these essential preparatory steps, you’ll set the stage for a seamless and effective top layer removal process. With the space primed and ready, you can proceed confidently to the next phase of this transformative landscaping endeavor.
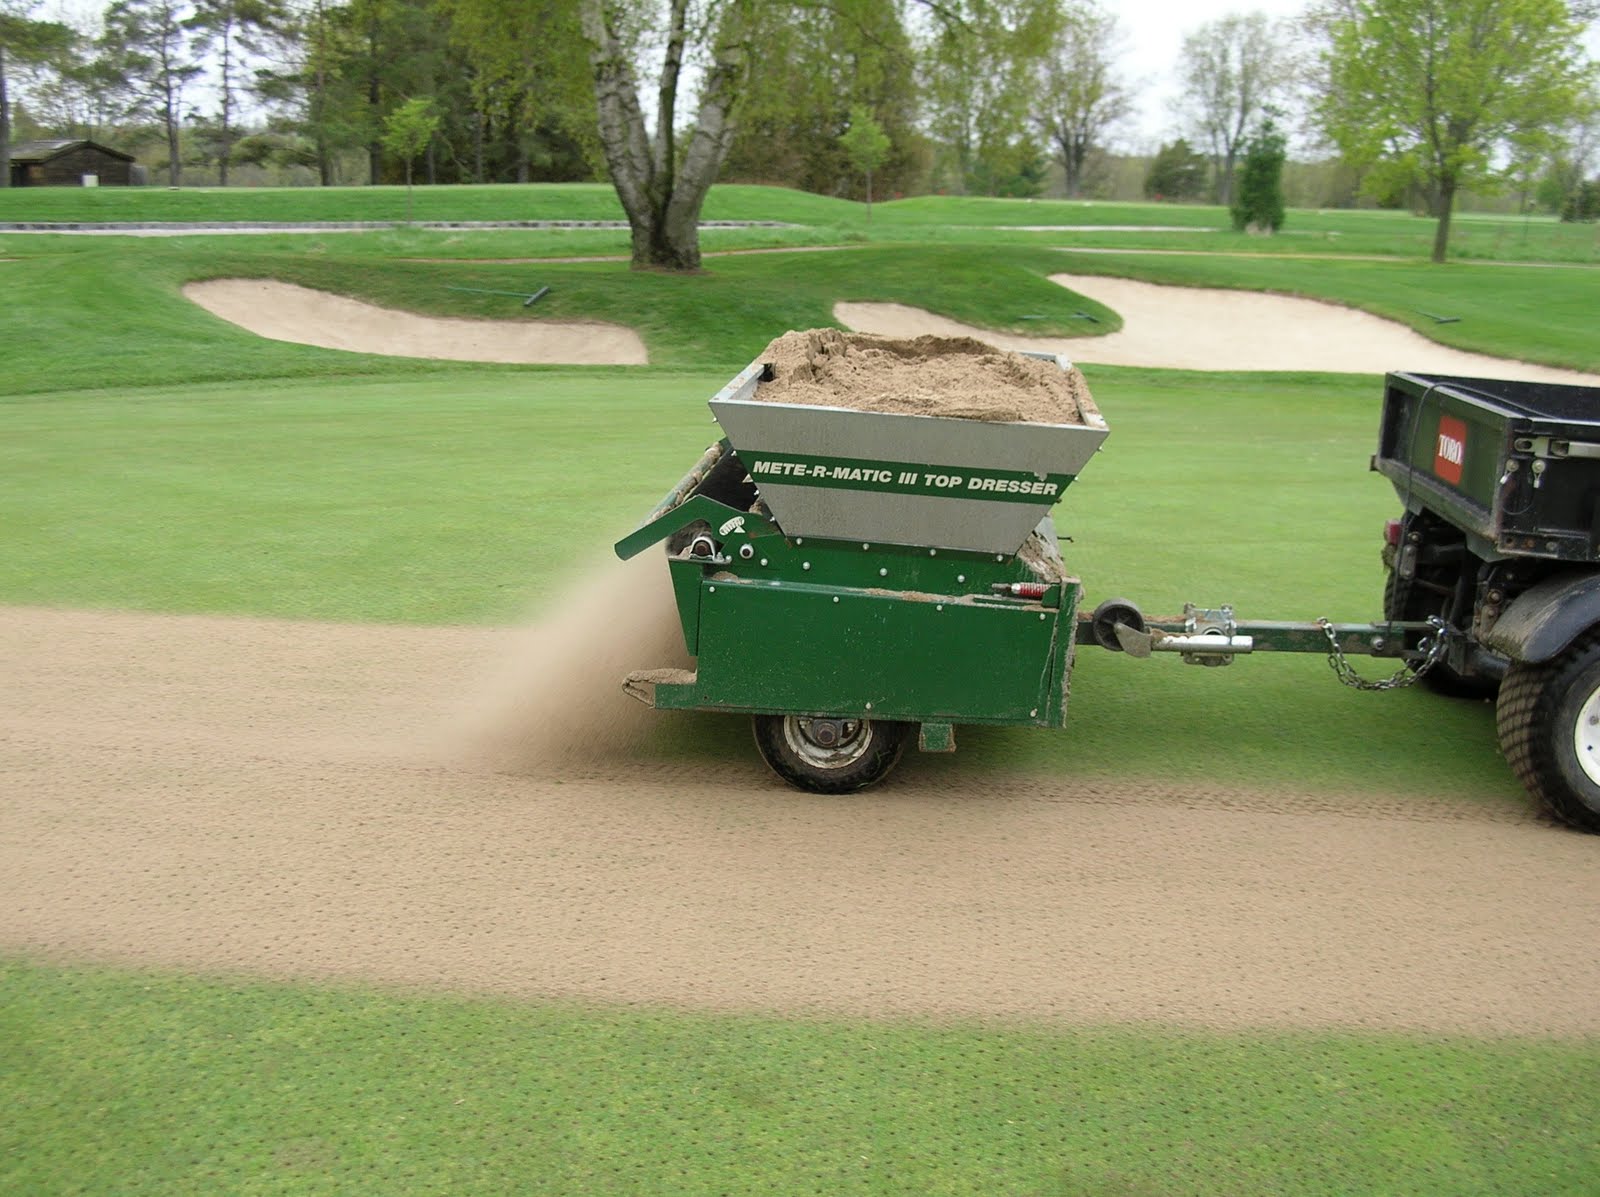
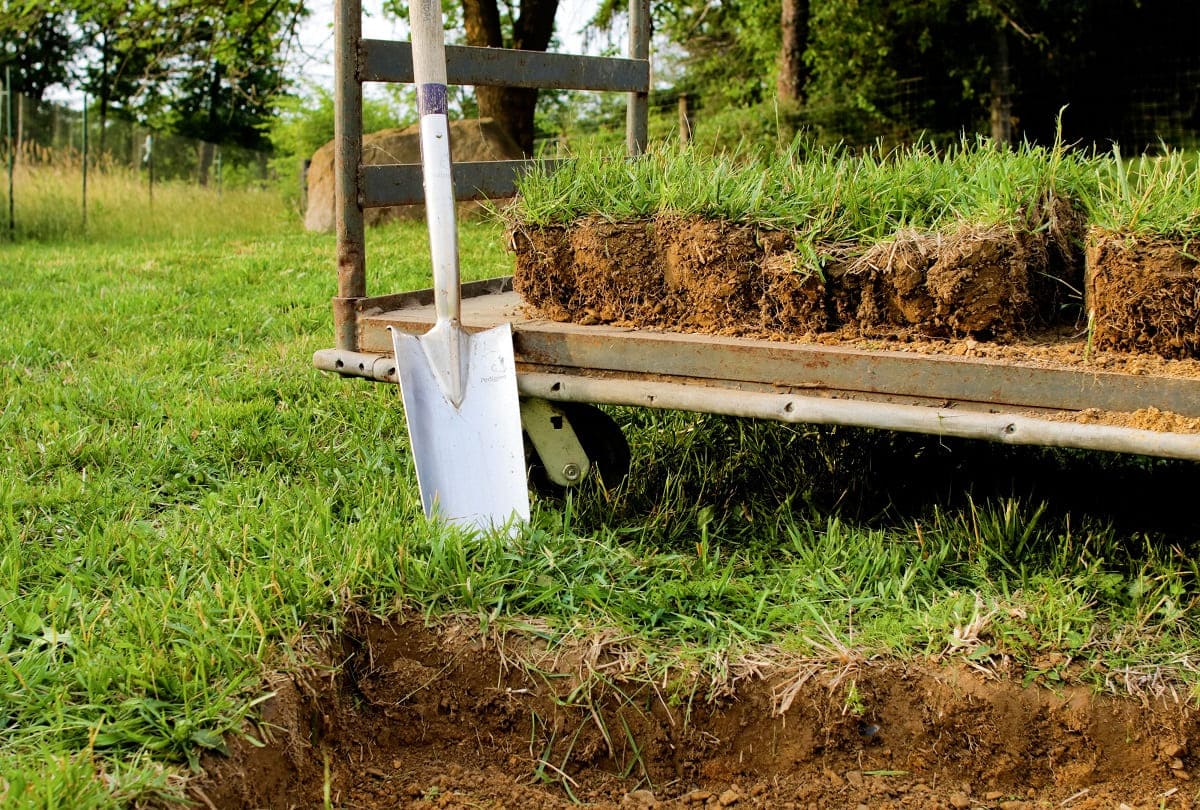
Use a sod cutter to remove the top layer of grass. Set the blade to the desired depth and push the cutter across the lawn. Roll up and remove the cut grass to reveal the soil underneath.
Step 3: Applying the Removal Method
Now that the area is prepared, it’s time to apply the chosen method for removing the top layer of grass. There are several effective approaches to achieve this, each suited to different preferences and the size of the area to be cleared. Here are some popular methods:
- Sod Cutter: Utilize a sod cutter, available for rent at many hardware and equipment rental stores, to slice through the top layer of grass and roots. This method is efficient for larger areas and provides uniform results.
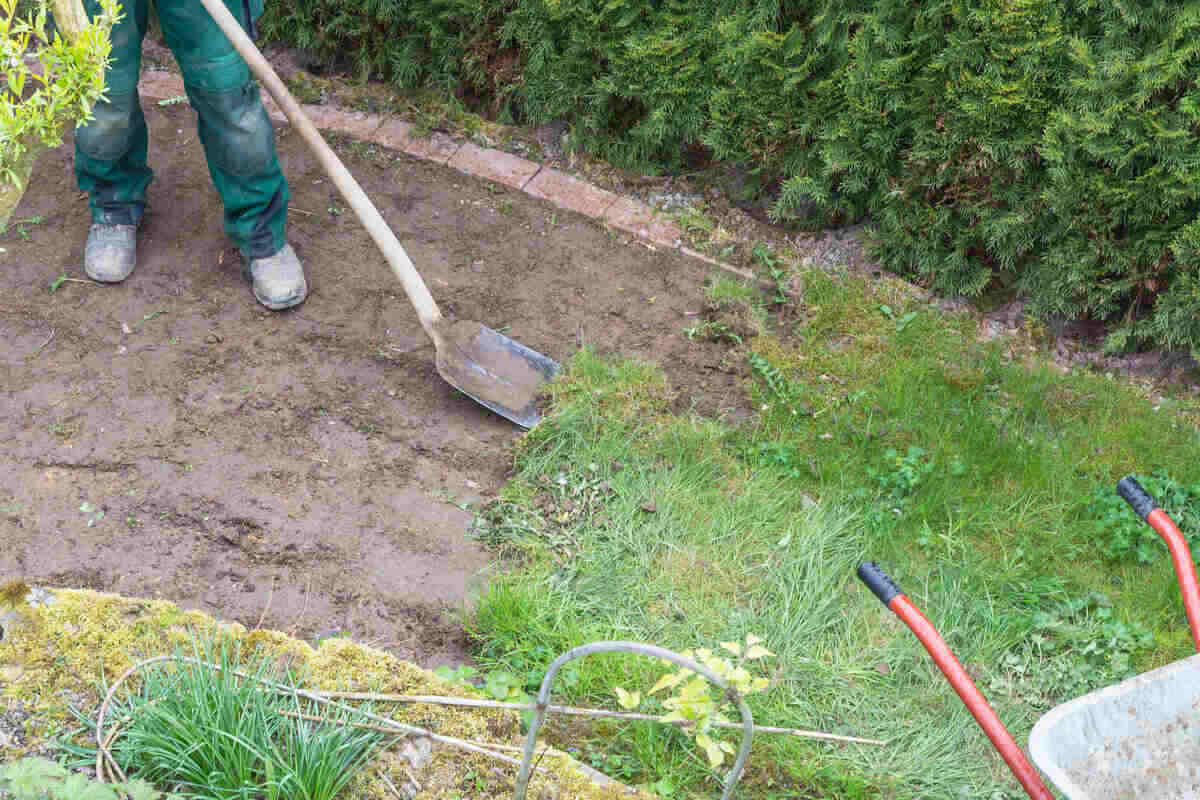
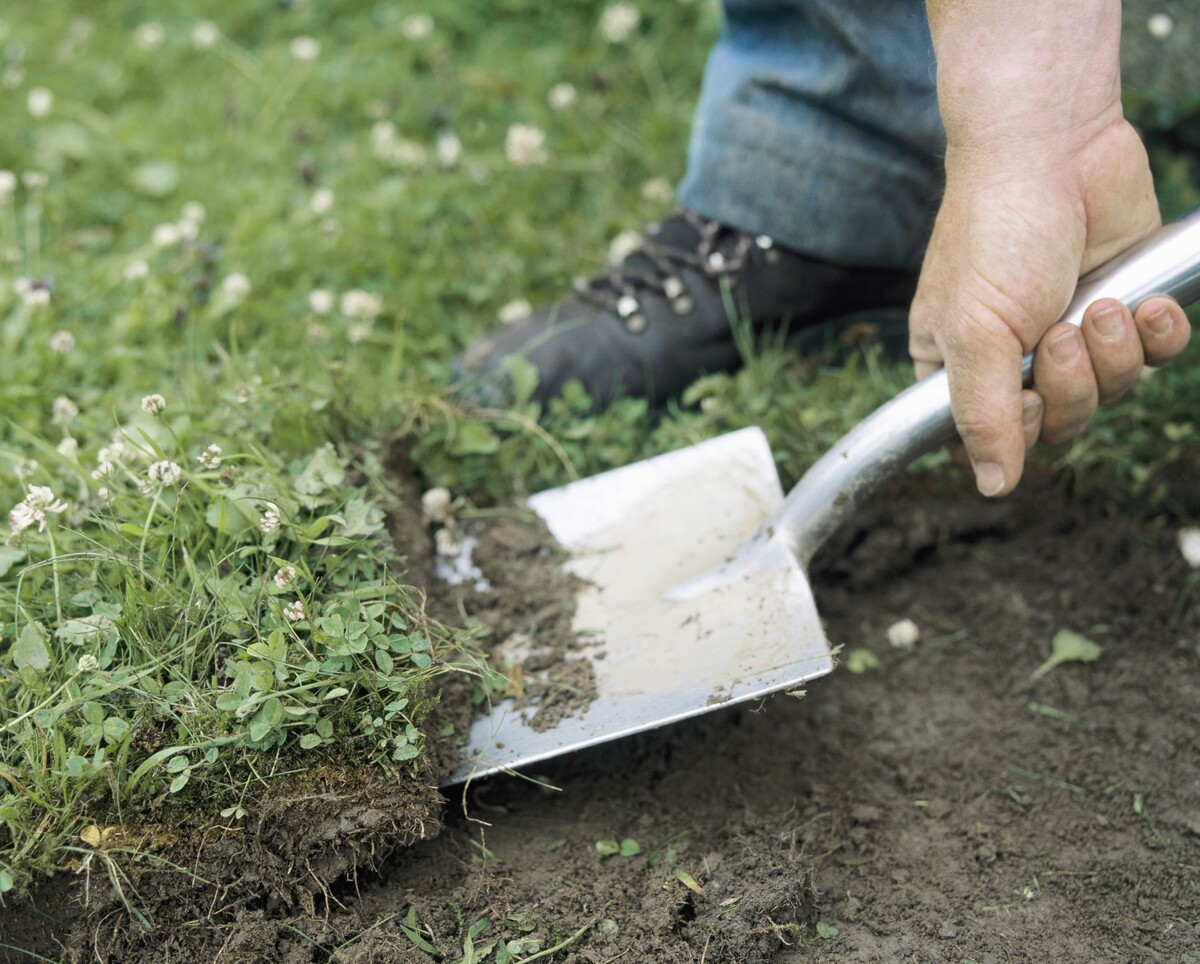
- Manual Removal: Using a shovel, manually cut and lift sections of the top layer of grass and soil. While labor-intensive, this method is suitable for smaller areas and allows for precise control over the removal process.
- Chemical Removal: Selective herbicides can be applied to the designated area to effectively kill the top layer of grass, making it easier to remove after a specified period. It’s important to follow the manufacturer’s instructions and safety guidelines when using chemical removal methods.
- Lasagna Gardening: This innovative method involves layering materials such as cardboard, newspaper, and mulch over the grass to smother it and promote decomposition. Over time, the grass will break down, allowing for the creation of a new planting bed without the need for traditional removal techniques.
Whichever method you choose, it’s essential to approach the removal process with care and attention to detail. Ensure that the top layer of grass is effectively lifted or eradicated, leaving the area primed for the next phase of your landscaping vision.
By selecting and executing the most suitable removal method for your specific needs, you’ll pave the way for a successful transition to the final stages of this transformative landscaping project.
Step 4: Finishing Touches
As the top layer of grass has been successfully removed, it’s time to attend to the finishing touches that will complete the transformation of the cleared area. These final steps will prepare the space for your envisioned landscaping design and ensure its readiness for the next phase of your outdoor project.
- Soil Preparation: After the removal of the top layer of grass, assess the quality of the underlying soil. Amend it as needed with organic matter, such as compost or topsoil, to enrich its fertility and structure in preparation for new plantings or landscaping features.
- Leveling and Grading: Use a rake or leveling tool to even out the cleared area, addressing any uneven terrain and creating a smooth foundation for your landscaping endeavors.
- Design Considerations: Take this opportunity to envision and plan the layout of your new landscape. Consider factors such as plant placements, pathways, seating areas, and focal points to guide the next steps of your outdoor project.
- Protective Measures: If your landscaping plans involve hardscaping elements or structures, such as patios or raised beds, consider installing protective barriers or edging to define and safeguard the cleared area.
- Moisture Management: Implement measures to maintain optimal moisture levels in the prepared area, ensuring that the soil remains conducive to the growth and establishment of new plantings or landscaping features.
By meticulously attending to these finishing touches, you will set the stage for the successful realization of your landscaping vision. The cleared area will be primed and poised to accommodate your creative ideas and bring your outdoor oasis to life.
With the completion of these essential finishing touches, you have laid the groundwork for the next exciting phase of your landscaping journey. Whether you’re planning a vibrant garden, a serene patio retreat, or a captivating pathway, the cleared area is now ready to embrace your vision and flourish with renewed vitality.
Read more: How To Layer Kusha Grass Mat
Conclusion
Congratulations on successfully navigating the process of removing the top layer of grass to embark on your landscaping transformation. By following the comprehensive steps outlined in this guide, you have laid the groundwork for creating a captivating outdoor space that reflects your unique vision and style.
As you reflect on the journey you’ve undertaken, consider the remarkable potential that now awaits you. The cleared area stands as a blank canvas, ready to be adorned with lush greenery, inviting pathways, and charming features that will breathe new life into your outdoor environment.
Remember, the process of removing the top layer of grass is just the beginning of your landscaping adventure. Embrace the creative possibilities that lie before you and let your imagination flourish as you envision the future splendor of your outdoor oasis.
Whether you’re drawn to the tranquility of a serene garden, the conviviality of a welcoming patio, or the allure of a winding pathway, the cleared area is now poised to embody your dreams and aspirations. With careful planning, thoughtful design, and a touch of ingenuity, you will soon witness the vibrant transformation of your outdoor space.
As you venture into the next phases of your landscaping project, remember to infuse your personal touch into every aspect of the design. Let your creativity flow, and allow the natural beauty of the outdoors to inspire and guide your decisions as you bring your vision to fruition.
With the top layer of grass removed and the groundwork meticulously prepared, you are now poised to embark on a transformative landscaping journey that will elevate your outdoor space into a captivating haven of beauty and tranquility.
So, take a moment to savor this milestone, for it marks the beginning of an exciting chapter in your landscaping story. Your outdoor oasis awaits, ready to be shaped into a harmonious sanctuary that reflects your unique style and vision.
Frequently Asked Questions about How To Remove The Top Layer Of Grass
Was this page helpful?
At Storables.com, we guarantee accurate and reliable information. Our content, validated by Expert Board Contributors, is crafted following stringent Editorial Policies. We're committed to providing you with well-researched, expert-backed insights for all your informational needs.


0 thoughts on “How To Remove The Top Layer Of Grass”