Articles
How To Layer Raised Garden Bed
Modified: October 20, 2024
Learn how to layer a raised garden bed for optimal gardening results. Enhance your gardening experience with this step-by-step guide.
(Many of the links in this article redirect to a specific reviewed product. Your purchase of these products through affiliate links helps to generate commission for Storables.com, at no extra cost. Learn more)
How To Layer Raised Garden Bed
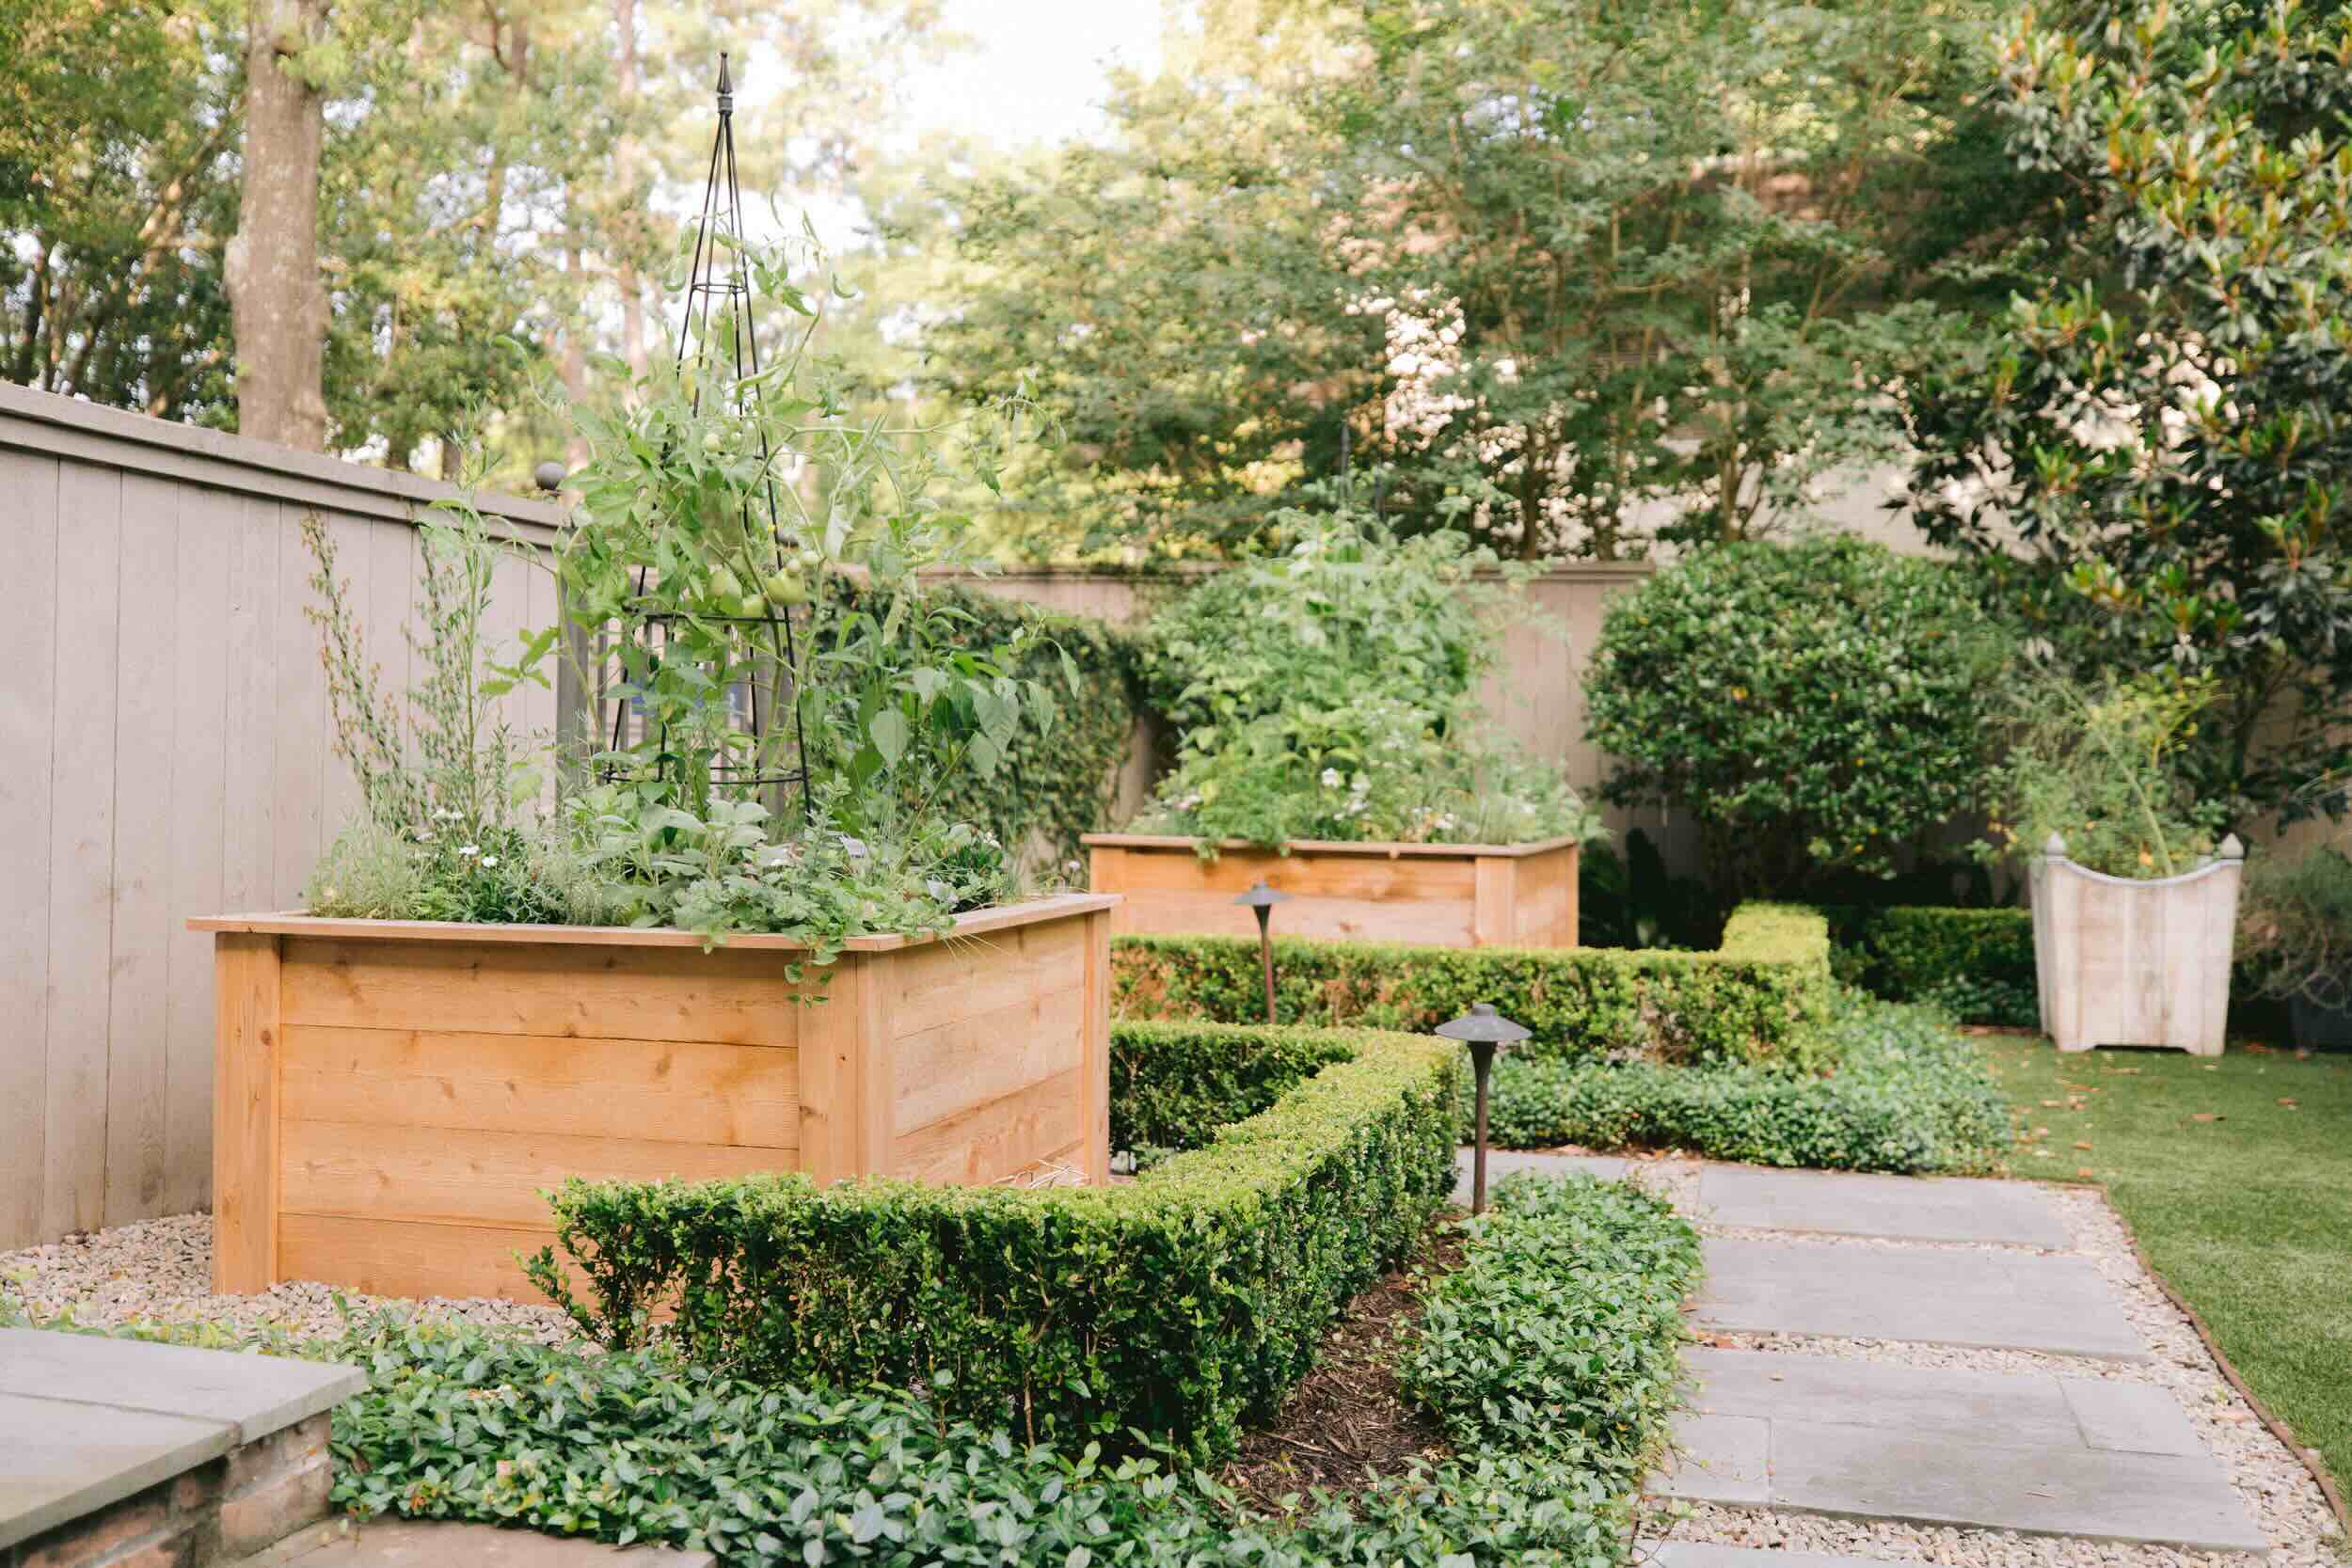
Are you looking to start a garden but have limited space or poor soil quality? Consider building a raised garden bed. A raised garden bed is a great solution for growing plants in small yards or areas with less than ideal soil conditions. It allows you to have more control over the soil quality and drainage, resulting in healthier and more productive plants. In this article, we will guide you through the process of layering a raised garden bed for optimal plant growth.
Key Takeaways:
- Create an optimal growing environment with raised garden beds by controlling soil quality, improving drainage, and reducing weed growth. Enjoy the benefits of easier access and extended growing seasons for a bountiful harvest.
- Select the right location, gather materials, and follow step-by-step instructions to build and layer a raised garden bed. Plant, mulch, and water for healthy, productive plants and a rewarding gardening experience.
Read more: What Is A Raised Garden Bed
Benefits of Raised Garden Beds
Before we dive into the steps, let’s go over the benefits of using raised garden beds.
1. Improved Soil Quality: By creating a raised garden bed, you can have more control over the soil composition. You can mix in compost, organic matter, and other soil amendments to create a nutrient-rich growing environment.
2. Better Drainage: Raised beds provide better drainage than traditional garden beds. This is especially beneficial in areas with heavy rainfall or compacted soil.
3. Weed Control: A raised garden bed helps to reduce weed growth, as it creates a barrier between your plants and the surrounding soil. Additionally, you can add a weed barrier layer during the layering process.
4. Easier Access: The raised height of the bed reduces the strain on your back and knees, making it more comfortable to work in the garden and harvest your crops.
Choosing the Right Location
The first step in creating a raised garden bed is selecting the right location. Here are a few factors to consider:
1. Sunlight: Most vegetables and flowers require at least 6 hours of direct sunlight per day. Choose a location that receives adequate sunlight.
2. Accessibility: Ensure that the garden bed is easily accessible for watering, harvesting, and maintenance.
3. Level Ground: Select a spot that is relatively flat or gently sloping to prevent water from pooling in the bed.
Materials and Tools Needed
To build a raised garden bed, you will need the following materials and tools:
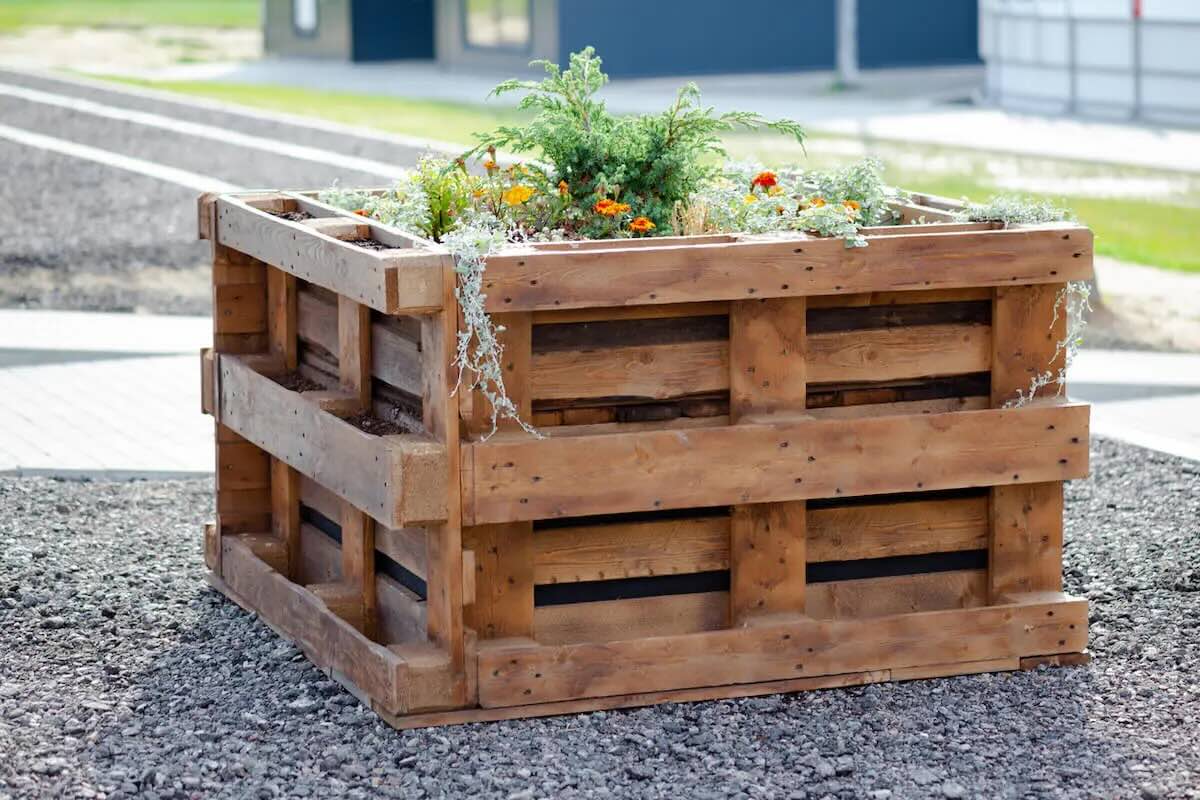
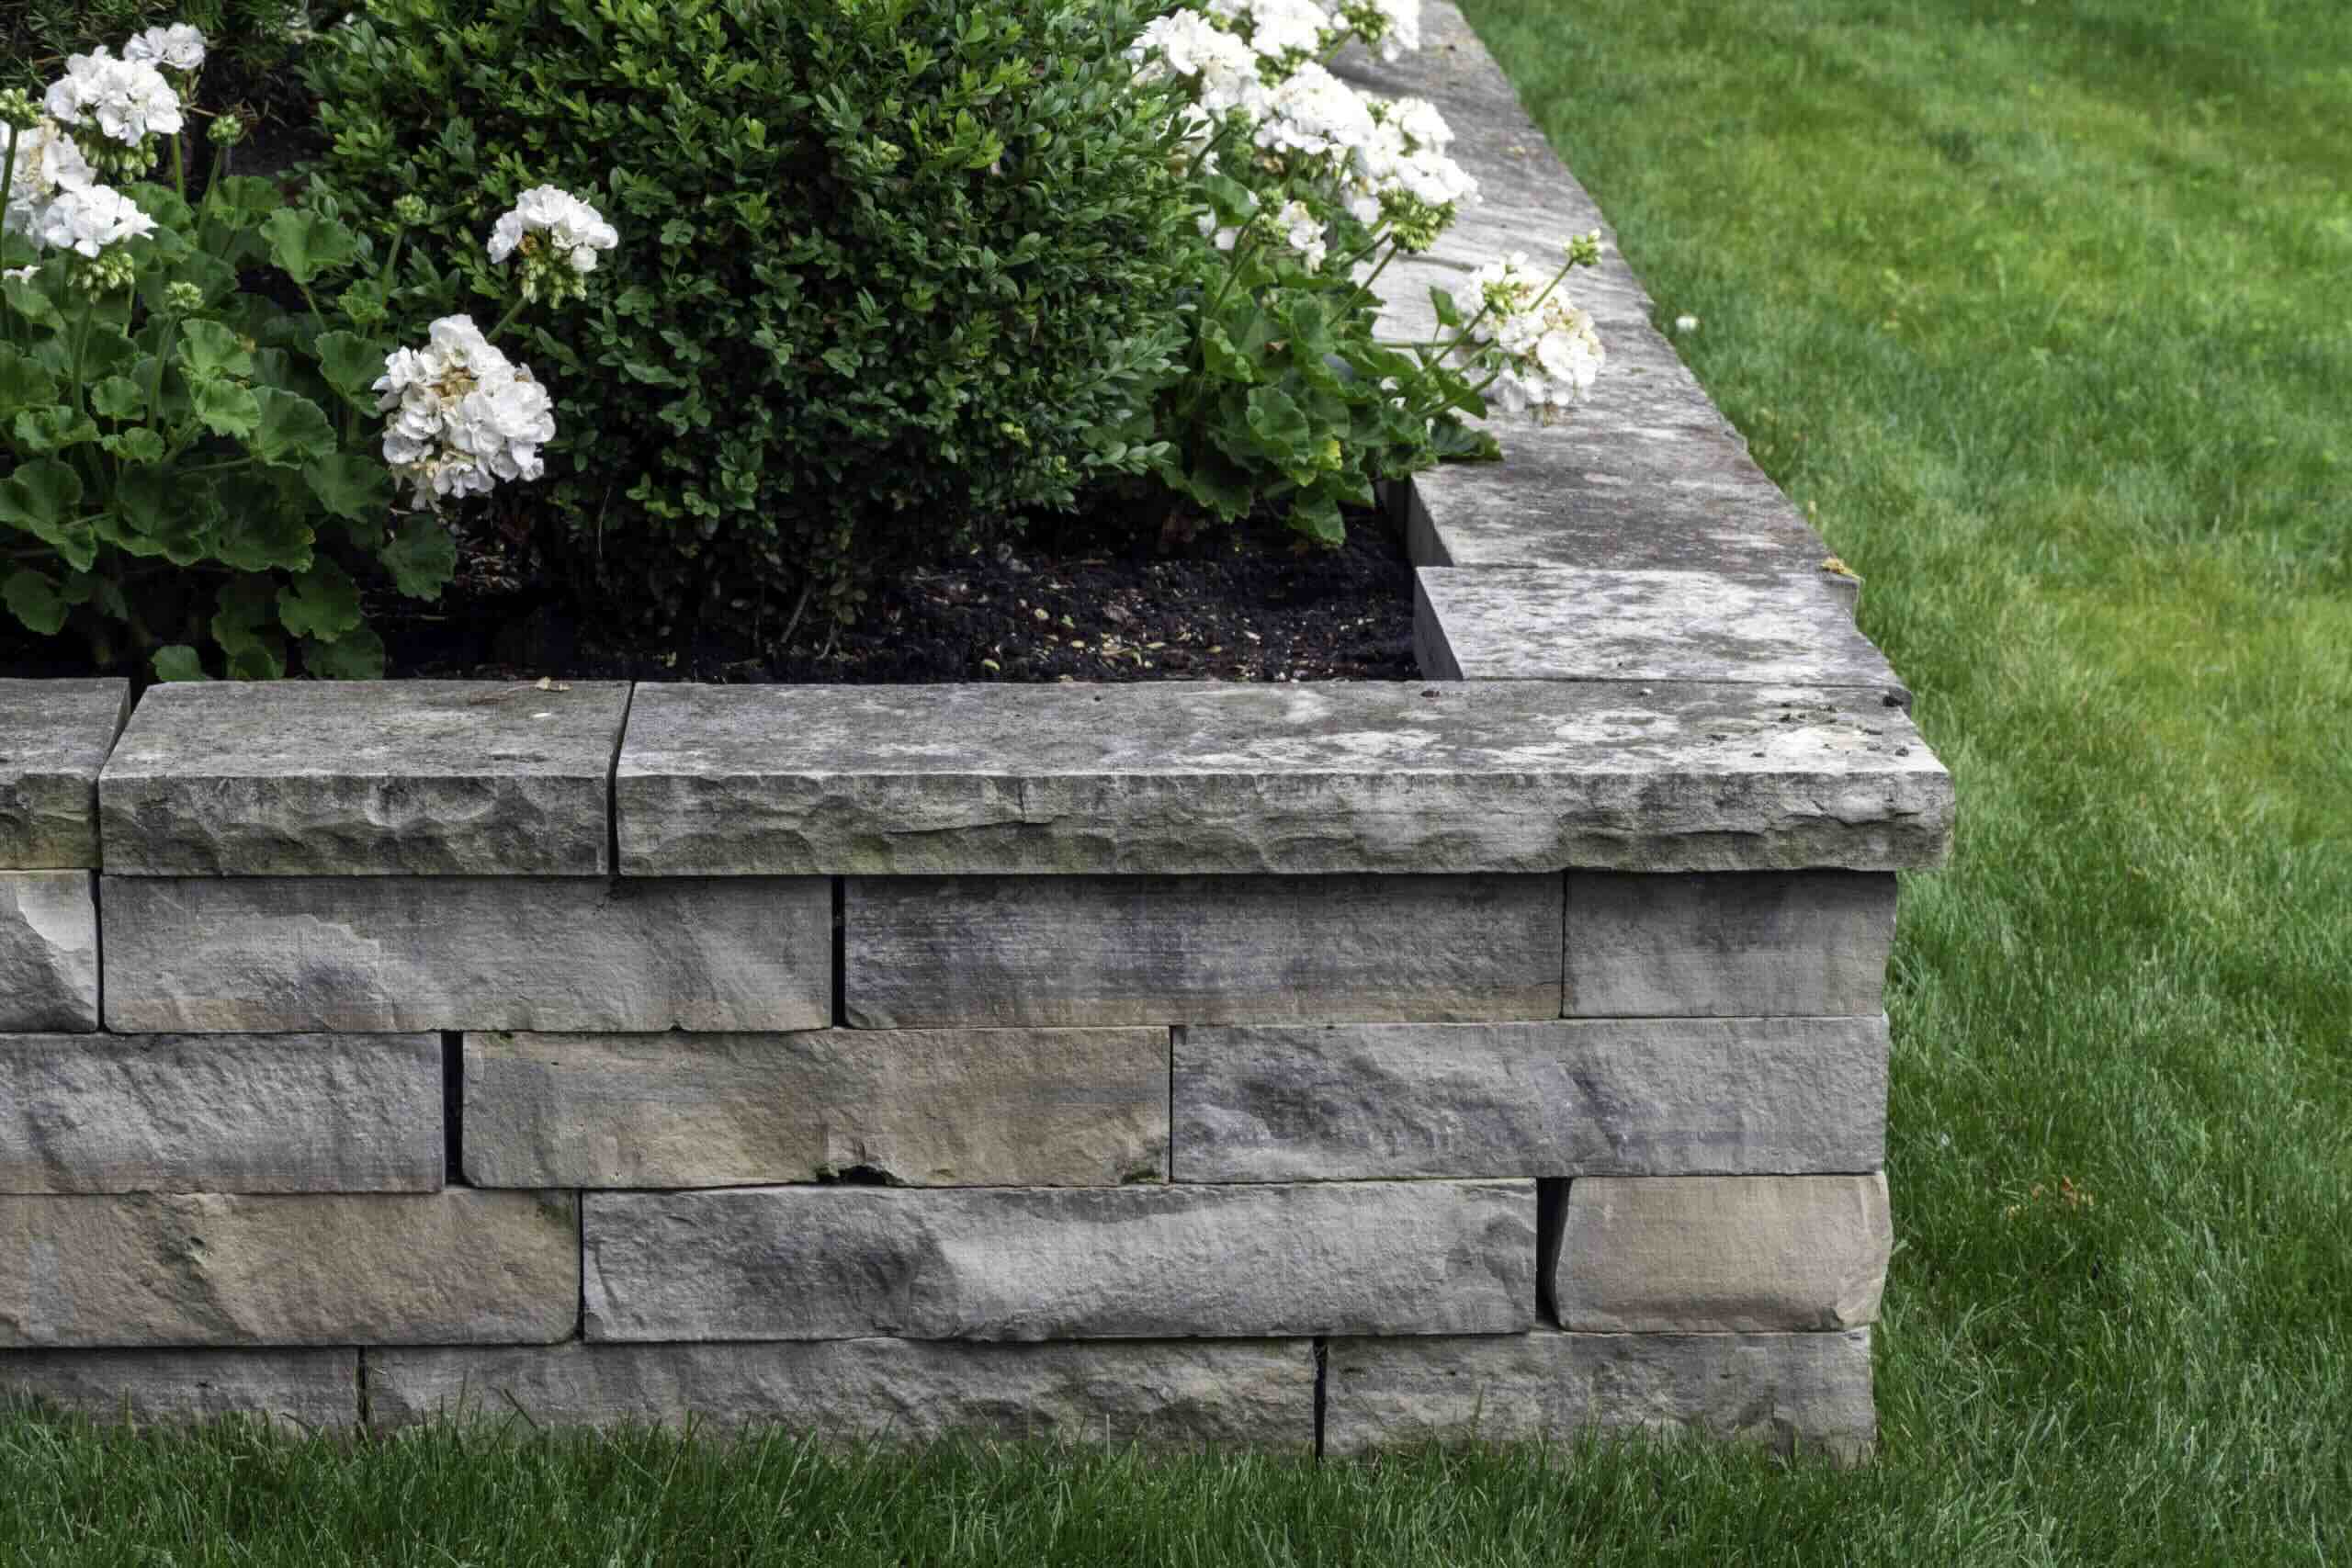
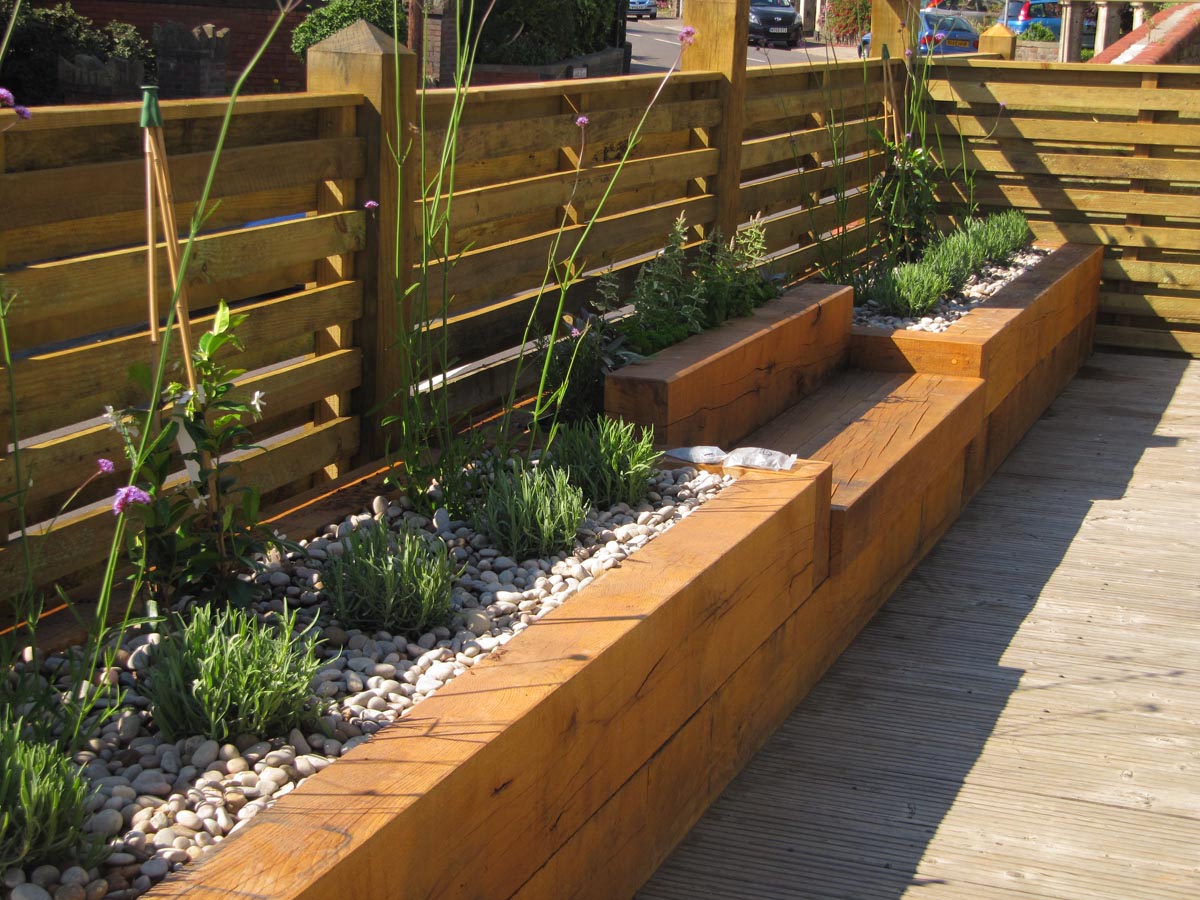
1. Wood or Bricks: Choose a material that is long-lasting and resistant to rot. Cedar, cypress, or pressure-treated lumber are popular choices. Bricks can also be used for building the bed.
2. Screws or Nails: Use rust-resistant screws or nails to secure the corners of the bed.
3. Weed Barrier: A weed barrier fabric will help prevent weed growth in your raised bed.
4. Compost and Soil: Use a mixture of compost, topsoil, and other organic matter to fill the bed.
5. Shovel or Garden Fork: These tools will be used to clear the ground and loosen the soil.
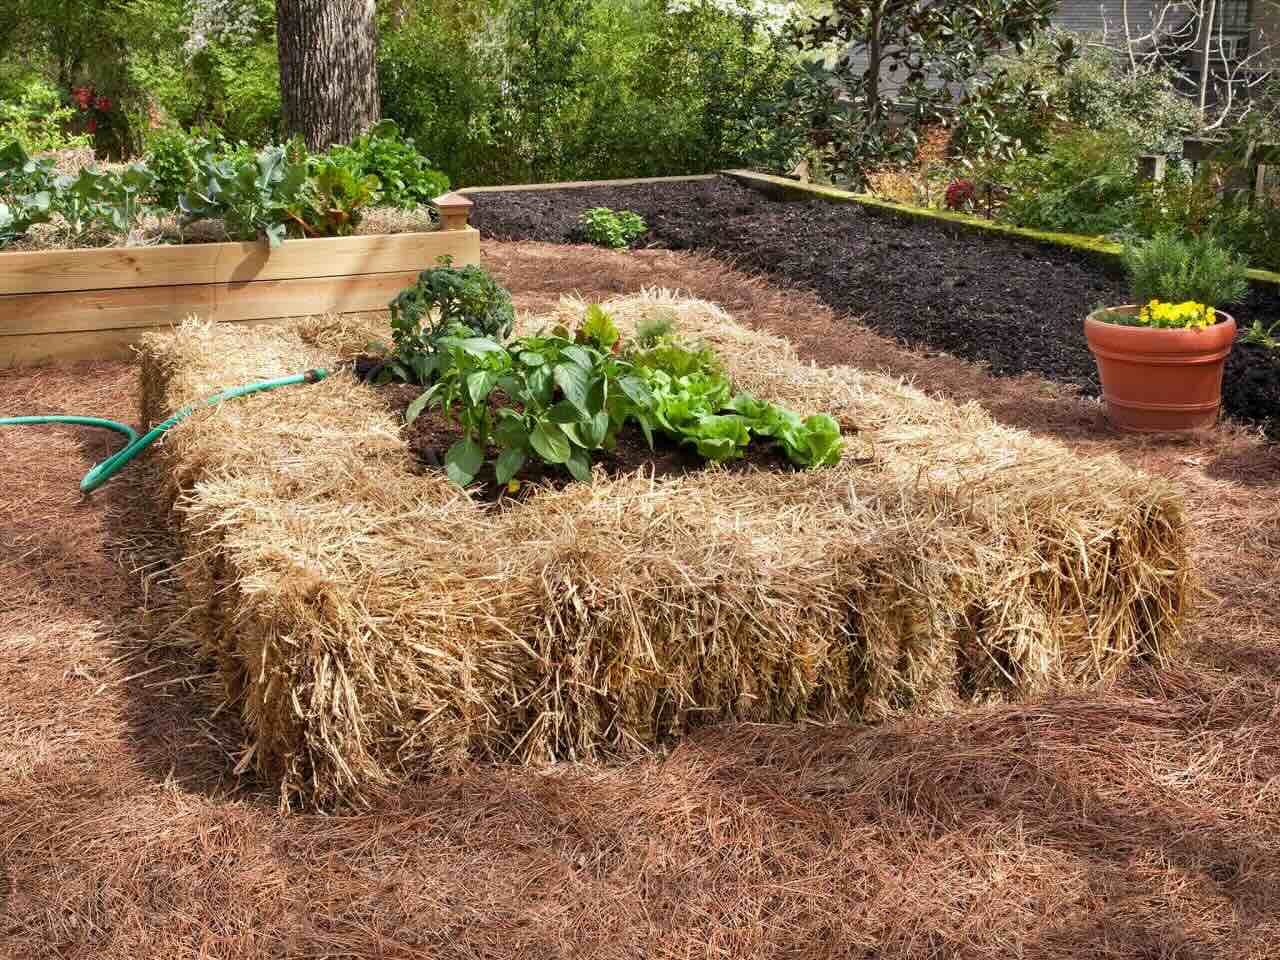
6. Mulch: Mulch helps retain moisture in the bed and prevents weed growth. Organic mulch, such as straw or wood chips, is ideal.
Continued in the next message…
Introduction
Are you eager to start a garden but discouraged by poor soil quality or limited space? A raised garden bed is the perfect solution. Raised garden beds offer several advantages, including improved soil quality, better drainage, weed control, and easier access for gardening. In this article, we will guide you through the process of layering a raised garden bed to create an optimal growing environment for your plants.
Raised garden beds are becoming increasingly popular among gardeners of all skill levels. They provide an opportunity to grow your own vegetables, herbs, or flowers even if you have limited space, unsuitable soil, or physical limitations. With a little planning and effort, you can enjoy the pleasure of gardening and the satisfaction of harvesting your own fresh produce right from your backyard.
One of the main benefits of raised garden beds is the ability to control the soil composition. Traditional garden beds often have poor soil quality that lacks nutrients or has drainage issues. By building a raised garden bed, you can create a customized soil mixture that suits the needs of your plants. The addition of compost, organic matter, and other soil amendments can significantly improve the fertility and structure of the soil, providing an ideal environment for plant growth.
Another advantage of raised garden beds is better drainage. Poor drainage can lead to waterlogged soil, causing root rot and other plant diseases. By elevating the soil with a raised bed, excess water can freely drain away, preventing waterlogged conditions and allowing plant roots to access oxygen optimally. This is particularly beneficial in areas with heavy rainfall or compacted soil.
Weed control is also simplified with raised garden beds. The raised structure creates a physical barrier between your plants and the surrounding soil, reducing the likelihood of weed intrusion. Furthermore, during the layering process, adding a layer of weed barrier fabric can further suppress weed growth, minimizing the time and effort required for weeding.
Lastly, raised garden beds offer improved accessibility for gardeners of all ages and physical abilities. The raised height reduces the need for bending or kneeling, reducing strain on your back and knees during planting, weeding, and harvesting. This makes gardening more comfortable and enjoyable, allowing you to fully immerse yourself in the experience.
Now that we’ve explored the benefits of raised garden beds, it’s time to delve into the process of layering your raised garden bed. By following the steps outlined in this article, you will create an optimal growing environment for your plants, setting the stage for a fruitful and rewarding gardening experience.
Continued in the next message…
Key Takeaways:
- Create an optimal growing environment with raised garden beds by controlling soil quality, improving drainage, and reducing weed growth. Enjoy the benefits of easier access and extended growing seasons for a bountiful harvest.
- Select the right location, gather materials, and follow step-by-step instructions to build and layer a raised garden bed. Plant, mulch, and water for healthy, productive plants and a rewarding gardening experience.
Read more: What Is A Raised Garden Bed
Benefits of Raised Garden Beds
Raised garden beds offer numerous advantages that make them a popular choice among gardeners. Let’s explore some of the key benefits of using raised garden beds:
1. Improved Soil Quality: One of the primary benefits of raised garden beds is the ability to have better control over the soil composition. Traditional garden beds may have poor soil quality, lacking essential nutrients or suffering from issues like compaction. With raised garden beds, you have the opportunity to create a customized soil mix that is rich in organic matter and well-draining. This allows plants to thrive and promotes healthy root development.
2. Better Drainage: Poor drainage is a common problem in many gardens. Excess water can lead to waterlogged soil, causing root rot and other plant diseases. Raised garden beds alleviate this issue by providing proper drainage. The elevated bed allows water to flow freely, preventing waterlogging and ensuring that plant roots have access to the oxygen they need. This is especially beneficial for plants that are sensitive to wet conditions.
3. Weed Control: Weeds are the bane of every gardener’s existence. However, with raised garden beds, you can significantly reduce weed growth. The raised structure creates a physical barrier between the garden bed and the surrounding soil, minimizing weed intrusion. Additionally, when layering the garden bed, you can add a weed barrier fabric at the bottom to further suppress weed growth. This saves you valuable time and effort that would have otherwise been spent on constant weeding.
4. Longer Growing Season: Raised garden beds warm up faster in the spring, extending the growing season. The soil in raised beds receives more sunlight and retains heat better than the surrounding ground, allowing you to start planting earlier in the season and continue growing later into the fall. This can be especially advantageous for gardeners in cooler climates who want to maximize their growing time.
5. Accessibility: Raised garden beds are easier to access and maintain compared to traditional in-ground beds. The elevated height reduces strain on your back and knees, making it more comfortable for planting, watering, and harvesting. This is particularly beneficial for older adults or those with physical limitations. Raised beds also provide easier access for people using mobility aids such as wheelchairs or walkers.
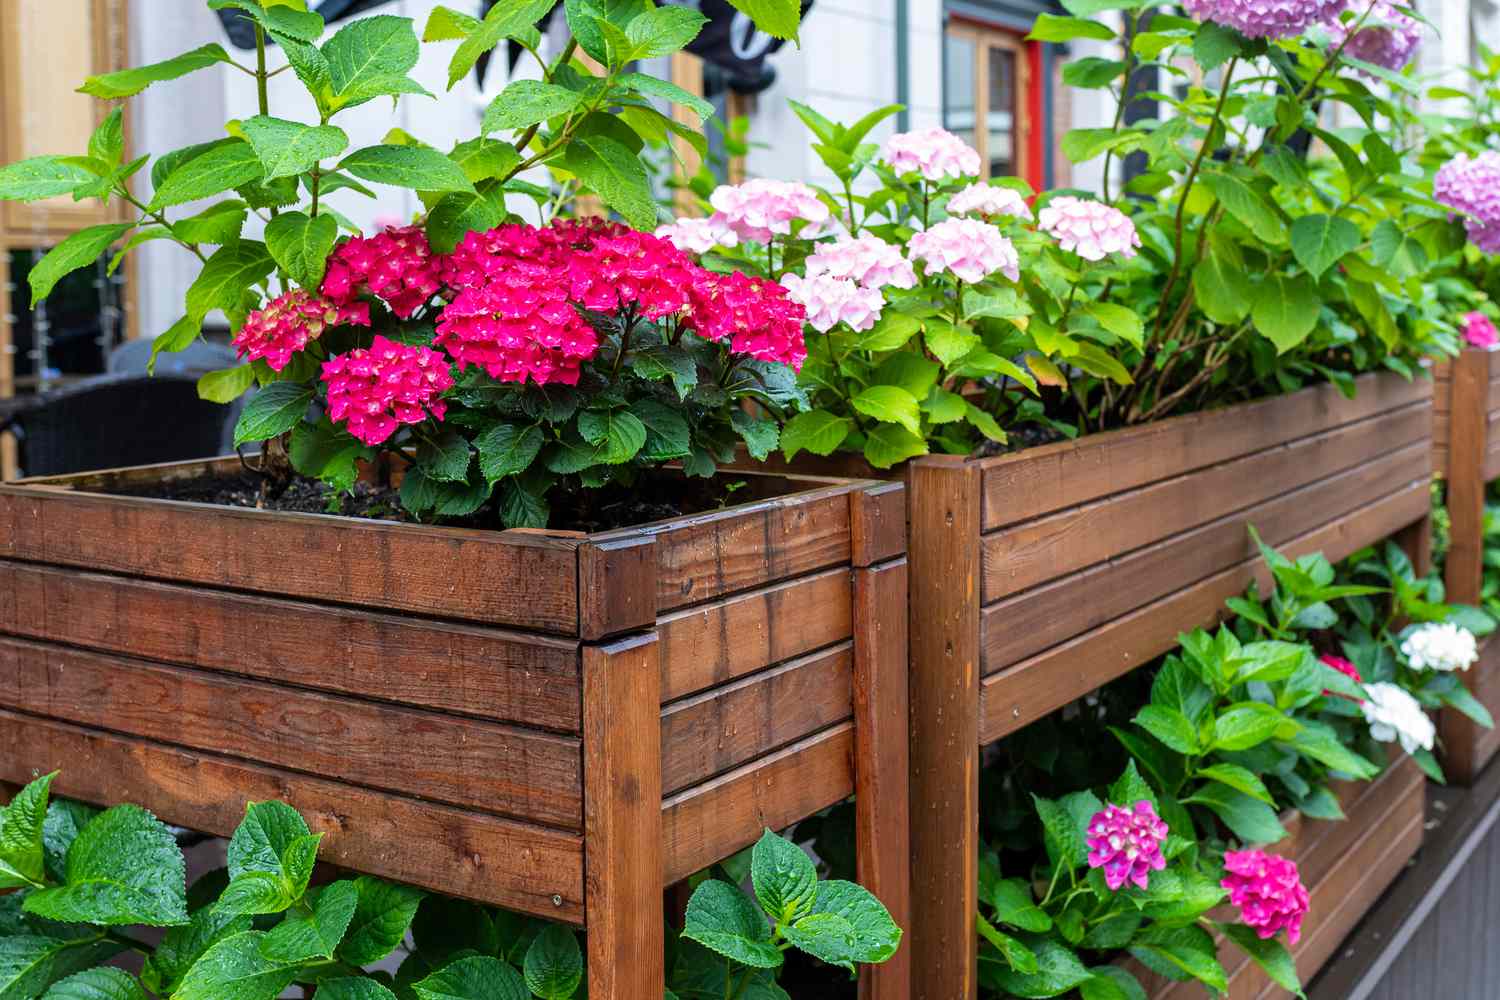
6. Aesthetically Pleasing: Besides the practical benefits, raised garden beds can enhance the visual appeal of your garden. The structured design and tidy boundaries of raised beds can create an organized and attractive layout. You can choose from various materials and designs to match your personal style and complement your overall garden decor.
By utilizing raised garden beds, you can take your gardening experience to the next level. Enjoy the benefits of improved soil quality, better drainage, weed control, extended growing seasons, and increased accessibility. Whether you are a seasoned gardener or a beginner, raised garden beds offer a practical and rewarding solution for cultivating healthy and productive plants.
Choosing the Right Location
When it comes to building a raised garden bed, selecting the right location is crucial. The success of your plants depends on factors like sunlight exposure, accessibility, and the characteristics of the area. Here are some essential considerations for choosing the right location for your raised garden bed:
1. Sunlight Exposure: Most plants require a sufficient amount of sunlight to thrive. It’s important to choose a location that receives at least 6 to 8 hours of direct sunlight per day. Observe the area throughout the day to determine the amount of sunlight it receives. Avoid spots that are shaded by trees, buildings, or structures that may obstruct sunlight.
2. Accessibility: Consider how easily accessible the garden bed will be for watering, maintenance, and harvesting. Ideally, it should be located close to a water source to make watering convenient. If you plan to grow vegetables and herbs, having the garden bed near your kitchen can make harvesting and using fresh produce more convenient.
3. Space Availability: Assess the available space in your yard or garden area. Raised garden beds can be built in various sizes, so make sure to choose a location that allows for the desired dimensions of your bed. Consider the layout of your garden and ensure that there is enough space around the bed for pathways and other garden features.
4. Level Ground: Select a spot with relatively level ground. This will make the construction of the raised garden bed easier and help prevent water from pooling in one area. If the ground is uneven, you may need to do some leveling or consider building a retaining wall on one side of the bed to accommodate the slope.
5. Microclimate Considerations: Take into account the specific microclimate of your area. Factors such as wind exposure, frost pockets, or heat traps can influence plant growth and temperature fluctuations. Make note of any potential microclimate variations to ensure that your plants will thrive in the chosen location.
6. Soil Quality: While raised beds offer the advantage of controlling soil quality, it’s still beneficial to choose a location with relatively good soil conditions. Avoid areas with compacted, sandy, or excessively rocky soil. If possible, perform a soil test to assess the pH level and nutrient content of the soil in the chosen location.
Remember, the location you choose for your raised garden bed will have a direct impact on the success of your plants. Take your time to evaluate different areas in your yard or garden, considering factors such as sunlight exposure, accessibility, space availability, level ground, microclimate considerations, and soil quality. By selecting the right location, you will create an optimal environment for your plants to thrive and enjoy a bountiful garden harvest.
Materials and Tools Needed
Building a raised garden bed requires a few essential materials and tools to ensure a successful project. Here is a list of what you will need:
Materials:
1. Wood or Bricks: The main material for constructing the raised garden bed is typically wood. Choose a rot-resistant and untreated wood, such as cedar, cypress, or redwood. These types of wood are durable and can withstand the outdoor elements. Alternatively, you can use bricks or concrete blocks to create the bed’s structure.
2. Screws or Nails: Depending on the type of wood you choose, you will need rust-resistant screws or nails to secure the corners and boards together. Using stainless steel or galvanized fasteners will ensure they don’t rust over time.
3. Weed Barrier Fabric: To control weed growth in your raised garden bed, you will need a weed barrier fabric or landscape fabric. This will prevent weeds from penetrating the bottom of the bed and competing with your plants for nutrients and moisture.
4. Compost and Soil: You will need a mixture of compost and soil to fill the raised garden bed. Compost provides essential nutrients while soil provides a medium for plant roots to grow. Consider using a mix of quality topsoil and well-composted organic matter for optimal plant growth.
5. Mulch: Mulch helps retain moisture in the raised garden bed, suppresses weed growth, and regulates soil temperature. Organic mulch options include straw, wood chips, or shredded leaves. Aim for a thickness of around 2-3 inches once the bed is planted.
Read more: How To Seal A Raised Garden Bed
Tools:
1. Shovel or Garden Fork: These tools are necessary for clearing the ground where the raised garden bed will be placed. Use them to remove any grass, weeds, or debris from the area.
2. Level: A level is indispensable for ensuring that your raised garden bed is constructed evenly and stays level once assembled. This will help with proper drainage and stability.
3. Measuring Tape: Accurate measurements are crucial for building a uniform and well-proportioned raised garden bed. A measuring tape will come in handy for determining the dimensions of your bed.
4. Drill or Hammer: Depending on your choice of fasteners, you will need either a drill with appropriate drill bits or a hammer for driving screws or nails into the wood to secure the boards together.
5. Gardening Gloves: Protect your hands while working with soil, compost, and wood by wearing a pair of sturdy gardening gloves. They will help prevent blisters and protect against splinters.
6. Wheelbarrow or Garden Cart: If you have a large garden bed or need to transport a significant amount of soil or compost, a wheelbarrow or garden cart will make the task easier and more efficient.
Ensure that you have all the necessary materials and tools ready before beginning the construction of your raised garden bed. This will help streamline the process and ensure that you have everything you need to create a sturdy and functional bed for your plants.
Step 1: Clearing the Area
Before you start building your raised garden bed, it’s important to clear the area where it will be located. Clearing the area ensures that the ground is free of any grass, weeds, or debris that may hinder the installation and growth of your garden bed. Here are the steps to follow for clearing the area:
1. Remove existing vegetation: Start by removing any grass or vegetation from the chosen area. You can use a shovel, garden fork, or a sod cutter to lift and remove the turf. If the area is small, you may also consider using a manual edging tool to square off the bed’s perimeter.
2. Clear out weeds and roots: Once the grass is removed, inspect the area for any remaining weeds or their roots. It’s important to remove these as they can grow back and compete with your plants for nutrients and space. Use a cultivator or hand trowel to remove the weeds and their roots from the soil.
3. Level the ground: After clearing out the vegetation and weeds, use a garden rake or a lute to level the ground. Remove any rocks, roots, or debris that may obstruct the installation of the raised garden bed.
4. Consider adding a landscape fabric: While not necessary, adding a landscape fabric at this stage can provide an extra layer of weed control. Cut the fabric to fit the size of your bed and lay it on the cleared ground. This will block weed growth from the ground below.
By clearing the area properly, you are creating a clean and well-prepared foundation for your raised garden bed. This will help ensure that the bed is stable, its borders are defined, and that your plants have space to grow without competition from existing vegetation or weeds.
Remember to take your time during this step to thoroughly clear the area. It’s worth the effort to start with a clean slate, as it will make the following steps of building and maintaining your raised garden bed much easier.
When layering a raised garden bed, start with a layer of cardboard or newspaper to smother weeds, followed by a layer of compost, then a layer of topsoil. Repeat the layers as needed, ending with a layer of mulch on top to retain moisture.
Step 2: Building the Base Layer
Now that you have cleared the area for your raised garden bed, it’s time to start building the base layer. The base layer provides stability and support to the structure of the bed. Here are the steps to follow for building the base layer:
1. Determine the dimensions: Measure and mark the desired width and length of your raised garden bed using a measuring tape. Use stakes or string to outline the perimeter of the bed, ensuring it is level and square.
2. Place the corner posts: Start by positioning the corner posts at each corner of the bed. If using wood, select posts that are sturdy and long enough to reach the desired height of your raised bed. Hammer them at least 12 inches deep into the ground for stability.
3. Attach the side boards: Once the corner posts are in place, attach the side boards to them. Place the boards vertically alongside the posts, ensuring they are flush with the top of the corner posts. Use screws or nails to secure the boards to the posts. For added stability, consider adding cross supports along the walls of the bed.
4. Level the base layer: Use a level to ensure that the base layer is even and straight. Adjust the corner posts or boards as necessary to achieve a level base for your raised garden bed. This step is important for stability and proper water drainage.
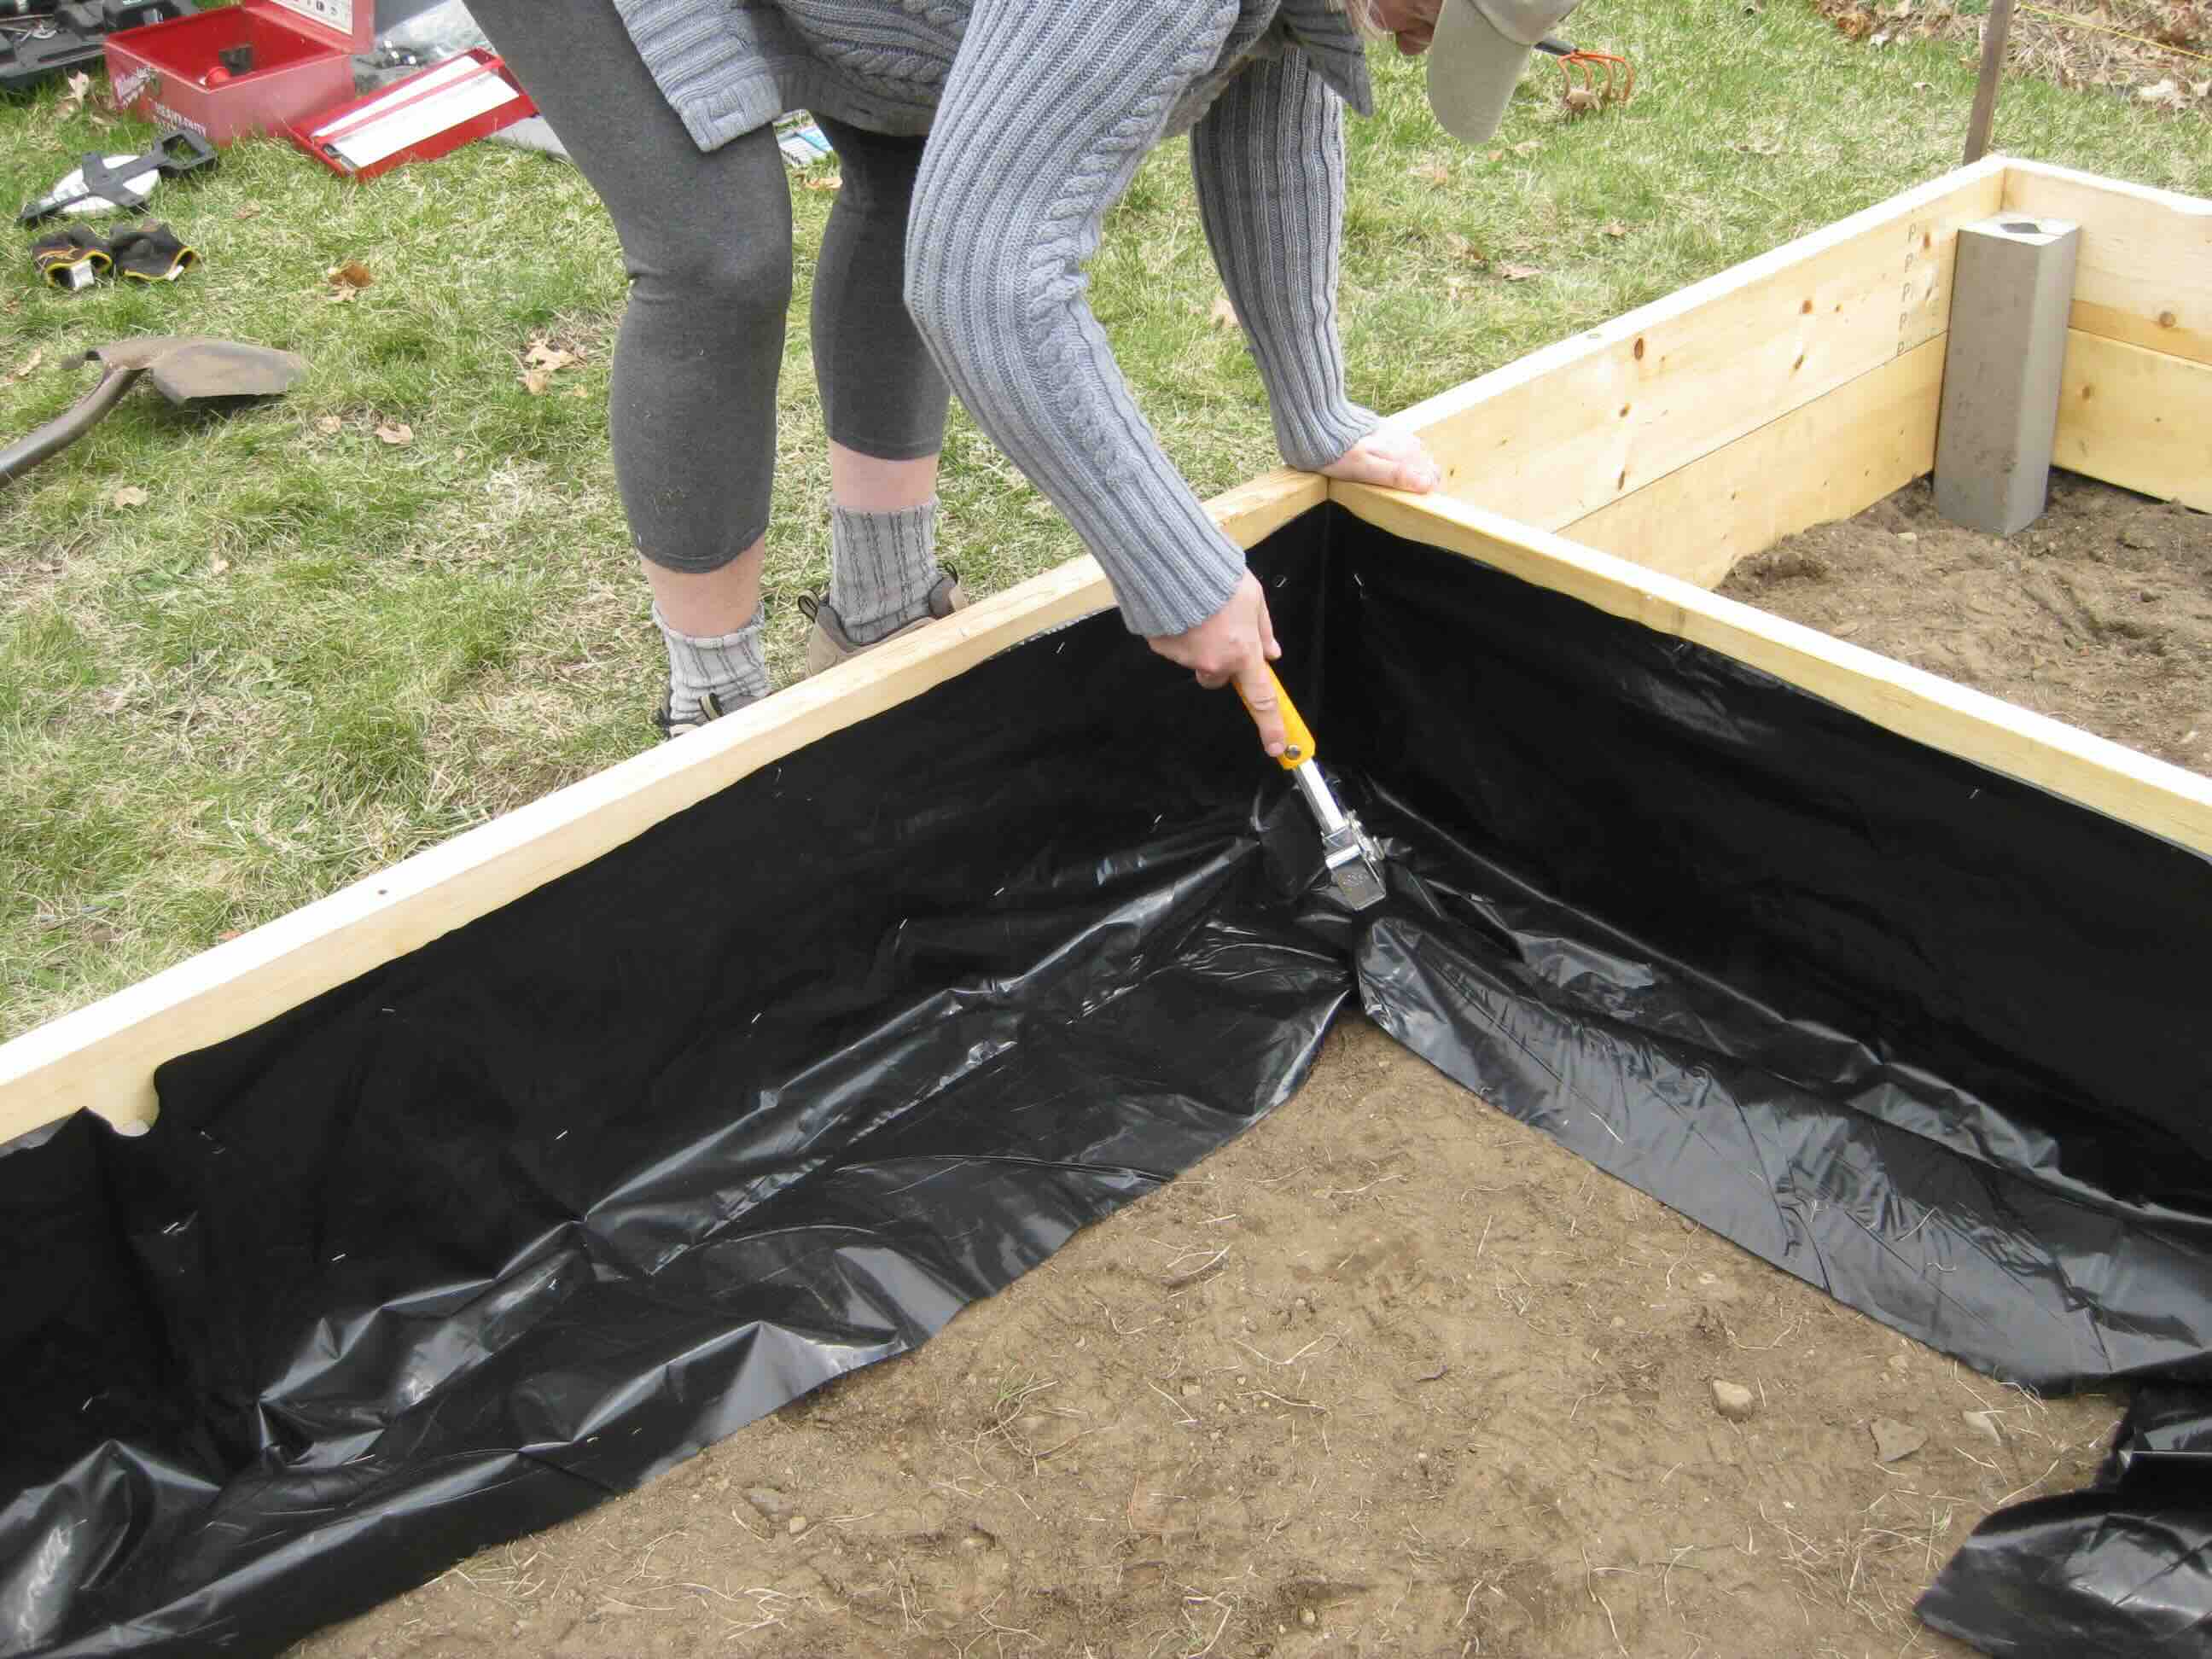
5. Optional: Add a bottom layer: Depending on your preference, you may choose to add a bottom layer to your raised garden bed. A bottom layer can help prevent weeds or unwanted pests from penetrating the bed from below. It can be made from materials such as weed barrier fabric, hardware cloth, or cardboard. Cut the material to fit the dimensions of the bed and place it on the cleared ground before adding soil.
By building a sturdy base layer, you are ensuring the stability and durability of your raised garden bed. This layer will provide a strong foundation for the rest of the bed’s construction and the weight of the soil and plants. Take your time to properly align and secure the side boards to achieve a level and secure base.
Once you have completed the base layer, you are ready to move on to the next step of layering your raised garden bed.
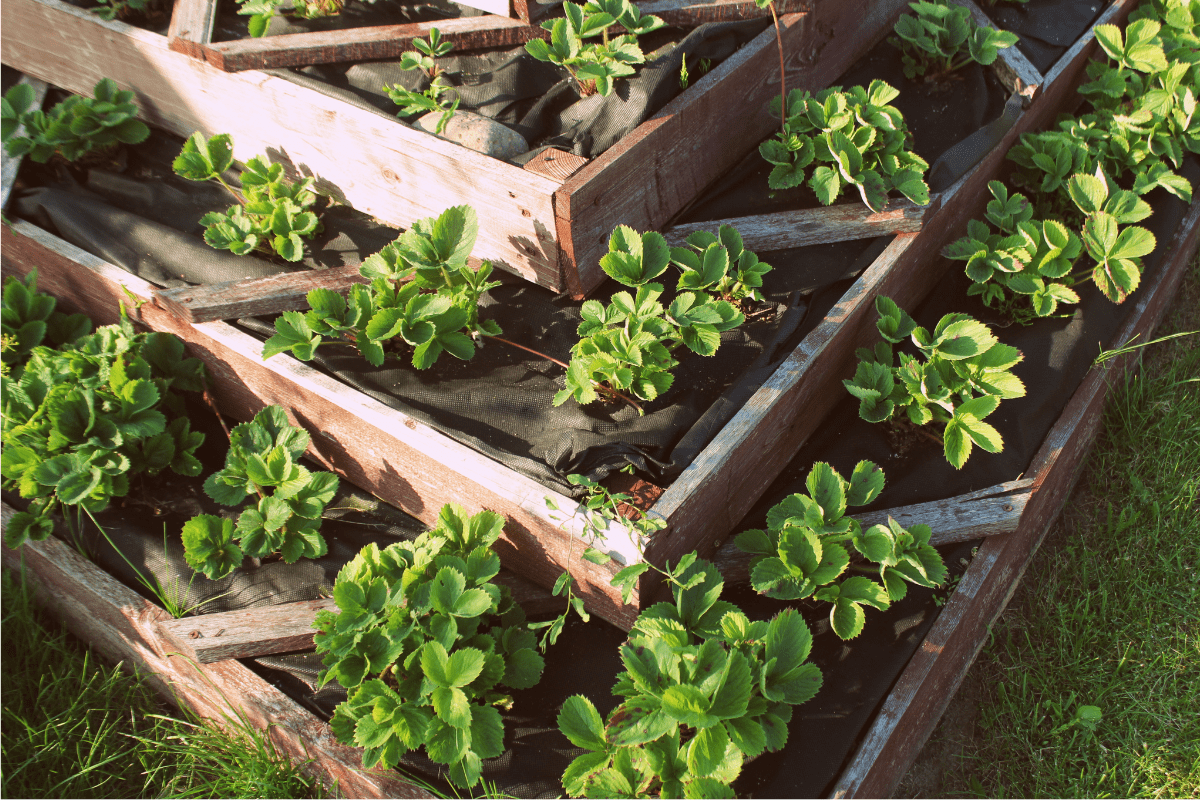
Step 3: Adding the Weed Barrier
Now that you have built the base layer of your raised garden bed, it’s time to add a weed barrier. This extra layer will help prevent weed growth, ensuring that your plants have the best chance to thrive. Here is how to add the weed barrier:
1. Measure and cut the weed barrier fabric: Measure the dimensions of your raised garden bed and cut the weed barrier fabric to fit accordingly. Make sure to leave some excess fabric along the edges to allow for folding and securing.
2. Lay the fabric in the bed: Place the cut weed barrier fabric on top of the soil or base layer of your raised garden bed. Make sure it completely covers the entire bed, extending slightly beyond the edges. Smooth out any wrinkles or folds in the fabric.
3. Secure the edges: Fold the excess fabric along the edges of the raised garden bed and secure it in place. You can use heavy-duty staples, landscaping pins, or small rocks to hold the fabric securely. Ensure that the fabric is taut and properly anchored.
4. Cut slits for planting: If you plan on planting directly into the raised garden bed, cut small slits in the fabric where you want to place your plants. Make sure the slits are just large enough for the plant’s root ball to fit through. This will allow your plants to access the soil while still preventing weed growth.
5. Optional: Layer with mulch: For added protection and aesthetics, you can choose to layer the weed barrier fabric with a thin layer of organic mulch. Spread a layer of mulch, such as straw or wood chips, on top of the fabric, ensuring it covers the entire bed. This will help retain moisture, further suppress weed growth, and give your garden bed a finished look.
Adding a weed barrier is an effective way to minimize weed competition and create a low-maintenance garden bed. It helps prevent unwanted weeds from growing and competing with your plants for nutrients, water, and sunlight. The weed barrier also helps retain moisture in the soil and reduces the need for frequent weeding, giving you more time to enjoy your garden.
With the weed barrier in place, your raised garden bed is now better equipped to provide optimal growing conditions for your plants. In the next step, we will guide you on how to layer compost and soil to provide the necessary nutrients for your plants’ growth.
Read more: How To Cover A Raised Garden Bed
Step 4: Layering Compost and Soil
With the weed barrier in place, it’s time to focus on creating a nutrient-rich growing environment for your plants. Layering compost and soil in your raised garden bed will provide the necessary nutrients and structure for healthy plant growth. Here’s how to properly layer compost and soil:
1. Add a layer of compost: Begin by adding a layer of compost on top of the weed barrier fabric. Compost is an excellent source of nutrients and organic matter that will enhance soil fertility and promote plant growth. Spread a 2 to 3-inch layer of compost evenly across the entire surface of the bed.
2. Mix compost with existing soil (if applicable): If you have existing soil in the raised garden bed, use a garden fork or shovel to mix the compost thoroughly with the soil already present. This helps distribute the nutrients and organic matter more evenly throughout the bed.
3. Add additional layers of compost and soil: After adding the initial layer of compost, continue with alternating layers of compost and soil until the raised garden bed reaches the desired height. Aim for a total soil depth of at least 12 inches or more, as this provides adequate space for plant roots to grow and access nutrients.
4. Level and smooth the top layer: Once you have added the required amount of compost and soil, use a garden rake or shovel to level and smooth the top layer. This will ensure an even planting surface and improve the overall appearance of the bed.
5. Water the layers: After layering the compost and soil, thoroughly water the bed to settle the layers and provide moisture to the seeds or plants you’ll be adding later. This will also help the compost and soil mix together more effectively.
Remember, quality compost is key to a successful raised garden bed. If you don’t have access to homemade compost, consider purchasing compost from your local garden center or nursery. Additionally, consider enriching the soil mixture with other organic matter, such as well-rotted manure or peat moss, to further improve soil structure and fertility.
By layering compost and soil, you are creating a balanced and fertile growing environment for your plants. The compost provides essential nutrients, improves soil structure, and enhances water retention, while the soil provides a stable foundation for roots to establish and grow. This nutrient-rich mixture will help your plants thrive and produce healthy, abundant yields.
In the next step, we will guide you on how to properly plant in your raised garden bed and ensure your plants get off to a strong start.
Step 5: Planting in the Raised Bed
Now that you have prepared the layers of your raised garden bed, it’s time to bring it to life by planting your desired plants. Proper planting techniques and considerations will help your plants establish strong root systems and flourish in the nutrient-rich environment. Here’s how to plant in your raised garden bed:
1. Plan your layout: Before planting, carefully plan the placement of your plants in the raised bed. Consider the size, spacing, and growth habits of each plant. Factor in their sun and shade requirements as well. This will help optimize space utilization and ensure proper air circulation between plants.
2. Dig planting holes: Using a trowel or shovel, dig planting holes that are deep and wide enough to accommodate the roots of each plant. The depth and spacing will depend on the specific requirements of the plant varieties you are using. Refer to the planting instructions for each plant or consult a gardening guide for recommended spacing.
3. Plant your plants: Carefully place each plant in its designated hole, ensuring that the top of the root ball is level with or slightly above the soil surface. Gently backfill the hole with soil, firming it around the base of the plant to eliminate any air pockets. Repeat this process for all the plants in your garden bed.
4. Water the newly planted plants: After planting, water the raised garden bed thoroughly to help settle the soil and provide moisture to the newly planted plants. Make sure the water reaches the root zone of each plant. Depending on the weather conditions and plant requirements, regular watering may be necessary until the plants are established.
5. Mulch around the plants: Apply a layer of mulch around the base of your plants, leaving a small space around the stem or trunk uncovered to prevent rot. Mulching helps retain moisture, suppress weed growth, and maintain a more even soil temperature. Organic mulch, such as straw or wood chips, is ideal for this purpose.
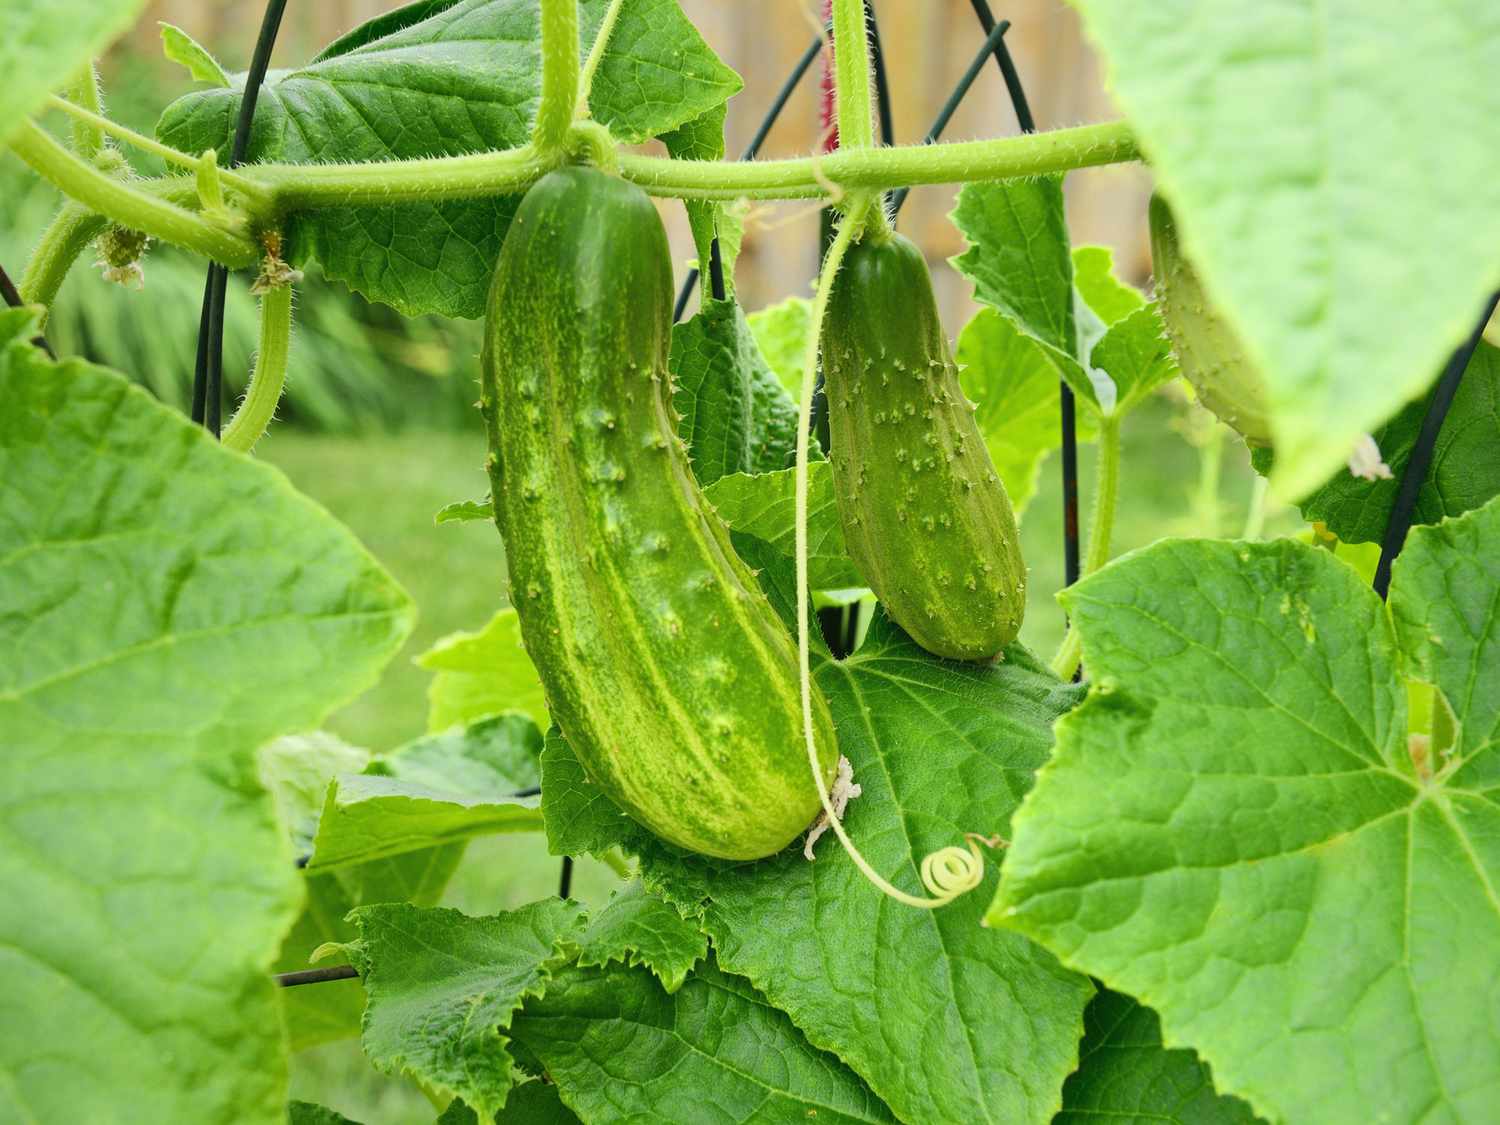
6. Provide support (if needed): Certain plants, such as tomatoes or vining crops, may require support to grow upright. Install trellises, stakes, or cages nearby to provide support and prevent plants from sprawling on the ground.
7. Monitor and maintain: Regularly monitor your plants for any signs of pests, diseases, or nutrient deficiencies. Water the garden bed as needed, keeping in mind the specific watering requirements of each plant. Follow good gardening practices, such as pruning, staking, and fertilizing, to promote healthy plant growth.
By following proper planting techniques, you are creating an environment where your plants can thrive and reach their full potential. Providing adequate spacing, proper planting depth, and sufficient watering will give your plants a strong start and lay the foundation for a productive and rewarding growing season.
In the final step, we will cover the importance of mulching and watering your raised garden bed to ensure optimal plant health and productivity.
Step 6: Mulching and Watering
Mulching and watering are essential steps in maintaining a healthy and productive raised garden bed. Mulching helps retain soil moisture, suppress weed growth, and moderate soil temperature, while proper watering ensures that your plants receive the necessary hydration. Here’s how to mulch and water your raised garden bed effectively:
1. Mulching:
– Apply a layer of organic mulch: Spread a layer of organic mulch, such as straw, wood chips, or shredded leaves, around your plants. Aim for a thickness of about 2 to 3 inches. Make sure to keep the mulch a few inches away from the stems or trunks of the plants to prevent moisture-related issues.
– Mulch between plants and rows: Extend the mulch between the plants and along the rows to create a continuous layer. This will help suppress weed growth and conserve soil moisture. Replenish the mulch as needed throughout the growing season, especially if it becomes thin or decomposes.
– Avoid piling mulch against plant stems: Piling mulch too close to the stems of your plants can lead to moisture retention, rot, and pest issues. Maintain a small space around the base of each plant to allow for proper air circulation.
2. Watering:
– Water deeply and consistently: When watering your raised garden bed, aim for deep watering rather than light surface watering. This encourages the roots to grow deeper into the soil. Water the bed thoroughly to ensure that the soil is evenly moistened, but not waterlogged.
– Water in the morning: It’s best to water your raised garden bed in the morning, allowing foliage and soil to dry during the day. This helps reduce the risk of fungal diseases and ensures that your plants have access to water throughout the growing period.
– Water the root zone: Focus your watering efforts directly on the root zone of the plants. Avoid overhead watering, which can lead to leaf diseases and wasteful evaporation. Using a soaker hose, drip irrigation system, or watering can with a targeted spout can help deliver water directly to the root zone.
– Monitor soil moisture: Regularly check the moisture level of the soil in your raised garden bed. Stick your finger about an inch into the soil to assess if it feels dry. Adjust your watering schedule accordingly, ensuring the right balance of moisture for your plants.
– Adapt to weather conditions: Be mindful of the weather conditions in your area as they can impact the watering needs of your plants. In hot and dry weather, you may need to water more frequently, while in cooler or rainy periods, you may need to decrease watering frequency.
By mulching and watering your raised garden bed properly, you are creating an environment that promotes plant health, conserves water, and reduces the time spent on weeding. Mulching helps maintain soil moisture, reduces weed competition, and regulates soil temperature, while consistent watering ensures your plants receive adequate hydration for optimal growth and productivity.
With these steps complete, you have successfully set up and cared for your raised garden bed. Continue to monitor your plants, provide regular maintenance, and enjoy the fruits of your gardening efforts. Happy gardening!
Conclusion
Congratulations on completing the layering process of your raised garden bed! By following these steps, you have created an optimal growing environment for your plants, setting the stage for a successful and rewarding gardening experience. Let’s recap what you have accomplished:
First, you learned about the benefits of raised garden beds. They allow for improved soil quality, better drainage, weed control, and easier accessibility. These advantages make raised garden beds a popular choice for gardeners who want to maximize their gardening space and create an ideal growing environment.
Next, you explored the importance of choosing the right location for your raised garden bed. Sunlight exposure, accessibility, level ground, and soil quality were factors to consider when determining the best spot for your plants to thrive.
You then gathered the necessary materials and tools to build your raised garden bed. Wood or bricks were the primary materials, along with screws or nails for stability. A weed barrier fabric was added to minimize weed growth, while compost and soil were layered to provide essential nutrients for healthy plant growth.
After clearing the area, building the base layer, adding the weed barrier, and layering compost and soil, it was time to plant. You learned about planning the layout, digging planting holes, and properly planting your desired plants in the raised garden bed. Attention to detail during this step ensures that your plants establish strong root systems and grow successfully.
To maintain the health of your raised garden bed, you discovered the importance of mulching and watering. Mulching helps retain moisture, suppress weeds, and regulate soil temperature. Proper watering practices, such as deep watering and watering at the root zone, ensure that your plants receive adequate hydration.
Remember to monitor your raised garden bed regularly, addressing any pest or disease issues that may arise. Prune, stake, and fertilize your plants as necessary to encourage robust growth and productivity.
Your raised garden bed is now ready to flourish with an abundance of fresh vegetables, herbs, or flowers. Enjoy the process of nurturing your plants, witnessing their growth, and ultimately reaping the rewards of your hard work.
Gardening is a constant learning experience, so continue to explore and experiment with different plants, techniques, and strategies. Adapt to the specific needs of your plants, and don’t forget to take the time to relax and appreciate the beauty of your garden.
Happy gardening and may your raised garden bed bring you joy and bountiful harvests for years to come!
Ready to elevate your gardening skills? After mastering the setup of a raised garden bed, consider exploring our guide on creative garden fence ideas to enhance your garden's privacy and aesthetic. Additionally, if growing fresh produce interests you, our detailed advice on vegetable gardening will surely help you get started. Both articles are brimming with insights to assist you in cultivating a vibrant garden.
Frequently Asked Questions about How To Layer Raised Garden Bed
Was this page helpful?
At Storables.com, we guarantee accurate and reliable information. Our content, validated by Expert Board Contributors, is crafted following stringent Editorial Policies. We're committed to providing you with well-researched, expert-backed insights for all your informational needs.


0 thoughts on “How To Layer Raised Garden Bed”