Home>Garden Essentials>How To Layer Kusha Grass Mat

Garden Essentials
How To Layer Kusha Grass Mat
Modified: October 19, 2024
Learn how to layer a kusa grass mat in your garden for a natural and beautiful look. Find step-by-step instructions and expert tips to create the perfect garden space.
(Many of the links in this article redirect to a specific reviewed product. Your purchase of these products through affiliate links helps to generate commission for Storables.com, at no extra cost. Learn more)
Introduction
When it comes to creating a beautiful and vibrant garden, there are countless options to explore. From choosing the right plants to designing the layout, every decision plays a crucial role in shaping the look and feel of your outdoor space. One interesting technique that can add depth and texture to your garden is layering with Kusa Grass mats.
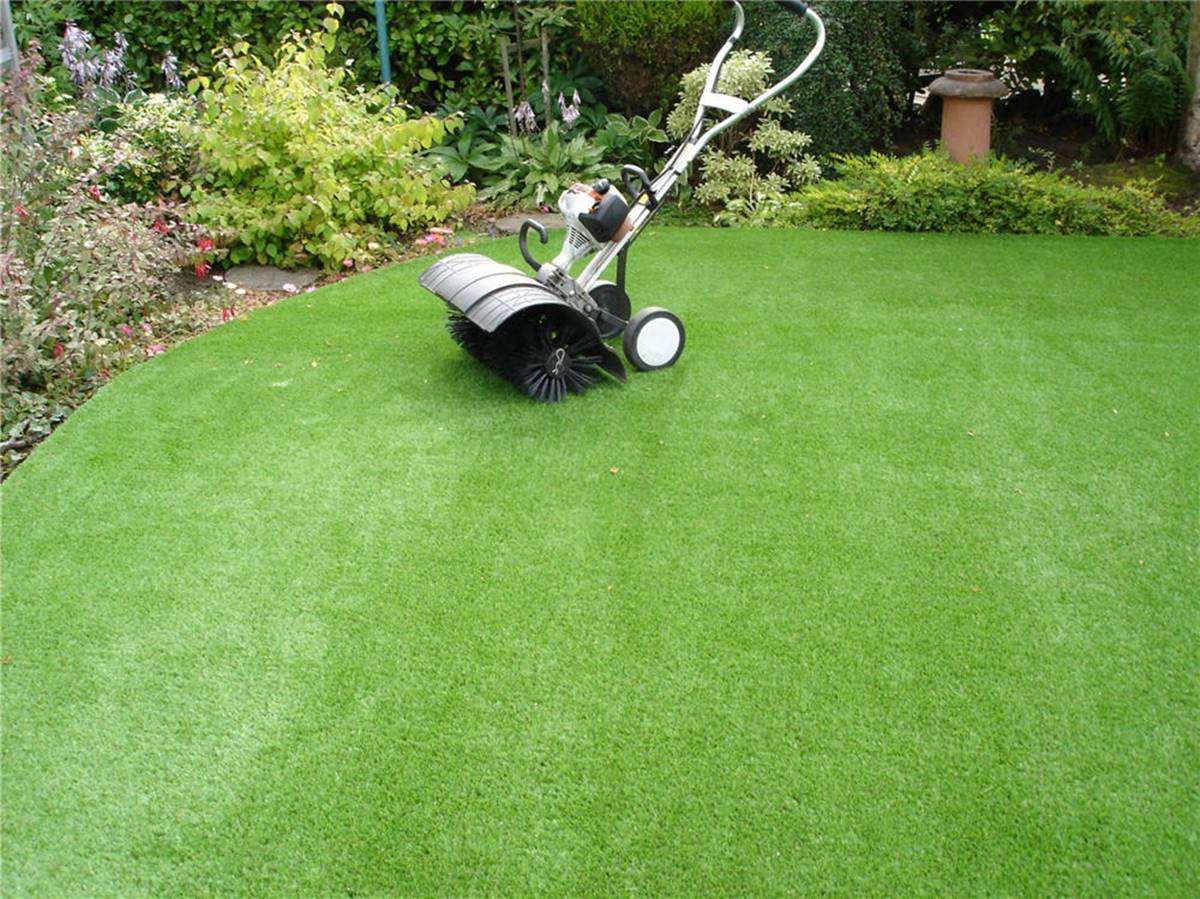
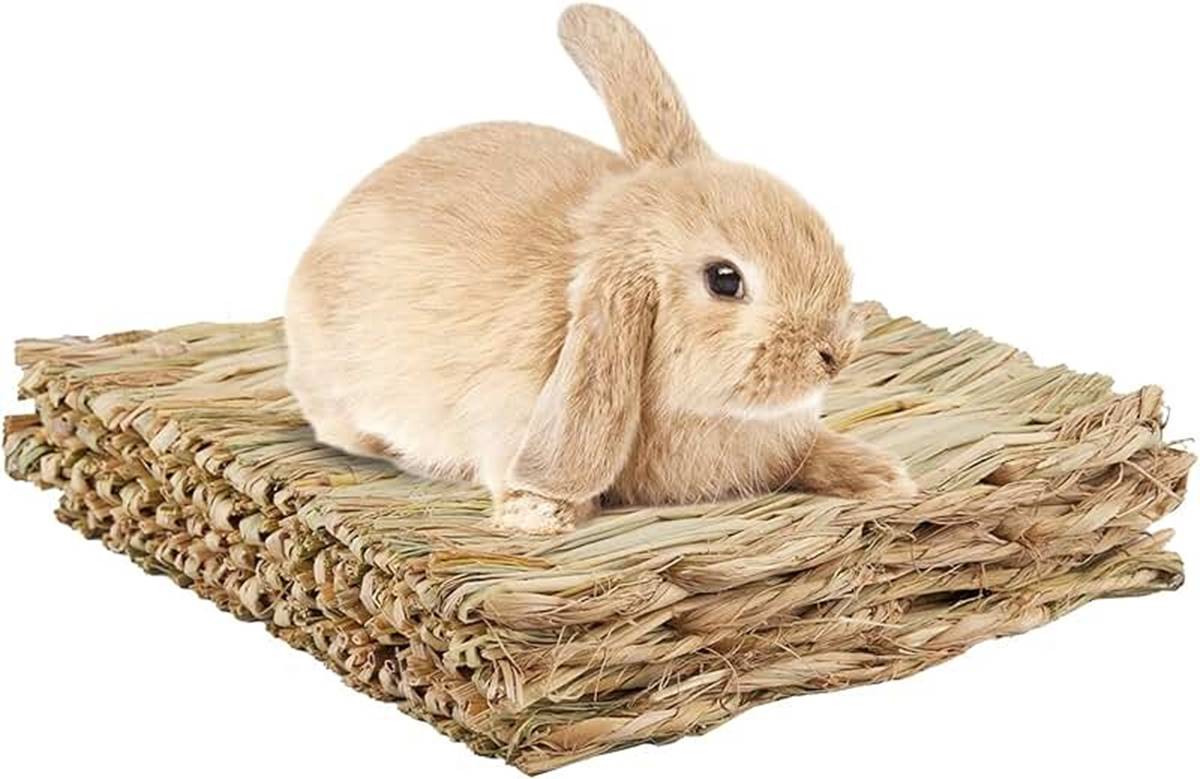
Kusa Grass, scientifically known as Zoysia matrella, is a warm-season turfgrass native to Asia. It is popular for its fine texture, lush green color, and excellent tolerance to heat and drought. Kusa Grass mats are widely used across various landscapes, including gardens, rooftops, and balconies, to add a touch of elegance and natural beauty.
Layering Kusa Grass mats not only enhances the aesthetics but also offers several benefits. It helps in conserving moisture, reducing weed growth, and preventing erosion. Moreover, it acts as a natural insulator, keeping the soil temperature cooler in hot weather.
In this article, we will walk you through the step-by-step process of layering Kusa Grass mats in your garden. By following these simple instructions, you will be able to transform your garden into a lush and inviting paradise.
Key Takeaways:
- Transform your garden into a lush paradise by layering Kusa Grass mats. Follow simple steps to prepare, lay, and maintain the mats for a vibrant and low-maintenance outdoor space.
- Enjoy the natural beauty and benefits of Kusa Grass in your garden. With proper preparation and care, create a visually appealing and resilient green space for relaxation and tranquility.
Read more: How To Use Kusha Grass Mat
Step 1: Prepare the Materials
Before you begin layering Kusa Grass mats in your garden, it is essential to gather all the necessary materials. Here is a list of items you will need:
- Kusa Grass mats: Measure the area where you want to lay the mats and calculate the quantity accordingly.
- Garden gloves: Protect your hands from dirt, grass stains, and potential sharp objects.
- Garden shears: These will come in handy for trimming the grass mats to fit the desired area.
- Stakes or staples: You will need these to secure the grass mats in place.
- Rake: Use a garden rake to smooth out the soil surface and remove any debris.
- Irrigation system: If you don’t already have one, consider installing an irrigation system to ensure proper watering of the grass mats.
Once you have gathered all the materials, make sure that the area where you plan to lay the Kusa Grass mats is prepared and ready to go. This includes removing any existing weeds, rocks, or other obstacles that may hinder the installation process.
Additionally, it is a good idea to check the soil condition and make any necessary amendments before laying the mats. Conduct a soil test to determine its pH level and nutrient content. This will help you identify if any adjustments, such as adding organic matter or fertilizer, are needed to promote healthy growth of the grass mats.
By preparing the materials and the site beforehand, you can ensure a smooth and hassle-free process when it comes time to lay the Kusa Grass mats in your garden.
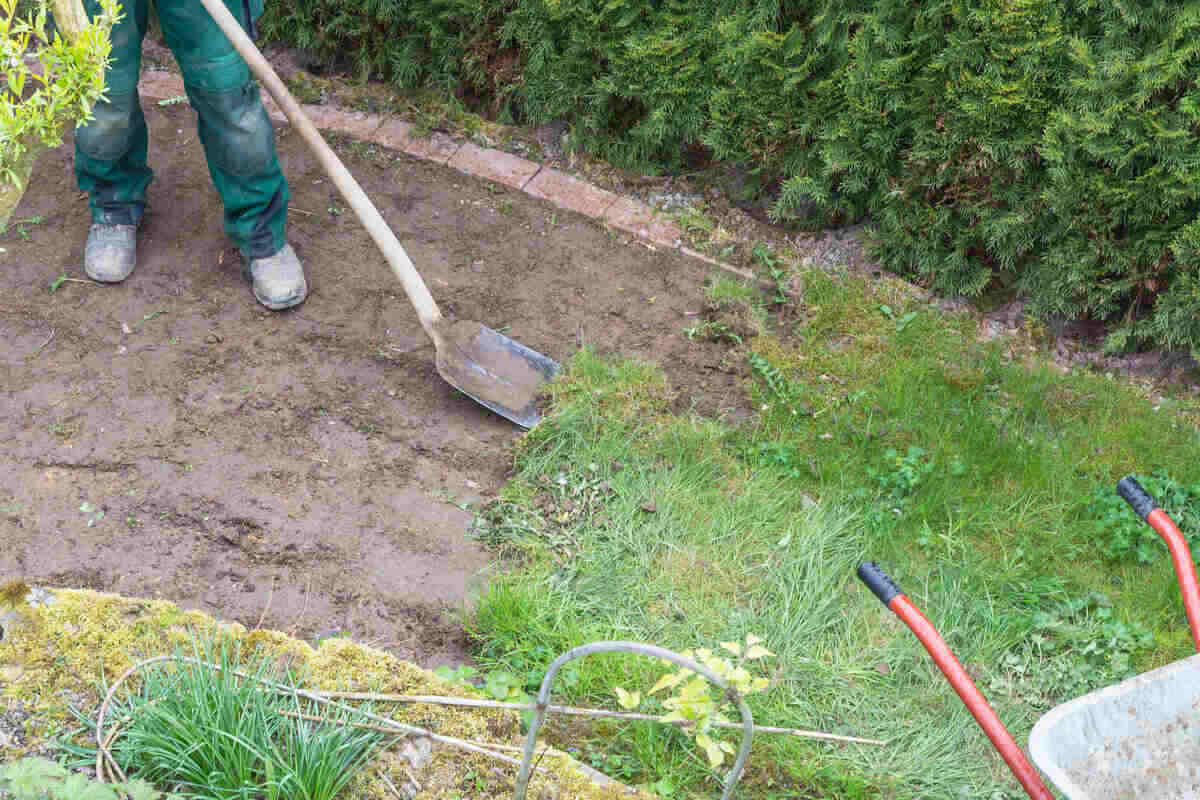
Step 2: Preparing the Surface
Now that you have gathered all the necessary materials, it’s time to prepare the surface where you will be laying the Kusa Grass mats. Follow these steps to ensure a suitable base for the grass:
- Clean the area: Start by removing any weeds, rocks, or debris from the site. Use a garden rake to thoroughly clear the surface.
- Level the soil: Use the rake to gently level the soil surface. Ensure that there are no major bumps or depressions that could affect the mat’s placement.
- Loosen the soil: If the soil is compacted, use a garden fork or tiller to loosen it up. This will promote better drainage and root penetration for the grass mats.
- Remove existing grass: If there is existing grass in the area, consider removing it to prevent any competition for nutrients and space.
- Water the soil: Before laying the mats, water the soil lightly. This will help settle the soil and provide moisture for the root system once the grass is installed.
By properly preparing the surface, you are creating an ideal environment for the Kusa Grass mats to thrive. A clean and level surface will ensure a seamless installation process and promote healthy growth of the grass.
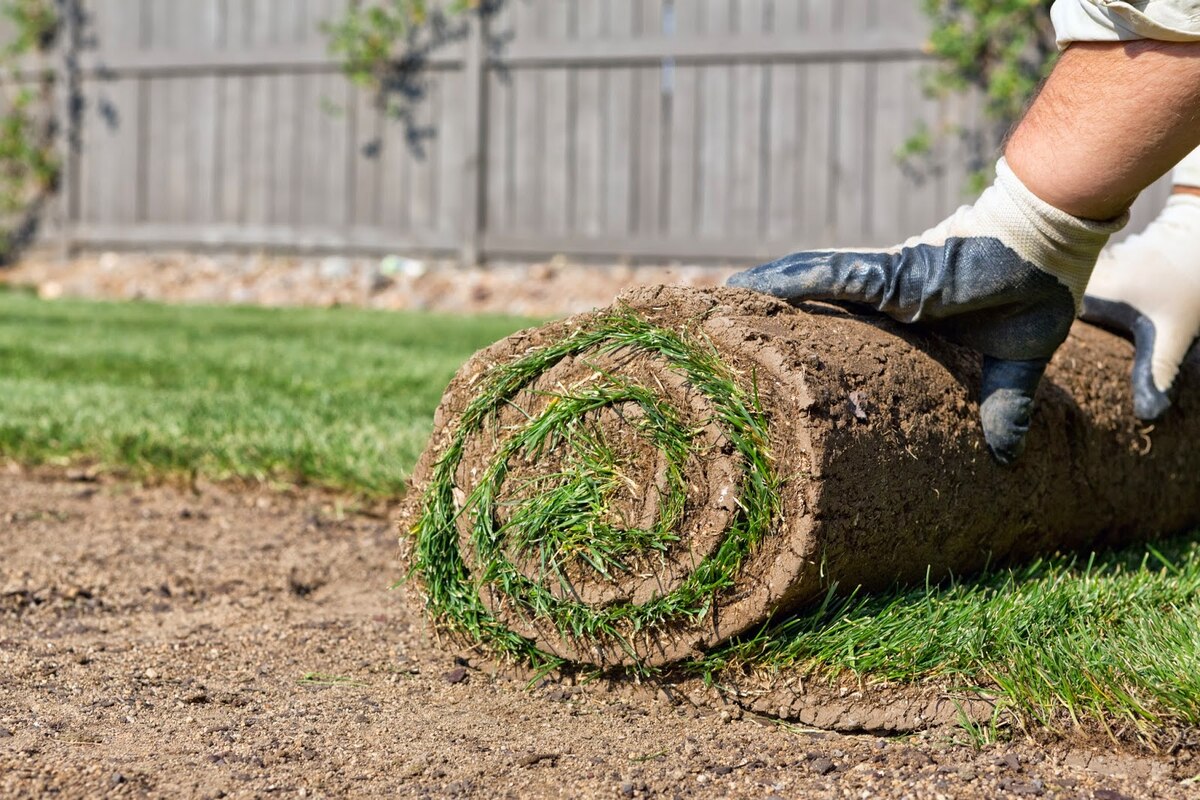
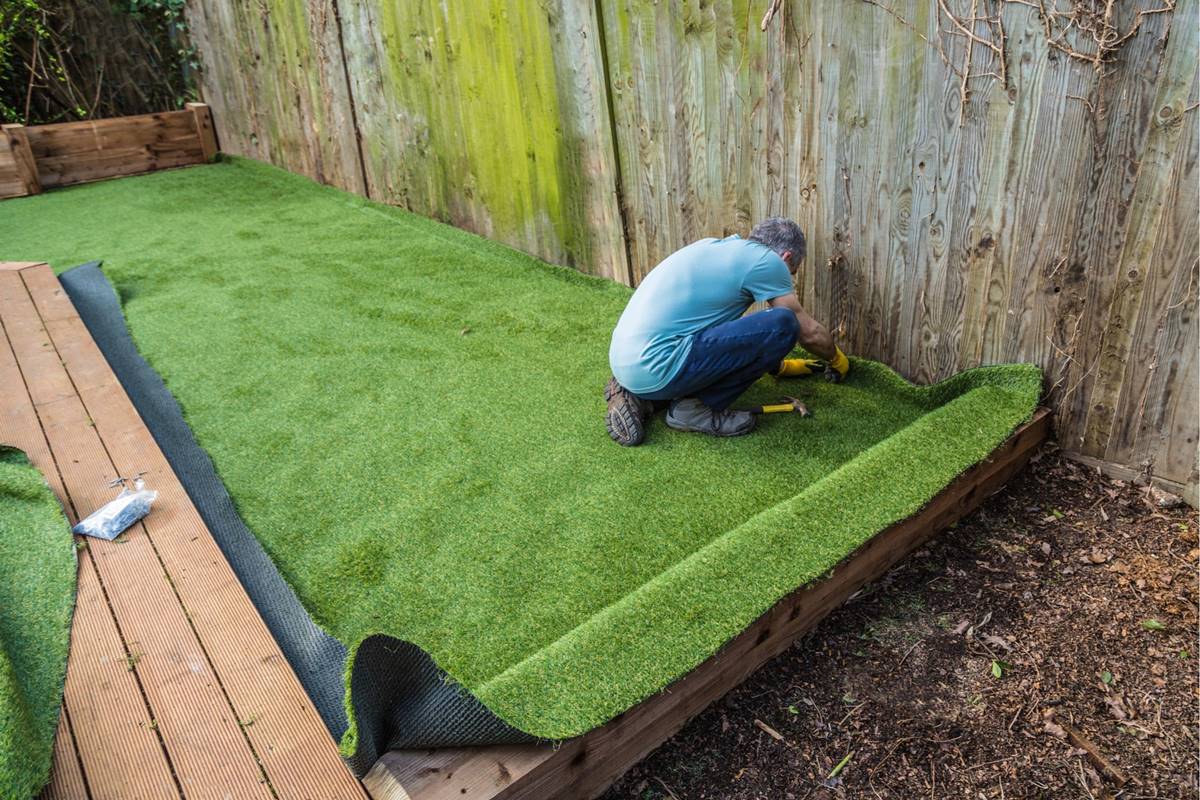
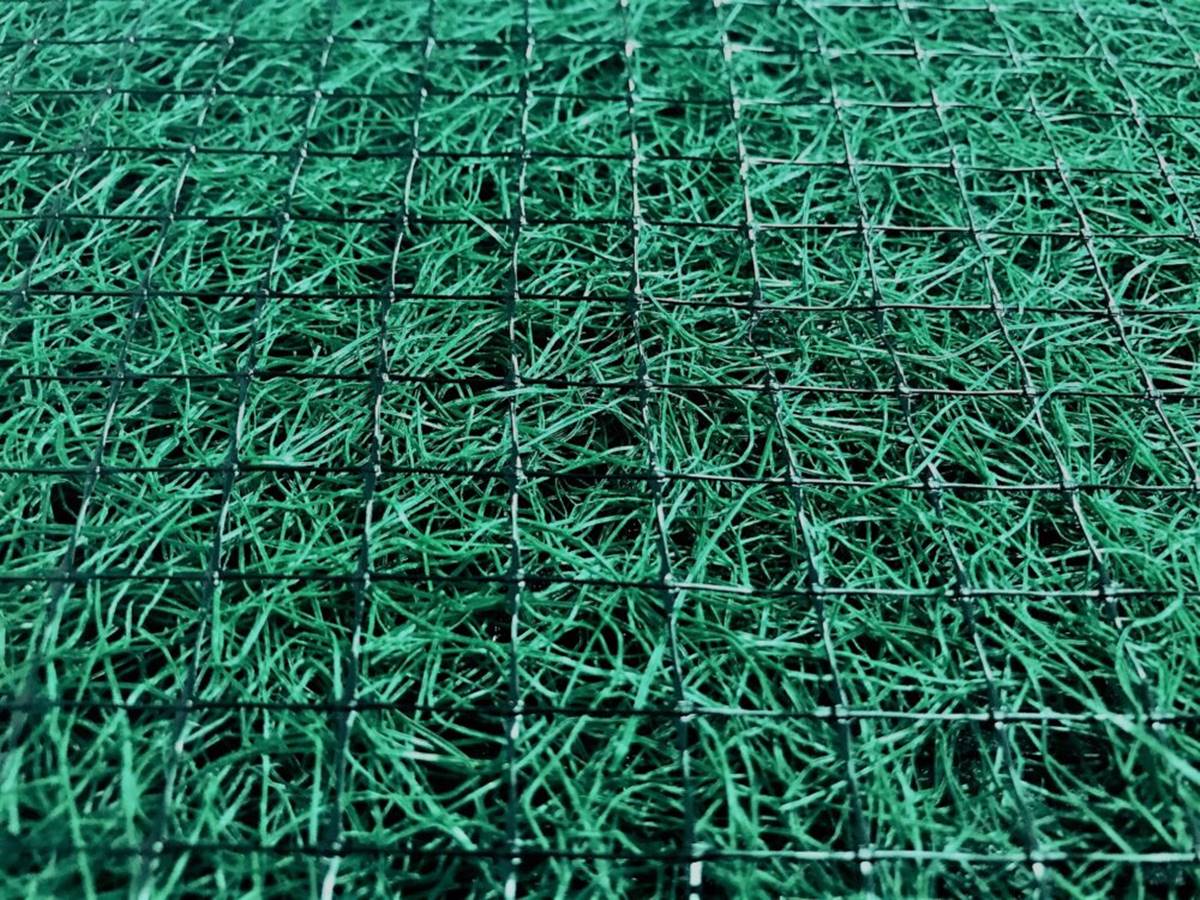
Step 3: Unroll the Kusa Grass Mat
With the surface prepared, it’s time to unroll the Kusa Grass mat and start laying it in your garden. Follow these steps:
- Start at one corner: Begin by unrolling the grass mat at one corner of the designated area. Make sure the mat is positioned in the direction you want it to grow. Typically, the grass should face upward.
- Overlap the seams: If you are covering a larger area, overlap the seams of the grass mats to ensure a seamless appearance. The amount of overlap will depend on personal preference, but 2-3 inches is generally sufficient.
- Smooth out any wrinkles: Gently pat down the mat and smooth out any wrinkles or folds. This will ensure even contact with the soil and promote proper root establishment.
- Align edges and corners: Ensure that the edges and corners of the grass mats are properly aligned. This will create a neat and cohesive look in your garden.
As you unroll the Kusa Grass mat, take your time to ensure it is properly positioned and aligned. This step is crucial to achieving a visually appealing and well-structured garden space.
Keep in mind that Kusa Grass is known for its ability to spread and fill in gaps, so don’t worry if there are small spaces between the mats. The grass will naturally grow and fill these areas over time.
Continue unrolling and laying the grass mats until you have covered the desired area in your garden.
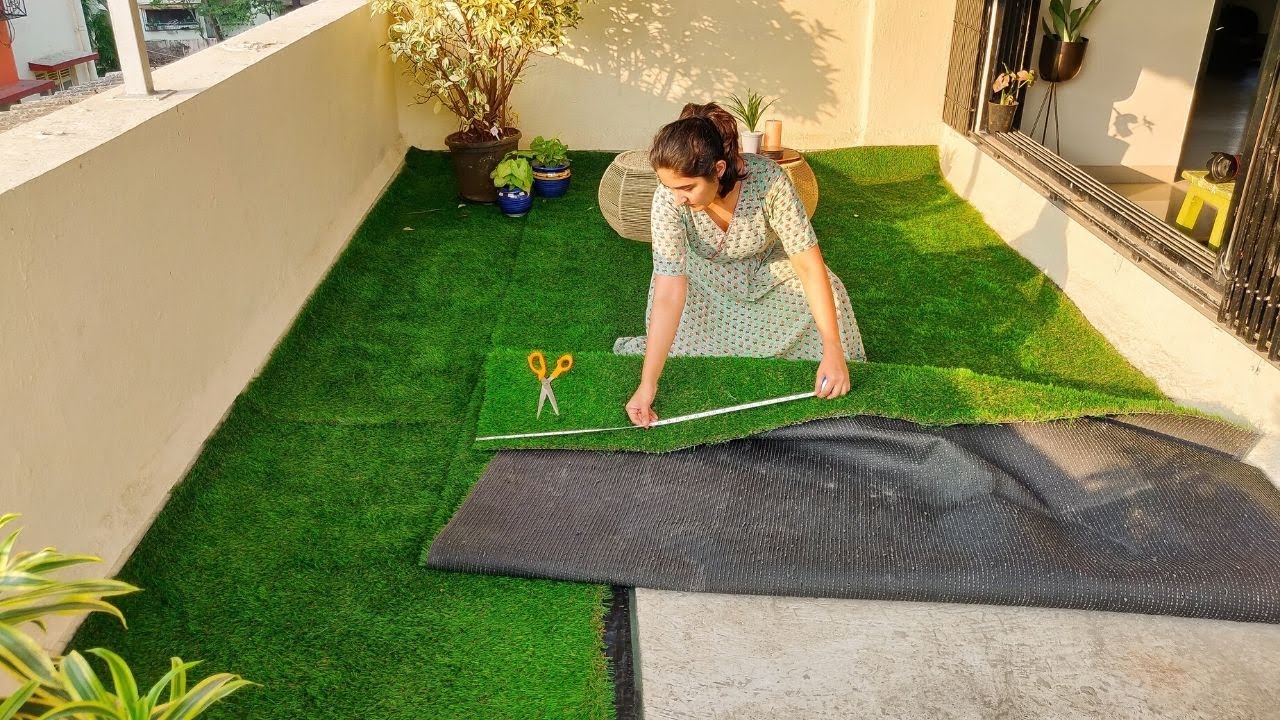
Step 4: Trim the Excess
After laying the Kusa Grass mats in your garden, it’s time to trim any excess material to ensure a clean and polished appearance. Follow these steps to trim the grass mats:
- Assess the edges: Carefully examine the edges of the grass mats to identify any areas that extend beyond the desired boundary or encroach onto walkways or other structures.
- Use garden shears: With a pair of sharp garden shears, trim off the excess grass by following the natural shape and contour of the area. Take your time and make precise cuts to achieve an even and professional look.
- Avoid cutting too close: While trimming, be cautious not to cut too close to the roots or the base of the grass. Leave a small buffer zone of at least a few centimeters to prevent damage to the grass mat.
By trimming the excess material, you can create defined edges and ensure that the Kusa Grass mats fit perfectly within the designated area. This step adds a finishing touch to your garden and enhances its overall aesthetic appeal.
Remember to dispose of the trimmed grass properly. You can either compost it or dispose of it in your green waste bin, following local guidelines and regulations.
When layering Kusa grass mats, start by laying down a base layer of mats in one direction, then add a second layer on top in the opposite direction for added strength and stability. Repeat this process for additional layers as needed.
Read more: How To Layer Landscaping
Step 5: Secure the Mat in Place
Once you have trimmed the excess grass and achieved the desired shape and size, it’s important to secure the Kusa Grass mats in place. This will prevent them from shifting or moving, especially during heavy winds or foot traffic. Follow these steps to secure the mat:
- Insert stakes or staples: Along the edges of the grass mats, insert stakes or staples into the soil. Place them at regular intervals, approximately every 12-18 inches.
- Hammer them in: Using a rubber mallet or hammer, gently tap the stakes or staples into the ground until they are firmly anchored. Be careful not to hit the grass or damage the mat.
- Check stability: Once all the stakes or staples are in place, check the stability of the grass mats. Gently tug on the corners and edges to ensure they are securely attached to the ground.
- Adjust if needed: If you notice any areas that are not fully secured, reposition the stakes or staples to provide additional support. This will help keep the grass mats in place while allowing for proper root growth and expansion.
Securing the Kusa Grass mats is essential to maintain their intended position in your garden. By doing so, you can ensure that your garden retains its polished look and that the grass remains in optimal condition.
Remember to choose stakes or staples that are appropriate for outdoor use and that won’t rust or degrade over time. This will ensure the longevity of your Kusa Grass mat installation.
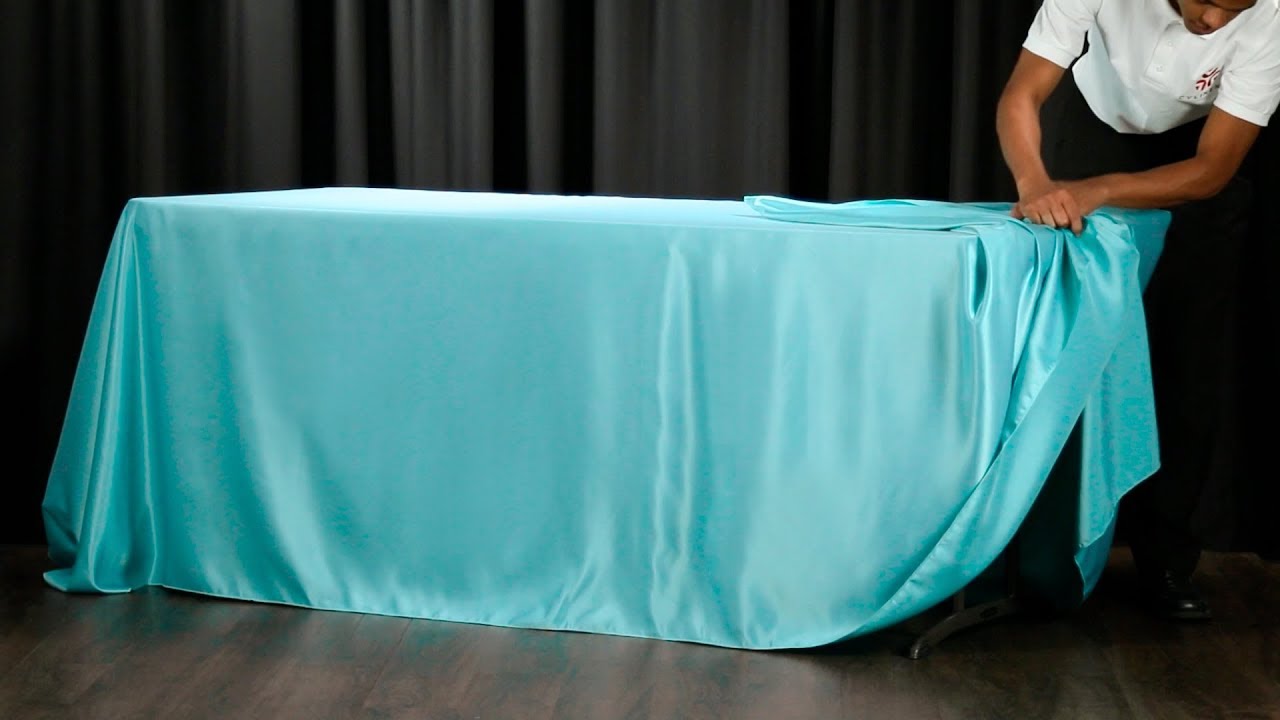
Step 6: Smooth out Any Wrinkles
After securing the Kusa Grass mats in place, it’s important to take a moment to assess the surface and ensure that it is free of any wrinkles or folds. Smooth out any imperfections to create a seamless and visually pleasing appearance. Follow these steps to smooth out any wrinkles:
- Walk on the mats: Begin by walking carefully across the grass mats, applying gentle pressure with your feet. This will help smooth out any minor wrinkles or creases that may have formed during the installation process.
- Use a lawn roller: If you notice larger or more stubborn wrinkles, use a lawn roller to gently roll over the affected areas. This will help flatten the grass and create a smooth surface.
- Water the grass: After smoothing out the wrinkles, water the grass mats lightly. This will help the grass settle and conform to the shape of the ground, further minimizing any creases or folds.
- Inspect and adjust: Take a step back and inspect the surface from various angles. If you notice any remaining wrinkles or unevenness, gently lift the affected area, add more soil if necessary, and press it back down to create a smooth finish.
By taking the time to smooth out any wrinkles, you can ensure a visually appealing and well-maintained appearance for your Kusa Grass mat installation. This step is crucial for creating a uniform and professional look in your garden.
Remember that the grass will naturally grow and blend together over time, further minimizing the visibility of any minor imperfections.
Step 7: Finishing Touches
Now that you have laid and secured the Kusa Grass mats in your garden, it’s time to add the finishing touches to complete the installation. These final steps will ensure that your garden not only looks beautiful but also thrives in its new environment. Follow these tips for the perfect finishing touches:
- Water the grass mats: After the installation is complete, water the grass mats thoroughly. This will help the roots establish and encourage healthy growth. Be sure to water regularly, especially during the initial stages.
- Fertilize the grass: Consider applying a slow-release fertilizer specifically formulated for Kusa Grass. This will provide the necessary nutrients to support its growth and vibrant green color. Follow the product instructions for the appropriate application rate.
- Monitor and adjust watering: Pay attention to the moisture levels of the grass mats. Ensure they are neither too dry nor excessively watered. Adjust your watering schedule as needed based on weather conditions and the specific requirements of Kusa Grass in your region.
- Regular maintenance: Maintain the appearance and health of your Kusa Grass mats by regularly mowing, aerating, and removing any debris that may accumulate on the surface. This will keep the grass mats looking fresh and vibrant.
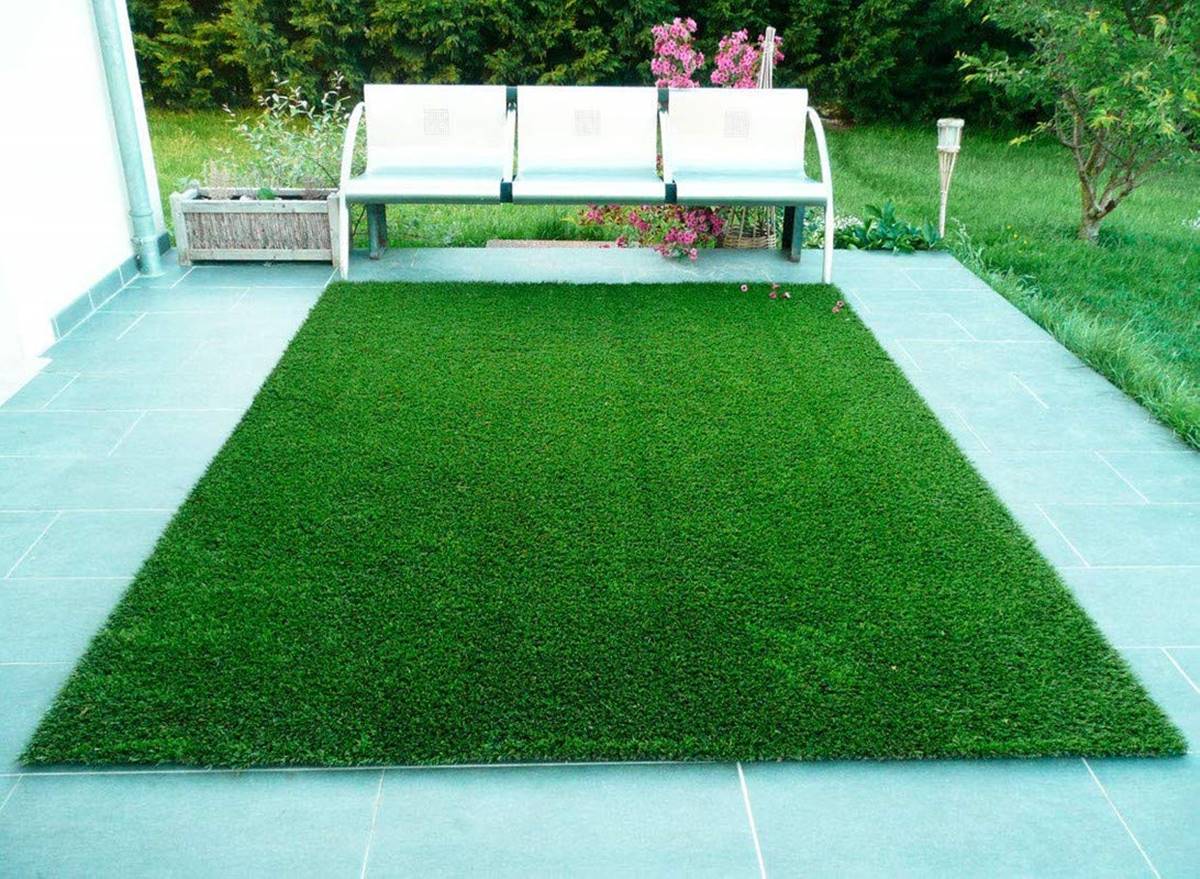
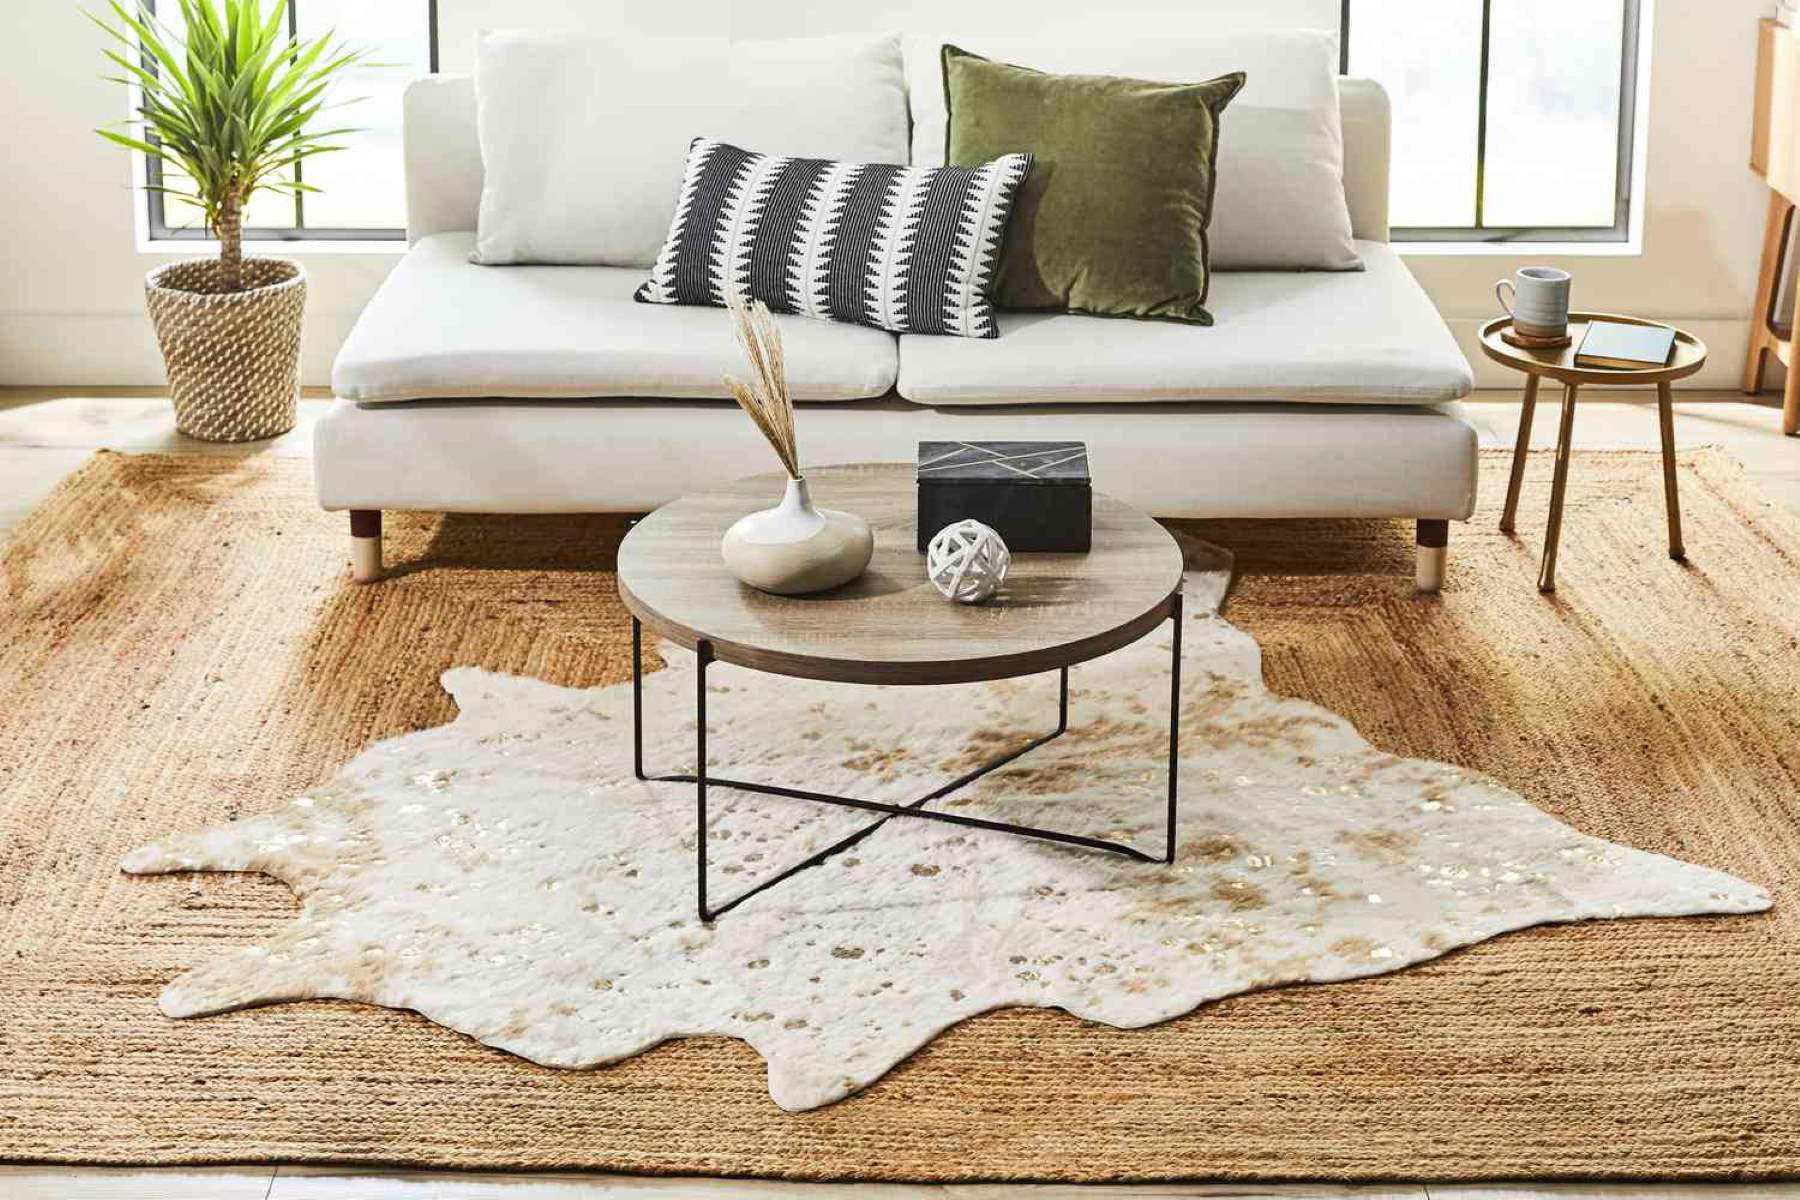
- Enjoy your garden: With the Kusa Grass mats in place, take a step back and admire your transformed garden. Spend time relaxing and enjoying the beauty and tranquility that your new green space brings.
Remember that Kusa Grass is a resilient turfgrass that requires minimal maintenance compared to other grass varieties. With proper care and attention, your garden will thrive, providing you with a lush and inviting outdoor oasis.
By completing these finishing touches, you can ensure that your Kusa Grass mat installation is not only visually appealing but also long-lasting and sustainable.
Conclusion
Layering Kusa Grass mats in your garden is a fantastic way to add depth, texture, and natural beauty. With its fine texture, lush green color, and excellent tolerance to heat and drought, Kusa Grass is a popular choice for creating a vibrant and inviting outdoor space.
By following the step-by-step process outlined in this article, you can successfully layer Kusa Grass mats in your garden and transform it into a lush and picturesque paradise. From preparing the materials and surface to unrolling the mats, trimming the excess, securing them in place, and smoothing out any wrinkles, each step plays a crucial role in achieving a visually appealing and well-maintained garden area.
Once the installation is complete, remember to provide proper care and maintenance for your Kusa Grass mats. This includes regular watering, fertilizing, and monitoring moisture levels to ensure optimal growth and health. With regular maintenance and attention, your garden will thrive, providing you with a beautiful outdoor space to relax and enjoy.
So, what are you waiting for? Embark on your journey of layering Kusa Grass mats and experience the transformation of your garden into a stunning oasis. Embrace the natural beauty and benefits that Kusa Grass offers, and enjoy the pleasure of a vibrant and inviting outdoor space.
Frequently Asked Questions about How To Layer Kusha Grass Mat
Was this page helpful?
At Storables.com, we guarantee accurate and reliable information. Our content, validated by Expert Board Contributors, is crafted following stringent Editorial Policies. We're committed to providing you with well-researched, expert-backed insights for all your informational needs.
0 thoughts on “How To Layer Kusha Grass Mat”