Articles
How To Remove Closet Shelf
Modified: September 1, 2024
Looking to optimize your closet storage? Discover effective storage ideas and learn how to remove a closet shelf for maximum organization and space utilization.
(Many of the links in this article redirect to a specific reviewed product. Your purchase of these products through affiliate links helps to generate commission for Storables.com, at no extra cost. Learn more)
Introduction
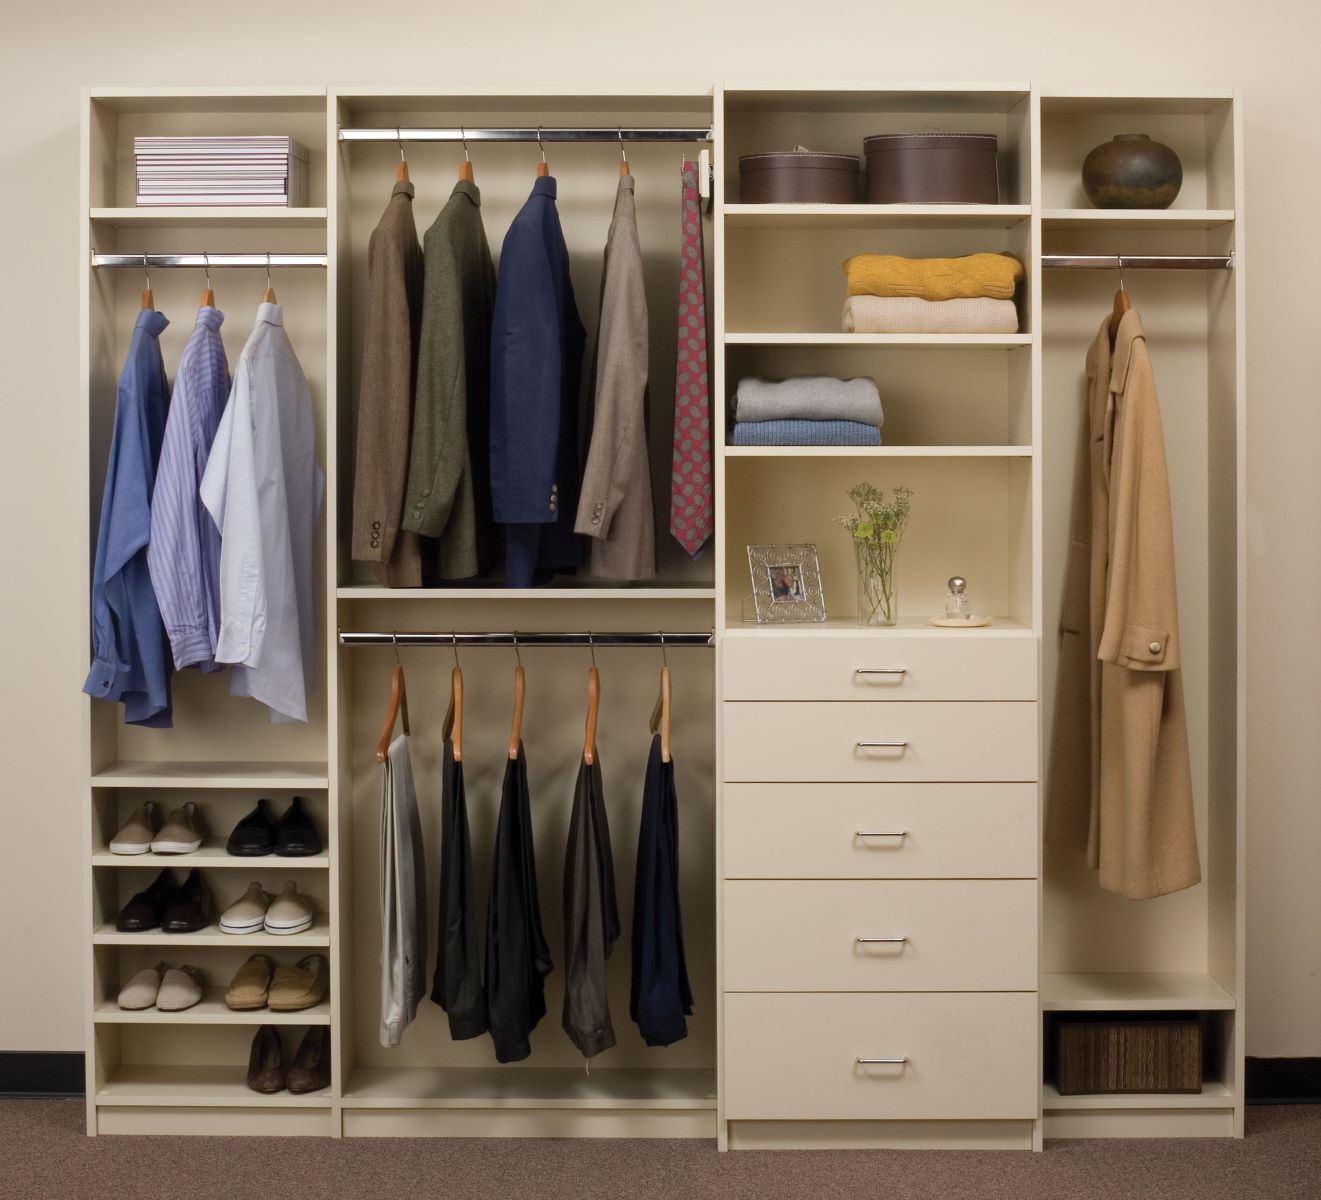
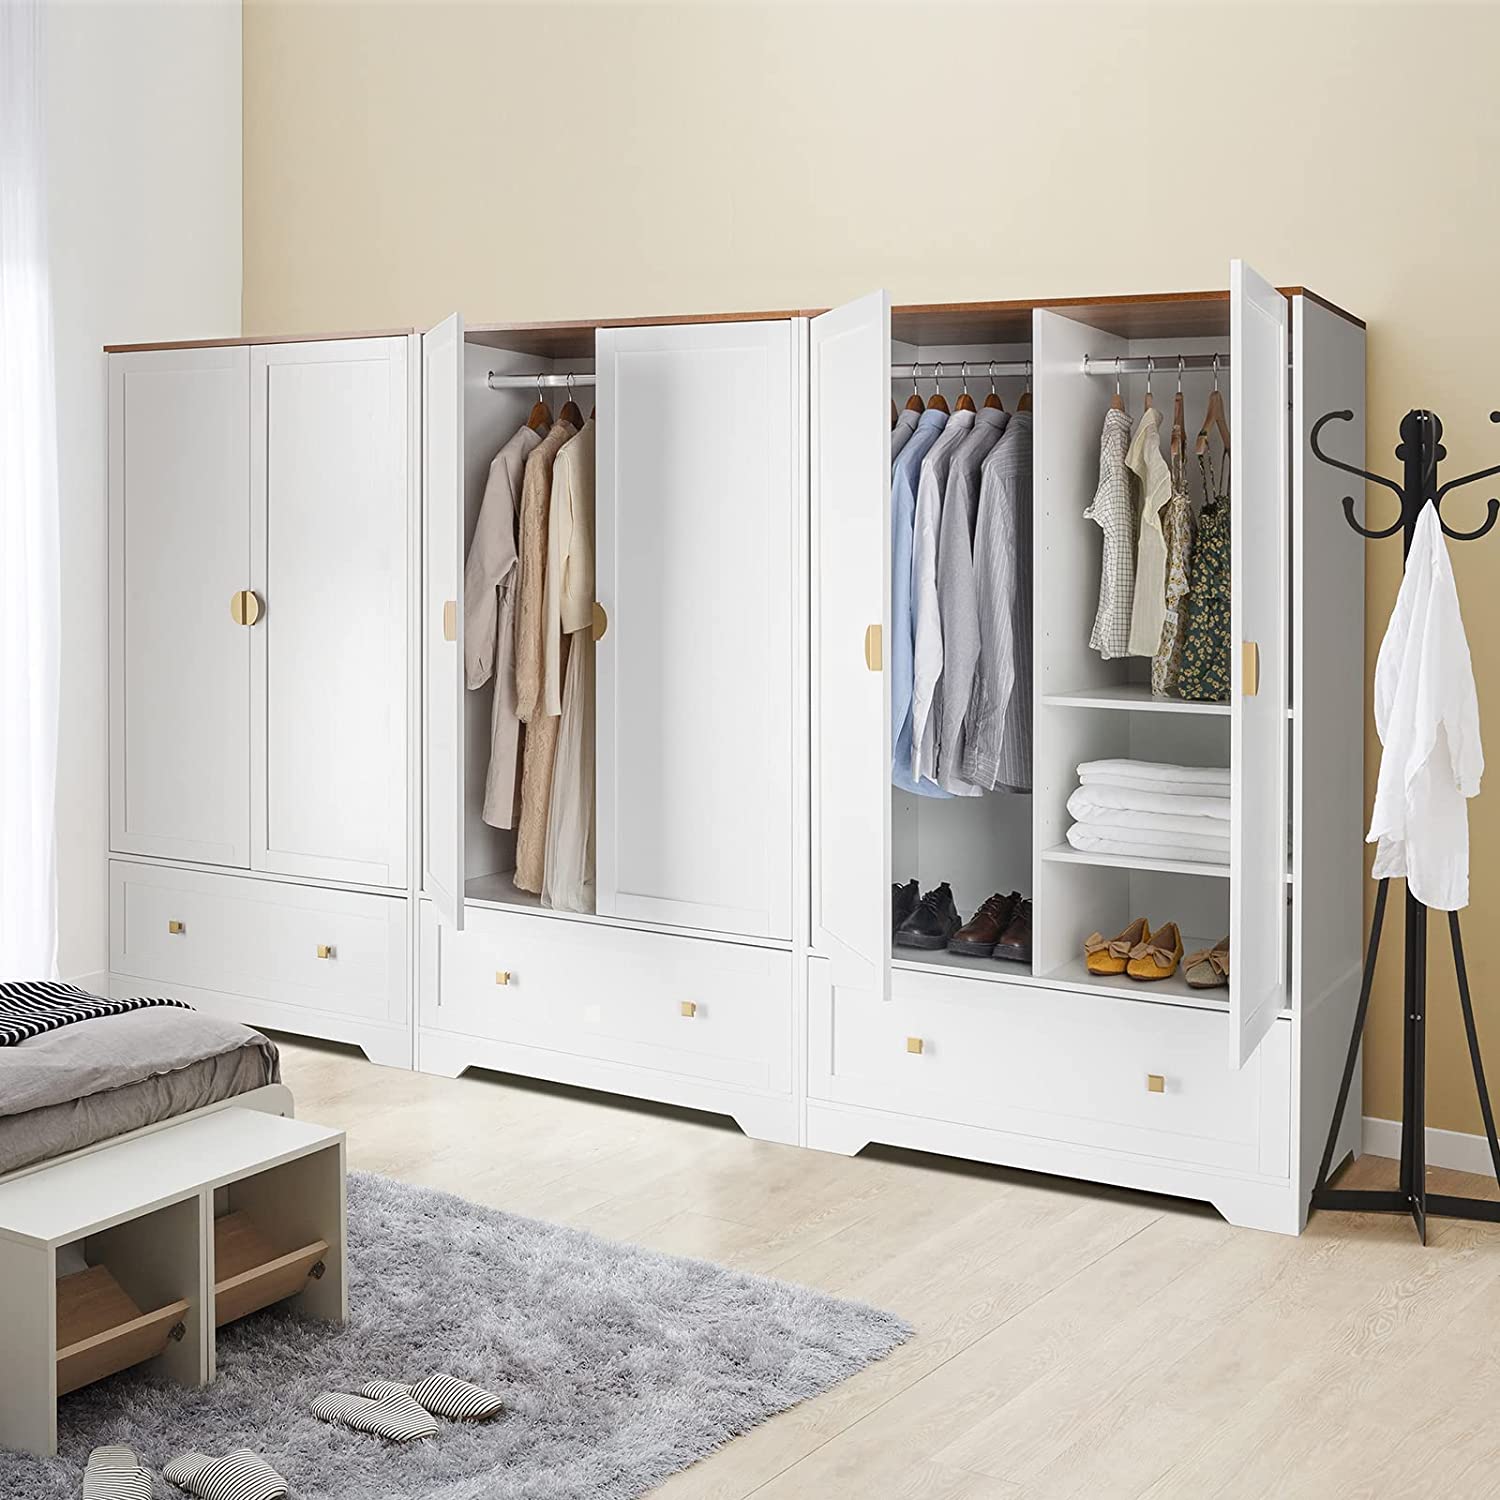
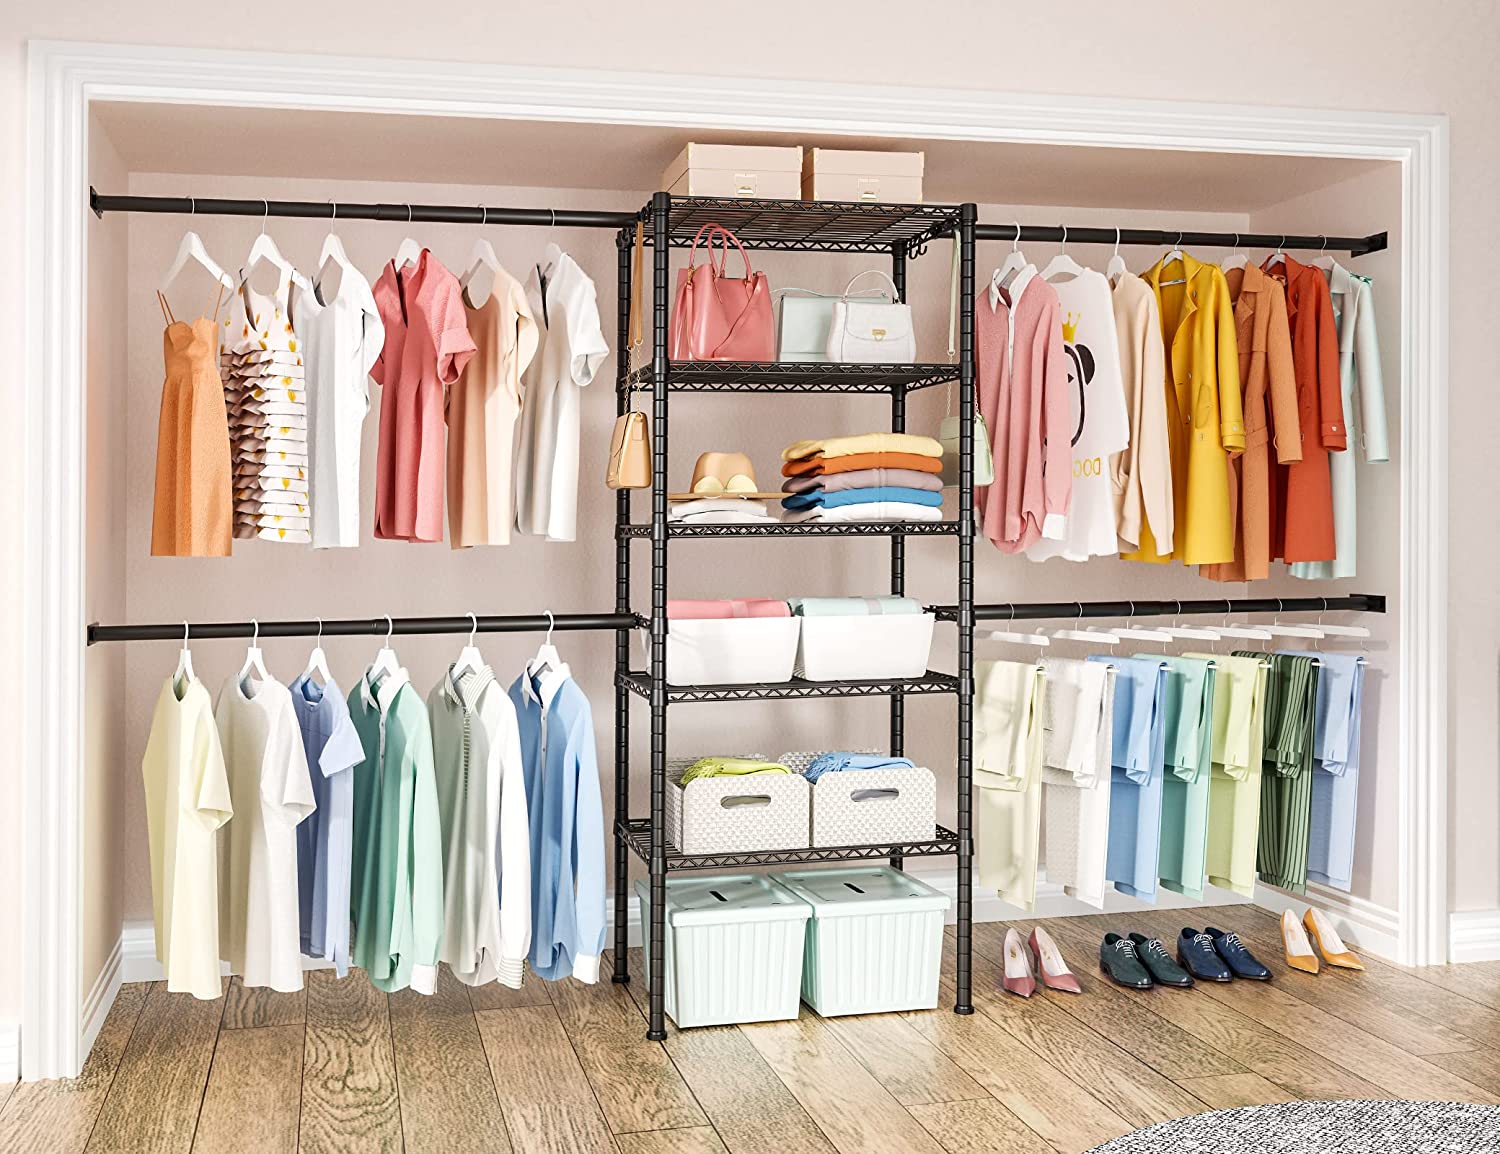
Removing a closet shelf can be a simple and effective way to declutter and organize your space. Whether you’re looking to change the layout of your closet or create more room for storage, taking out the existing shelf is the first step towards achieving your desired outcome. Fortunately, with the right tools and a little bit of effort, you can easily remove a closet shelf on your own.
In this step-by-step guide, we will walk you through the process of removing a closet shelf. From clearing out the closet to patching up any holes and touching up the walls, we will cover everything you need to know to successfully complete this project.
Before diving into the removal process, make sure you have all the necessary tools and materials on hand. This will help streamline the process and ensure you have everything you need before getting started.
Key Takeaways:
- Create more space and organization by removing a closet shelf. Follow simple steps to clear out the closet, detach the shelf, patch holes, and organize belongings for a clutter-free environment.
- Transform your closet with a rewarding shelf removal project. Enjoy the benefits of a decluttered space, maximize storage capacity, and maintain a visually pleasing and efficient environment.
Read more: How To Install Closet Shelf And Rod
Tools and Materials Needed
Before you begin removing the closet shelf, gather the following tools and materials:
- Phillips screwdriver or power drill with a screwdriver bit
- Pry bar or a flathead screwdriver
- Putty knife or scraper
- Drywall patching compound
- Sanding block or sandpaper
- Paint and paintbrush or roller (if needed for touch-ups)
- Vacuum cleaner or broom
- Garbage bags or boxes for clearing out the closet
- Drop cloth or old sheets to protect the floor
Having these tools and materials prepared in advance will make the process smoother and help you save time and effort during the removal process. Additionally, it’s important to wear protective gloves and safety goggles to ensure your safety while working.
Now that we have all the necessary tools and materials, let’s move on to the step-by-step process of removing the closet shelf.
Step 1: Clearing the Closet
Before you can begin removing the closet shelf, it’s important to clear out the contents of the closet. Start by removing all items from the shelf and any hanging items from the closet rod. Sort through your belongings and decide what you want to keep, donate, or discard. This is a great opportunity to declutter and create a more organized space.
As you remove items from the shelf, place them in designated boxes or bags. Label each box or bag accordingly to make it easier to find items later. If there are any fragile or delicate items, handle them with care and consider wrapping them in bubble wrap or tissue paper for added protection.
If the closet has any drawers or storage containers, empty them out as well. As you remove items, take the opportunity to wipe down and clean the surfaces. Vacuum the floor of the closet to remove any dust or debris.
Once you have cleared out the closet, you will have a clean and empty space to work with. This will make it easier to remove the shelf and complete the project efficiently.
In the next step, we will explore how to remove the shelf support brackets.
Step 2: Removing the Shelf Support Brackets
With the closet cleared and ready, it’s time to remove the shelf support brackets. These brackets are typically attached to the wall or the closet sides and provide the necessary support for the shelf. Follow these steps to remove the brackets:
- Inspect the brackets: Take a close look at the brackets and determine how they are attached to the wall or closet. Some brackets may be screwed in, while others may be nailed or glued.
- Prepare your tools: Use a Phillips screwdriver or power drill with a screwdriver bit to remove any screws that are securing the brackets. If the brackets are nailed, use a pry bar or a flathead screwdriver to carefully pry them away from the wall or closet.
- Detach the brackets: Once the screws are removed or the brackets are loose, carefully pull them away from the wall or closet. Take your time to ensure a smooth removal process. If the brackets are glued, use a putty knife or scraper to gently separate them from the surface.
During the removal process, be cautious to avoid damaging the walls or closet. If the brackets are stubborn or difficult to remove, apply gentle pressure and wiggle them back and forth until they come loose. Avoid using excessive force that could cause unnecessary damage.
As you remove each bracket, set them aside in a safe place. It may be helpful to label them if you plan on reusing them in the future.
Now that the brackets are removed, we can move on to detaching the shelf from the support pins in the next step.
Step 3: Detaching the Shelf from the Pins
Now that you have removed the shelf support brackets, it’s time to detach the shelf from the support pins that are inserted into the brackets. Follow these steps to complete this process:
- Inspect the shelf pins: Take a closer look at the support pins and determine how they are secured to the shelf. Some pins may be screwed in, while others may be inserted into pre-drilled holes.
- Prepare your tools: If the pins are attached with screws, use a Phillips screwdriver or power drill with a screwdriver bit to remove the screws. If the pins are inserted into pre-drilled holes, apply gentle pressure to wiggle them loose.
- Detach the shelf from the pins: Once the pins are removed or loose, carefully lift the shelf away from the support pins. It may be helpful to have a friend assist you in holding the shelf steady as you detach it. Be cautious not to let the shelf fall or tip over.
When detaching the shelf, be mindful of any protruding nails or sharp edges that may cause injury. Keep a firm grip on the shelf and handle it with care to avoid accidents.
Set the detached shelf aside in a safe location, making sure it is secure and won’t get damaged while you continue with the next steps.
In the following step, we will learn how to remove the shelf from the wall.
When removing a closet shelf, start by removing any items on the shelf. Then, use a screwdriver or drill to remove any screws or brackets holding the shelf in place. Finally, carefully lift the shelf out of the closet.
Read more: How To Remove Closet Door
Step 4: Removing the Shelf from the Wall
Now that the shelf is detached from the support pins, it’s time to remove it from the wall. Follow these steps to safely remove the shelf:
- Inspect the attachment method: Take a closer look at how the shelf is attached to the wall. It may be screwed directly into the wall, attached with brackets, or secured with other fastening methods. Understanding the attachment method will help determine the best approach for removal.
- Prepare your tools: Depending on the attachment method, you may need to use a screwdriver, power drill, or other tools. Ensure you have the necessary tools on hand before proceeding.
- Remove any screws or fasteners: If the shelf is secured with screws or fasteners, use a screwdriver or power drill with a screwdriver bit to remove them. Turn counterclockwise to loosen and remove the screws.
- Detach the shelf from brackets: If the shelf is attached with brackets, carefully lift the shelf upward to disengage it from the brackets. Use a friend’s assistance if needed to hold the shelf steady during this process.
Take your time during the removal process to avoid damaging the wall or the shelf itself. If you encounter any difficulties, apply gentle pressure or wiggle the shelf back and forth to loosen it. Be cautious not to use excessive force that could result in damage or injury.
Once the shelf is successfully removed from the wall, set it aside in a safe location where it won’t get damaged. Now we can move on to the next step, which involves patching holes and touching up the wall.
Step 5: Patching Holes and Touching Up
After removing the shelf, you may notice some holes or marks left behind on the wall. Don’t worry, in this step we will guide you through the process of patching up the holes and completing any necessary touch-ups:
- Inspect the wall: Carefully examine the wall to identify any holes, scratches, or other imperfections that need to be repaired. Take note of the size and depth of the holes as this will determine the patching technique.
- Prepare the drywall patching compound: If the holes are small, you can use a lightweight drywall patching compound. Follow the manufacturer’s instructions to mix the compound to the desired consistency.
- Apply the patching compound: Use a putty knife or scraper to apply the patching compound over the holes. Smooth it out evenly and fill the holes completely. For larger holes, you may need to apply several layers, allowing each layer to dry before applying the next.
- Sand the patch: Once the patching compound is dry, use a sanding block or sandpaper to smooth down the patched area. This will create a seamless surface that matches the surrounding wall.
- Touch up the paint: If the wall has paint, you will need to touch up the patched area to match the rest of the wall. Apply a small amount of paint to a brush or roller and carefully paint over the patched area. Feather out the paint to blend it with the surrounding wall. Allow the paint to dry completely before assessing the color match. If necessary, apply additional coats for a seamless finish.
Take your time during the patching and painting process to ensure a professional-looking result. Step back and examine the patched area from different angles to ensure it blends seamlessly with the rest of the wall.
Once the patched area is dry and the touch-up paint is complete, you can move on to the final step – cleaning and organizing the closet.
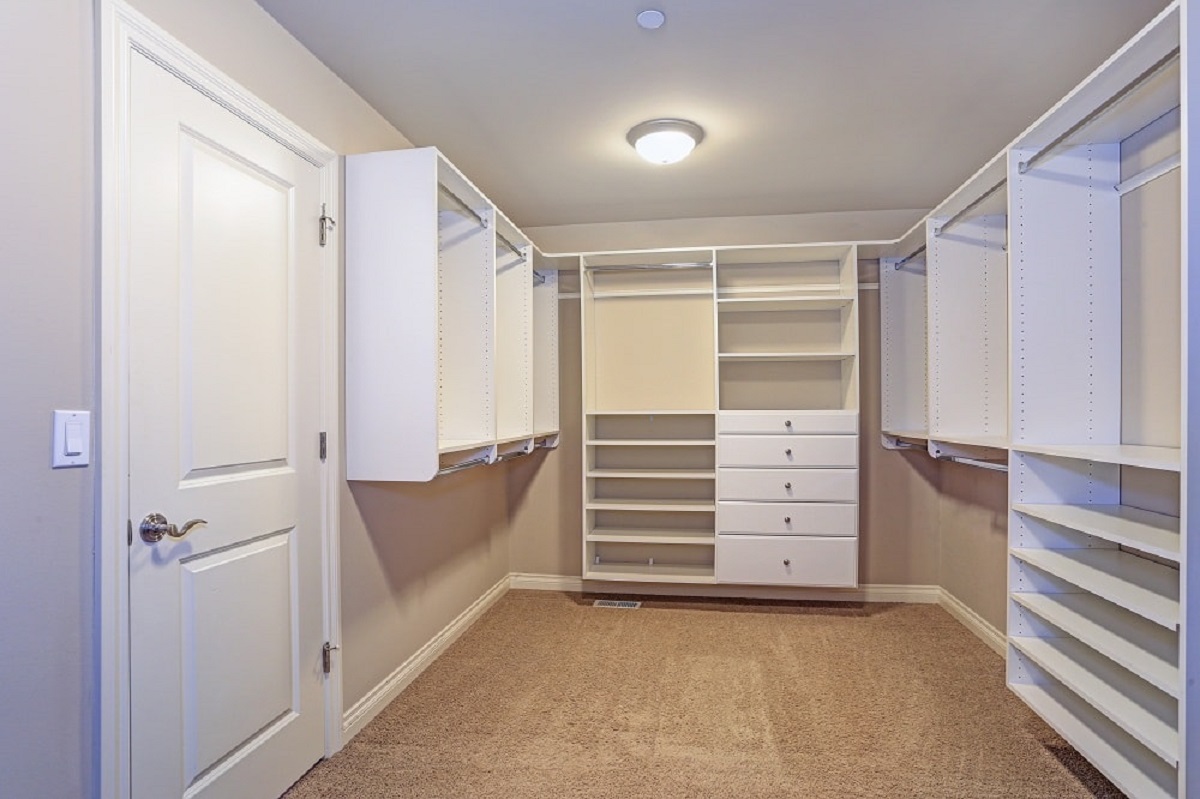
Step 6: Cleaning and Organizing the Closet
Now that the shelf is removed and any necessary repairs have been made, it’s time to focus on cleaning and organizing the closet. Consider following these steps to create a fresh and organized space:
- Vacuum or sweep the closet: Start by removing any dust or debris from the closet floor. Use a vacuum cleaner or broom to thoroughly clean the space.
- Clean the shelves and surfaces: Wipe down the remaining shelves, closet walls, and any other surfaces with a damp cloth. This will help remove any lingering dust or dirt.
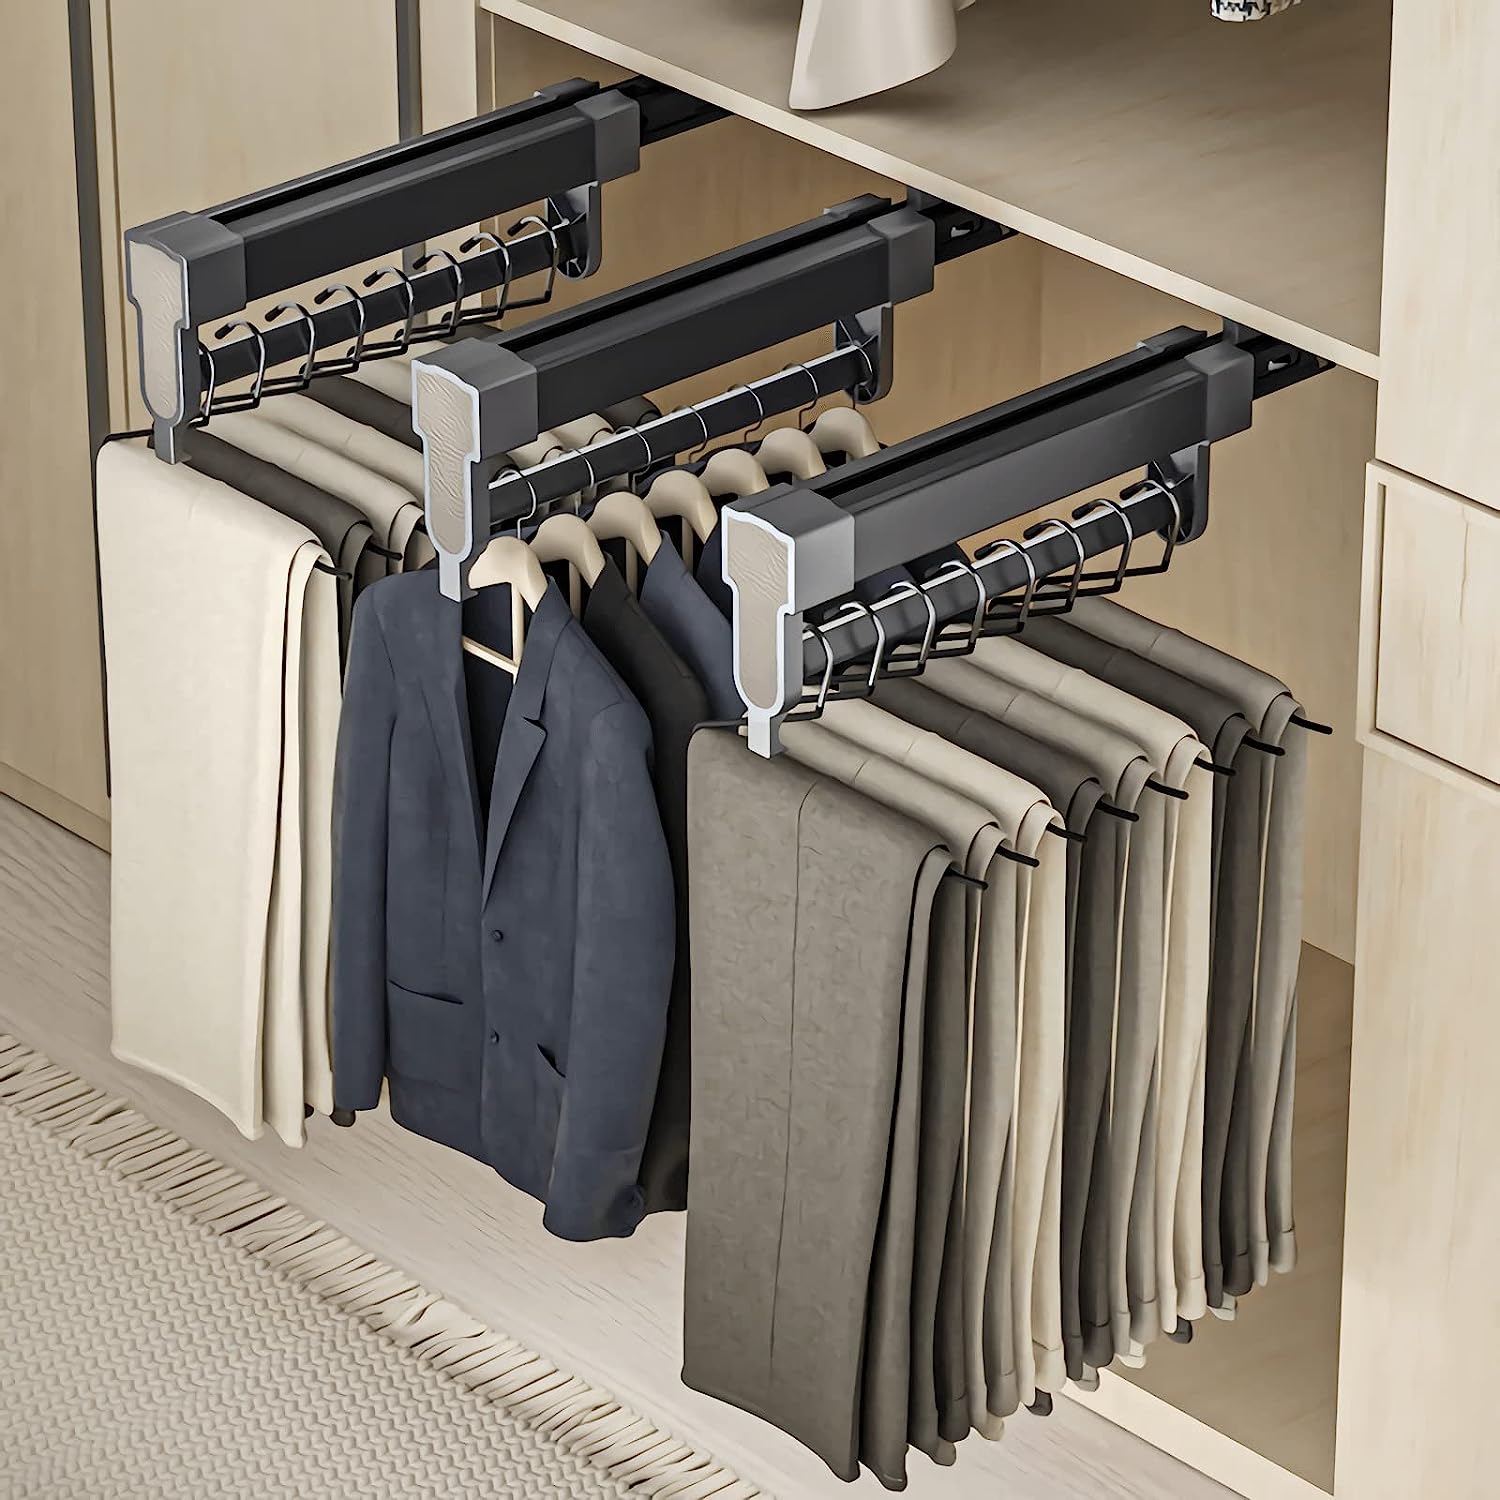
- Organize your belongings: Before returning items to the closet, take the opportunity to organize them. Group similar items together and arrange them in a way that makes sense to you. Consider using bins, boxes, or storage containers to keep things tidy.
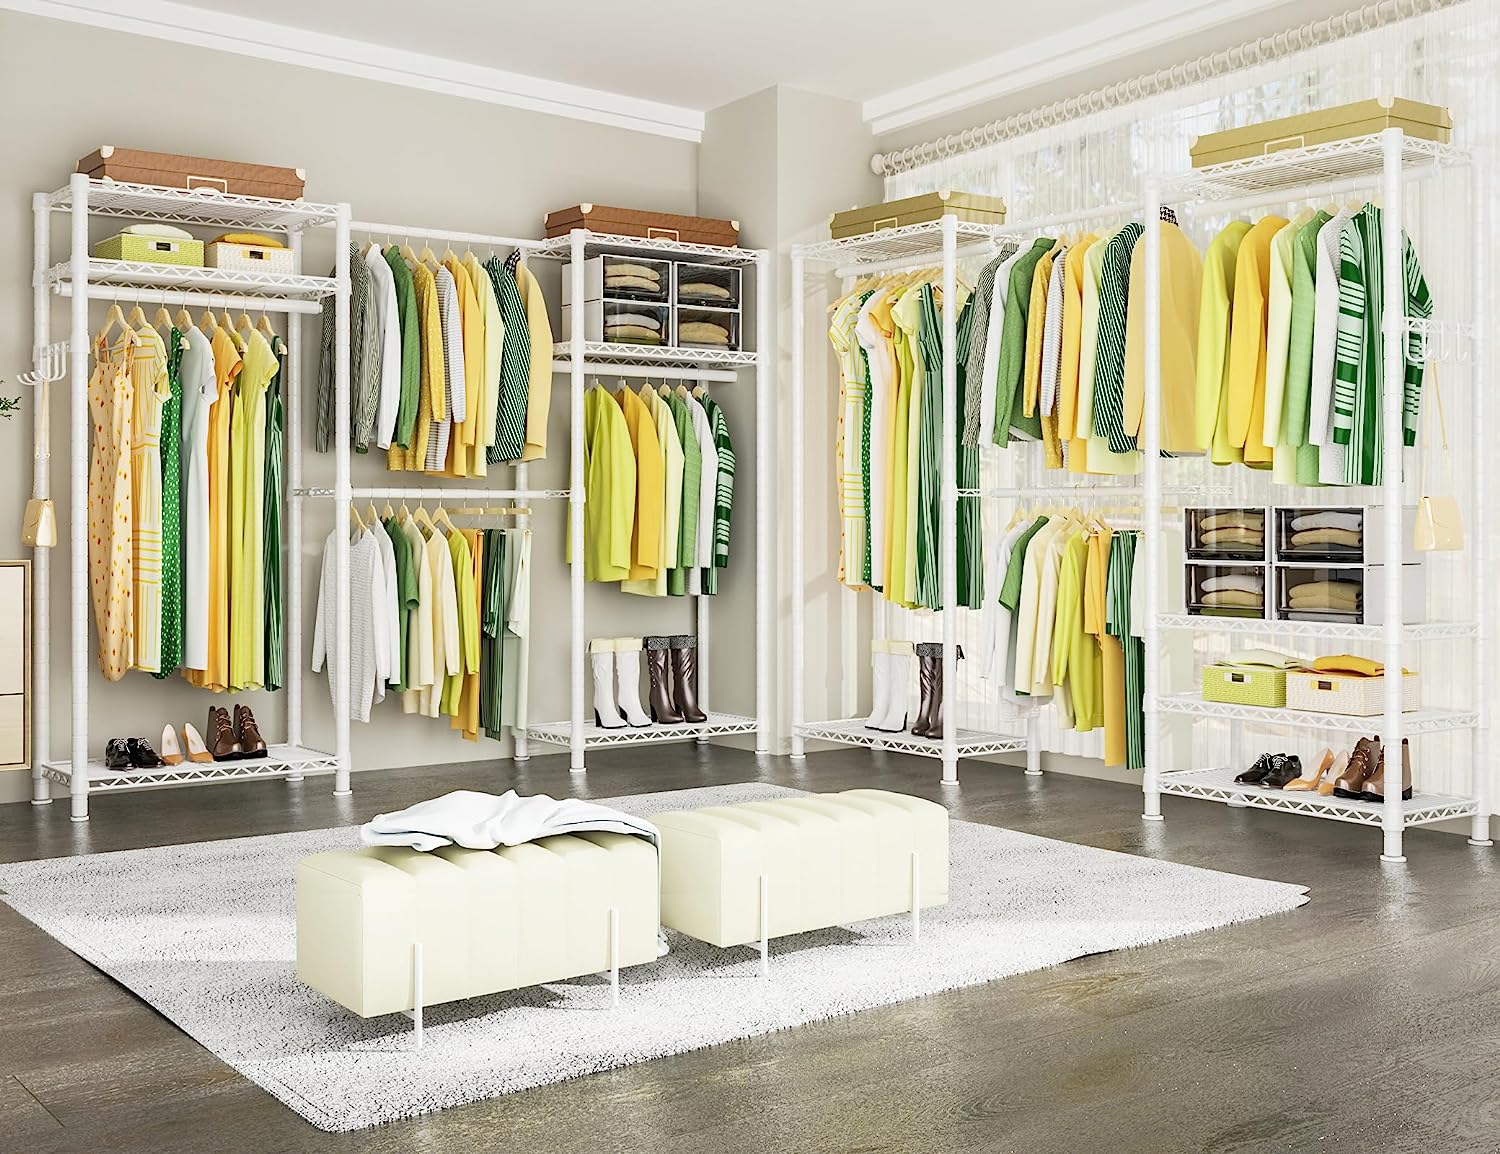
- Utilize the vertical space: Make the most of your closet’s vertical space by adding hanging organizers, hooks, or additional shelving units. This will help maximize storage capacity and keep items easily accessible.
- Label and categorize: To maintain organization in the long term, label shelves and storage containers so that you can quickly locate items when needed. Categorize items based on their type or frequency of use for easier retrieval.
- Routine maintenance: Regularly assess and declutter your closet to prevent it from becoming cluttered again. Take a few minutes each month to tidy up and get rid of any items that are no longer needed.
With a clean and organized closet, you can now enjoy the benefits of the shelf removal project. You’ll have more space, easier access to your belongings, and a clutter-free environment.
Congratulations! You have successfully removed the closet shelf and transformed your space. Take a moment to appreciate your hard work and enjoy the organized and refreshed closet.
How to Remove a Closet Shelf – simple steps to remove a closet shelf, clear out the closet, remove the shelf support brackets, detach the shelf from the pins, remove the shelf from the wall, patch holes, touch up the wall, clean and organize the closet.
Conclusion
Removing a closet shelf may seem like a daunting task, but with the right tools and a bit of effort, it can be a straightforward and rewarding project. By following the step-by-step guide outlined in this article, you have learned how to clear out the closet, remove the shelf support brackets, detach the shelf from the pins, remove the shelf from the wall, patch holes, touch up the wall, and clean and organize the closet.
By removing the shelf, you have created more space and opened up new possibilities for organizing your belongings. Whether you’re redesigning the layout of your closet, creating room for larger items, or simply decluttering your space, this project allows you to take control of your storage environment.
Remember, throughout the process, be mindful of safety precautions such as wearing protective gloves and goggles, and using the appropriate tools for each task. Take your time to ensure a smooth removal process and avoid damaging the walls or other closet components.
Once the closet shelf is removed and the necessary repairs are complete, take the opportunity to clean the closet and organize your belongings in a way that makes sense to you. Consider utilizing storage solutions such as bins, boxes, and hanging organizers to maximize the use of space.
Maintaining a clean and organized closet will not only make your daily routines more efficient but also create a visually pleasing and peaceful environment. Regularly review and declutter your closet to prevent it from becoming cluttered again, and enjoy the benefits of a well-organized space.
Now that you have successfully removed the closet shelf and revamped your closet, take a moment to appreciate your hard work. Enjoy the newfound space and organization that will make your daily life easier and more enjoyable.
With the knowledge and skills gained from this guide, you can confidently tackle future home improvement projects and continue to create a space that truly reflects your style and needs.
Frequently Asked Questions about How To Remove Closet Shelf
Was this page helpful?
At Storables.com, we guarantee accurate and reliable information. Our content, validated by Expert Board Contributors, is crafted following stringent Editorial Policies. We're committed to providing you with well-researched, expert-backed insights for all your informational needs.


0 thoughts on “How To Remove Closet Shelf”