Furniture
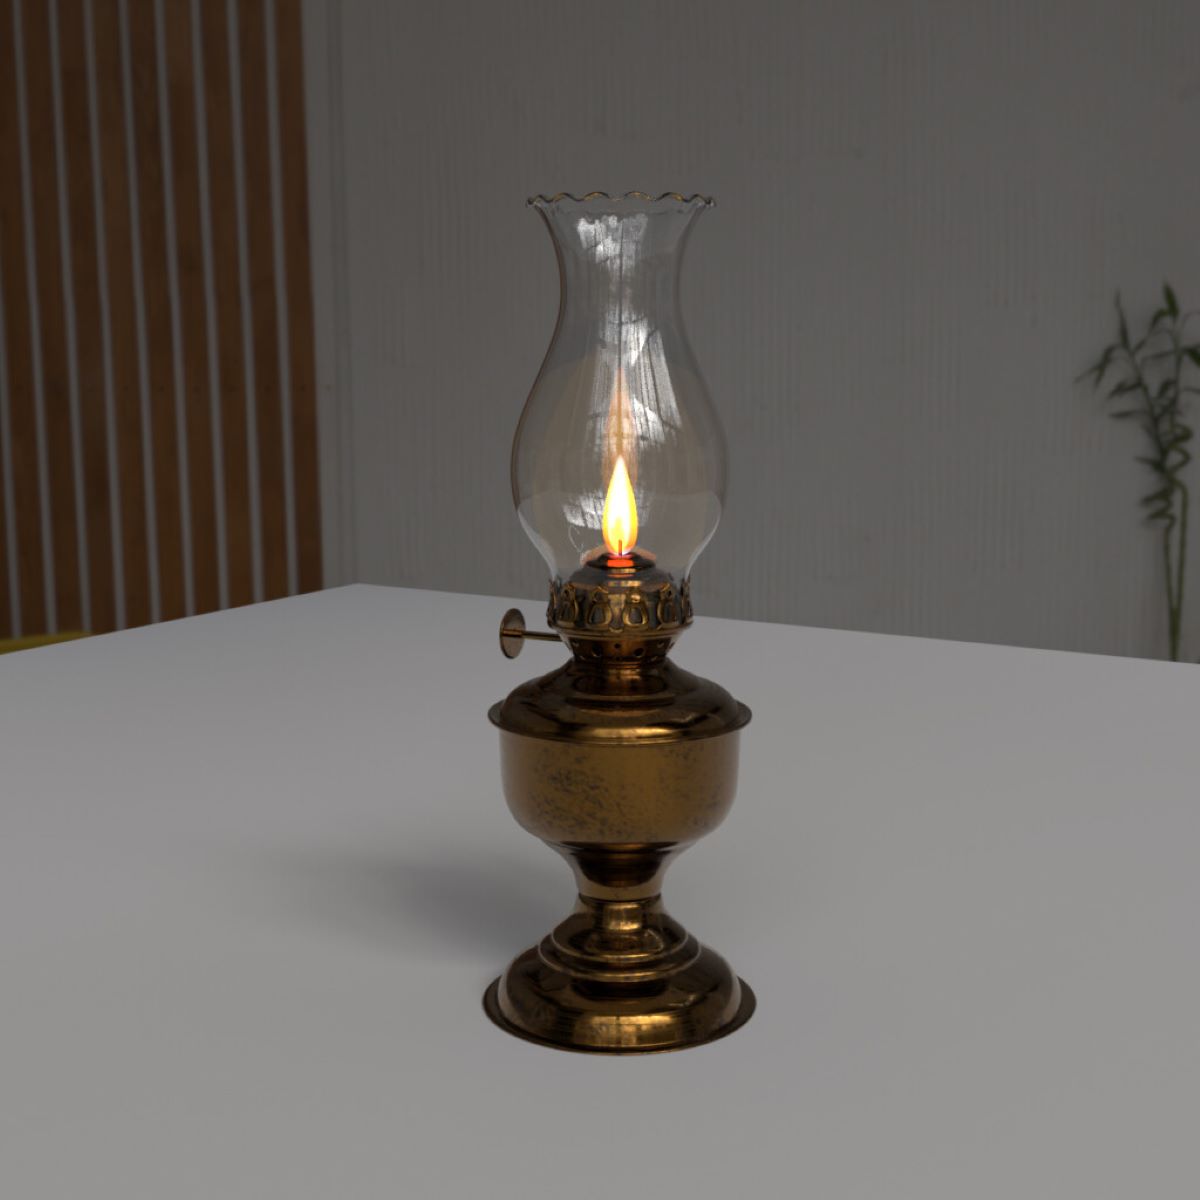
How To Repair A Lamp Base
Modified: January 5, 2024
Learn how to repair a lamp base with our step-by-step guide. Transform your furniture and bring new life to your favorite piece.
(Many of the links in this article redirect to a specific reviewed product. Your purchase of these products through affiliate links helps to generate commission for Storables.com, at no extra cost. Learn more)
Introduction
When it comes to furniture, lamps play an essential role in providing both functionality and ambiance to any space. However, over time, lamp bases can become worn, damaged, or simply lose their appeal. Instead of throwing away a beloved lamp, you can save money and revive its beauty by repairing the base.
In this article, we will guide you through the process of repairing a lamp base, step by step. Whether you have a cracked ceramic base, a chipped wooden base, or a metal base in need of a fresh coat of paint, we have you covered. With the right tools and materials, you can easily restore your lamp base to its former glory.
Before we dive into the repair process, let’s gather the tools and materials you’ll need.
Key Takeaways:
- Revive your beloved lamp base with DIY repairs using simple tools and materials, saving money and showcasing your creativity while ensuring safety throughout the process.
- Transform an old or damaged lamp base into a beautiful, functional piece through step-by-step repairs, painting, and protective finishing, bringing new life to your space with a personalized touch.
Read more: How To Paint A Ceramic Lamp Base
Tools and Materials Needed
Before you begin repairing your lamp base, make sure you have the following tools and materials on hand:
- Adjustable wrench or pliers
- Screwdriver set
- Sandpaper (various grits)
- Wood glue or epoxy resin
- Putty knife or scraper
- Paintbrushes
- Primer
- Paint or wood finish
- Protective finish (such as polyurethane or lacquer)
- Clean cloth
- Drop cloth or newspaper
- Masking tape
- Gloves and safety glasses
- Optional: Filler compound for larger repairs
Make sure that you have a well-ventilated workspace with plenty of room to maneuver. Protect the surrounding area with a drop cloth or newspaper to catch any drips or spills during the repair process.
With your tools and materials ready, let’s move on to the first step: safety precautions.
Step 1: Safety Precautions
Before diving into any repair project, it’s important to prioritize safety. Lamp base repairs may involve using sharp tools, adhesives, and various chemicals. To protect yourself, follow these safety precautions:
- Wear protective gear: Put on safety glasses and gloves to protect your eyes and hands from potential injuries.
- Work in a well-ventilated area: Choose a space with good airflow to avoid inhaling fumes from adhesives or finishes.
- Keep children and pets away: Ensure that your workspace is off-limits to minimize the risk of accidents.
- Use tools properly: Pay close attention to the instructions for each tool and use them correctly to prevent injuries.
- Dispose of materials safely: Follow local guidelines for disposing of any hazardous materials or chemicals.
By taking the necessary safety precautions, you can minimize the risk of accidents and ensure a smooth repair process. Now that you’re equipped with the knowledge of staying safe, let’s move on to the next step: assessing the damage.
Step 2: Assessing the Damage
Before you can start repairing your lamp base, it’s important to assess the extent of the damage. This will help you determine the best course of action and the materials you’ll need.
Inspect the lamp base carefully, paying attention to any cracks, chips, or missing parts. If it’s a wooden base, look for signs of rot or decay. For ceramic or metal bases, check for any rust or corrosion.
If the damage is minor, such as small cracks or chips, you can easily repair it yourself. However, for more extensive damage, you may need to consider professional help or replacement parts.
It’s also essential to consider the overall condition of the lamp base. If it has a worn or outdated finish, you may choose to refinish or paint it for a fresh look. This decision will influence the materials and steps needed for the repair process.
Once you have assessed the damage and determined the necessary repairs, you are ready to move on to the next step: removing the lamp base.
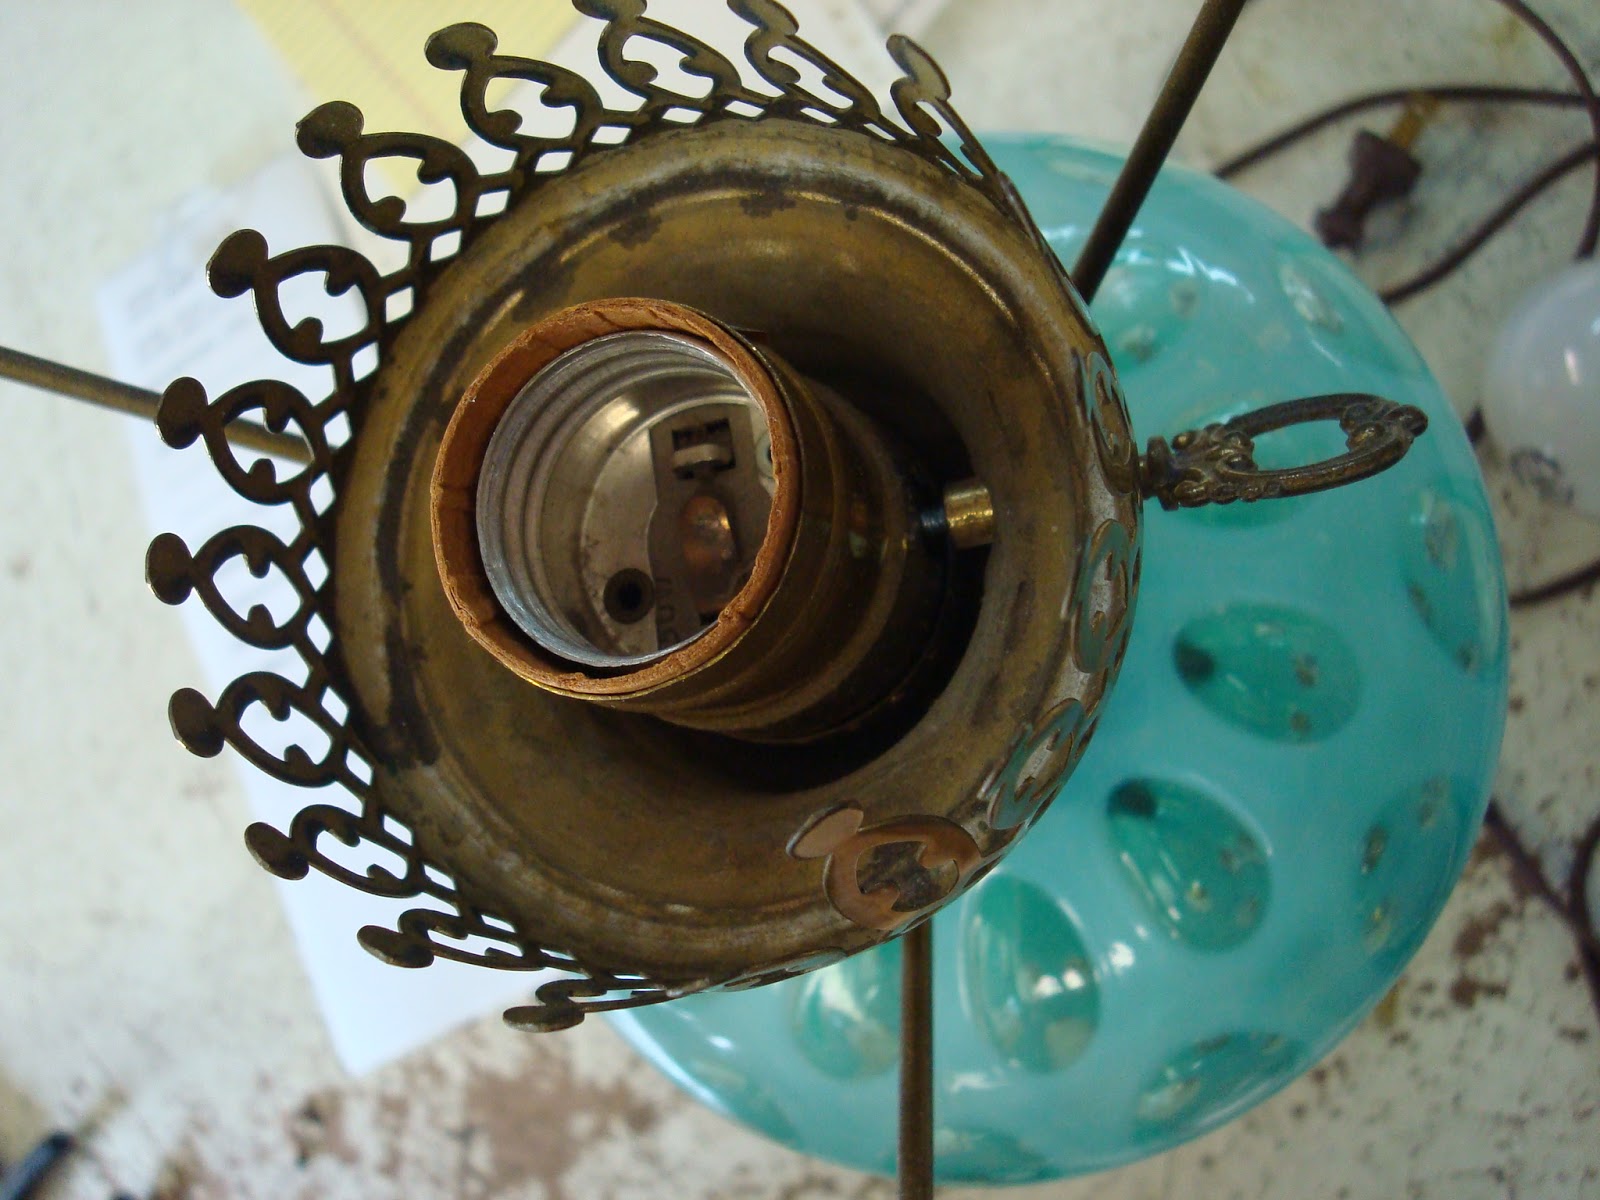
Step 3: Removing the Lamp Base
To begin repairing your lamp base, you’ll need to remove it from the electrical components and any other attached parts. Follow these steps to safely remove the lamp base:
- Unplug the lamp: Ensure that the lamp is unplugged from the power source to avoid any electrical accidents.
- Remove the lampshade: Take off the lampshade carefully and set it aside. If the lampshade is attached with a harp, unscrew it using a screwdriver or remove the finial.
- Loosen the socket: Depending on the lamp design, you may need to unscrew or loosen the socket from the lamp base. Use an adjustable wrench or pliers to carefully do this.
- Detach any additional parts: If there are any other parts attached to the lamp base, such as decorative elements or electrical components, remove them as well.
- Inspect the wiring: While the lamp is disassembled, take a moment to check the wiring for any signs of damage or wear. If you notice any issues, consider replacing the wiring for safety reasons.
Once you have successfully removed the lamp base and inspected the wiring, you’re ready to move on to the next step: cleaning and preparing the surface.
Read more: What Is An E26 Lamp Base
Step 4: Cleaning and Preparing the Surface
Now that you have removed the lamp base, it’s time to clean and prepare the surface for repair. This step ensures that the repairs bond well and that the finished result looks seamless. Follow these steps to clean and prepare the surface:
- Clean the surface: Use a damp, clean cloth to wipe away any dirt, dust, or grime from the lamp base. For stubborn stains, you can use a mild detergent solution. Ensure that the surface is completely dry before proceeding.
- Remove loose particles: Inspect the surface for any loose paint, debris, or flaking material. Use a scraper or putty knife to gently remove these particles. Be careful not to damage the base material or create additional chips or cracks.
- Sand the surface: If the lamp base has a painted or finished surface, use sandpaper to lightly sand it. This will create a rough texture that helps the new paint or finish adhere better. Start with a medium-grit sandpaper and gradually move to finer grits for a smooth finish.
- Wipe away sanding residue: After sanding, wipe away any sanding residue using a damp cloth. This will ensure a clean surface before proceeding to the next repair step.
- Mask off areas: If there are any parts of the lamp base that you don’t want to repair or paint, use masking tape to cover and protect those areas. This will help you achieve a clean and precise repair.
By cleaning and preparing the surface properly, you lay the foundation for a successful repair job. With the surface ready, you can now move on to repairing any cracks or chips in the lamp base, which we will cover in the next step.
Step 5: Repairing Cracks or Chips
If your lamp base has cracks or chips, don’t worry. With the right materials and techniques, you can easily repair them and restore the base’s integrity. Follow these steps to repair cracks or chips in your lamp base:
- Clean the damaged area: Use a clean cloth and mild detergent solution to thoroughly clean the cracked or chipped area. This will ensure good adhesion for the repair material.
- Assess the depth of the damage: Determine the depth of the cracks or chips. If the cracks are shallow, you can use wood glue or epoxy resin. For deeper cracks or larger chips, consider using a filler compound specifically designed for your base material.
- Apply the repair material: For shallow cracks, apply a small amount of wood glue or epoxy resin to the damaged area. Use a putty knife or scraper to smooth the material and fill the crack. For deeper cracks or large chips, follow the instructions provided with your chosen filler compound. Apply the compound, ensuring it fills the damaged area completely.
- Allow the repair to dry or cure: Depending on the repair material used, allow it to dry or cure completely. Follow the manufacturer’s instructions for the recommended drying or curing time.
- Sand the repaired area: Once the repair material has dried or cured, use sandpaper to carefully sand the repaired area. Start with rough grit sandpaper and gradually move to finer grits for a smooth finish. Ensure that the repaired area is level with the surrounding surface.
- Wipe away sanding residue: After sanding, use a damp cloth to wipe away any sanding residue from the lamp base. This will ensure a clean surface for the next step.
By following these steps, you can effectively repair cracks or chips in your lamp base. Once the repair has been successfully completed, you can move on to the next step: filling holes or missing parts, if necessary.
Step 6: Filling Holes or Missing Parts
If your lamp base has any holes or missing parts, it’s important to address them before moving forward with the repair process. Follow these steps to fill holes or replace missing parts:
- Assess the size and depth: Determine the size and depth of the holes or missing parts in your lamp base. This will help you choose the appropriate filler material or replacement parts.
- Select the filler material: If you have small holes, you can use a wood filler or epoxy putty to fill them. For larger holes or missing parts, consider using a filler compound specifically designed for your base material, or search for replacement parts that match the original design.
- Apply the filler material or replacement parts: Follow the instructions provided with your chosen filler material. Apply the filler to the holes or attach the replacement parts according to the manufacturer’s guidelines. Use a putty knife or scraper to smooth the filler material or ensure the replacement parts fit snugly in place.
- Allow the filler to dry or cure: Depending on the type of filler used, allow it to dry or cure completely. Follow the manufacturer’s instructions for the recommended drying or curing time.
- Sand and blend the repaired areas: Once the filler material has dried or cured, use sandpaper to carefully sand and blend the repaired areas. Start with rough grit sandpaper and gradually move to finer grits for a smooth finish. Ensure that the repaired areas are level with the surrounding surface.
- Wipe away sanding residue: After sanding, use a damp cloth to wipe away any sanding residue from the lamp base. This will ensure a clean surface for subsequent steps.
By following these steps and addressing any holes or missing parts, you can ensure a seamless repair of your lamp base. With the repairs completed, you can move on to the next step: sanding and smoothing the surface.
When repairing a lamp base, always unplug the lamp before starting any repairs. This will ensure your safety while working on the base.
Step 7: Sanding and Smoothing the Surface
Now that you have made the necessary repairs to your lamp base, it’s time to focus on sanding and smoothing the surface. This step will help create a flawless finish before applying any paint or finish. Follow these steps to sand and smooth the surface of your lamp base:
- Select the appropriate sandpaper grit: Depending on the material and the condition of your lamp base, choose the appropriate sandpaper grit. Start with a medium-grit sandpaper and gradually move to finer grits for a smooth finish.
- Sand the entire surface: Using a sanding block or your hand, sand the entire surface of the lamp base. Sand in a circular or back-and-forth motion, applying even pressure. This helps to remove any imperfections, smooth out uneven areas, and create a uniform surface.
- Be mindful of the edges and details: Pay attention to the edges and any intricate details of the lamp base. Use a smaller piece of sandpaper or a sanding sponge to reach these areas and ensure they are adequately smoothed.
- Check for smoothness: Regularly check the surface for smoothness by running your hand over it. If you still notice any rough spots or unevenness, continue sanding until the surface feels consistently smooth.
- Wipe away sanding residue: After sanding, use a clean, damp cloth to wipe away any sanding residue from the lamp base. This will help remove dust and prepare the surface for the next step.
- Inspect and touch up any repairs: Take a moment to inspect the repaired areas and touch up any spots that may need additional sanding or filling. Ensure that all repairs blend seamlessly with the rest of the surface.
By following these steps, you can achieve a smooth and even surface on your lamp base. With the sanding and smoothing complete, you’re ready to move on to the next step: priming the lamp base.
Read also: 8 Amazing Lamp Base for 2025
Step 8: Priming the Lamp Base
Before painting or applying a new finish to your lamp base, it’s crucial to apply a layer of primer. This step helps create a smooth and even surface for the paint or finish to adhere to, ensuring a long-lasting and professional-looking result. Follow these steps to prime your lamp base:
- Select the appropriate primer: Choose a primer that is suitable for the material of your lamp base. For wooden bases, select a wood primer, and for metal or ceramic bases, choose a suitable primer for those surfaces.
- Prepare the primer: Follow the instructions provided with the primer to prepare it for application. This may involve stirring the primer or thinning it with a recommended solvent, depending on the type of primer used.
- Apply the primer: Using a paintbrush or foam brush, apply a thin and even layer of primer to the entire surface of the lamp base. Work in smooth strokes, going with the grain or pattern of the base. Pay attention to any detailed areas to ensure complete coverage.
- Allow the primer to dry: Check the drying time specified by the primer manufacturer, and allow the primer to dry completely. Ensure the lamp base is placed in a well-ventilated area during the drying process.
- Inspect for complete coverage: Once the primer is dry, inspect the lamp base for any missed spots or uneven coverage. If necessary, apply a second coat of primer to achieve complete and consistent coverage. Allow the second coat to dry as well.
- Sand the primed surface (optional): If you notice any rough spots or imperfections on the primed surface, you can lightly sand it with fine-grit sandpaper. This will help create an even smoother surface for the final paint or finish.
By priming your lamp base, you provide a solid foundation for the subsequent paint or finish. With the primer applied and dried, you’re now ready to move on to the next step: painting or refinishing the lamp base.
Step 9: Painting or Refinishing the Lamp Base
Once the primer is dry, it’s time to add color and style to your lamp base through painting or refinishing. Whether you want to give it a fresh coat of paint or preserve its natural beauty with a new finish, follow these steps to paint or refinish your lamp base:
- Select the paint or finish: Choose a paint color or wood finish that matches your desired aesthetic. Consider the style of your lamp and the overall look you want to achieve in your space.
- Prepare the paint or finish: Follow the instructions on the paint or finish product to prepare it for application. This may involve stirring the paint thoroughly or thinning it if necessary.
- Apply the paint or finish: Use a paintbrush or foam brush to apply the paint or finish to the lamp base. Work in smooth and even strokes, following the grain or pattern of the base. Apply multiple coats as needed, allowing each coat to dry according to the manufacturer’s instructions.
- Consider different techniques: Explore different painting techniques, such as using a sponge or a rag, to achieve various effects like texture or distressed finish. Experiment to find the technique that best suits your preference and the style of your lamp base.
- Allow the paint or finish to dry: Once you have achieved the desired coverage and finish, allow the paint or finish to dry completely. Ensure the lamp base is placed in a well-ventilated area during the drying process to avoid any fumes or smudges.
- Inspect for any touch-ups: After the paint or finish has dried, inspect the lamp base for any missed spots, drips, or imperfections. Touch up these areas as needed with additional coats or touch-up paint, ensuring a flawless and professional-looking result.
By painting or refinishing your lamp base, you can transform its appearance and give it a fresh new look. With the paint or finish applied and dried, you’re ready to move on to the next step: applying a protective finish.
Step 10: Applying a Protective Finish
After painting or refinishing your lamp base, it’s essential to apply a protective finish. This step helps safeguard the surface, increases durability, and enhances the overall longevity of your lamp base. Follow these steps to apply a protective finish:
- Select the appropriate protective finish: Choose a protective finish that is suitable for the material and the type of paint or finish you used. For painted surfaces, consider using a clear varnish or polyurethane. For wood finishes, options include lacquer, shellac, or wax.
- Prepare the protective finish: Follow the instructions provided with the protective finish to prepare it for application. This may involve stirring the finish or thinning it with a recommended solvent.
- Apply the protective finish: Use a brush or a clean cloth to apply a thin and even layer of the protective finish to the entire lamp base. Work in smooth and even strokes, following the grain or pattern of the base. Ensure complete coverage, paying extra attention to detailed areas.
- Allow the protective finish to dry: Check the drying time specified by the protective finish manufacturer, and allow the finish to dry completely. Avoid touching or disturbing the lamp base during this time to prevent any unwanted marks or blemishes.
- Lightly sand between coats (optional): If desired, you can lightly sand the dried protective finish between coats to achieve a smoother surface. Use fine-grit sandpaper and wipe away any sanding residues before applying subsequent coats.
- Apply additional coats as needed: Depending on the recommended number of coats for the protective finish, apply additional coats following the same process. Allow each coat to dry fully before applying the next to ensure optimal protection and a flawless surface.
- Inspect and make final touch-ups: Once the protective finish has fully dried, inspect the lamp base for any areas that may need final touch-ups. Address any imperfections or unevenness with touch-up paint or additional protective finish as needed.
By applying a protective finish, you not only protect the surface of your lamp base but also enhance its overall appearance. With the protective finish applied and dried, you’re now ready to move on to the next step: reassembling the lamp.
Step 11: Reassembling the Lamp
With the lamp base fully repaired, painted, and protected, it’s time to reassemble all the components and bring your lamp back to life. Follow these steps to reassemble your lamp:
- Attach the socket: If you had detached the socket during the repair process, reattach it to the lamp base following the manufacturer’s instructions. Ensure that it is secure and properly aligned.
- Thread the cord: Carefully thread the electrical cord through the base, following the designated path. Make sure to leave enough cord length for easy and safe wiring connections.
- Connect the wiring: Follow the manufacturer’s instructions or consult a qualified electrician to connect the lamp’s wiring. Ensure that the connections are secure and properly insulated with wire connectors or electrical tape.
- Secure the lampshade: If your lampshade is attached using a harp, reattach the harp and secure it using the finial. If your lampshade attaches differently, follow the appropriate method to secure it to the lamp base.
- Double-check the stability: Once everything is reassembled, ensure that the lamp base is stable and does not wobble. If needed, adjust the tightness of the socket or any other connection points to achieve stability.
- Test the lamp: Before placing the lamp in its intended location, plug it into a power source and test it to ensure everything is functioning correctly. Check that the light turns on and off as expected without any electrical issues.
By following these steps and reassembling the lamp correctly, you can ensure its safe and proper operation. With the lamp fully reassembled and tested, you’re now ready for the final step: testing and final touches.
Read more: How To Build Cabinet Base
Step 12: Testing and Final Touches
Congratulations! You’ve successfully repaired, painted, and reassembled your lamp base. However, before considering the project complete, there are a few important final steps to take. Follow these steps to test and add final touches to your lamp:
- Test the lamp: Plug in the lamp and turn it on to ensure that it operates smoothly. Check that the light illuminates properly and that the switch functions without any issues. Pay attention to the stability of the lamp base during operation.
- Make final adjustments: If you encounter any problems or notice any areas that need further attention, make the necessary adjustments. Check for any loose parts, uneven paint, or any other minor issues that can be easily fixed.
- Apply decorative elements (optional): If desired, add decorative elements to enhance the overall aesthetic of the lamp. This could include adding trimmings, embellishments, or decorative cords. Be creative and choose elements that complement your personal style and the lamp’s design.
- Clean and polish: Give your lamp base a final cleaning to remove any dust or fingerprints that may have accumulated during the repair process. Use a soft cloth and appropriate cleaning products suitable for your lamp’s material. Polish the lamp base gently to bring out its shine, if applicable.
- Consider rewiring (optional): If your lamp base is older or shows signs of frayed or damaged wiring, it may be worth considering rewiring the lamp for optimal safety and longevity. Consult a qualified electrician for guidance or assistance if needed.
- Find the perfect spot: Once you’re satisfied with the repairs and final touches, find the perfect spot in your home for your newly rejuvenated lamp. Consider the lamp’s style and size, as well as the lighting needs of the space, to determine the best placement.
By completing these final steps, your lamp base is now fully repaired, refreshed, and ready to illuminate your space with style and functionality. Stand back and admire your handiwork, knowing that you’ve successfully transformed an old or damaged lamp base into a beautiful piece that can be enjoyed for years to come!
Note: As always, if you encounter electrical issues or are unsure about any aspect of the repair process, it’s best to consult a professional electrician for assistance and guidance.
Enjoy your newly revitalized lamp!
Conclusion
Repairing a lamp base is a rewarding and cost-effective way to revive the beauty and functionality of your beloved lamp. With the right tools, materials, and step-by-step guidance, you can tackle this DIY project with confidence and achieve impressive results.
Throughout the repair process, you learned how to assess the damage, remove the lamp base, clean and prepare the surface, repair cracks or chips, fill holes or missing parts, sand and smooth the surface, prime, paint or refinish, apply a protective finish, reassemble the lamp, and perform final testing and touches.
Remember, safety should always be a priority. Be sure to wear appropriate protective gear, work in a well-ventilated area, and follow all safety guidelines to avoid accidents or injuries.
Through proper repairs and attention to detail, you can bring new life to your lamp base, allowing it to once again shine as a centerpiece in your home. Not only will you save money by avoiding the need to purchase a new lamp, but you’ll also have the satisfaction of preserving a cherished item and showcasing your creativity.
So, don’t let a damaged or worn lamp base go to waste. Roll up your sleeves, gather your tools, and let your furniture restoration skills shine as you repair and revive your lamp base. Get ready to enjoy the warm glow and beauty of a lamp that’s like-new once again!
Frequently Asked Questions about How To Repair A Lamp Base
Was this page helpful?
At Storables.com, we guarantee accurate and reliable information. Our content, validated by Expert Board Contributors, is crafted following stringent Editorial Policies. We're committed to providing you with well-researched, expert-backed insights for all your informational needs.