

Articles
How To Make A Milkshake Without Blender
Modified: February 28, 2024
Learn how to make delicious milkshakes without a blender with these easy articles. Enjoy tasty milkshakes in no time!
(Many of the links in this article redirect to a specific reviewed product. Your purchase of these products through affiliate links helps to generate commission for Storables.com, at no extra cost. Learn more)
Introduction
When the craving for a creamy and delicious milkshake hits, but you don’t have a blender on hand, don’t worry! Making a milkshake without a blender is not only possible but also surprisingly easy. Whether you’re camping, traveling, or simply don’t have a blender available, there are alternative methods that can help you achieve the same rich and velvety texture with just a few simple steps.
In this article, we will guide you through the process of making a delicious milkshake without a blender. By following these methods, you can enjoy a homemade milkshake packed with flavor and without the need for any specialized equipment. So, let’s gather the ingredients and get started!
Key Takeaways:
- Enjoy creamy milkshakes without a blender using simple methods like shaking in a mason jar or whisking by hand. Get creative with flavors and toppings for a delightful homemade treat.
- Don’t let the lack of a blender stop you from indulging in a delicious milkshake. Experiment with alternative methods, add fun toppings, and savor the joy of homemade milkshake magic.
Read more: How To Make A Milkshake In A Blender
Gathering the Ingredients
Before you begin making your milkshake, it’s essential to gather all the necessary ingredients. While the specific ingredients may vary depending on your preferred flavor, there are a few key components that are commonly used:
- Ice Cream: The base of any milkshake is a generous scoop or two of your favorite ice cream flavor. Whether you prefer classic vanilla, rich chocolate, or a fruity option like strawberry, choose the flavor that appeals to your taste buds.
- Milk: To achieve the desired consistency for a milkshake, you’ll need to add milk. Whole milk is the traditional choice, but you can use low-fat or plant-based alternatives if you prefer.
- Sweeteners: Depending on your preference, you may want to add some sweetness to your milkshake. Options like sugar, honey, or flavored syrups can be used to enhance the taste.
- Flavorings: To take your milkshake to the next level, consider adding flavorings such as vanilla extract, cocoa powder, fresh fruits, or even a dash of cinnamon.
- Toppings: Lastly, don’t forget about the toppings! Whipped cream, chocolate sauce, sprinkles, or crushed cookies can add a delightful touch to your milkshake.
Make sure you have all these ingredients ready before you proceed to the next steps. Now that you have everything you need, let’s move on to preparing the milkshake.
Preparing the Milkshake
With your ingredients gathered, it’s time to prepare your milkshake. Although you don’t have a blender, there are alternative methods that can help you achieve a creamy and well-mixed milkshake. Here’s how:
Method 1: Using a Mason Jar or Shaker Bottle
If you have a mason jar or a shaker bottle with a tight-sealing lid, this method will work perfectly:
- Add a few scoops of your chosen ice cream flavor into the jar or bottle.
- Pour in the milk, ensuring you add enough to cover the ice cream but leave some space for mixing.
- If desired, add any sweeteners or flavorings at this point.
- Tightly seal the jar or bottle.
- Shake vigorously for a couple of minutes to blend the ingredients together.
- After shaking, open the lid and check the consistency. If it’s too thick, you can add more milk and shake again.
Method 2: Using a Whisk or Fork
If you don’t have a mason jar or shaker bottle, a whisk or fork can do the trick:
- In a bowl, combine your ice cream and milk.
- Using a whisk or fork, vigorously mix the ingredients together. Make sure to break down any large chunks of ice cream and ensure a smooth consistency.
- If desired, add the sweeteners or flavorings and continue mixing until well combined.
Regardless of the method you choose, take your time to mix the ingredients thoroughly, ensuring they are well combined. Once you’re satisfied with the consistency, it’s time to move on to the next step: mixing the ingredients.
Read more: How To Make Milkshake In A Blender
Mixing the Ingredients
Now that you have prepared your milkshake mixture, it’s time to give it a good mix to ensure all the flavors are well blended. While a blender would typically accomplish this step effortlessly, we’ll explore alternative methods to achieve similar results:
Method 1: Hand Whisking
If you have a hand whisk or an electric whisk, this method will work well:
- Transfer your milkshake mixture into a deep bowl.
- Using the whisk, vigorously whisk the mixture in a circular motion for a few minutes. This will aerate the milkshake and help to create a smooth and creamy texture.
- Continue whisking until the milkshake reaches the desired consistency.
Method 2: Using a Hand Mixer
If you have a hand mixer, this method will make the process even easier:
- Pour your milkshake mixture into a deep bowl.
- Position the hand mixer in the bowl, ensuring the beaters are submerged in the mixture.
- Turn on the hand mixer to a low speed and gradually increase it as the mixture starts to incorporate. Mix for a few minutes until you achieve a smooth and well-combined milkshake.
Method 3: Manual Shake Method
If you don’t have any whisking or mixing tools available, don’t worry! You can still achieve a well-mixed milkshake using the tried-and-true manual shake method:
- Transfer your milkshake mixture into a sealable container, like a mason jar.
- Make sure the lid is tightly secured.
- Begin shaking the container vigorously, making sure to hold it securely to prevent any spills.
- Continue shaking for several minutes until the mixture becomes smooth and blended.
Whichever method you choose, be patient and thorough when mixing the ingredients. Take the time to ensure that all components are fully incorporated, resulting in a creamy and delicious milkshake.
Read more: How To Make Milkshake In Ninja Blender
Alternative Methods
If you’re still looking for other options to make a milkshake without a blender, here are a couple of alternative methods you can try:
Method 1: Mash and Stir
This method is ideal if you have a fork, potato masher, or a similar tool:
- Scoop your desired amount of ice cream into a bowl.
- Using a fork or potato masher, mash the ice cream until it becomes soft and creamy.
- Add milk gradually while stirring the mixture with a spoon until you achieve the desired consistency.
- Optional: Add any sweeteners or flavorings to enhance the taste.
- Continue stirring until the milkshake is well mixed and smooth.
Method 2: Freezer Bag Method
If you’re looking for a fun and hands-on approach, give the freezer bag method a try:
- In a sturdy, sealable plastic bag, combine your ice cream and milk.
- Add any sweeteners or flavorings to the bag.
- Seal the bag tightly, ensuring there is no leakage.
- Shake and squish the bag vigorously for several minutes until the ice cream is fully melted and blended with the milk.
- Check the consistency and add more milk if needed.
- Once satisfied, pour the milkshake into a glass and serve.
Remember, these alternative methods may require a bit more effort than using a blender, but they can still result in a delicious milkshake. The key is to be patient and thorough in mixing the ingredients. Experiment with these methods and find the one that works best for you!
Serving and Enjoying
Now that you have successfully made your milkshake without a blender, it’s time to serve and enjoy your creation! Here are a few tips to make the most of your homemade milkshake:
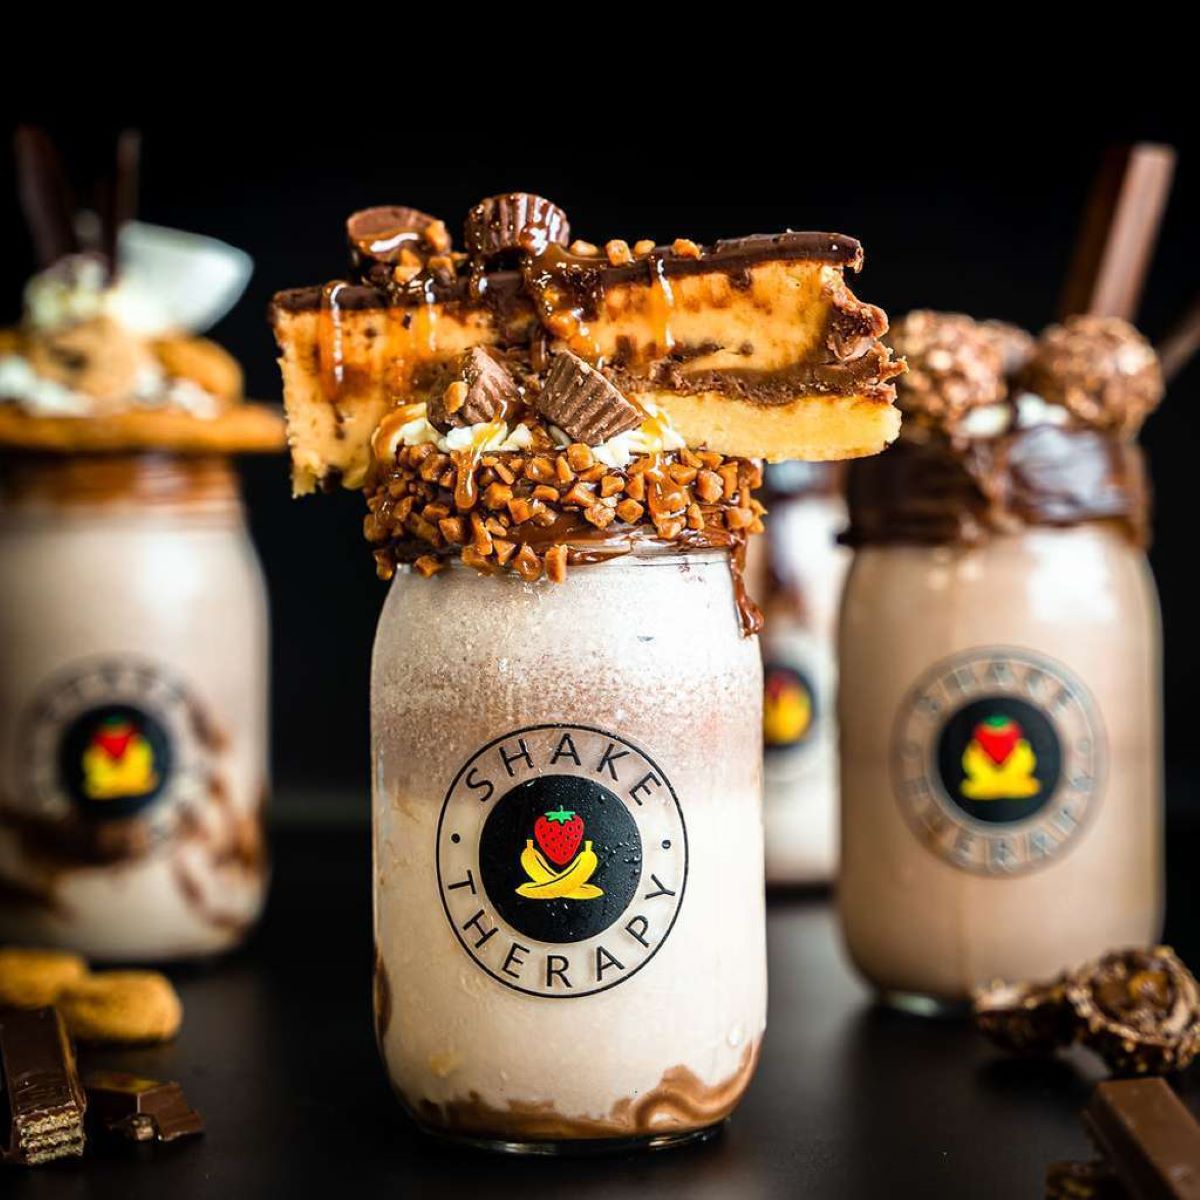
- Choose the Right Glass: Select a tall and stylish glass to showcase your milkshake. A classic milkshake glass or a mason jar with a straw will not only add to the presentation but will also make it easier to sip and enjoy every creamy sip.
- Add Toppings: Enhance your milkshake experience by adding some delectable toppings. Whipped cream, sprinkles, chopped nuts, or a drizzle of chocolate or caramel sauce can take your milkshake to a whole new level of indulgence.
- Get Creative with Garnishes: Don’t forget about the final touches. Fresh fruit slices, a dusting of cocoa powder, or even a dollop of peanut butter can be used as garnishes to elevate the flavor and appearance of your milkshake.
- Serve Chilled: Milkshakes are best enjoyed when they are nice and cold. Allow your milkshake to chill in the refrigerator for a few minutes before serving, or add ice cubes to the glass if you prefer an extra frosty treat.
- Sip and Savor: Finally, sit back, relax, and take in the delightful flavors of your homemade milkshake. Enjoy each sip, savoring the creamy texture and the burst of flavors.
Remember to experiment with different flavors, combinations, and toppings to find your favorite milkshake creation. Whether you’re enjoying a classic vanilla milkshake or indulging in a decadent chocolate peanut butter concoction, the possibilities are endless.
So, next time you find yourself without a blender, don’t let it stop you from satisfying your milkshake cravings. With these alternative methods and a touch of creativity, you can whip up a delicious milkshake right in your own kitchen. Cheers to homemade milkshake magic!
Conclusion
Don’t let the absence of a blender stand in the way of enjoying a delicious milkshake. With the alternative methods discussed in this article, you can create a creamy and satisfying milkshake without the need for specialized equipment. Whether you opt for the mason jar or whisking method, each technique can produce a smooth and velvety milkshake with just a few simple steps.
Making a milkshake without a blender allows you to get creative and experiment with different flavors and toppings. From classic vanilla and chocolate to fruity or indulgent combinations, there is no limit to the milkshake variations you can create right at home.
Remember to gather your ingredients, mix them thoroughly, and serve your milkshake in style. Adding garnishes such as whipped cream, chocolate sauce, or fresh fruit will elevate the taste and presentation of your homemade milkshake.
Whether you’re on a camping trip, traveling, or simply don’t have a blender available, these alternative methods will come to your rescue, ensuring you can enjoy a delicious milkshake whenever the craving strikes.
So, put on your creative hat, experiment with different flavors, and whip up your own flavorful concoctions. With a bit of effort and a few simple tools, you can savor the joy of a homemade milkshake without a blender. Cheers to delicious milkshakes made with love!
Frequently Asked Questions about How To Make A Milkshake Without Blender
Was this page helpful?
At Storables.com, we guarantee accurate and reliable information. Our content, validated by Expert Board Contributors, is crafted following stringent Editorial Policies. We're committed to providing you with well-researched, expert-backed insights for all your informational needs.

0 thoughts on “How To Make A Milkshake Without Blender”