Articles
How To Make A Pittsburgh Seam With Hand Tools
Modified: January 22, 2024
Learn the step-by-step process of creating a Pittsburgh seam using only hand tools with our informative articles. Master the art of metalworking and take your craftsmanship to the next level.
(Many of the links in this article redirect to a specific reviewed product. Your purchase of these products through affiliate links helps to generate commission for Storables.com, at no extra cost. Learn more)
Introduction
When it comes to metalworking and joining sheet metal, the Pittsburgh seam is a popular and effective method. This technique is commonly used in the HVAC (Heating, Ventilation, and Air Conditioning) industry, as well as in various other applications like roofing, automotive repairs, and even DIY projects.
In this article, we will explore how to make a Pittsburgh seam using hand tools. While there are machines available for creating this type of seam, not everyone has access to them. By utilizing simple hand tools, you can still achieve professional-grade results at a fraction of the cost.
Before diving into the process, let’s first understand what a Pittsburgh seam is and why it is a preferred method for joining sheet metal.
Key Takeaways:
- Master the art of creating Pittsburgh seams with hand tools for cost-effective, portable, and versatile metalworking. Embrace practice and persistence to achieve impeccable connections with control and craftsmanship.
- Utilize essential hand tools to achieve professional-grade Pittsburgh seams, showcasing attention to detail and enhancing craftsmanship. Embrace the tactile and immersive metalworking experience while saving money and gaining mobility.
Read more: Where Are Pittsburgh Hand Tools Made
What is a Pittsburgh Seam?
A Pittsburgh seam is a type of joint used to connect two pieces of sheet metal together. It is named after the city of Pittsburgh, where this technique has its roots. The seam is formed by folding the edges of the metal sheets, creating a tight and secure connection.
One of the key features of a Pittsburgh seam is its overlapping design. When making a Pittsburgh seam, one edge of the metal sheet is folded over itself, while the other edge slides under the fold. This overlapping structure provides additional strength and durability to the joint.
Pittsburgh seams are known for their tightness, preventing any leakage of air or moisture. This makes them particularly suitable for applications in the HVAC industry, where maintaining airtight systems is crucial. Additionally, the folded edges of the seam add rigidity, further enhancing the overall strength of the joint.
The beauty of a Pittsburgh seam lies in its simplicity. With just a few hand tools, you can create a strong and reliable connection between two metal sheets. Now, let’s take a look at the tools you’ll need to make a Pittsburgh seam using hand tools.
Tools needed for making a Pittsburgh seam with hand tools
While using specialized machinery can expedite the process of making a Pittsburgh seam, you can accomplish the same results with a set of essential hand tools. Here are the tools you’ll need:
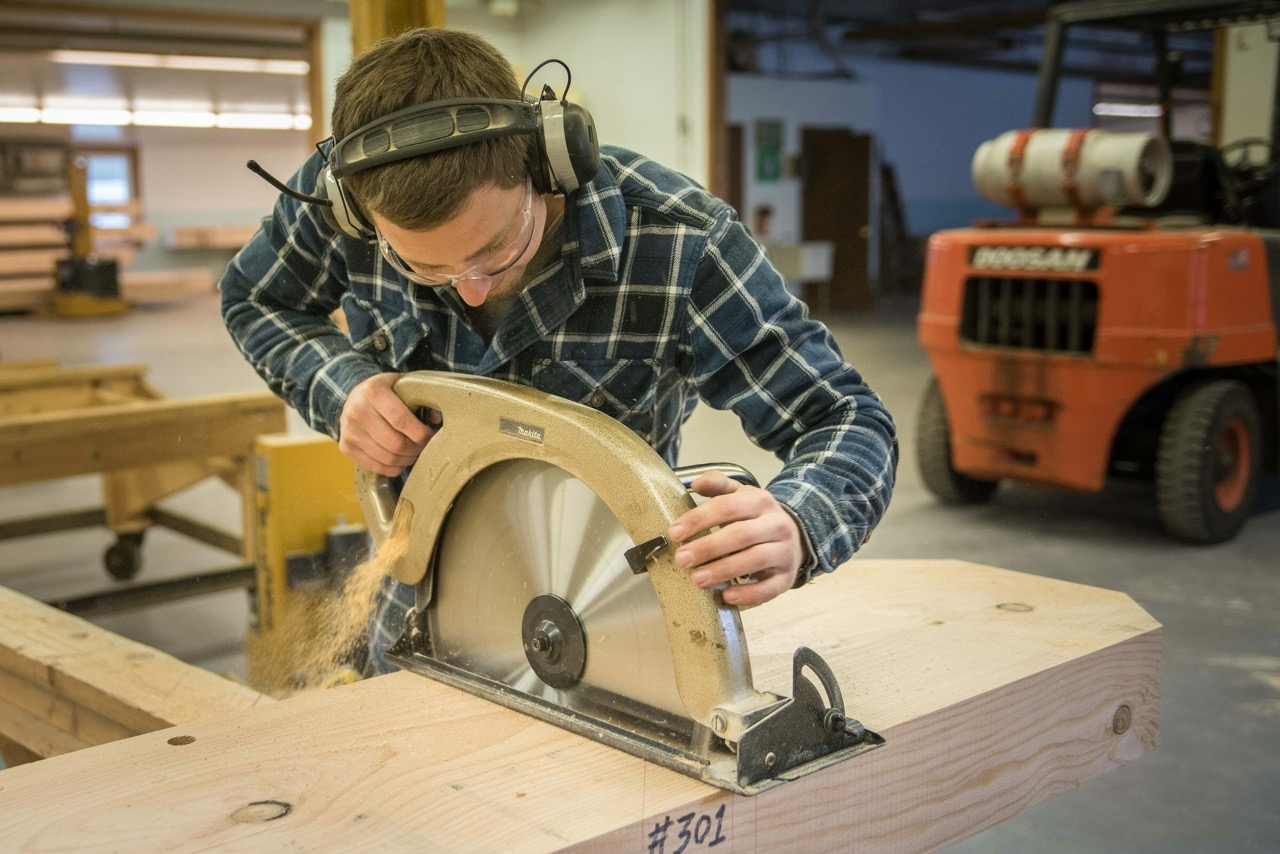
- Tin Snips: Tin snips are used for cutting the metal sheets to the desired size and shape. Opt for snips with a sharp cutting edge to ensure clean and precise cuts.
- Folding Tool: A folding tool, also known as a hand seamer, is essential for bending the edges of the metal sheets and creating the overlapping seam. Look for a durable folding tool with a comfortable grip to ease the bending process.
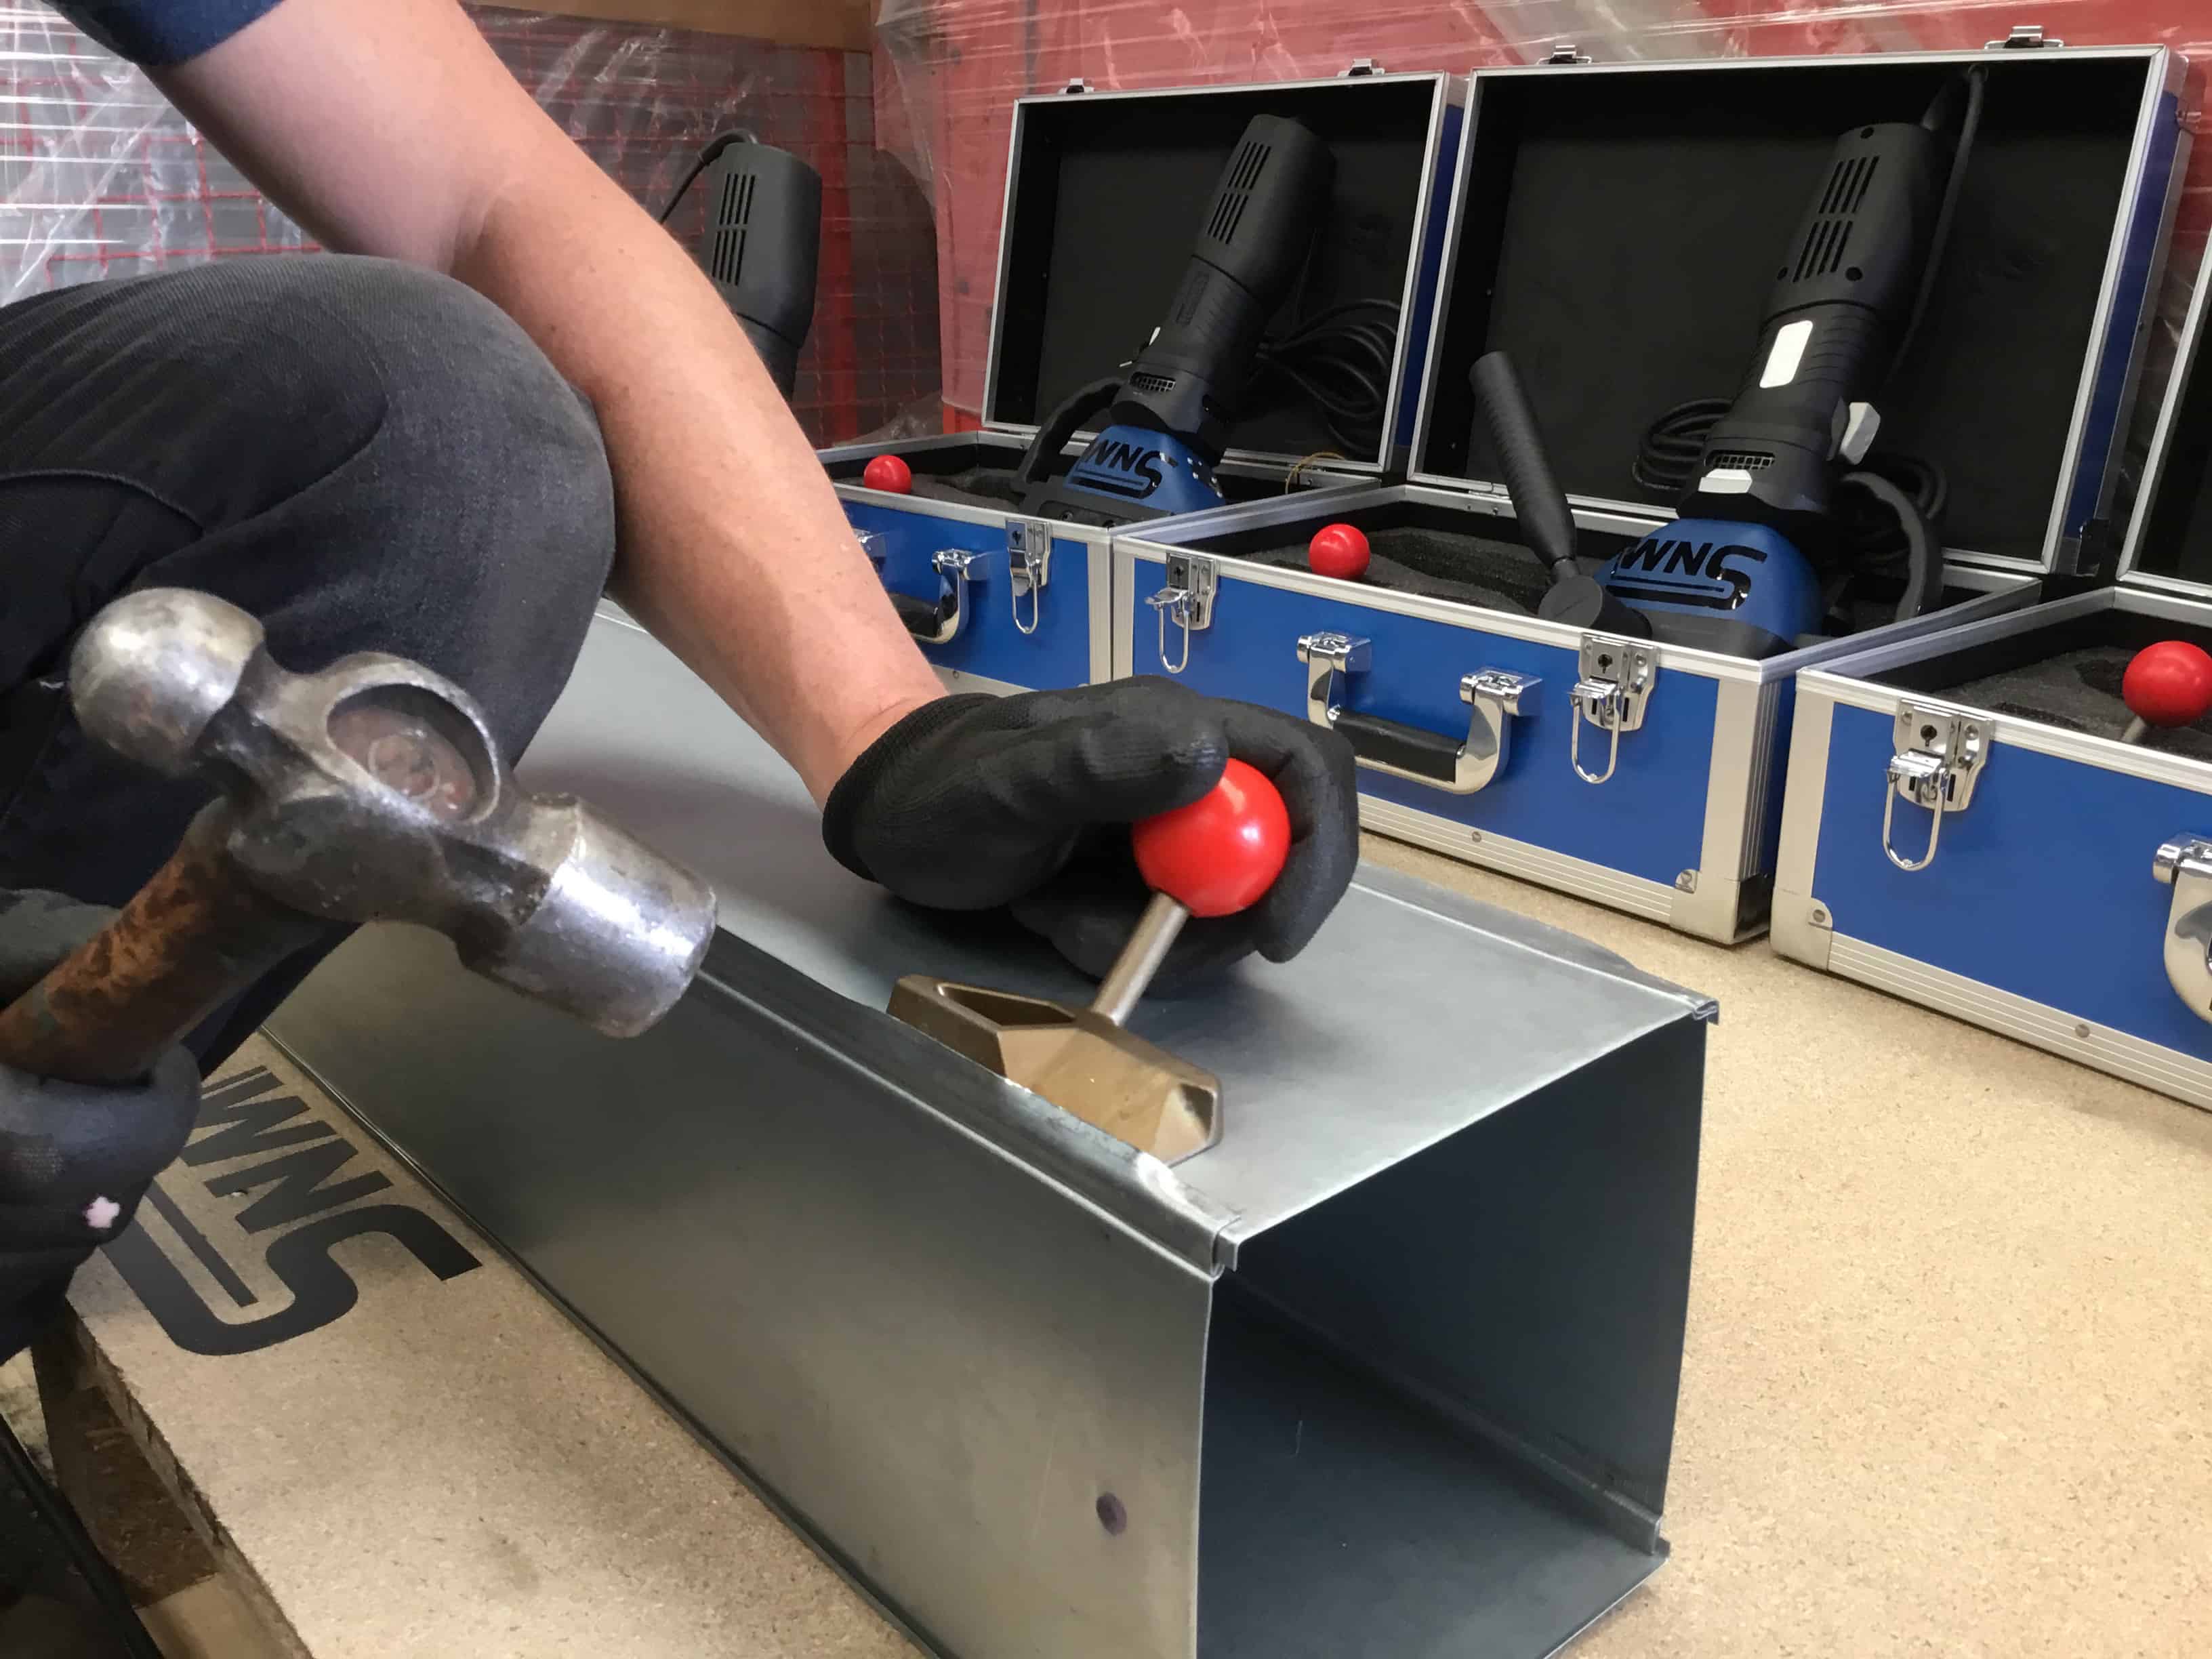
- Hammer: A hammer is used to secure the folded metal edges in place. Choose a hammer suitable for the size and thickness of the metal you are working with.
- Measuring Tape: Accurate measurements are crucial for achieving a precise fit. Use a measuring tape to determine the dimensions of the metal sheets and mark the folding lines.
- Marker or Sharpie: A marker or a Sharpie will help you clearly mark the folding lines on the metal sheets, making the folding process more accurate.
- Clamps: Clamps can be useful for holding the metal sheets in place during the folding and hammering stages. They provide stability and prevent any movement while you work.
With these basic hand tools, you have everything you need to create a Pittsburgh seam. The next section will guide you through the step-by-step process of making a Pittsburgh seam using hand tools.
Step-by-step process for making a Pittsburgh seam with hand tools
Now that you have the necessary tools, it’s time to walk through the process of creating a Pittsburgh seam using hand tools. Follow these steps for a successful outcome:
- Preparation: Start by measuring and cutting the metal sheets to the desired size using tin snips. Make sure to wear appropriate safety gear, such as gloves and safety glasses, to protect yourself during the cutting process.
- Marking: Use a measuring tape and a marker or Sharpie to mark the folding lines on the metal sheets. Ensure that the marks are clear and visible.
- Folding: Take the folding tool and position it along the marked folding line on one edge of the metal sheet. Apply firm and even pressure to bend the metal along the line. Repeat this process on both metal sheets.
- Overlapping: Once the edges of the metal sheets are folded, slide one folded edge under the opposite folded edge. Make sure the overlap is even and aligned along the entire length of the seam.
- Hammering: With the overlapping edges in position, use a hammer to secure them together. Gently tap along the seam, working from one end to the other. The hammering helps to create a tight and secure connection.
- Inspect and refine: After hammering, inspect the seam for any gaps or unevenness. If needed, use the folding tool to adjust the edges or the hammer to further secure the connection. Aim for a seamless and sturdy joint.
Note: Practice caution while working with metal sheets and hand tools. Pay attention to your grip, posture, and the force you apply to avoid any injuries.
By following these steps, you can create a Pittsburgh seam using only hand tools. However, it is important to keep in mind that practice makes perfect. Don’t be discouraged if your first attempt isn’t flawless. With time and experience, you will improve your technique and achieve better results.
In the next section, we will discuss some tips and tricks to help you achieve a perfect Pittsburgh seam with hand tools.
When making a Pittsburgh seam with hand tools, make sure to use a locking pliers to securely hold the metal in place while you hammer the seam closed. This will help ensure a tight and professional-looking seam.
Tips and tricks for achieving a perfect Pittsburgh seam with hand tools
Creating a perfect Pittsburgh seam with hand tools requires practice and attention to detail. Here are some tips and tricks to help you achieve the best results:
- Secure the metal sheets: Use clamps to hold the metal sheets in place while you work. This will provide stability and prevent any movement, ensuring precise folding and hammering.
- Make accurate measurements: Take your time to accurately measure and mark the folding lines on the metal sheets. Even a small error in measurement can affect the final result.
- Use the right amount of pressure: Apply consistent pressure when folding the metal edges and hammering the seam. Too much force may cause distortion, while too little force may result in a weak joint.
- Smooth out the edges: After folding the edges, use the folding tool to smooth out any rough or jagged areas. This will ensure a clean and professional-looking seam.
- Practice good hammering technique: When hammering the seam, use controlled and precise strikes. Start from one end and work your way to the other, ensuring an even and secure connection.
- Inspect and adjust: After hammering, carefully inspect the seam for any gaps or inconsistencies. If necessary, make adjustments using the folding tool or hammer to achieve a seamless and tight joint.
- Take breaks: Metalworking can be physically demanding. Take breaks as needed to prevent fatigue, which can affect your accuracy and technique.
- Practice on scrap materials: Before working on your final project, practice making Pittsburgh seams on scrap pieces of metal. This will help you refine your skills and gain confidence before tackling more important tasks.
Remember, mastery of any technique takes time and patience. Don’t get discouraged if your first attempts aren’t perfect. With practice and attention to detail, you will improve your skills and create impeccable Pittsburgh seams with hand tools.
In the following section, we will discuss the benefits of using hand tools for making a Pittsburgh seam.
Read more: Who Makes Milwaukee Hand Tools?
Benefits of using hand tools for making a Pittsburgh seam
While there are machines available for creating a Pittsburgh seam, utilizing hand tools offers several notable benefits. Here are some advantages of using hand tools for making a Pittsburgh seam:
- Cost-effectiveness: Hand tools are generally more affordable than specialized machines. If you are on a budget or only have occasional metalworking needs, investing in hand tools can save you money in the long run.
- Portability: Hand tools are compact and easy to transport. Whether you need to work on-site or move your tools from one location to another, hand tools allow for greater mobility and convenience.
- Accessibility: Not everyone has access to specialized machinery for making Pittsburgh seams. By using hand tools, you can achieve the same results without relying on expensive equipment.
- Versatility: Hand tools can be used for a variety of other metalworking tasks. With a set of essential hand tools, you can tackle different projects and perform various techniques beyond just making Pittsburgh seams.
- Control and precision: Hand tools allow for greater control and precision during the folding and hammering process. This level of control ensures that you can achieve the desired fit and a secure connection between the metal sheets.
- Enhanced craftsmanship: Working with hand tools requires a certain level of skill and craftsmanship. By mastering the art of making Pittsburgh seams with hand tools, you can take pride in the quality of your work and showcase your attention to detail.
- Crafting experience: Using hand tools provides a more tactile and immersive metalworking experience. It allows you to connect with the material and gain a deeper understanding of the techniques involved.
While hand tools may require more time and effort compared to using machines, the benefits they offer make them a viable option for creating Pittsburgh seams. The control, versatility, and accessibility of hand tools enable you to achieve professional-grade results without compromising on quality.
As we conclude this article, it is important to remember that practice and persistence are key to mastering the art of making Pittsburgh seams with hand tools. Embrace the process, refine your skills, and soon you’ll be creating seamless and durable connections with confidence.
Conclusion
Creating a Pittsburgh seam with hand tools is a rewarding and cost-effective way to join sheet metal. While specialized machinery offers convenience, using hand tools allows for greater control, precision, and craftsmanship. With a set of essential tools and a systematic approach, you can achieve professional-grade results without breaking the bank.
Throughout this article, we’ve explored the process of making a Pittsburgh seam with hand tools, from preparing the metal sheets to folding and hammering the seam. We’ve also discussed helpful tips and tricks to ensure a perfect outcome and highlighted the benefits of using hand tools for this technique.
By following the step-by-step process, practicing good technique, and incorporating the provided tips, you can master the art of making Pittsburgh seams with hand tools. Remember, perfection comes with practice and experience, so don’t be discouraged if your first attempts aren’t flawless. With time and dedication, you will refine your skills and create impeccable connections.
Whether you’re working in the HVAC industry, tackling a roofing project, or engaging in DIY metalwork, knowing how to create a Pittsburgh seam with hand tools will prove invaluable. Not only will you enjoy the satisfaction of accomplishing the task yourself, but you’ll also save money and have the versatility to work in various settings.
So, gather your tin snips, folding tool, hammer, and other required instruments, and start honing your skills in creating Pittsburgh seams with hand tools. The possibilities and opportunities for your metalworking projects are endless, and you’ll be equipped with the knowledge and technique to tackle them with confidence.
Remember, practice, persistence, and attention to detail are key to achieving excellent results. Embrace the artistry, enjoy the process, and let your handcrafted Pittsburgh seams stand as a testament to your skills and craftsmanship.
Frequently Asked Questions about How To Make A Pittsburgh Seam With Hand Tools
Was this page helpful?
At Storables.com, we guarantee accurate and reliable information. Our content, validated by Expert Board Contributors, is crafted following stringent Editorial Policies. We're committed to providing you with well-researched, expert-backed insights for all your informational needs.


0 thoughts on “How To Make A Pittsburgh Seam With Hand Tools”