Articles
How To Attach Roman Blinds To Window
Modified: January 5, 2024
Learn how to attach Roman blinds to your window with our helpful articles. Find step-by-step instructions and expert tips to complete the process easily.
(Many of the links in this article redirect to a specific reviewed product. Your purchase of these products through affiliate links helps to generate commission for Storables.com, at no extra cost. Learn more)
Introduction
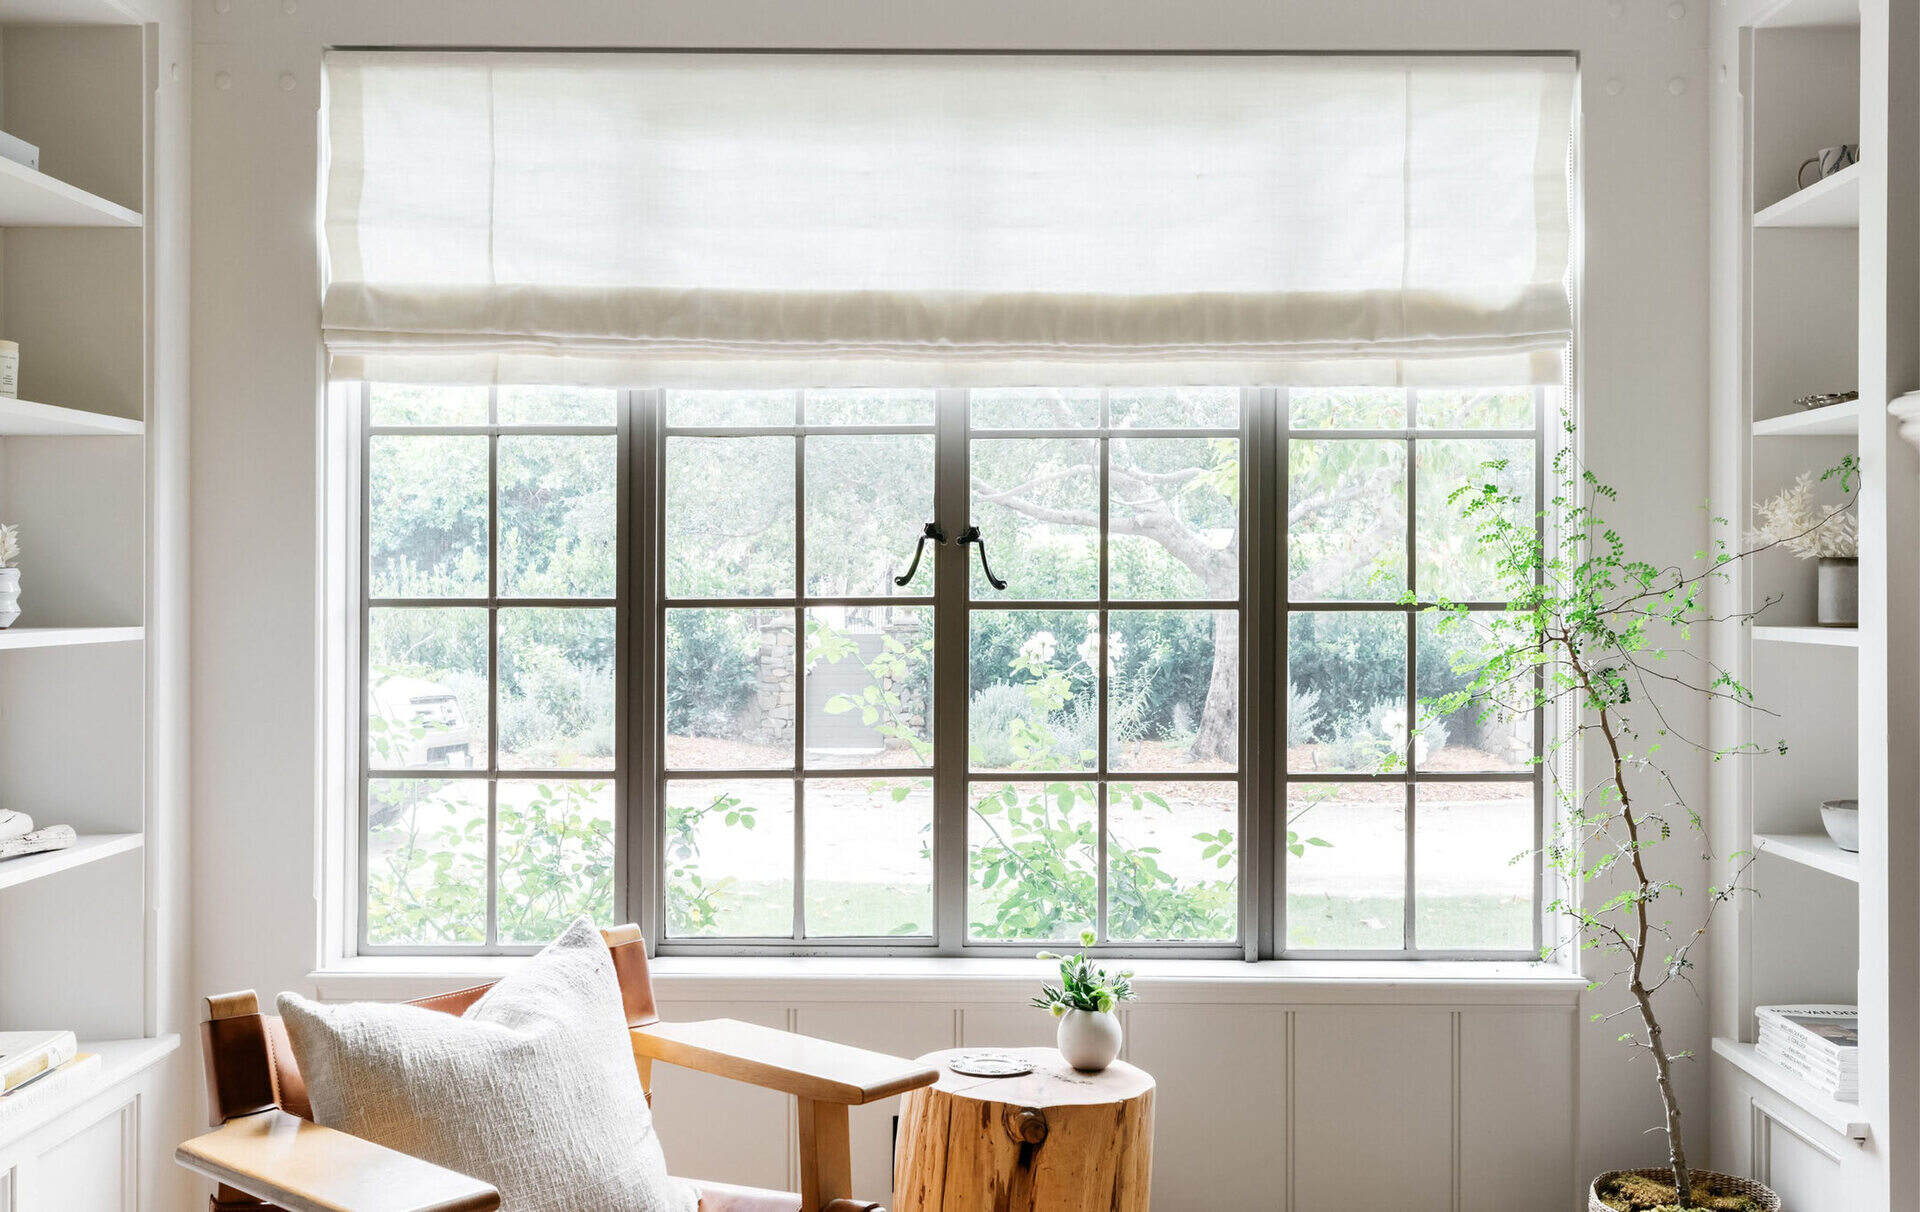
Welcome to our comprehensive guide on how to attach Roman blinds to your windows. Roman blinds are a stylish and practical window treatment option that adds elegance and functionality to any room. These blinds are made of fabric and can be easily raised and lowered, providing you with control over privacy and light. Whether you’re a DIY enthusiast or a homeowner looking to enhance your interior design, this article will walk you through the step-by-step process of attaching Roman blinds to your windows.
Before we dive into the installation process, it’s essential to note that every window and blind installation may have unique requirements. Therefore, it’s always a good idea to consult the specific instructions provided by the manufacturer of your Roman blinds. However, the steps outlined here will give you a general understanding of how to attach Roman blinds to most standard windows.
In this guide, we will cover everything from measuring your windows for the blinds to installing the mounting brackets and attaching the blinds. We’ll also provide some practical tips and recommendations along the way to ensure a seamless installation process. So, let’s get started on transforming your windows with beautiful Roman blinds!
Key Takeaways:
- Transform your space with Roman blinds by following our step-by-step guide for a seamless installation process, from accurate measurements to testing functionality and making adjustments.
- Select the perfect Roman blinds for your space by considering privacy, light control, style, and practicality, and enjoy the beauty and functionality they bring to your windows.
Read more: What Are Roman Blinds
Step 1: Measure the Window
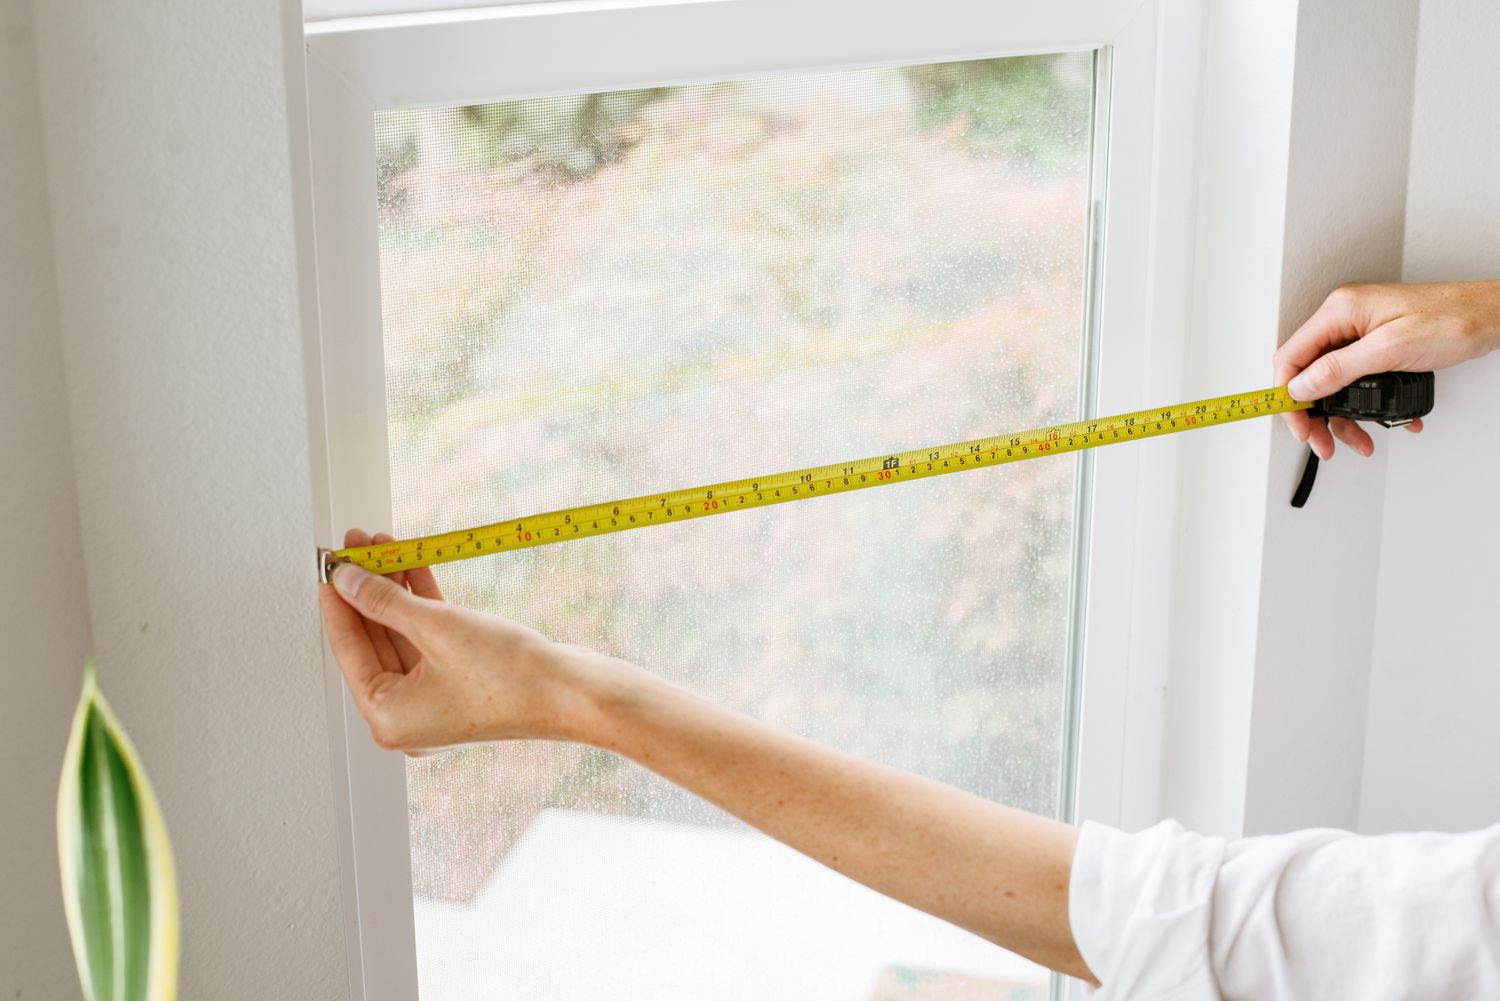
The first step in attaching Roman blinds to your window is to accurately measure the window frame. This step is crucial because it ensures that you select the correct size of blinds and that they will fit perfectly onto your window.
To measure the window, you will need a measuring tape. Start by measuring the width of the window frame from the inside edge of the frame on the left side to the inside edge of the frame on the right side. Write down this measurement. Next, measure the height of the window frame from the top inside edge to the bottom inside edge, and record this as well.
It’s important to measure both the width and the height of the window, as Roman blinds are available in various sizes to accommodate different window dimensions. By accurately measuring the window, you can choose blinds that will fit seamlessly within the frame and provide optimal coverage.
Additionally, if you plan to install multiple blinds side by side on a wide window, measure the width of each individual window frame separately. This will help you determine the appropriate size for each blind and ensure a uniform look across the window when they are installed.
Once you have measured the window, it’s a good idea to double-check your measurements to ensure accuracy. Taking precise measurements will save you time and frustration in the long run, as it will help you select the correct size of Roman blinds for your window.
Step 2: Choose the Roman Blinds
After measuring the window, the next step is to choose the most suitable Roman blinds for your space. When selecting blinds, consider both the function and aesthetic appeal they will bring to your room.
Firstly, think about the level of privacy and light control you desire. If you want a high degree of privacy and light blocking, opt for Roman blinds with blackout lining. These blinds are designed with a lining that prevents light from penetrating through the fabric, ensuring complete darkness when the blinds are closed. On the other hand, if you prefer some natural light to filter through, consider Roman blinds with a light-filtering or sheer fabric.
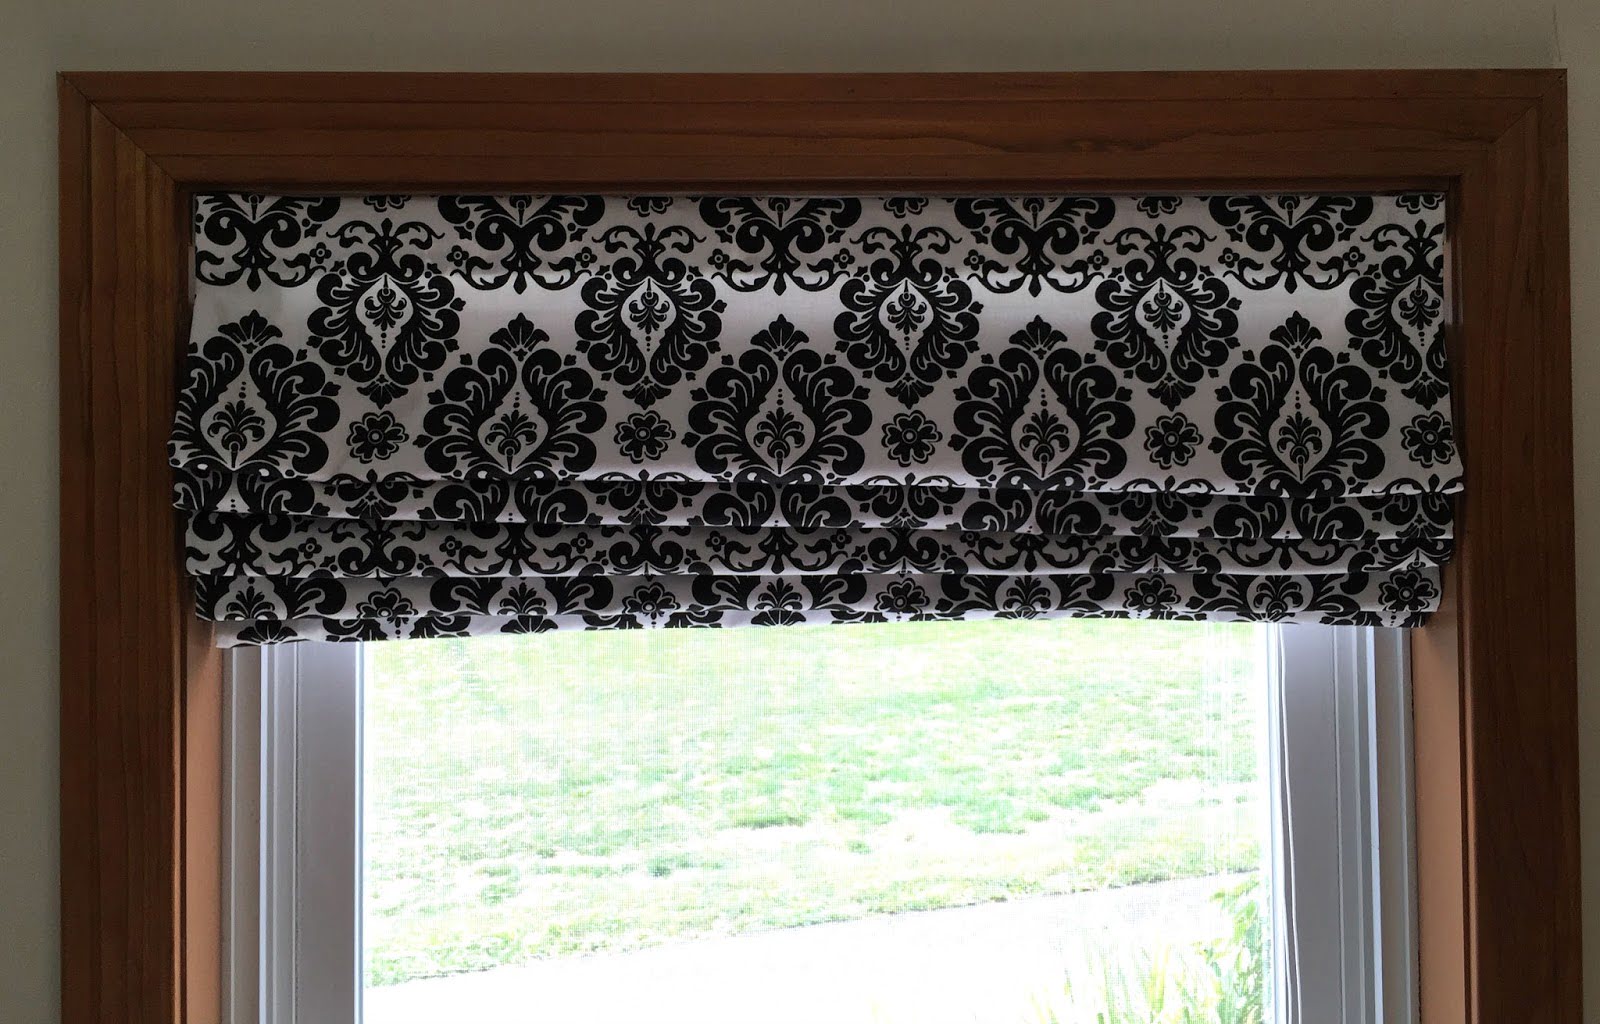
Secondly, consider the style and color of the blinds that will complement your interior design. Roman blinds come in a variety of materials, patterns, and colors to suit different decor themes. Whether you prefer a classic, modern, or eclectic style, there’s a wide range of options to choose from. Take into account the existing color scheme and furniture in the room to create a cohesive and harmonious look.
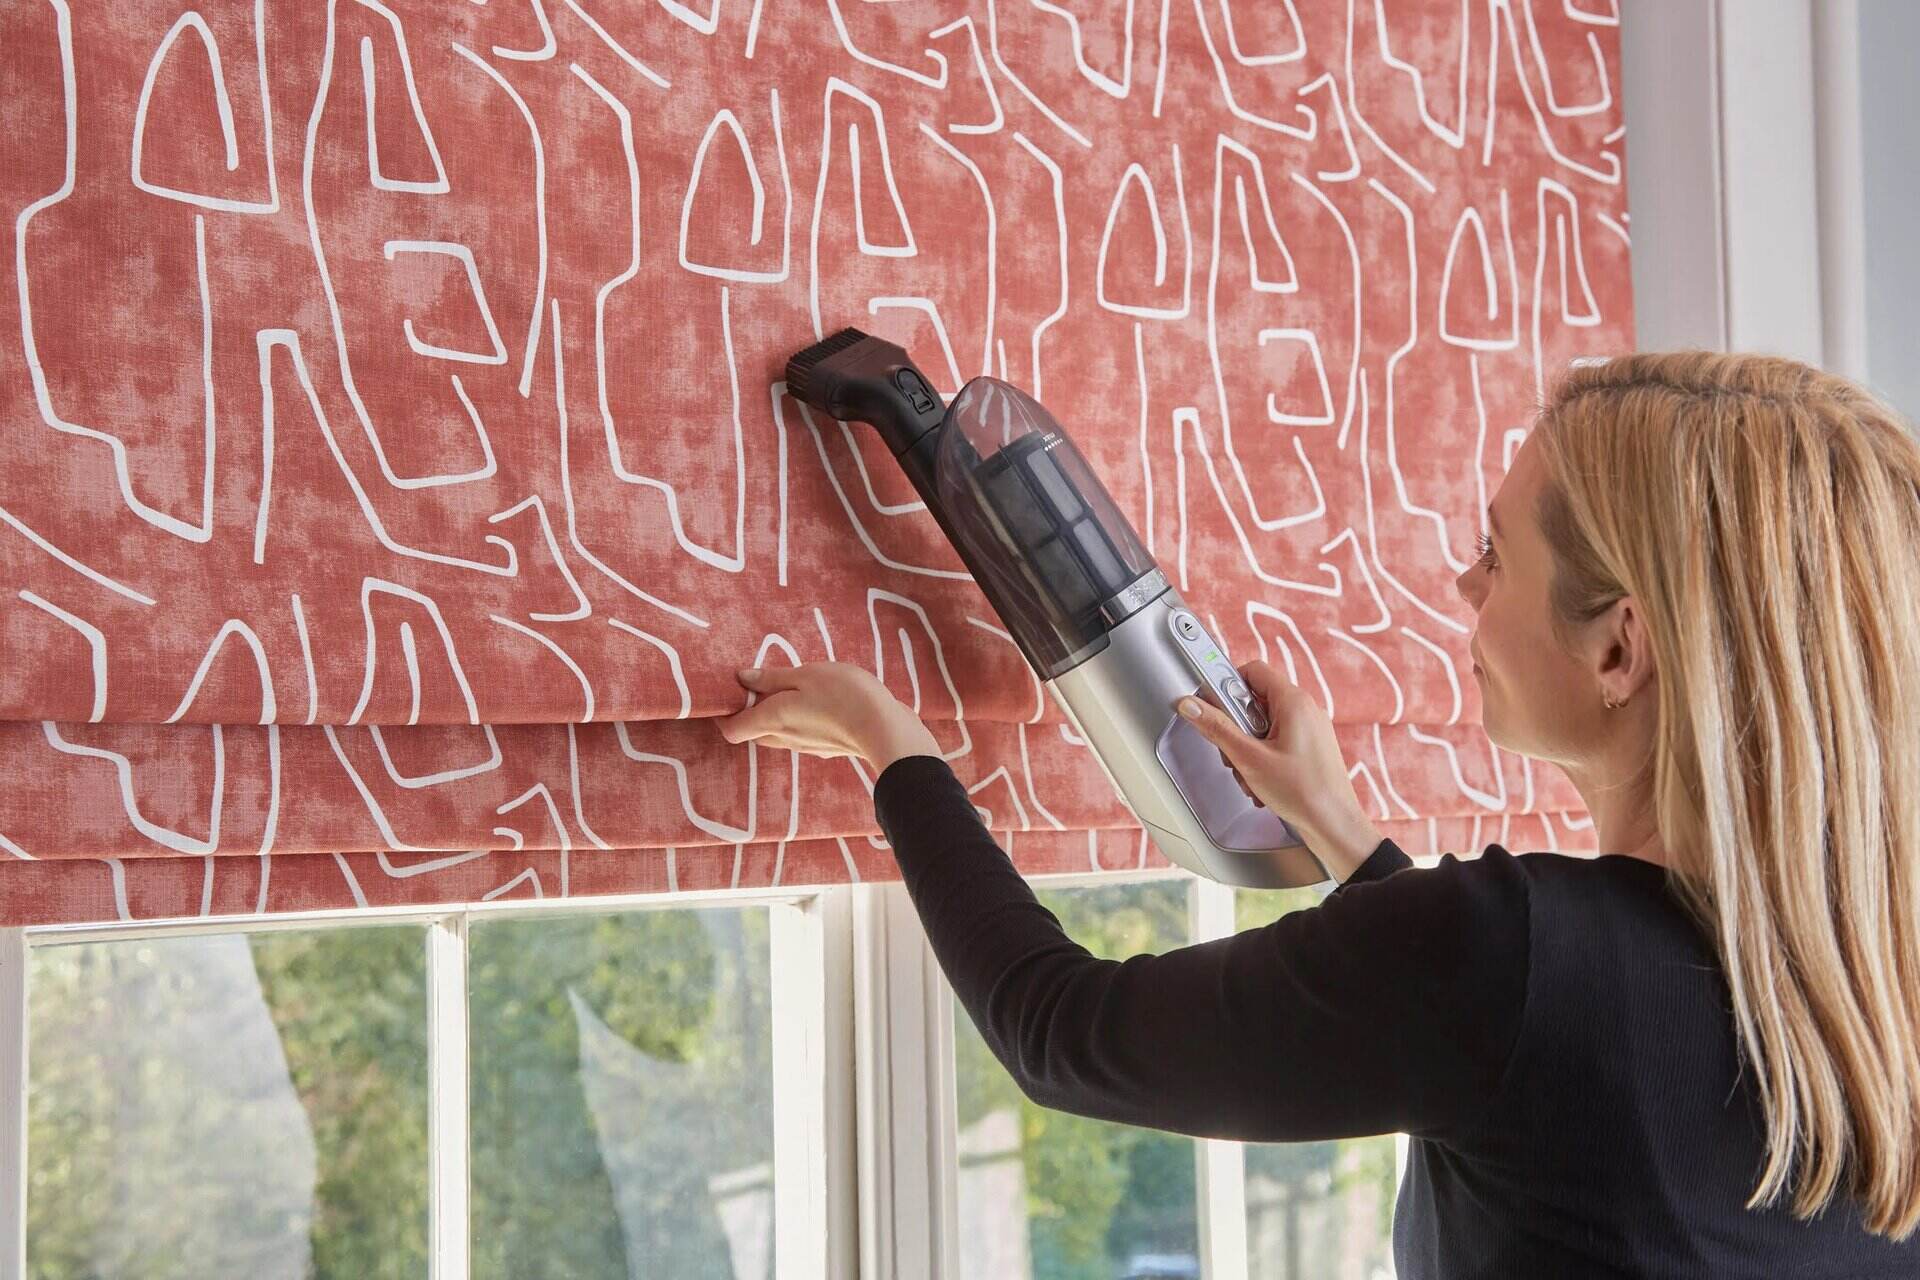
Furthermore, consider the practicality and maintenance of the blinds. Some fabrics are more durable and easy to clean, making them ideal for high-traffic areas or homes with pets and children. If you’re unsure about the best material for your needs, consult the manufacturer’s recommendations or seek advice from a window treatment professional.
Lastly, ensure that the blinds you choose are the correct size for your window, based on the measurements you took in the previous step. Most retailers provide guidelines or customer support to help you select the appropriate size. If you’re purchasing customized Roman blinds, follow the manufacturer’s instructions for providing accurate measurements.
By considering these factors, you can confidently select the Roman blinds that not only meet your practical needs but also enhance the overall aesthetic of your space.
Step 3: Assemble the Necessary Tools
Before you start installing the Roman blinds, it’s important to gather all the necessary tools and materials. Having everything prepared ahead of time will streamline the installation process and prevent any unnecessary delays. Here’s a list of the tools and materials you’ll need:
- Screwdriver: You’ll need a screwdriver that matches the type of screws provided with your Roman blinds. It could be a flathead or Phillips screwdriver, depending on the screws used for installation.
- Drill (optional): If you’re installing the blinds on hard surfaces such as concrete or metal, a drill may be required to create pilot holes before attaching the mounting brackets.
- Measuring tape: While you’ve already used a measuring tape in the first step to measure the window, keep it handy for any additional measurements or adjustments during the installation process.
- Pencil or marker: Use a pencil or marker to mark the positions where the mounting brackets will be installed. This will help ensure that the blinds are properly aligned.
- Screws and wall anchors: Depending on the type of wall or frame you’re attaching the blinds to, you may need screws and wall anchors to securely fasten the mounting brackets.
- Level: A level tool is useful for ensuring that the blinds are straight and properly aligned during the installation process.
- Step ladder: If your windows are located at a height that is difficult to reach, a step ladder will be necessary to safely access and install the blinds.
Make sure to have all these tools readily available before you begin installing the Roman blinds. It’s also a good idea to have a clean cloth or towel handy to wipe away any dust or debris that may accumulate during the installation process.
By assembling these tools in advance, you’ll be well-prepared to tackle the installation process smoothly and efficiently.
When attaching Roman blinds to a window, make sure to use the appropriate brackets and screws for the weight of the blinds. Position the brackets evenly and securely to ensure the blinds hang straight and function properly.
Step 4: Install the Mounting Brackets
Now that you have gathered all the necessary tools, it’s time to start installing the mounting brackets for your Roman blinds. The mounting brackets are essential as they provide the foundation for attaching the blinds to the window frame.
Begin by placing the first mounting bracket at the desired location along the top of the window frame. Use a pencil or marker to mark the screw holes on the frame. Ensure that the bracket is level by using a level tool. Once you have marked the position, you can either use a screwdriver or a drill with the appropriate drill bit to create pilot holes. If using a drill, make sure to select a bit slightly smaller than the screws you’ll be using.
If your window frame is made of wood, you can directly screw the mounting bracket into the pilot holes using the provided screws. However, if your window frame is made of a different material such as metal or concrete, you may need to use wall anchors. Insert the wall anchors into the pilot holes and then screw the mounting bracket into the anchors.
Repeat this process for the remaining mounting brackets, ensuring that they are evenly spaced across the width of the window. For wider blinds, additional brackets may be required for added support and stability.
Once all the mounting brackets are installed, double-check that they are securely fastened and level. Give them a gentle tug to ensure they can support the weight of the blinds.
Take a moment to step back and check the alignment of the mounting brackets. Adjust them if needed to ensure that they are all at the same height and level across the window.
With the mounting brackets in place, you have completed a crucial step in preparing your window for the Roman blinds to be attached. Now, it’s time to move on to the next step and attach the blinds to the brackets.
Read more: How To Make Roman Blinds
Step 5: Attach the Roman Blinds to the Brackets
With the mounting brackets securely installed, it’s time to attach the Roman blinds to the brackets. This step will bring your window treatment to life and allow you to enjoy the functionality and style of the blinds.
Start by locating the headrail of the Roman blinds. The headrail is the horizontal bar at the top of the blinds that houses the lifting mechanism. Position the headrail onto the mounting brackets, ensuring that it is centered and aligned correctly.
Depending on the style of your Roman blinds, there are typically two methods for attaching the blinds to the brackets. The first method may involve inserting the headrail into the brackets and then lowering it until it clicks or locks into place. The second method might require you to secure the headrail onto the brackets using screws or clips provided by the manufacturer.
Follow the instructions provided by the manufacturer to attach the Roman blinds to the brackets using the appropriate method. Make sure that the blinds are securely attached and do not wobble or shift when gently pulled.
Once the blinds are attached, test their functionality by pulling the cord or operating mechanism to raise and lower the blinds. Ensure that the blinds move smoothly and without any obstructions. If you encounter any issues, refer to the manufacturer’s instructions or troubleshoot common problems that may arise during the installation process.
Take a moment to step back and admire your newly attached Roman blinds. Check that they are level and straight, making any necessary adjustments if needed.
It’s worth noting that some Roman blinds may come with additional features, such as cord cleats or cord tensioners, designed to keep the cords neatly secured and out of reach of children or pets. If your blinds are equipped with these features, now is the time to install them according to the manufacturer’s instructions.
Once the blinds are successfully attached and operating smoothly, you have completed a major milestone in the installation process. The Roman blinds are ready to be enjoyed, adding beauty and functionality to your windows.
Step 6: Test the Blinds and Make Adjustments
After attaching the Roman blinds to the brackets, it’s essential to thoroughly test their functionality and make any necessary adjustments. This step ensures that the blinds are operating smoothly and that they provide the desired level of privacy and light control.
Begin by testing the lifting mechanism of the blinds. Gently pull on the cord or use the operating mechanism to raise and lower the blinds. Observe if the blinds move effortlessly without getting stuck or catching on anything. If you encounter any resistance or difficulties, check for any obstructions or tangled cords that may be hindering the smooth operation. Make the necessary adjustments to resolve any issues.
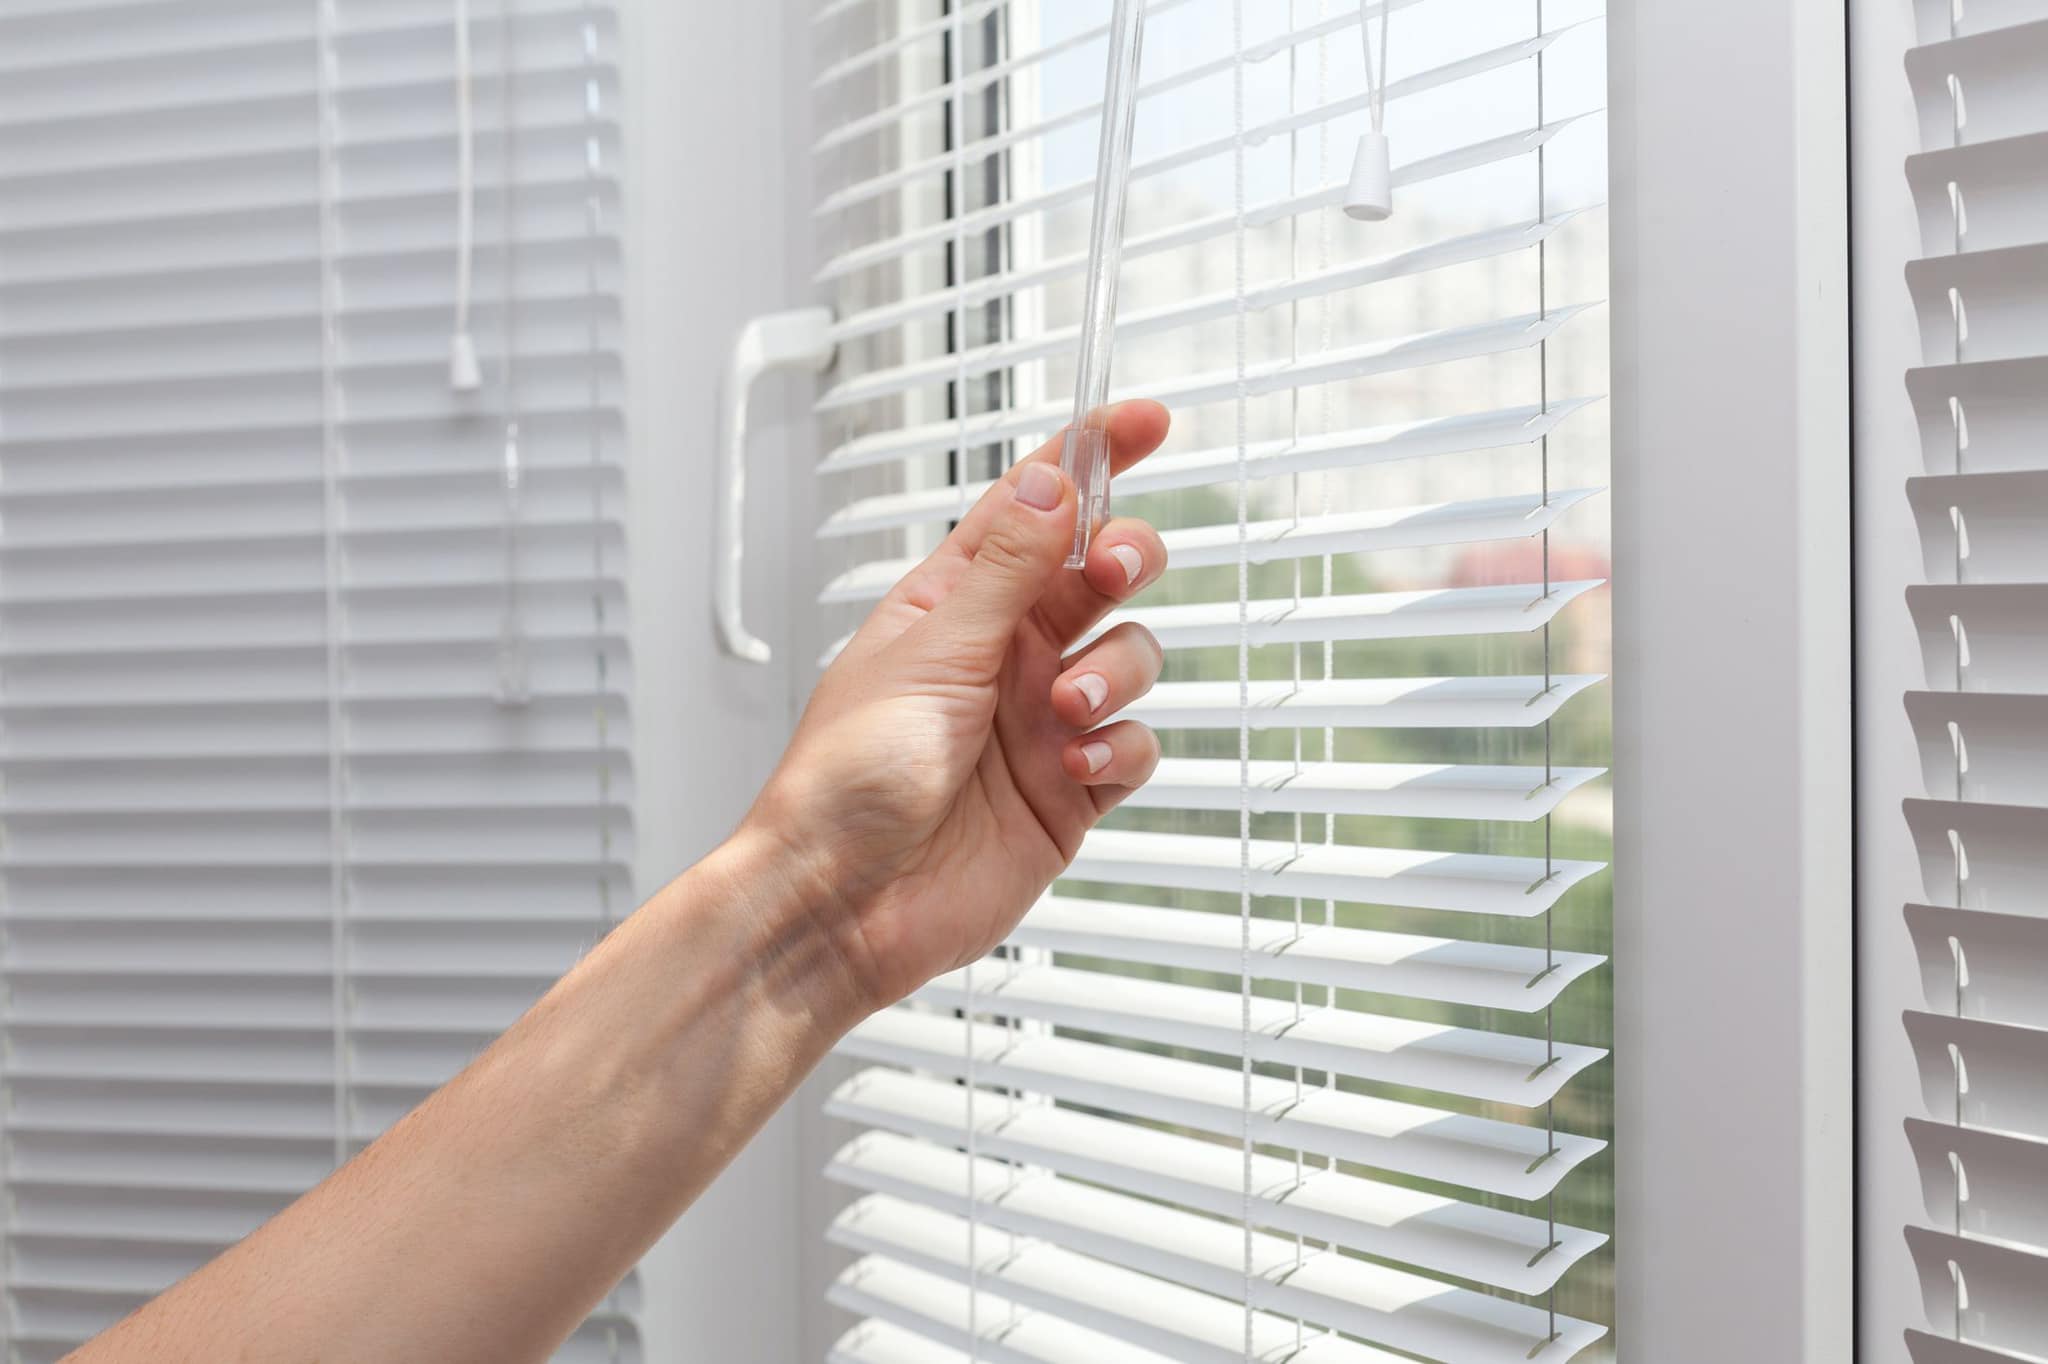
Next, test the tilting mechanism if your Roman blinds have adjustable slats. Gradually tilt the slats to different angles to control the amount of light entering the room. Ensure that the slats move smoothly and that they remain in the desired position without slipping. If the slats are not holding their position, tighten any loose screws or consult the manufacturer’s instructions for adjusting the tilting mechanism.
Take a moment to assess the overall appearance of the blinds when they are fully raised or lowered. Ensure that they sit evenly and do not sag or have any noticeable gaps. If there are any inconsistencies, you may need to make adjustments to the tensioning system or reposition the brackets slightly to achieve a balanced and polished look.
During this testing phase, also evaluate the amount of privacy and light control the blinds provide. Close the blinds completely and observe if any light seeps through. Adjust the blinds or add blackout linings if necessary to achieve the desired level of darkness. Similarly, partially open the blinds and assess the amount of natural light filtering into the room. Make adjustments to the slat position or fabric opacity to achieve the desired balance of natural light and privacy.
Finally, step back and visually examine the blinds from various angles. Check for any visible imperfections or areas that may require touch-ups. If you notice any loose or protruding cords, secure them properly using cord cleats or tensioners to ensure safety and a neat appearance.
It’s important to remember that the installation process may have a learning curve, particularly if you’re new to attaching Roman blinds. Don’t be discouraged if you encounter challenges or need to make adjustments along the way. With patience and careful attention to detail, you can achieve the perfect installation and enjoy the full benefits of your Roman blinds.
Congratulations! By completing this step, you have successfully tested the blinds and made any necessary adjustments to ensure their optimal functionality and appearance.
Conclusion
Attaching Roman blinds to your windows can transform the look and feel of your space, providing both style and functionality. By following the step-by-step process outlined in this guide, you can successfully install Roman blinds and enjoy the benefits they offer.
Starting with accurate measurements of your window, you can select the appropriate size and style of Roman blinds that complement your interior design. Assembling the necessary tools in advance and installing the mounting brackets securely create a solid foundation for attaching the blinds.
Attaching the Roman blinds to the brackets and testing their functionality ensures smooth operation and efficient light control. Making any necessary adjustments during the testing phase guarantees a polished and functional installation.
It’s important to note that while this guide provides a general overview of the installation process, it’s always recommended to consult the specific instructions provided by the manufacturer of your Roman blinds. They may have specific guidelines and considerations that are unique to their product.
Now that you have successfully attached your Roman blinds, take a moment to appreciate the beauty they bring to your windows. Enjoy the control over privacy and light as you raise and lower the blinds according to your preferences.
Remember to periodically check the blinds for any maintenance needs, such as cleaning or adjusting the tension. Proper care and maintenance will ensure that your Roman blinds continue to enhance your space for years to come.
We hope this guide has been informative and helpful in your journey to attach Roman blinds to your windows. Embrace the elegance and functionality they provide, and enjoy a transformed window treatment that adds charm and character to your home.
Frequently Asked Questions about How To Attach Roman Blinds To Window
Was this page helpful?
At Storables.com, we guarantee accurate and reliable information. Our content, validated by Expert Board Contributors, is crafted following stringent Editorial Policies. We're committed to providing you with well-researched, expert-backed insights for all your informational needs.