Furniture
How To Make A Macrame Lamp Shade
Modified: August 26, 2024
Learn how to make a stunning macrame lamp shade to add a unique touch to your furniture. Step-by-step instructions and tips for creating a beautiful piece.
(Many of the links in this article redirect to a specific reviewed product. Your purchase of these products through affiliate links helps to generate commission for Storables.com, at no extra cost. Learn more)
Introduction
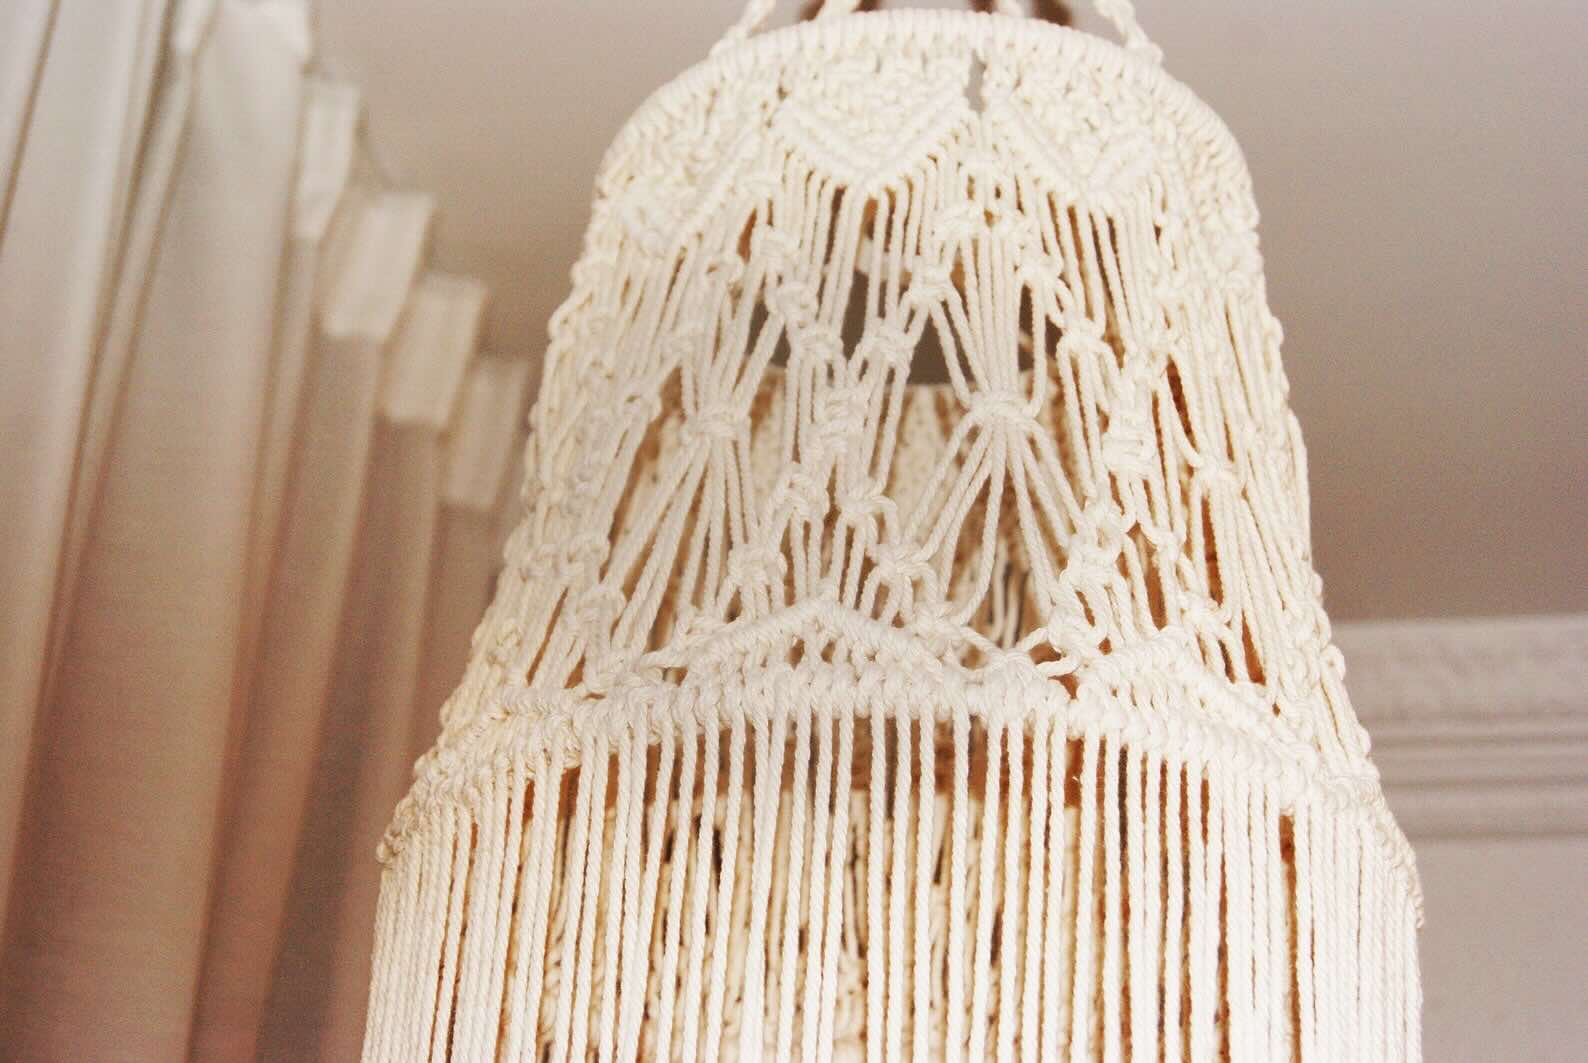
Welcome to our guide on how to make a macrame lamp shade! Macrame is a beautiful and versatile craft that involves knotting cords to create intricate patterns and designs. Making your own macrame lamp shade allows you to showcase your creativity and add a touch of bohemian charm to your home decor.
In this article, we will walk you through the step-by-step process of creating a macrame lamp shade from start to finish. You don’t need to be an expert in macrame to succeed in this project; with a bit of patience and practice, you’ll be able to create a stunning lamp shade that will surely become a focal point in any room.
Before we get started, let’s go over the materials you’ll need for this project.
Key Takeaways:
- Elevate your home decor with a personalized touch by crafting a stunning macrame lamp shade using basic materials and simple knotting techniques. Unleash your creativity and add bohemian charm to any room!
- Transform a plain lamp shade into a unique and artistic centerpiece by following our step-by-step guide to creating a beautiful macrame lamp shade. Embrace the art of macrame and infuse your living space with warmth and elegance.
Read more: How To Make A Paper Lamp Shades
Materials Needed
Before diving into the macrame lamp shade project, make sure you have the following materials on hand:
- Macrame cord: Choose a durable cord that is suitable for lamp shade making. The length and thickness of the cord will depend on the size and design of your lamp shade.
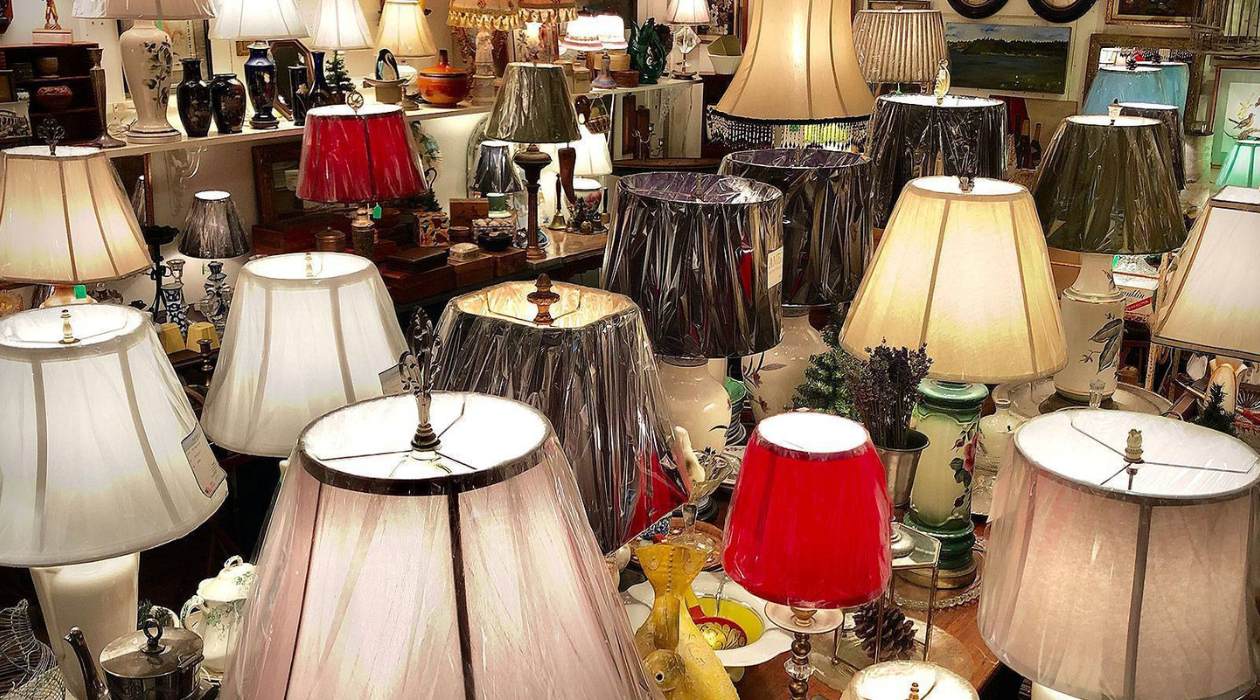
- Lamp shade frame: You can either repurpose an old lamp shade frame or purchase a new one from a craft store.
- Scissors: A sharp pair of scissors will help you cut the cord cleanly and precisely.
- Measuring tape: This will come in handy for measuring and ensuring uniformity in your knotting.
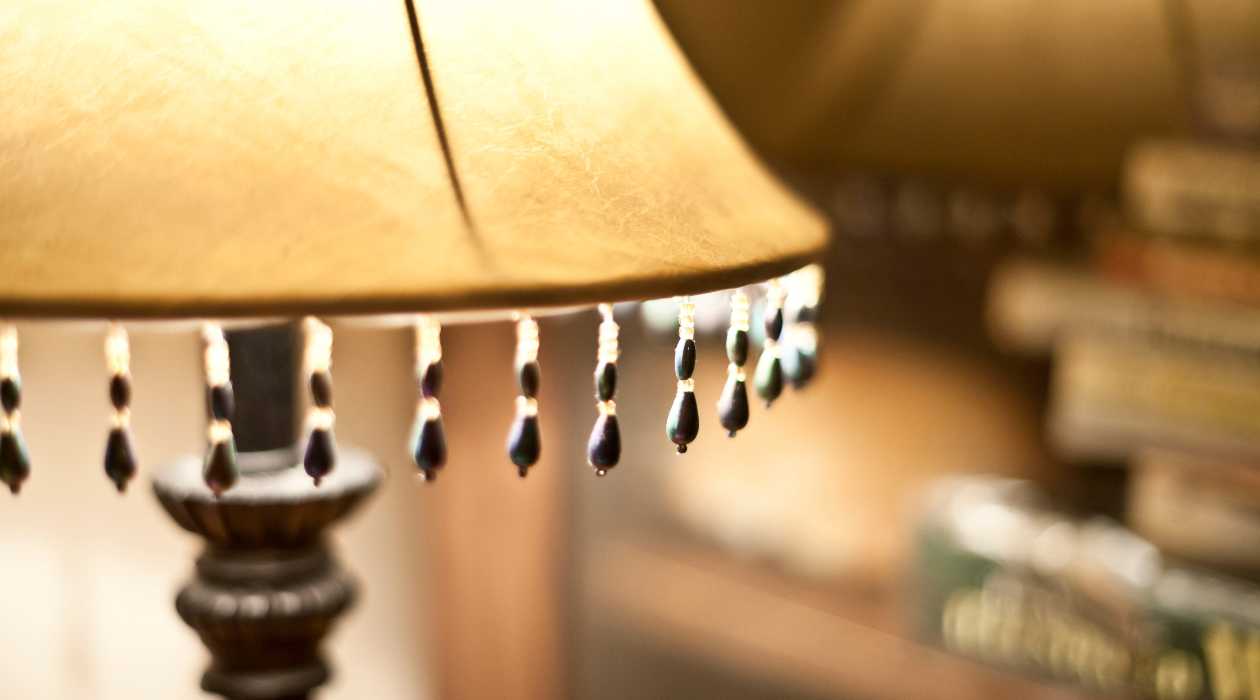
- Optional: Beads or decorative elements to add extra flair to your macrame lamp shade.
Now that you have gathered all the necessary materials, let’s move on to the first step of creating your macrame lamp shade.
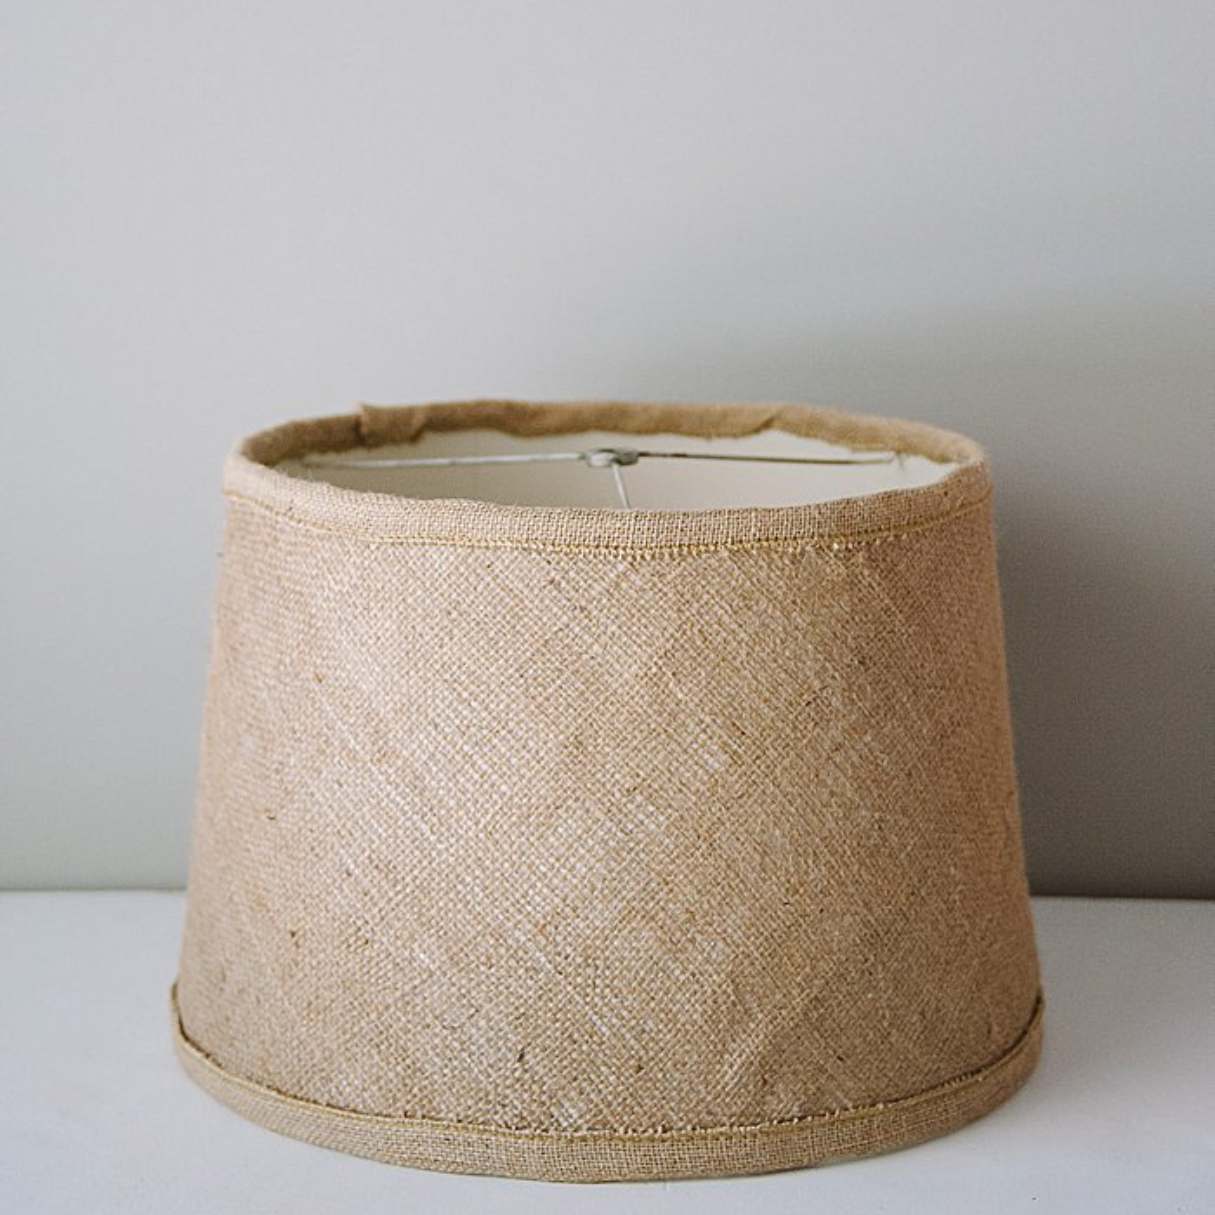
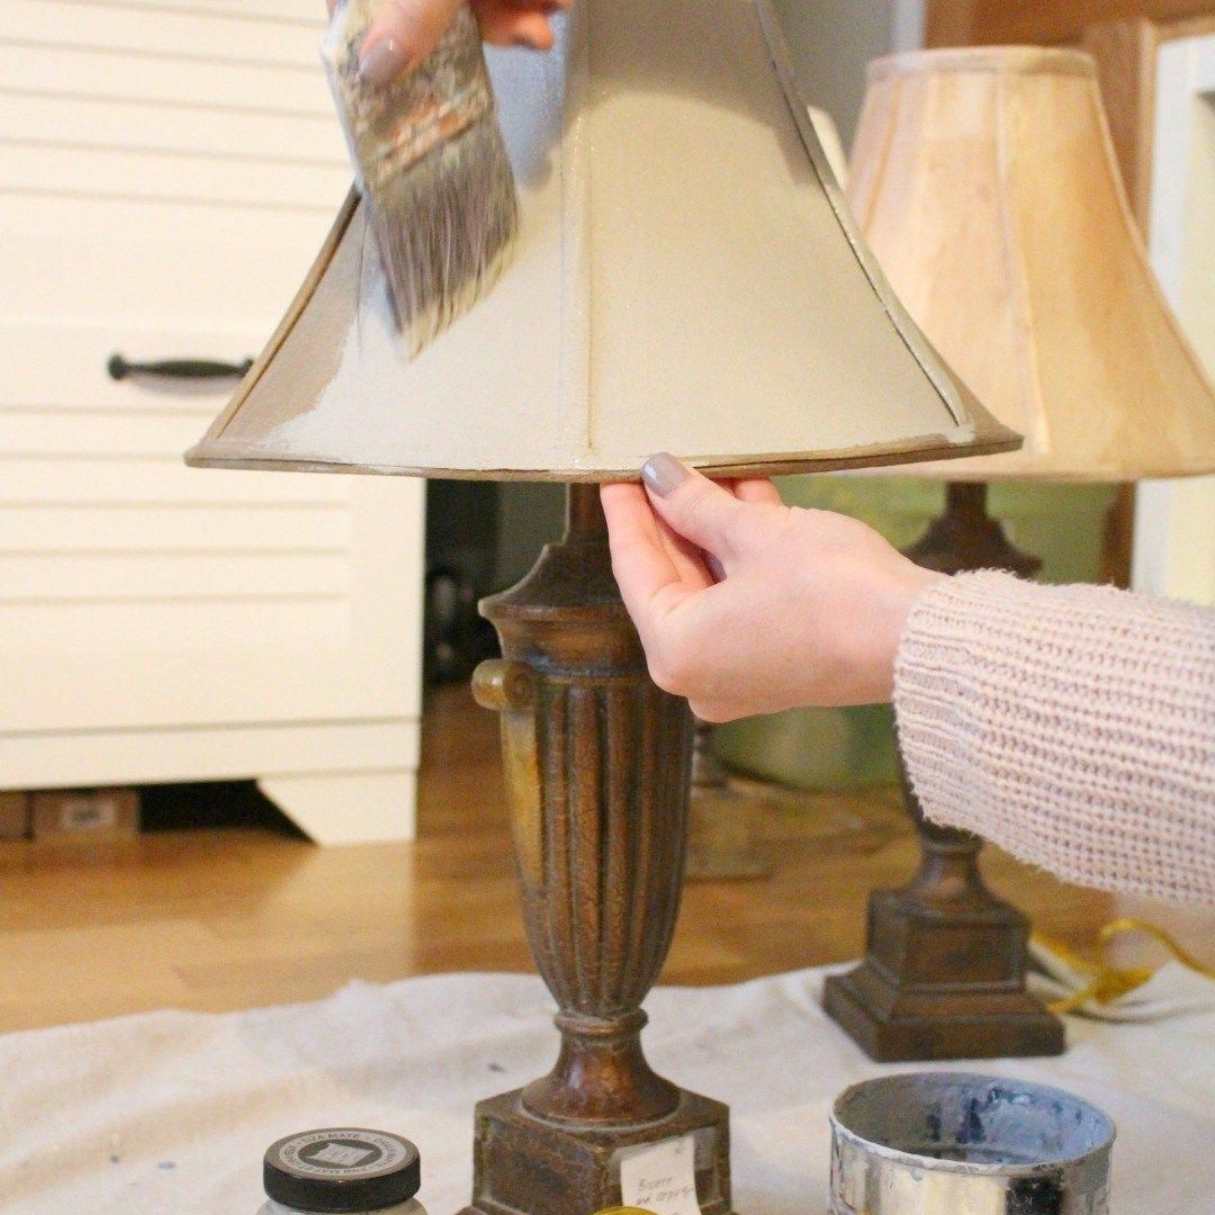
Step 1: Preparing the Frame
The first step in making a macrame lamp shade is to prepare the frame. If you’re using an old lamp shade frame, start by removing the fabric or covering that is already on it. Clean the frame thoroughly to ensure a fresh start for your macrame project.
If you don’t have an existing lamp shade frame, you can purchase one from a craft store or online. Choose a frame that matches the size and shape you desire for your lamp shade. Keep in mind that a larger frame will require more macrame cord and will take longer to complete.
Once you have your lamp shade frame ready, inspect it for any rough edges or metal pieces that could snag the cord. If you find any, use a fine sandpaper or file to smooth them down. This will make the knotting process easier and prevent any fraying or damage to the cord.
Now that your lamp shade frame is cleaned and prepped, you’re ready to move on to the next step, which involves choosing and cutting the cords.
Step 2: Choosing and Cutting the Cords
In this step, you’ll need to choose the macrame cords that will be used to create the intricate knots for your lamp shade. Macrame cords come in various colors and materials, such as cotton, jute, or nylon. Consider the color scheme and style of your room when selecting the cords.
Measure the length of your lamp shade frame to determine how long each cord needs to be. If you’re unsure, it’s better to have cords that are slightly longer than needed, as you can always trim them later.
Once you have determined the length, using sharp scissors, cut the cords accordingly. Make sure your cuts are clean and even to ensure a neat appearance when the lamp shade is complete.
It’s recommended to cut several cords at once so that you have enough to work with throughout the project. Depending on the size of your lamp shade and the desired thickness of the knots, you may need anywhere from 50 to 100 cords or more.
Now that you have your cords ready, it’s time to move on to the next step: attaching the cords to the lamp shade frame.
Step 3: Attaching the Cords to the Frame
With your cords cut to the desired length, it’s time to attach them to the lamp shade frame. Start by securing one end of each cord to the frame using a simple knot. Make sure the knots are tight and secure to prevent the cords from slipping or unraveling.
As you attach the cords, space them evenly around the frame, ensuring an equal distribution. This will help create a balanced and visually appealing macrame pattern once the knots are completed.
Continue attaching cords to the frame until you have covered the entire circumference, leaving enough space between each cord for knotting purposes. If you’re using a larger frame, you may need to add more rows or layers of cords to achieve the desired fullness.
Take your time during this step to ensure the cords are attached securely and evenly. A well-structured base will make the knotting process smoother and result in a more polished finished product.
Now that your cords are securely attached to the frame, it’s time to move on to the next step: knotting the cords to create the macrame design.
When making a macrame lamp shade, be sure to use a sturdy base for the structure, such as a wire frame or hoop, to ensure the shade holds its shape and supports the weight of the lamp.
Read more: How To Make A Mica Lamp Shades
Step 4: Knotting the Cords
Now comes the fun part – knotting the cords to create beautiful macrame patterns on your lamp shade. There are various knotting techniques you can use, such as the square knot, the half hitch knot, and the double half hitch knot, among others.
Start by selecting a knotting technique that you’re comfortable with or interested in learning. You can also experiment with different knots to create unique textures and designs. To begin the knotting process, choose two adjacent cords and follow the instructions for your chosen knot.
As you progress, continue knotting adjacent cords together along the circumference of the lamp shade frame. Repeat the same knotting technique for consistency throughout the project. This will create a cohesive pattern and ensure a visually pleasing result.
Take your time with each knot, making sure they are tight and secure. Tug gently on the cords to ensure they’re properly fastened. If you make a mistake or don’t like the appearance of a knot, don’t hesitate to undo it and start over. Practice makes perfect, and the more you knot, the more confident you’ll become in creating intricate designs.
Continue knotting the cords until you reach the desired length or achieve the desired pattern and texture on your lamp shade. Don’t forget to periodically step back and assess your work to ensure the design is balanced and visually appealing.
Now that you’ve completed the knotting process, it’s time to move on to the next step: creating patterns and designs on your lamp shade.
Step 5: Creating Patterns and Designs
Now that the majority of the knotting is complete, you can begin to get creative and add patterns and designs to your macrame lamp shade. This step is where you can truly personalize your creation and make it unique.
There are several ways to create patterns in macrame, including alternating knot types, incorporating different knotting techniques, using different colored cords, or adding decorative elements like beads or feathers.
If you want to create alternating patterns, you can choose two or more different knotting techniques and repeat them in a specific sequence. For example, you can alternate between square knots and double half hitch knots, or create a chevron pattern by knotting cords diagonally.
Another option is to incorporate different colored cords into your design. This can be done by using cords of different colors for specific sections or by creating color gradients throughout the lamp shade. This will add visual interest and depth to your finished piece.
Additionally, you can embellish your lamp shade by adding beads or other decorative elements to certain knots or along specific sections. This will give your lamp shade a unique touch and make it even more eye-catching.
Take your time during this step and experiment with different patterns and designs. Feel free to sketch out your ideas beforehand or try them directly on the lamp shade itself. Remember, this is your opportunity to showcase your creativity, so don’t be afraid to think outside the box.
Once you’re satisfied with the patterns and designs on your macrame lamp shade, it’s time to move on to the final step: adding the finishing touches.
Step 6: Finishing Touches
Congratulations, you’re almost done with your macrame lamp shade! In this final step, you’ll add the finishing touches to complete your project and make it ready for use.
First, trim any excess cord length that extends beyond the bottom of the lamp shade frame. Be sure to leave a small amount of cord to prevent unraveling.
Next, give your macrame lamp shade a thorough inspection. Check for any loose knots or cords that need reinforcement. Use a hot glue gun or a small amount of clear-drying craft glue to secure any loose or unruly knots.
If desired, you can also give your lamp shade a gentle steam or iron to smooth out any wrinkles or kinks in the cords. Be cautious not to over-steam or apply too much heat, as this can damage the cords or the frame.
Finally, attach your macrame lamp shade to your lamp or pendant light fixture. Depending on the type of frame you used, there may be different attachment methods. Follow the instructions provided with your lamp shade frame or consult a professional if needed.
Once your macrame lamp shade is securely attached to the light fixture, step back and admire your handiwork. You’ve successfully created a one-of-a-kind piece of decor that adds warmth and ambiance to any space.
Remember to regularly dust and clean your macrame lamp shade to keep it looking its best. Use a soft cloth or a brush attachment on your vacuum cleaner to gently remove any dust or debris that may accumulate over time.
Now, sit back, relax, and enjoy the soft and ethereal glow created by your stunning macrame lamp shade.
We hope you found this guide helpful in creating your macrame lamp shade. Get creative, have fun, and let your imagination run wild. Happy crafting!
Conclusion
Creating a macrame lamp shade is a wonderful way to bring a touch of elegance and bohemian style to your home decor. With just a few materials and some basic macrame techniques, you can transform a plain lamp shade into a beautiful and artistic centerpiece.
Throughout this guide, we have walked you through the step-by-step process of making a macrame lamp shade. From preparing the frame and cutting the cords to attaching them and knotting them in intricate patterns, each step has been carefully explained to help you achieve the best results.
Remember, practice makes perfect. Don’t be discouraged if your first attempt doesn’t turn out exactly as planned. Macrame is an art form that requires patience and persistence. The more you practice and experiment with different knotting techniques and designs, the more confident you will become in your macrame skills.
Feel free to unleash your creativity and add your personal touch to your macrame lamp shade. Play with different colors, patterns, and decorative elements to make it truly unique and reflective of your style and personality.
Lastly, we hope this guide has inspired you to embark on your macrame lamp shade journey. It’s a rewarding and fulfilling project that allows you to showcase your crafting skills and add a stunning statement piece to your home.
Now, gather your materials, set aside some time, and immerse yourself in the world of macrame. Unleash your creativity and create a macrame lamp shade that will light up and enhance your living space.
Happy crafting!
Frequently Asked Questions about How To Make A Macrame Lamp Shade
Was this page helpful?
At Storables.com, we guarantee accurate and reliable information. Our content, validated by Expert Board Contributors, is crafted following stringent Editorial Policies. We're committed to providing you with well-researched, expert-backed insights for all your informational needs.