Articles
How To Make Roman Blinds
Modified: January 6, 2024
Discover everything you need to know about making Roman blinds with our comprehensive articles. Step-by-step guides and expert tips to create beautiful window treatments.
(Many of the links in this article redirect to a specific reviewed product. Your purchase of these products through affiliate links helps to generate commission for Storables.com, at no extra cost. Learn more)
Introduction
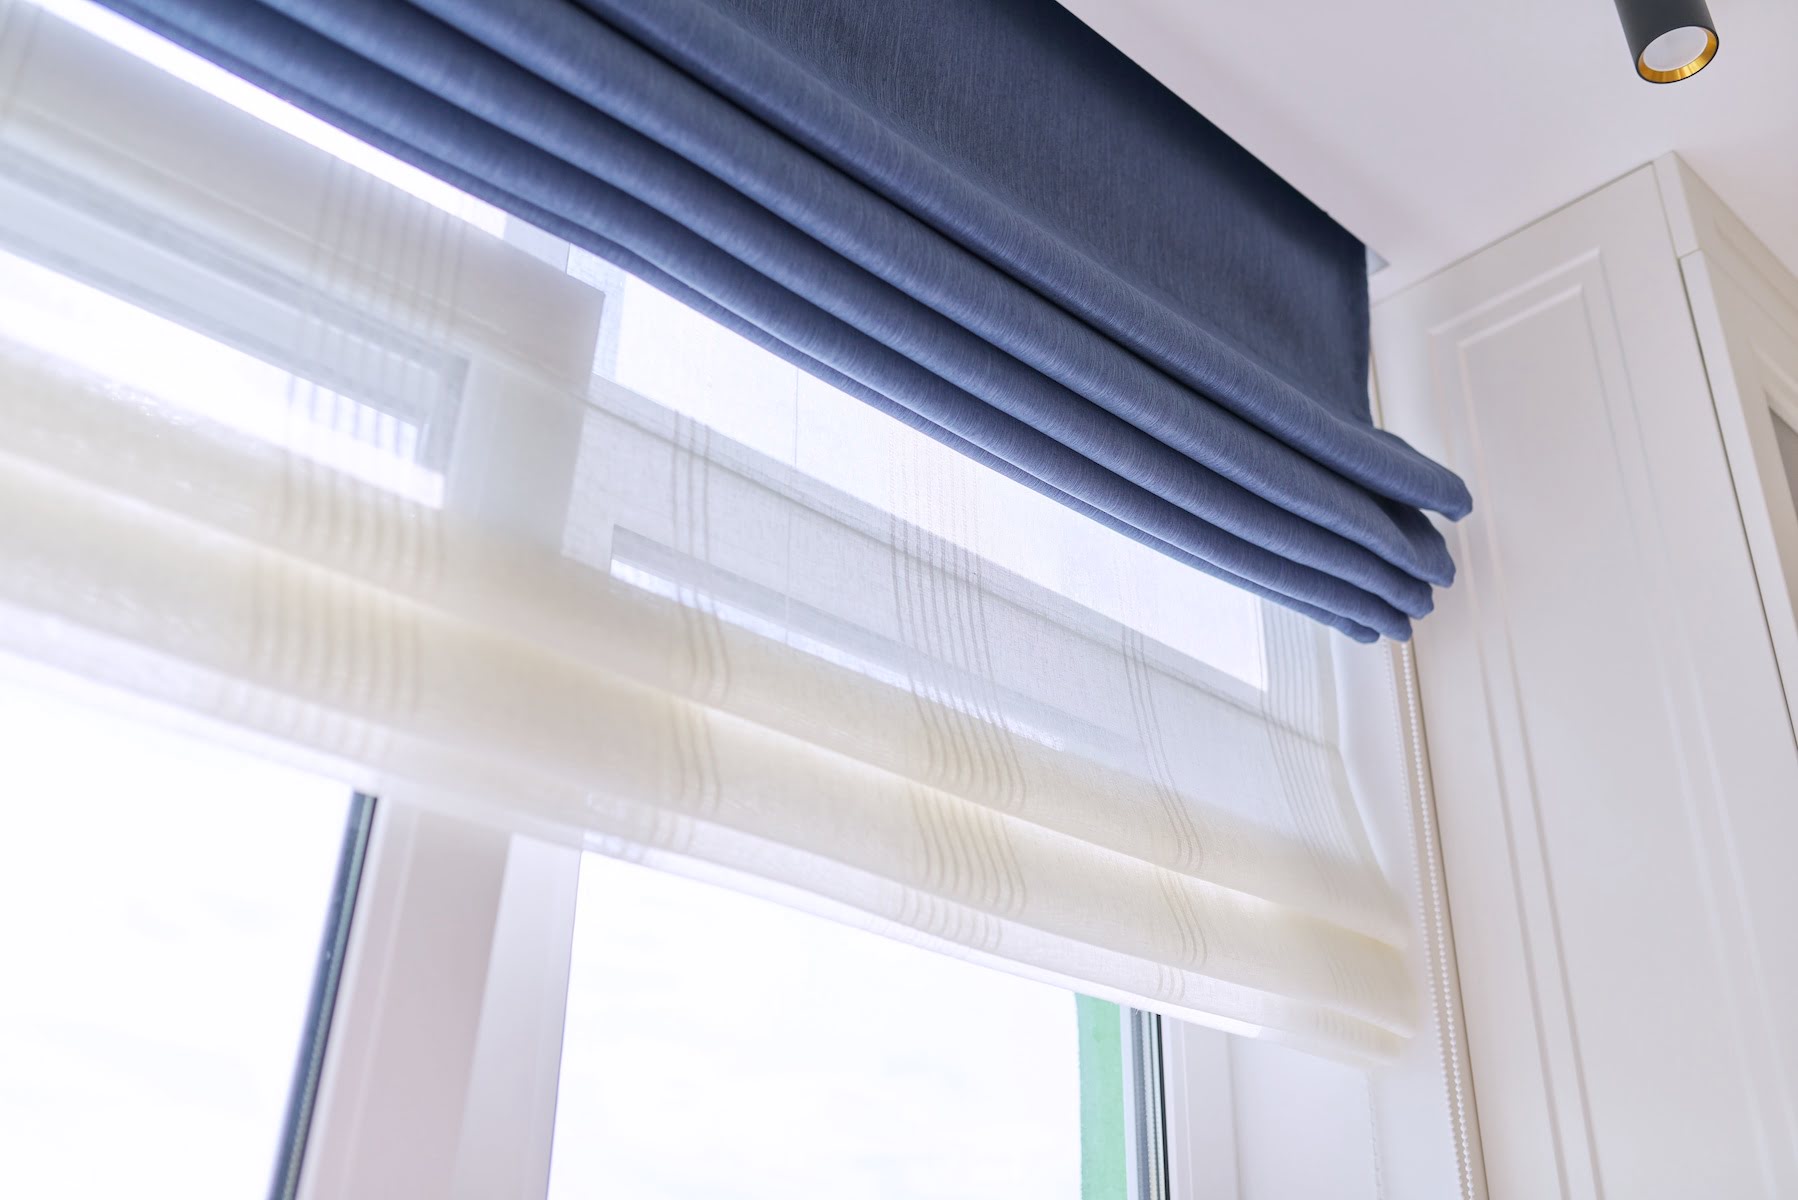
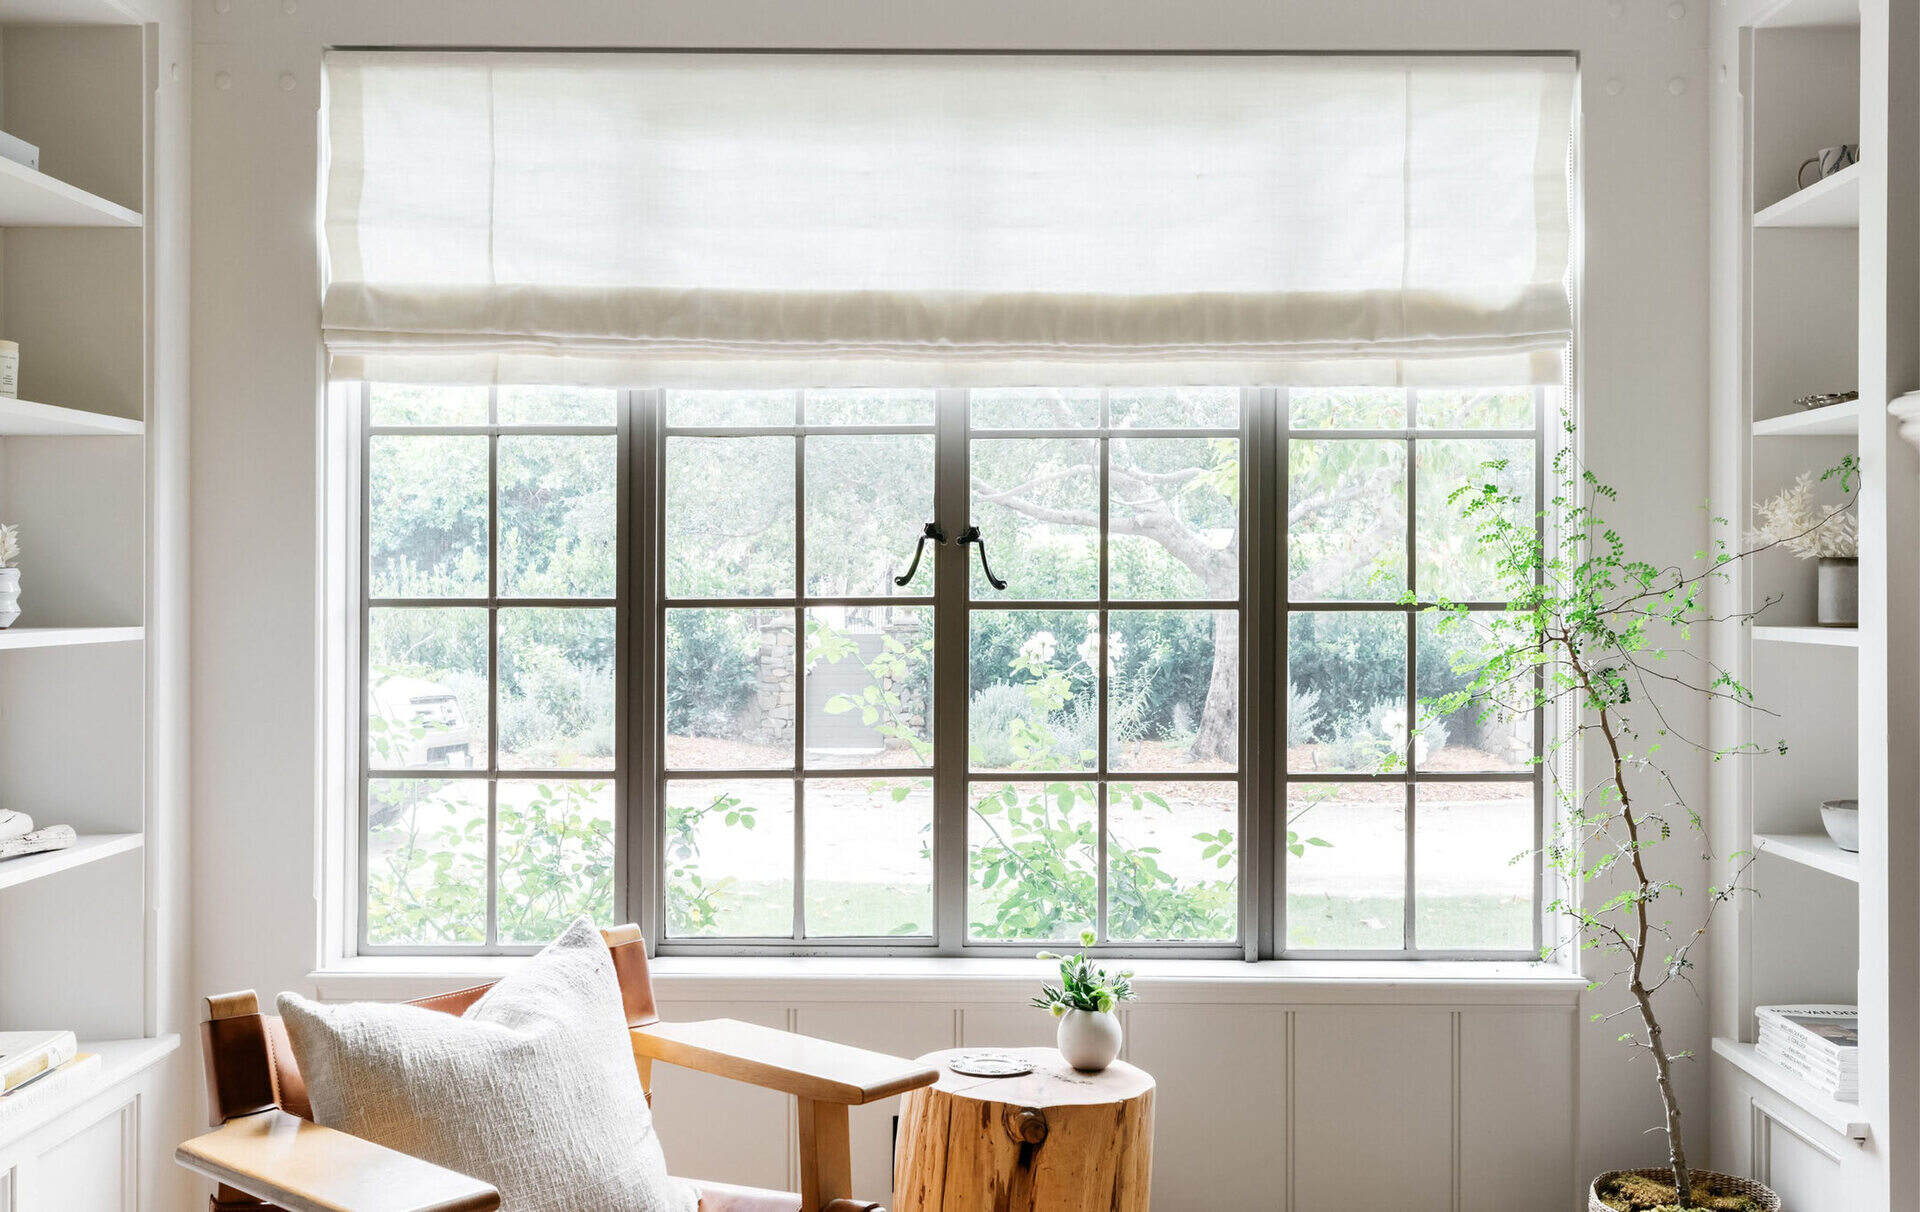
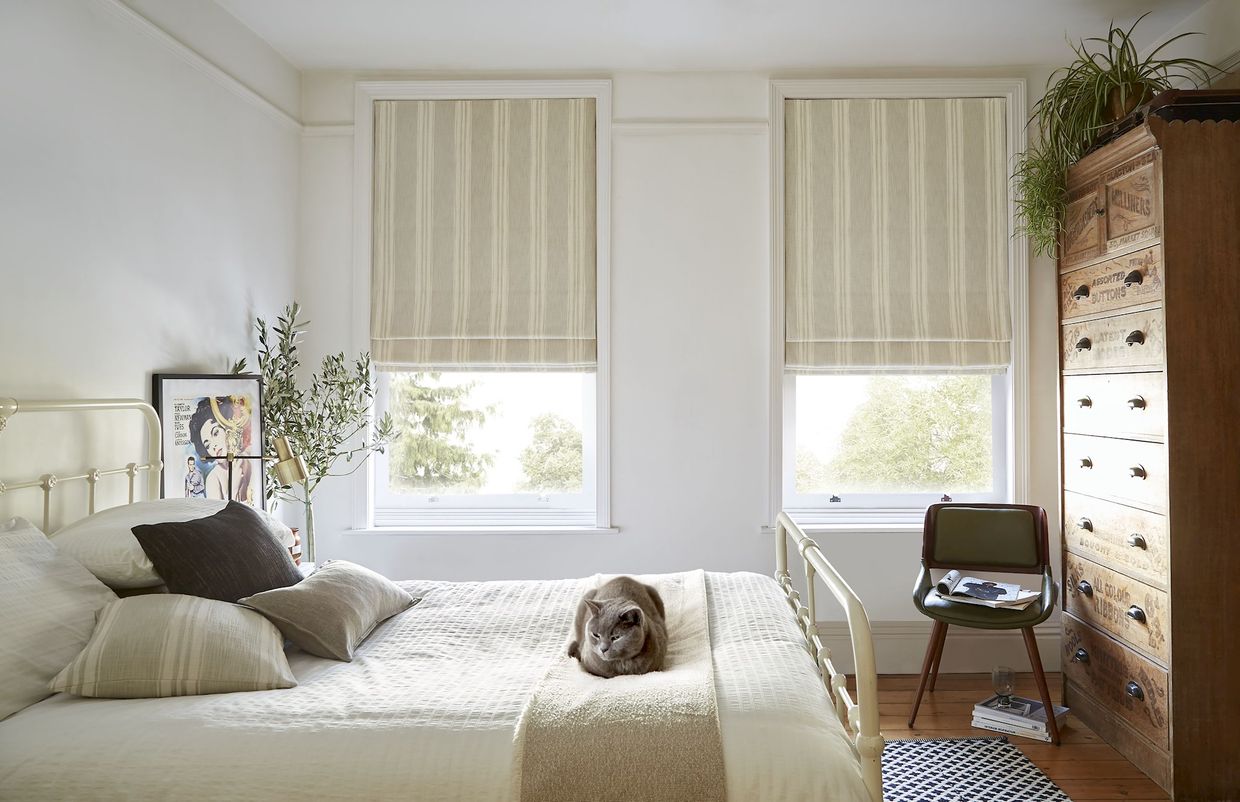
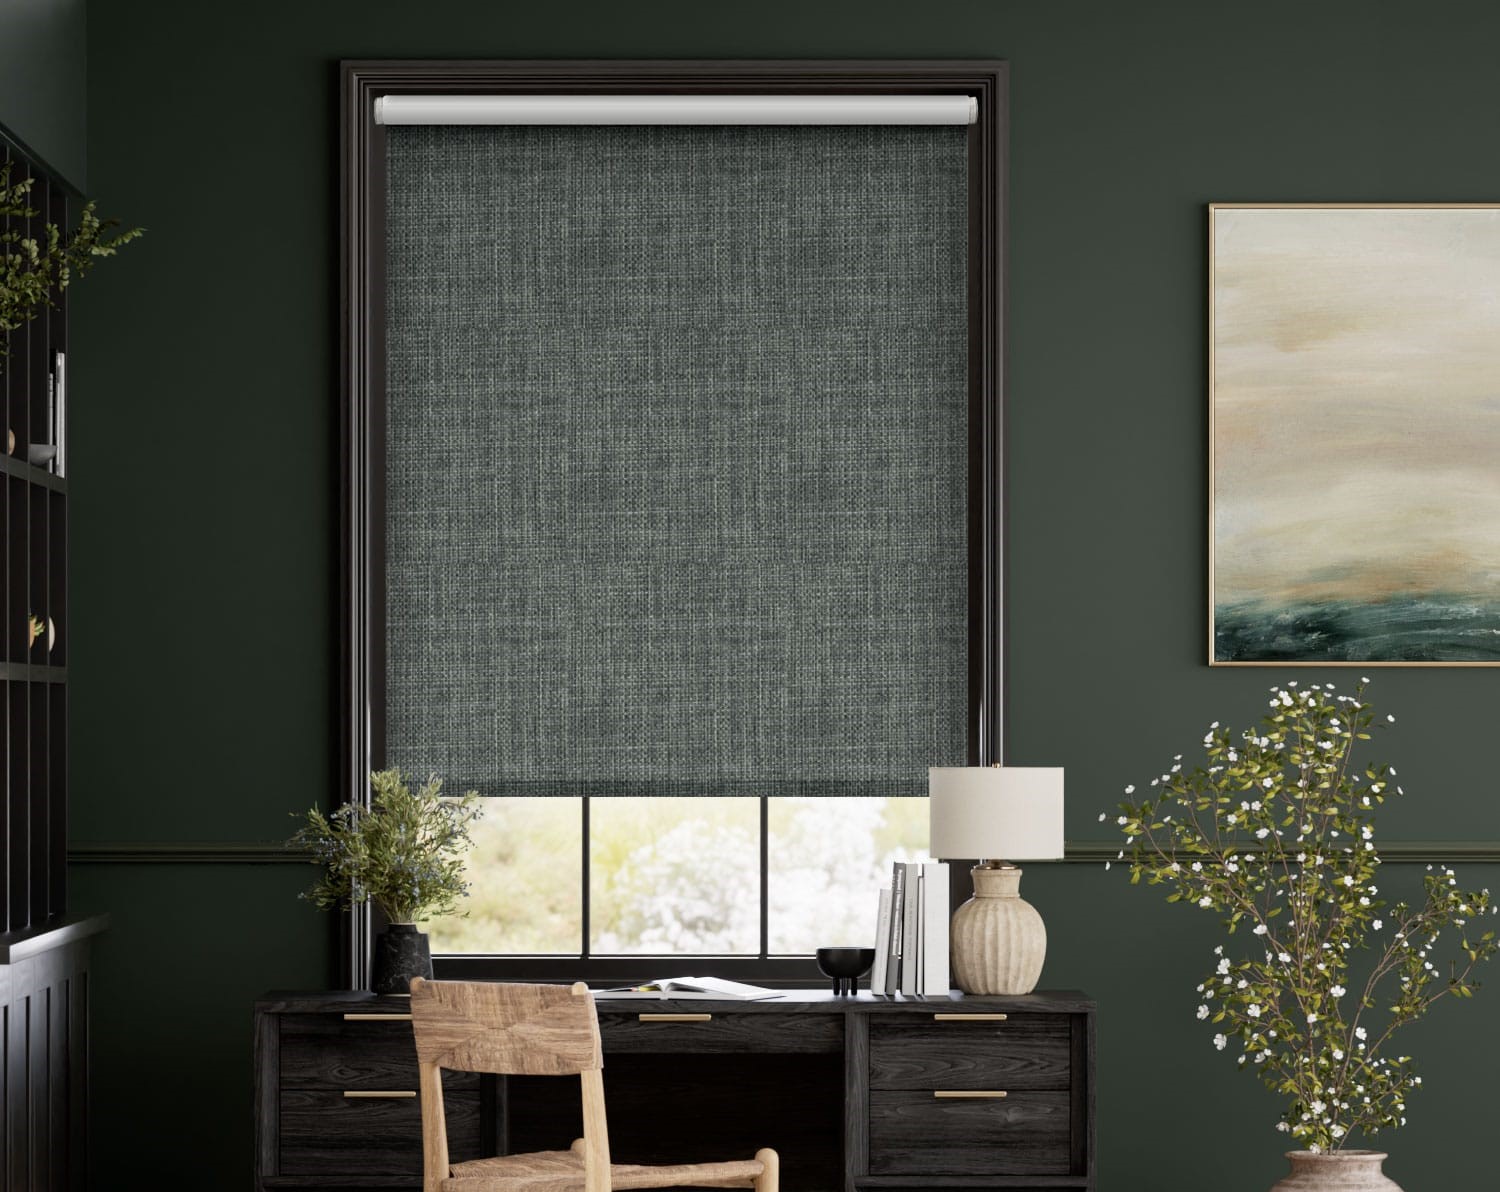
Welcome to the world of Roman blinds! Roman blinds offer a stylish and functional window treatment option, adding a touch of elegance to any room. They are versatile, easy to customize, and provide privacy and light control. In this guide, we will take you through the step-by-step process of making your very own Roman blinds.
Whether you’re a seasoned DIY enthusiast or just starting out, creating your own Roman blinds can be a rewarding and satisfying project. Not only will you have complete control over the design and fabric choice, but you’ll also save money compared to buying ready-made blinds.
Before we dive into the process, let’s go through the materials you’ll need to get started.
Key Takeaways:
- Create custom Roman blinds to save money and add a personal touch to your space. Enjoy the satisfaction of crafting elegant window treatments that perfectly fit your style and preferences.
- Master the art of Roman blind making with accurate measurements, fabric selection, sewing techniques, and installation. Embrace the versatility and functionality of custom blinds in controlling light and privacy.
Read more: What Are Roman Blinds
Materials Needed
Before you embark on your Roman blinds project, gather the following materials:
- Fabric: Choose a fabric that complements your room’s décor and meets your desired level of light filtering. Be sure to select a fabric that has enough stiffness to create crisp folds in your blinds.
- Lining Fabric: Optional but recommended for added privacy and light control. Choose a lining fabric that matches or coordinates with your main fabric.
- Blind Cord or Tape: This will be used to lift and lower the blinds.
- Mounting Board or Headrail: Provides stability and allows for easy installation.
- Roman Blind Rings: These rings will be attached to the fabric and will hold the cord or tape.
- Drill and Screws: If you’re mounting the blinds inside the window frame, you’ll need a drill and screws for installation.
- Thread: Choose a thread color that matches your fabric.
- Measuring Tape: Essential for accurate measurements.
- Scissors or Rotary Cutter: For cutting the fabric.
- Sewing Machine: Needed if you’ll be sewing the blinds yourself.
- Pins or Clips: To hold the fabric in place while sewing.
- Iron: For pressing the fabric and creating crisp folds.
- Cord Lock: Optional but recommended for easy operation of the blinds.
- Cord Condenser: Optional but recommended for neatly managing the cords.
- Safety Tassel or Cord Cleat: Provides a way to secure the cords and prevent accidents.
Make sure you have all the necessary materials before you begin, as it will save you time and frustration later in the process. Once you’ve gathered everything, you’re ready to move on to measuring your window.
Step 1: Measuring the Window
Accurate measurements are essential for ensuring that your Roman blinds fit perfectly on your window. Here are the steps to measure your window:
- Start by measuring the width of your window. Use a measuring tape to measure the inside width of the window frame from one side to the other. Take three measurements (top, middle, and bottom) to account for any variations in the window width.
- Next, measure the height of your window. Again, use a measuring tape to measure the inside height of the window frame from the top to the bottom. Take three measurements (left, center, and right) to account for any variations in the window height.
- When measuring, be sure to account for any obstructions such as window handles or locks. You’ll need to ensure that your blinds can clear these obstructions when they are fully raised.
- Once you have your measurements, add at least 4 inches to both the width and height for the seam allowances and to allow for the blinds to fully cover the window when lowered.
- Make a note of your final measurements. These measurements will be used to cut your fabric and determine the size of the blind.
Remember, it’s always better to measure twice to ensure accuracy. Once you have your window measurements, you can move on to choosing the fabric for your Roman blinds.
Step 2: Choosing the Fabric
The fabric you choose for your Roman blinds will play a significant role in the overall look and functionality of the blinds. Consider the following factors when selecting your fabric:
- Light Control: Determine the level of light control you desire in your space. If you want to filter in natural light while still maintaining privacy, choose a lightweight fabric. For more light-blocking capabilities, opt for a heavier or blackout fabric.
- Style and Decor: Consider the overall style and decor of your room. Choose a fabric that complements the existing color scheme and aesthetic. You can select a solid color fabric for a clean and contemporary look, or opt for a patterned fabric to add visual interest.
- Durability: Ensure that the fabric you choose is durable and can withstand regular use. Some fabrics may be more prone to fading or wear and tear, so choose one that will stand the test of time.
- Care and Maintenance: Consider the care instructions for the fabric. Some fabrics may require dry cleaning, while others can be machine washed. Choose a fabric that fits with your lifestyle and maintenance preferences.
Once you have a clear idea of the fabric properties you want, visit a fabric store or browse online to explore the available options. It’s a good idea to request fabric samples to see how they look in your space and in different lighting conditions.
Keep in mind that the amount of fabric you’ll need will depend on the size of your window and how many folds you want your Roman blinds to have. As a general rule, you’ll need approximately 1.5 to 2 times the width of your window for a neatly folded appearance.
With your fabric chosen, you’re ready to move on to the next step: cutting the fabric.
Step 3: Cutting the Fabric
With your measurements in hand and your fabric chosen, it’s time to cut the fabric for your Roman blinds. Follow these steps to ensure accurate and precise cuts:
- Lay your fabric out on a flat, clean surface. Smooth out any wrinkles or creases to ensure an even cutting surface.
- Using your measurements, mark the dimensions of your blinds on the fabric. Be sure to account for the seam allowances and extra fabric needed for the folds.
- Carefully cut along your marked lines using sharp scissors or a rotary cutter. Take your time and make clean, straight cuts to ensure precise measurements.
- If you are using a lining fabric, repeat the cutting process to cut the lining fabric to the same dimensions as your main fabric.
When cutting the fabric, it’s important to double-check your measurements and take your time to ensure accuracy. Remember to leave extra fabric for the seams and folds. If you’re unsure, it’s always better to cut a larger piece of fabric that can be trimmed down later, rather than cutting it too small.
Once your fabric is cut, you’re ready to move on to the next step: sewing the fabric together.
Read more: How To Measure For Roman Blinds
Step 4: Sewing the Fabric
Now that you have your fabric and lining cut to size, it’s time to sew them together to create your Roman blinds. Follow these steps to sew the fabric:
- Start by placing the main fabric and lining fabric with their right sides facing each other. Align the edges and pin them together to secure them in place.
- Using a sewing machine, stitch along the edges, leaving a 1/2-inch seam allowance. Backstitch at the beginning and end of your seams to secure them.
- Remember to leave a small opening along the bottom edge to insert the blind cord or tape later on. This opening should be wide enough for the cord or tape to fit through.
- Once you’ve sewn the edges together, trim any excess fabric and clip the corners to reduce bulk when turning the blinds right side out.
- Gently turn the blinds right side out through the opening, using a pointed object like a chopstick or knitting needle to push out the corners and edges for a clean finish.
- Press the blinds with an iron to smooth out any wrinkles and create crisp folds.
If you prefer a no-sew option, you can use fabric glue or stitch adhesive tape to join the main fabric and lining together. Simply follow the manufacturer’s instructions for best results.
Once your fabric is sewn together or adhered, it’s time to move on to attaching the hardware in the next step.
When measuring the fabric for your Roman blinds, be sure to add at least 10cm to the width and 15cm to the length to allow for hems and adjustments.
Step 5: Attaching the Hardware
Attaching the hardware is a crucial step in creating functional Roman blinds. Here’s how to do it:
- Start by positioning the mounting board or headrail at the top of the blind panel. Mark the placement of the mounting holes on the fabric using a pencil or fabric marker.
- Using a drill or screwdriver, secure the mounting board or headrail to the top of the blind panel, making sure it is centered and level.
- Next, attach the Roman blind rings to the back of the blind panel. Position the rings evenly along the width of the blinds, spacing them according to your desired fold size.
- Secure the rings in place by stitching or gluing them to the fabric. Make sure they are firmly attached to ensure smooth operation of the blinds.
If you prefer a more streamlined look, you can use fabric tabs instead of rings. Simply fold a small strip of fabric and attach it to the back of the blinds, creating a loop to hold the cord or tape.
Once the hardware is securely attached, you’re ready to move on to the next step: creating the cord channels.
Step 6: Creating the Cord Channels
The cord channels play a vital role in the functionality and appearance of your Roman blinds. Follow these steps to create the cord channels:
- Decide on the number of cord channels you want for your blinds. Typically, Roman blinds have three or four cord channels evenly spaced across the width of the blinds.
- Using a ruler or measuring tape, mark the placement for each cord channel along the back of the blind panel. Make sure they are equidistant from each other.
- Stitch or glue fabric strips vertically along the marked lines to create the cord channels. These fabric strips should be wide enough to accommodate the blind cord or tape.
- Ensure that the cord channels are securely attached and straight. You can reinforce them by backstitching at the top and bottom of each strip.
Creating the cord channels will provide a neat and organized appearance to your Roman blinds. It will also ensure that the cords or tape are properly guided, allowing for smooth and effortless operation of the blinds.
With the cord channels in place, it’s time to move on to the next step: threading the cord.
Step 7: Thread the Cord
Threading the cord is an essential step in the assembly of your Roman blinds. Follow these steps to correctly thread the cord:
- Start by attaching a cord or tape connector to the bottom ring or tab of the blind. This will serve as the starting point for the cord.
- Thread the cord or tape through the bottom ring or tab and proceed to thread it through each successive ring or tab in a zigzag pattern. Ensure that the cord or tape is threaded through all the rings or tabs until you reach the top.
- Once you’ve threaded the cord or tape through all the rings or tabs, attach the cord or tape connector to the top ring or tab of the blind. Make sure it is securely attached.
- Pull the cord or tape to raise the blinds, creating folds as desired. Test the operation of the blinds to ensure they raise and lower smoothly.
It’s important to thread the cord or tape carefully to avoid any tangling or uneven tension. Take your time and ensure that the cord or tape is smoothly threaded through each ring or tab.
With the cord or tape properly threaded, your Roman blinds are almost ready for installation. In the next step, we’ll cover the final step: installing the Roman blinds.
Read more: How To Make A Roman Shade Out Of Mini Blinds
Step 8: Installing the Roman Blinds
The final step in the process of making your Roman blinds is installing them. Follow these steps to properly install the blinds:
- Decide whether you want to mount the blinds inside or outside the window frame. This will determine the installation method.
- If you’re mounting the blinds inside the window frame, measure and mark the desired mounting positions on the inside of the frame.
- Using a drill, create pilot holes for the screws at the marked positions. Ensure that the holes are slightly smaller than the screws to provide a secure fit.
- Hold the blinds up to the window and align the mounting holes on the mounting board or headrail with the pilot holes.
- Carefully attach the blinds to the window frame using screws and a screwdriver or drill. Make sure they are securely fastened in place.
- If you’re mounting the blinds outside the window frame, follow similar steps, but position the blinds above the window and secure them to the wall or window frame.
- Once the blinds are installed, test the operation to ensure they raise and lower smoothly without any issues.
With the blinds successfully installed, stand back and admire your handiwork. You have successfully created and installed your very own beautiful and functional Roman blinds.
It’s important to note that proper installation is crucial for the safety and functionality of your blinds. If you’re unsure about the installation process, consider consulting a professional or seeking guidance from a knowledgeable source.
Congratulations, you have completed all the steps to make and install your Roman blinds. Enjoy the privacy, style, and functionality they bring to your space!
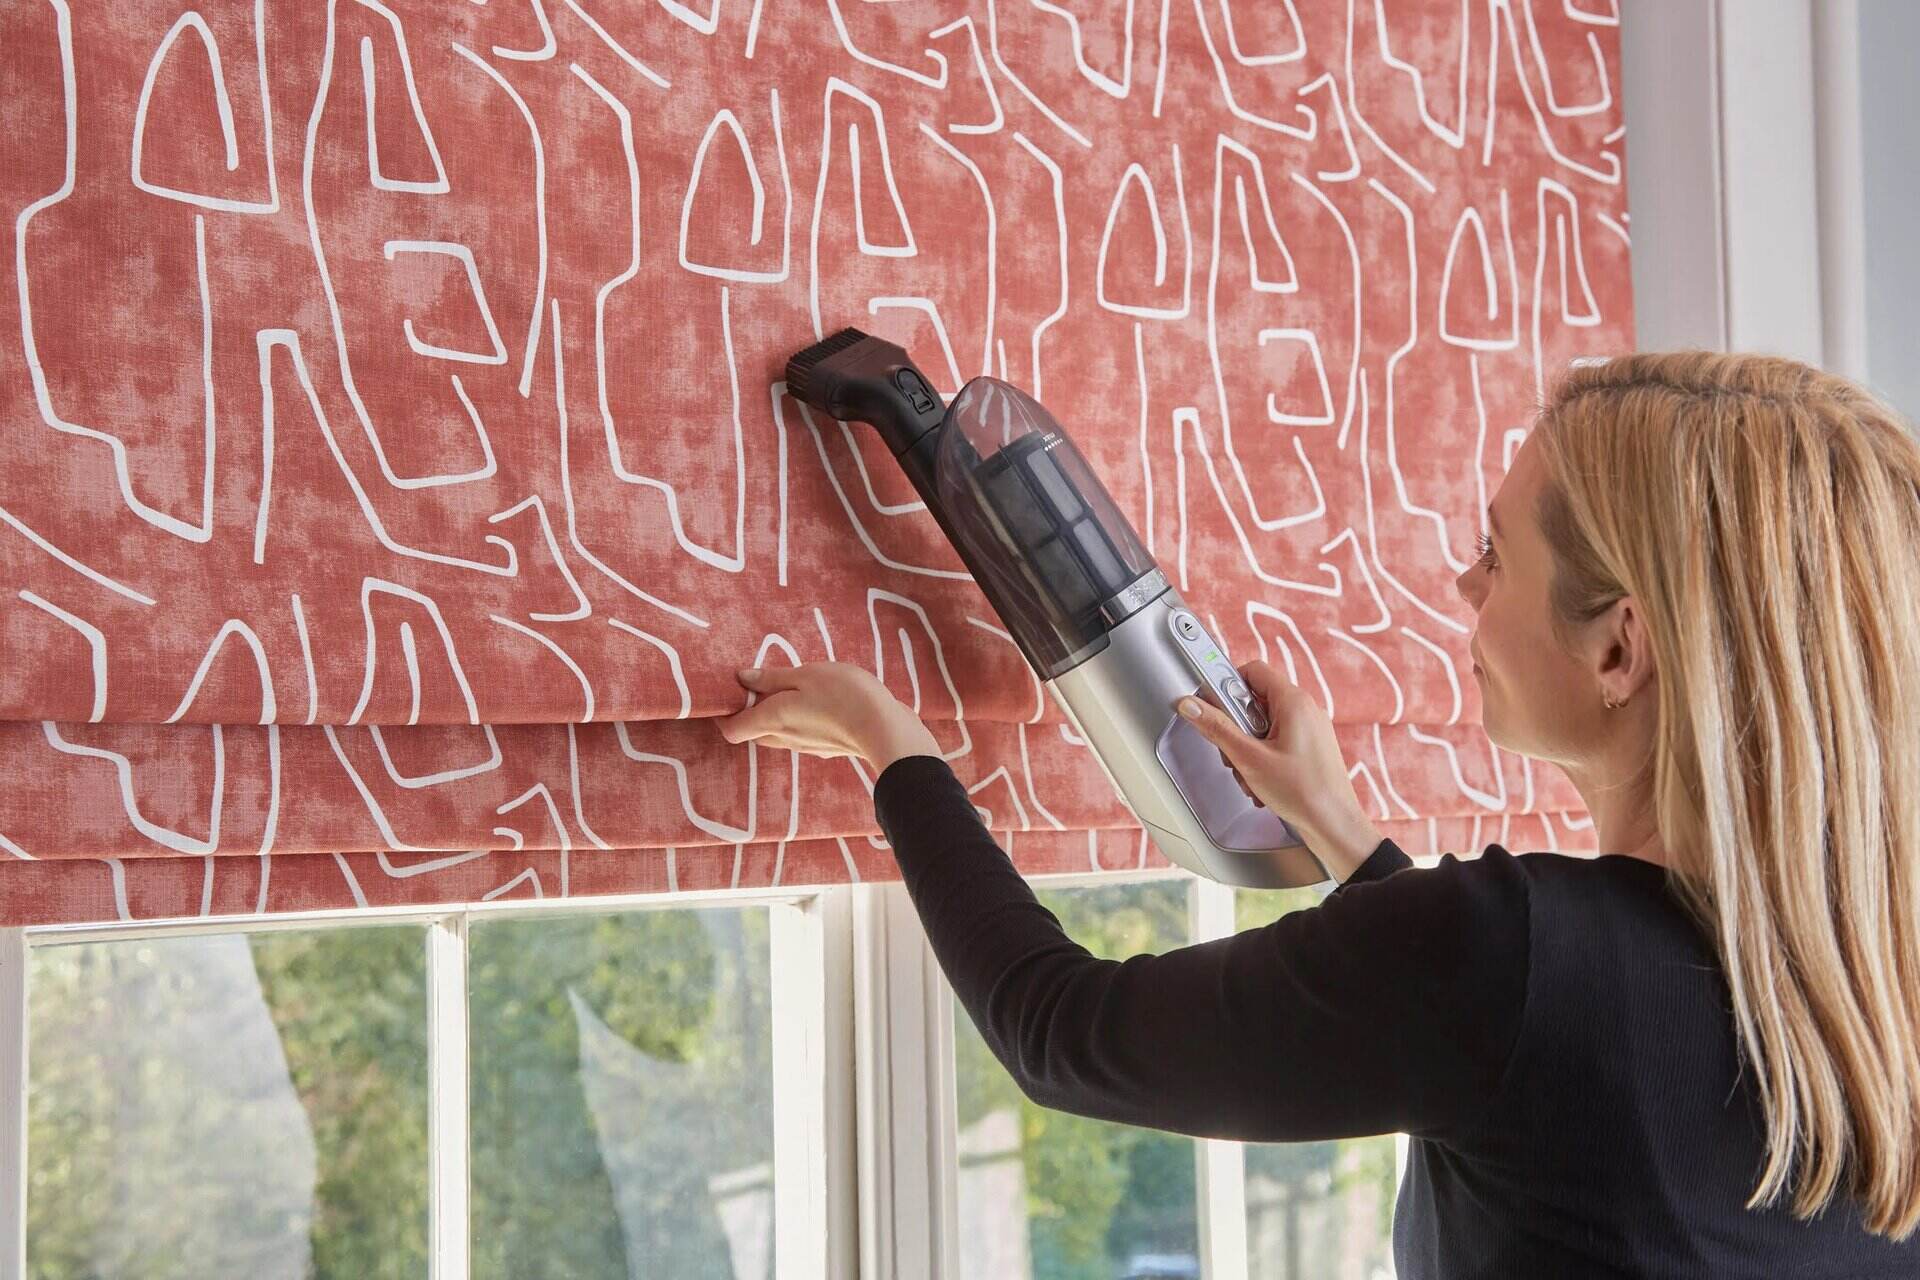
Lastly, don’t forget to regularly clean and maintain your Roman blinds to ensure their longevity and optimal performance.
Thank you for following this step-by-step guide. We hope you find joy in your new Roman blinds!
Conclusion
Congratulations on completing your journey to create your own Roman blinds! By following these step-by-step instructions, you have successfully made beautiful and functional window treatments that enhance the style and privacy of your space.
Throughout this process, you learned the importance of accurate measurements, selecting the right fabric, sewing techniques, attaching hardware, creating cord channels, threading the cord, and installing the blinds. Each step contributed to the overall success of your project.
By making your own Roman blinds, you not only saved money, but you also personalized your window treatments to perfectly fit your style and preferences. It’s a rewarding feeling to see your handcrafted blinds hanging in your space, adding a touch of elegance and functionality.
Remember, Roman blinds offer versatility and flexibility in controlling light and privacy. You can adjust the blinds to let in natural light or create a cozy atmosphere by lowering them. The cords or tape allow you to effortlessly raise and lower the blinds, giving you complete control over the amount of light entering your room.
Now that you have completed your Roman blinds, take time to admire your craftsmanship and enjoy the benefits they bring. Don’t forget to regularly clean and maintain your blinds to keep them looking fresh and vibrant.
Thank you for joining us on this DIY Roman blinds adventure. We hope this guide has been informative and inspiring, empowering you to explore your creativity and enhance your living space. Get ready to bask in the beauty and functionality of your new Roman blinds!
Frequently Asked Questions about How To Make Roman Blinds
Was this page helpful?
At Storables.com, we guarantee accurate and reliable information. Our content, validated by Expert Board Contributors, is crafted following stringent Editorial Policies. We're committed to providing you with well-researched, expert-backed insights for all your informational needs.


0 thoughts on “How To Make Roman Blinds”