Articles
How To Make A Shower Steamer
Modified: August 28, 2024
Discover the best articles on how to make a shower steamer. Find step-by-step guides and expert tips for creating your own refreshing shower experience at home.
(Many of the links in this article redirect to a specific reviewed product. Your purchase of these products through affiliate links helps to generate commission for Storables.com, at no extra cost. Learn more)
Introduction
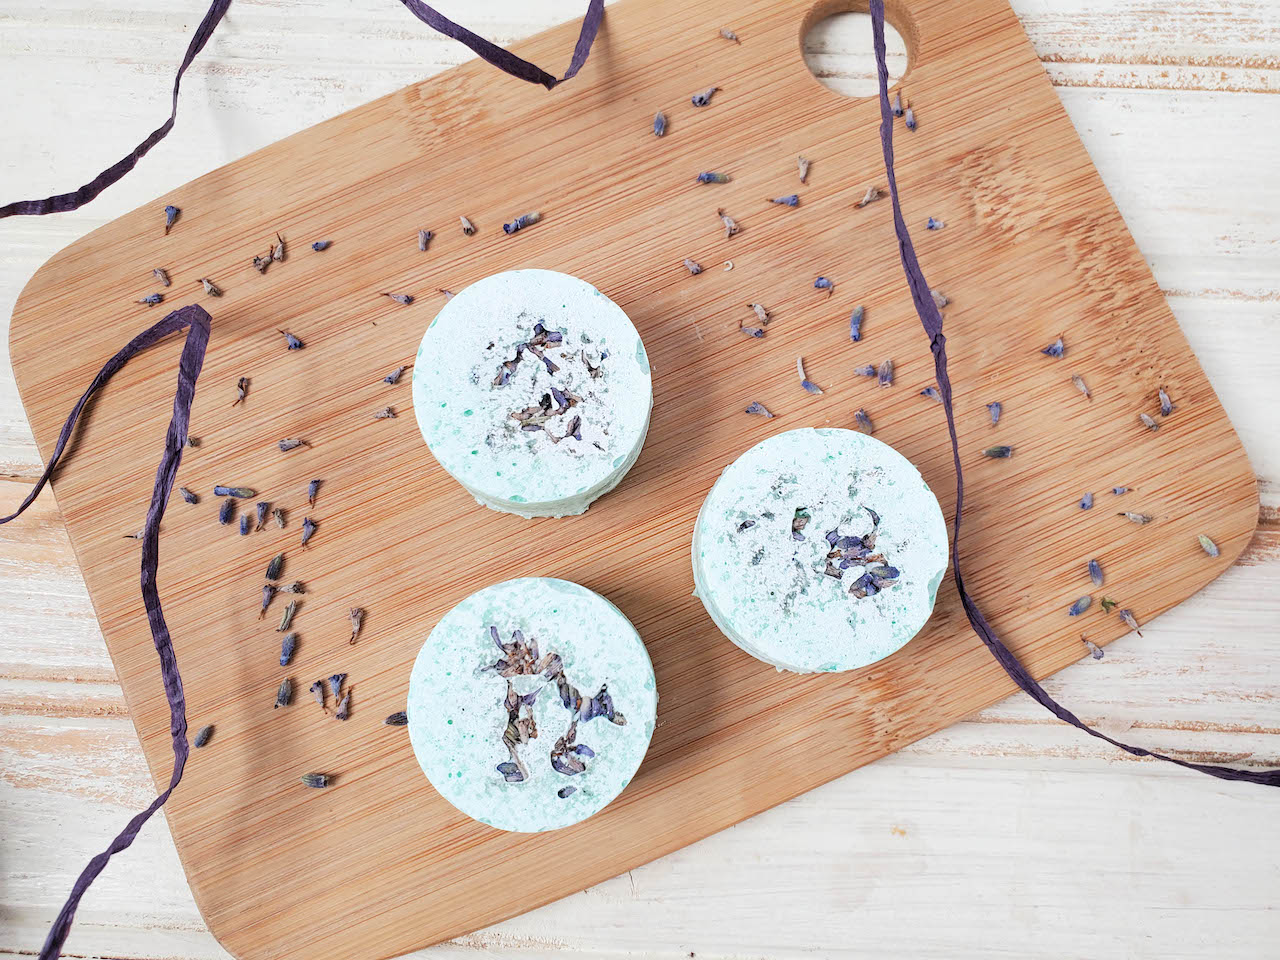
Shower steamers have become a popular addition to our self-care routines, providing a therapeutic and invigorating experience right in the comfort of our own bathrooms. These small, aromatic discs release essential oils into the air when exposed to hot water, creating a soothing and relaxing ambiance that can transform an ordinary shower into a spa-like escape.
If you’ve been searching for a way to enhance your shower routine, making your own shower steamer can be a fun and rewarding DIY project. Not only will you have control over the ingredients used, but you’ll also have the satisfaction of creating a personalized product that suits your preferences.
In this article, we will guide you through the process of making a shower steamer from start to finish. We’ll discuss the materials you’ll need, the step-by-step instructions, and provide some tips to help you get the best results.
So, let’s dive in and learn how to make your very own shower steamer!
Key Takeaways:
- Create your own spa-like oasis by making personalized shower steamers with your favorite scents. Enjoy a therapeutic and invigorating shower experience right in the comfort of your own home.
- Experiment with different essential oil blends and molds to craft unique shower steamers. Share the indulgence with friends and family or enjoy the aromatic oasis all to yourself.
Read more: What Is A Shower Steamer?
Materials Needed
Before getting started, make sure you have the following materials on hand:
- Baking Soda – 1 cup
- Citric Acid – 1/2 cup
- Cornstarch – 1/2 cup
- Essential Oils – choose your favorite scents
- Water – as needed
- Mold – silicone molds or muffin tin
- Spray Bottle – for water
- Measuring Cups and Spoons
- Mixing Bowl
- Spatula or Whisk – for mixing
Baking soda and citric acid are the main ingredients in shower steamers. Baking soda helps to neutralize odors and soften the water, while citric acid creates the fizzing action. Cornstarch adds a smooth and silky texture to the steamer, allowing it to hold its shape.
The essential oils are responsible for the aromatic experience. Choose oils that are safe for topical use and have pleasant scents. Popular options include lavender for relaxation, eucalyptus for congestion relief, and citrus oils for an energizing boost.
Having a mold is essential for shaping the shower steamer. Silicone molds are recommended for easy removal, but a muffin tin can work as well. Make sure to have a spray bottle filled with water to help adjust the moisture level in the mixture.
With all these materials gathered, you’re ready to start creating your homemade shower steamer!
Step 1: Gathering the Ingredients
Before you begin making your shower steamer, it’s important to gather all the necessary ingredients. Having everything prepared and within reach will make the process much smoother and more enjoyable. Here’s a breakdown of the ingredients you’ll need:
- Baking Soda – 1 cup
- Citric Acid – 1/2 cup
- Cornstarch – 1/2 cup
- Essential Oils – choose your favorite scents
- Water – as needed
Start by measuring out the baking soda, citric acid, and cornstarch. Use measuring cups and spoons to ensure accuracy. These dry ingredients will form the base of your shower steamer and provide the fizzing action.
Next, select your preferred essential oils. Depending on your desired fragrance and therapeutic benefits, you can choose a single essential oil or create a unique blend by combining different scents. Be sure to use oils that are safe for topical use and suitable for your personal preferences.
Lastly, have some water on hand. You’ll need water to help bind the dry ingredients together and create a moldable mixture. Have a spray bottle filled with water nearby to easily add it as needed during the mixing process.
Once you have gathered all the ingredients, you’re ready to move on to the next step: mixing them together to create the shower steamer mixture.
Step 2: Mixing the Ingredients
Now that you have all the necessary ingredients gathered, it’s time to start mixing them together to create the shower steamer mixture. Follow these steps:
- In a mixing bowl, combine the baking soda, citric acid, and cornstarch.
- Using a spatula or whisk, thoroughly mix the dry ingredients together until they are well blended.
- Add your chosen essential oils to the mixture. Start with a few drops and gradually increase the amount based on your preferred strength of scent. Mix well to evenly distribute the essential oils throughout the dry ingredients.
- At this point, the mixture should have a sandy texture. To test the consistency, squeeze a small amount of the mixture in your hand. If it holds its shape without crumbling, it is ready for the next step. If it crumbles, lightly spritz some water onto the mixture and mix again until the desired consistency is achieved.
When mixing the ingredients, it’s important to do so gently to avoid excessive fizzing. The reaction between the citric acid and water will cause the mixture to fizz, and you want to preserve some of that fizz for when you use the shower steamer in the future.
Remember, it’s better to start with a drier mixture and gradually add small amounts of water as needed. You want the mixture to be moldable but not too wet or soggy.
Once your mixture is well blended and at the right consistency, you’re ready to move on to the next step: preparing the mold for filling.
Step 3: Preparing the Mold
With the shower steamer mixture mixed to the right consistency, it’s time to prepare the mold for filling. Follow these steps:
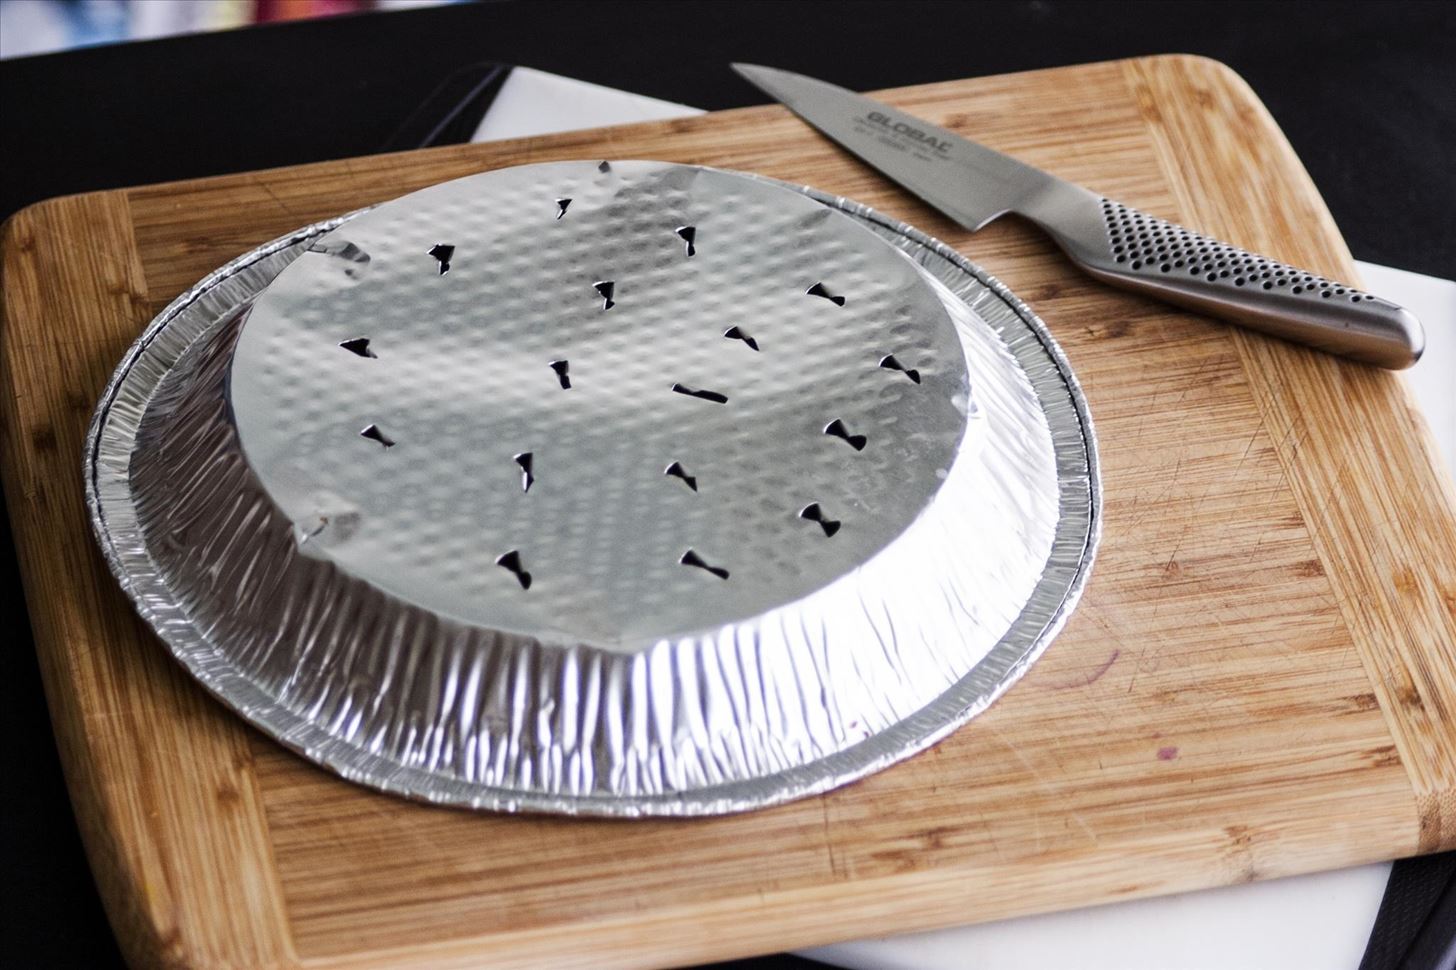
- If using a silicone mold, ensure it is clean and dry. This will help with easy removal of the shower steamers once they have hardened. If using a muffin tin, you can line it with cupcake liners for easy removal.
- Place the silicone mold or muffin tin on a flat surface, such as a baking sheet or cutting board, to provide stability.
- If desired, you can lightly spray the mold or liners with a non-stick cooking spray. This step is optional but can help with easier release of the shower steamers.
Preparing the mold is a simple step, but an important one to ensure that your shower steamers come out intact and ready to use.
Once the mold is prepped and ready, it’s time to move on to the exciting part: filling the mold with the shower steamer mixture!
When making a shower steamer, be sure to use essential oils that are safe for topical use and dilute them properly to avoid skin irritation.
Read more: Where To Put A Shower Steamer
Step 4: Filling the Mold
Now that the mold is prepared, it’s time to fill it with the shower steamer mixture. Follow these steps:
- Take a small handful of the mixture and gently press it into the mold. Make sure to press firmly to ensure the mixture is compacted and holds its shape.
- Continue filling the rest of the mold cavities, adding more mixture as needed. Be careful not to overfill the cavities, as the mixture may expand slightly as it dries.
- Smooth the surface of each filled cavity using the back of a spoon or your fingertips. This will help create a neat and even appearance on your shower steamers.
As you fill the mold, you can experiment with different shapes and sizes. Silicone molds often come in various designs, allowing you to create unique shower steamers. Alternatively, you can use a muffin tin for simple round-shaped steamers.
Keep in mind that the shower steamer mixture may start to lose its moisture and become crumbly as it sits. If this happens, simply spritz a small amount of water onto the mixture and mix it again before filling the mold.
Once all the cavities are filled and the mixture is smooth, it’s time to let the shower steamers set and harden. This brings us to the next step: letting them set.
Step 5: Letting it Set
After filling the mold with the shower steamer mixture, it’s important to let it set and harden before attempting to remove the shower steamers. Follow these steps to ensure your shower steamers are properly set:
- Place the filled mold in a cool, dry location where it won’t be disturbed. It’s best to leave it for at least 24 hours to allow the shower steamers to fully dry and harden.
- Avoid moving or touching the mold during this time to prevent any damage or distortion to the shape of the shower steamers.
- If you’re in a hurry and can’t wait for 24 hours, you can try placing the mold in the refrigerator for a few hours to speed up the setting process. However, be cautious not to leave it for too long, as excessive moisture or condensation can affect the quality of the shower steamers.
During the setting process, the moisture in the mixture will gradually evaporate, leaving behind solid and compact shower steamers. The exact setting time may vary depending on the humidity levels in your environment, so be patient and allow sufficient time for the shower steamers to dry completely.
Once the shower steamers are fully set and hardened, it’s time to remove them from the mold. This brings us to the next step: removing them from the mold.
Step 6: Removing from the Mold
Now that the shower steamers have completely set and hardened, it’s time to remove them from the mold. Follow these steps to ensure a successful removal:
- Gently press on the back or bottom of each cavity of the silicone mold to release the shower steamer. If using a muffin tin, you can use a butter knife or spoon to carefully lift them out.
- If the shower steamers are not releasing easily, you can try placing the silicone mold in the freezer for a few minutes. The cold temperature can help shrink the steamer slightly, making it easier to pop out of the mold.
- Once the shower steamers are removed from the mold, inspect them for any imperfections or rough edges. You can use a fine-grit sandpaper or a nail file to gently smooth out any uneven parts.
Be careful when handling the shower steamers, as they can be fragile until fully dried. Take your time and handle them gently to avoid any breakage or crumbling.
After successfully removing the shower steamers from the mold and refining their appearance, it’s time to move on to the final step: storing and using the shower steamers.
Step 7: Storing and Using the Shower Steamer
Now that you have beautifully crafted shower steamers, it’s important to store them properly to maintain their quality and freshness. Follow these steps for storing and using your homemade shower steamers:
- Store the shower steamers in an airtight container or a resealable bag to protect them from moisture and humidity. This will help preserve their scent and effectiveness.
- Place the container or bag in a cool, dry place away from direct sunlight. Extreme temperatures and exposure to sunlight can cause the shower steamers to lose their fragrance and effectiveness.
- To use the shower steamer, simply place it on the floor of your shower, away from the direct stream of water. As the steam and water interact with the shower steamer, it will gradually release its aromatic scents.
- Enjoy the invigorating experience as the shower steamer releases its fragrances into the air, creating a calming and refreshing atmosphere in your shower.
- Take deep breaths and allow the soothing aromas to envelop you while you relax and rejuvenate in the warm water and steam.
Remember, shower steamers are not meant to be applied directly to the skin, as they are highly concentrated with essential oils. Their purpose is to enhance the sensory experience during a shower.
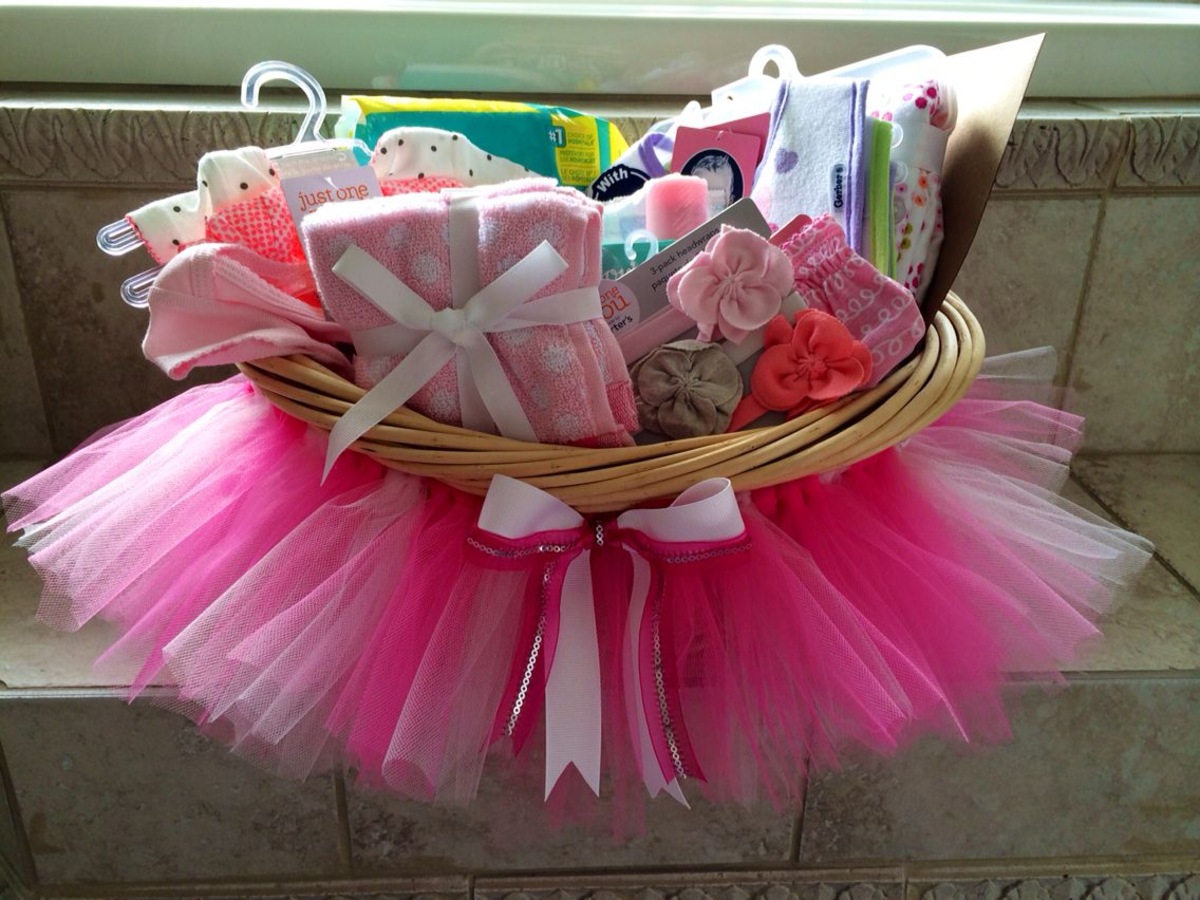
Feel free to experiment with different scents and blends to create your own customized shower steamers. You can also make them as gifts for friends and loved ones, providing them with a delightful and indulgent shower experience.
With these storage and usage tips, you can enjoy the benefits of your homemade shower steamers for multiple showers, transforming your bathroom into a luxurious spa-like haven whenever you desire.
Congratulations on successfully creating your very own shower steamer! Now it’s time to relax and enjoy the aromatic oasis you have crafted.
Read also: 14 Amazing Shower Steamer for 2025
Conclusion
Creating your own shower steamer is a rewarding and enjoyable DIY project that allows you to personalize your shower experience. By following the steps outlined in this article, you can make shower steamers that are tailored to your preferences, using scents that promote relaxation, invigoration, or any other mood you desire.
From gathering the ingredients to filling the mold, letting it set, and finally using the shower steamer, each step plays a crucial role in creating a high-quality product. Remember to follow the instructions carefully, taking the time to mix the ingredients well and allowing the shower steamers to fully dry and harden.
Storing the shower steamers in airtight containers and using them in your shower routine will provide you with a spa-like experience right in the comfort of your own home. The aromatic scents will uplift your mood, promote relaxation, and transform your shower into a tranquil oasis.
Don’t be afraid to get creative and experiment with different essential oil blends and molds to create unique and personal shower steamers. They can also make wonderful gifts for family and friends, allowing them to indulge in a luxurious shower experience.
Now that you have the knowledge and skills to make your own shower steamer, it’s time to put them into action. Enjoy the process of creating, using, and sharing your homemade shower steamers, and reap the benefits of a rejuvenating shower experience.
So go ahead, unleash your creativity, and embark on the wonderful journey of crafting your own shower steamers. Your showers will never be the same again!
Frequently Asked Questions about How To Make A Shower Steamer
Was this page helpful?
At Storables.com, we guarantee accurate and reliable information. Our content, validated by Expert Board Contributors, is crafted following stringent Editorial Policies. We're committed to providing you with well-researched, expert-backed insights for all your informational needs.


0 thoughts on “How To Make A Shower Steamer”