Articles
How To Make A Steamer At Home
Modified: August 27, 2024
Discover helpful articles on how to make a steamer at home. Find step-by-step instructions and tips for creating your own steamer for cooking and cleaning purposes.
(Many of the links in this article redirect to a specific reviewed product. Your purchase of these products through affiliate links helps to generate commission for Storables.com, at no extra cost. Learn more)
Introduction
Welcome to this step-by-step guide on how to make a steamer at home. Steaming is a healthy and versatile cooking method that preserves the natural flavors and nutrients of food. Whether you’re preparing vegetables, fish, or even dumplings, a steamer provides gentle and even heat distribution, resulting in delicious and tender dishes.
While there are various types of steamers available on the market, you may not have one readily accessible in your kitchen. However, fear not! Creating a makeshift steamer at home is easier than you might think. In this article, we will walk you through the process of making a simple yet effective steamer using everyday items found in your kitchen.
Before we begin, let’s gather the materials and tools you’ll need:
- A large pot with a tight-fitting lid
- A heatproof bowl or a metal colander
- A trivet or a heatproof plate
- A spatula or tongs
- Water
With these items at hand, you’ll be ready to create your own steamer and start enjoying the benefits of steamed dishes in no time.
Key Takeaways:
- Create a makeshift steamer at home using everyday kitchen items like a pot, bowl, and trivet. Enjoy healthy and flavorful steamed dishes without the need for specialized equipment.
- Steaming preserves natural flavors and nutrients, making it a versatile and nutritious cooking method. From vegetables to fish, your homemade steamer offers endless possibilities for delicious and healthy meals.
Read more: How To Make A Shower Steamer
Materials and Tools Needed
Before you begin making your steamer at home, it’s essential to gather the necessary materials and tools. Fortunately, you probably have most of these items in your kitchen already. Here’s what you’ll need:
- A large pot with a tight-fitting lid: The pot will serve as the base of your steamer. It should be large enough to accommodate your food and the steaming apparatus. Ensure that the lid fits snugly to create a seal and trap the steam.
- A heatproof bowl or a metal colander: This will act as the steamer basket, holding your food above the simmering water. If using a bowl, make sure it fits securely inside the pot without touching the water. If using a colander, choose one with small holes to prevent small food items from falling through.
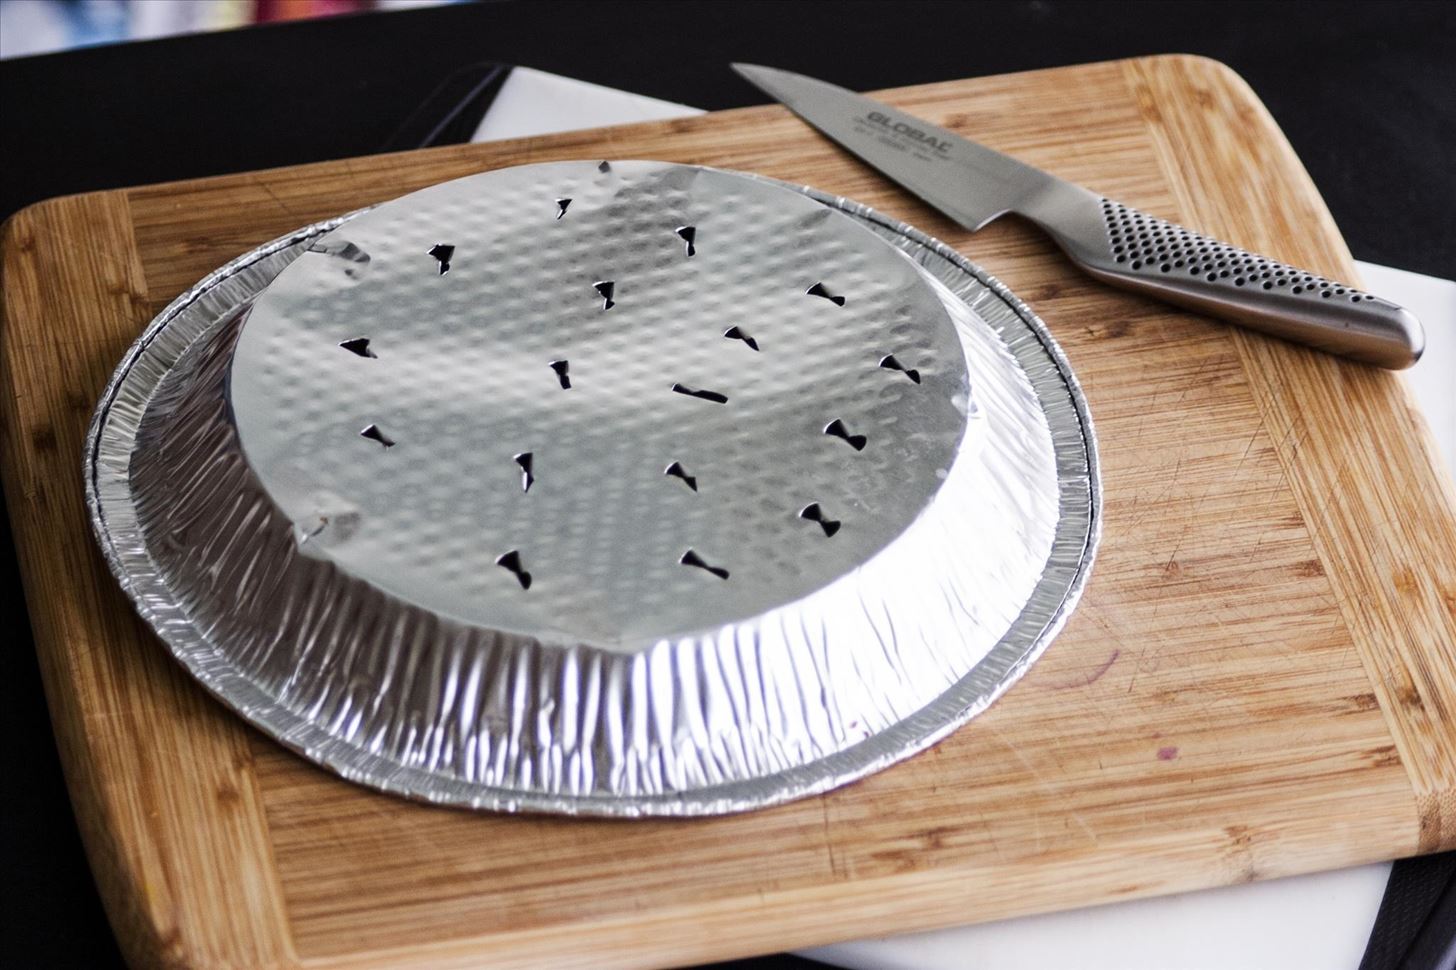
- A trivet or a heatproof plate: This will elevate the steamer basket above the water level. If you’re using a heatproof plate, ensure it fits snugly inside the pot without obstructing the steam flow. If you don’t have a trivet or heatproof plate, you can fashion one using aluminum foil or a small, heatproof dish overturned.
- A spatula or tongs: These kitchen tools will come in handy for lifting and transferring food in and out of the steamer.
- Water: Of course, you’ll need water to create steam. The amount of water required will depend on the size of your pot and the duration of steaming.
Once you have gathered these materials and tools, you’re ready to move on to the next steps in creating your homemade steamer. Remember, improvising with available materials is part of the fun, so feel free to substitute items if needed.
Step 1: Choosing a Pot
The first step in making a steamer at home is choosing the right pot to serve as the base of your steaming apparatus. Ideally, you should select a pot that is large enough to hold your food and the steamer basket comfortably.
Here are a few factors to consider when choosing a pot:
- Size: The size of the pot will depend on the amount of food you plan to steam. It should be spacious enough to accommodate the food without overcrowding, as proper airflow is essential for even steaming. If you’re unsure about the size, opt for a larger pot to give yourself some flexibility.
- Material: The material of the pot will impact heat conductivity and durability. Stainless steel pots are a popular choice for steamers as they distribute heat evenly and are resistant to rust. Avoid pots with non-stick coatings as they may release harmful fumes at high temperatures.
- Tight-Fitting Lid: A tight-fitting lid is crucial to trap the steam inside the pot, creating the desired steaming environment. Ensure that the lid fits securely and forms a seal to prevent steam from escaping.
- Handles: Consider the handles of the pot, as they will become hot during the steaming process. Look for a pot with heat-resistant handles or use oven mitts or towels to handle the pot safely.
- Depth: The depth of the pot should be sufficient to accommodate the water without boiling over or evaporating too quickly. A depth of around 2-3 inches is generally suitable.
Once you’ve selected the perfect pot, you’re ready to move on to the next step of creating your homemade steamer. Remember, the pot will serve as the foundation for your steaming setup, so choose wisely to ensure optimal results.
Step 2: Creating a Steamer Basket
Now that you have chosen an appropriate pot, it’s time to create a steamer basket. The steamer basket will hold the food, allowing the steam to circulate and cook it evenly.
If you don’t have a traditional steamer basket, don’t worry! You can easily create one using a heatproof bowl or a metal colander.
Here’s how to create a steamer basket:
- If using a heatproof bowl, select one that fits securely inside the pot without touching the water.
- Place the bowl upside down inside the pot, creating a raised platform for the food.
- If using a metal colander, ensure it has small holes to prevent small food items from falling through.
- Place the metal colander inside the pot, making sure it rests securely on the rim or edges of the pot.
Remember, it’s important to elevate the food above the simmering water to allow the steam to circulate freely. By creating a steamer basket, you ensure that the food remains above the water level and cooks evenly.
Once you have your improvised steamer basket in place, you’re ready to move on to the next step of using your homemade steamer. The steamer basket is an essential component that facilitates the steaming process and ensures your food is cooked to perfection.
Step 3: Adding Water to the Pot
With your steamer basket in place, it’s time to add water to the pot. The water will create the steam that will cook your food. The amount of water required will depend on the size of your pot and the duration of steaming.
Here’s how to add water to the pot:
- Fill the pot with enough water to create steam but ensure it doesn’t reach the bottom of the steamer basket. Ideally, the water level should be below the steamer basket, allowing the food to steam instead of boiling in the water.
- A general rule of thumb is to fill the pot with about 1-2 inches of water. You don’t want to use too much water as the steam will condense on the lid and fall back into your food, potentially making it soggy.
- It’s important to periodically check the water level during the steaming process. If the water evaporates before your food is fully cooked, you may need to add more water.
Remember, the water in the pot will generate the steam that will cook your food. Adding the right amount of water is crucial to ensuring proper steaming and maintaining the correct cooking temperature.
Once you have added water to the pot, you’re now ready to move on to the next step of preparing the food for steaming. Properly moistened steam is the key to delicious and tender steamed dishes, so don’t skip this important step.
You can make a simple steamer at home by placing a metal colander or a heatproof bowl over a pot of boiling water. Make sure the water doesn’t touch the bottom of the colander or bowl. This makeshift steamer can be used to steam vegetables, dumplings, and more.
Read more: How To Make Tamales Without A Steamer
Step 4: Preparing the Food for Steaming
Now that your homemade steamer is set up and the water is in the pot, it’s time to prepare the food you’ll be steaming. Steaming is a versatile cooking method that works well for a variety of foods such as vegetables, fish, poultry, and even dumplings.
Here are some steps to prepare your food for steaming:
- Wash and chop: Start by washing your vegetables and trimming any excess fat from meats. Cut the food into appropriate sizes for even cooking.
- Season: Season the food with your desired herbs, spices, or marinades to enhance the flavor. You can use a simple combination of salt, pepper, and olive oil or get creative with different seasonings.
- Avoid overcrowding: It’s important to avoid overcrowding the steamer basket. Arrange the food in a single layer, leaving enough space for the steam to circulate. If you have a large quantity of food, you may need to steam in batches.
- Use foil or parchment: If steaming small or delicate items like dumplings or fish fillets, you can place them on a piece of lightly greased foil or parchment paper before putting them in the steamer basket. This will prevent them from sticking or breaking apart during cooking.
- Add aromatics: For added flavor, consider adding aromatics such as garlic, ginger, or herbs to the water in the pot. As the steam rises, it will infuse the food with enticing aromas.
Remember to adjust the steaming time based on the type and thickness of the food. Harder vegetables may require longer steaming compared to delicate fish or dumplings.
Once your food is prepared and ready to go, it’s time to move on to the next step: steaming the food. Patience is key during this process, as the gentle heat of steam gradually cooks the food to perfection.
Step 5: Steaming the Food
Now that you have prepared the food, it’s time to start steaming! This step is where the magic happens, as the gentle heat of steam gradually cooks your ingredients while locking in their flavors and nutrients.
Here’s how to steam your food using your homemade steamer:
- Place the prepared food in the steamer basket. Arrange it in a single layer, allowing enough space between the pieces for the steam to circulate evenly.
- Place the lid on the pot, ensuring it fits tightly to trap the steam inside.
- Turn the heat to medium-high and allow the water to come to a boil.
- Once the water is boiling, reduce the heat to medium-low to maintain a gentle simmer. Too high of a heat can cause excessive boiling and affect the steaming process.
- Set a timer and let the food steam according to the recommended cooking time. This will vary depending on the type and thickness of the food. Be sure to check any specific recipes or guidelines for accurate steaming times.
- Avoid lifting the lid unnecessarily during the steaming process, as this can cause a loss of steam and result in uneven cooking.
- Let the steam work its magic! As the food steams, the heat and moisture will gently cook it, resulting in tender and flavorful dishes.
Keep an eye on the water level during steaming. If the water evaporates completely, it can damage your pot, and the lack of steam will affect the cooking process. If necessary, add more hot water to the pot, being careful not to disrupt the steaming process.
Once the recommended cooking time has elapsed, it’s time to check for doneness and move on to the next step: serving the steamed food.
Step 6: Checking for Doneness
Checking for doneness is a crucial step to ensure that your steamed food is cooked to perfection. The cooking time may vary depending on the type and thickness of the food, so it’s important to monitor it closely near the end of the recommended cooking time.
Here’s how to check if your food is done:
- Using a spatula or tongs, carefully lift a piece of food from the steamer basket.
- For vegetables, poke them with a fork or taste a piece to see if they’re tender but still have a slight crispness. Avoid overcooking, as this can result in mushy vegetables.
- For meats or seafood, insert an instant-read thermometer into the thickest part to ensure it has reached the recommended internal temperature. The temperature will vary depending on the specific type of meat or seafood.
- If cooking dumplings or bread, insert a toothpick or skewer in the center to check if it comes out clean or with just a few crumbs clinging to it.
- Remember that steaming is a gentle cooking method, so it’s better to slightly undercook than to overcook the food. You can always continue steaming for a few more minutes if needed.
Once you’re satisfied that the food is cooked to the desired level of doneness, you’re now ready to move on to the final step: serving the steamed food.
Enjoy the anticipation and satisfaction of knowing that your homemade steamer has produced a delicious and nutritious meal for you and your loved ones.
Step 7: Serving the Steamed Food
Congratulations! You’ve successfully steamed your food using your homemade steamer. Now it’s time to indulge in the delicious and healthy dishes you’ve prepared.
Here are some tips for serving your steamed food:
- Carefully remove the steamer basket from the pot, using oven mitts or tongs to protect your hands from the heat.
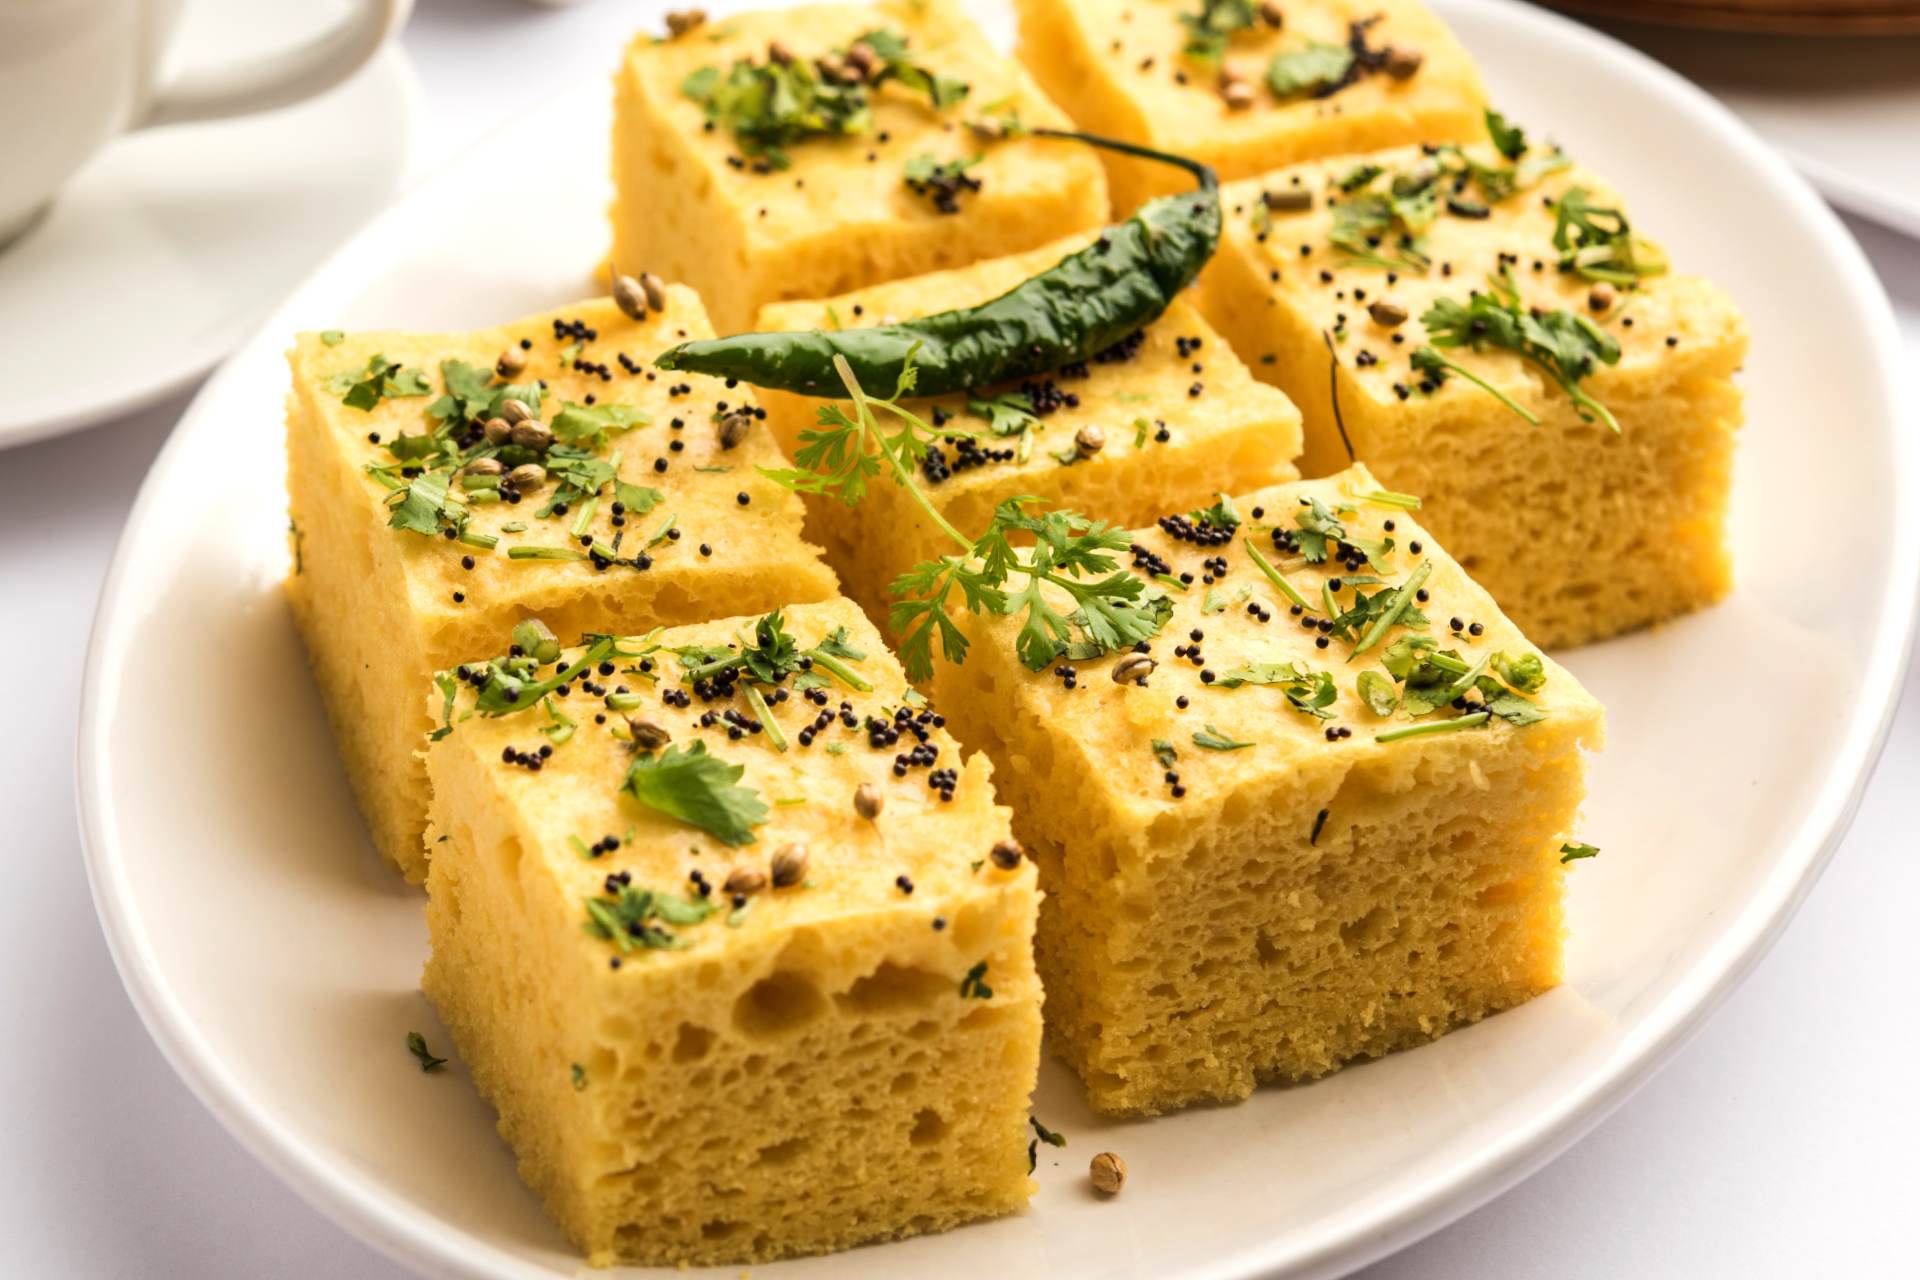
- Transfer the steamed food to a serving plate or individual dishes. You can garnish it with freshly chopped herbs, a drizzle of sauce, or a squeeze of citrus to add a burst of flavor.
- Since steaming preserves the natural colors and textures of the food, the presentation can be simple yet visually appealing. Arrange the food in an aesthetically pleasing manner for an extra touch.
- Serve your steamed dishes while they are still warm to enjoy their delicate flavors and textures. Steamed vegetables retain a vibrant crunch, while steamed meats and seafood remain juicy and tender.
- Pair your steamed dishes with complementary sauces or condiments. For example, steamed fish could be accompanied by a light soy sauce and ginger dressing, while steamed vegetables can be enhanced with a drizzle of olive oil and a sprinkle of sea salt.
- Consider the versatility of steamed food by incorporating it into various meals. Steamed vegetables can be enjoyed as a side dish, steamed fish can be the centerpiece of a healthy dinner, and steamed dumplings can be served as appetizers or a satisfying snack.
- Remember to enjoy the nourishing benefits of steamed food, as the gentle cooking method helps retain essential nutrients and natural flavors.
With your steamed food plated and ready to delight your taste buds, take a moment to appreciate the results of your homemade steamer. Whether you’re enjoying a light and healthy meal or exploring new flavors with steamed dishes, you can be proud of your culinary accomplishment.
Now it’s time to savor and enjoy your steamed creations. Bon appétit!
Read more: How To Make Embutido Without Steamer
Conclusion
Congratulations on completing this comprehensive guide on how to make a steamer at home. You’ve learned how to create a makeshift steamer using everyday materials found in your kitchen and discovered the steps to steam food to perfection. Steaming is a versatile and healthy cooking method that allows you to preserve the natural flavors and nutrients of your ingredients.
By following the steps outlined in this guide, you can enjoy the benefits of steamed food without the need for specialized equipment. Whether you’re steaming vegetables, fish, poultry, or dumplings, your homemade steamer provides a simple yet effective way to prepare delicious and nutritious meals.
Remember to gather the necessary materials and tools, choose the right pot, create a steamer basket, add water to the pot, prepare the food for steaming, steam the food to perfection, check for doneness, and finally, serve your steamed dishes with pride.
Steaming offers a host of advantages, including retaining the vibrant colors of vegetables, preserving the delicate textures of seafood, and producing moist and flavorful meats. It’s a cooking method that suits various dietary preferences and allows you to explore different recipes and flavor combinations.
Enjoy the health benefits and simplicity of steamed food, knowing that you have the knowledge and skills to create your own steamer at home. Whether you’re seeking a lighter alternative to frying or looking for a new way to prepare your favorite ingredients, steaming is an excellent choice.
So, gather your ingredients, get creative in the kitchen, and embark on a culinary journey of steamed delights. With your homemade steamer, there are endless possibilities to explore and countless flavors to savor.
Happy steaming!
Frequently Asked Questions about How To Make A Steamer At Home
Was this page helpful?
At Storables.com, we guarantee accurate and reliable information. Our content, validated by Expert Board Contributors, is crafted following stringent Editorial Policies. We're committed to providing you with well-researched, expert-backed insights for all your informational needs.


0 thoughts on “How To Make A Steamer At Home”