Home>Furniture & Design>Outdoor Furniture>How To Make An Outdoor Shower For Camping

Outdoor Furniture
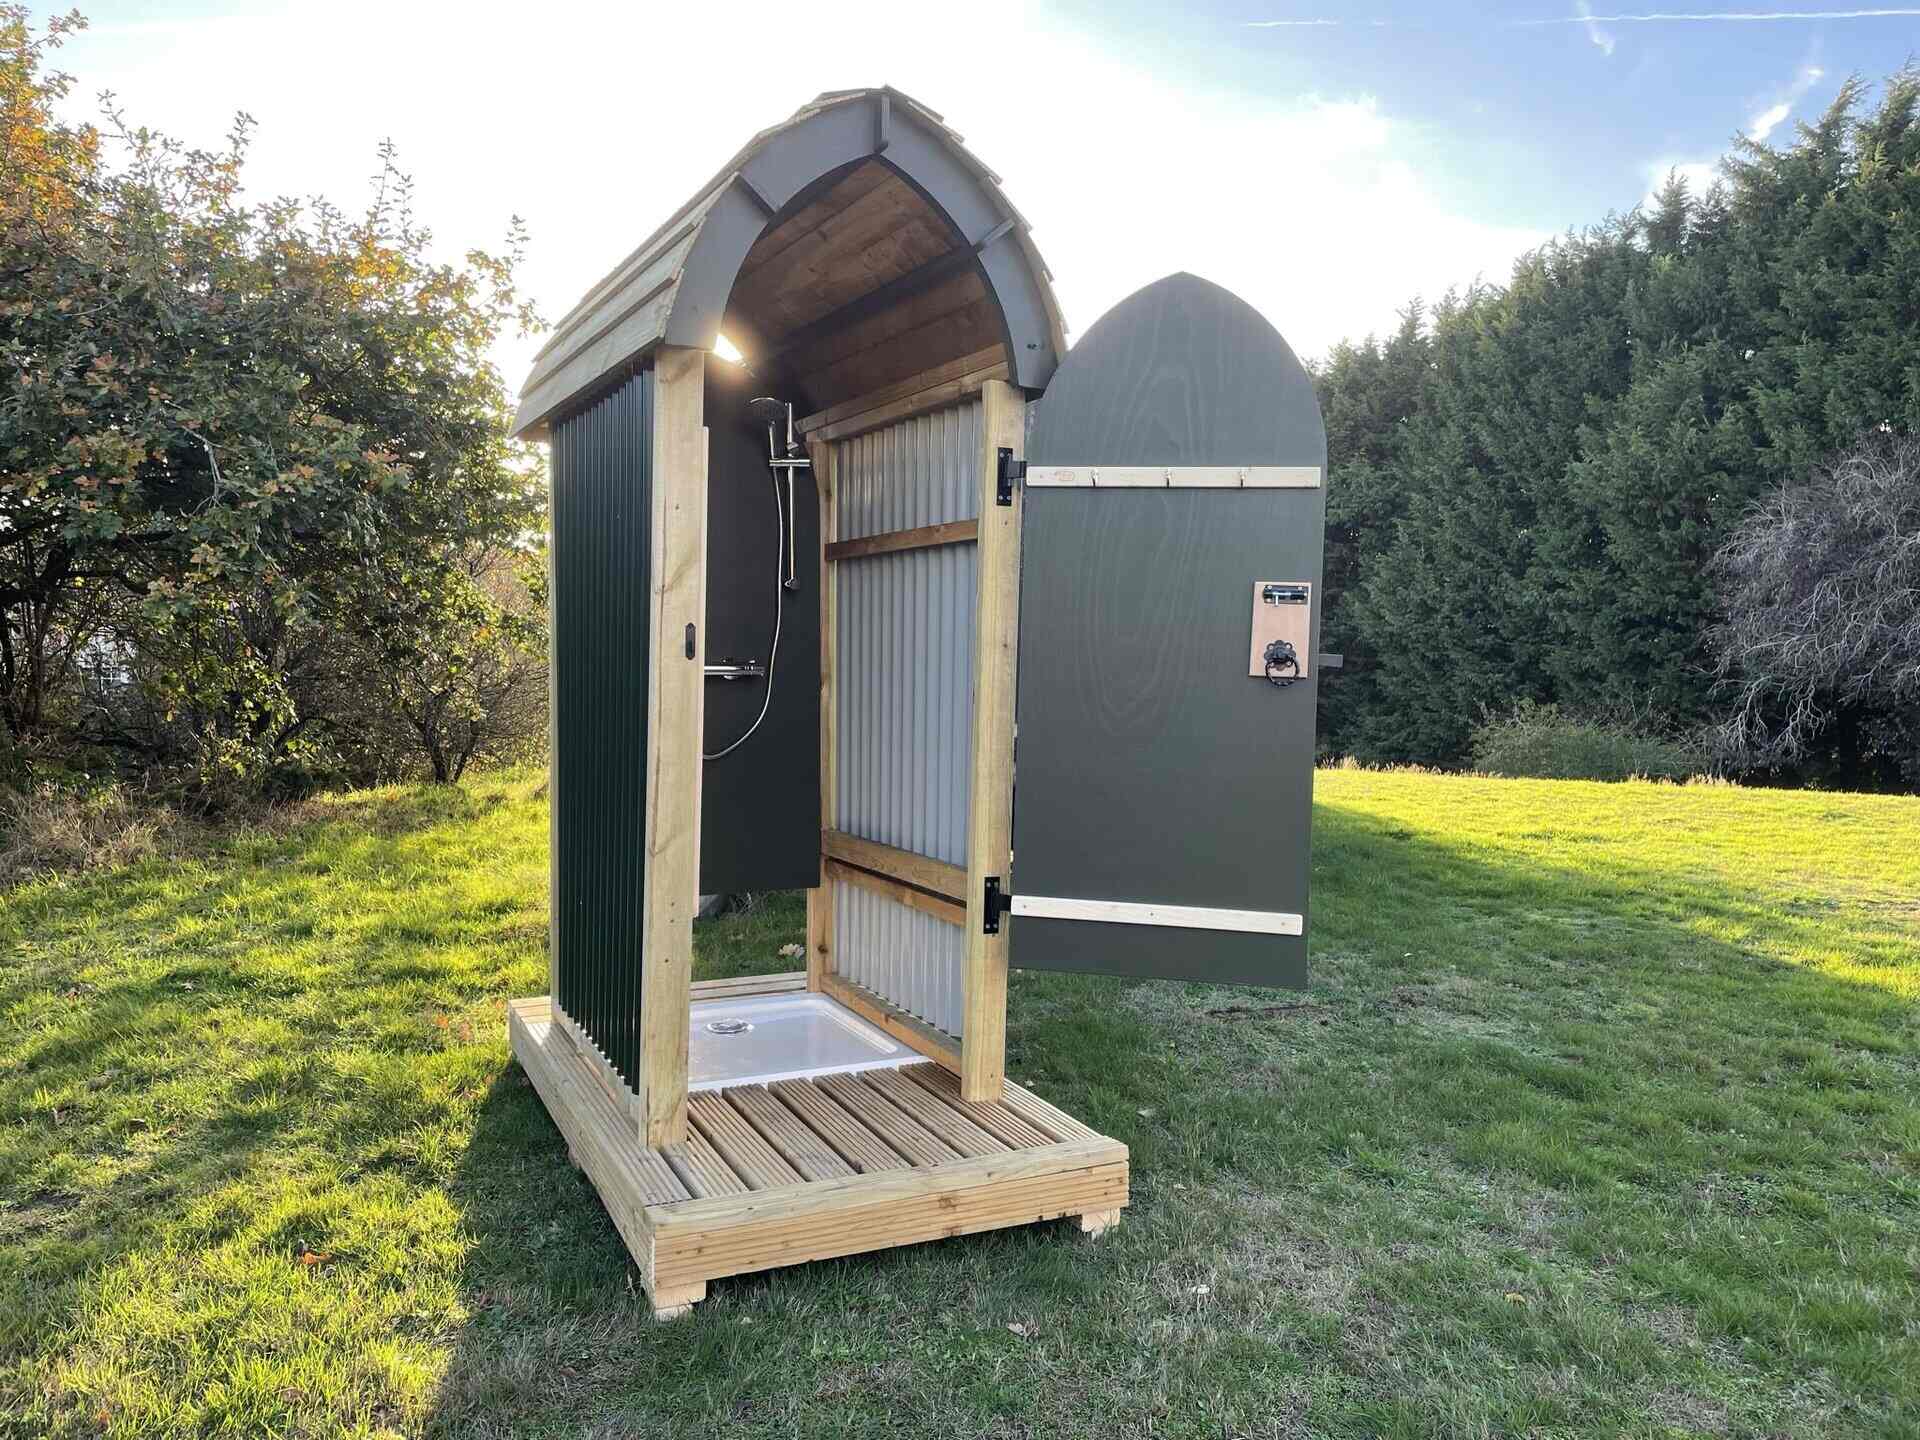
How To Make An Outdoor Shower For Camping
Modified: February 17, 2024
Learn how to create a convenient outdoor shower for camping with our easy DIY guide. Discover essential tips and ideas for outdoor furniture and design. Ideal for outdoor enthusiasts!
(Many of the links in this article redirect to a specific reviewed product. Your purchase of these products through affiliate links helps to generate commission for Storables.com, at no extra cost. Learn more)
Introduction
Are you an outdoor enthusiast who loves camping, hiking, or spending time in nature? If so, you understand the importance of staying fresh and clean while enjoying the great outdoors. One fantastic way to enhance your outdoor experience is by creating your own outdoor shower for camping. Whether you're camping at a designated site or exploring off the beaten path, having a portable outdoor shower can elevate your outdoor adventures to a whole new level of comfort and convenience.
In this guide, we'll walk you through the process of creating a simple and efficient outdoor shower that can be easily set up and used during your camping trips. With just a few basic materials and some straightforward steps, you'll be able to enjoy the luxury of a refreshing outdoor shower wherever your adventures take you. So, let's gather our supplies and dive into the exciting world of DIY outdoor showers!
Key Takeaways:
- Creating an outdoor shower for camping is easy and fun! With just a few materials, you can enjoy a refreshing shower in the great outdoors, adding comfort and luxury to your camping adventures.
- Privacy and practicality are key when setting up your outdoor shower. By following simple steps and testing the setup, you can enjoy the convenience of a DIY outdoor shower while connecting with nature.
Read more: How To Make An Outdoor Shower With Hot Water
Materials Needed
Before embarking on the creation of your outdoor shower, it’s essential to gather the necessary materials. The beauty of this project lies in its simplicity, as you won’t need extravagant or expensive items to build your own outdoor shower. Here’s a list of the basic materials you’ll need:
- Large water container or bucket
- Portable water pump
- Shower head with hose
- PVC pipes (for the frame)
- Tarp or shower curtain
- Bungee cords or rope
- Shovel or stake (for securing the shower)
- Soap and shampoo (biodegradable for eco-friendly camping)
- Towel and washcloth
These are the fundamental materials required to construct a simple yet effective outdoor shower for your camping trips. Once you have these items assembled, you’ll be well-prepared to proceed with setting up your outdoor shower in the wilderness. Now that we have our materials ready, let’s move on to the exciting process of creating your outdoor shower!
Step 1: Location and Setup
Choosing the right location for your outdoor shower is crucial for a pleasant and practical experience. Look for a spot that offers privacy while being easily accessible from your camping area. Ideally, the location should have a stable surface, such as soft ground or grass, to facilitate the setup process. Once you’ve found the perfect spot, it’s time to set up your outdoor shower.
Begin by placing your large water container or bucket in the chosen location. This will serve as the water reservoir for your outdoor shower. Next, position your portable water pump inside the container. Ensure that the pump is fully submerged in the water and securely in place. The pump will be responsible for drawing water from the container and supplying it to the shower head.
After setting up the water container and pump, it’s time to arrange the PVC pipes to create the frame for your outdoor shower. Assemble the pipes to form a simple structure that will support the shower head. You can use T-connectors and elbows to create a basic frame that stands securely on the ground.
With the frame in place, attach the shower head with a hose to the PVC structure. The hose should be long enough to reach from the frame to the water container. Once the shower head is attached, you’re one step closer to enjoying a refreshing outdoor shower in the midst of nature.
Now that the basic setup is complete, it’s time to move on to the next steps of assembling your DIY outdoor shower. The location and initial setup are essential foundations for the functionality and convenience of your outdoor shower. As we progress, you’ll see how these preparations contribute to a seamless and enjoyable showering experience during your camping adventures.
Step 2: Assembling the Frame
Assembling the frame for your outdoor shower is a pivotal step in creating a sturdy and functional structure. The frame provides the necessary support for the shower head and ensures that the entire setup remains stable and secure during use. Let’s delve into the process of assembling the frame for your DIY outdoor shower.
Start by gathering the PVC pipes and connectors you’ll need to construct the frame. Lay out the pipes and fittings, taking note of the T-connectors and elbows that will be used to create the frame’s structure. Begin by connecting the base of the frame, using elbows to form a stable foundation. The base should provide ample support to prevent the frame from toppling over during use.
Once the base is secured, assemble the vertical sections of the frame, ensuring that the height is suitable for showering comfortably. Connect the vertical pipes to the base using T-connectors, creating a standing frame that will hold the shower head at an appropriate height. It’s essential to double-check the stability of the frame at this stage, as a secure structure is vital for a safe and enjoyable outdoor showering experience.
After the vertical sections are in place, add a horizontal bar near the top of the frame to provide additional support and stability. This bar will help prevent the frame from swaying or shifting during use, ensuring that your outdoor shower remains reliable and functional. Once the frame is fully assembled, take a moment to inspect its stability and make any necessary adjustments to ensure its sturdiness.
With the frame successfully assembled, you’ve reached a significant milestone in the creation of your outdoor shower. The sturdy and well-constructed frame sets the stage for the next steps of attaching the shower head and preparing the shower for use. As we move forward, you’ll see how each component comes together to form a practical and efficient outdoor shower that enhances your camping experience.
To make an outdoor shower for camping, use a solar shower bag that can be filled with water and left in the sun to warm up. Hang it from a tree or a pole for a convenient and refreshing shower experience.
Step 3: Attaching the Shower Head
Attaching the shower head is a crucial step in bringing your DIY outdoor shower to life. The shower head, along with its hose, is the component that delivers the refreshing cascade of water, transforming your outdoor space into a private oasis for relaxation and rejuvenation. Let’s explore the process of attaching the shower head to the frame and connecting it to the water source.
Begin by positioning the shower head at the desired height on the assembled PVC frame. Ensure that it is securely attached and angled appropriately to provide optimal coverage for showering. Once the shower head is in place, connect the hose to the water outlet on the shower head, ensuring a tight and leak-free seal. The hose should be long enough to reach from the shower head to the water container or pump, allowing for flexibility in the shower’s placement.
Next, connect the opposite end of the hose to the water supply, which may be the portable water pump situated inside the water container. Ensure that the connection is secure and that there are no kinks or obstructions in the hose that could impede the flow of water. This step is crucial for establishing a functional and reliable water delivery system for your outdoor shower.
Once the shower head is securely attached and connected to the water supply, take a moment to test the system by turning on the water pump. Check for any leaks or irregularities in the water flow, and make adjustments as needed to ensure that the shower head delivers a steady and consistent stream of water. This testing phase allows you to fine-tune the setup before enjoying the refreshing experience of your outdoor shower.
With the shower head successfully attached and the water supply system in place, your DIY outdoor shower is one step closer to being fully operational. The addition of the shower head brings the shower to life, setting the stage for the final touches that will transform your outdoor space into a personal oasis for relaxation and cleanliness.
Read more: How To Install An Outdoor Shower
Step 4: Creating Privacy
Privacy is an essential consideration when setting up an outdoor shower, especially in a camping or wilderness environment. Creating a private space for showering ensures that you can enjoy the experience without feeling exposed or vulnerable. Let’s explore the various methods for establishing privacy around your outdoor shower, enhancing your comfort and relaxation during your camping adventures.
One effective way to create privacy around your outdoor shower is by using a tarp or shower curtain. These versatile materials can be easily attached to the PVC frame using bungee cords or rope, forming a barrier that shields the showering area from view. When selecting a tarp or shower curtain, opt for a durable and water-resistant material that can withstand outdoor conditions and provide adequate coverage.
Secure the tarp or shower curtain to the frame, ensuring that it extends around the perimeter of the showering area to create a private enclosure. Pay attention to the height and width of the barrier to ensure that it offers sufficient coverage for a comfortable and discreet showering experience. By creating a designated space for showering, you can enjoy the benefits of privacy and seclusion while maintaining a connection to the natural surroundings.
In addition to the tarp or shower curtain, consider other methods for enhancing privacy around the outdoor shower. Utilize natural elements such as trees, bushes, or rock formations to create a natural barrier that provides privacy without detracting from the outdoor ambiance. If available, position the outdoor shower near existing natural features that can serve as a backdrop for privacy, seamlessly blending the showering area into the surrounding environment.
By prioritizing privacy and seclusion, you can transform your outdoor shower into a tranquil and intimate space for personal hygiene and relaxation. The creation of a private enclosure around the showering area ensures that you can fully immerse yourself in the refreshing experience of an outdoor shower while maintaining a sense of comfort and security.
Step 5: Testing and Using the Outdoor Shower
With the outdoor shower fully assembled and the privacy enclosure in place, it’s time to embark on the exciting phase of testing and using your DIY creation. This step marks the culmination of your efforts, as you prepare to experience the convenience and luxury of an outdoor shower during your camping adventures. Let’s explore the process of testing the outdoor shower and reveling in the refreshing experience it offers.
Before using the outdoor shower, conduct a thorough test of the entire setup to ensure that it functions smoothly and reliably. Start by checking the water supply system, including the portable water pump and hose connections, to confirm that there are no leaks or issues affecting the water flow. Test the shower head to verify that it delivers a steady and consistent stream of water, adjusting the angle and flow as needed for optimal comfort.
Once the functionality of the outdoor shower has been confirmed, it’s time to prepare for your first showering experience. Gather your biodegradable soap, shampoo, and other toiletries, ensuring that they are easily accessible near the showering area. Having these essentials within reach allows for a seamless and enjoyable showering experience, complete with the comforts of personal hygiene and relaxation.
When using the outdoor shower, take a moment to appreciate the natural surroundings and the unique experience of showering in the great outdoors. Embrace the invigorating sensation of the water as it cascades over you, revitalizing your body and spirit amidst the beauty of nature. The outdoor shower offers a refreshing escape from the constraints of indoor living, allowing you to connect with the elements and revel in the freedom of outdoor hygiene.
After enjoying the rejuvenating experience of the outdoor shower, take the time to properly clean and maintain the setup for future use. Ensure that the water container is emptied and the portable water pump is safely stored. Disassemble the frame and privacy enclosure, taking care to organize and pack the components for easy transportation and storage until your next outdoor adventure.
By testing and using the outdoor shower, you’ve not only realized the practicality of your DIY creation but also embraced the joy of outdoor living and self-care. The experience of using the outdoor shower adds a touch of luxury and comfort to your camping trips, enriching your connection to nature and enhancing the overall enjoyment of your outdoor adventures.
Conclusion
Congratulations on successfully creating your own outdoor shower for camping! By following the steps outlined in this guide and embracing the spirit of DIY ingenuity, you’ve unlocked a world of convenience and comfort during your outdoor excursions. The outdoor shower serves as a testament to your resourcefulness and determination to enhance your camping experiences with practical and enjoyable amenities.
As you reflect on the process of building and using the outdoor shower, you’ve gained valuable insights into the seamless integration of modern convenience with the beauty of nature. The simple yet effective design of the outdoor shower has provided you with a private oasis for relaxation and personal hygiene, enriching your connection to the great outdoors.
By utilizing basic materials and thoughtful construction, you’ve not only created a functional outdoor shower but also fostered a deeper appreciation for the simplicity and versatility of DIY projects. The process of assembling the frame, attaching the shower head, and creating a privacy enclosure has empowered you to transform an ordinary camping trip into a luxurious and refreshing experience.
As you prepare for future camping adventures, the outdoor shower stands as a symbol of your ability to adapt and innovate, infusing your outdoor lifestyle with comfort and practicality. The memories of using the outdoor shower amidst the serenity of nature will continue to inspire and motivate you to seek new ways of enhancing your outdoor experiences.
With your newfound knowledge and hands-on experience, you’re well-equipped to share the joy of outdoor showering with fellow outdoor enthusiasts, inspiring them to embark on their own DIY projects and embrace the pleasures of outdoor living. The outdoor shower serves as a reminder that with creativity and determination, simple materials can be transformed into remarkable amenities that elevate the joys of camping and exploration.
As you look ahead to future camping trips and outdoor escapades, the outdoor shower will remain a cherished addition to your gear, promising moments of relaxation, rejuvenation, and connection with the natural world. Your commitment to creating a practical and enjoyable outdoor shower has opened the door to a world of possibilities, where comfort and adventure converge in perfect harmony.
Frequently Asked Questions about How To Make An Outdoor Shower For Camping
Was this page helpful?
At Storables.com, we guarantee accurate and reliable information. Our content, validated by Expert Board Contributors, is crafted following stringent Editorial Policies. We're committed to providing you with well-researched, expert-backed insights for all your informational needs.




0 thoughts on “How To Make An Outdoor Shower For Camping”