Home>Furniture & Design>Bathroom Accessories>How To Make A Shower Curtain

Bathroom Accessories
How To Make A Shower Curtain
Modified: August 30, 2024
Learn how to make a shower curtain and enhance your bathroom with this DIY project. Find out how to personalize your bathroom accessories and add a personal touch.
(Many of the links in this article redirect to a specific reviewed product. Your purchase of these products through affiliate links helps to generate commission for Storables.com, at no extra cost. Learn more)
Introduction
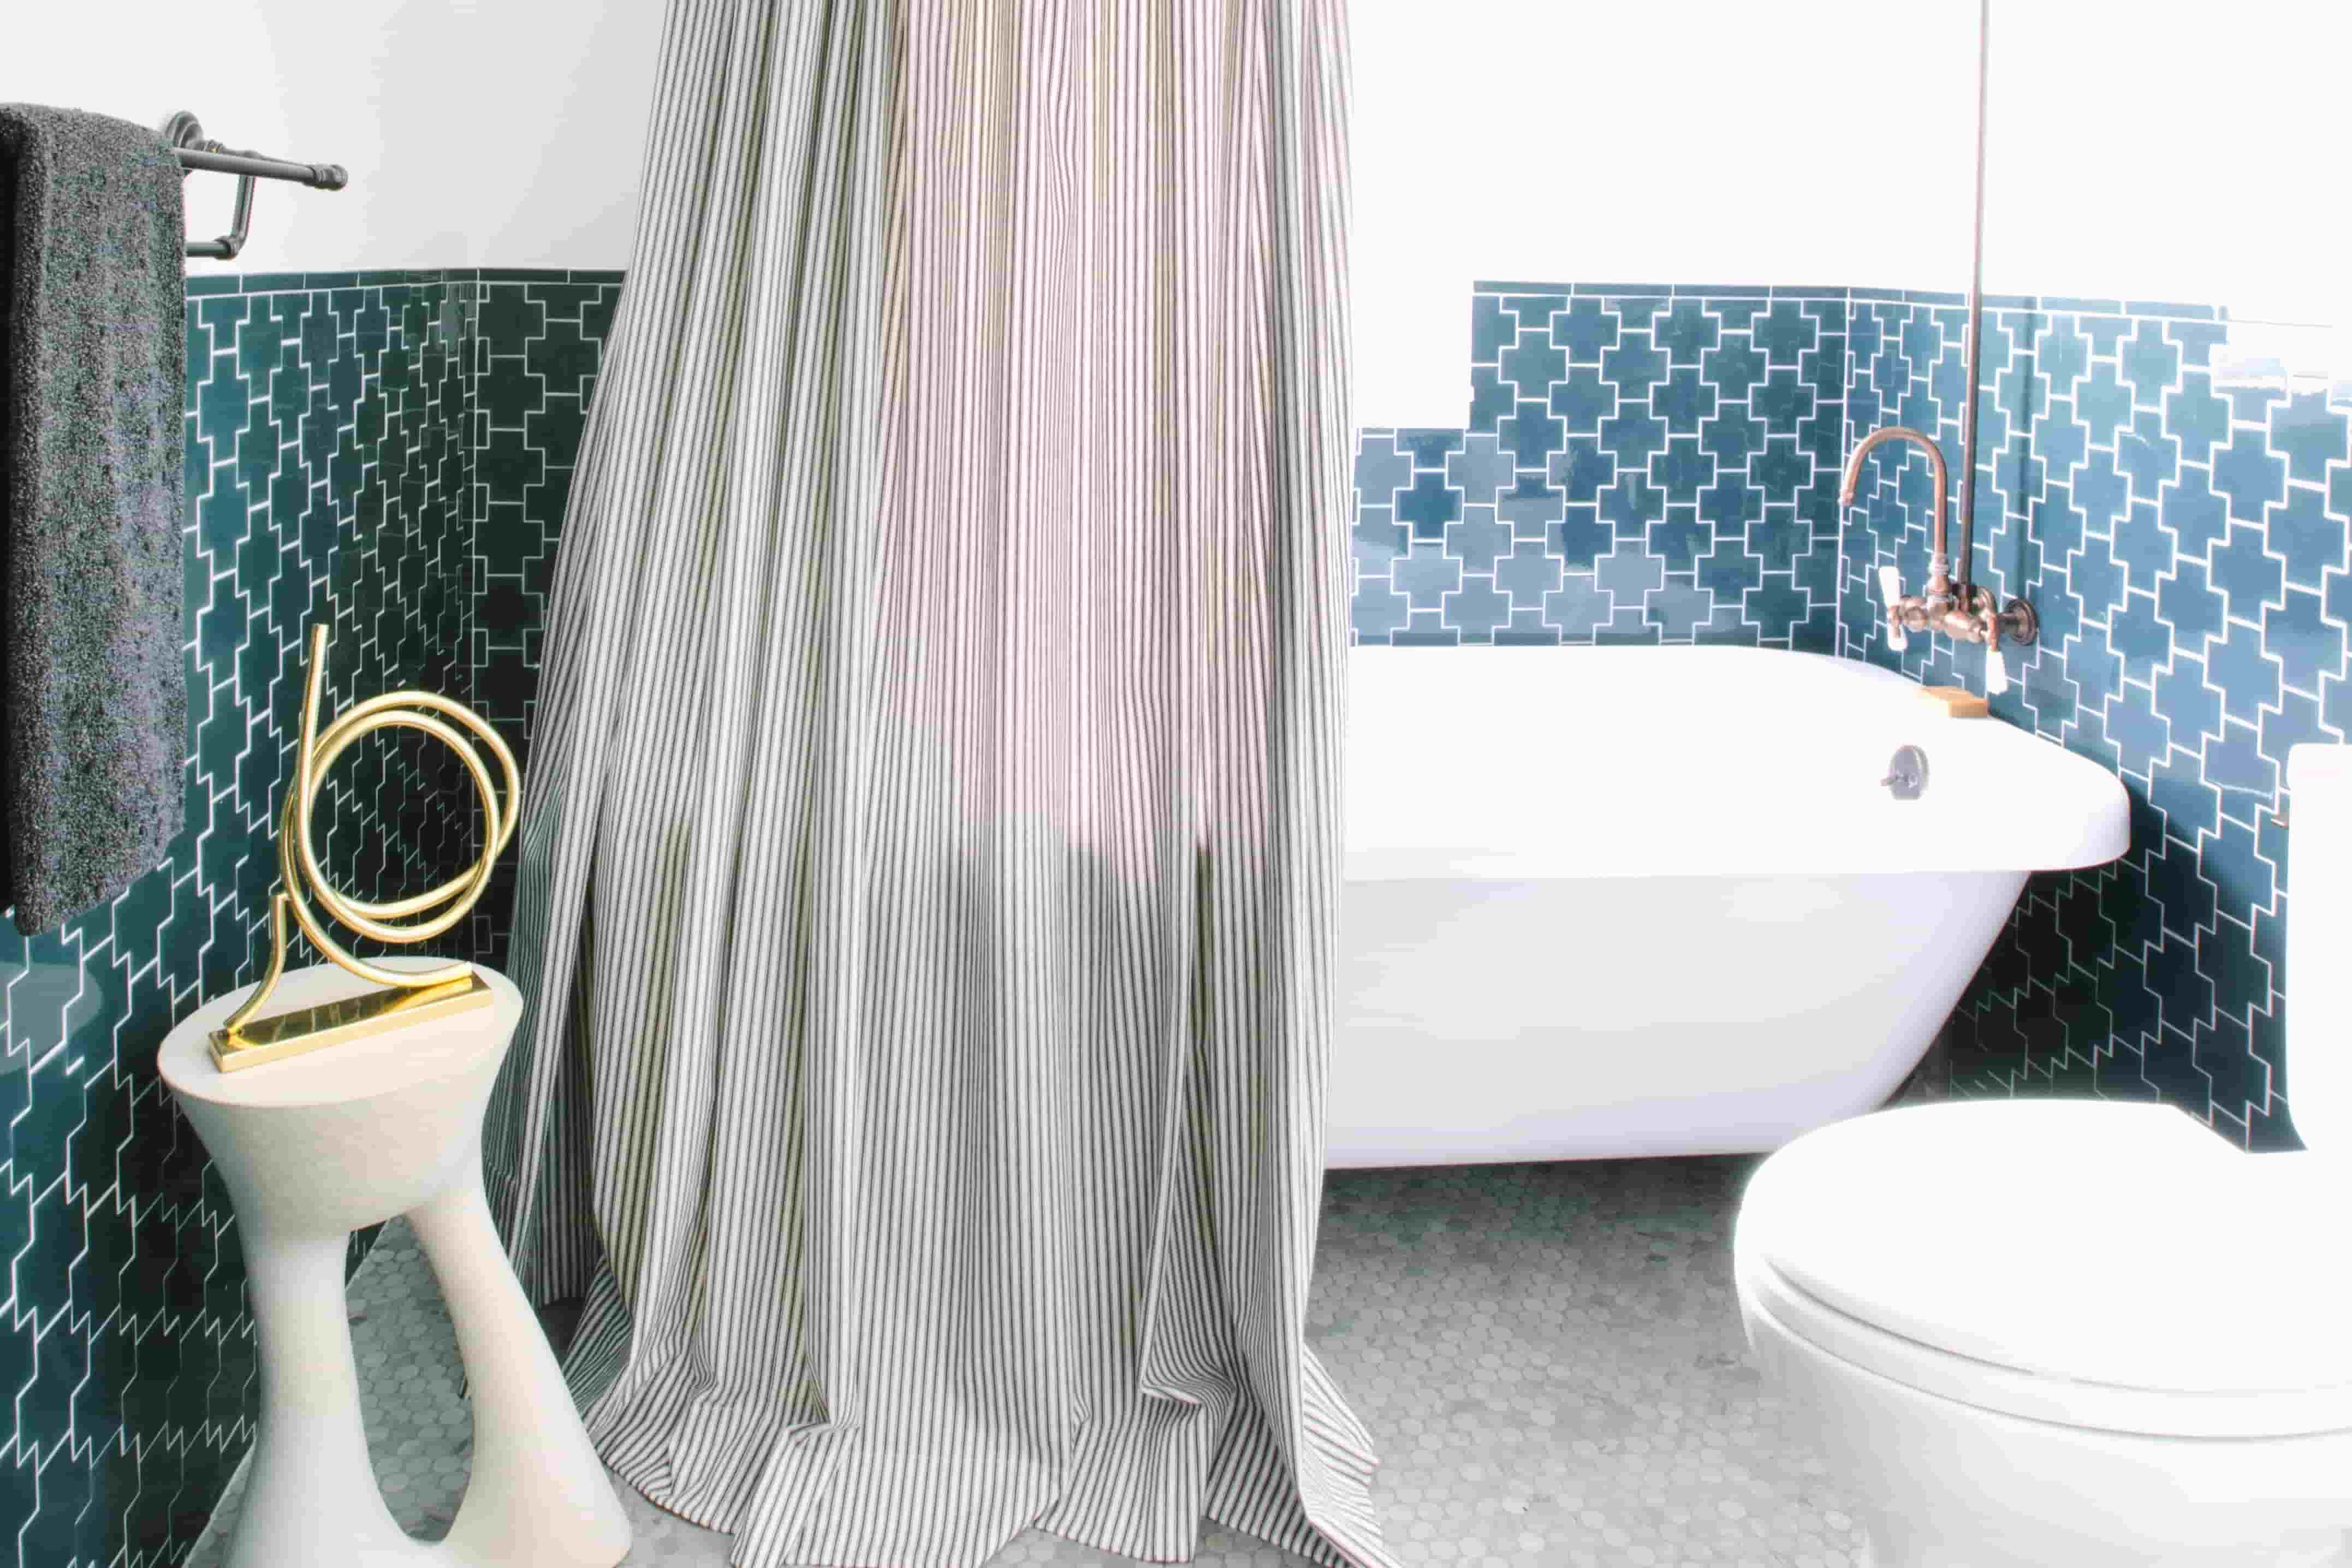
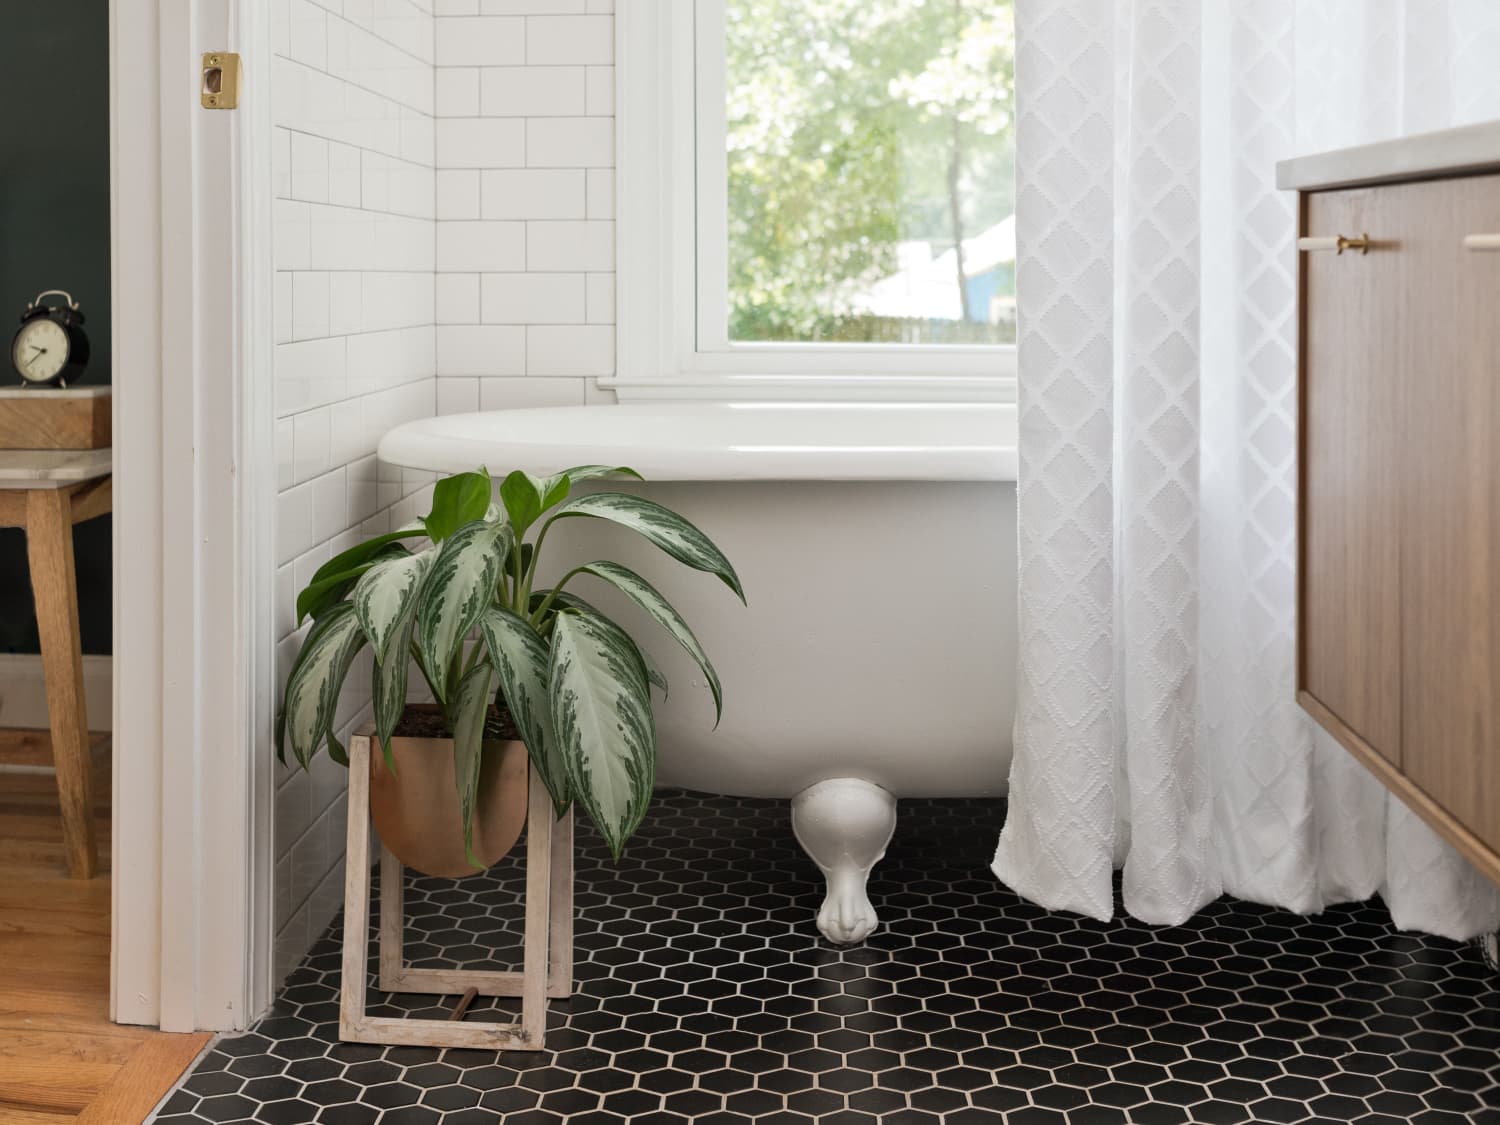
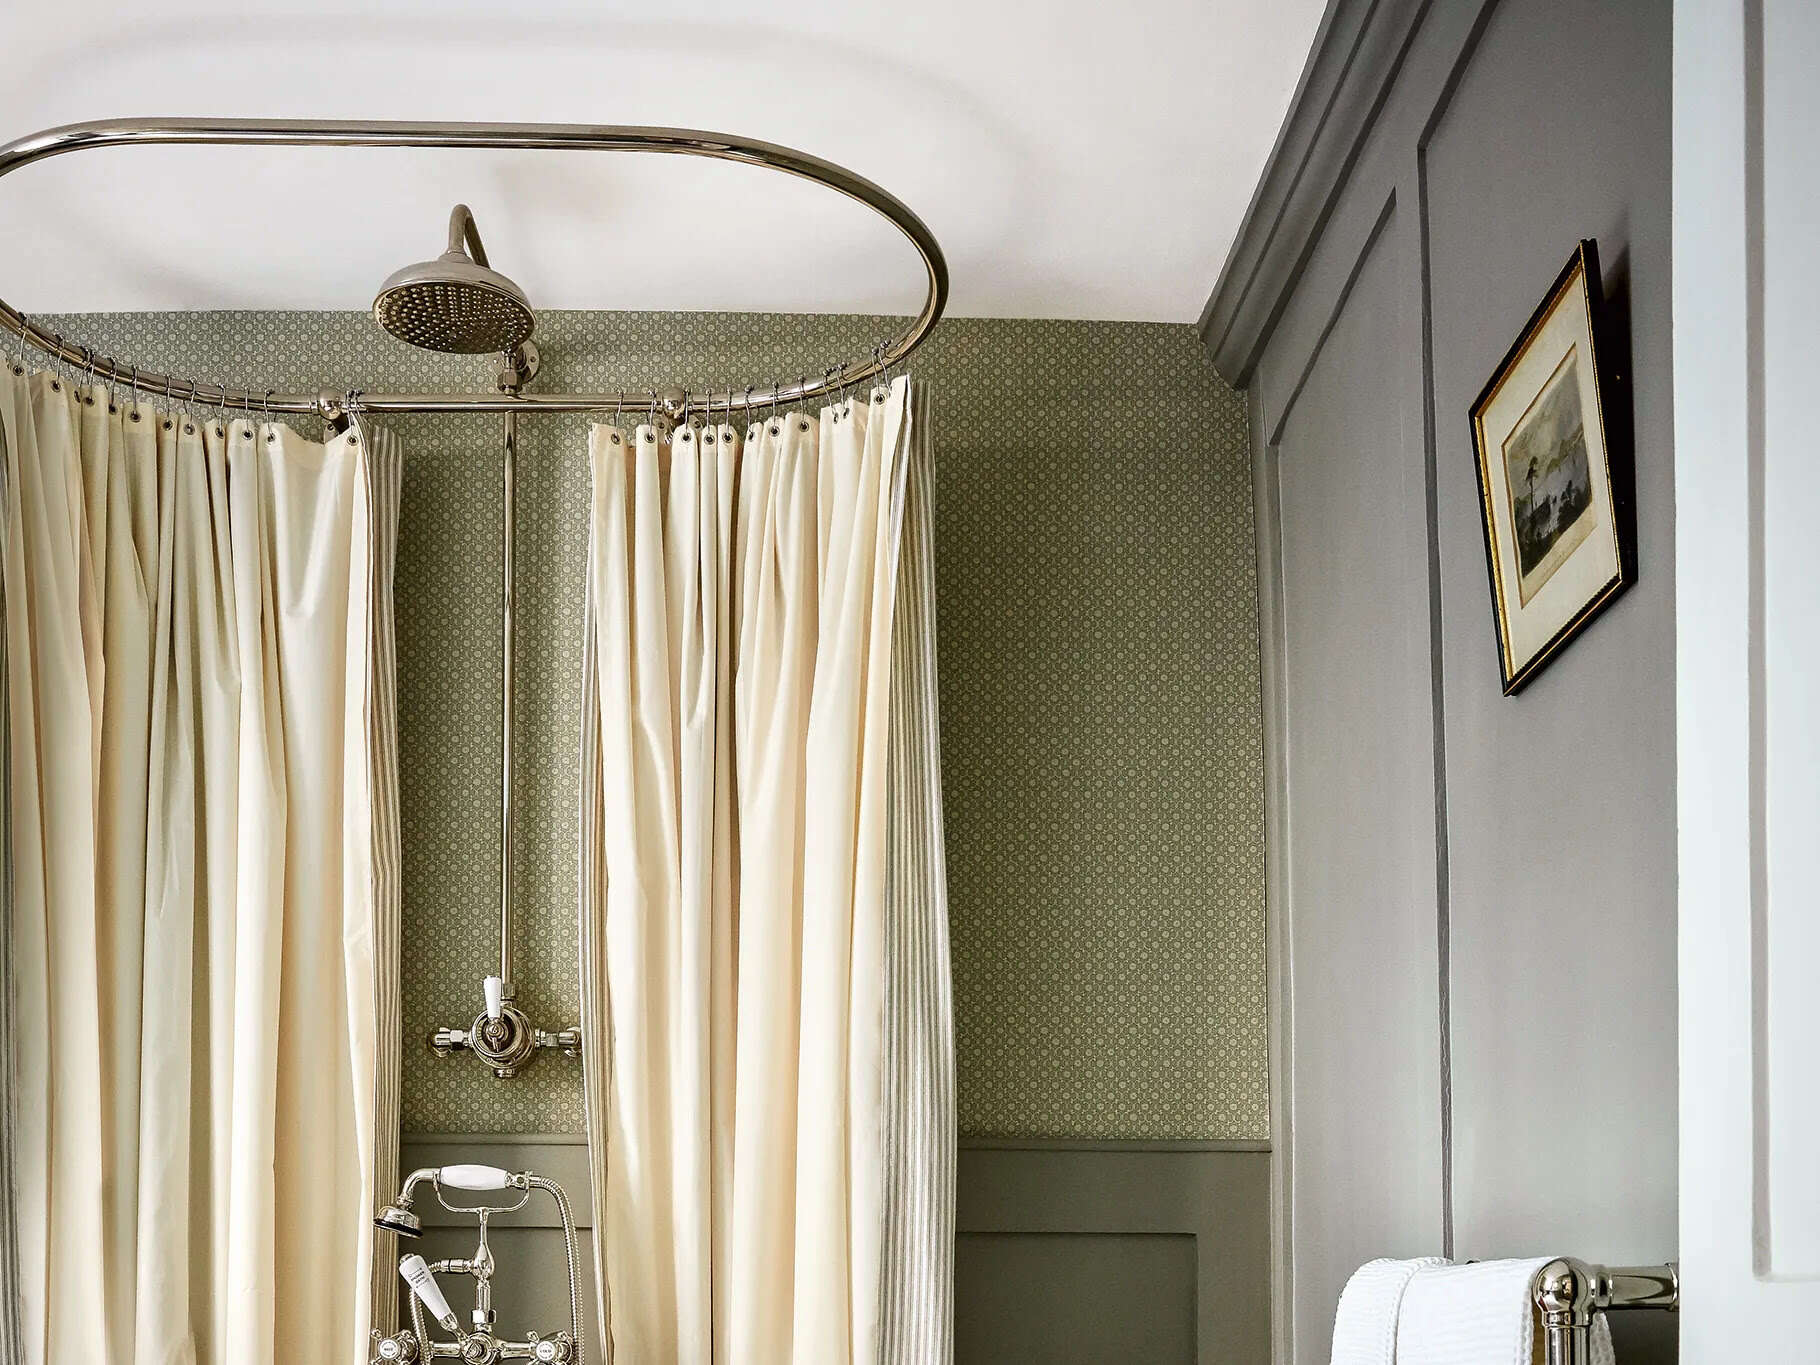
Creating a personalized shower curtain can add a touch of individuality and charm to your bathroom. Whether you're looking to match the curtain to your existing decor or seeking a unique statement piece, making your own shower curtain allows you to unleash your creativity and showcase your personal style. With a few simple materials and a bit of creativity, you can craft a one-of-a-kind shower curtain that reflects your personality and enhances the ambiance of your bathroom.
A homemade shower curtain not only serves as a functional accessory but also doubles as a form of self-expression. By customizing the design, color, and fabric, you can tailor the curtain to complement your bathroom's aesthetic and create a cohesive look. Additionally, the process of making a shower curtain can be a rewarding and enjoyable DIY project, offering a sense of accomplishment and pride as you witness your creation come to life.
Whether you're a seasoned crafter or a novice DIY enthusiast, the process of making a shower curtain provides an opportunity to explore your artistic abilities and experiment with different materials and techniques. From selecting the perfect fabric to adding decorative embellishments, each step of the process allows for personalization and creativity, making the end result truly unique.
In the following sections, we will delve into the materials needed and provide a detailed, step-by-step guide to help you create your own custom shower curtain. Additionally, we'll share valuable tips and tricks to ensure that your DIY project is a resounding success. So, roll up your sleeves, gather your materials, and let's embark on this creative journey to craft a stunning shower curtain that will elevate the style of your bathroom.
Key Takeaways:
- Personalize your bathroom with a DIY shower curtain using durable fabric, precise measurements, and decorative embellishments for a unique and charming touch.
- Infuse your personality into a custom shower curtain, reflecting your creativity and style while enhancing the functionality and aesthetic appeal of your bathroom.
Read more: How To Make A Ruffled Shower Curtain
Materials Needed
To embark on the exciting journey of creating your own shower curtain, you will need a selection of essential materials to bring your vision to life. Here's a comprehensive list of the items required to craft a personalized shower curtain:
-
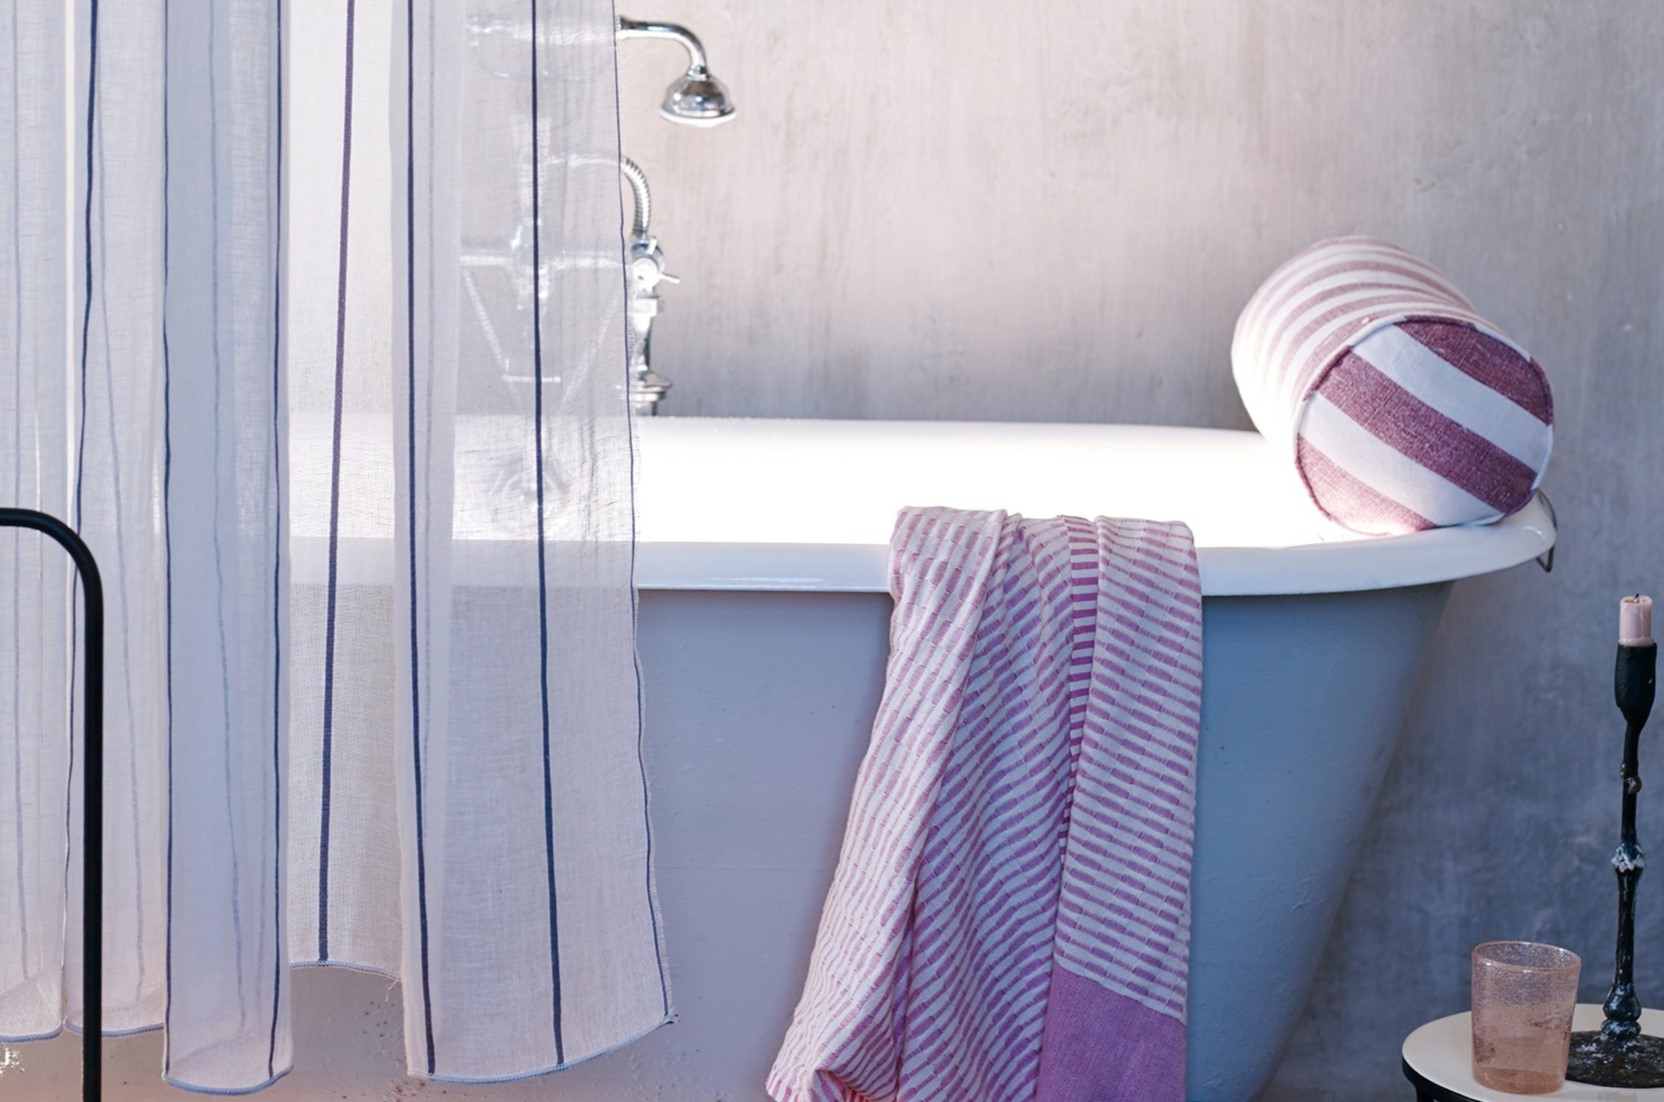
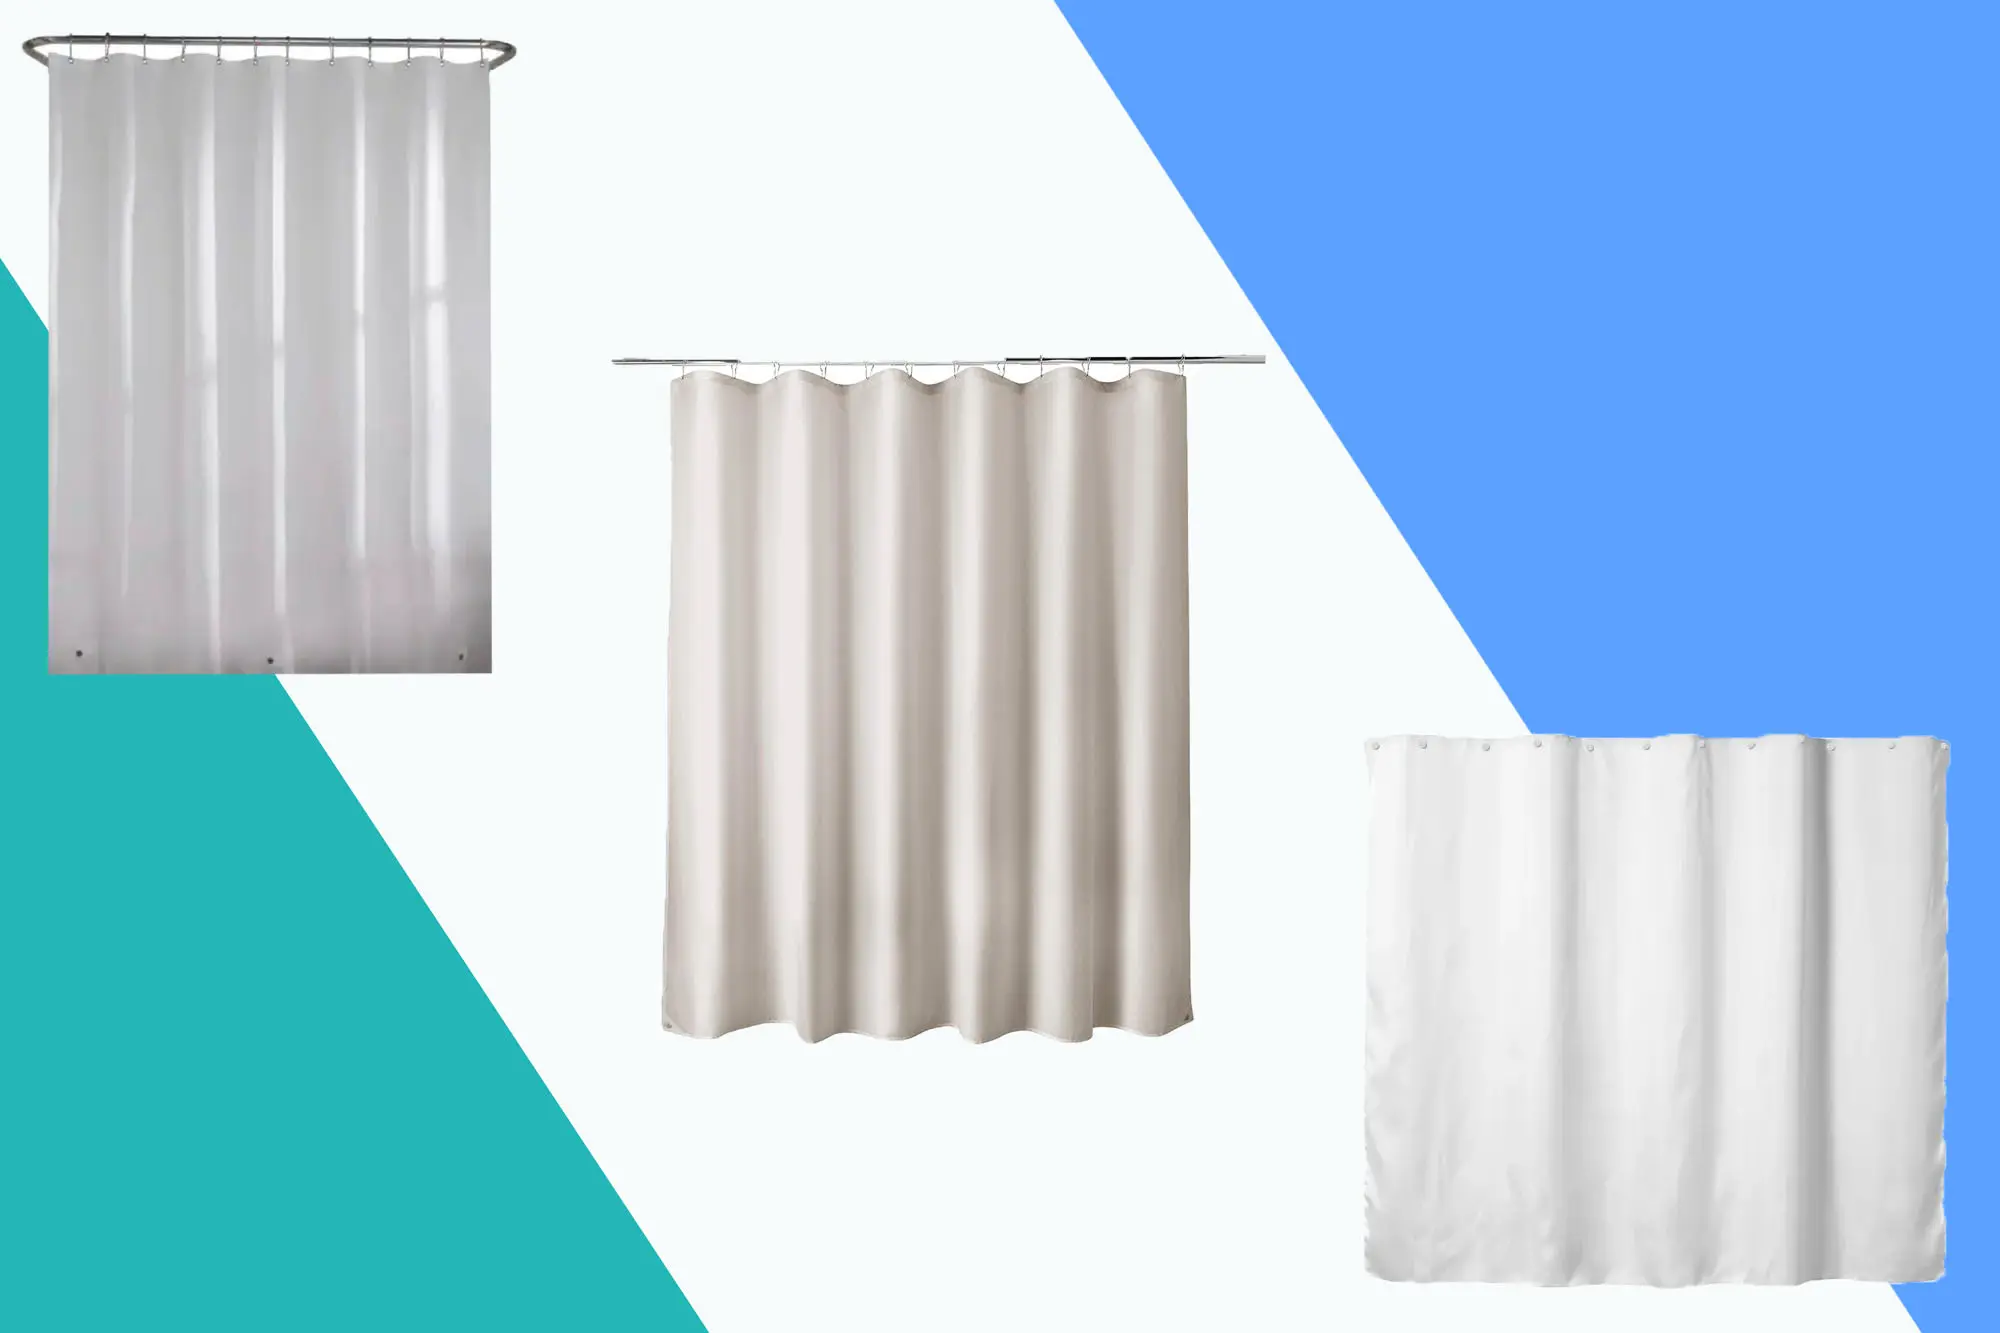
Fabric: The foundation of your shower curtain, the fabric you choose will set the tone for the entire project. Opt for a durable and water-resistant material, such as polyester, nylon, or a waterproof cotton blend, to ensure longevity and functionality. Consider the color and pattern of the fabric to align with your bathroom's aesthetic.
-
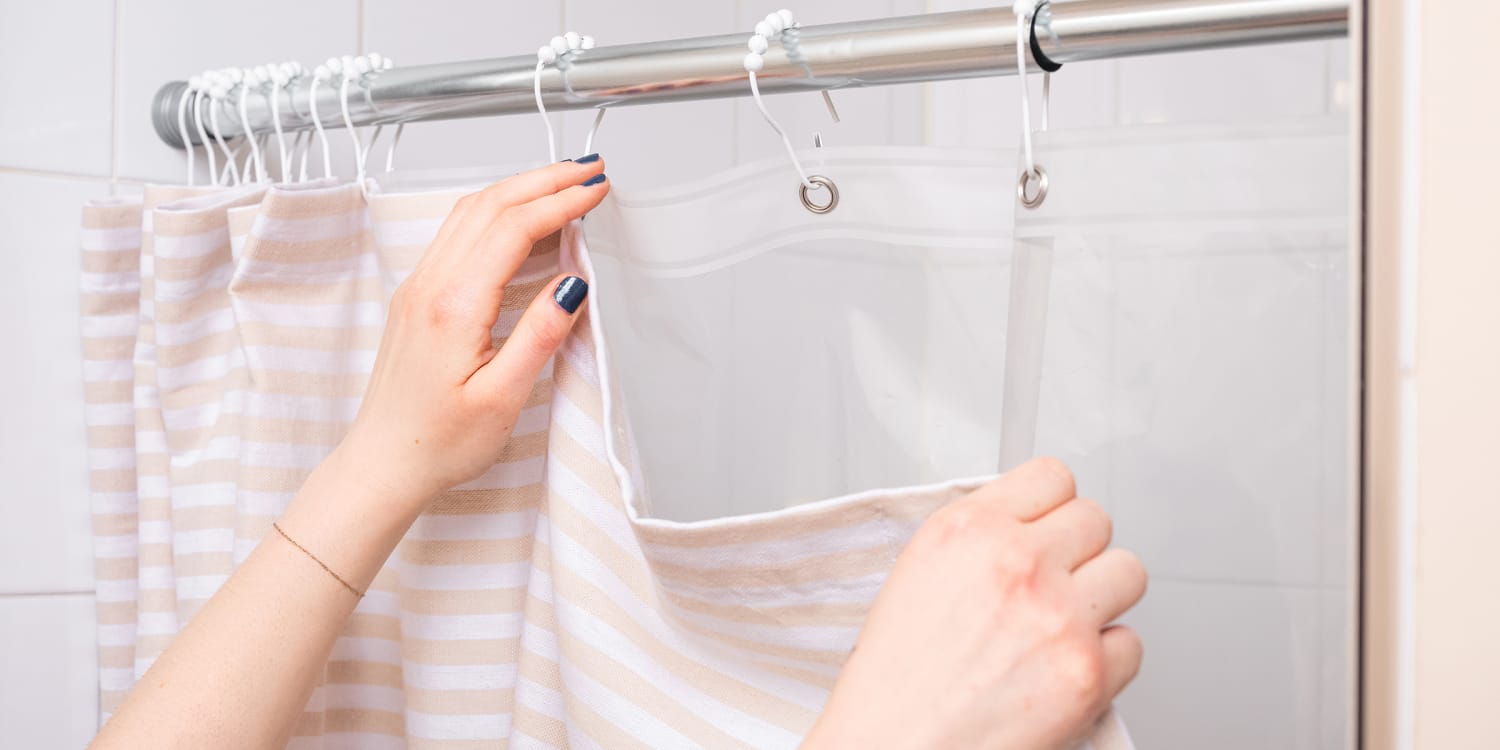
Lining: To enhance the water-repelling properties of your shower curtain, a lining is essential. Look for a waterproof or water-resistant lining fabric to protect the outer layer from moisture and prolong the curtain's lifespan.
-
Measuring Tape: Accurate measurements are crucial for ensuring that your shower curtain fits perfectly. A reliable measuring tape will aid in determining the dimensions of the curtain, allowing for a tailored and professional finish.
-
Scissors: High-quality fabric scissors are indispensable for cutting the fabric and lining with precision. Sharp, durable scissors will facilitate clean and accurate cuts, contributing to the overall quality of the finished product.
-
Sewing Machine or Needle and Thread: Depending on your preference and sewing proficiency, you can use a sewing machine or opt for hand-sewing with a needle and thread. A sewing machine expedites the process and provides a polished look, while hand-sewing allows for a personal touch and meticulous detailing.
-
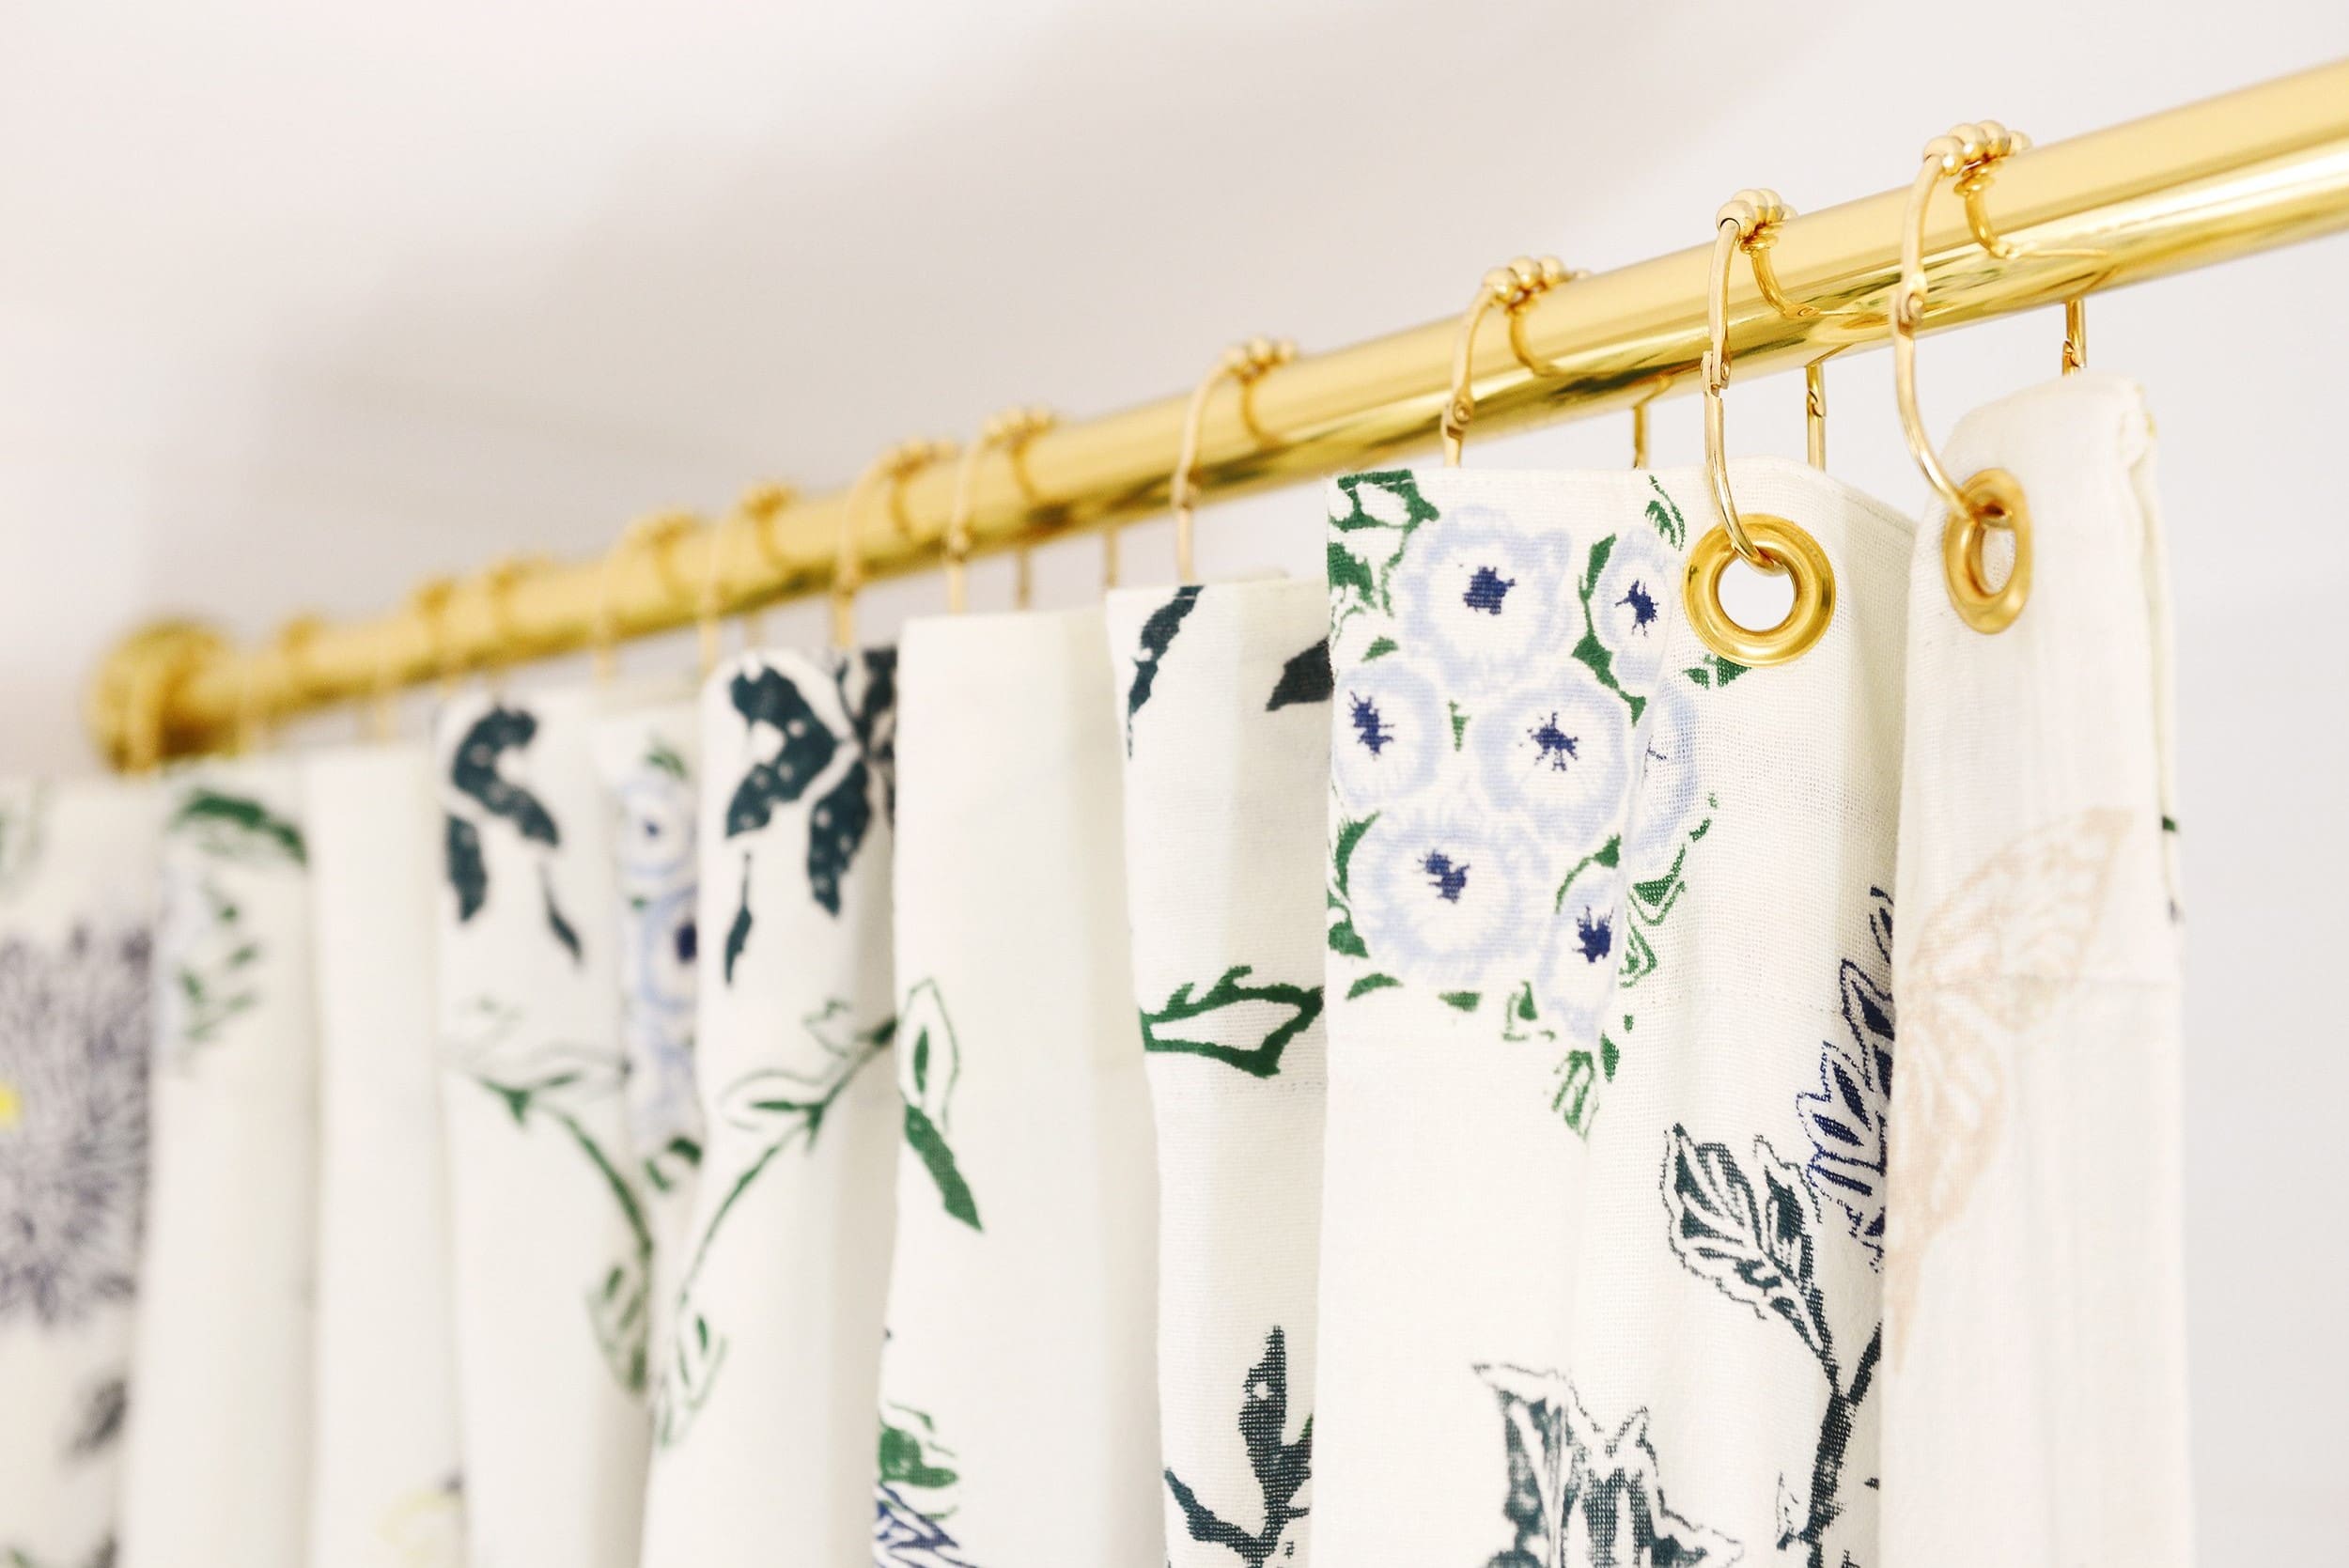
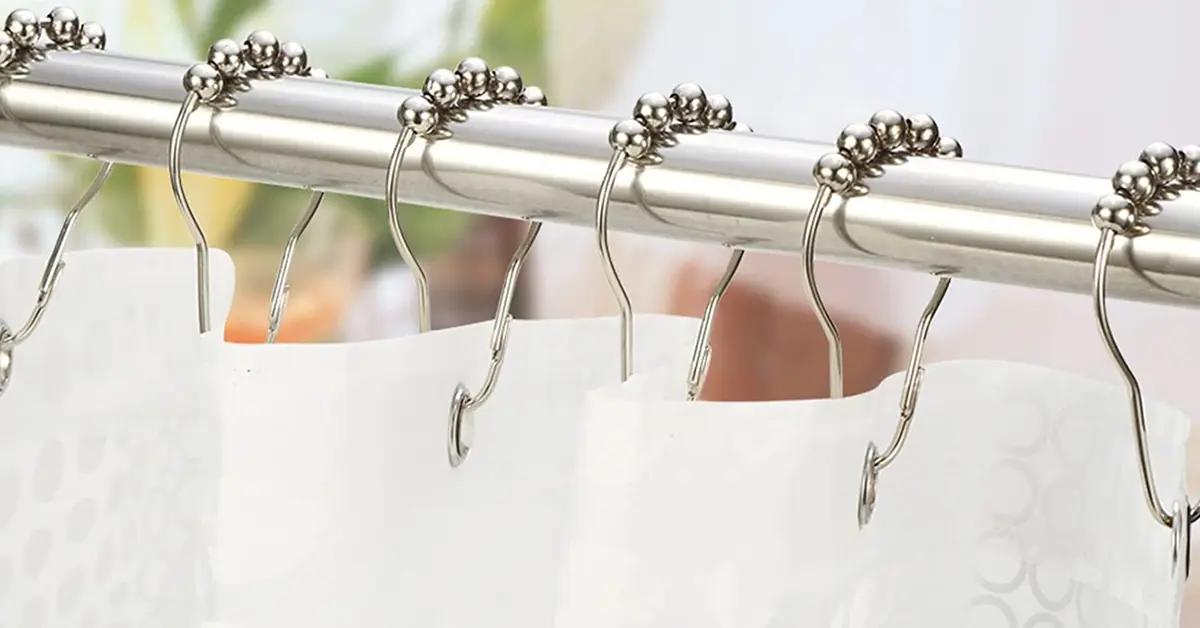
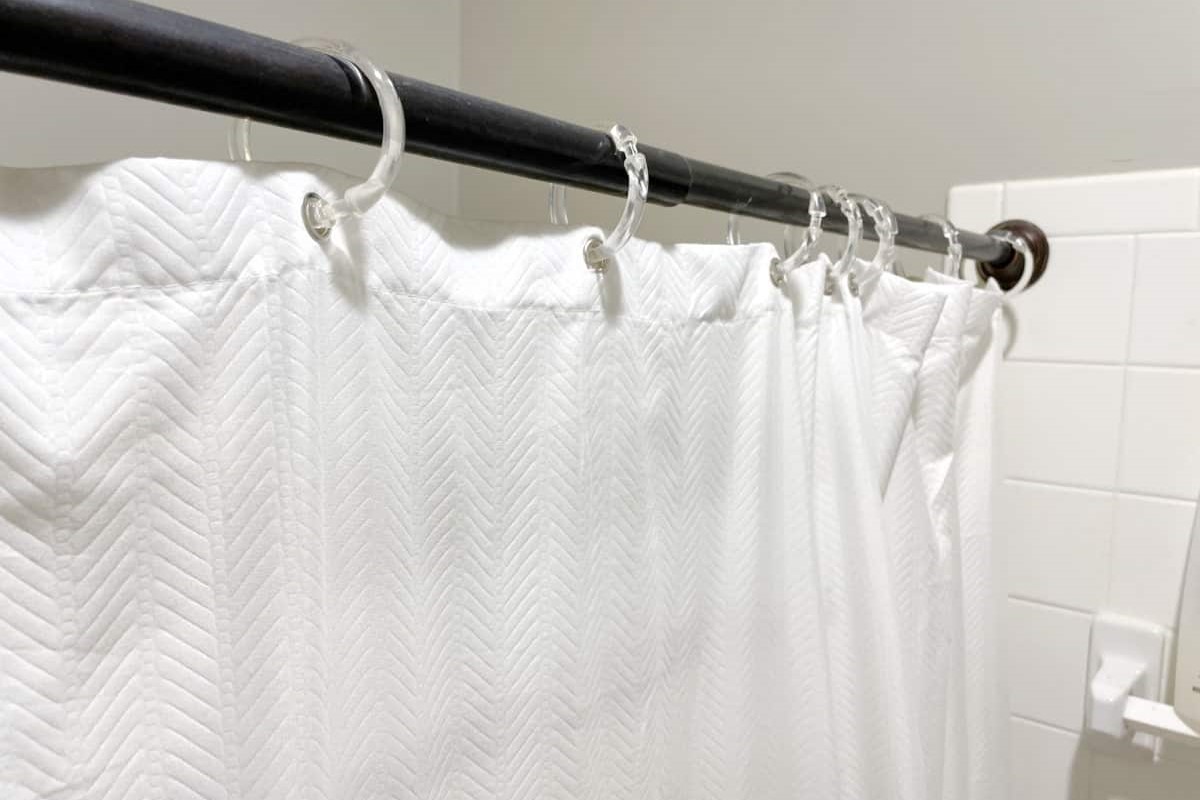
Grommets or Hooks: To hang your shower curtain securely, grommets or hooks are essential. These fixtures enable easy installation and ensure that the curtain remains in place, enhancing both functionality and aesthetics.
-
Decorative Embellishments (Optional): If you desire a decorative flair, consider embellishments such as ribbons, tassels, or trim to customize your shower curtain. These elements can add a touch of elegance and individuality to the finished piece.
-
Iron and Ironing Board: A well-pressed fabric is essential for a professional-looking shower curtain. An iron and ironing board will help eliminate wrinkles and creases, ensuring a smooth and polished appearance.
By gathering these materials, you'll be well-equipped to commence the creation of your custom shower curtain. With careful consideration and attention to detail, these essential items will contribute to a successful and gratifying DIY project.
Steps to Make a Shower Curtain
-
Measure and Cut the Fabric: Begin by measuring the dimensions of your shower area to determine the required length and width of the shower curtain. Using a measuring tape, carefully mark and cut the main fabric according to these measurements, ensuring precision and accuracy. Similarly, cut the lining fabric to the same dimensions to create a water-resistant backing for the curtain.
-
Prepare the Fabric: Once the fabric and lining are cut to size, lay them out on a flat surface. If necessary, iron out any wrinkles or creases to ensure a smooth and even surface for the next steps. This step is crucial for achieving a professional and polished appearance for your shower curtain.
-
Attach the Lining: Place the lining fabric on top of the main fabric, aligning the edges meticulously. Pin the two layers together to secure them in place. Using a sewing machine or needle and thread, sew along the edges to join the main fabric and lining, creating a unified panel. This step not only reinforces the curtain but also adds a layer of water resistance to protect the main fabric.
-
Create Hem and Side Seams: To achieve a neat and finished look, fold and press the edges of the fabric to create hems. Sew along the folded edges to secure the hems in place. Additionally, sew the side seams of the curtain to prevent fraying and ensure durability. These meticulous details contribute to the overall quality and longevity of the shower curtain.
-
Add Grommets or Hooks: Depending on your preference, attach grommets or hooks to the top edge of the shower curtain. These fixtures will facilitate easy hanging and provide a polished, professional finish. Ensure that the grommets or hooks are evenly spaced to maintain symmetry and balance.
-
Optional Embellishments: If you desire a decorative touch, consider adding embellishments such as ribbons, tassels, or trim to customize your shower curtain. These elements can infuse personality and style, elevating the visual appeal of the finished piece.
-
Final Touches: Once all the components are assembled, give the shower curtain a final once-over. Check for any loose threads, ensure that the hems are secure, and make any necessary adjustments. Iron the curtain to eliminate any remaining wrinkles and creases, resulting in a flawless and professional-looking final product.
By following these meticulous steps, you can create a custom shower curtain that not only reflects your personal style but also adds a unique and charming touch to your bathroom. With attention to detail and a dash of creativity, your DIY shower curtain will serve as a functional and visually appealing accessory, enhancing the ambiance of your bathing space.
When making a shower curtain, be sure to use a waterproof fabric to prevent water from leaking through. Additionally, reinforce the top with grommets for hanging and hem the bottom for a clean finish.
Tips and Tricks
-
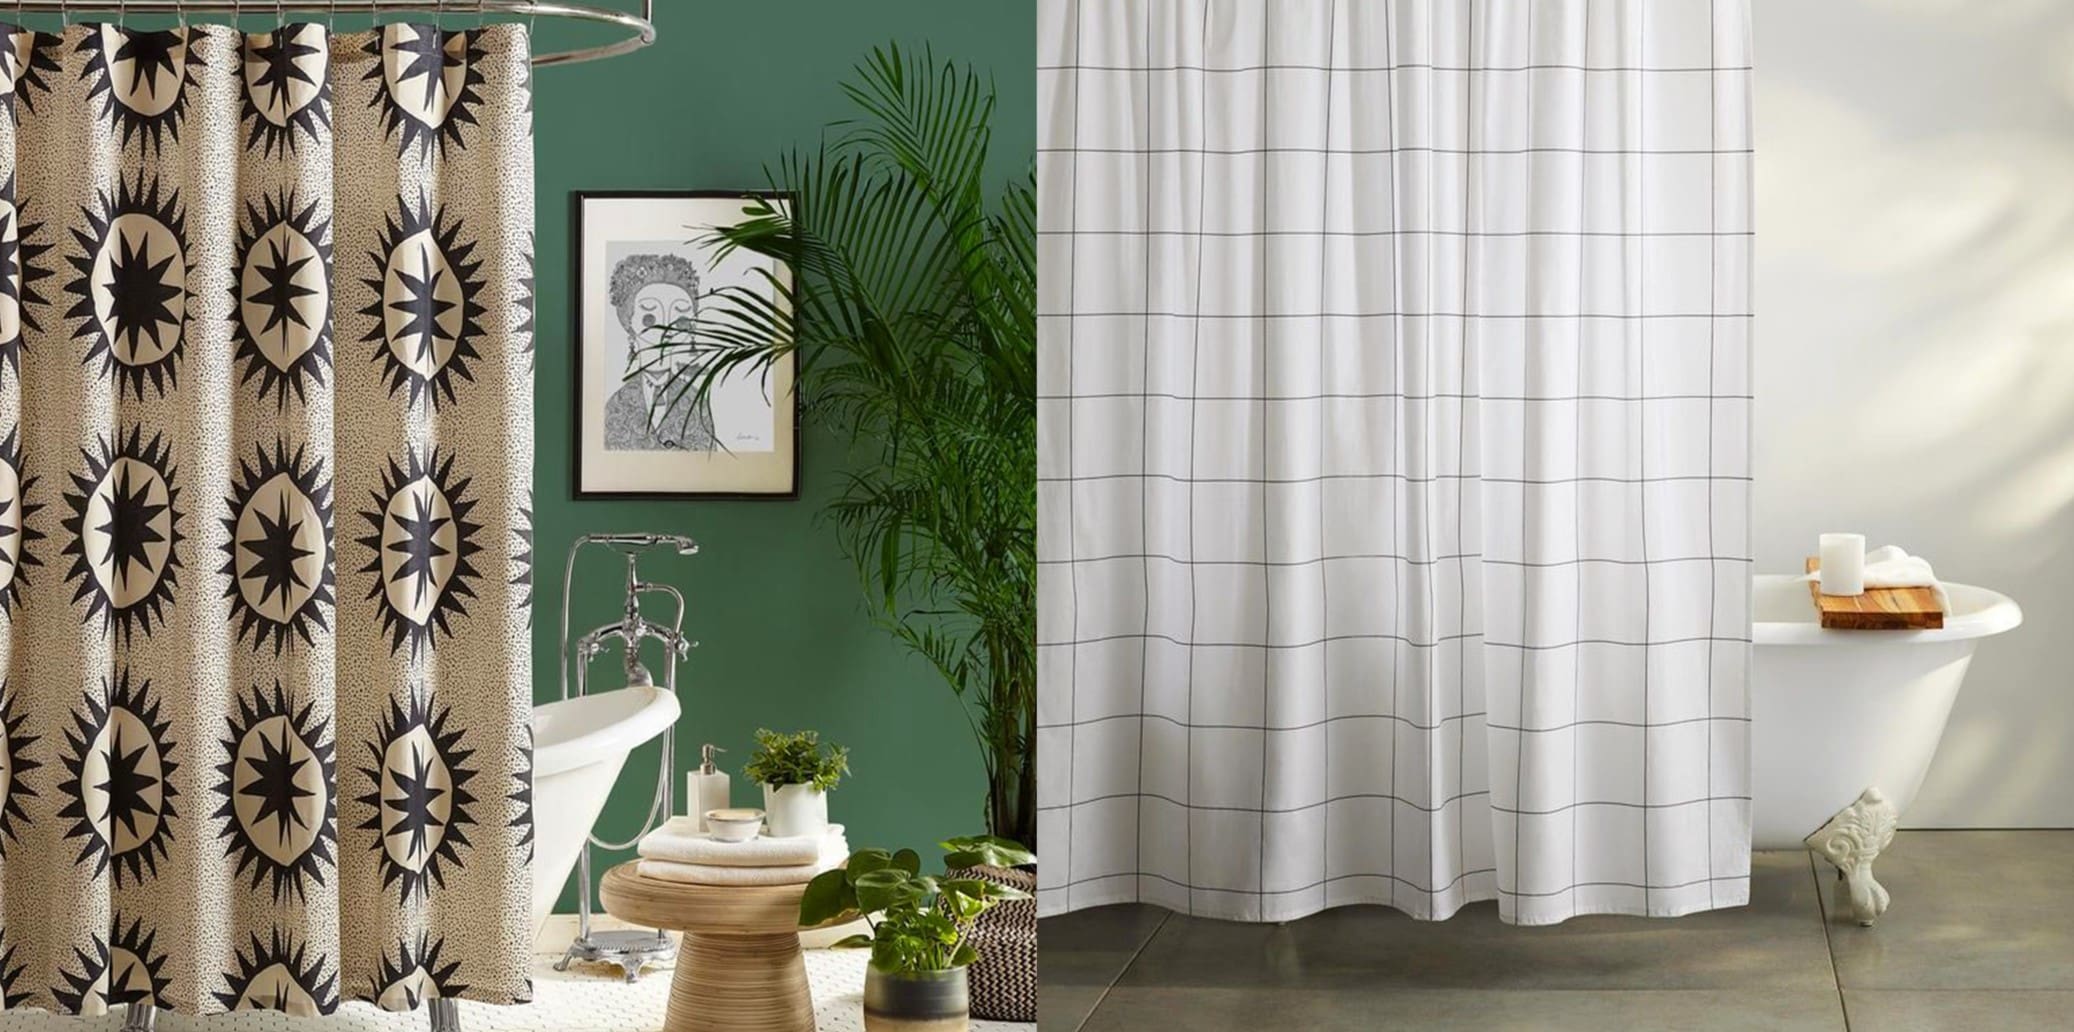
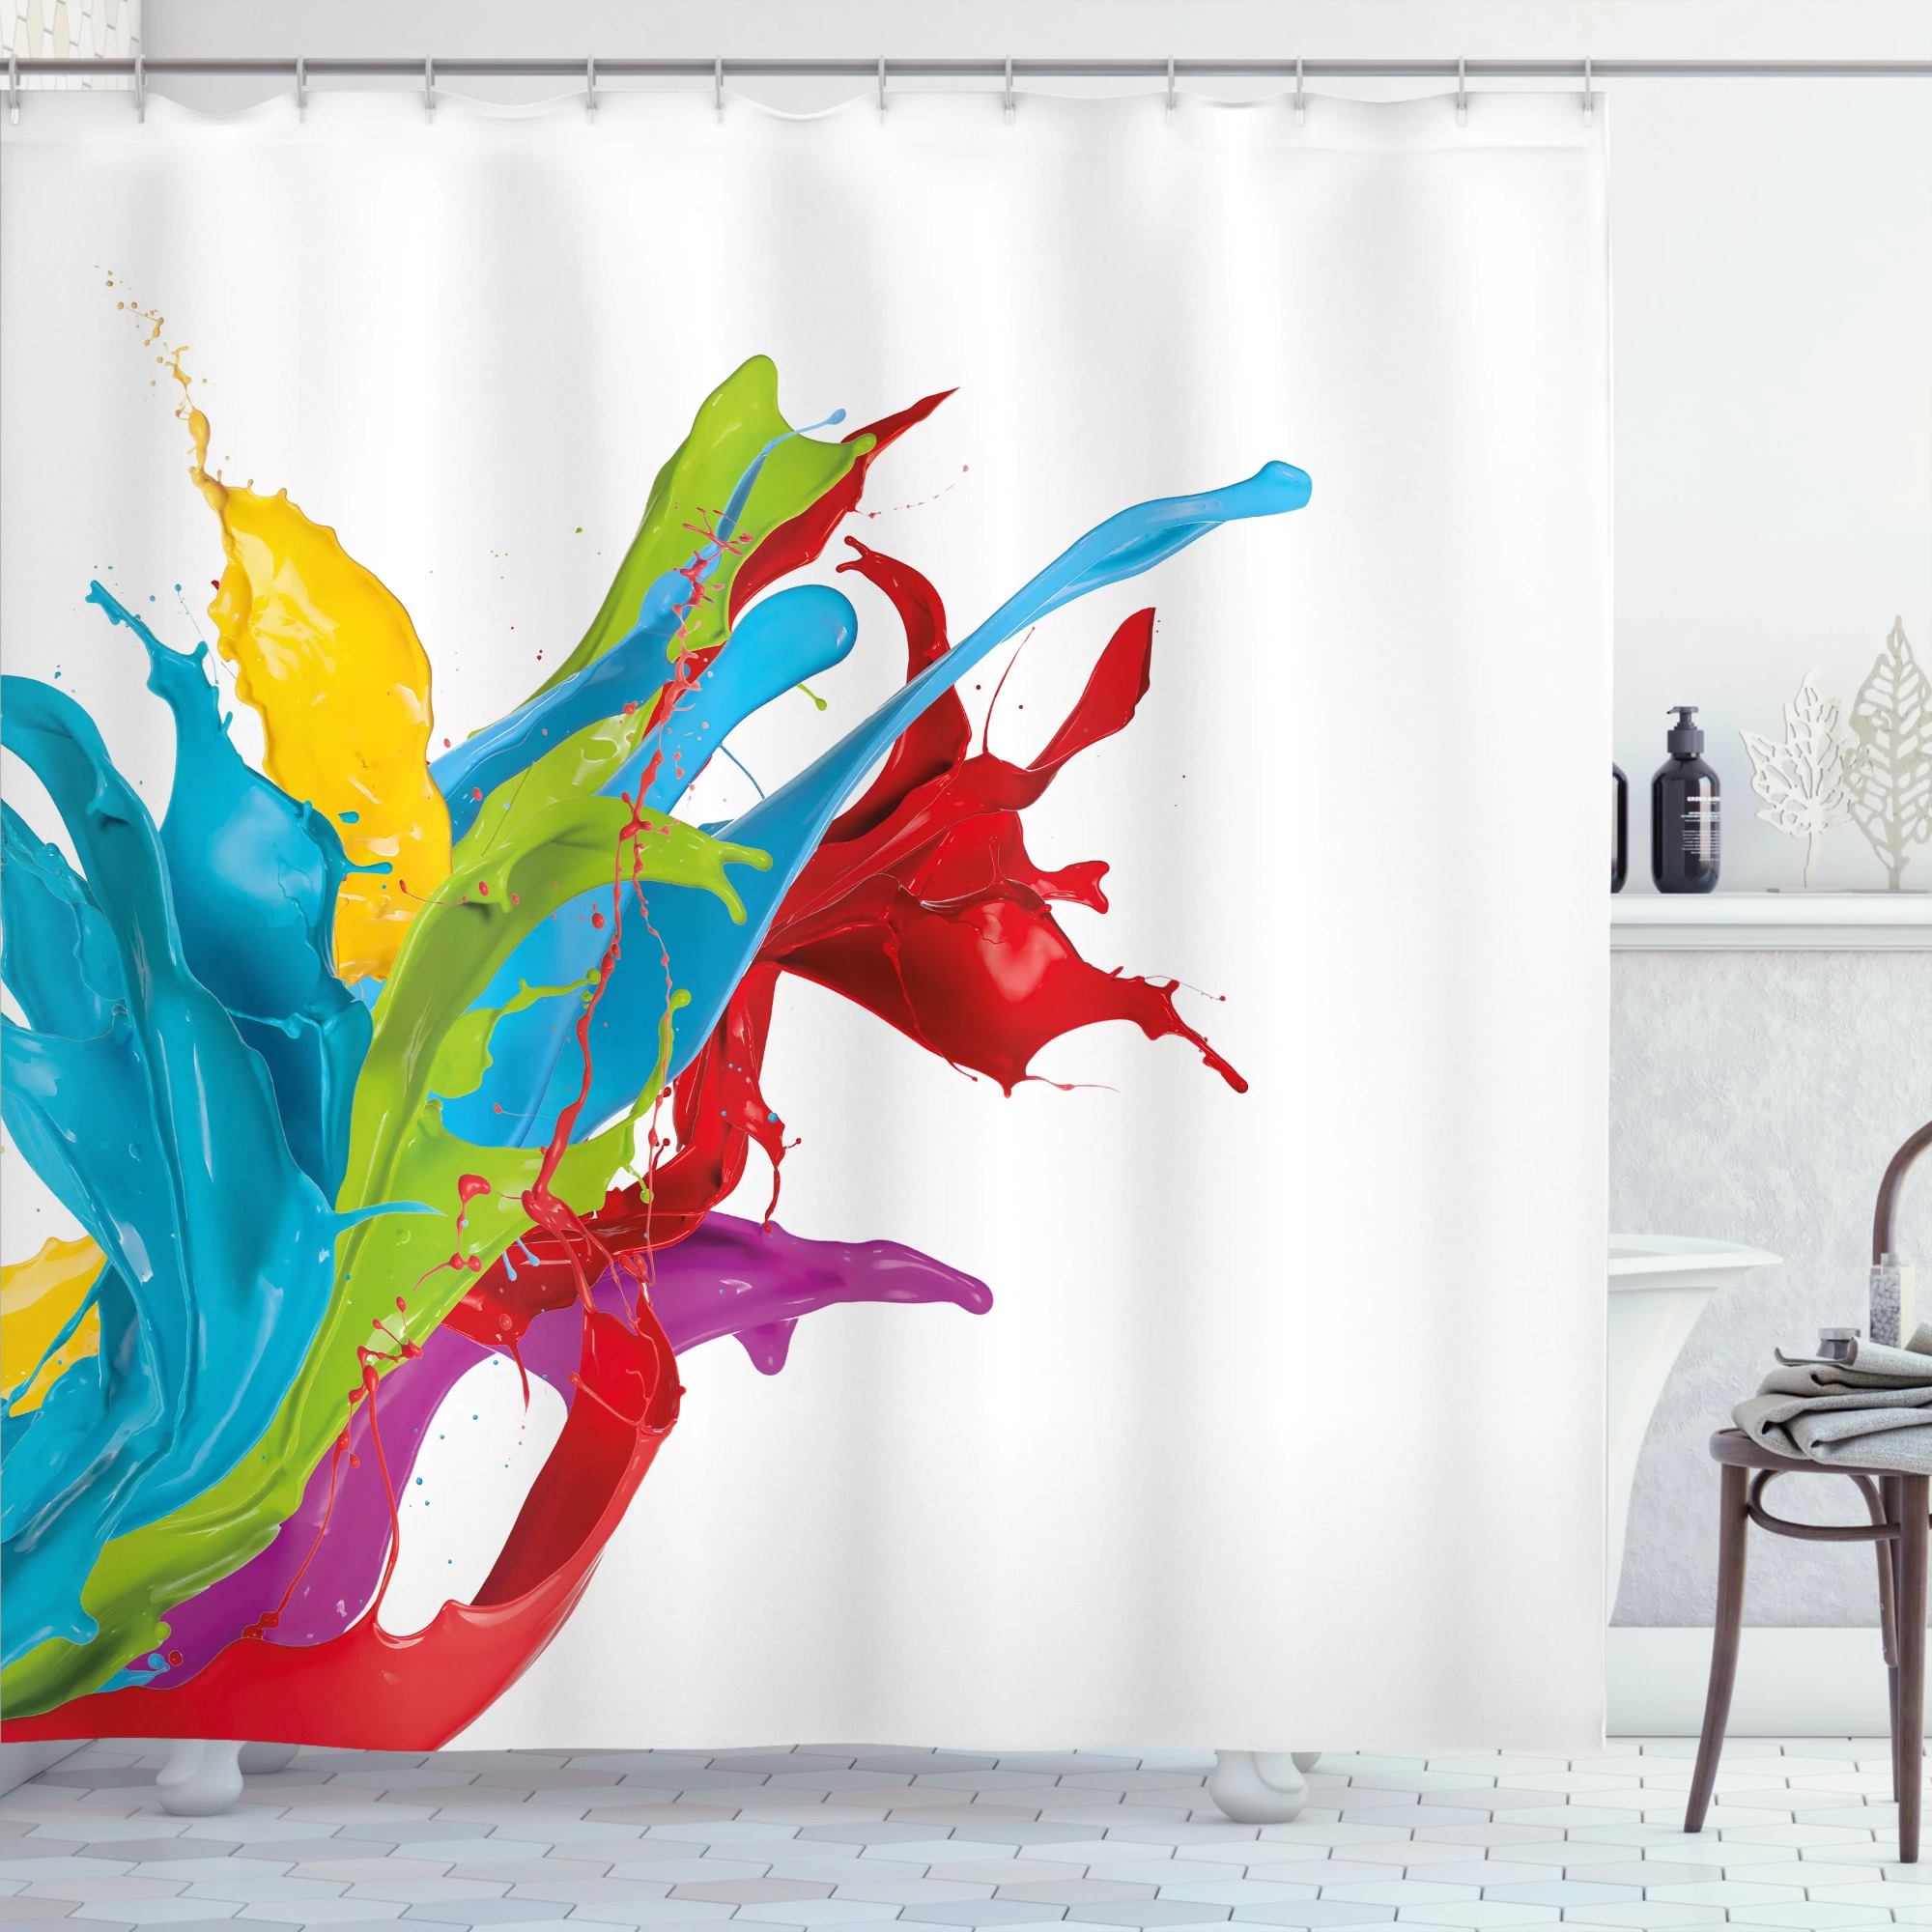
Selecting the Right Fabric: When choosing the fabric for your shower curtain, opt for materials that are water-resistant and durable. Polyester, nylon, and waterproof cotton blends are excellent choices, as they can withstand moisture and frequent use. Additionally, consider the color and pattern of the fabric to ensure it complements your bathroom decor.
-
Precision in Measurements: Accurate measurements are crucial for a well-fitted shower curtain. Take precise measurements of your shower area to determine the required dimensions for the curtain. Double-check the measurements to avoid any errors that could affect the final fit.
-
Seam Sealing for Water Resistance: To enhance the water-repelling properties of your shower curtain, consider using seam sealant along the edges and seams. This extra step can provide added protection against water leakage and prolong the lifespan of the curtain.
-
Embellishments for Personalization: If you're inclined towards a personalized touch, consider adding decorative embellishments to your shower curtain. Ribbons, tassels, or trim can infuse character and individuality into the design, elevating the overall aesthetic appeal.
-
Maintenance and Care: To ensure the longevity of your homemade shower curtain, it's essential to follow proper maintenance practices. Regularly clean and air-dry the curtain to prevent mold and mildew. Additionally, promptly address any stains or spots to maintain its pristine appearance.
-
Experiment with Patterns and Colors: Don't be afraid to experiment with different patterns and colors when selecting the fabric for your shower curtain. Bold prints or vibrant hues can inject personality and vibrancy into your bathroom, creating a focal point that enlivens the space.
-
Consider Interchangeable Liners: To simplify maintenance and extend the life of your shower curtain, consider using interchangeable liners. This allows for easy replacement of the liner when needed, without having to replace the entire curtain.
-
Test for Water Repellency: Before hanging your shower curtain, conduct a simple water repellency test. Sprinkle some water on the fabric to ensure that it beads up and rolls off, indicating effective water resistance. This test can help identify any areas that may require additional seam sealing.
-
Proper Ventilation: Adequate ventilation in the bathroom is essential for preserving the quality of your shower curtain. Ensure proper air circulation to prevent moisture buildup, which can lead to mold and mildew. Consider using a ventilation fan or keeping windows open when possible.
-
Custom Length Options: If you have a unique or non-standard shower area, consider customizing the length of your shower curtain to achieve a perfect fit. Tailoring the curtain to the specific dimensions of your shower space can create a polished and tailored look.
By incorporating these tips and tricks into your DIY shower curtain project, you can elevate the functionality and aesthetic appeal of this essential bathroom accessory. With attention to detail and thoughtful customization, your homemade shower curtain will serve as a standout feature, reflecting your personal style and enhancing the overall ambiance of your bathing space.
Conclusion
In conclusion, the process of creating a custom shower curtain presents a delightful opportunity to infuse your personality and creativity into an essential bathroom accessory. By embarking on this DIY endeavor, you not only craft a functional item but also curate a piece of decor that reflects your unique style and enhances the ambiance of your bathing space.
Through careful selection of fabric, meticulous measurements, and thoughtful detailing, you can tailor a shower curtain that harmonizes with your existing decor while adding a personalized touch. The versatility of this project allows for endless possibilities, from choosing the perfect fabric and color scheme to incorporating decorative embellishments that speak to your individual taste.
The satisfaction derived from crafting a shower curtain that is both visually appealing and practical is immeasurable. The sense of accomplishment that accompanies the completion of this DIY project is a testament to your creativity and resourcefulness. Moreover, the custom shower curtain serves as a conversation piece, showcasing your craftsmanship and attention to detail.
Furthermore, the longevity and functionality of a homemade shower curtain, coupled with its aesthetic appeal, make it a worthwhile addition to any bathroom. The ability to customize the length, fabric, and design ensures that the curtain seamlessly integrates into your bathing space, elevating its overall allure.
As you hang your meticulously crafted shower curtain, take pride in the fact that you have transformed a mundane necessity into a work of art. The personalized touch and unique elements infused into the curtain reflect your individuality, making it a standout feature in your bathroom.
In essence, the process of making a shower curtain transcends the realm of DIY projects; it is a form of self-expression and a testament to your ability to transform everyday items into extraordinary pieces. Embrace the creativity, relish the process, and revel in the satisfaction of creating a shower curtain that is truly one-of-a-kind.
Frequently Asked Questions about How To Make A Shower Curtain
Was this page helpful?
At Storables.com, we guarantee accurate and reliable information. Our content, validated by Expert Board Contributors, is crafted following stringent Editorial Policies. We're committed to providing you with well-researched, expert-backed insights for all your informational needs.


0 thoughts on “How To Make A Shower Curtain”