Articles
How To Make Juice In A Food Processor
Modified: May 6, 2024
Discover the easiest way to make juice using a food processor with our informative articles. Transform your fruits and vegetables into refreshing drinks effortlessly.
(Many of the links in this article redirect to a specific reviewed product. Your purchase of these products through affiliate links helps to generate commission for Storables.com, at no extra cost. Learn more)
Introduction
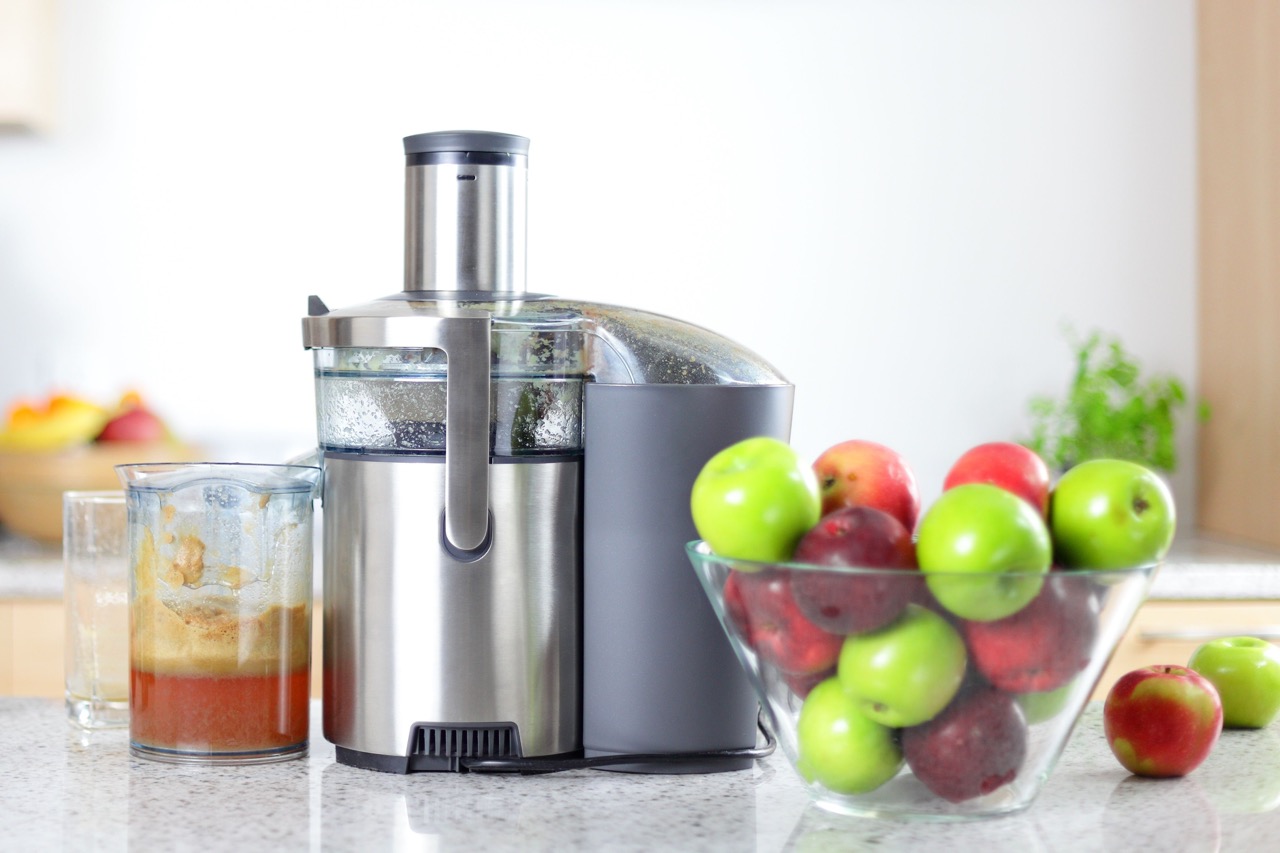
Are you craving a refreshing and nutritious glass of juice but don’t have a juicer on hand? Don’t worry, because you can still enjoy a delicious homemade juice using a food processor! This versatile kitchen appliance can be a great alternative to a juicer and allows you to easily extract juice from fruits and vegetables.
In this article, we will guide you through the step-by-step process of making juice in a food processor. Whether you prefer a vibrant citrus blend or a vibrant green detox juice, you’ll be able to create your favorite concoctions right in the comfort of your own kitchen.
Before we dive into the process, it’s important to note that a food processor might not extract juice as efficiently as a traditional juicer. However, with a few tricks and techniques, you can still achieve a flavorful and nutrient-rich juice using this handy appliance.
So, let’s get started and learn how to make juice in a food processor!
Key Takeaways:
- Enjoy homemade juice by selecting, preparing, and blending fresh fruits and vegetables in a food processor. Experiment with different combinations and savor the vibrant flavors and nutritional benefits of your creations.
- Transform your kitchen into a juice bar with a food processor. From preparation to serving, relish the process of creating refreshing and nutritious homemade juice. Let your creativity shine as you craft delicious and healthy concoctions.
Read more: How To Make Garlic Paste In Food Processor
Step 1: Selecting the fruits or vegetables
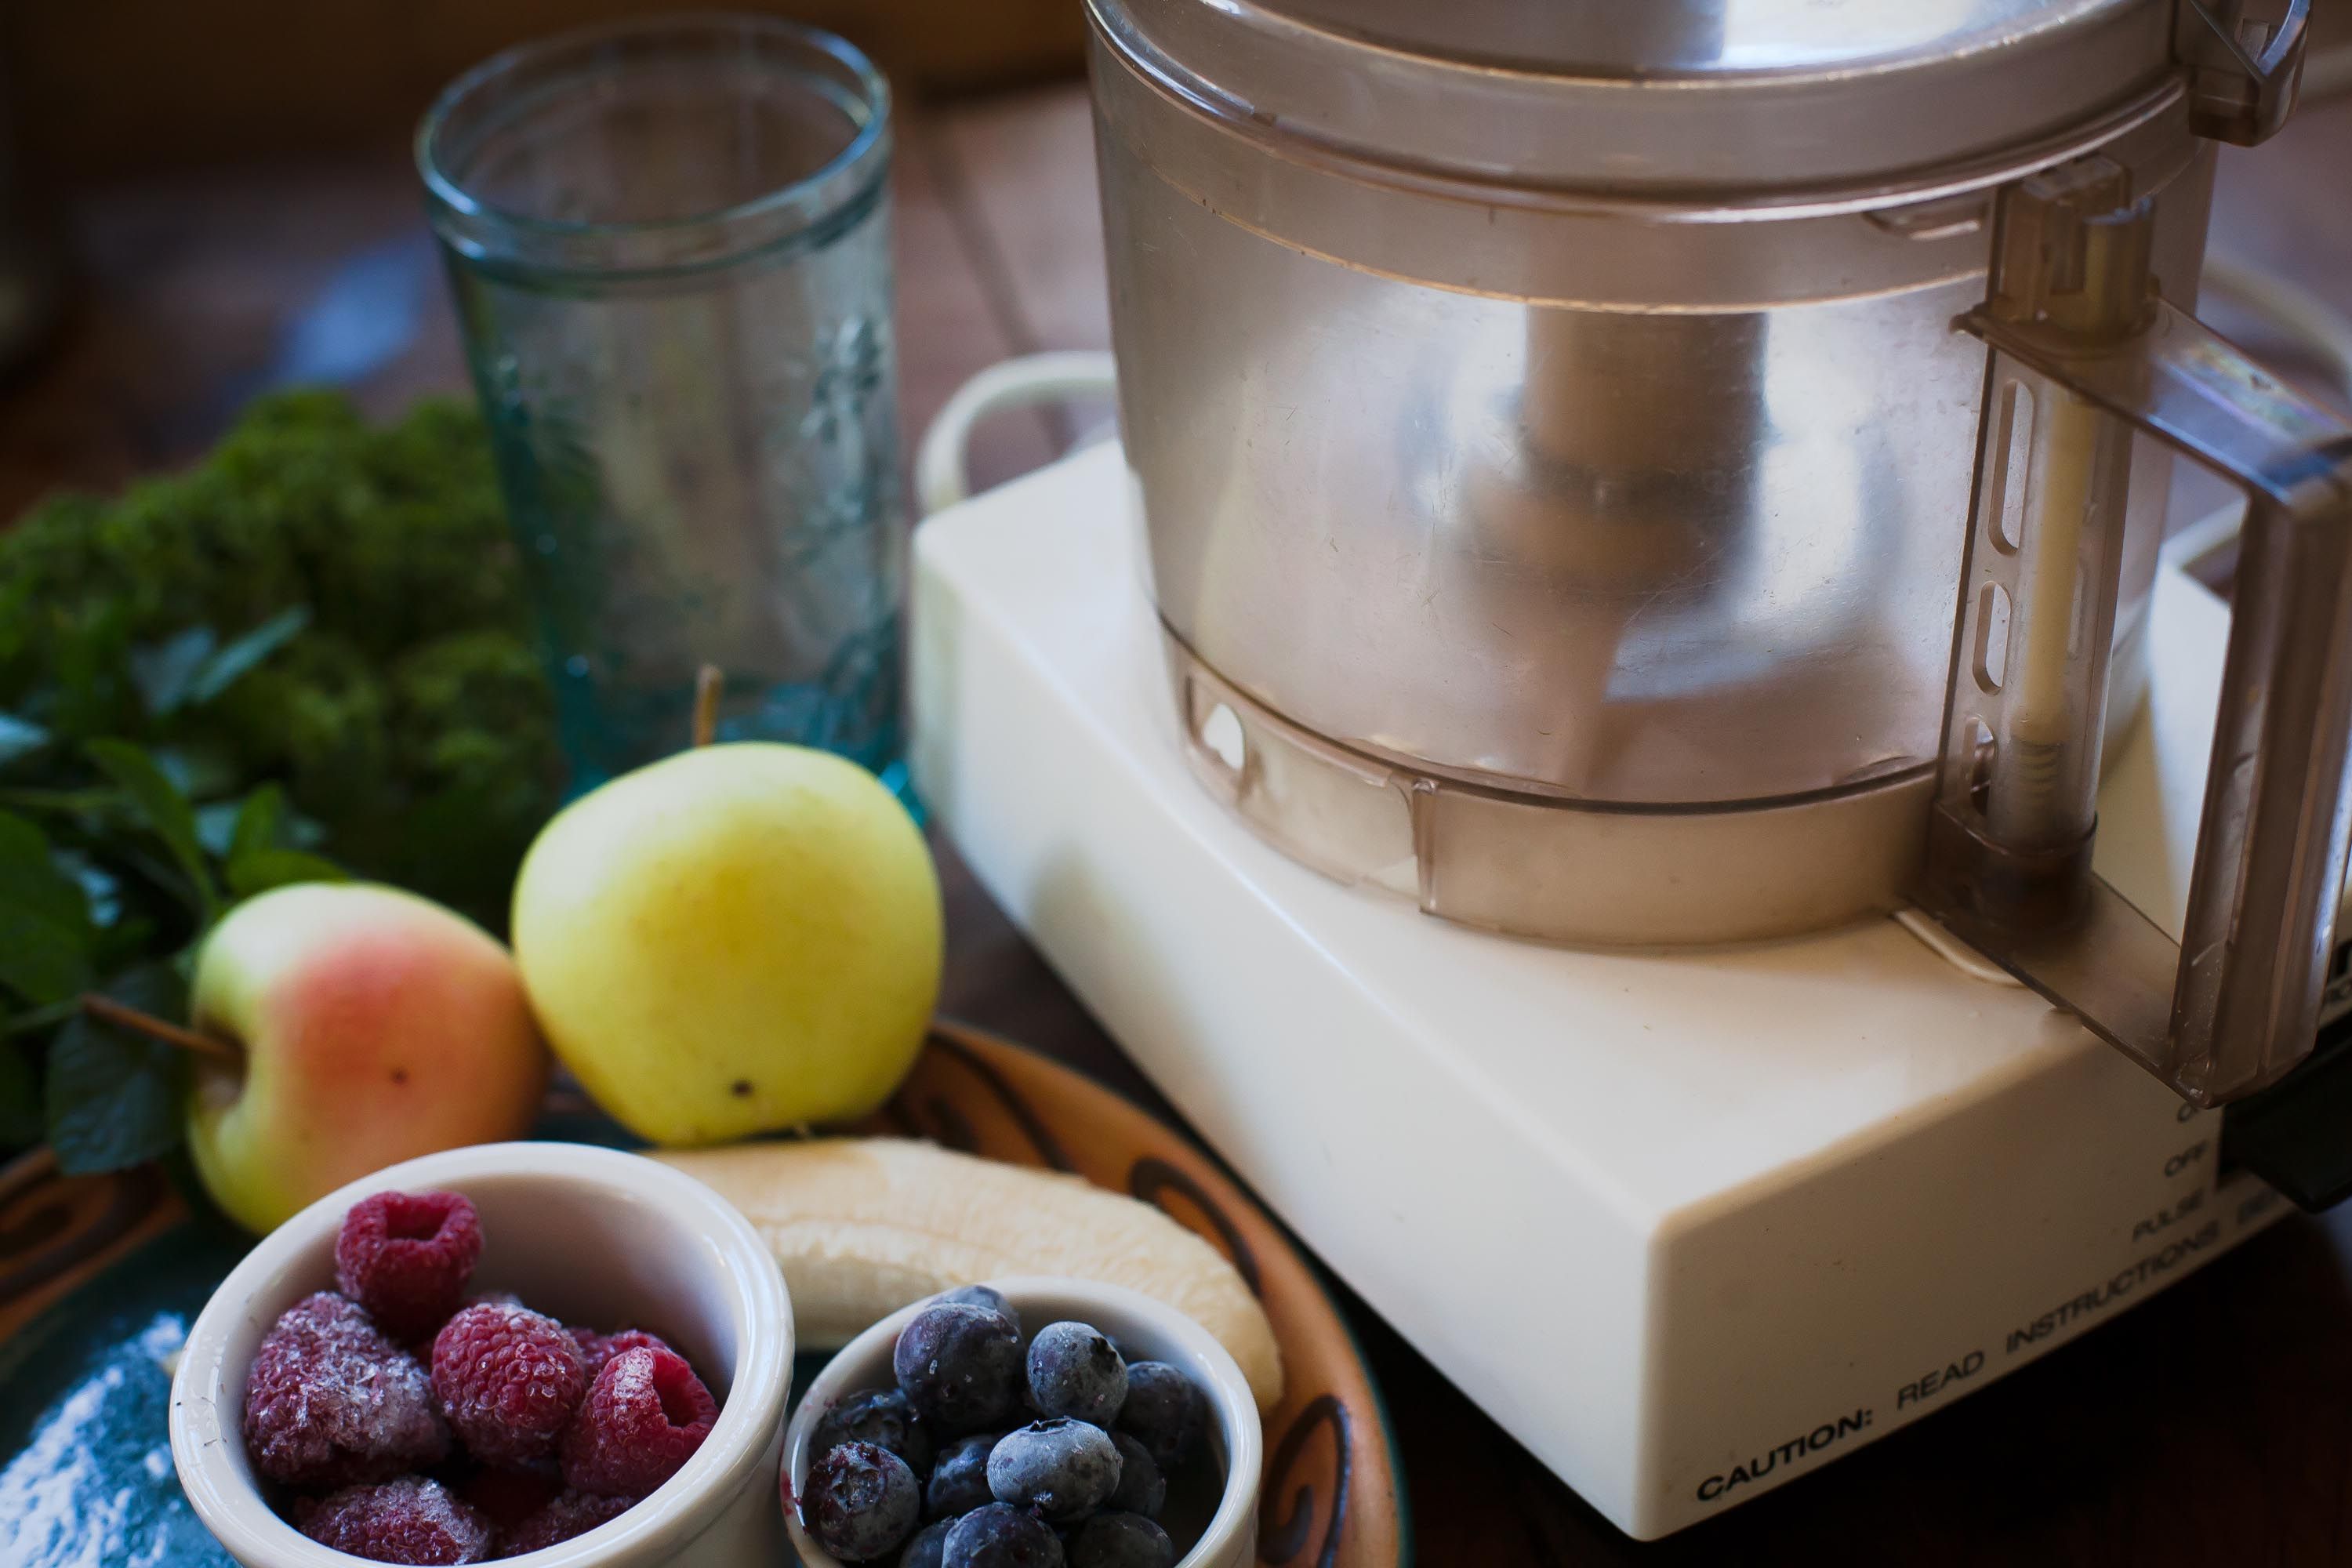
The first step in making juice in a food processor is to carefully select the fruits or vegetables you want to use. Choose fresh produce that is ripe and in good condition to ensure the best flavor and nutritional value in your juice.
When it comes to selecting fruits, options like oranges, lemons, limes, apples, and berries work well for delicious citrus or mixed fruit juices. You can also experiment with tropical fruits like pineapples, mangoes, or kiwis for an exotic twist.
If you prefer vegetable-based juices, consider options like carrots, celery, cucumbers, spinach, kale, or beets. These vegetables offer a variety of health benefits and can be combined for unique flavor profiles.
Remember to wash your fruits and vegetables thoroughly before using them in the food processor. This will help remove any dirt, pesticides, or residue that may be present on the surface.
Additionally, it’s worth noting that some fruits and vegetables may require peeling or removing certain parts. For example, citrus fruits should be peeled and segmented, while apples or pears may need to have their cores removed.
By selecting high-quality produce and properly preparing them, you’ll ensure that your juice has the best taste and nutritional value.
Step 2: Preparing the ingredients
Once you have selected your fruits or vegetables, it’s time to prepare them for the food processor. This step involves a few key steps to ensure that your ingredients are ready to be blended into a smooth and flavorful juice.
Start by washing your fruits and vegetables under cold water to remove any dirt or impurities. For leafy greens like spinach or kale, it’s essential to remove any tough stems or damaged leaves.
Next, for fruits like citrus or apples, peel them and remove any seeds or cores. For larger fruits like pineapples or mangoes, remove the skin and chop them into smaller pieces for easier processing.
If you’re using vegetables like carrots or celery, trim off the ends and cut them into smaller chunks. This will make it easier for the food processor to blend them into a smooth consistency.
Some recipes might call for additional ingredients like ginger, herbs, or spices. Make sure to prepare these ingredients accordingly, cleaning and chopping them as needed.
By properly preparing your ingredients, you’ll ensure that they blend smoothly in the food processor, resulting in a delicious and well-incorporated juice.
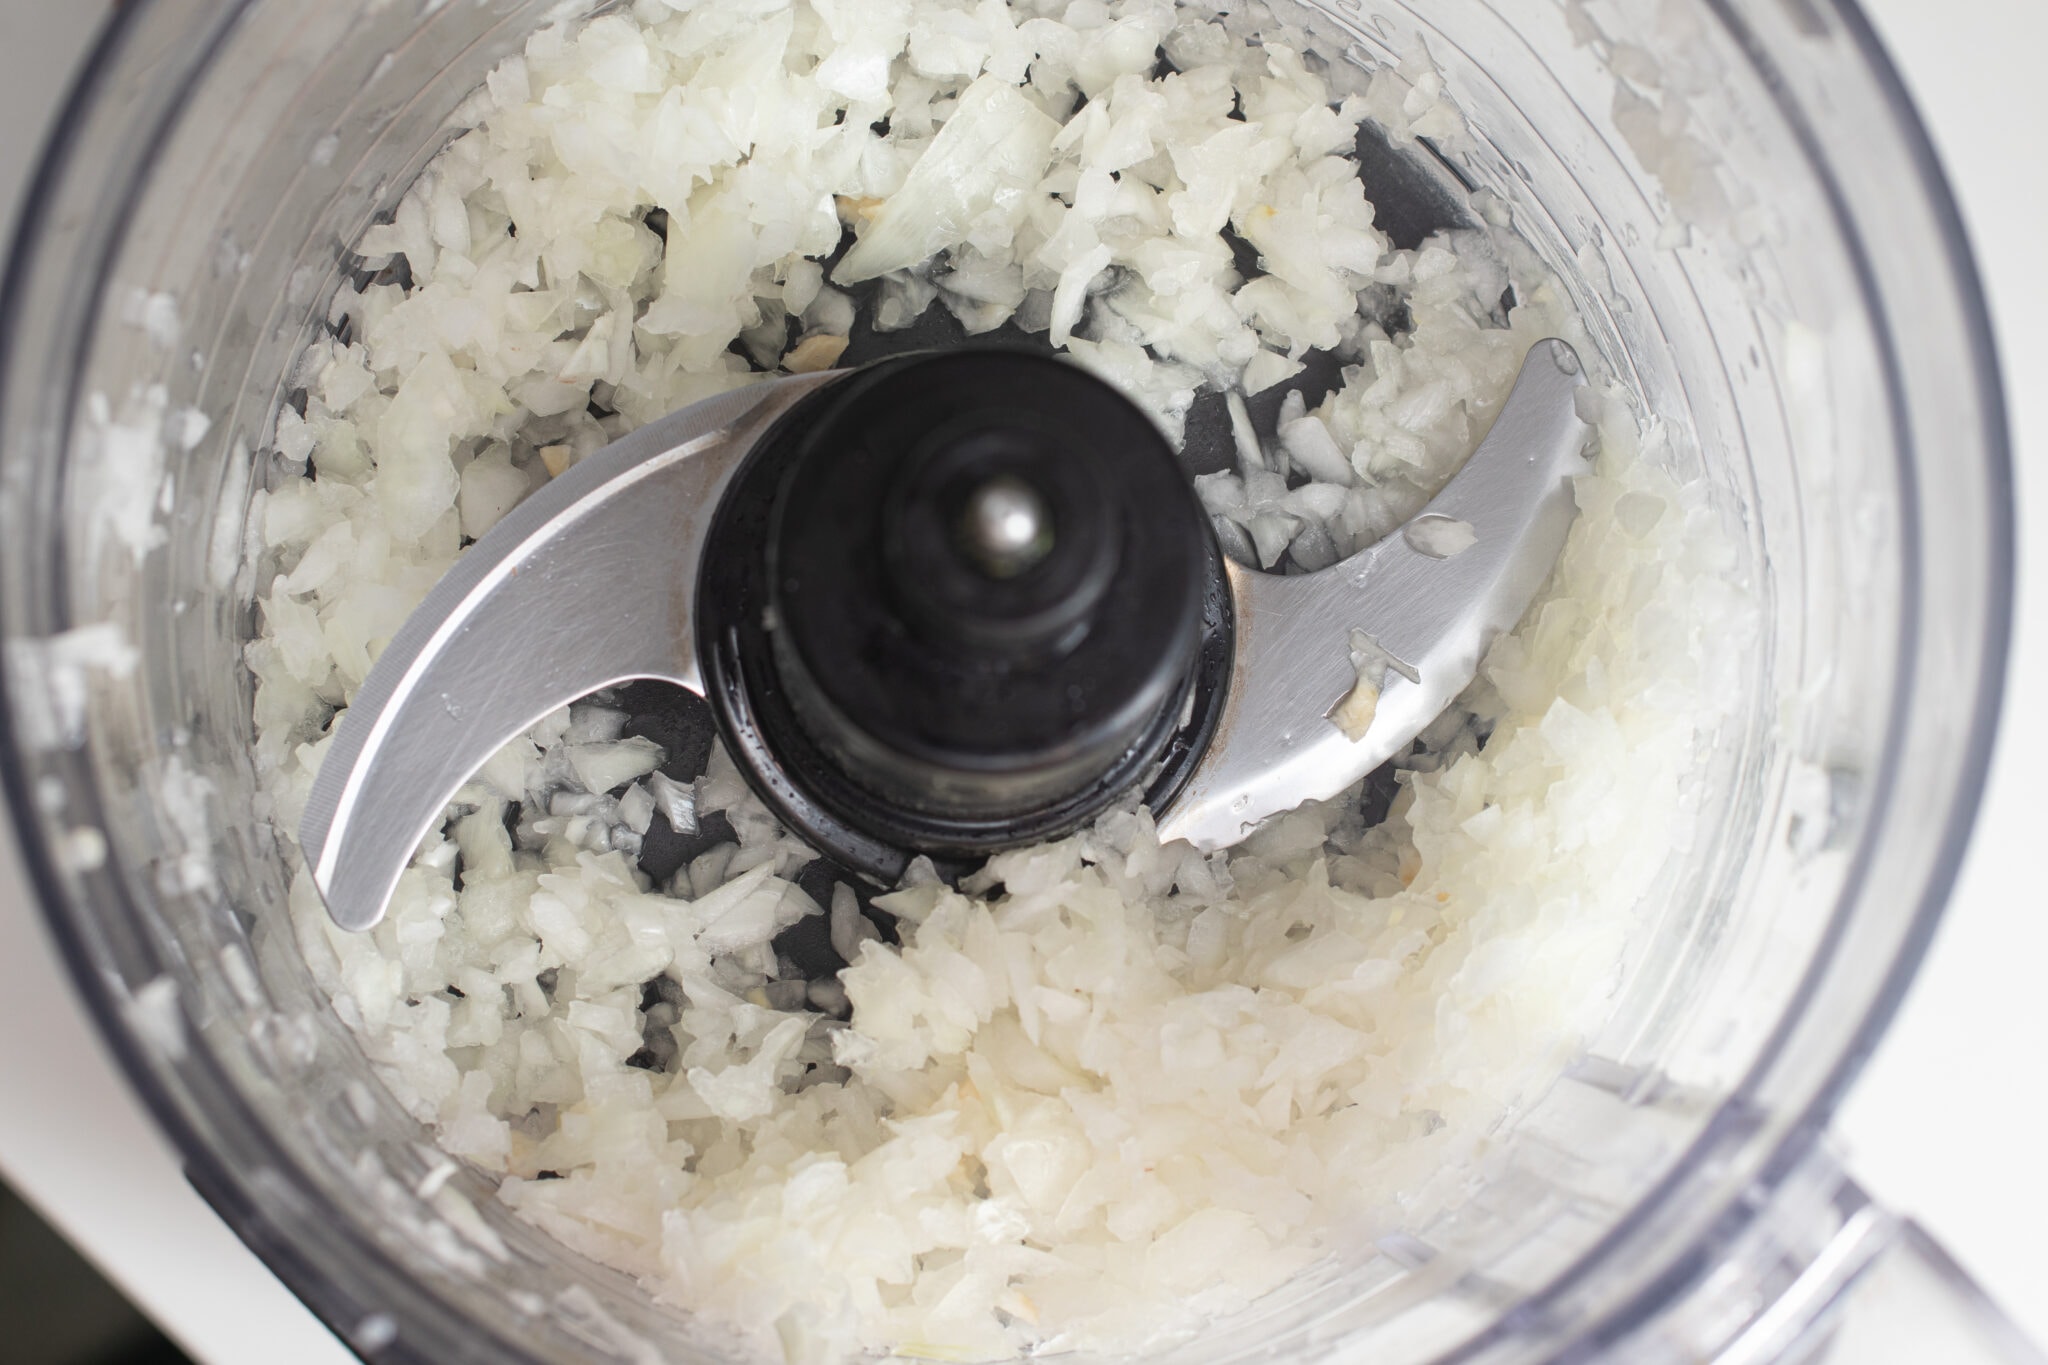
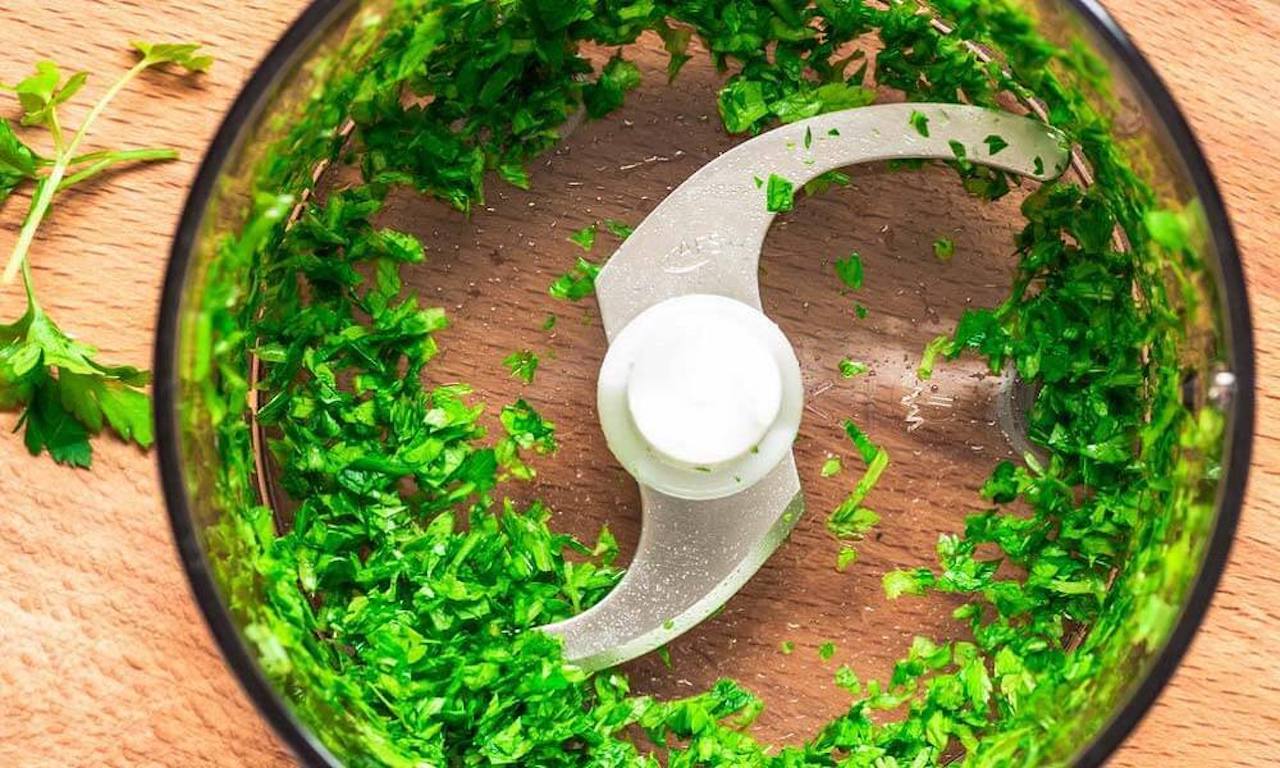
Step 3: Cutting the fruits or vegetables into small pieces
Now that you have prepared your fruits and vegetables, it’s time to cut them into small pieces. This step is essential for a smooth and even blending process in the food processor.
Start by cutting larger fruits like pineapples, melons, or mangoes into manageable chunks. Similarly, for vegetables like carrots or celery, chop them into smaller pieces to facilitate blending.
For leafy greens like spinach or kale, tear them into smaller pieces to ensure they blend evenly. This step is particularly important to avoid any large chunks in your juice.
By cutting your ingredients into smaller pieces, you allow the food processor to effectively break them down and extract the juice. This ensures that every sip of your juice is well-blended and bursting with flavor.
Take your time to carefully cut your fruits and vegetables into small, uniform pieces. This will make the blending process smoother and more efficient, resulting in a better-textured juice.
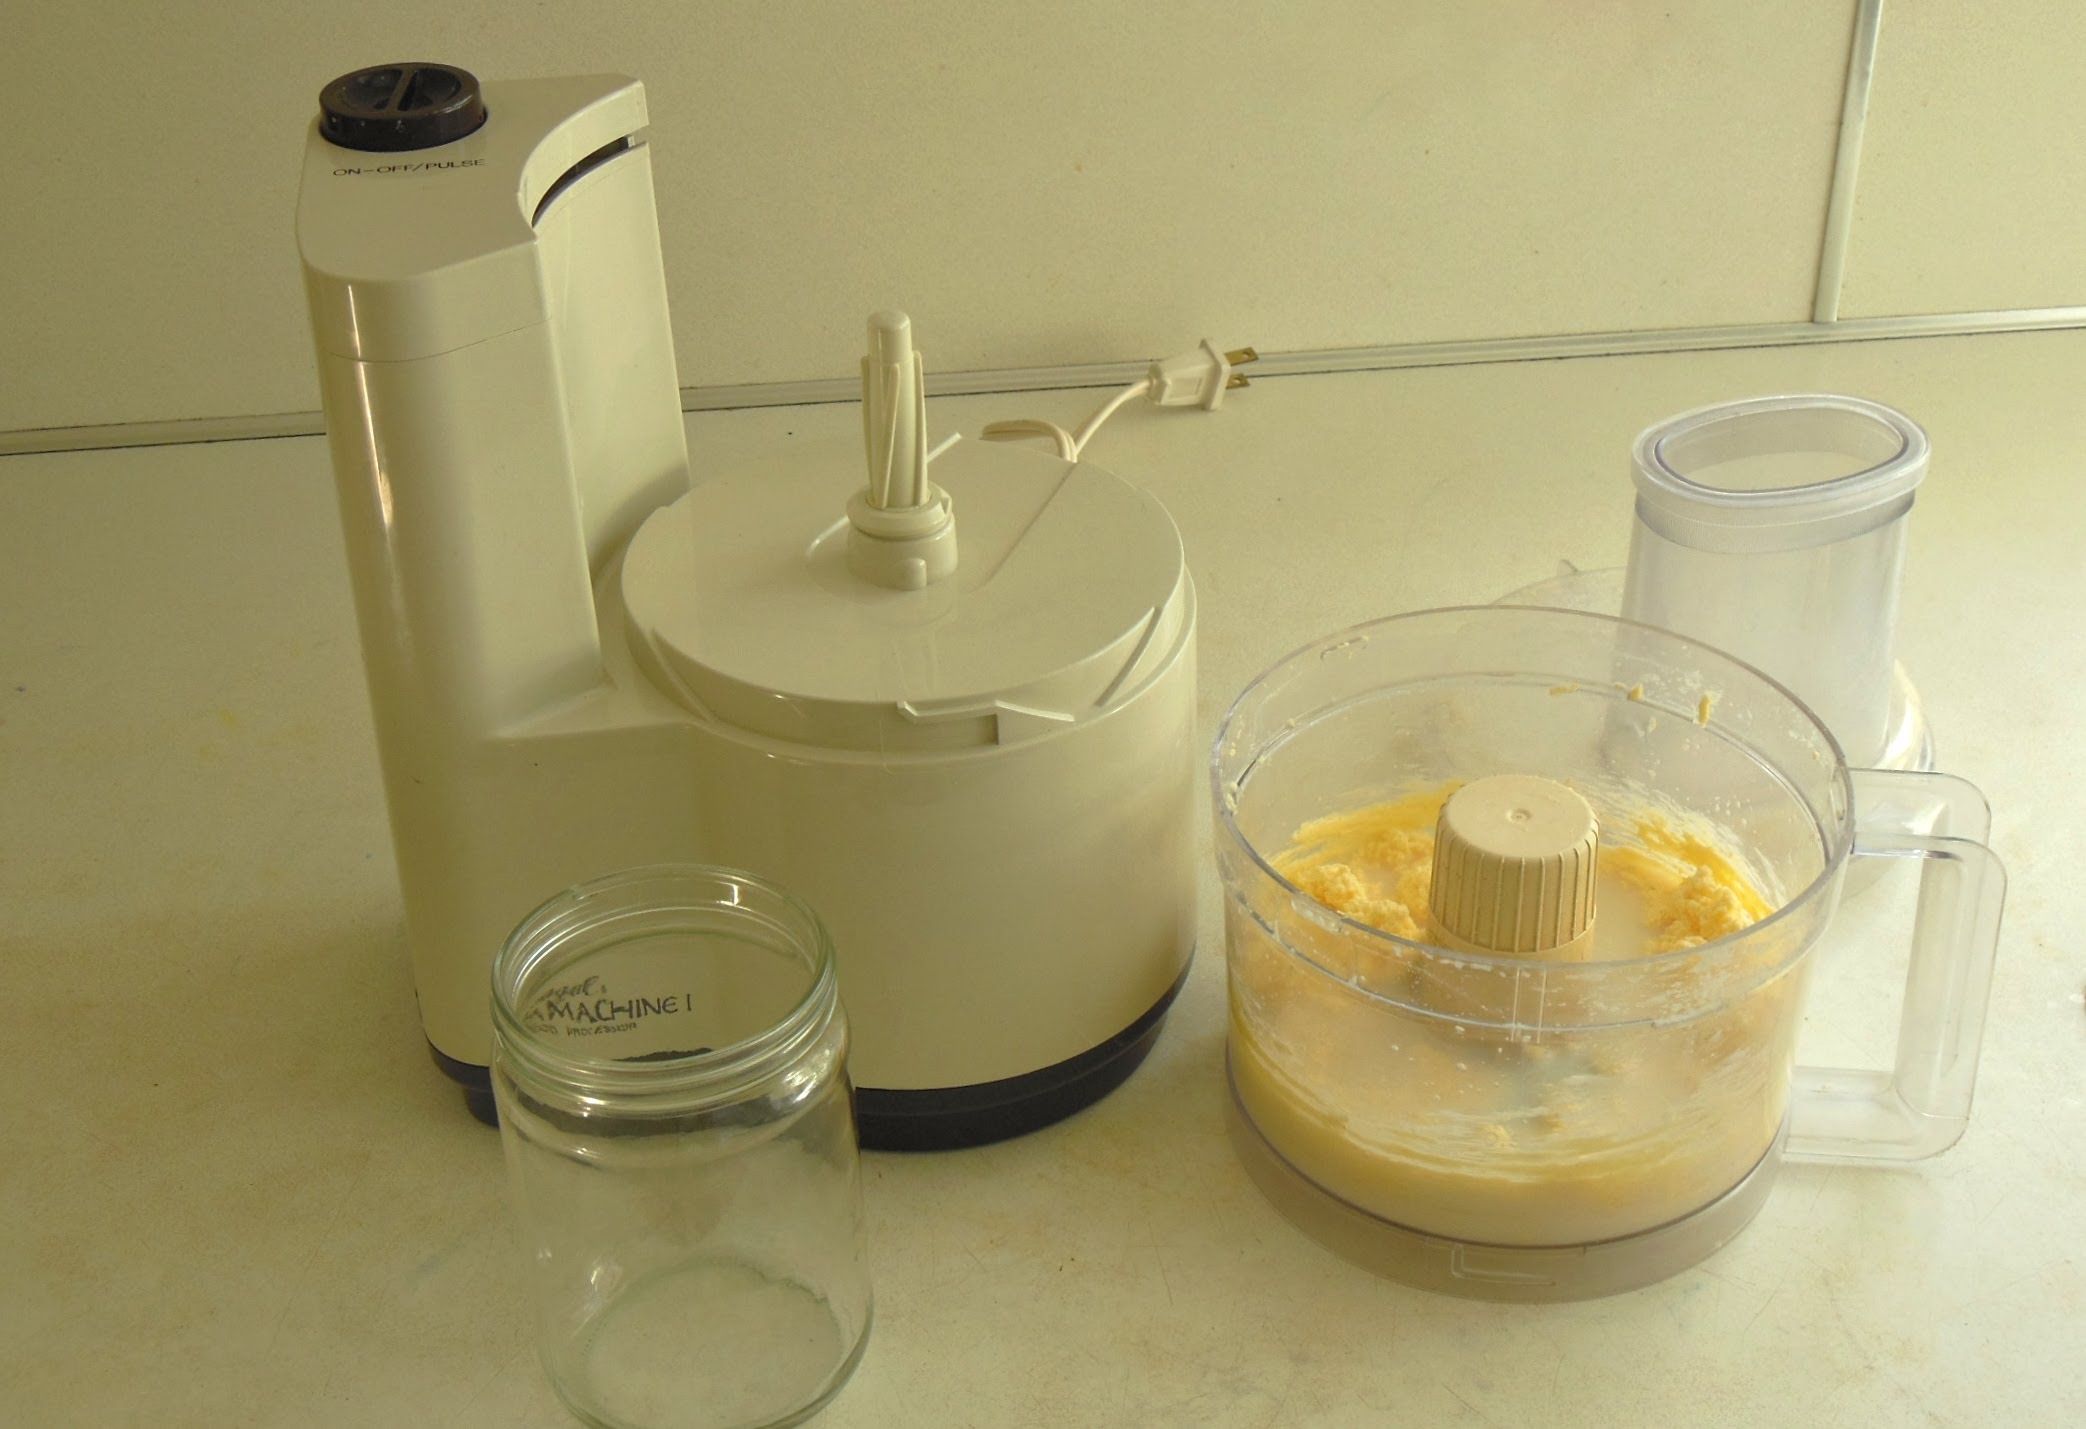
Step 4: Setting up the food processor
Before you begin blending your ingredients, it’s important to properly set up your food processor to ensure a smooth and efficient juicing process.
Start by assembling the food processor according to the manufacturer’s instructions. This typically involves attaching the bowl, lid, and blade or disc attachment.
Make sure all components are securely in place before adding your ingredients. This will prevent any mishaps or accidents during the blending process.
Additionally, check the settings on your food processor. Most food processors have different speed options or pulse features. For juicing, it’s generally best to start with a low speed and gradually increase as needed.
If your food processor has a feeding tube or chute, ensure it is open and wide enough to easily add your ingredients while the machine is running.
Lastly, place a clean and dry container, such as a pitcher or glass, beneath the food processor’s spout to catch the extracted juice.
By properly setting up your food processor, you’ll create an optimal juicing environment, making the blending process efficient and hassle-free.
When making juice in a food processor, make sure to cut the fruits or vegetables into small pieces to ensure smooth blending. Adding a little bit of water can also help with the blending process.
Read more: How To Make Pesto Without A Food Processor
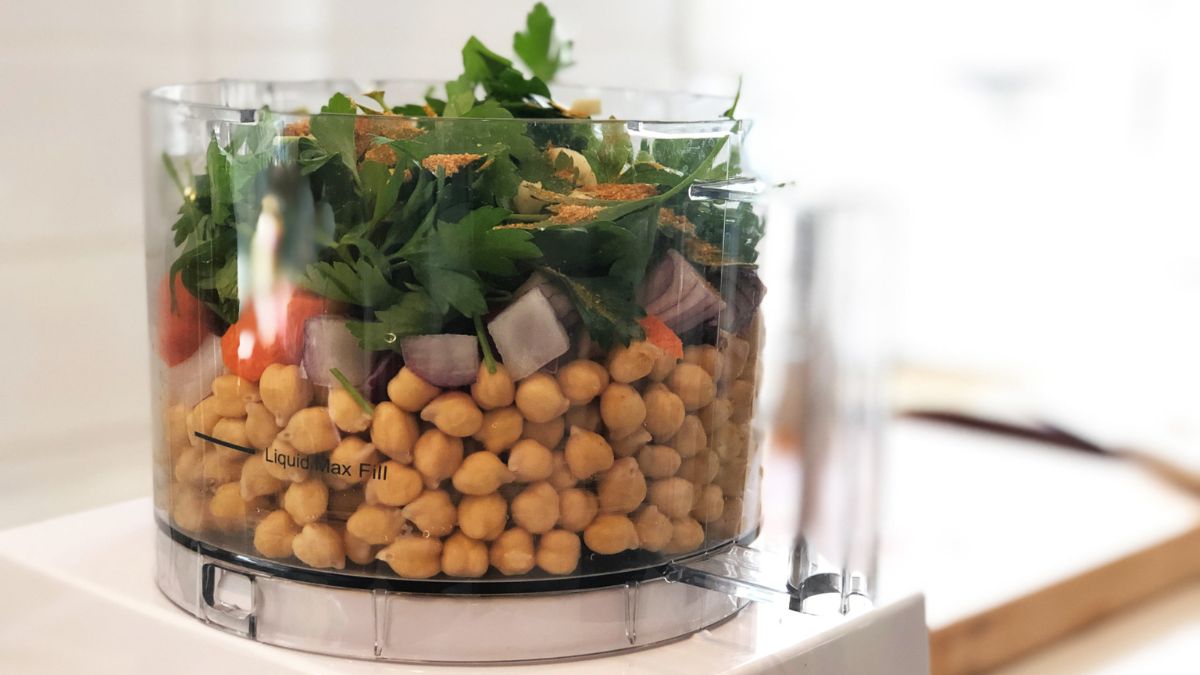
Step 5: Adding the ingredients into the food processor
With your food processor properly set up, it’s time to add the prepared ingredients into the machine. This step is crucial for extracting the juice and blending it into a smooth consistency.
Start by adding a small portion of your fruits or vegetables into the food processor. This will help the blades to begin chopping and blending the ingredients efficiently.
Avoid overloading the food processor as this can impede the blending process and result in unevenly processed juice. It’s recommended to add the ingredients in batches, gradually increasing the amount as you go.
While adding the ingredients, you may also want to incorporate any additional ingredients like herbs, spices, or juices to enhance the flavor of your juice.
Once you have added all the ingredients, securely place the lid on the food processor to prevent any spills or accidents. Make sure it is properly locked in place.
Keep in mind that the food processor may require occasional scraping down of the sides during blending to ensure all ingredients are thoroughly incorporated.
By adding the ingredients in batches and properly securing the lid, you’ll ensure that the food processor can efficiently process the fruits and vegetables into a flavorful juice.
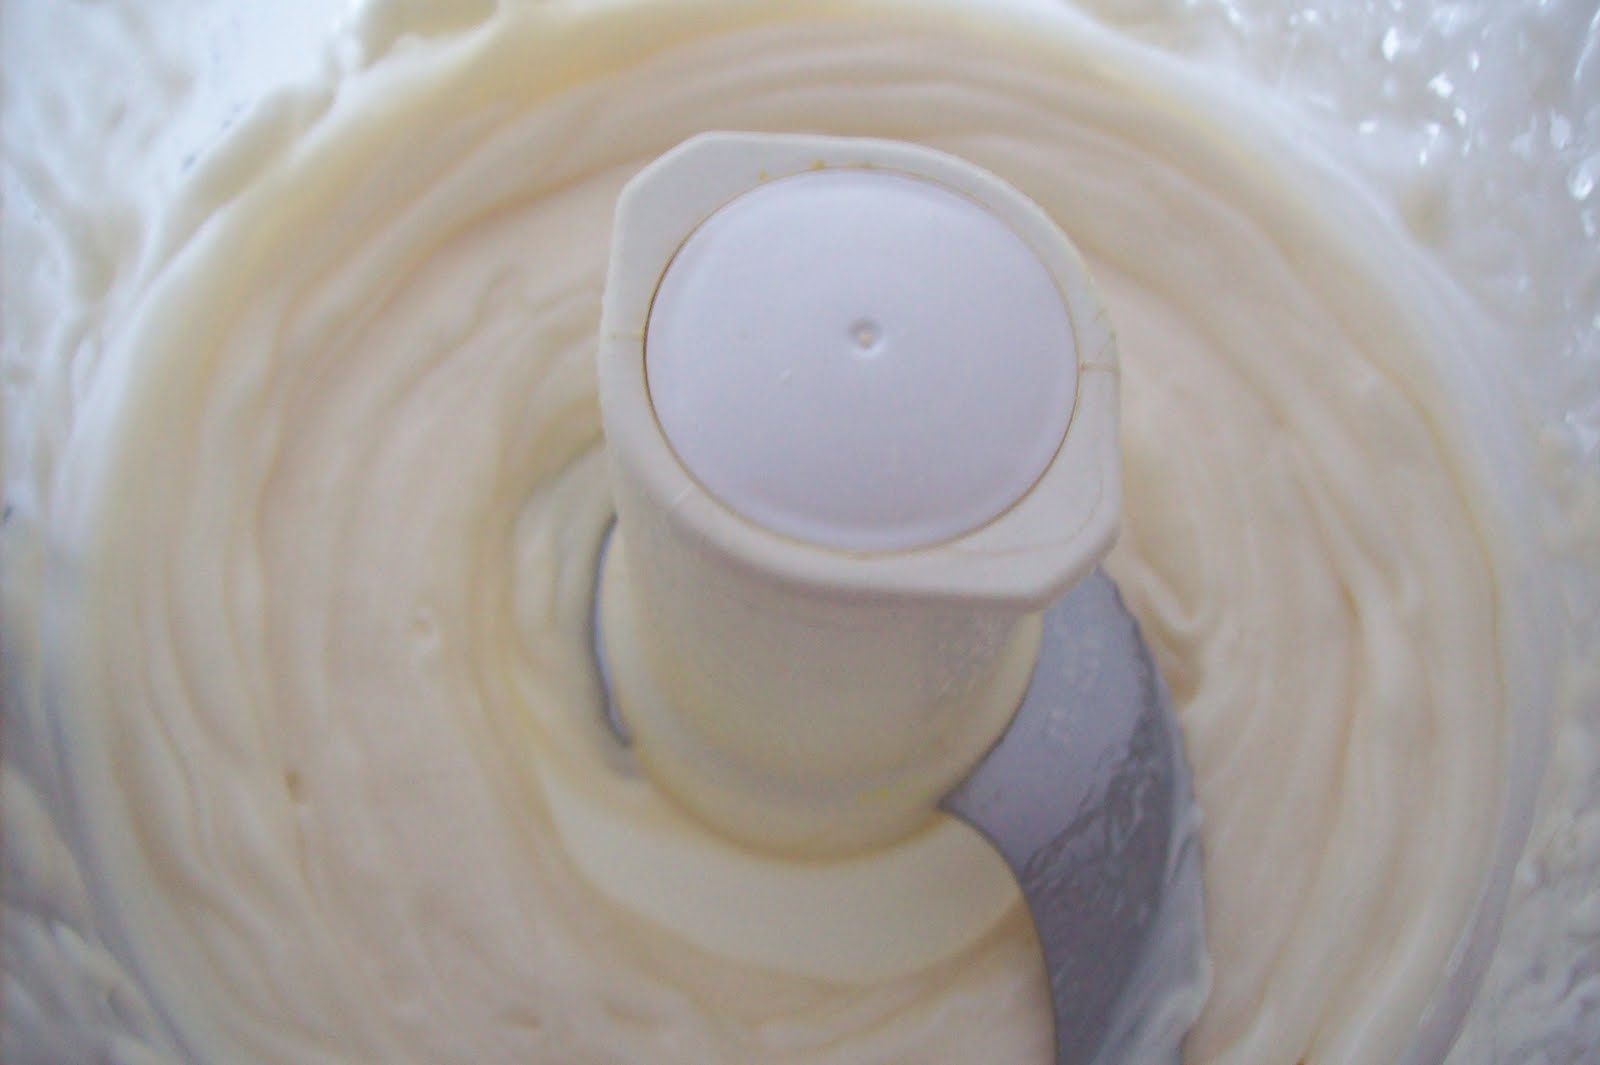
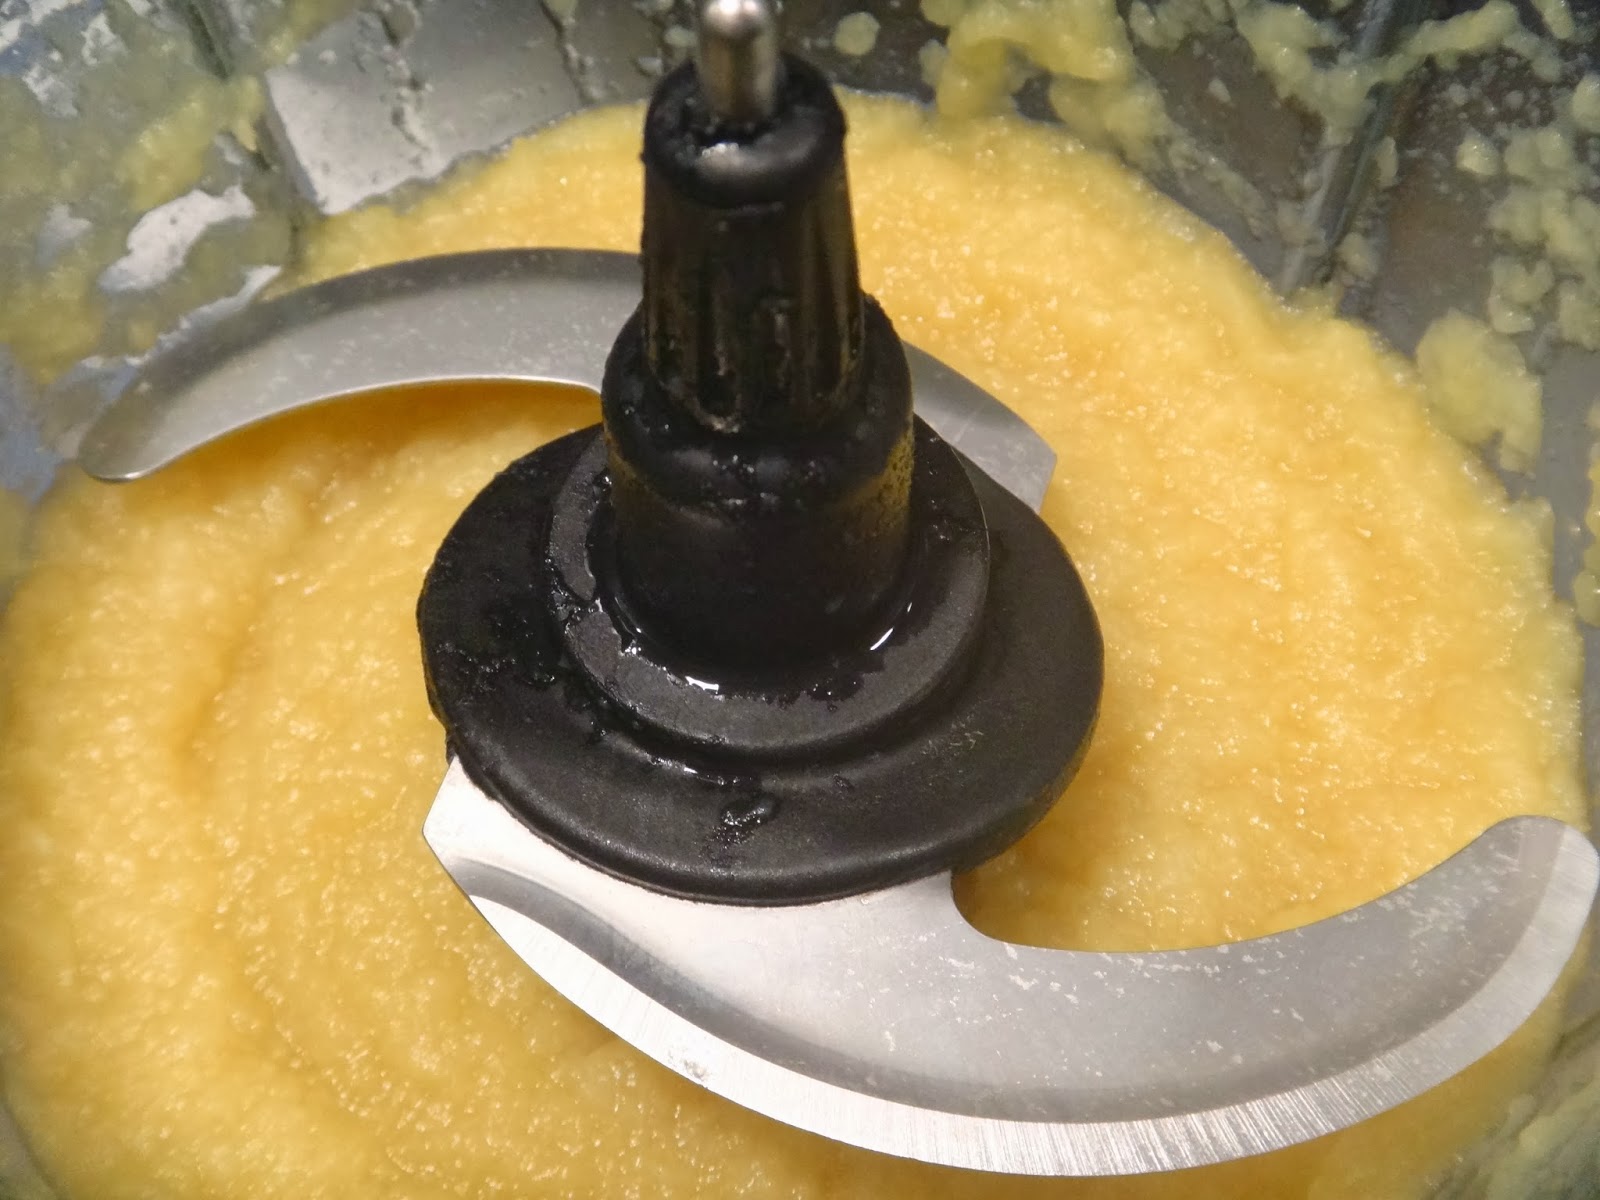
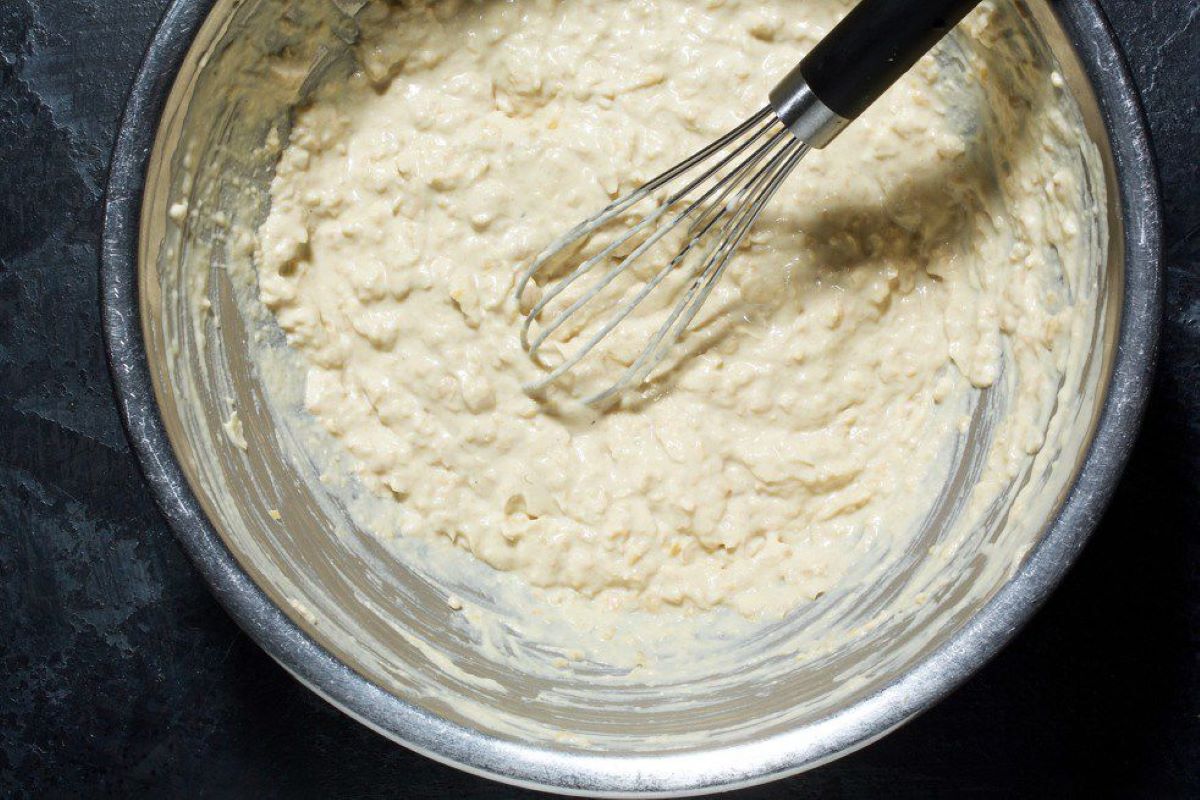
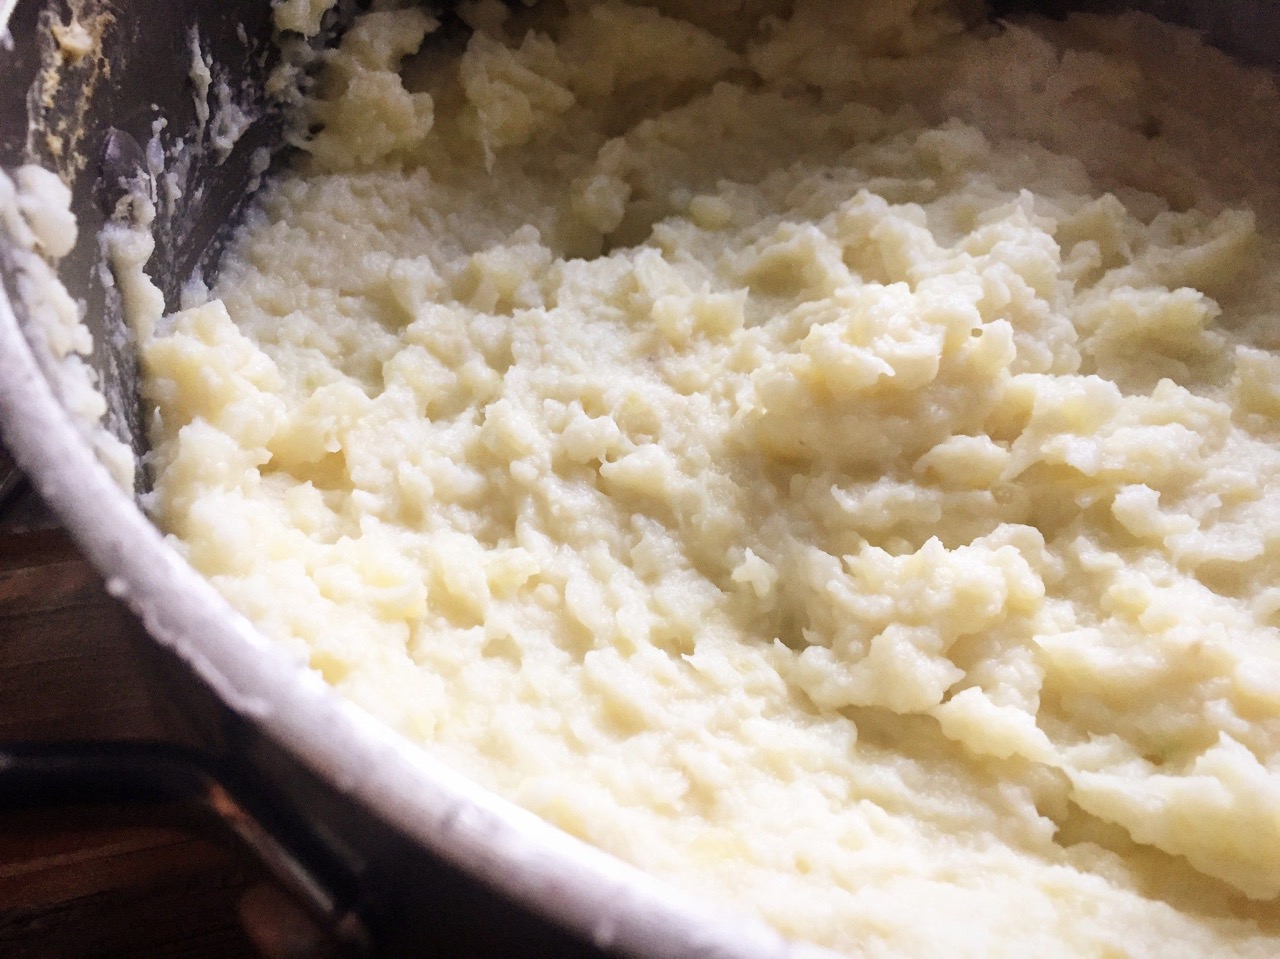
Step 6: Blending the ingredients
Now that all the ingredients are added to the food processor, it’s time to blend them together to create a smooth and delicious juice.
Start by turning on the food processor and gradually increase the speed as needed. The high speed will help break down the fruits and vegetables, extracting their juices and blending them into a homogeneous mixture.
During the blending process, you may need to occasionally stop and scrape down the sides of the food processor bowl. This will ensure that any chunks or pieces are fully incorporated into the juice.
Continue blending until you have achieved a desired consistency. The blending time will vary depending on the ingredients and your personal preference. Some may prefer a smooth juice, while others may prefer a slightly chunkier texture.
Remember to avoid over-blending, as this can generate heat and potentially degrade the nutritional value of the juice.
If your food processor has a “pulse” feature, you can also use that to gently blend the ingredients, especially if you prefer a more textured juice.
Once you are satisfied with the consistency, turn off the food processor and prepare to strain the juice if desired or proceed to the next step.
By blending the ingredients thoroughly, you’ll be able to extract the maximum flavors and nutrients from your fruits and vegetables, resulting in a refreshing and nutritious juice.
Step 7: Straining the juice (optional)
After blending the ingredients in the food processor, you have the option to strain the juice to remove any pulp or solids. This step is particularly helpful if you prefer a smoother and pulp-free juice.
To strain the juice, you will need a fine-mesh sieve or cheesecloth. Place the sieve or cheesecloth over a clean container or pitcher, ensuring that it is stable and secure.
Pour the blended juice into the sieve or cheesecloth, allowing it to slowly strain through. Gently press down with a spoon or spatula to help extract as much juice as possible.
As the juice passes through the sieve or cheesecloth, the pulp and solids will be left behind. You can discard this, or set it aside to use in other recipes, such as baking or adding to smoothies for extra fiber.
If you prefer a more textured juice, or if you enjoy the added benefits of consuming the pulp, you can skip this step entirely.
Alternatively, if you do not have a fine-mesh sieve or cheesecloth, you can use a nut milk bag or a clean kitchen towel to strain the juice. Simply pour the juice into the bag or towel and squeeze out the liquid, leaving behind the pulp.
Remember that straining the juice is optional, and it’s ultimately a matter of personal preference. Some people enjoy the added texture and fiber that the pulp provides, while others prefer a smoother consistency.
By straining the juice, you can achieve a clearer and more refined final product, perfect for those who prefer a pulp-free experience.
Step 8: Serving and enjoying the juice
Now that your juice is ready, it’s time to serve and enjoy the fruits of your labor! Follow these final steps to present your homemade juice in the best way possible.
Start by selecting your desired serving glasses or containers. Clear glassware can showcase the vibrant colors of the juice, adding to the visual appeal.
Gently stir the juice to ensure that the flavors are well-mixed, especially if there was any separation during the blending or straining process.
Pour the juice into the glasses, leaving a little room at the top to accommodate any additional garnishes or ice cubes, if desired.
If you’d like to enhance the presentation and taste of your juice, consider adding some garnishes. This can include a citrus wedge, a sprig of mint, or a slice of fruit on the rim of the glass.
For an extra refreshing experience, you can also add ice cubes or serve the juice chilled. This is particularly enjoyable during hot summer months or when you want a cool and revitalizing drink.
Take a moment to appreciate the vibrant colors and enticing aroma of the juice before taking your first sip. If desired, you can swirl the juice gently in the glass to release more of the aromatics.
Sip and savor the delicious flavors of your homemade juice. Pay attention to the balance of sweetness, acidity, and any other flavor notes that may be present.
If you have any leftovers, you can store the juice in airtight containers in the refrigerator for a day or two. Just give it a good shake before serving.
Remember, homemade juice is best enjoyed fresh, as the flavors and nutrients may slowly degrade over time.
Whether you enjoy your juice as a refreshing breakfast beverage, a mid-day pick-me-up, or a post-workout refresher, take the time to savor each sip and revel in the satisfaction of creating a healthy and delicious juice from scratch.
Cheers to your homemade juice masterpiece!
Read more: How To Make Salsa In Food Processor
Conclusion
Making juice in a food processor is a convenient and accessible way to enjoy refreshing and nutritious drinks right at home. While it may not be as efficient as a dedicated juicer, with a few simple steps, you can still extract flavorful juice filled with vitamins and minerals.
By carefully selecting fresh and ripe fruits or vegetables, preparing them appropriately, and cutting them into small pieces, you create the foundation for a well-blended juice. Setting up the food processor correctly and adding the ingredients in batches further ensures a smooth juicing process.
Blending the ingredients in the food processor creates a vibrant and flavorful juice. If desired, you can strain the juice to achieve a smoother consistency and remove any pulp or solids.
Finally, serving and enjoying your homemade juice is a moment of satisfaction. Take the time to garnish the drink, serve it chilled, and appreciate the beautiful colors and enticing aroma before sipping and savoring the flavors.
Remember to experiment with different combinations of fruits and vegetables to tailor the juice to your taste preferences and nutritional goals. Feel free to add additional ingredients like herbs or spices to enhance flavor profiles further.
Enjoy your homemade juice as part of a balanced and healthy diet, and let your creativity shine as you explore new juice recipes and combinations. With a food processor and a little bit of effort, you can elevate your juicing experience and enjoy the benefits of homemade, nutritious juice whenever you crave it.
So go ahead, unleash your inner juice enthusiast, and start creating your own delicious homemade juice using a food processor today!
Excited about making juice with your food processor? Why stop there? Dive into our comprehensive guide on other delightful treats and meals you can whip up using this versatile kitchen tool. From savory dips to sweet desserts, our collection of food processor recipes covers everything you need to keep your culinary experiments fresh and exciting. Ready to transform simple ingredients into mouth-watering dishes? Check out our must-read article and start impressing friends and family with your newfound cooking skills!
Frequently Asked Questions about How To Make Juice In A Food Processor
Was this page helpful?
At Storables.com, we guarantee accurate and reliable information. Our content, validated by Expert Board Contributors, is crafted following stringent Editorial Policies. We're committed to providing you with well-researched, expert-backed insights for all your informational needs.


0 thoughts on “How To Make Juice In A Food Processor”