Home>Articles>How To Make A Cake In An Electric Pressure Cooker
Articles
How To Make A Cake In An Electric Pressure Cooker
Modified: October 20, 2024
Learn how to make delicious cakes in an electric pressure cooker with these easy-to-follow articles. Discover techniques, tips, and recipes to create delectable treats in no time!
(Many of the links in this article redirect to a specific reviewed product. Your purchase of these products through affiliate links helps to generate commission for Storables.com, at no extra cost. Learn more)
Introduction
Have you ever wanted to bake a cake but didn’t have a traditional oven? Well, fear not! With the help of an electric pressure cooker, you can still enjoy a delicious homemade cake anytime. Baking a cake in an electric pressure cooker might sound unconventional, but it’s a convenient and efficient alternative that yields great results.
Using an electric pressure cooker to make a cake has its advantages. It saves time and energy compared to using a conventional oven. Plus, it’s an excellent option for those who live in small apartments or don’t have access to a regular oven. So, if you’re ready to embark on an adventurous baking journey, let’s dive into the world of cake making with an electric pressure cooker.
Before we get started, you’ll need to gather a few materials and ingredients to ensure a successful cake baking experience. Let’s go over what you’ll need:
Key Takeaways:
- Enjoy convenient and efficient cake baking with an electric pressure cooker, saving time and energy while yielding fantastic results. Embrace the adventure of creating delicious homemade cakes without a traditional oven.
- From preparing the batter to frosting and decorating, baking a cake in an electric pressure cooker offers a fun and unique alternative to traditional oven baking. Unleash your creativity and impress with scrumptious homemade desserts.
Materials and Ingredients
Before you begin, make sure you have the following materials and ingredients on hand:
Materials:
- An electric pressure cooker
- A trivet or steam rack
- A heat-proof bowl or cake pan that fits inside your pressure cooker
- A mixing bowl
- A whisk or electric mixer
- A spatula
- Parchment paper
Ingredients for a basic cake:
- 2 cups all-purpose flour
- 1 ½ cups granulated sugar
- 1 teaspoon baking powder
- ½ teaspoon baking soda
- ½ teaspoon salt
- ¾ cup unsalted butter, softened
- 3 large eggs
- 1 cup buttermilk
- 2 teaspoons vanilla extract
Feel free to customize the flavors of your cake by adding additional ingredients like cocoa powder, lemon zest, or finely chopped nuts. You can also include frosting and decoration ingredients of your choice.
Now that you have everything you need, let’s dive into the step-by-step process of making a cake in an electric pressure cooker.
Step 1: Prepare the Cake Batter
The first step in making a cake in an electric pressure cooker is to prepare the cake batter. Follow these instructions:
- In a mixing bowl, combine the all-purpose flour, granulated sugar, baking powder, baking soda, and salt. Whisk the dry ingredients together until they are well combined.
- Add the softened butter to the dry ingredients. Using a whisk or an electric mixer, beat the mixture on medium speed until it resembles coarse crumbs.
- In a separate bowl, whisk the eggs lightly. Then, add the buttermilk and vanilla extract to the eggs and whisk until well combined.
- Pour the wet mixture into the dry ingredients. Using a spatula, gently fold the wet and dry ingredients together until the batter is smooth and well incorporated. Be careful not to overmix the batter as it can affect the texture of the cake.
- If desired, you can add any additional ingredients like cocoa powder or lemon zest at this stage and gently fold them into the batter.
Once your cake batter is prepared, you’re ready to move on to the next step of greasing the pressure cooker to ensure the cake doesn’t stick while cooking.
Step 2: Grease the Pressure Cooker
To prevent the cake from sticking to the pressure cooker, it’s essential to grease the inner surface. Follow these steps to properly grease your pressure cooker:
- Take a small amount of butter or cooking spray and evenly coat the inner surface of the pressure cooker. Make sure to cover the bottom and sides completely.
- If you’re using a heat-proof bowl or cake pan to hold the batter, grease that as well. Apply a thin layer of butter or cooking spray to the inside of the bowl or pan.
- For added insurance, you can also line the bottom of the pressure cooker or bowl with a parchment paper circle. This step is optional but can make it easier to remove the cake later.
Once you’ve greased the pressure cooker, you’re now ready to pour the cake batter into it and begin the cooking process.
Remember, greasing the pressure cooker is an essential step to ensure that your cake doesn’t stick and can be easily removed once it’s cooked. Now, let’s move on to the next step of pouring the batter into the cooker.
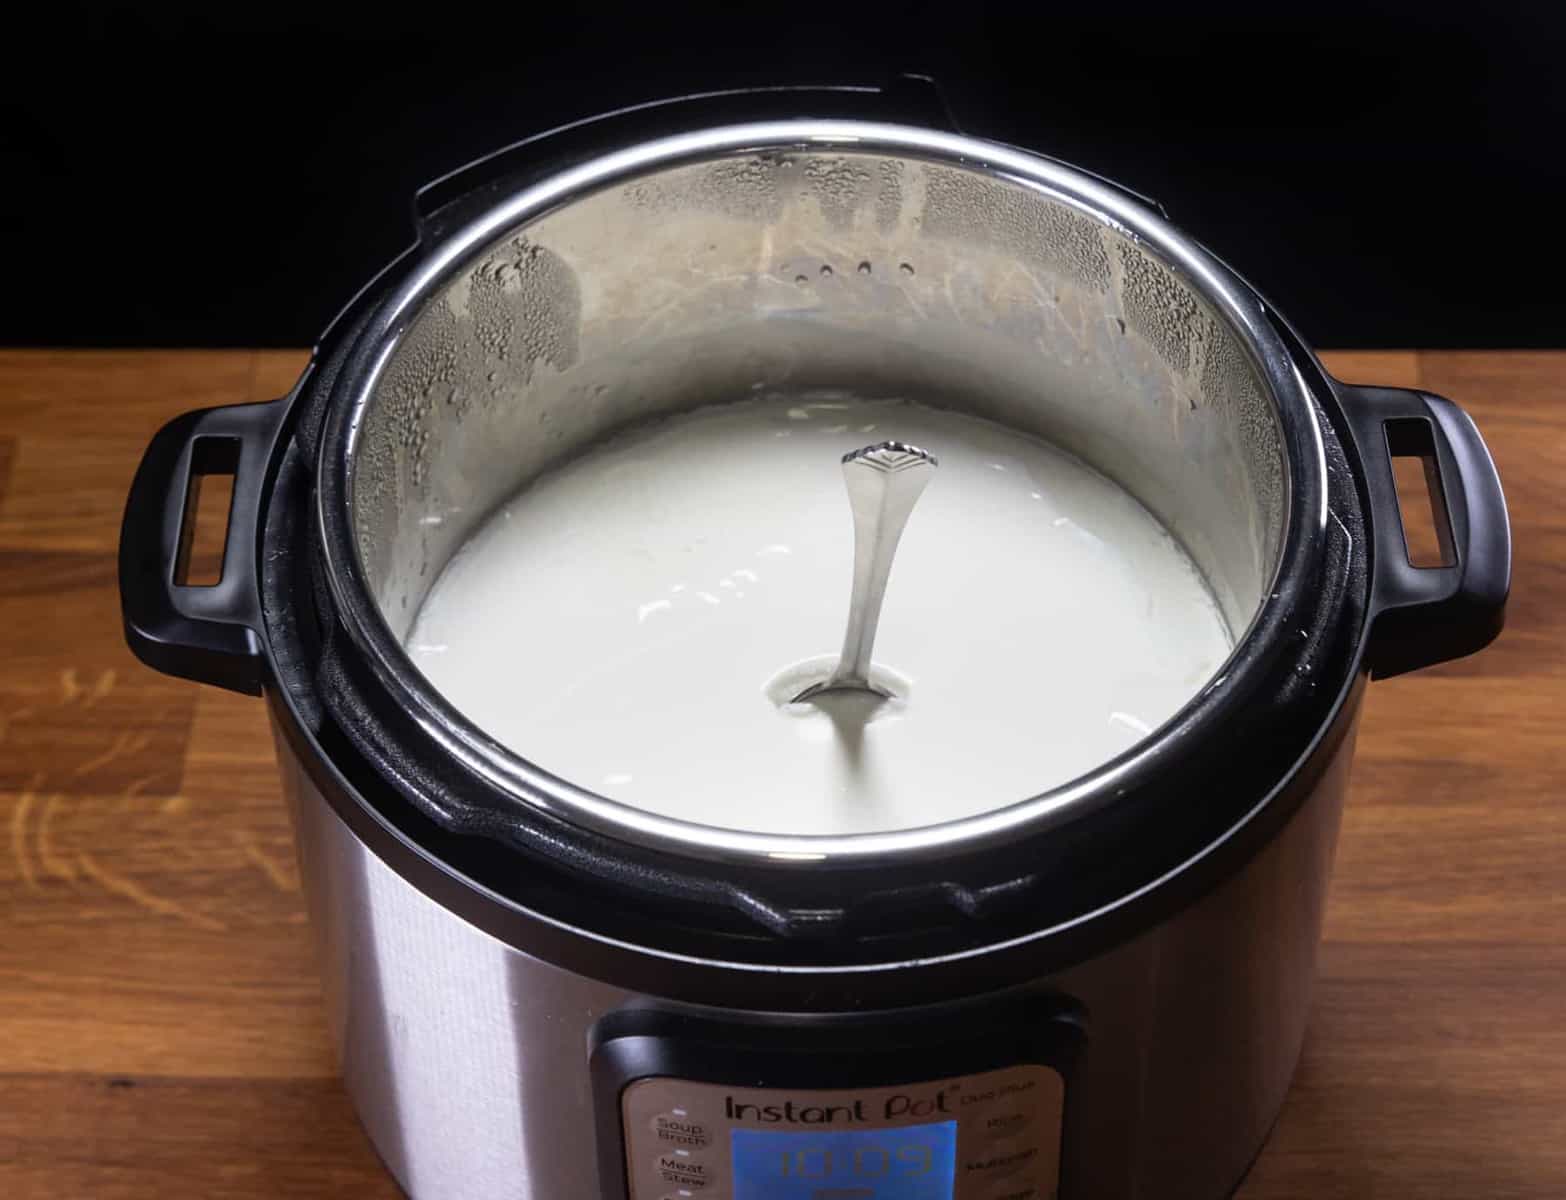
Step 3: Pour the Batter into the Cooker
With your greased pressure cooker ready, it’s time to pour the prepared cake batter into it. Follow these steps to ensure a smooth and even distribution of the batter:
- If you’re using a separate bowl or cake pan, transfer the batter from the mixing bowl into the greased container. Make sure not to overfill the container, leaving at least 1-2 inches of space at the top for the cake to rise.
- If you’re using the pressure cooker directly as a cake pan, pour the batter directly into the greased inner pot of the pressure cooker. Again, ensure that the batter fills only 2/3 of the pot to allow room for expansion.
- Smooth out the surface of the batter using a spatula or the back of a spoon to create an even layer.
Keep in mind that the shape of the container or pressure cooker may affect the cooking time and overall appearance of the cake. A round bowl or pan will yield a round cake, while a rectangular or square container will produce a different shape. Choose the container shape based on your preference and the available size of the pressure cooker.
Now that the batter is safely in the pressure cooker, it’s time to move on to the next step—cooking the cake.
When making a cake in an electric pressure cooker, be sure to use a heatproof dish or pan that fits comfortably inside the cooker. This will ensure even cooking and a perfectly baked cake.
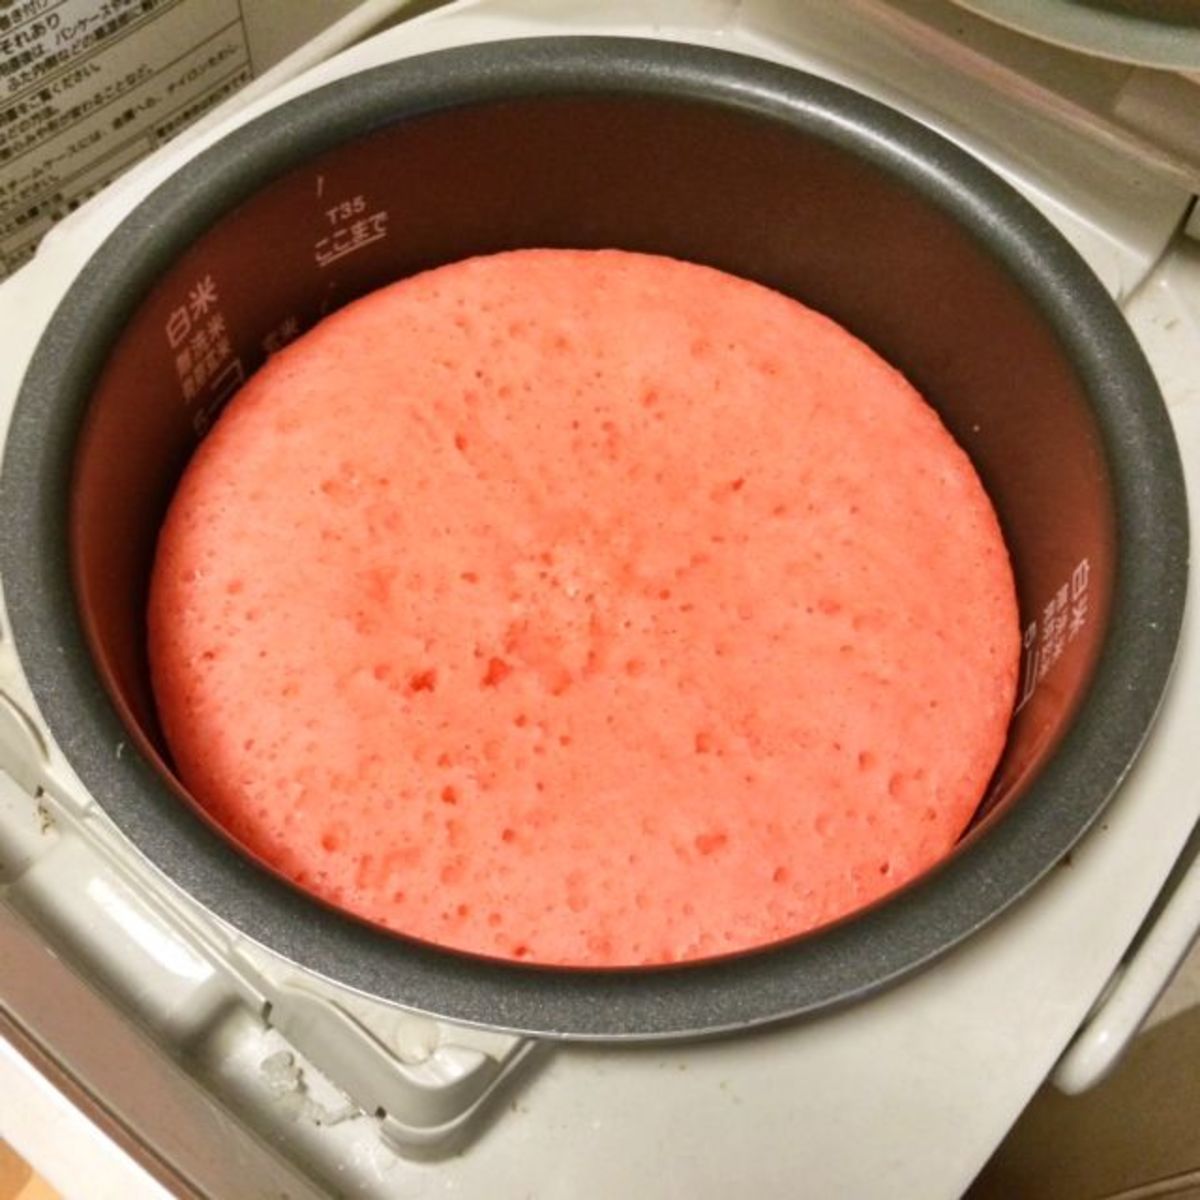
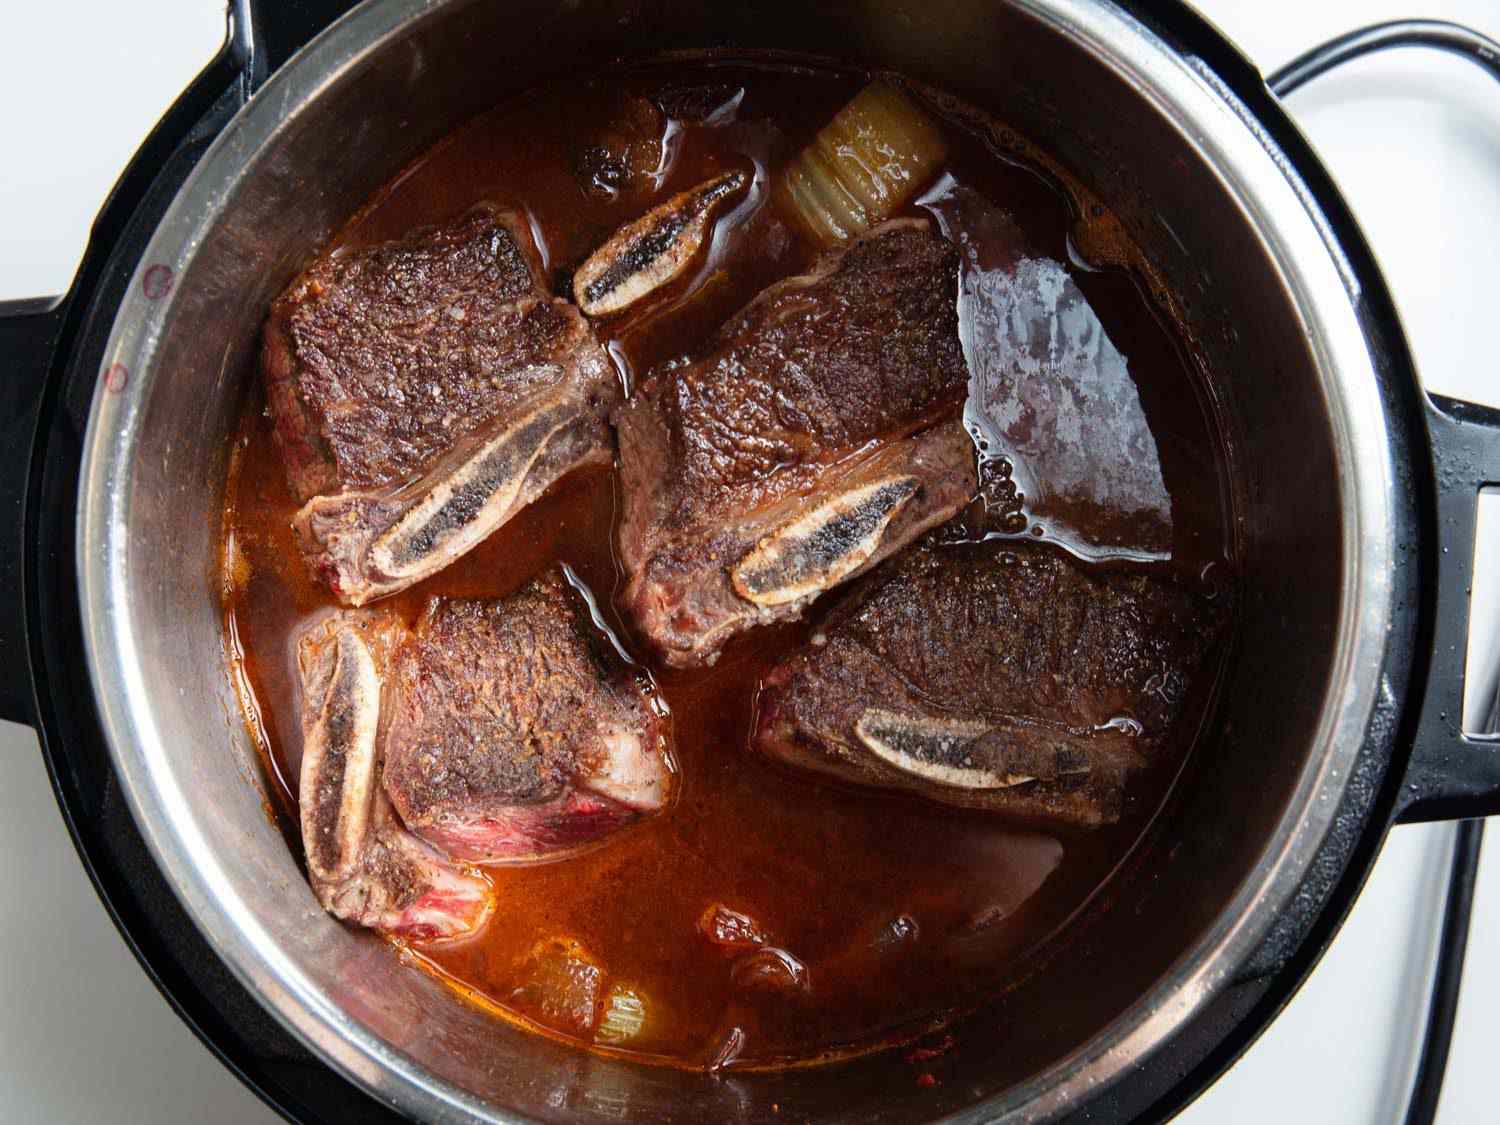
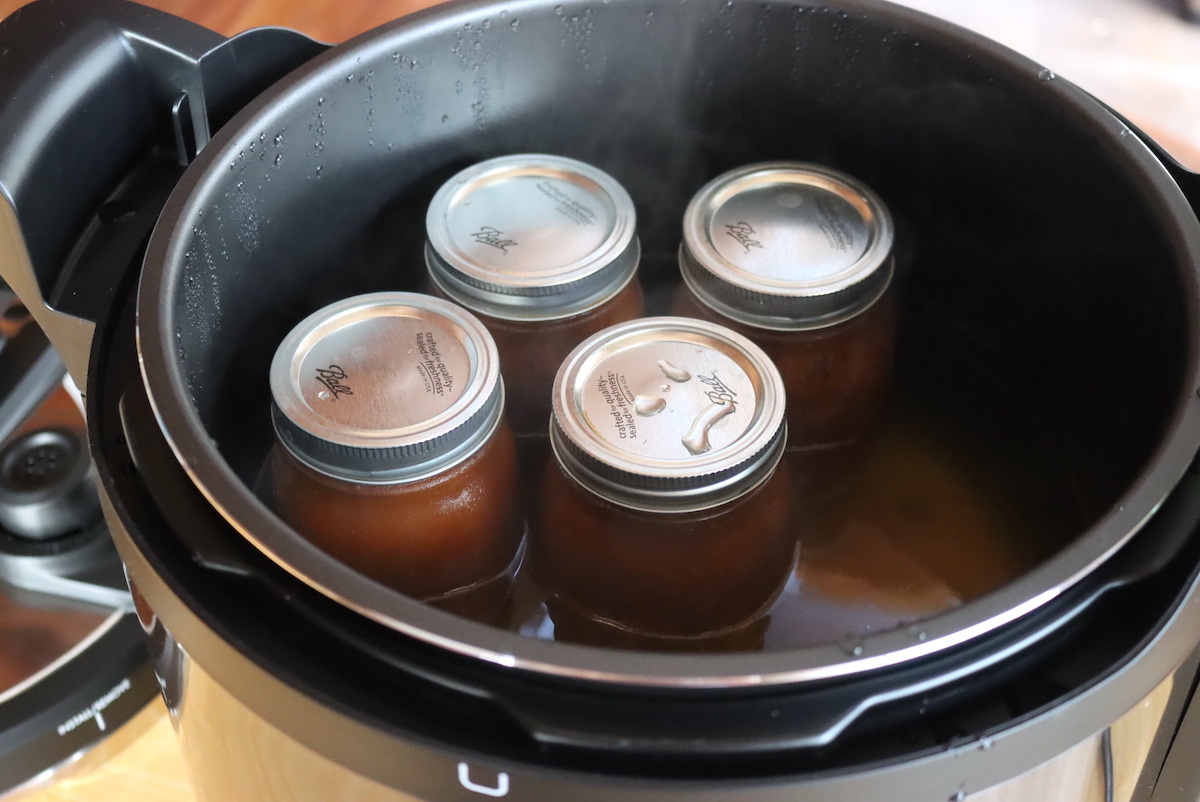
Step 4: Cook the Cake
Now that the cake batter is in the pressure cooker, it’s time to start the cooking process. Follow these steps to cook your cake to perfection:
- Place the trivet or steam rack inside the pressure cooker’s inner pot. This helps to elevate the cake pan or bowl slightly above the bottom of the cooker and allows for proper heat circulation.
- With the trivet in place, carefully lower the cake pan or bowl onto it. Make sure it is stable and centered.
- Close the lid of the pressure cooker and ensure it is properly sealed.
- Set the pressure cooker to the “Cake” mode or follow the manufacturer’s instructions for cooking a cake.
- Adjust the cooking time according to the recipe or the size of the cake. Generally, cooking times for cakes in pressure cookers range from 15 to 40 minutes.
- Once the cooking time is complete, allow the pressure to release naturally for a few minutes.
- After the pressure has released, carefully open the lid of the pressure cooker.
During the cooking process, the pressure cooker will create steam which cooks the cake. This steam helps to create moist and tender cake layers. However, keep in mind that cooking times may vary depending on the pressure cooker model and your recipe. You may need to adjust the cooking time accordingly to achieve the desired texture and doneness of the cake.
Now that your cake is cooked and ready, it’s time to move on to the next step—releasing the pressure and cooling the cake.
Step 5: Release the Pressure and Cool the Cake
Once the cake is cooked, it’s important to release the pressure before opening the pressure cooker. Follow these steps to safely release the pressure and allow the cake to cool:
- Turn off the heat and unplug the pressure cooker.
- Allow the pressure to release naturally for about 10-15 minutes. This will ensure that the pressure inside the cooker has fully dissipated.
- If there is still pressure inside the cooker after the natural release time, you can use the quick release method. Carefully move the pressure valve to the “Venting” position to release the remaining pressure. Be cautious of the hot steam that will escape.
- Once the pressure has been fully released, carefully open the lid of the pressure cooker.
- Using oven mitts or kitchen towels, remove the cake pan or bowl from the cooker and place it on a wire rack to cool.
- Allow the cake to cool completely in the pan or bowl before attempting to remove it. This will prevent it from breaking apart or sticking to the pan.
Cooling the cake fully is crucial, as it allows the structure of the cake to set and firm up. Once the cake has cooled down, you’re ready for the final steps—removing the cake from the cooker and decorating it.
Now that your cake is cool, let’s move on to the next step—removing the cake from the cooker.
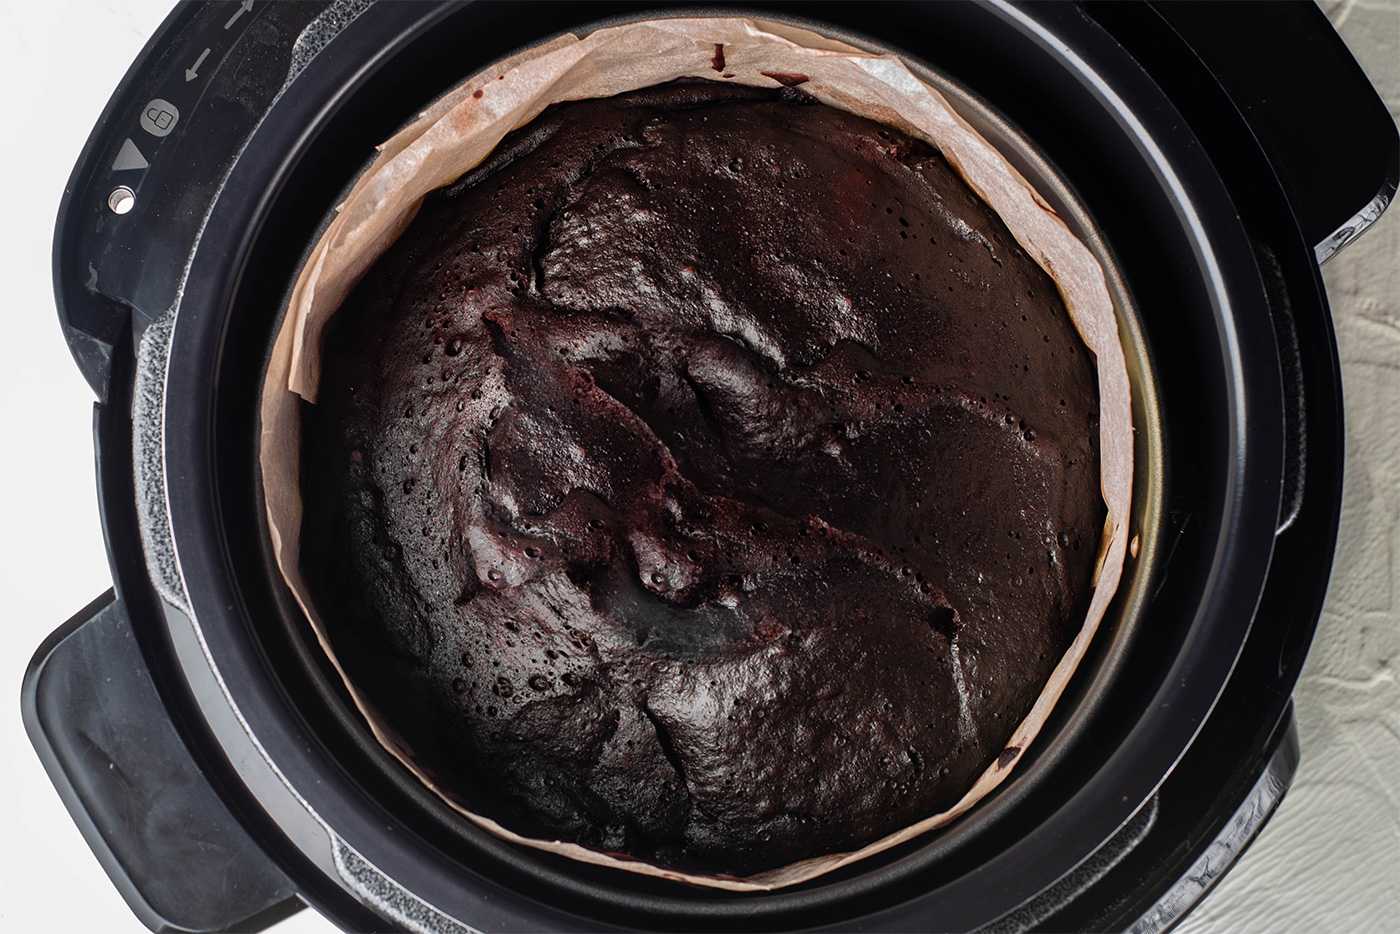
Step 6: Remove the Cake from the Cooker
Removing the cake from the pressure cooker requires a gentle touch to ensure it comes out intact. Follow these steps to successfully remove the cake from the cooker:
- Using a butter knife or spatula, carefully loosen the edges of the cake from the sides of the pan or bowl. This will help prevent any sticking when you attempt to remove the cake.
- Place a flat plate or serving dish upside down on top of the cake pan or bowl.
- Hold the plate and the pan or bowl together firmly and quickly invert them, so the plate is now on the bottom, and the cake is resting on it.
- Gently lift the pan or bowl off the cake, allowing it to release and settle onto the plate. If you used parchment paper, carefully peel it off the bottom of the cake.
With a bit of patience and finesse, your cake should come out of the pressure cooker in one piece. If it doesn’t, don’t worry. You can always patch up any imperfections with frosting or decoration.
Now that your cake is out of the pressure cooker, it’s time for the final step—frosting and decorating it to your heart’s desire.
Step 7: Frost and Decorate the Cake
Now that your cake is beautifully baked and removed from the pressure cooker, it’s time to add the finishing touches by frosting and decorating it. Follow these steps to make your cake look as delectable as it tastes:
- Using a spatula or butter knife, apply a thin layer of your favorite frosting to the top and sides of the cake. Start with a crumb coat, which helps to seal in any loose crumbs.
- Allow the crumb coat to set for a few minutes, then apply a second, thicker layer of frosting, ensuring an even and smooth finish. You can use a variety of frostings, such as buttercream, cream cheese, or ganache, depending on your preference.
- If desired, get creative with your cake decorations. You can use piping bags and various tips to create intricate designs, or simply sprinkle colorful edible decorations like sprinkles, chocolate shavings, or fresh fruit on top.
- Consider adding a personalized touch by writing a special message or adding a themed cake topper.
Don’t be afraid to let your creativity shine when it comes to frosting and decorating your cake. This is your opportunity to make it uniquely yours and impress your friends, family, or guests.
Once your cake is frosted and beautifully decorated, it’s ready to be served and enjoyed. Slice it up and savor every bite of your homemade creation.
By following these steps, you can successfully make a cake in an electric pressure cooker. It’s a fun and convenient alternative to traditional oven baking, and it allows you to enjoy delicious homemade cakes even without a regular oven. So, grab your ingredients, fire up your pressure cooker, and get ready to create a scrumptious masterpiece!
Happy baking!
Conclusion
Baking a cake in an electric pressure cooker is a unique and convenient way to enjoy homemade desserts, especially if you don’t have access to a traditional oven. While it may seem unconventional, using a pressure cooker yields fantastic results and saves both time and energy in the baking process.
By following the step-by-step guide outlined in this article, you can confidently create a delicious cake using your electric pressure cooker. From preparing the cake batter to greasing the pressure cooker, cooking the cake, and finally frosting and decorating it, each step is crucial in ensuring a successful outcome.
Throughout the process, remember to exercise caution and follow safety guidelines specific to your pressure cooker model. Be mindful of the cooking times and adjust as needed to achieve the desired texture and doneness of your cake. And don’t forget to let your creativity shine when it comes to frosting and decorating—make it your own!
With an electric pressure cooker at your disposal, baking a cake has never been easier. Not only does it offer convenience and efficiency, but it also opens up a world of possibilities for delicious homemade desserts.
So, why wait? Gather your materials and ingredients, prepare your cake batter, and dive into the delicious adventure of making a cake in an electric pressure cooker. Your taste buds will thank you, and your friends and family will be impressed by your baking skills.
Happy baking!
Frequently Asked Questions about How To Make A Cake In An Electric Pressure Cooker
Was this page helpful?
At Storables.com, we guarantee accurate and reliable information. Our content, validated by Expert Board Contributors, is crafted following stringent Editorial Policies. We're committed to providing you with well-researched, expert-backed insights for all your informational needs.


0 thoughts on “How To Make A Cake In An Electric Pressure Cooker”