Articles
How To Make Date Paste In Blender
Modified: February 26, 2024
Learn how to make date paste in a blender with this easy-to-follow step-by-step guide. Create delicious recipes with this versatile and healthy sweetener.
(Many of the links in this article redirect to a specific reviewed product. Your purchase of these products through affiliate links helps to generate commission for Storables.com, at no extra cost. Learn more)
Introduction
When it comes to natural sweeteners, dates have earned a reputation as a nutritious and delicious option. Not only are they packed with essential vitamins and minerals, but their natural sweetness makes them a perfect substitute for refined sugar in various recipes. One of the most versatile ways to use dates is by creating a smooth and creamy date paste.
What exactly is date paste? It is a sweet and sticky puree made by blending dates with a small amount of liquid. This paste can be used in a variety of ways, from sweetening baked goods to adding a touch of sweetness to sauces and dressings. The best part is that making date paste is incredibly easy, especially when using a blender.
In this article, we will guide you through the process of making date paste in a blender. We will discuss the equipment needed, the ingredients required, and the step-by-step instructions to achieve the perfect consistency. So, let’s dive in and discover how to make this delightful and healthy sweetener in the comfort of your own kitchen!
Key Takeaways:
- Making date paste in a blender is a quick, efficient, and customizable process that provides a natural and unrefined alternative to processed sugars. It offers a versatile sweetener for both sweet and savory recipes.
- Date paste, made in a blender, retains the nutrients of dates, has a lower glycemic index, and adds a delightful caramel-like flavor to dishes. It’s a healthier and cost-effective option for sweetening baked goods, beverages, and more.
Read more: How To Make Garlic Paste Without Blender
What is Date Paste?
Date paste is a natural sweetener made by blending dates with a small amount of liquid to create a smooth and thick puree-like consistency. Dates, which are the fruit of the date palm tree, are naturally sweet and sticky, making them an excellent choice for creating a natural alternative to processed sugars.
Using date paste as a sweetener provides not only a rich and decadent flavor but also a range of nutritional benefits. Dates are high in fiber, which aids in digestion and helps regulate blood sugar levels. They are also a good source of essential minerals such as potassium, magnesium, and iron. Additionally, dates contain antioxidants that help protect the body against oxidative stress.
Date paste can be used in a variety of culinary applications. It acts as a versatile sweetener in both sweet and savory dishes. It adds moisture and sweetness to baked goods like cakes, cookies, and muffins. It can be used as a filling for energy bars or used to sweeten smoothies, sauces, and dressings. The possibilities are endless!
What sets date paste apart from other sweeteners is its natural and unrefined quality. Unlike processed sugars and artificial sweeteners, date paste retains the beneficial nutrients present in dates. It is also free from added chemicals and preservatives, making it a healthier option for those looking to reduce their intake of refined sugars.
Moreover, date paste has a low glycemic index, which means it causes a slower and more gradual rise in blood sugar levels compared to refined sugars. This makes it a suitable choice for individuals with diabetes or those striving to maintain stable blood sugar levels.
Whether you follow a specific diet, such as vegan or paleo, or simply desire a healthier alternative to traditional sweeteners, date paste is a fantastic option to incorporate into your cooking and baking repertoire. Plus, making date paste at home using a blender is incredibly easy and cost-effective, allowing you to enjoy all its benefits with just a few simple steps.
Why Make Date Paste in Blender?
Making date paste in a blender offers several advantages over other methods. Here are a few reasons why using a blender is the preferred choice:
1. Saves Time and Effort: Using a blender allows for quick and efficient processing of the dates into a smooth and creamy paste. It eliminates the need for tedious manual mashing or chopping, saving you valuable time and effort in the kitchen.
2. Consistent Texture: Blenders are designed to provide consistent results. They ensure that the dates are blended evenly and thoroughly, resulting in a smooth and silky texture for the date paste. This uniform consistency is essential for achieving the desired sweetness and spreadability.
3. Efficient Use of Ingredients: Blenders are excellent at extracting the maximum amount of flavor and sweetness from the dates. The powerful blades help break down the dates’ fibers, releasing their natural sugars and creating a concentrated and flavorful paste. This means you can achieve a sweeter result using a smaller quantity of dates compared to other methods.
4. Versatile and Multi-Functional: Blenders are incredibly versatile kitchen appliances. Aside from making date paste, they can be used for various other culinary tasks, such as making smoothies, sauces, and soups. Investing in a quality blender ensures that you have a versatile tool that can serve multiple purposes in your kitchen.
5. Easy to Clean: Most blenders have removable blades and dishwasher-safe parts, making them convenient to clean. After blending the dates, you can easily disassemble the blender and clean the parts thoroughly. This saves you time in the cleanup process and ensures hygienic food preparation.
6. Control over Consistency: When making date paste in a blender, you have control over the consistency. If you prefer a smoother and more spreadable paste, blend the dates for a longer duration. For a chunkier texture, blend the dates for a shorter period. This control allows you to customize the paste to suit your personal preference and the intended use.
7. Cost-Effective: Making date paste at home using a blender is more cost-effective compared to buying pre-made date paste from the store. Dates are relatively affordable, and by blending them into paste yourself, you have control over the quality and quantity of the ingredients.
Overall, making date paste in a blender is a convenient, efficient, and customizable method. It allows you to enjoy the benefits of homemade date paste without spending excessive time or effort in the kitchen. So, dust off your blender and get ready to whip up a batch of delicious and nutritious date paste!
Equipment Needed
To make date paste in a blender, you’ll need the following equipment:
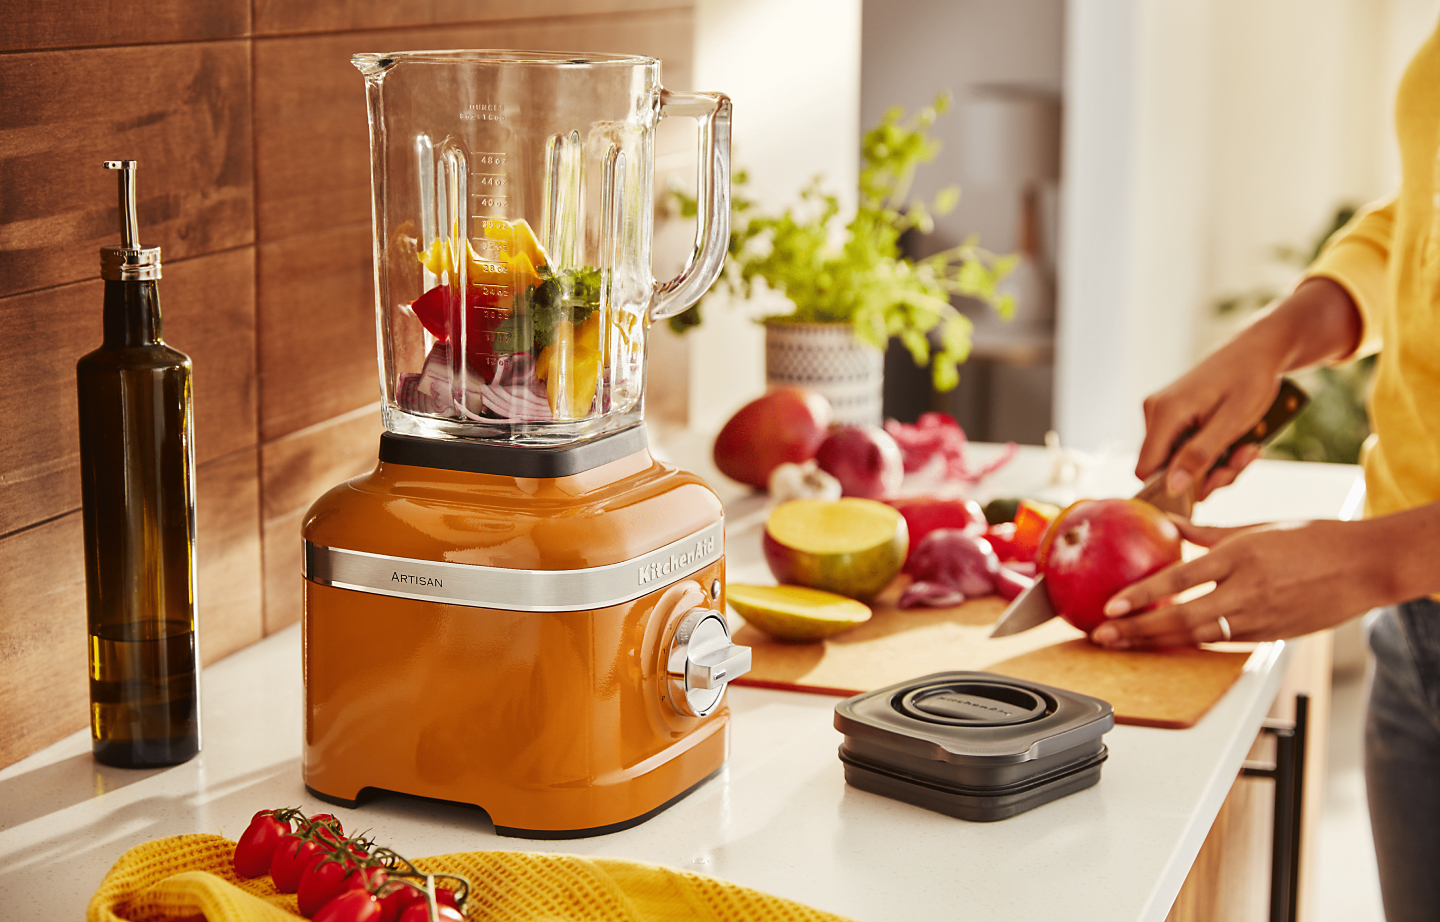
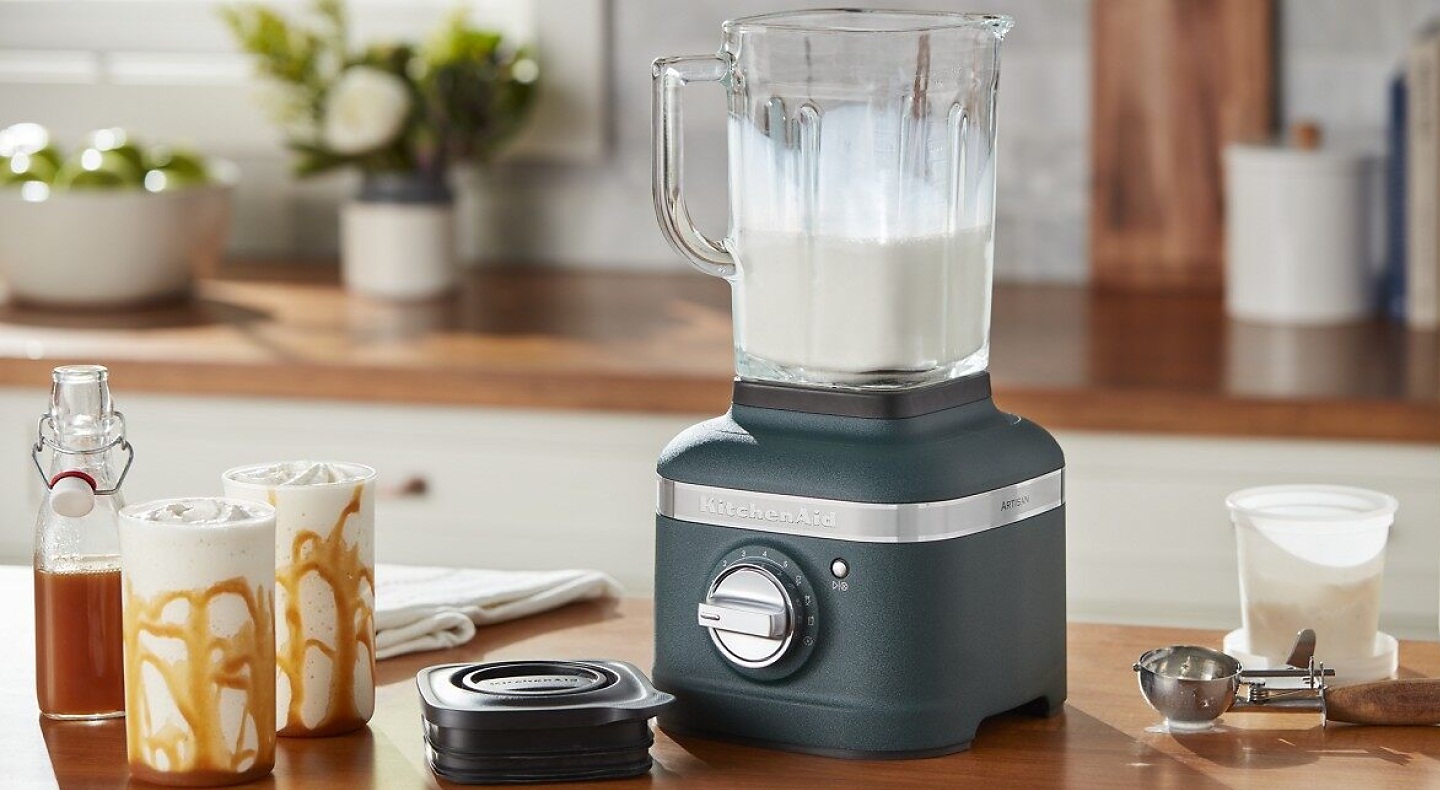
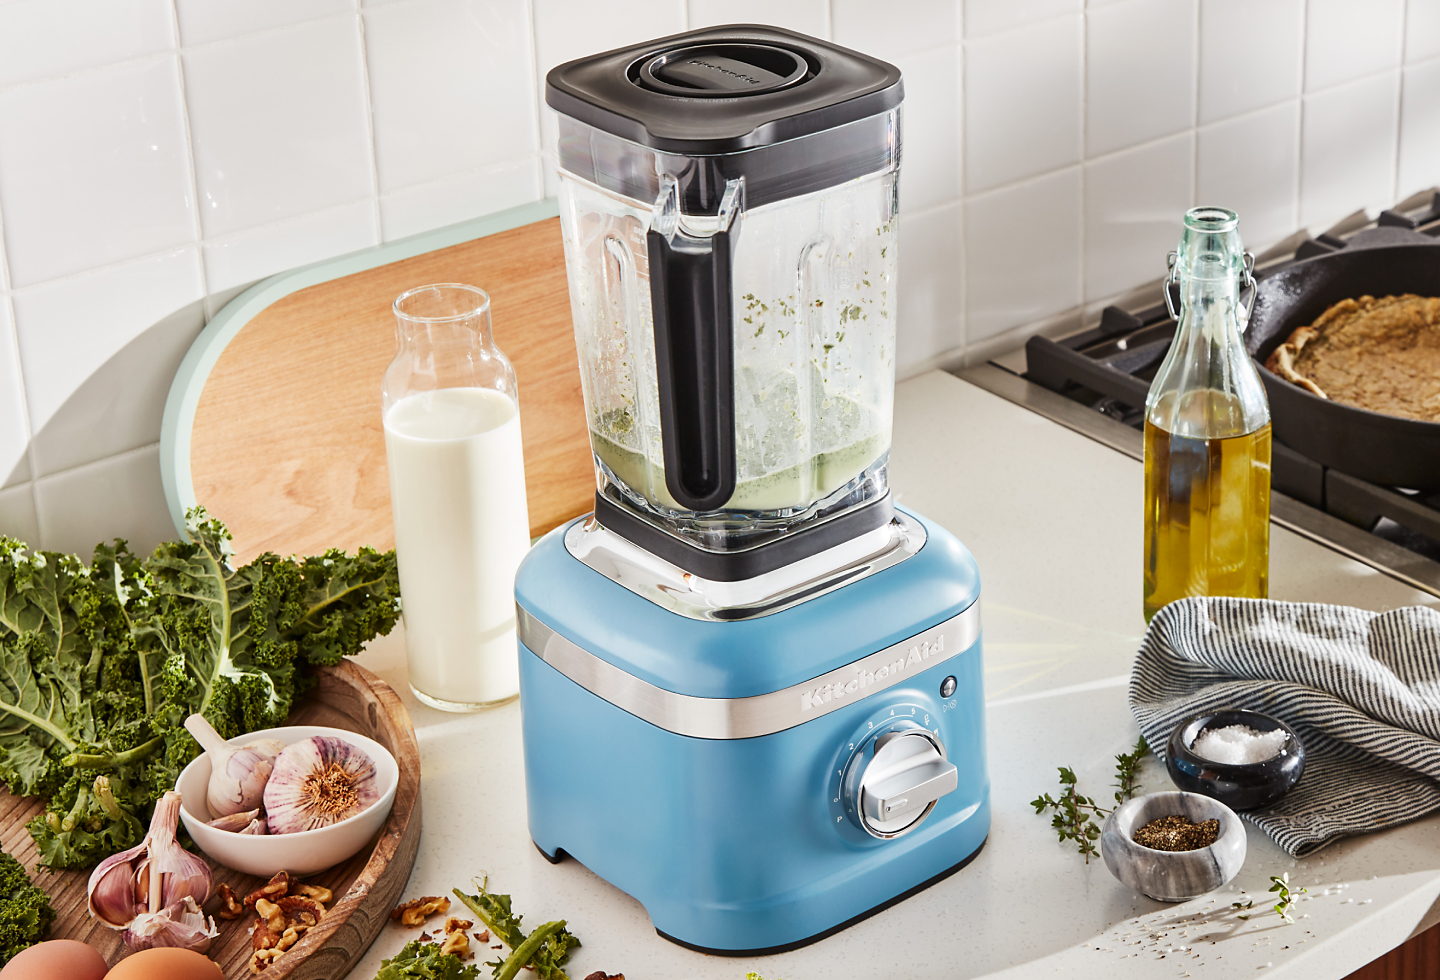
1. Blender: Choose a high-quality blender with a powerful motor capable of blending the dates into a smooth and creamy paste. A countertop blender or a high-speed blender like a Vitamix or Blendtec works best for this purpose.
2. Measuring Cups and Spoons: You’ll need measuring cups and spoons to accurately measure the dates and any other ingredients you may want to add to the paste.
3. Bowl: A medium-sized bowl will come in handy to soak the dates before blending them. It should be large enough to hold the dates and allow room for them to absorb water.
4. Spatula: A spatula will help you scrape down the sides of the blender jar, ensuring all the dates are fully blended and no paste is left behind.
5. Airtight Container: After making the date paste, you’ll need a suitable container to store it. Choose an airtight container that can hold the entire batch of paste and keep it fresh for an extended period.
6. Refrigerator or Freezer: Date paste can be stored in the refrigerator or freezer depending on how long you plan to keep it. The refrigerator will keep it fresh for about 2-3 weeks, while the freezer can extend its shelf life to several months.
Ensuring you have the necessary equipment will make the process of making date paste in a blender smooth and straightforward. It’s always a good idea to gather all the equipment and ingredients before you start to save time and avoid any last-minute scrambling.
Ingredients
To make date paste in a blender, you’ll only need two simple ingredients:
1. Pitted Dates: Choose high-quality, soft, and moist pitted dates for the best results. Medjool dates are a popular choice due to their natural sweetness and creamy texture. You can use other varieties like Deglet Noor or Barhi dates as well. Aim for around 2 cups (about 400 grams) of pitted dates, but you can adjust the quantity based on your preference and the batch size you wish to make.
2. Water: Water is used to help soften and blend the dates into a smooth paste. You’ll need approximately 1/4 to 1/2 cup (60 to 120 milliliters) of water. The amount can be adjusted depending on the desired consistency and the moisture content of the dates.
Optional Additions:
– Vanilla Extract: For added flavor, you can add a teaspoon of vanilla extract to the date paste.
– Cinnamon or Spices: To enhance the taste of the date paste, you can sprinkle in a pinch of cinnamon, nutmeg, or other spices of your choice.
– Lemon Juice: If you want to add a hint of acidity and freshness to the paste, a squeeze of lemon juice can be a great addition.
Remember, the beauty of making date paste in a blender is its simplicity. You can experiment with variations and add-ins to customize the flavor and aroma according to your liking. However, the dates and water are the essential ingredients needed to create a basic, delicious date paste.
When making date paste in a blender, be sure to soak the dates in hot water for 10-15 minutes before blending. This will soften them and make it easier to achieve a smooth, creamy texture.
Read more: How To Make Garlic Paste In Food Processor
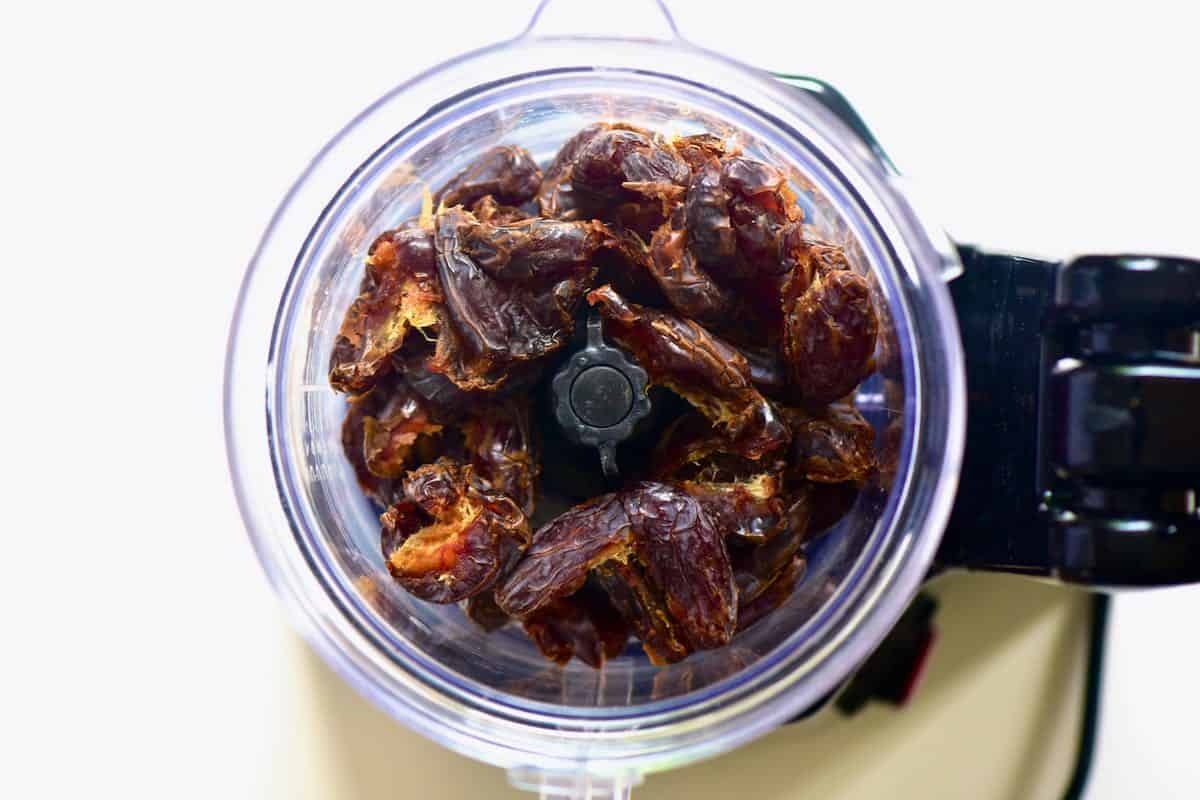
Step 1: Preparing the Dates
Before you begin blending the dates, it’s important to properly prepare them. Follow these steps to ensure they are ready for the blending process:
1. Inspect and Remove Pits: Check each date carefully to ensure that all pits or seeds are removed. While most store-bought dates are pitted, it’s still necessary to double-check and remove any remaining pits to avoid damaging your blender or ending up with an unpleasant surprise in your date paste.
2. Soak the Dates (Optional): Soaking the dates in warm water is an optional step that can help soften them and make them easier to blend. If your dates are already soft and moist, you can skip this step. However, if they are slightly dry or hard, soaking them for about 15-20 minutes will help rehydrate them. Place the dates in a bowl and cover them with warm water. Allow them to soak until they become plump and softened.
3. Drain the Dates: After soaking the dates, drain them well. Use a colander or sieve to remove any excess water. Make sure the dates are well-drained to prevent the date paste from becoming too runny or diluting the flavor.
4. Pat Dry (If Needed): If the dates are still slightly wet after draining, gently pat them dry with a clean kitchen towel or paper towel. Excess moisture can affect the consistency of the date paste, so ensuring the dates are dry before blending is important.
By properly preparing the dates, you set the foundation for creating a smooth and creamy date paste. This step ensures that the dates are pit-free, softened (if necessary), and ready to be transformed into a delicious paste in the blender.
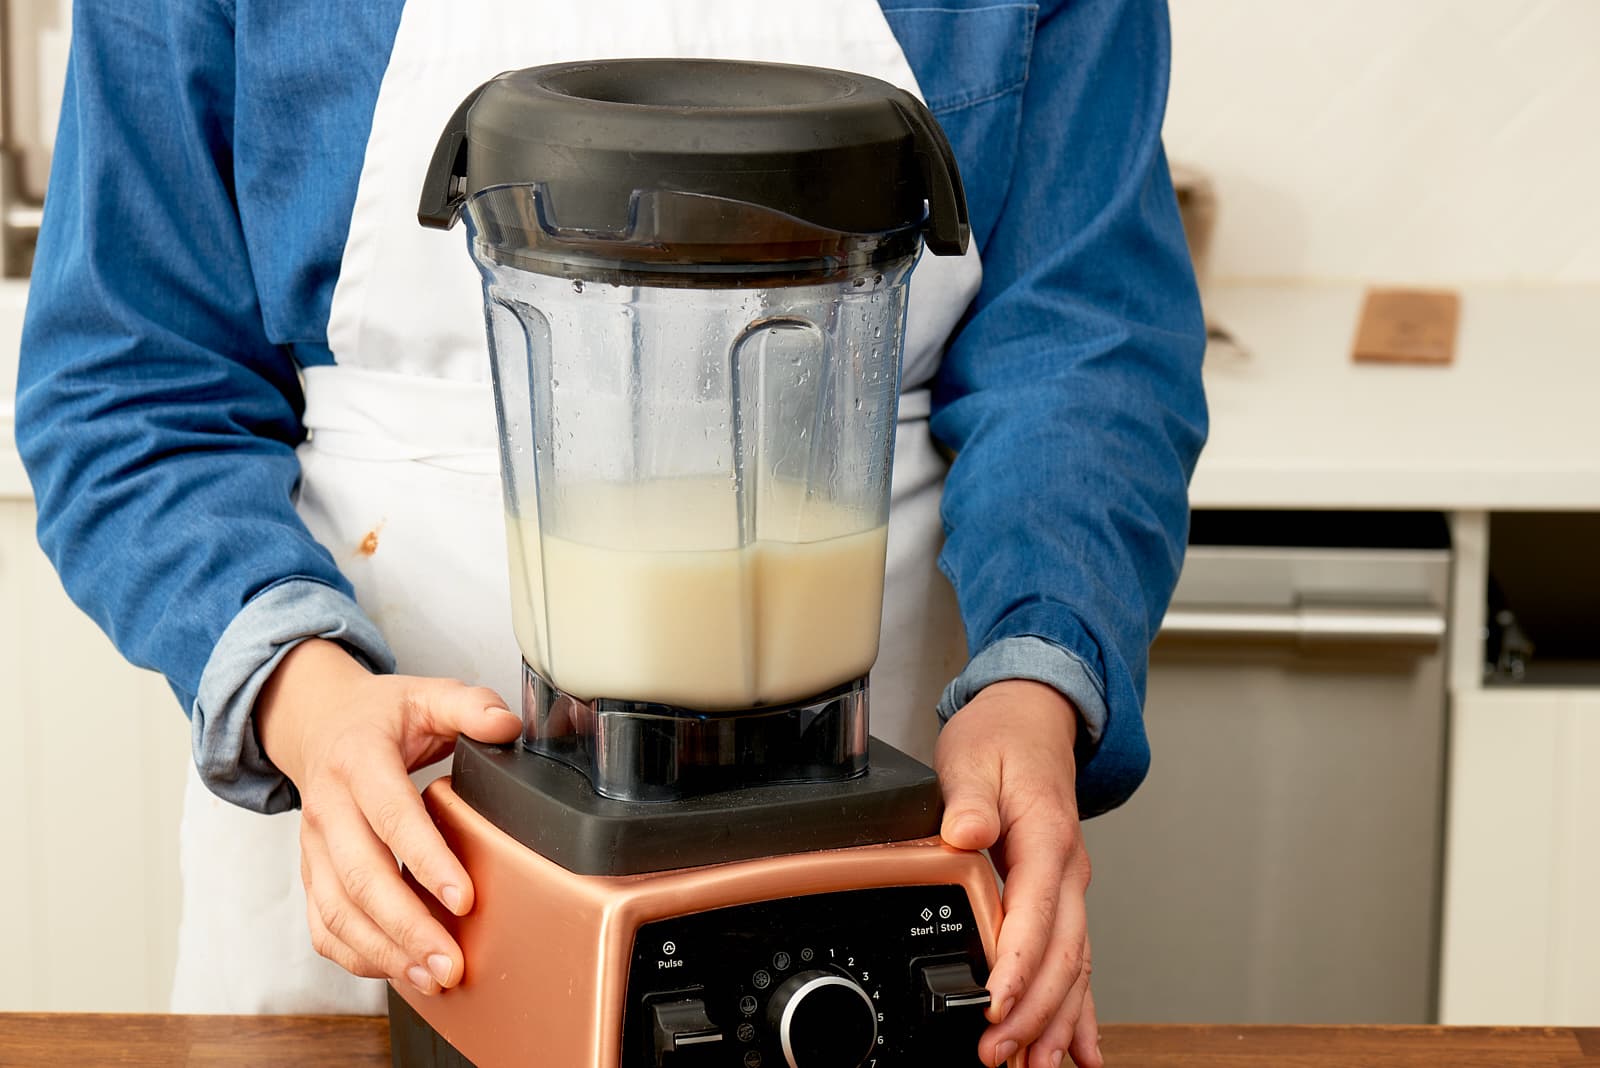
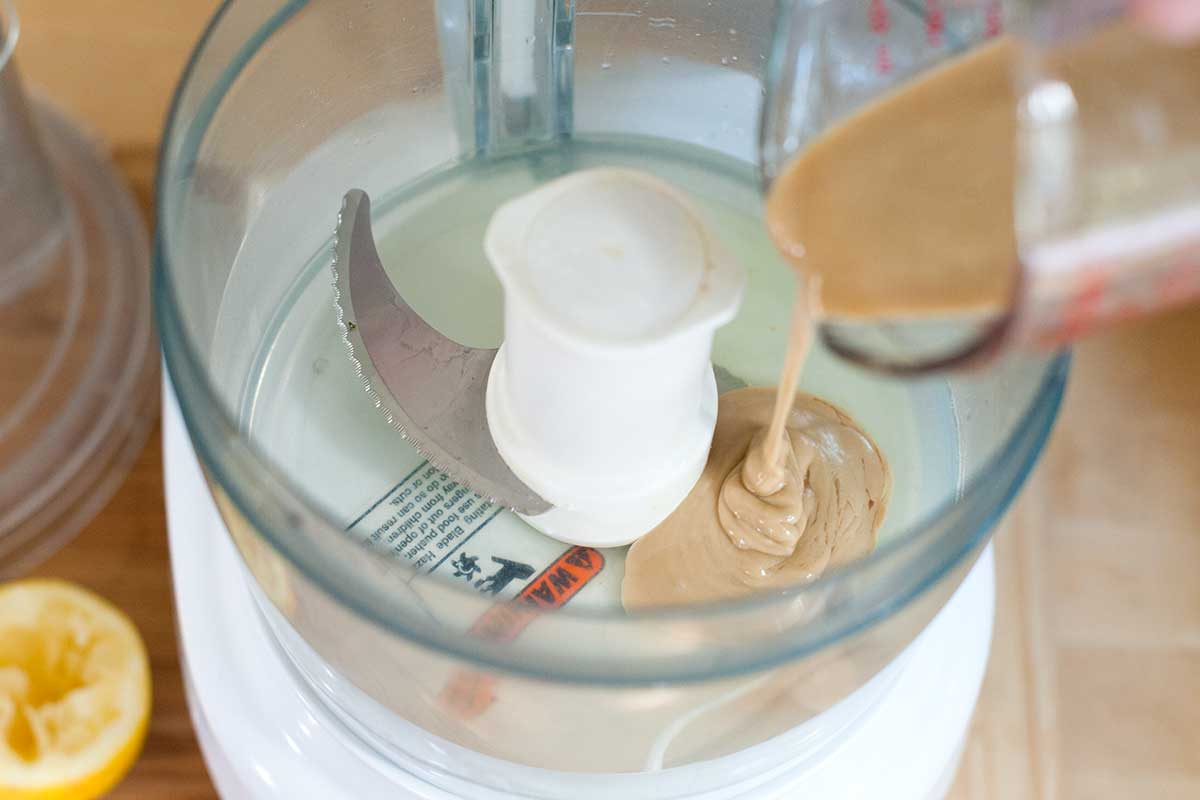
Step 2: Blending the Dates
Now that your dates are prepared, it’s time to blend them into a smooth and creamy paste. Follow these steps to ensure a successful blending process:
1. Add Dates to the Blender: Place the prepared dates into the blender jar. Ensure that they are evenly distributed and not clumped together to promote even blending.
2. Add Water (if necessary): Depending on the moisture content of the dates and the desired consistency of the paste, add a small amount of water to the blender. Start with about 1/4 cup (60 milliliters) of water. You can gradually add more if needed.
3. Blend on Low Speed: Begin blending the dates on a low speed setting to break them down. This will prevent any splattering or overpowering the blender motor. Slowly increase the speed as the dates start to break apart.
4. Scrape Down the Sides: Periodically stop the blender and use a spatula to scrape down the sides of the jar. This ensures that all the dates are evenly blended and prevents any clumps from forming.
5. Continue Blending: Blend the dates on high speed until they form a smooth and creamy paste. The duration will depend on the desired consistency and the power of your blender. It usually takes around 1-2 minutes of blending to achieve a silky texture.
6. Check the Consistency: Once blended, pause and check the consistency of the date paste. It should be thick, smooth, and spreadable. If it’s too thick, you can add a little more water and blend again. If it’s too thin, you can blend for a bit longer or add a few extra dates to thicken it.
7. Taste and Adjust: Give the date paste a taste and adjust the sweetness or flavor if desired. You can add a pinch of salt, a squeeze of lemon juice, or additional spices to enhance the taste according to your preference.
Remember to be patient during the blending process and take breaks as needed to avoid overheating your blender. The key is to achieve a creamy and velvety texture for your date paste.
Step 3: Adjusting the Consistency
After blending the dates, you may need to make some adjustments to achieve the desired consistency of your date paste. Follow these steps to ensure the perfect texture:
1. Add Water (if needed): If your date paste is too thick and stiff, you can add a small amount of water to loosen it up. Start by adding a teaspoon of water at a time and blending until you reach the desired consistency. Be cautious not to add too much water, as it may make the paste too runny.
2. Add More Dates (if needed): On the other hand, if your date paste is too thin or runny, you can add a few more dates to thicken it up. Add a couple of dates at a time and blend until the paste reaches the desired thickness. This will also intensify the sweetness of the paste.
3. Blend Again: After making the necessary adjustments, blend the date paste once more to incorporate the additional ingredients and ensure a smooth and consistent texture. Remember to scrape down the sides of the blender jar to ensure all the ingredients are well-blended.
4. Check the Consistency: Pause and check the consistency of the date paste after making adjustments. It should be thick, but still easily spreadable. If it’s too thick, you can add a little more water or blend it longer. If it’s too thin, you can add a few more dates or blend it further for a thicker consistency.
5. Taste and Adjust: Take a moment to taste the date paste and adjust the sweetness or flavor, if desired. You can add a touch of vanilla extract, a pinch of cinnamon, or any other spices or flavorings that complement your intended use.
Adjusting the consistency is crucial to ensure the date paste is suitable for your specific needs, whether you plan to use it as a spread, sweetener, or ingredient in recipes. By making these adjustments, you can achieve a perfect balance of sweetness, thickness, and spreadability for your date paste.
Step 4: Storing and Using Date Paste
Once you have made your delicious date paste, it’s important to store it properly to maintain its freshness and flavor. Follow these steps to store and use your date paste:
1. Transfer to an Airtight Container: Transfer the date paste from the blender jar to a clean, airtight container. Make sure the container is large enough to hold the entire batch of date paste with some room for expansion.
2. Refrigeration or Freezing: Date paste can be stored either in the refrigerator or the freezer, depending on how long you wish to keep it. If you plan to use it within 2-3 weeks, store it in the refrigerator. For longer storage, place it in the freezer where it can last for several months.
3. Label and Date: To avoid confusion, label the container with the date of preparation. This helps you keep track of its freshness and ensures you use the oldest date paste first.
4. Using Date Paste: Date paste is a versatile sweetener that can be used in various ways. Here are a few ideas for incorporating it into your recipes:
– Baking: Use date paste as a healthier substitute for refined sugar in your baked goods. It adds moisture, sweetness, and a delightful caramel-like flavor to cookies, cakes, muffins, and energy bars.
– Smoothies and Drinks: Blend date paste into your favorite smoothie recipes to add natural sweetness and a boost of nutrients. You can also use it as a sweetener for hot drinks like coffee or tea.
– Sauces and Dressings: Incorporate date paste into savory sauces and dressings to balance out flavors and add a touch of sweetness. It pairs well with dishes like stir-fries, marinades, and salad dressings.
– Energy Bites: Combine date paste with nuts, seeds, and other ingredients to make homemade energy bites or protein balls. These make for a nutritious and convenient snack.
– Cereal and Oatmeal Topping: Drizzle date paste over your morning cereal or oatmeal for a natural sweetener that also adds extra fiber and nutrients.
Remember to adjust the quantity of date paste according to your taste preferences and the sweetness level desired in your recipes.
By properly storing and using your date paste, you can enjoy its sweetness and health benefits for an extended period. Get creative and experiment with different recipes to make the most out of your homemade date paste!
Read more: How To Store Almond Paste
Conclusion
Making date paste in a blender is a simple and rewarding process that allows you to enjoy the natural sweetness and nutritional benefits of dates in a convenient form. By following the easy steps outlined in this article, you can create a smooth and creamy date paste that serves as a versatile and healthier alternative to refined sugars.
Date paste offers a range of advantages over traditional sweeteners. It retains the nutrients present in dates, provides a lower glycemic alternative, and adds a delicious caramel-like flavor to your recipes. Plus, making date paste at home allows you to control the ingredients and customize the taste and consistency to suit your preferences.
Whether you use date paste to sweeten your baked goods, add a touch of sweetness to savory dishes, or incorporate it into your favorite beverages, the possibilities are endless. Experiment with different recipes and explore how date paste can elevate the flavor and nutritional value of your creations.
Remember to properly store your date paste in an airtight container in the refrigerator or freezer to keep it fresh and ready for use. Labeling and dating your containers will help you keep track of its freshness and ensure you use the oldest date paste first.
So, why not give it a go? Dust off your blender, gather some high-quality dates, and embark on a flavorful journey with homemade date paste. Your taste buds and your health will thank you!
Frequently Asked Questions about How To Make Date Paste In Blender
Was this page helpful?
At Storables.com, we guarantee accurate and reliable information. Our content, validated by Expert Board Contributors, is crafted following stringent Editorial Policies. We're committed to providing you with well-researched, expert-backed insights for all your informational needs.

0 thoughts on “How To Make Date Paste In Blender”