Articles
How To Make Cold Foam With Blender
Modified: January 6, 2024
Learn how to make cold foam for your favorite drinks using a blender. Our articles provide step-by-step instructions and tips to perfect your cold foam recipes.
(Many of the links in this article redirect to a specific reviewed product. Your purchase of these products through affiliate links helps to generate commission for Storables.com, at no extra cost. Learn more)
Introduction
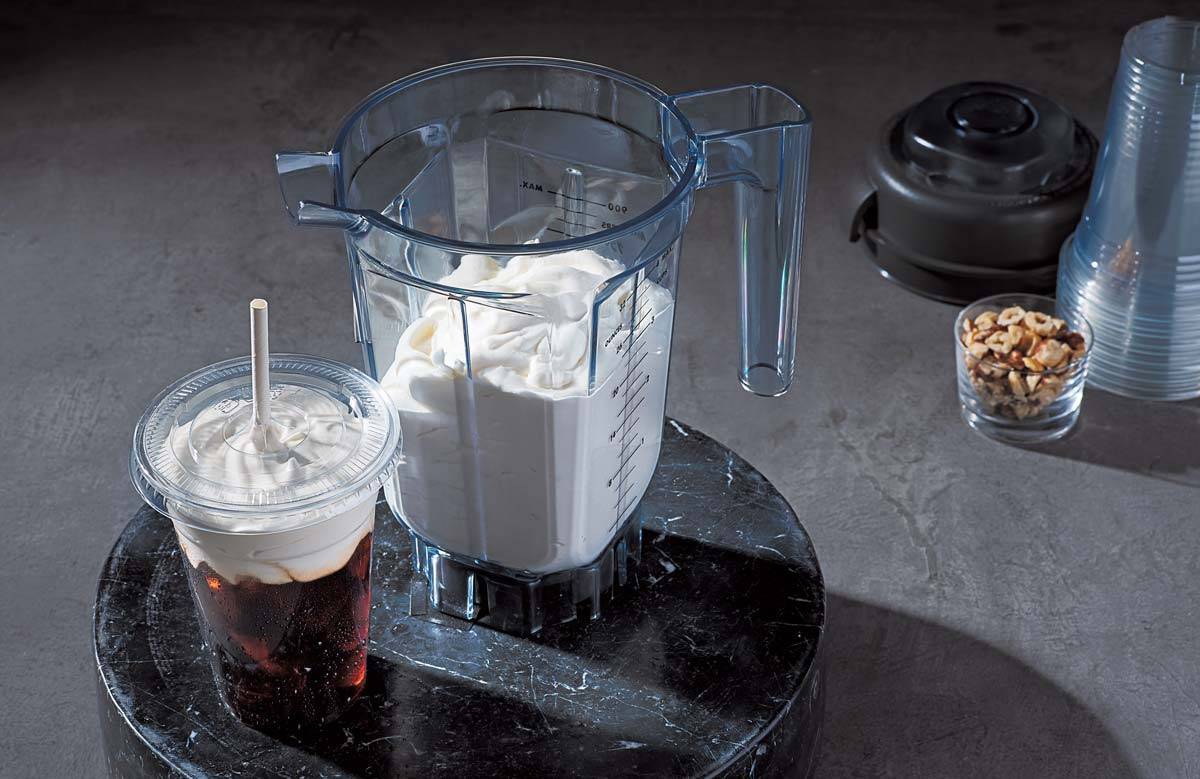
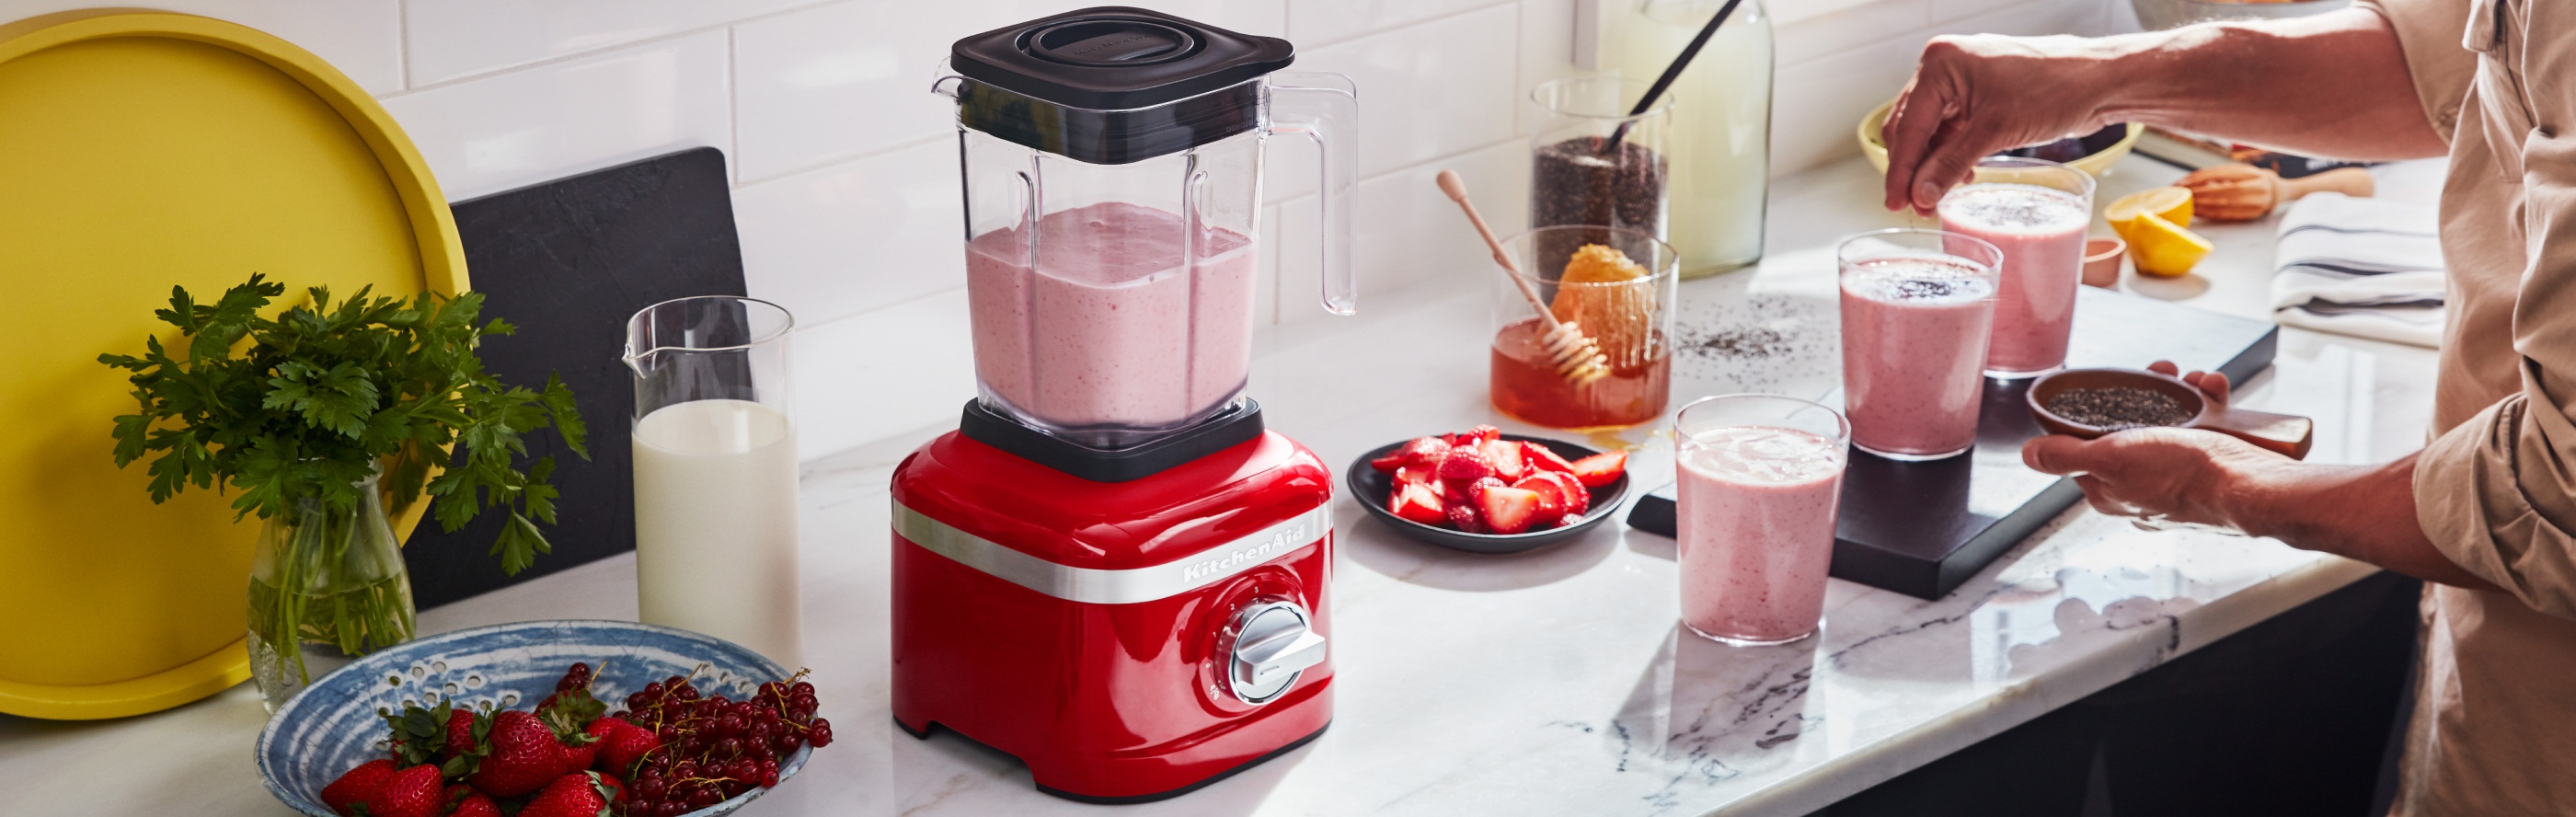
The art of making a delicious and frothy cold foam has gained immense popularity in the beverage industry. Whether you enjoy a creamy latte or a refreshing iced coffee, the addition of cold foam brings texture, flavor, and visual appeal to your drink. But, how exactly can you achieve that perfect velvety froth? The answer lies in using the right blender and following a simple step-by-step process.
Cold foam, also known as milk foam, is a light and airy topping that adds a touch of luxury to your favorite beverages. It is made by frothing chilled milk, creating a soft and silky texture that floats on top of your drink. Not only does cold foam enhance the overall taste of your beverage, but it also adds a visually pleasing layer that is sure to impress.
Now that you’re familiar with what cold foam is, let’s dive into the world of blenders and discover how to choose the perfect one for making cold foam.
Key Takeaways:
- Elevate your beverage game by mastering the art of creating velvety cold foam with the right blender. Enjoy luxurious textures, customizable flavors, and visually stunning drinks that will impress and delight.
- Unleash your creativity and elevate your favorite beverages with personalized cold foam creations. Experiment with flavors, indulge in serving suggestions, and enjoy the delightful journey of making and savoring luscious cold foam.
Read more: What Is A Cold Foam Mattress
What is Cold Foam?
Cold foam is a delightful topping made by frothing chilled milk to create a light and airy texture. It is commonly used as a topping for various beverages, including coffee drinks like lattes, cappuccinos, and iced coffees.
When milk is frothed, tiny bubbles are incorporated into the liquid, creating a foam-like consistency. In the case of cold foam, the milk is chilled before being frothed, resulting in a denser and creamier texture compared to traditional hot foam.
The benefits of using cold foam in drinks are numerous. Firstly, the velvety smooth texture of cold foam adds a luxurious mouthfeel to your beverage. It acts as a delicious creamy layer that enhances the overall taste and richness of the drink.
In addition to its texture, cold foam also serves as a visual treat. The airy foam floats on top of your drink, creating an attractive layer that is pleasing to the eye. This visual appeal adds a touch of elegance and sophistication to your favorite coffee or other beverage.
An important advantage of using cold foam is that it allows for easy customization and flavor infusion. You can experiment with different flavors, such as vanilla, caramel, or chocolate, by adding syrups or extracts to the foam mixture. This allows you to create personalized concoctions that suit your taste preferences.
Moreover, cold foam acts as a natural insulator, keeping your drink cooler for longer. It forms a barrier between the hot liquid and the environment, preventing rapid heat transfer and maintaining the desired temperature of your beverage.
Overall, cold foam is a versatile and delectable addition to any drink. Its smooth texture, visual appeal, customization options, and insulation properties make it a preferred choice for coffee enthusiasts and beverage connoisseurs alike.
Choosing the Right Blender
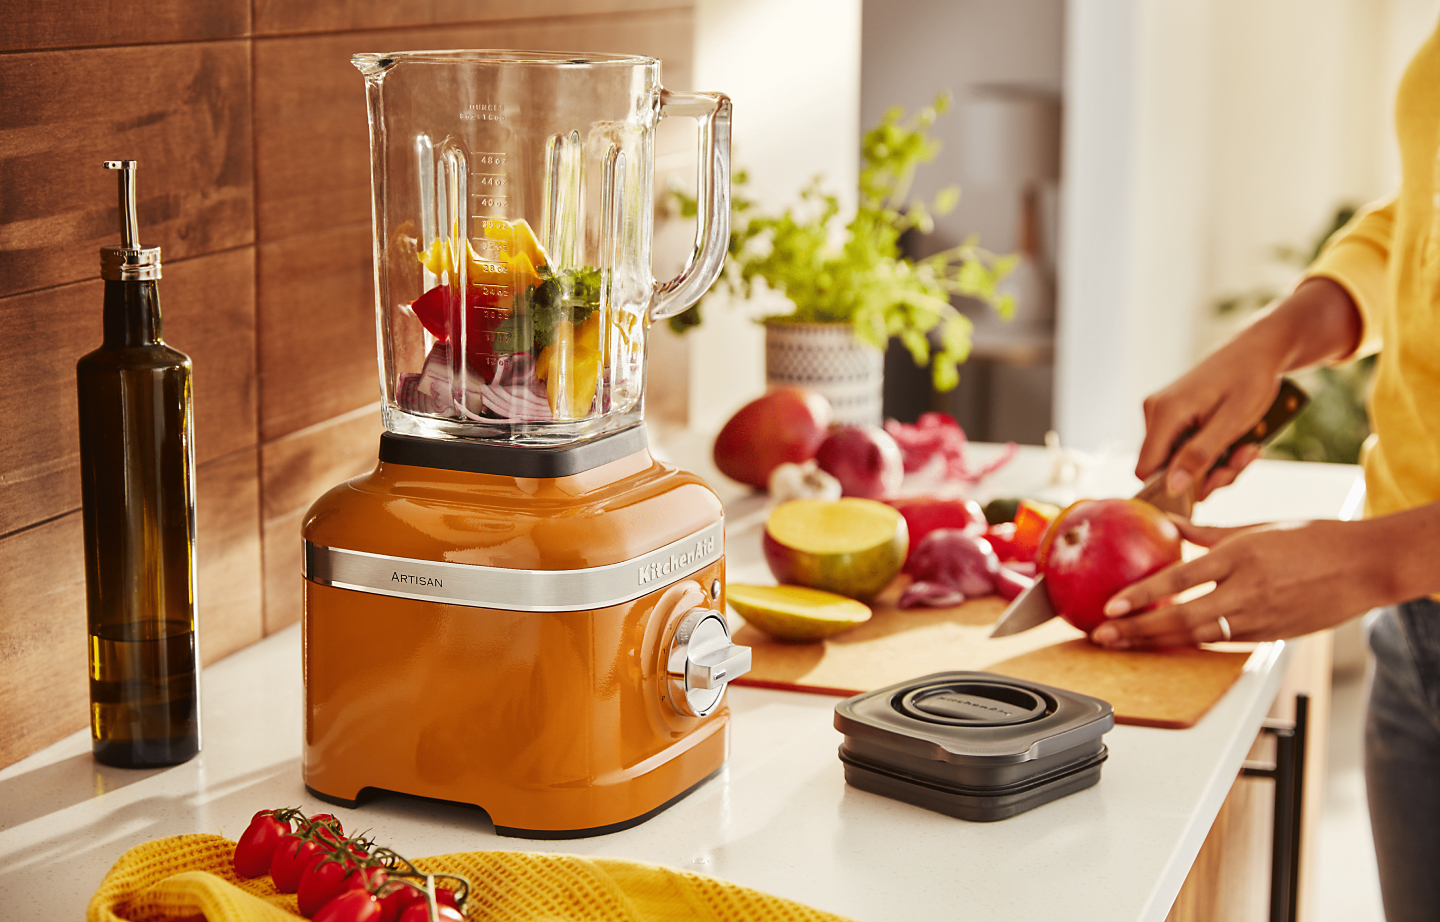
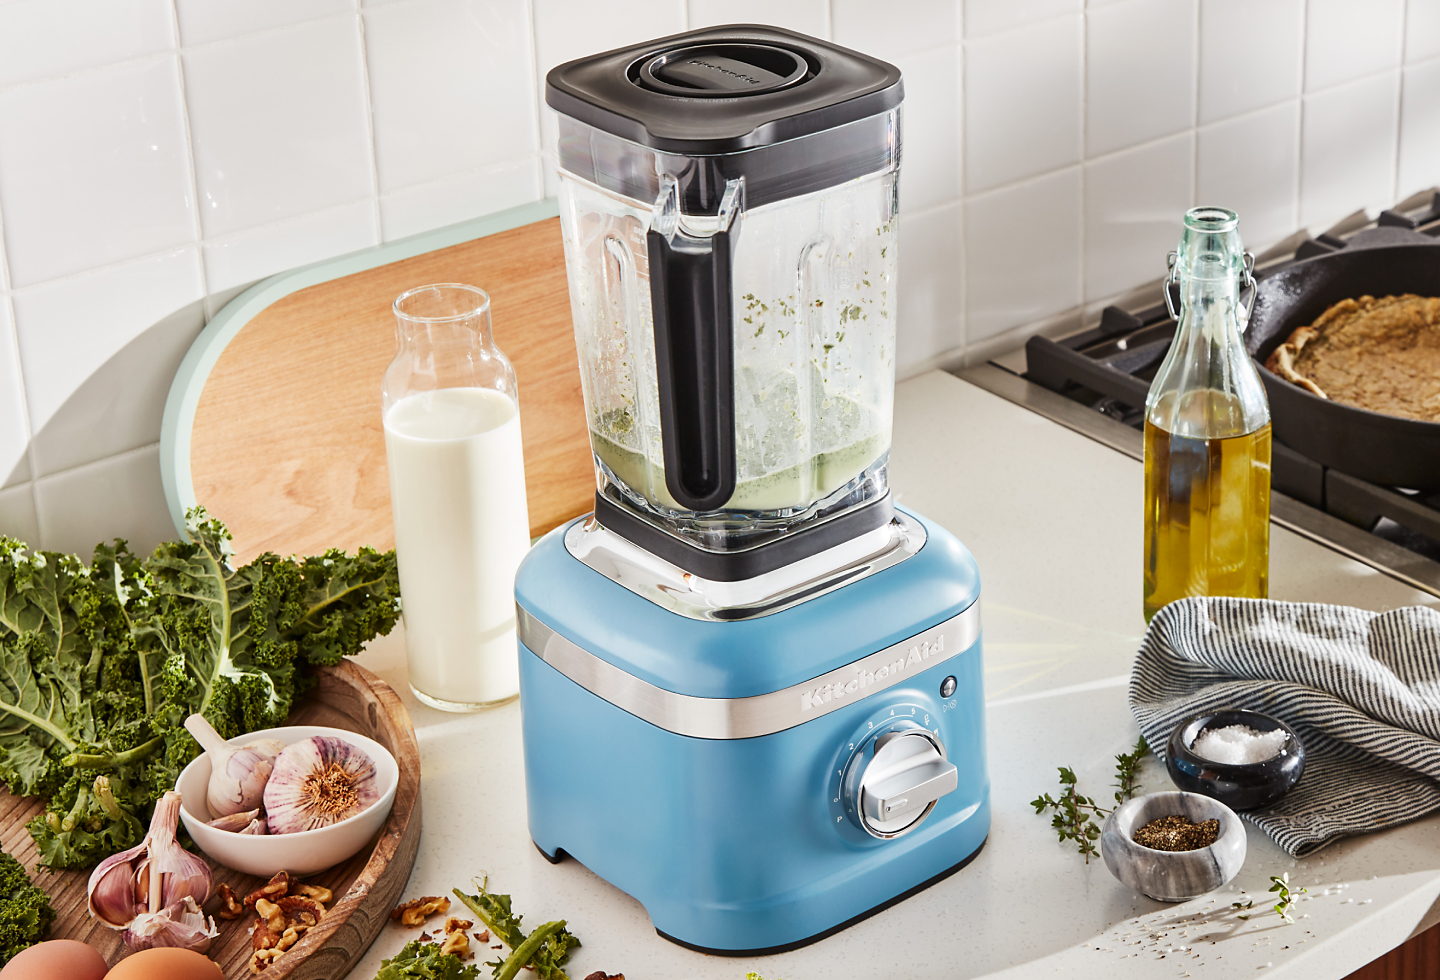
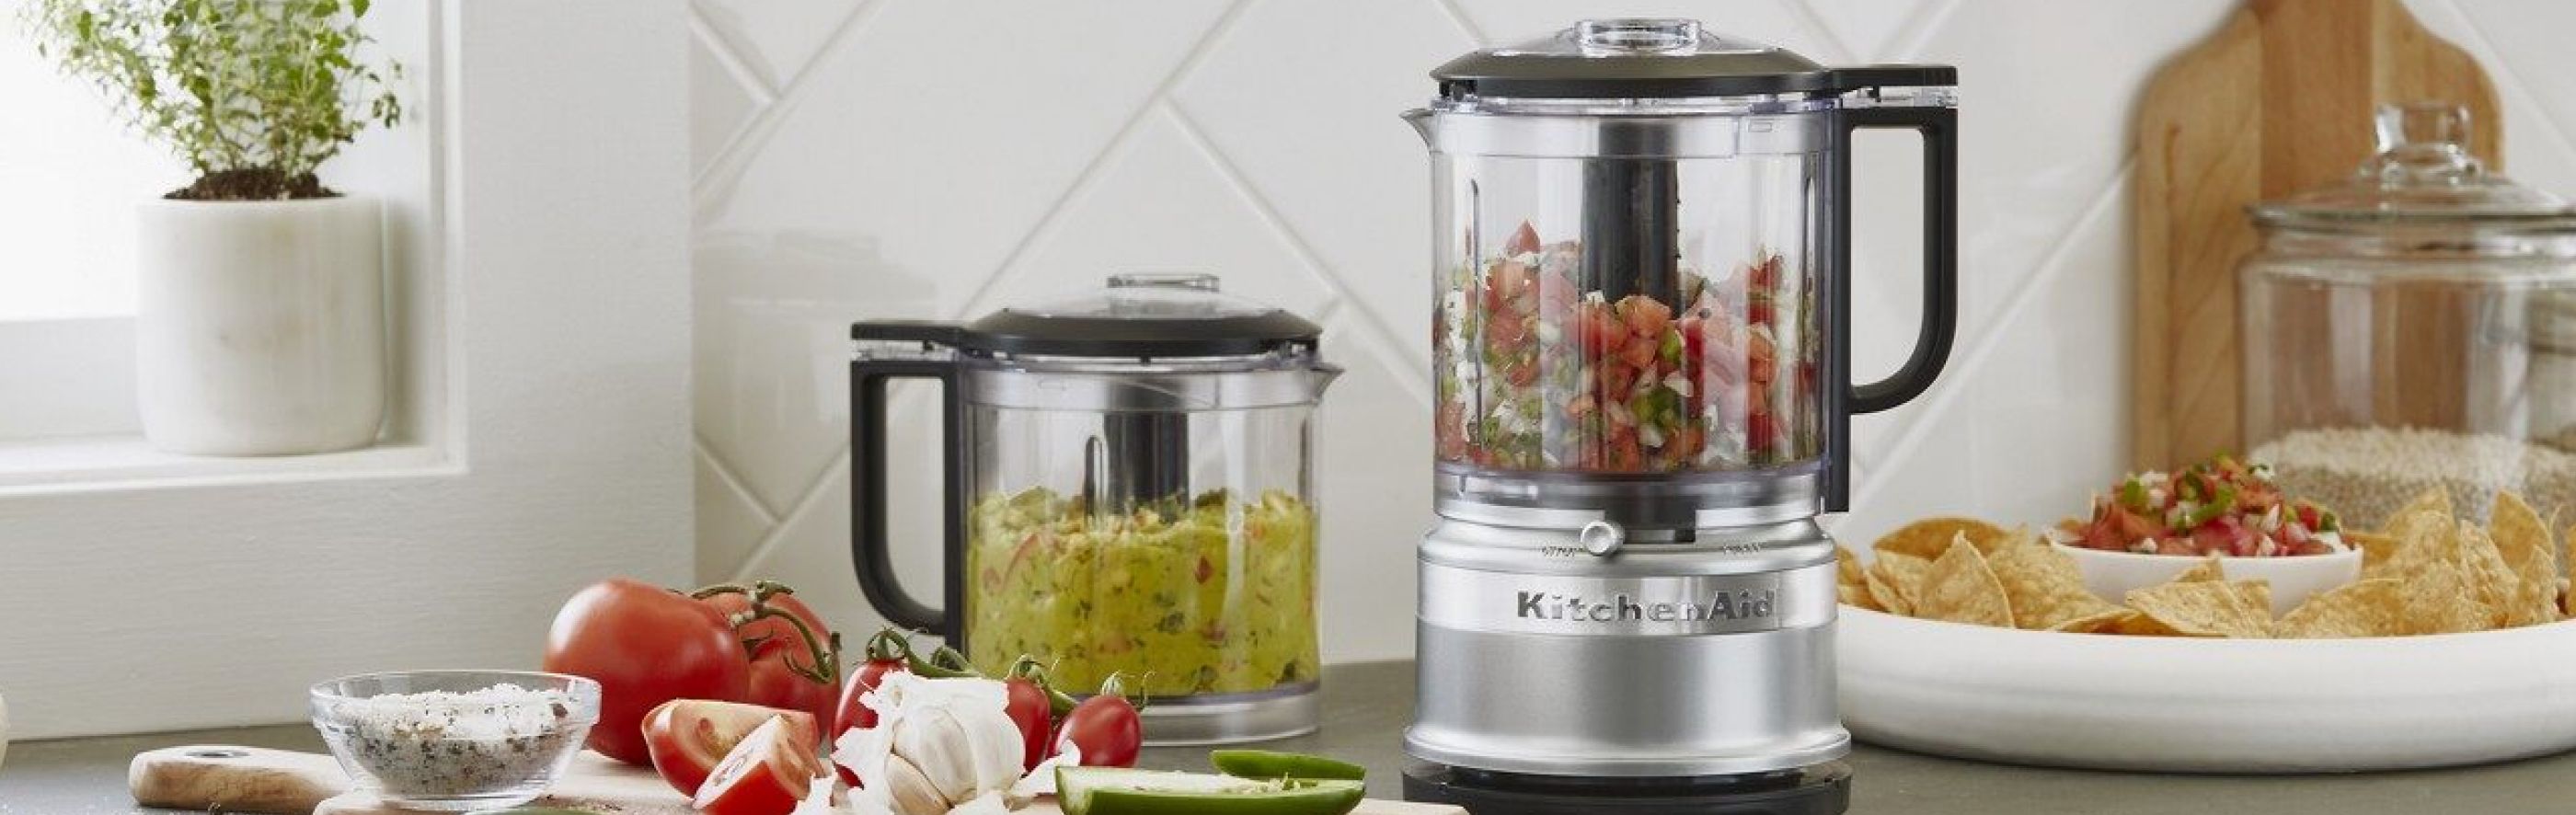
When it comes to making cold foam, selecting the right blender is paramount to achieving the perfect frothy consistency. A high-quality blender with specific features will ensure that you can effortlessly create smooth and velvety cold foam every time. Here’s why blender selection is important:
1. Power and Speed: The power and speed of the blender play a crucial role in creating the ideal texture for cold foam. Look for a blender with a powerful motor and multiple speed settings to effectively whip the milk and create the desired frothiness.
2. Blade Design: Opt for a blender that has sharp and durable blades specifically designed for frothing milk. These blades will efficiently incorporate air into the milk, creating a light and fluffy foam.
3. Size and Capacity: Consider the size and capacity of the blender, depending on your needs. If you plan on making large batches of cold foam or have a busy coffee shop, choose a blender with a larger capacity. For personal use at home, a smaller blender works just fine.
4. Control and User-Friendliness: Look for a blender with intuitive controls and easy-to-use settings. This will ensure that you have full control over the blending process and can achieve the desired consistency for your cold foam.
5. Durability: Invest in a blender that is durable and built to last. Cold foam preparation involves consistent blending, so it’s essential to choose a blender that can handle regular use without wearing down over time.
6. Easy to Clean: Cleaning the blender after making cold foam can be tricky due to the frothy residue. Look for a blender that disassembles easily and has dishwasher-safe components to simplify the cleaning process.
By considering these features when selecting a blender for cold foam preparation, you can ensure a smooth and hassle-free experience. With the right blender, you’ll be able to create velvety and picture-perfect cold foam for your favorite beverages.
Ingredients and Equipment
To make delicious cold foam, you’ll need a few essential ingredients and equipment. Here’s a list of what you’ll need:
Ingredients:
- Chilled Milk: Start with cold milk, preferably whole milk or milk with a higher fat content, as it will result in a creamier and more indulgent foam.
- Sweetener (optional): If you prefer your cold foam to be sweet, you can add a sweetener of your choice, such as sugar, honey, or flavored syrups. This step is completely customizable to suit your taste preferences.
- Flavorings (optional): To add an extra dimension of taste, consider adding flavorings like vanilla extract, cocoa powder, or flavored syrups to your cold foam mixture. Experiment with different flavors to create your signature cold foam.
Equipment:
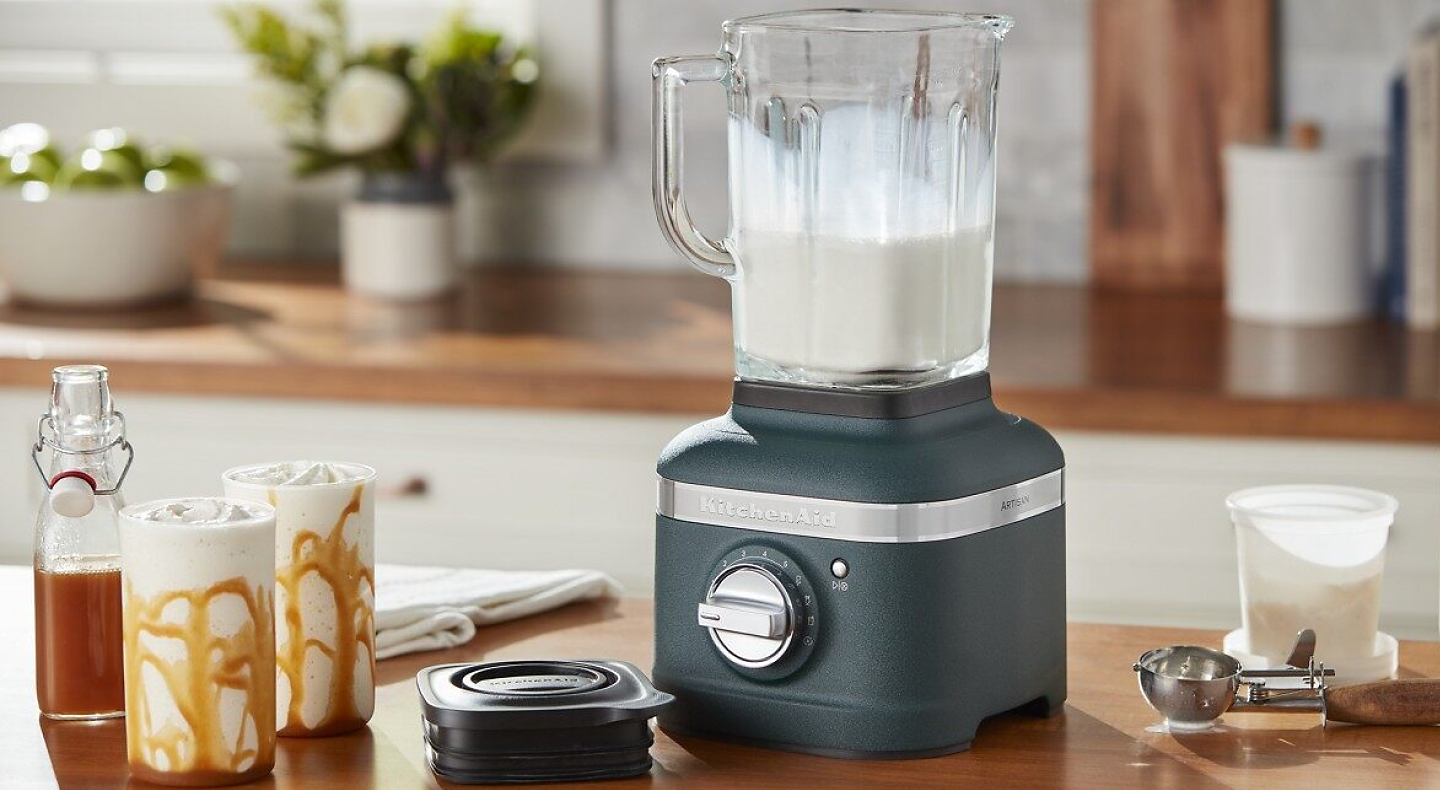
- Blender: A blender is the key equipment for preparing cold foam. Look for a blender with the features mentioned earlier, including a powerful motor, blade design suitable for frothing, and the capacity that fits your needs.
- Frothing Pitcher or Container: Choose a container that is large enough to hold the milk and allow room for the foam to expand. A frothing pitcher with a spout will make pouring the cold foam onto your drink easier and more precise.
- Thermometer (optional): While not necessary, a thermometer can be handy to ensure that your milk is at the right temperature for frothing. The ideal temperature is around 35-40°F (2-4°C).
With these ingredients and equipment on hand, you’re well-prepared to embark on the journey of creating luscious cold foam using your blender. Let’s move on to the step-by-step procedure to make your very own cold foam masterpiece!
Step-by-Step Procedure
Creating the perfect cold foam is a simple and straightforward process. Follow these steps to prepare your cold foam using a blender:
1. Preparing the Cold Foam Mixture:
- Start by chilling the milk in the refrigerator for at least 30 minutes. The colder the milk, the easier it will be to achieve a creamy and stable foam.
- If desired, add any sweetener or flavorings to the chilled milk. This is the time to incorporate extra taste profiles into your foam.
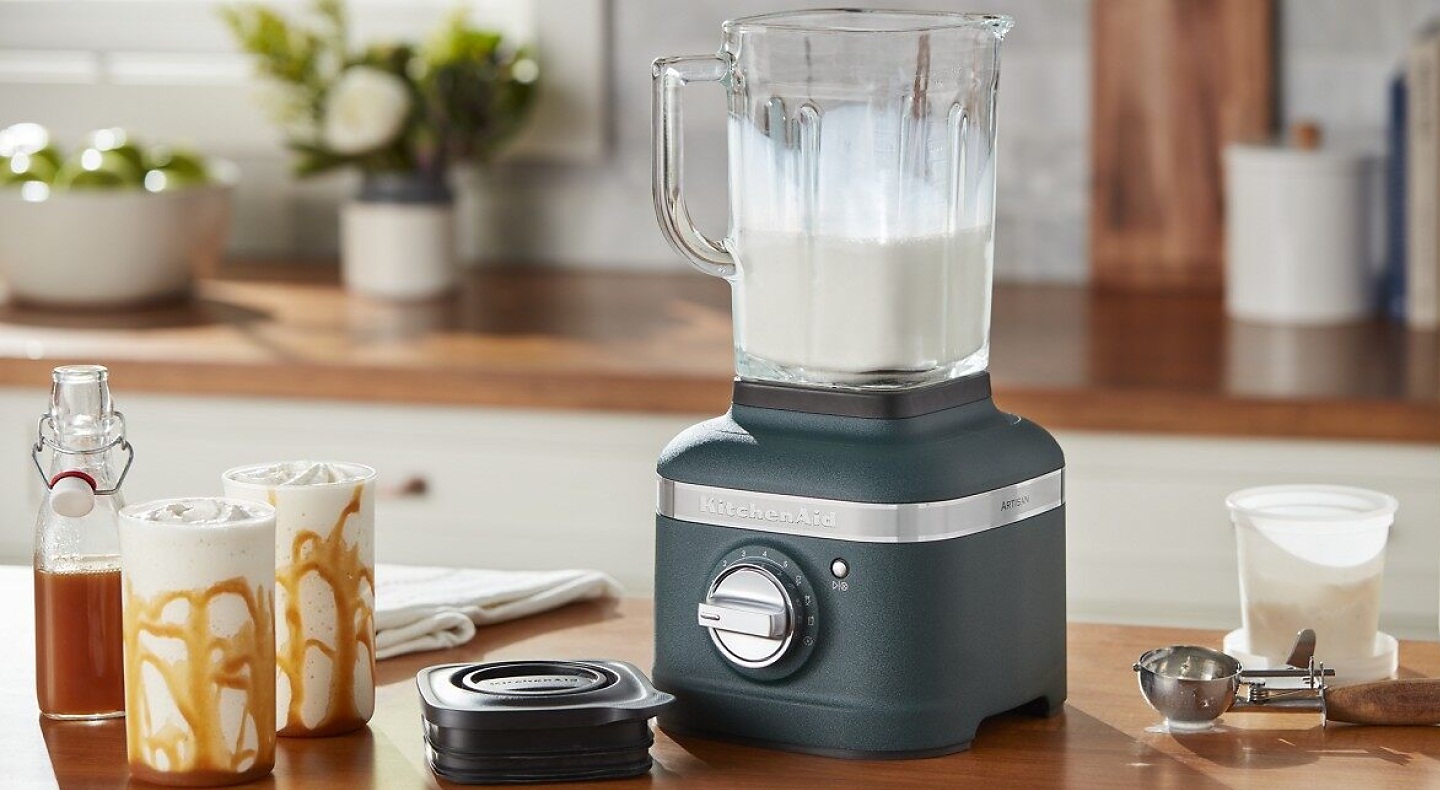
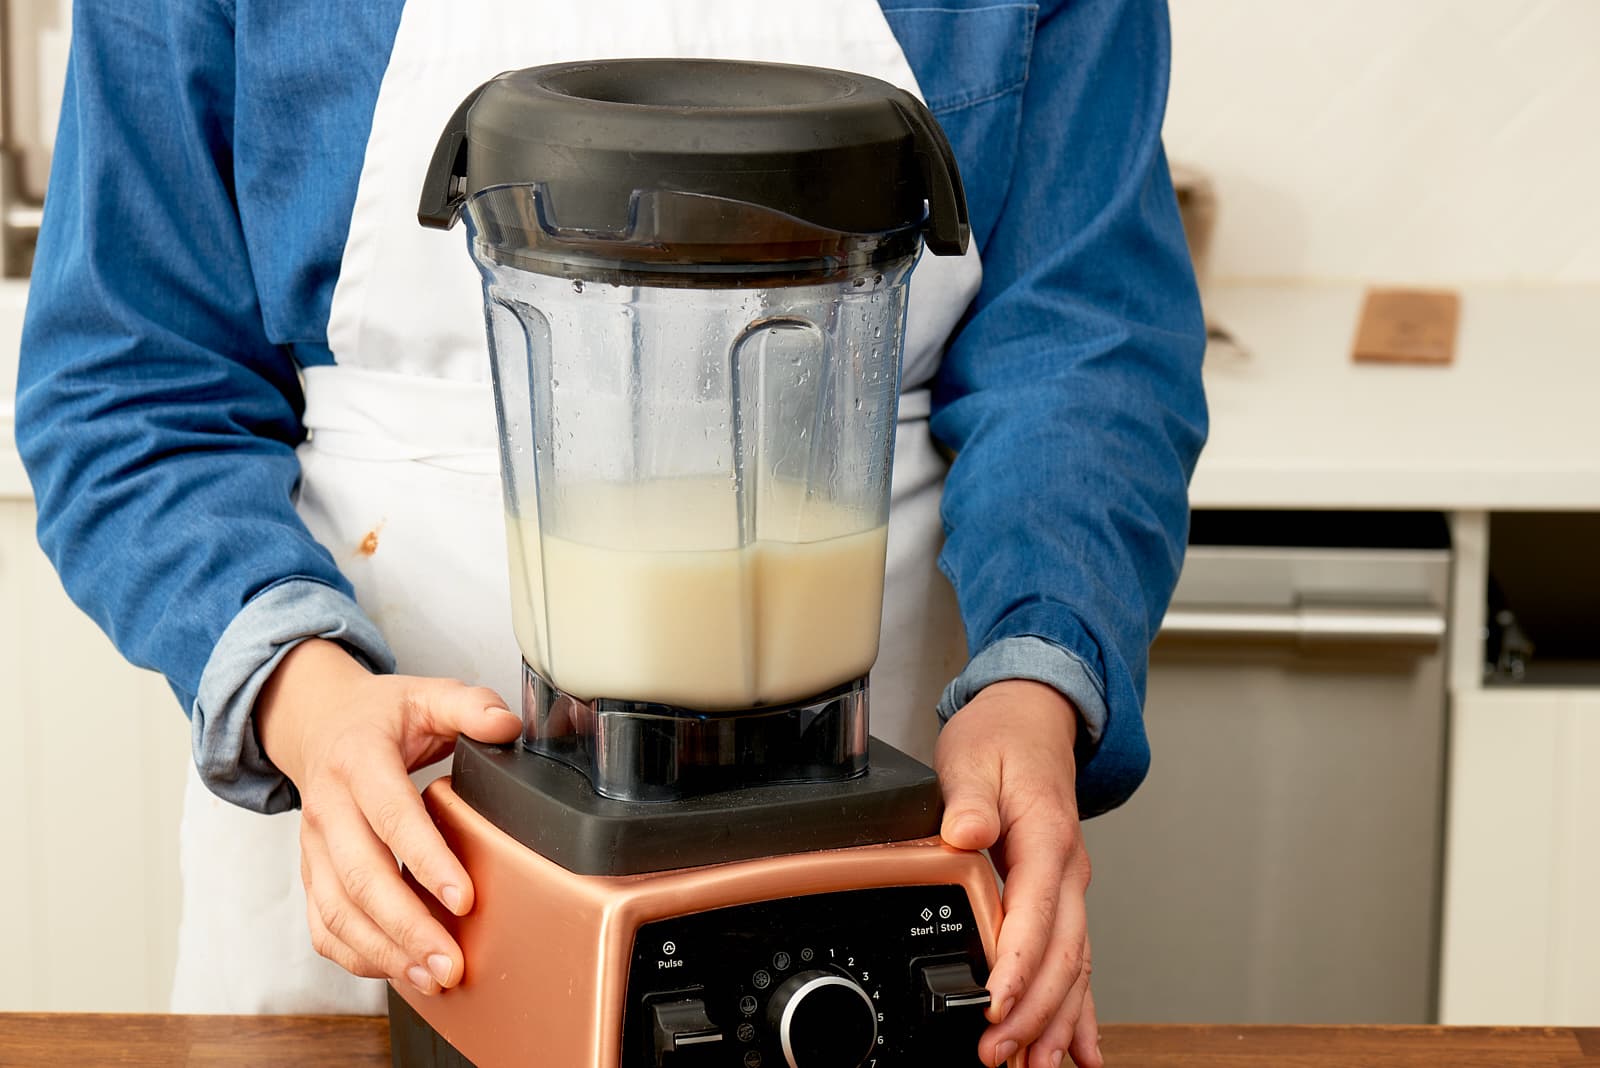
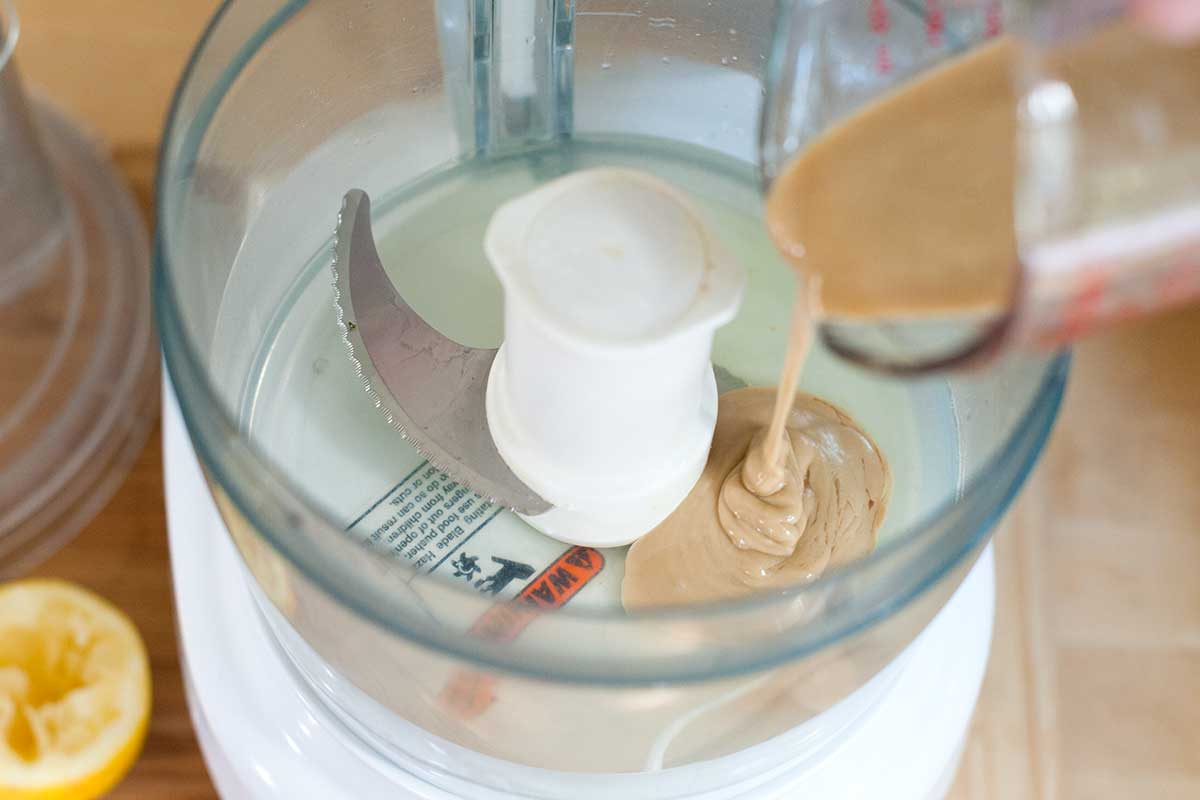
2. Blending the Ingredients in the Blender:
- Pour the chilled milk mixture into the blender, ensuring not to exceed the blender’s recommended maximum fill level.
- Secure the lid tightly on the blender and start blending on a low setting. Gradually increase the speed to higher settings as the foam begins to form.
- Continue blending until the mixture reaches the desired frothy consistency. This usually takes around 1-2 minutes, depending on the power of your blender.
3. Achieving the Desired Consistency:
- Keep an eye on the consistency of the foam as you blend. The cold foam should have a soft, velvety texture and hold its shape when poured.
- Avoid over-blending, as it can lead to a dense and heavy foam. As soon as you achieve the desired consistency, stop blending to prevent the foam from losing its light and airy texture.
- Once the cold foam is ready, gently pour it onto your chosen drink, ensuring a smooth and even layer on the surface.
Remember to experiment and adjust the blending time and speed based on your preferences, as different blenders may have varying power and speed settings. With a little practice and a keen eye, you’ll soon master the art of creating the perfect cold foam using your blender.
To make cold foam with a blender, use equal parts milk and ice, then blend on high until smooth and frothy. Add sweetener or flavorings if desired.
Read more: Does Memory Foam Get Hard When Cold
Tips and Tricks
Preparing cold foam can be a fun and rewarding process. To ensure your foam comes out perfect every time, here are some key tips and tricks to keep in mind:
1. Use cold milk: Chilling the milk before frothing is crucial for achieving a thick and stable foam. The colder the milk, the better the froth.
2. Choose the right milk: Whole milk or milk with a higher fat content, such as 2% or even cream, will produce a creamier and more indulgent cold foam.
3. Experiment with different sweeteners and flavors: Don’t be afraid to get creative with your cold foam. Incorporate various sweeteners like honey, maple syrup, or flavored syrups to add a touch of sweetness. Additionally, try different extracts or spices to infuse unique flavors into your foam.
4. Start with a clean blender: Ensure that your blender is clean and free from any residue before starting. Any leftover flavors or particles can alter the taste and texture of your foam.
5. Blend in short bursts: Rather than continuously blending, try using short bursts of blending to prevent overheating the milk. This will help maintain the desired texture and consistency.
6. Don’t overfill the blender: Make sure to leave enough space in the blender for the milk to expand and froth. Overfilling the blender can lead to spillage and prevent proper frothing.
7. Be patient: Achieving the perfect cold foam may require a few attempts. Don’t get discouraged if your first batch doesn’t turn out as expected. Keep practicing and adjusting your technique until you find the perfect balance.
Troubleshooting common issues:
- Issue: Too dense or heavy foam: If your foam is too dense or heavy, try using a different milk with a higher fat content or adjusting the blending time to achieve a lighter texture.
- Issue: Foam dissipates quickly: If your foam is not holding its shape or dissipates quickly, make sure you are using chilled milk and blending it at a high enough speed to incorporate enough air.
- Issue: Foam is too thin or watery: If your foam is thin and watery, you may need to blend it for a longer period or use a different milk with a higher fat content for a creamier consistency.
By following these tips and troubleshooting common issues, you’ll be well on your way to creating beautiful and delicious cold foam that enhances the flavor and presentation of your favorite beverages.
Variations and Flavorings
One of the exciting aspects of making cold foam is the opportunity to explore different variations and flavor profiles. By adding various flavorings, you can customize your foam to complement different types of beverages and create unique taste experiences. Here are some ideas to inspire your cold foam creations:
1. Classic Vanilla: Add a teaspoon of vanilla extract or vanilla bean paste to your cold foam mixture for a touch of sweetness and a classic flavor. This versatile option pairs well with a wide range of beverages, from coffee to hot chocolate.
2. Decadent Chocolate: For chocolate lovers, incorporate a teaspoon of cocoa powder or chocolate syrup into your cold foam. This rich and indulgent variation is the perfect addition to a mocha or a hot chocolate drink.
3. Caramel Delight: Drizzle some caramel syrup into your cold foam mixture for a sweet and buttery flavor. This variation pairs beautifully with a caramel latte or an iced caramel macchiato.
4. Almond Joy: For a nutty twist, add a splash of almond extract to your cold foam mixture. This variation complements beverages like almond milk lattes or a coconut iced coffee.
5. Minty Fresh: Add a few drops of peppermint extract to your cold foam for a refreshing and minty flavor. This variation works well with a mint mocha or a peppermint hot chocolate.
6. Seasonal Spices: Experiment with seasonal spices like cinnamon, nutmeg, or pumpkin pie spice to add warmth and depth to your cold foam. This variation is perfect for seasonal beverages such as pumpkin spice lattes or spiced apple cider.
7. Fruity Infusions: Incorporate fruit syrups or extracts like raspberry, strawberry, or mango to your cold foam for a fruity twist. This variation is fantastic in iced teas, lemonades, or fruity coffee blends.
Feel free to mix and match flavors or even create your own unique combinations. The possibilities are endless, and you can let your creativity shine by exploring different variations and flavorings to elevate your favorite beverages.
Remember to adjust the amount of flavorings based on your personal taste preferences, starting with small amounts and gradually adding more until you achieve your desired flavor intensity. Enjoy the process of experimenting and uncovering new and delightful cold foam flavor experiences!
Serving Suggestions
Cold foam adds a creamy and visually appealing element to beverages, making them even more enticing. Here are some creative ways to use cold foam and suggestions for pairing it with different types of drinks:
1. Coffee Creations:
- Add cold foam to a classic latte or cappuccino for a luxurious and velvety texture.
- Create an iced coffee masterpiece by topping it with cold foam, giving it a frothy and refreshing twist.
- Elevate your morning routine by making a cold foam macchiato, layering espresso, milk, and cold foam.
2. Indulgent Hot Chocolates:
- Top your hot chocolate with cold foam for a creamy and decadent treat.
- Try a flavored hot chocolate such as salted caramel or peppermint, pairing it with corresponding flavored cold foam for an extra burst of taste.
3. Tea Time Delights:
- Add cold foam to your favorite tea, such as Earl Grey or chai, to create a luxurious and frothy tea latte.
- For a refreshing twist, top iced teas with cold foam, giving them a light and creamy touch.
4. Creative Concoctions:
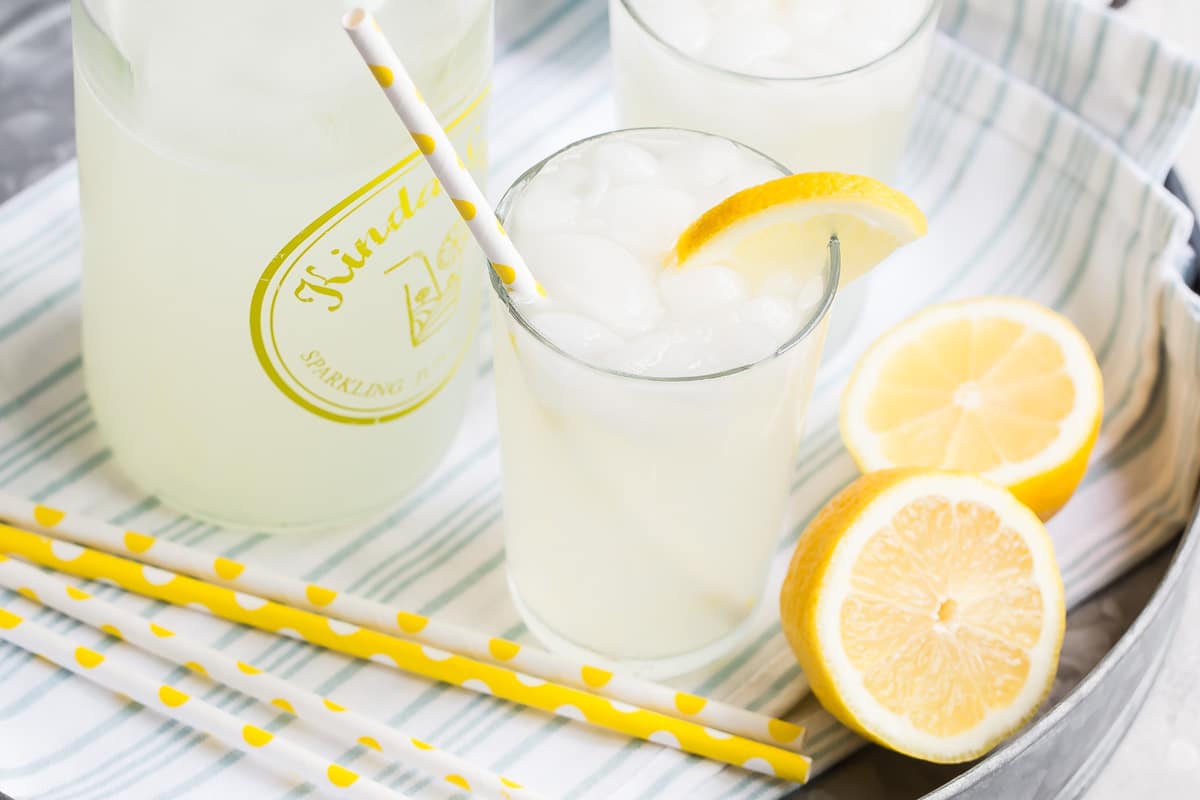
- Experiment with cold foam in fruit-flavored drinks like iced lemonades or fruit smoothies for a creamy and fruity fusion.
- Create your own signature mocktail by incorporating flavored cold foam into carbonated water or sparkling beverages.
- For a unique twist on milkshakes, add cold foam to your favorite milkshake flavors, elevating their texture and presentation.
Feel free to let your imagination run wild and try various combinations. The versatility of cold foam allows you to take any beverage to the next level, adding a touch of elegance and indulgence.
Remember to adjust the amount of cold foam to suit your personal preference with each drink. Some may benefit from a thick layer of foam, while others may work better with a lighter and more delicate amount.
So go ahead and explore the countless ways you can incorporate cold foam into your favorite beverages. The possibilities are endless, and you’re sure to impress yourself and others with your creative and delicious creations!
Conclusion
Cold foam has undoubtedly become a game-changer in the realm of beverages, offering a delightful blend of texture, flavor, and visual appeal. With the right blender and a few simple steps, you can effortlessly create creamy and luscious cold foam to elevate your favorite drinks.
By understanding the importance of blender selection and considering factors like power, blade design, and size, you can ensure optimal results and consistently achieve the desired frothy consistency.
Preparation of cold foam entails gathering the necessary ingredients, including chilled milk, sweeteners, and flavorings, and having the right equipment such as a blender and a frothing pitcher on hand.
With a step-by-step procedure to guide you, you can expertly blend the ingredients in the blender, striving for the perfect texture that strikes a balance between light and airy. Patience and attention to detail are key to achieving your desired results.
Exploring variations and flavorings allows you to infuse your cold foam with personalized tastes, making it a versatile addition to a wide range of beverages. From classic flavors like vanilla and chocolate to more adventurous combinations, the possibilities are limitless.
Furthermore, the serving suggestions provided open the doors to countless imaginative creations. Whether it’s enhancing your morning coffee routine, indulging in a cozy cup of hot chocolate, or adding a twist to your favorite tea or mocktail, cold foam brings a touch of luxury to each sip.
In conclusion, the art of making cold foam with a blender is a delightful journey where you can unleash your creativity and wow your taste buds. With the right techniques, tips, and tricks in your repertoire, you’ll be able to prepare and enjoy the perfect cold foam to take your beverage experience to new heights.
So, gather your ingredients, power up your blender, and let your imagination soar as you embark on a delicious adventure with homemade cold foam. Cheers to indulgent sips and memorable moments!
Frequently Asked Questions about How To Make Cold Foam With Blender
Was this page helpful?
At Storables.com, we guarantee accurate and reliable information. Our content, validated by Expert Board Contributors, is crafted following stringent Editorial Policies. We're committed to providing you with well-researched, expert-backed insights for all your informational needs.


0 thoughts on “How To Make Cold Foam With Blender”