Articles
How To Make A Foaming Soap Dispenser
Modified: August 17, 2024
Learn how to make a foaming soap dispenser with this step-by-step guide. Find articles on DIY projects and homemade soap recipes.
(Many of the links in this article redirect to a specific reviewed product. Your purchase of these products through affiliate links helps to generate commission for Storables.com, at no extra cost. Learn more)
Introduction
Welcome to this guide on how to make a foaming soap dispenser. Foaming soap dispensers have become increasingly popular due to their ability to create a luxurious and airy lather with less soap. They are not only cost-effective but also more environmentally friendly as they help to reduce soap waste. In this article, we will walk you through the step-by-step process of making your own foaming soap dispenser.
With just a few easy steps and some basic materials, you can create your own foaming soap dispenser that will revolutionize your handwashing experience. Whether you want to reduce plastic waste, customize your soap with your favorite scent, or simply enjoy the ease and effectiveness of foaming soap, this DIY project is perfect for you.
Before we jump into the process, let’s quickly go over the materials you’ll need:
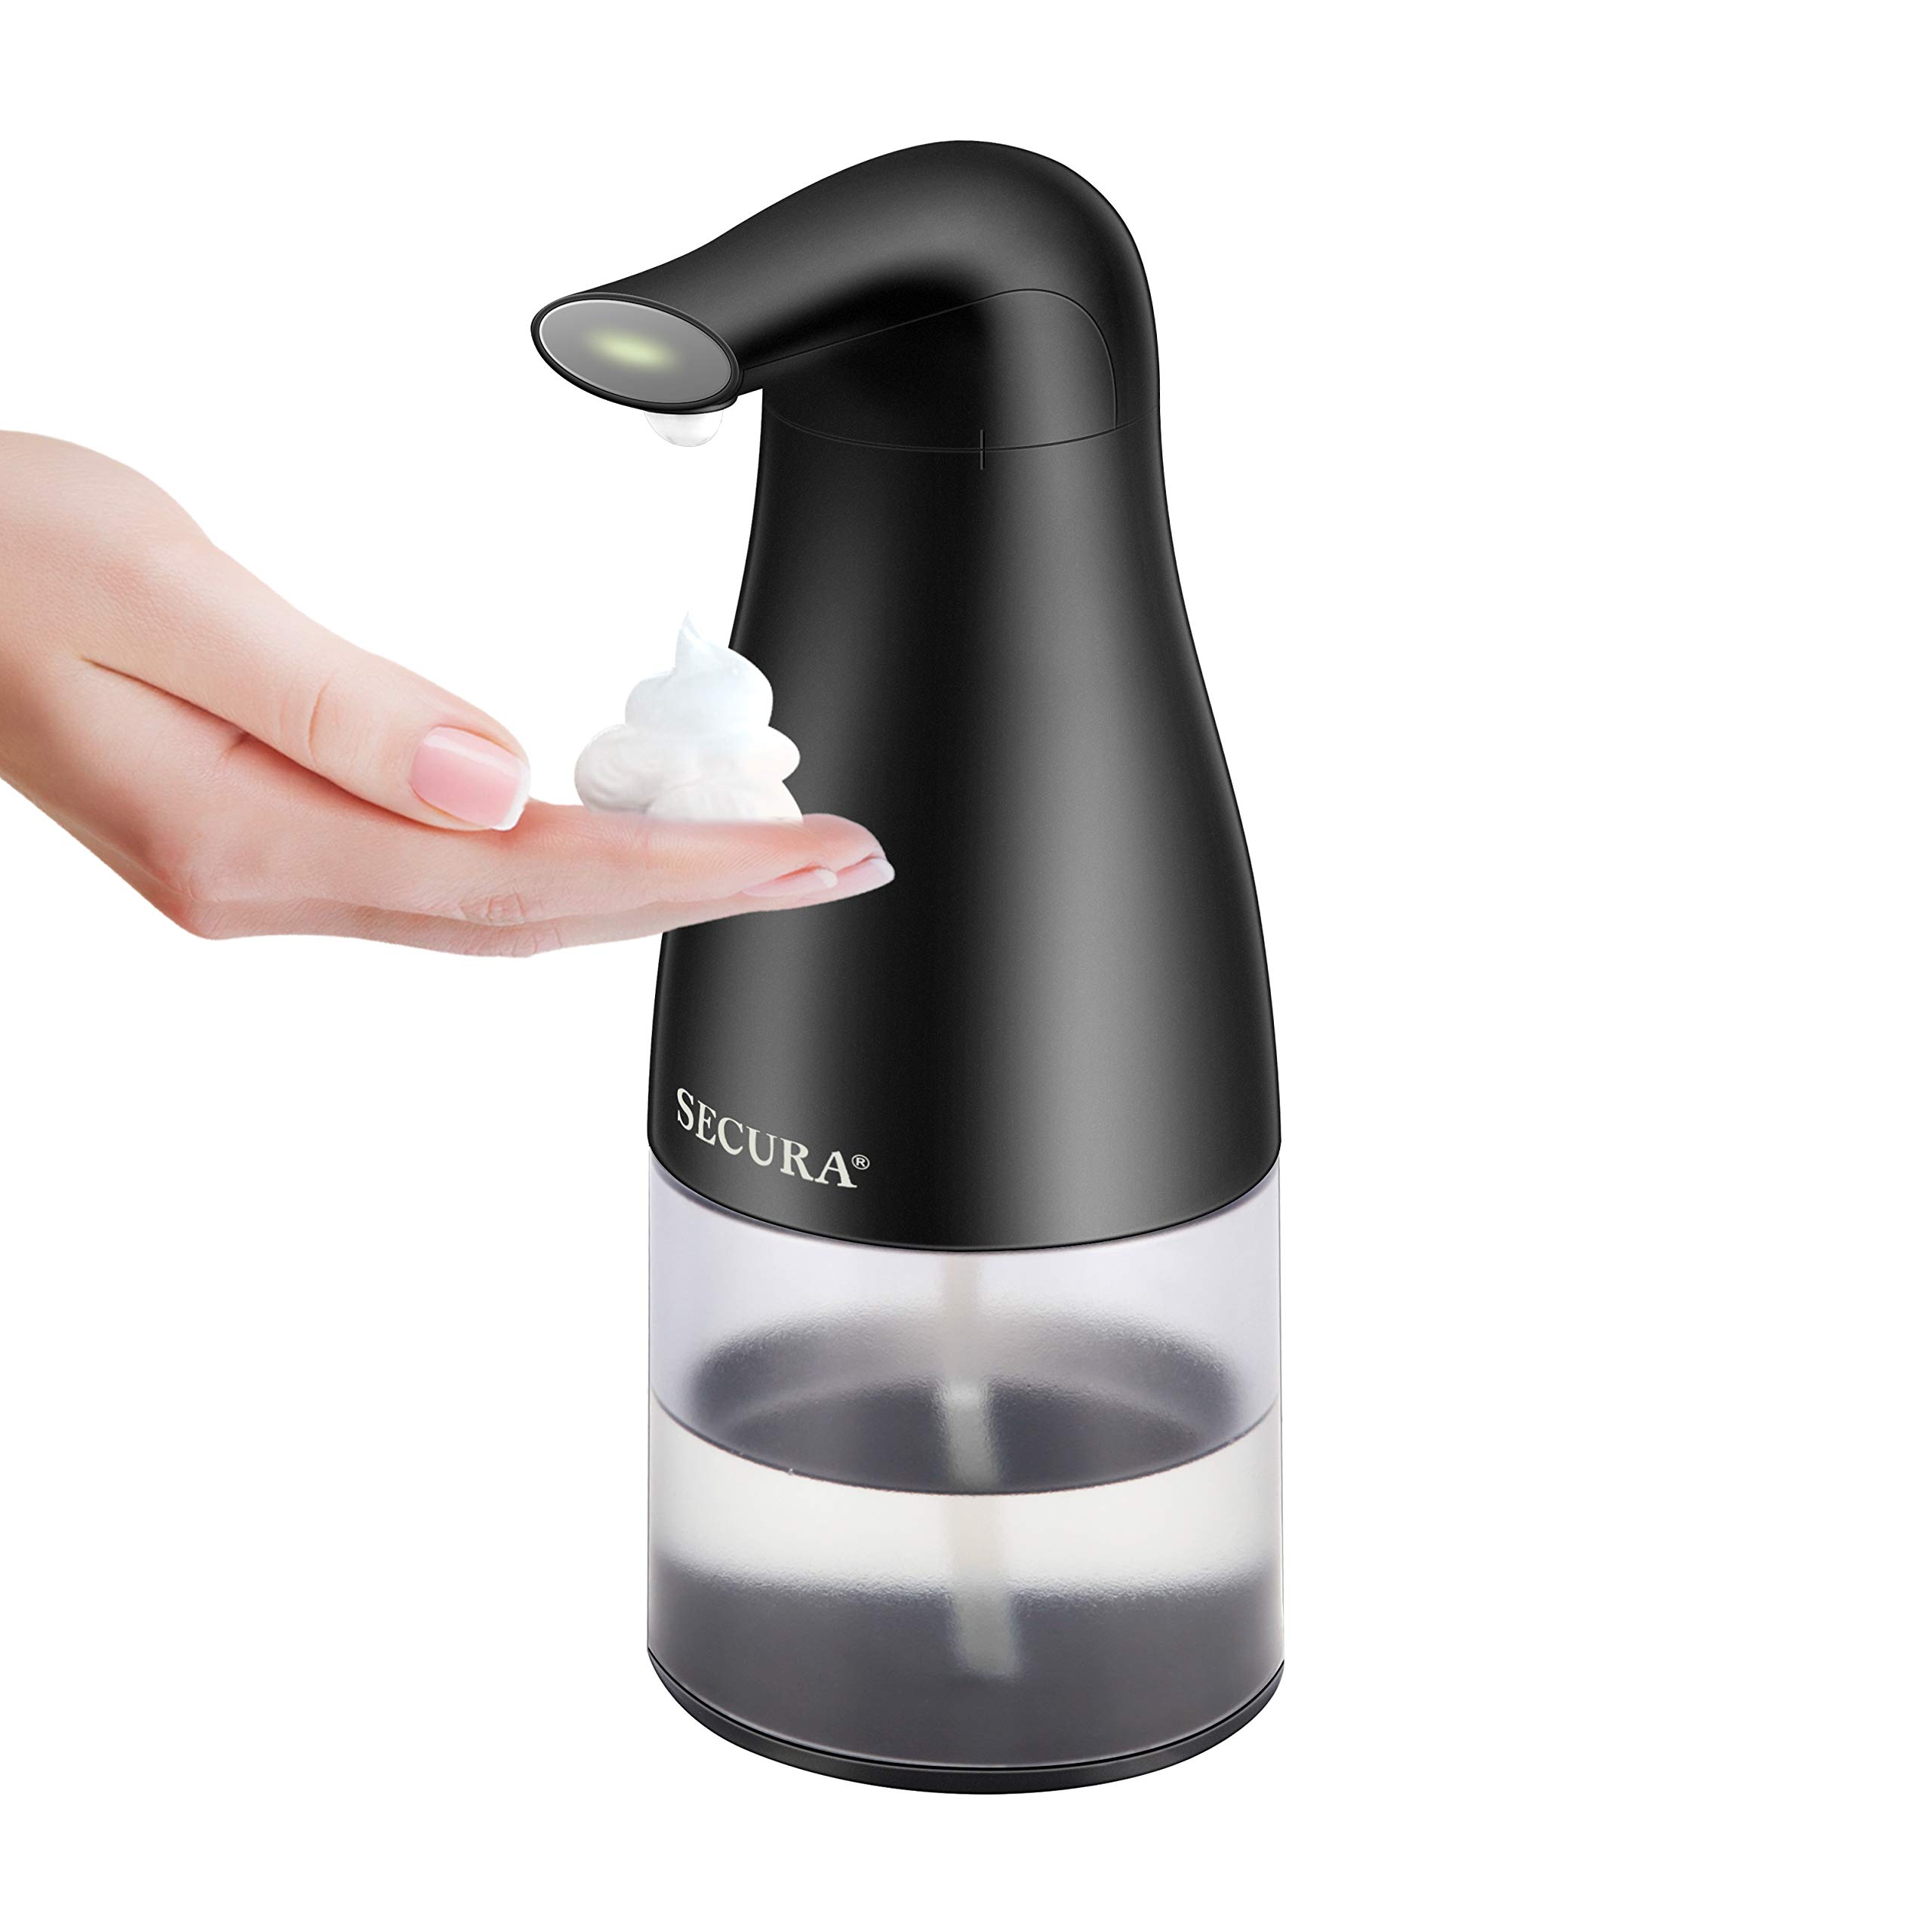
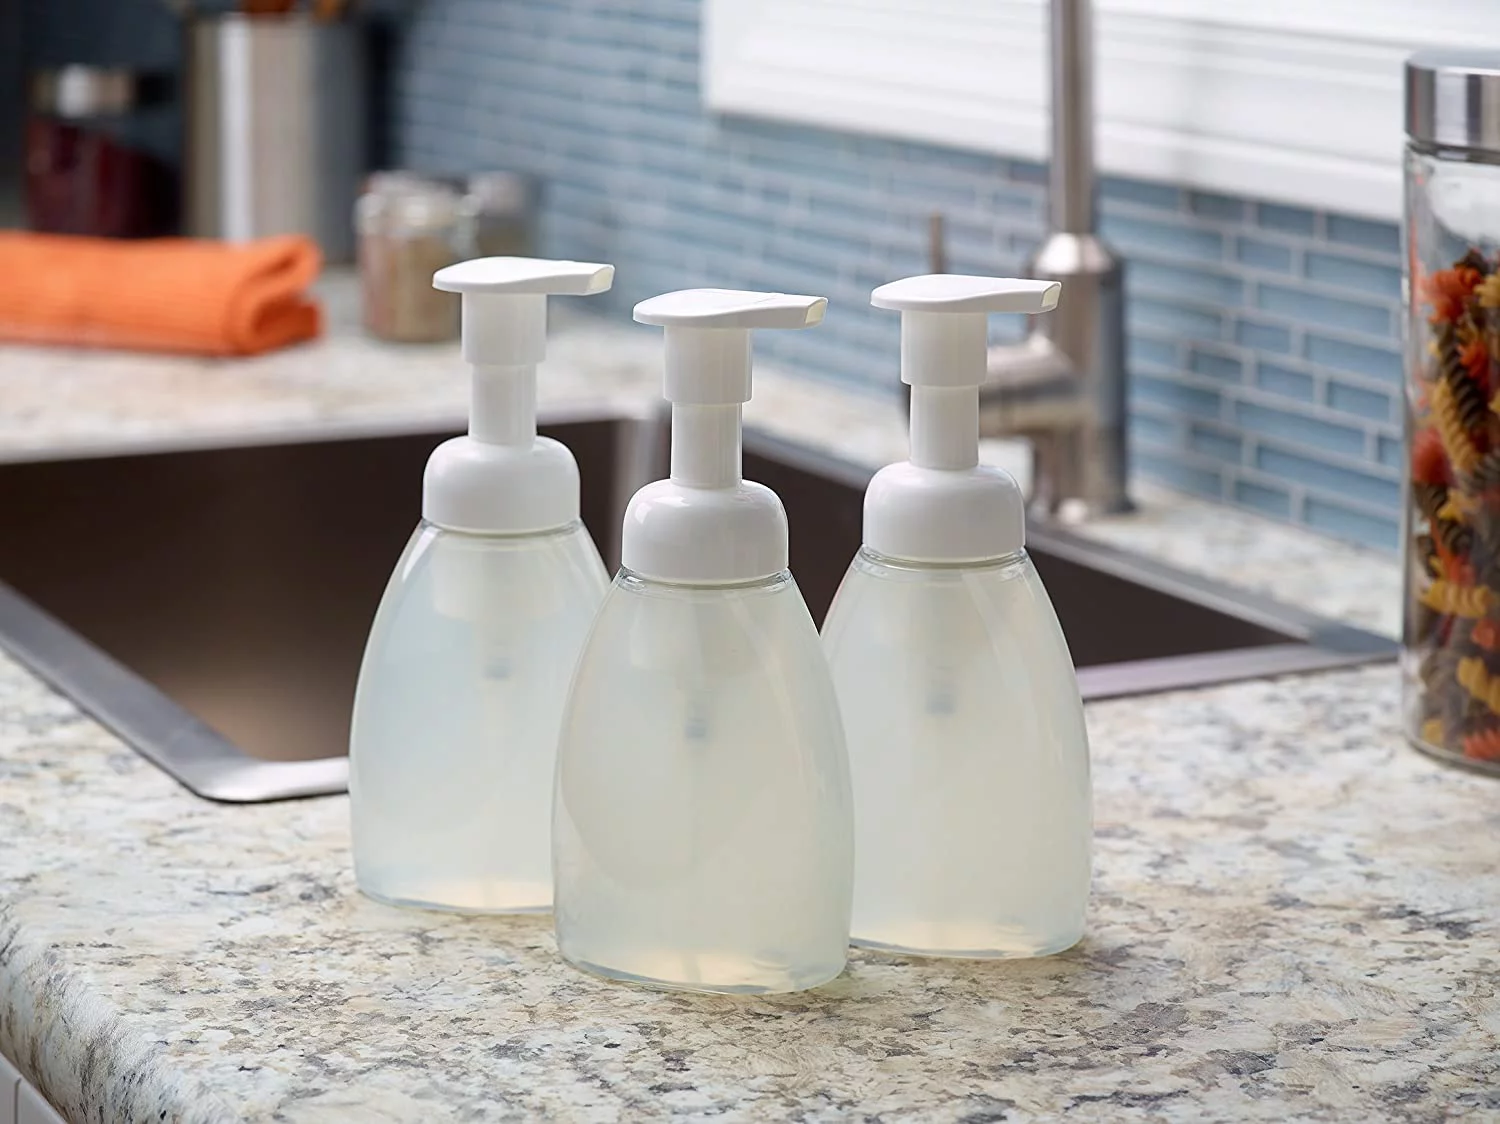
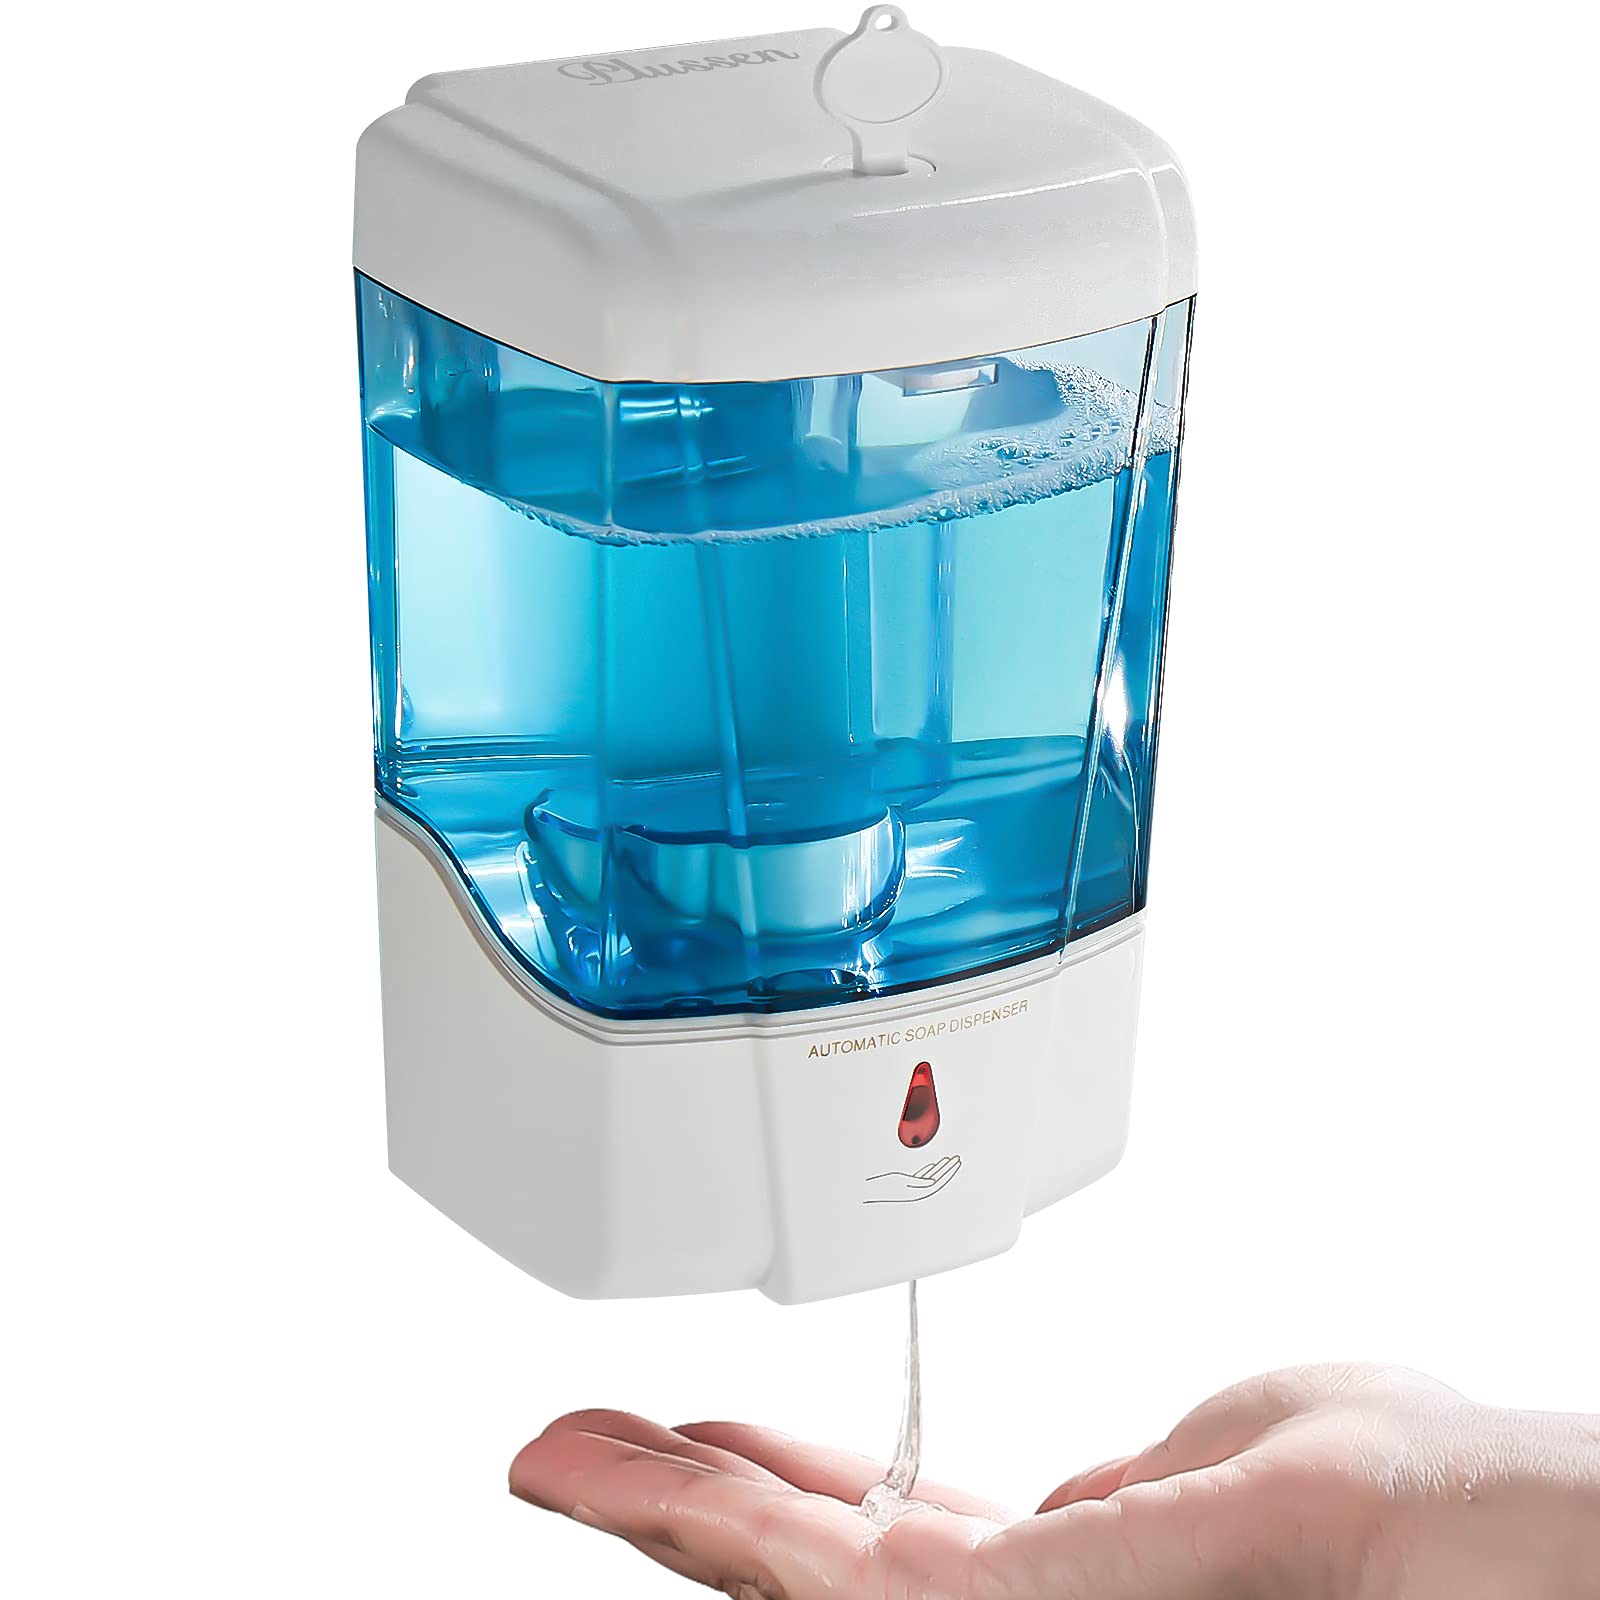
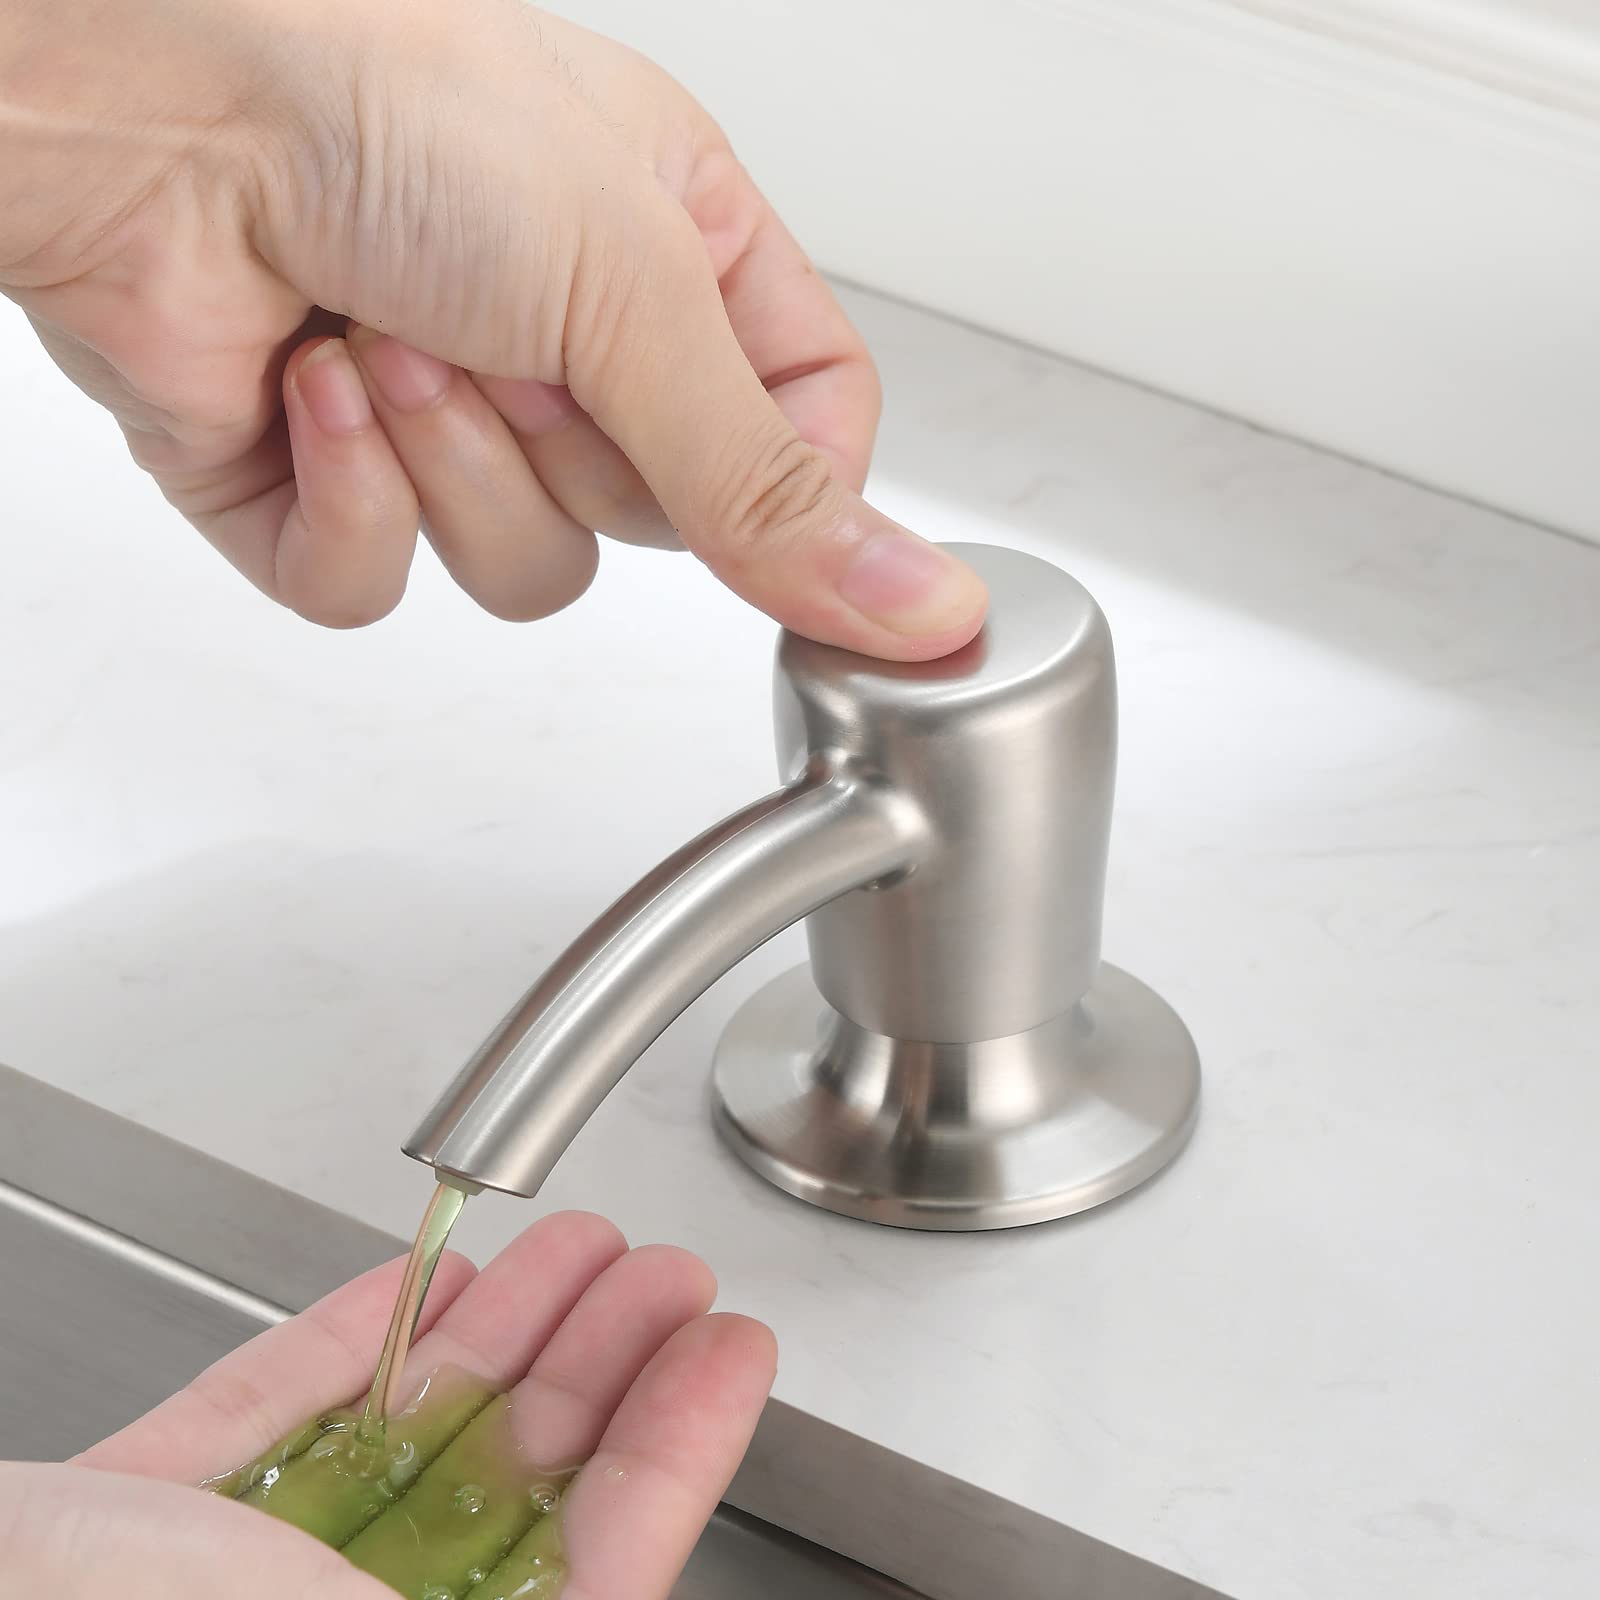
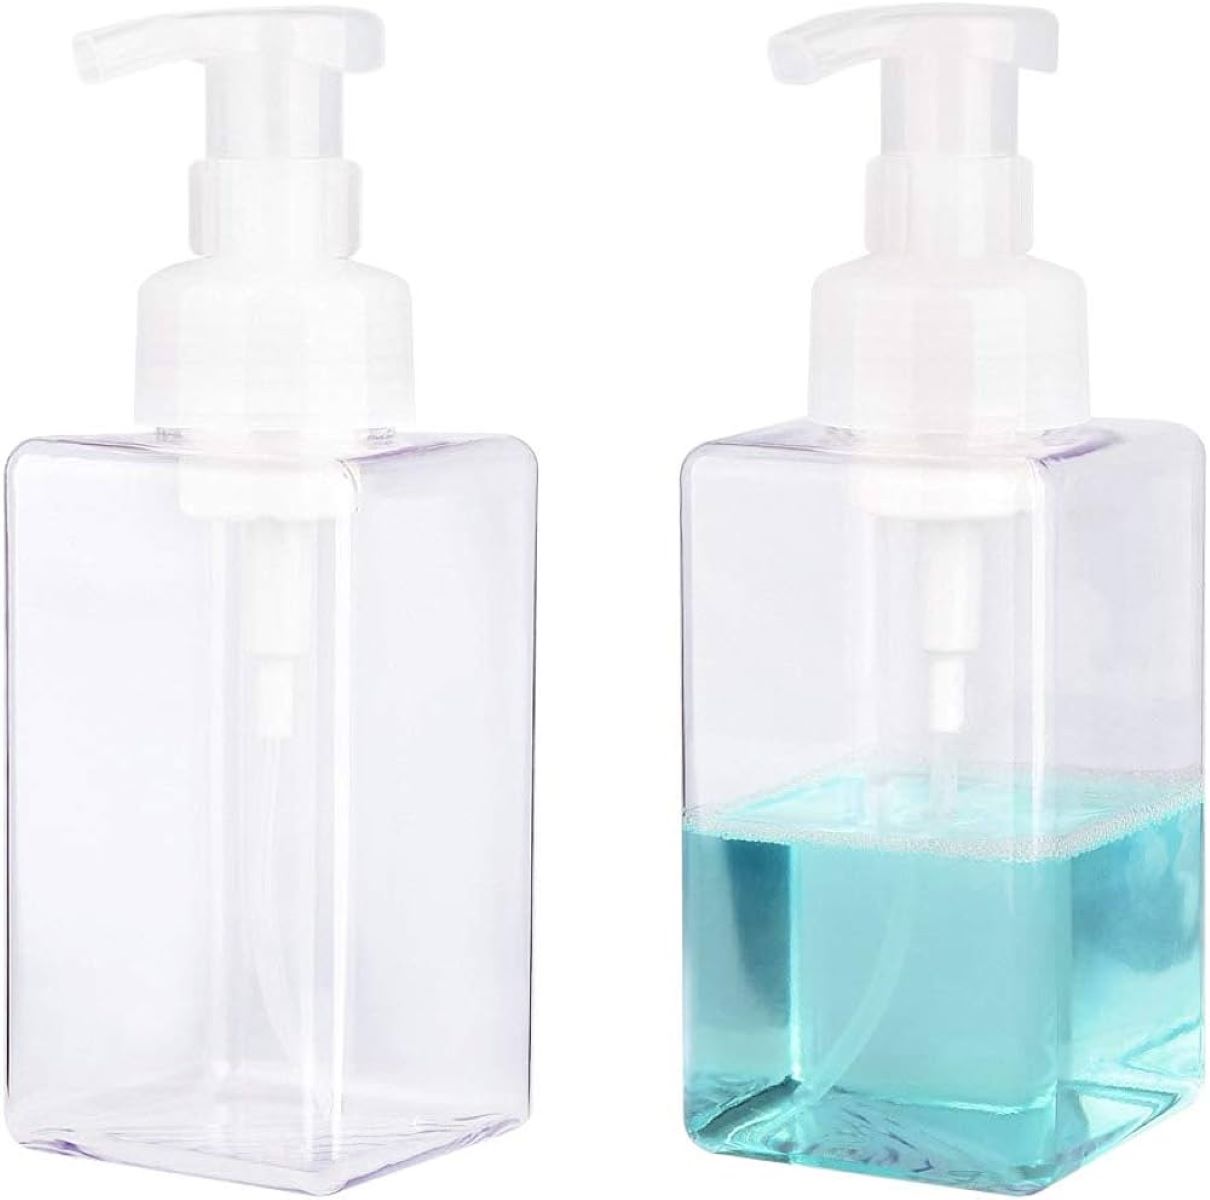
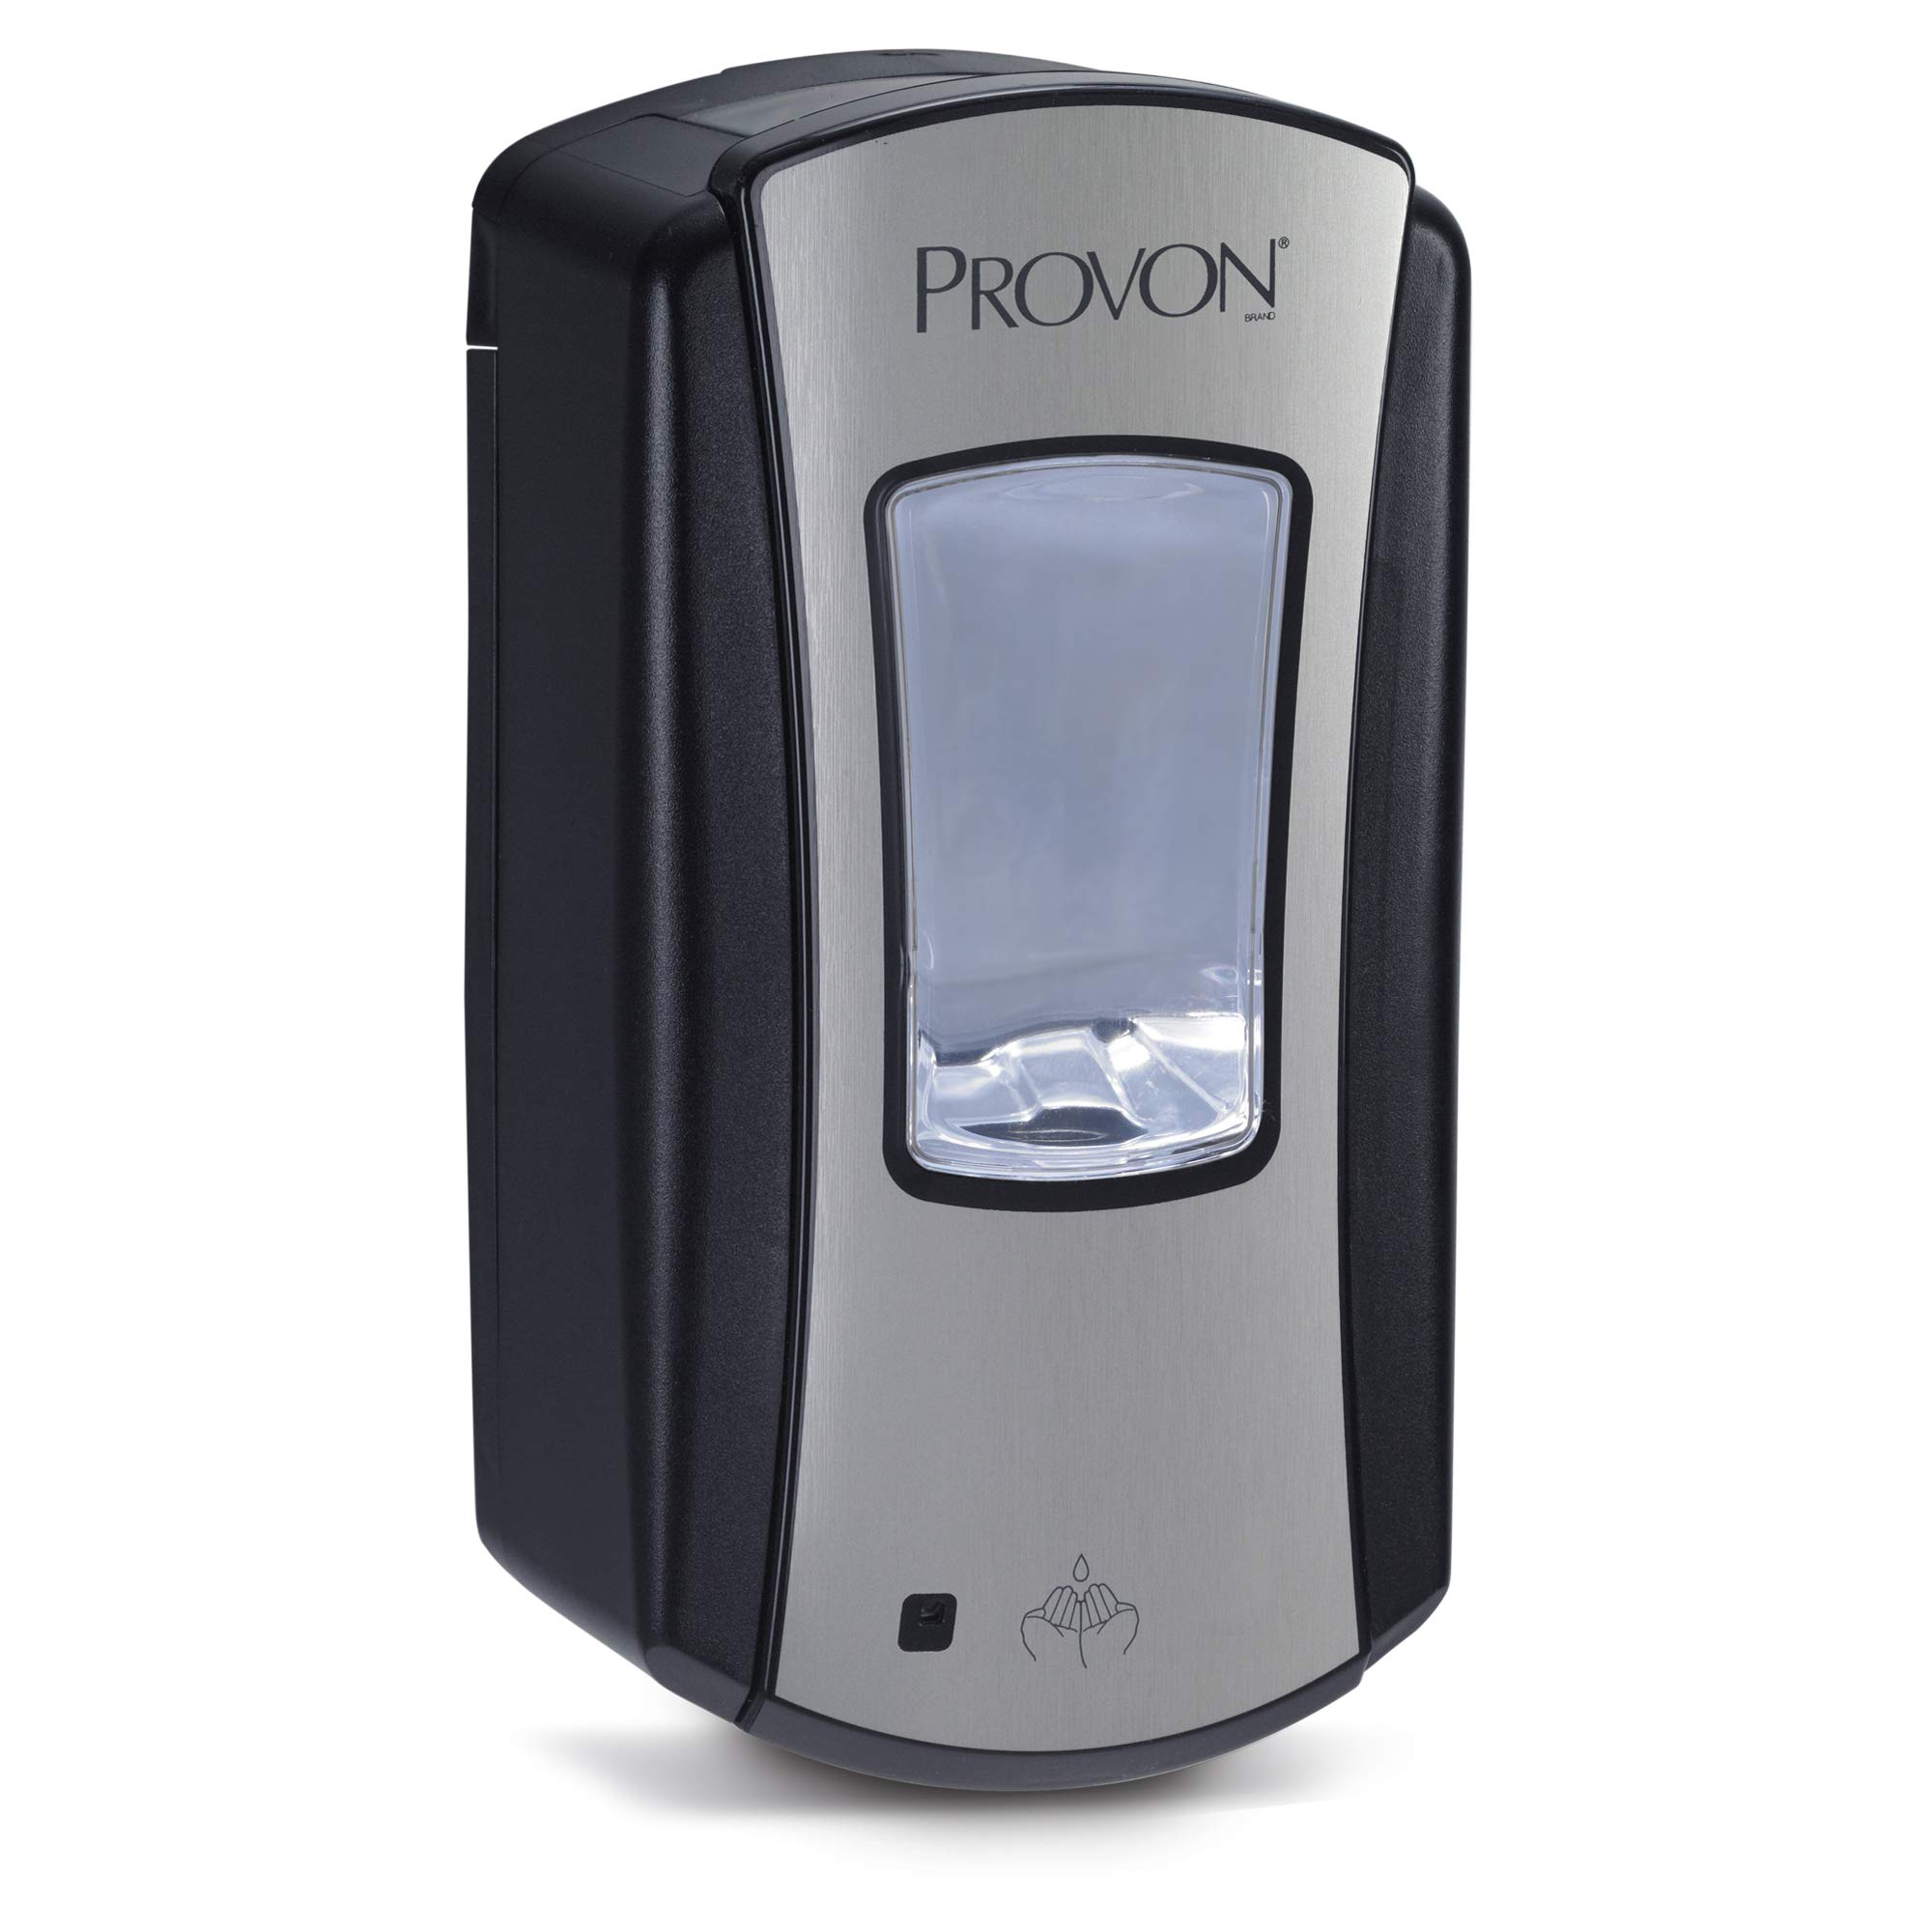
- A clean, empty foaming soap dispenser
- Liquid hand soap or dish soap of your choice
- Distilled water
- Optional: Essential oils for fragrance
Now that you have all the necessary materials, let’s get started on creating your own foaming soap dispenser!
Key Takeaways:
- Create your own eco-friendly and cost-effective foaming soap dispenser using basic materials and essential oils for a personalized handwashing experience.
- Enjoy the luxurious and airy lather of foaming soap while reducing waste and customizing your handwashing routine with a DIY foaming soap dispenser.
Read more: How To Fix Foaming Soap Dispenser
Materials Needed
Before you can start making your foaming soap dispenser, it’s important to gather all the necessary materials. Here’s a list of what you’ll need:
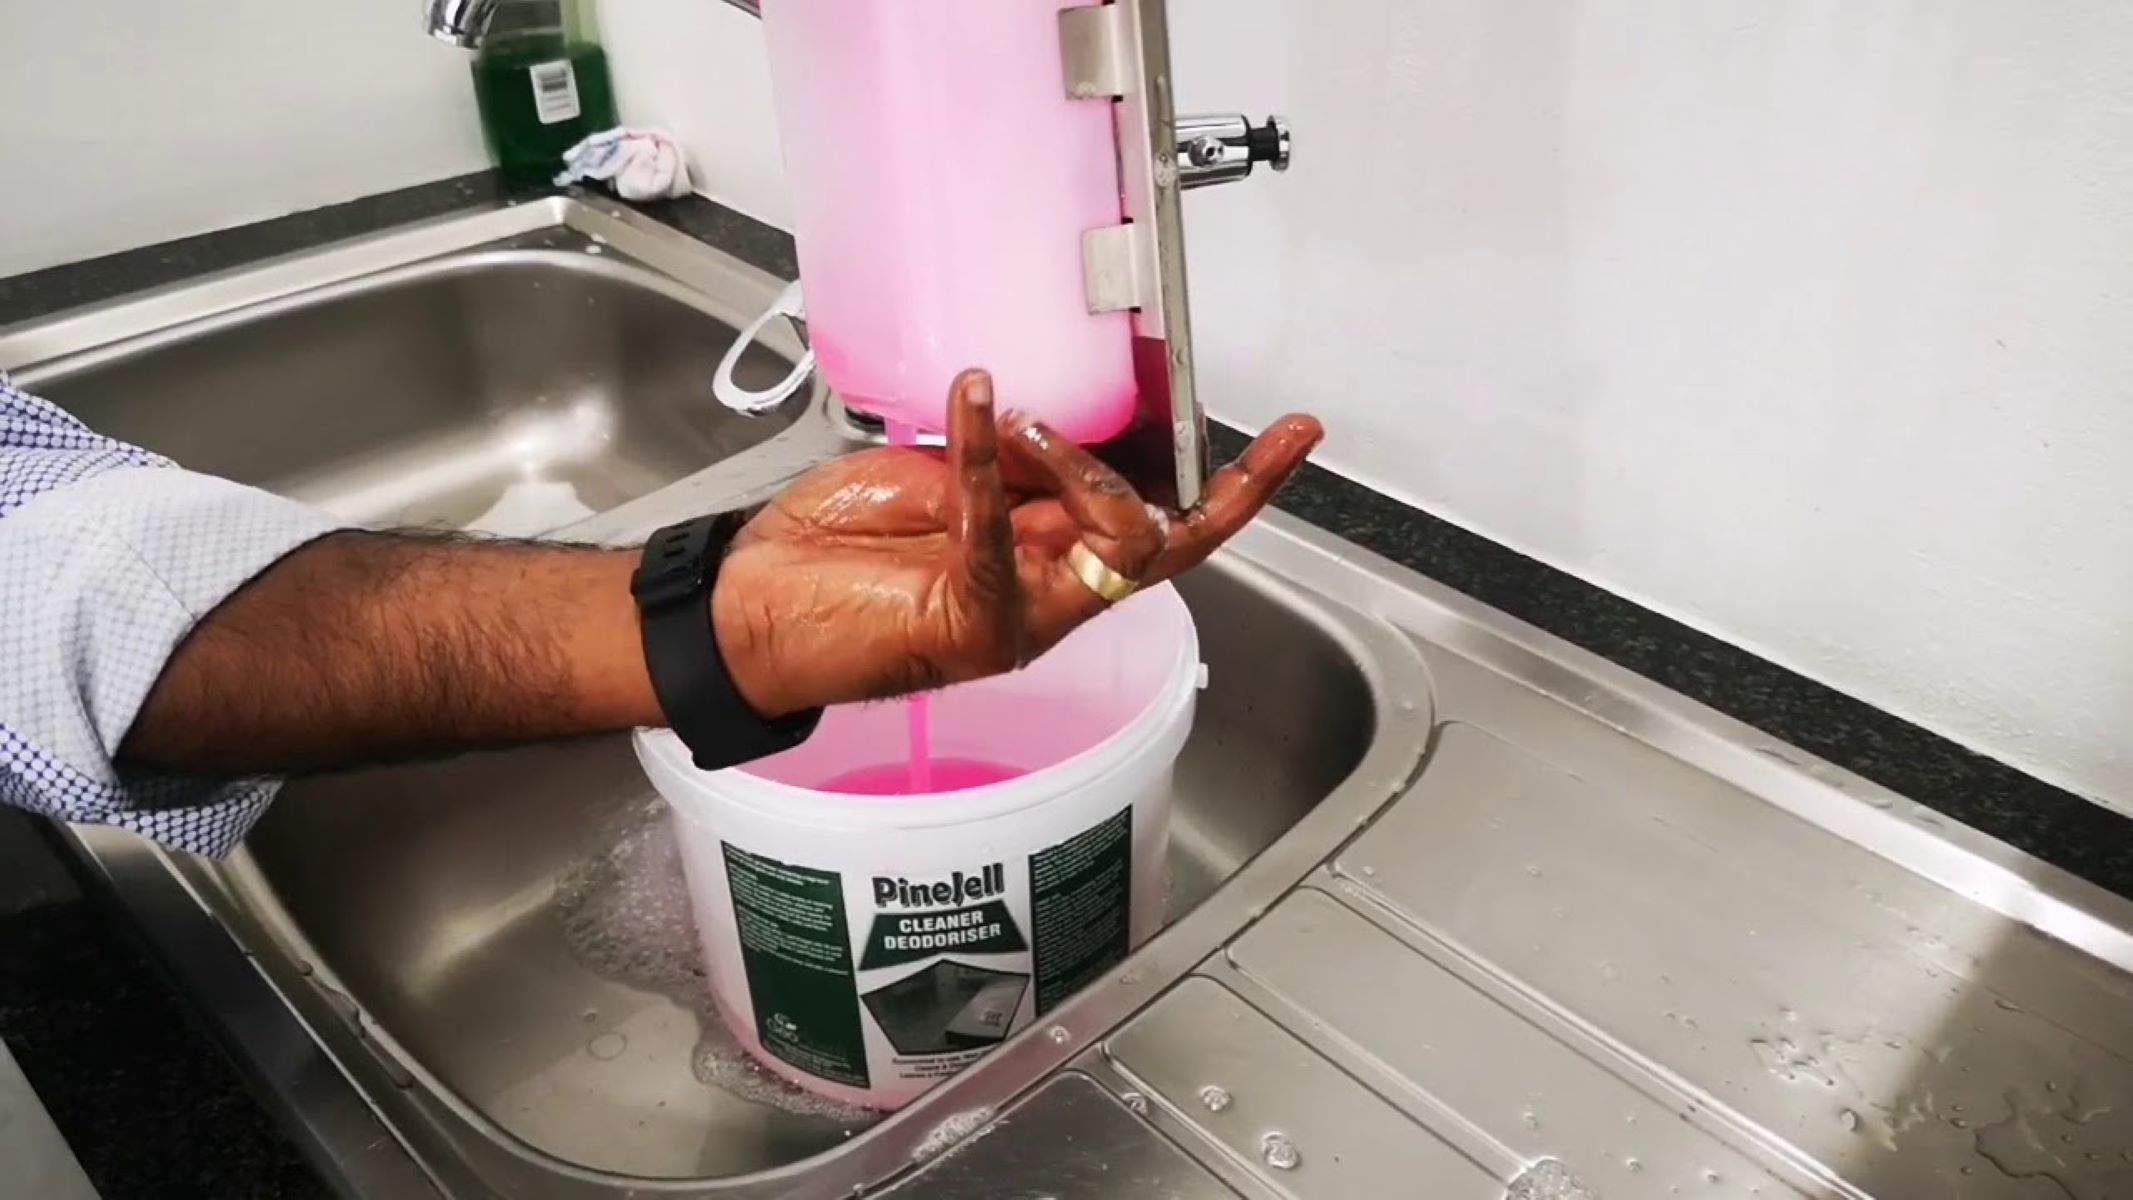
- A Clean, Empty Foaming Soap Dispenser: Look for a dispenser specifically designed for foaming soap. You can either repurpose an old foaming soap dispenser or purchase a new one from a local store or online retailer.
- Liquid Hand Soap or Dish Soap: Choose a soap that is suitable for foaming, as not all liquid soaps are formulated for this purpose. You can use either a liquid hand soap or a mild dish soap. Consider selecting a fragrance or formula that you enjoy.
- Distilled Water: It’s important to use distilled water to prevent any impurities or minerals from interfering with the foaming action. You can find distilled water at your local supermarket or purchase it online.
- Optional: Essential Oils for Fragrance: If you prefer scented soap, you can add a few drops of your favorite essential oil to the foaming soap solution. Popular options include lavender, citrus, or eucalyptus.
Once you have gathered all these materials, you’re ready to move on to the next step, which is preparing the soap dispenser for use.
Step 1: Gather Your Supplies
Before you begin the process of making your foaming soap dispenser, it’s important to gather all the necessary supplies. Here’s what you’ll need:
- A clean, empty foaming soap dispenser.
- Liquid hand soap or dish soap of your choice. Ensure that the soap is suitable for foaming.
- Distilled water.
- Optional: Essential oils for fragrance, if desired.
Make sure that your foaming soap dispenser is clean and empty. If you’re using a new dispenser, take off the lid and remove any packaging or protective seals. If you’re repurposing an old dispenser, thoroughly wash and dry it to remove any residue from previous use.
If you’re using liquid hand soap, choose one that you enjoy using and that works well with your skin type. If you prefer to use dish soap, make sure it’s mild and gentle on your hands.
Distilled water is essential for making the foaming soap solution. It helps to prevent any impurities or minerals from interfering with the foaming action. You can usually find distilled water in the bottled water section of your local supermarket. If you prefer, you can also purchase distilled water online.
Lastly, if you want to add a pleasant fragrance to your foaming soap, you can use essential oils. Choose oils that you enjoy and that complement the scent of your soap. Popular choices include lavender, citrus, or eucalyptus. Remember to use essential oils sparingly, as they can be potent.
Now that you have all your supplies ready, you’re prepared to move on to the next step: preparing the soap dispenser.
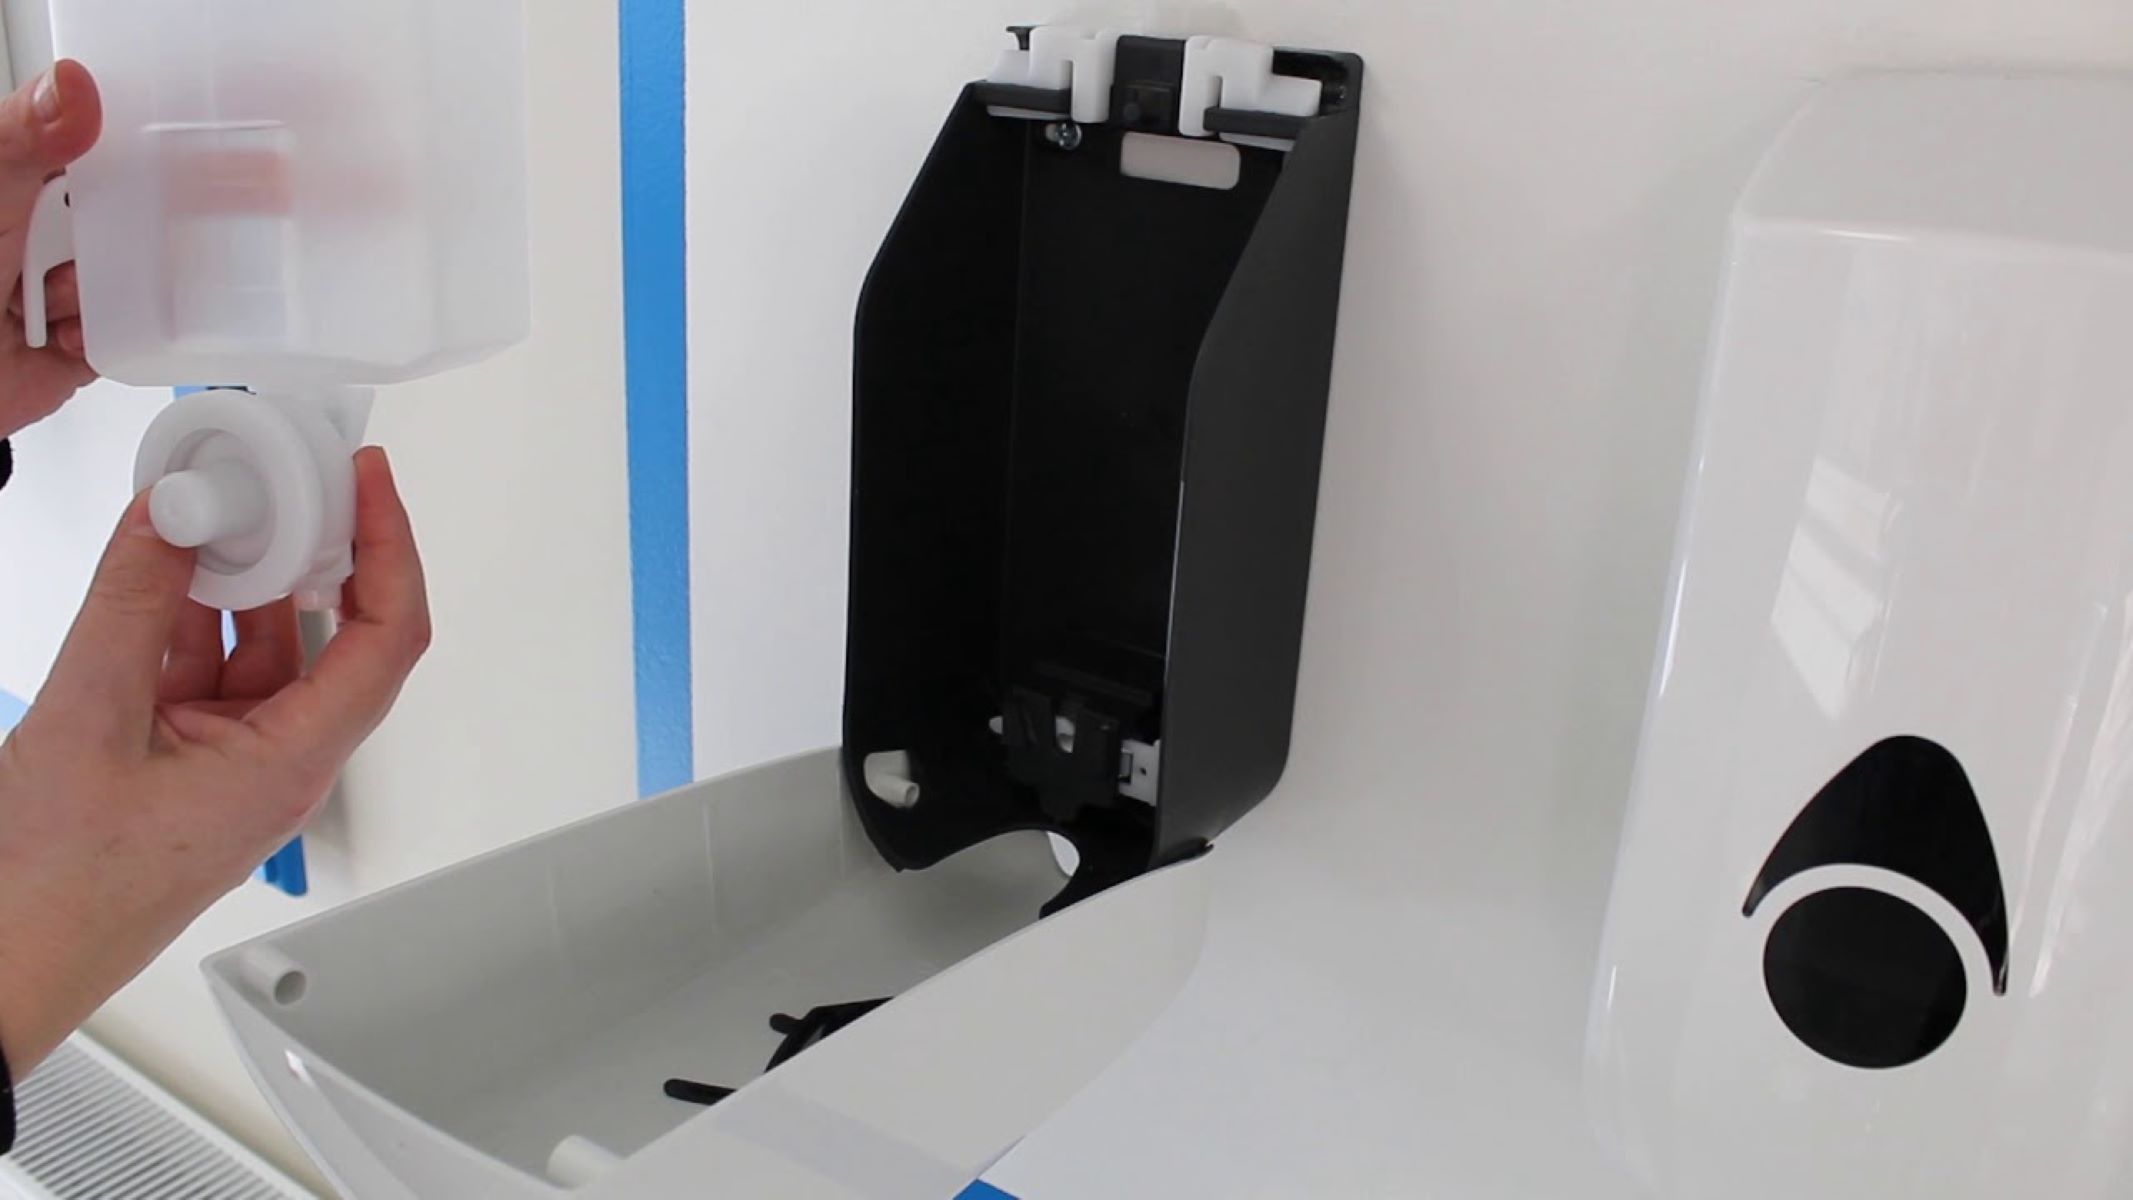
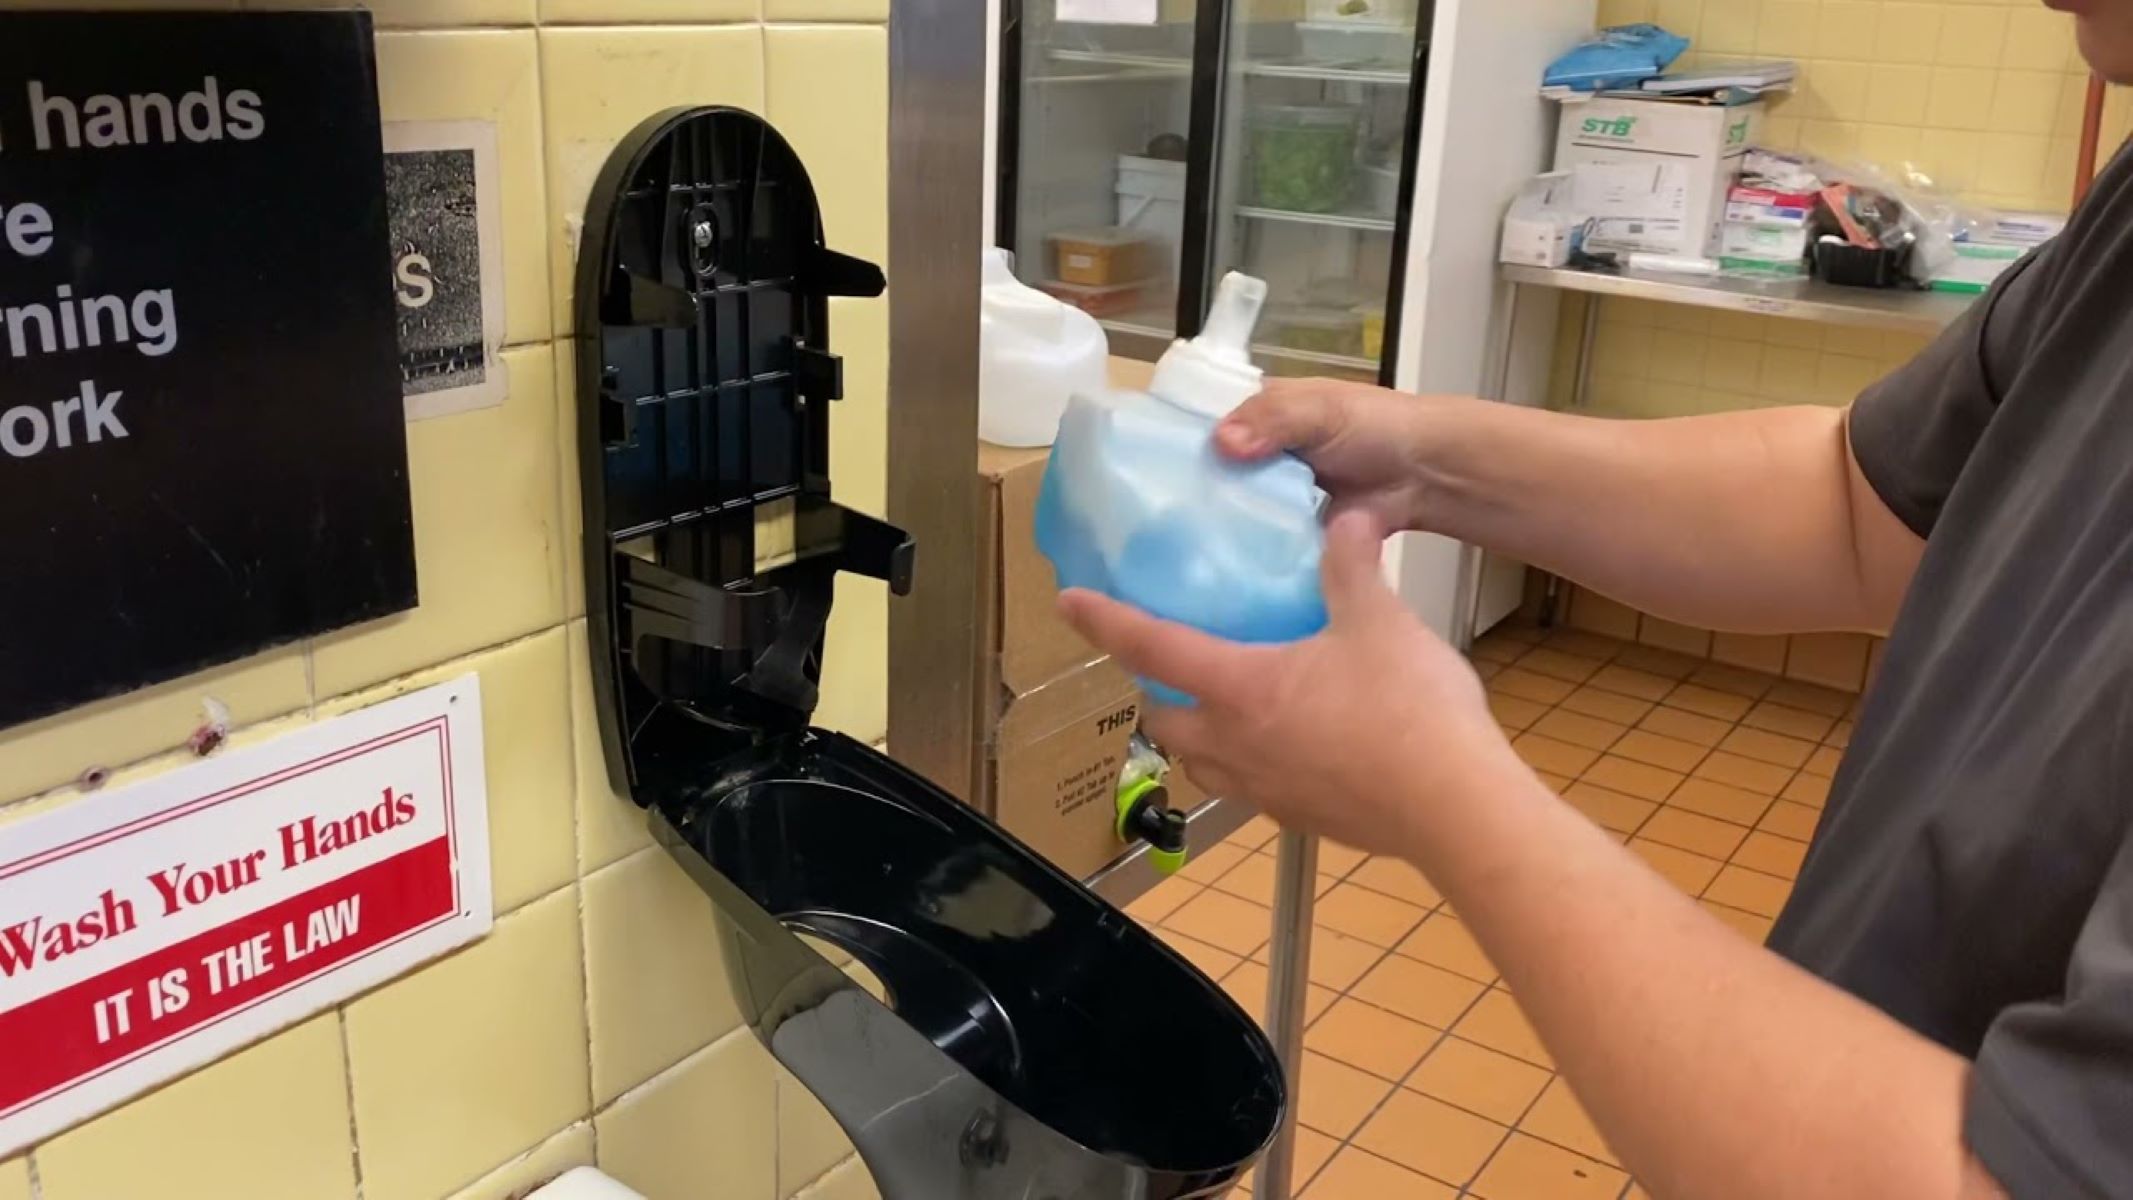
Step 2: Prepare the Soap Dispenser
Now that you have gathered all your supplies, it’s time to prepare the soap dispenser for use. Follow these simple steps:
- Remove the lid of the foaming soap dispenser.
- Check the pump mechanism to ensure it is clean and free of any clogs or debris.
- If using a new dispenser, remove any packaging or protective seals.
- If repurposing an old dispenser, wash and dry it thoroughly to remove any residue from previous use.
By removing the lid, you gain access to the pump mechanism. This is where the soap solution is dispensed in a foaming form. It’s crucial to ensure that the mechanism is clean and in good working condition.
Take a moment to inspect the pump mechanism. If you notice any clogs or debris, use warm water and a gentle brush, such as a toothbrush, to clean it. This step ensures that the soap dispenses smoothly and creates a luxurious foam.
For new dispensers, remove any packaging or protective seals if present. This helps to ensure that the dispenser is ready for use.
If you are repurposing an old dispenser, wash it thoroughly with soap and warm water. Pay special attention to any nooks and crannies, as residual soap or grime can affect the performance of the dispenser. Dry it completely before moving on to the next step.
Once you have prepared the soap dispenser, you’re ready to move on to the exciting part: making the foaming soap solution!
When making a foaming soap dispenser, be sure to use a gentle, liquid soap that is suitable for foaming. Avoid using thick or creamy soaps, as they may clog the dispenser.
Step 3: Make the Foaming Soap Solution
Now that your soap dispenser is prepared, it’s time to make the foaming soap solution. Follow these simple steps:
- Fill the soap dispenser container about one-fourth to one-third full with liquid hand soap or dish soap.
- Add a few drops of your preferred essential oil if you want a scented soap.
- Slowly pour distilled water into the container, leaving enough space at the top for the pump mechanism.
- Using a spoon or a small stick, gently stir the ingredients together until well combined.
Begin by filling the soap dispenser container about one-fourth to one-third full with your preferred liquid hand soap or dish soap. The exact amount may vary depending on the size of the dispenser, so adjust accordingly. Make sure to choose a soap that is suitable for foaming to ensure optimal results.
If you prefer a scented soap, add a few drops of your preferred essential oil directly into the soap. This step adds a pleasant fragrance to your foaming soap. Remember to use essential oils sparingly and adjust the amount to your preference. Popular choices include lavender, citrus, or eucalyptus, but feel free to experiment with different scents.
Next, slowly pour distilled water into the dispenser container, leaving enough space at the top for the pump mechanism. Distilled water is recommended as it helps prevent impurities and minerals from interfering with the foaming action. Be careful not to overfill the container, as this can hinder the foaming process.
Using a spoon or a small stick, gently stir the ingredients together until well combined. This ensures that the soap and water are evenly mixed. Take care not to create excessive bubbles during the stirring process, as this can affect the foaming action when dispensing the soap.
Now that you have successfully made the foaming soap solution, you’re ready for the next step: filling the dispenser with the foaming soap!
Read more: How Does Foam Soap Dispenser Work
Step 4: Fill the Dispenser with Foaming Soap
With the foaming soap solution ready, it’s time to fill the dispenser and get ready to enjoy the luxurious foam. Follow these simple steps:
- Hold the soap dispenser container at a slight angle.
- Carefully pour the foaming soap solution into the dispenser, avoiding any spills or overflow.
- Ensure that you leave some space at the top of the dispenser for the pump mechanism.
- Tightly screw the lid back onto the dispenser.
Hold the soap dispenser container at a slight angle to make it easier to pour the foaming soap solution into the dispenser. This slight tilt helps to prevent spills and ensures a smooth and controlled transfer.
Carefully pour the foaming soap solution into the dispenser, taking care to avoid any spills or overflow. The amount of soap solution required may vary depending on the size of the dispenser, so adjust accordingly. It’s better to fill the dispenser closer to the maximum fill line to ensure a consistent foaming action.
Ensure that you leave some space at the top of the dispenser for the pump mechanism. This allows the pump to operate smoothly without any obstruction. Avoid overfilling the dispenser, as this can lead to leaks or difficulties in dispensing the foam.
Once you have filled the dispenser to the desired level, tightly screw the lid back onto the dispenser. This ensures that the soap solution is securely contained and ready for use. Give the dispenser a gentle shake to ensure that the soap and water are properly mixed.
Congratulations! You have successfully filled the dispenser with your homemade foaming soap. Now it’s time to test and use the foaming soap dispenser.
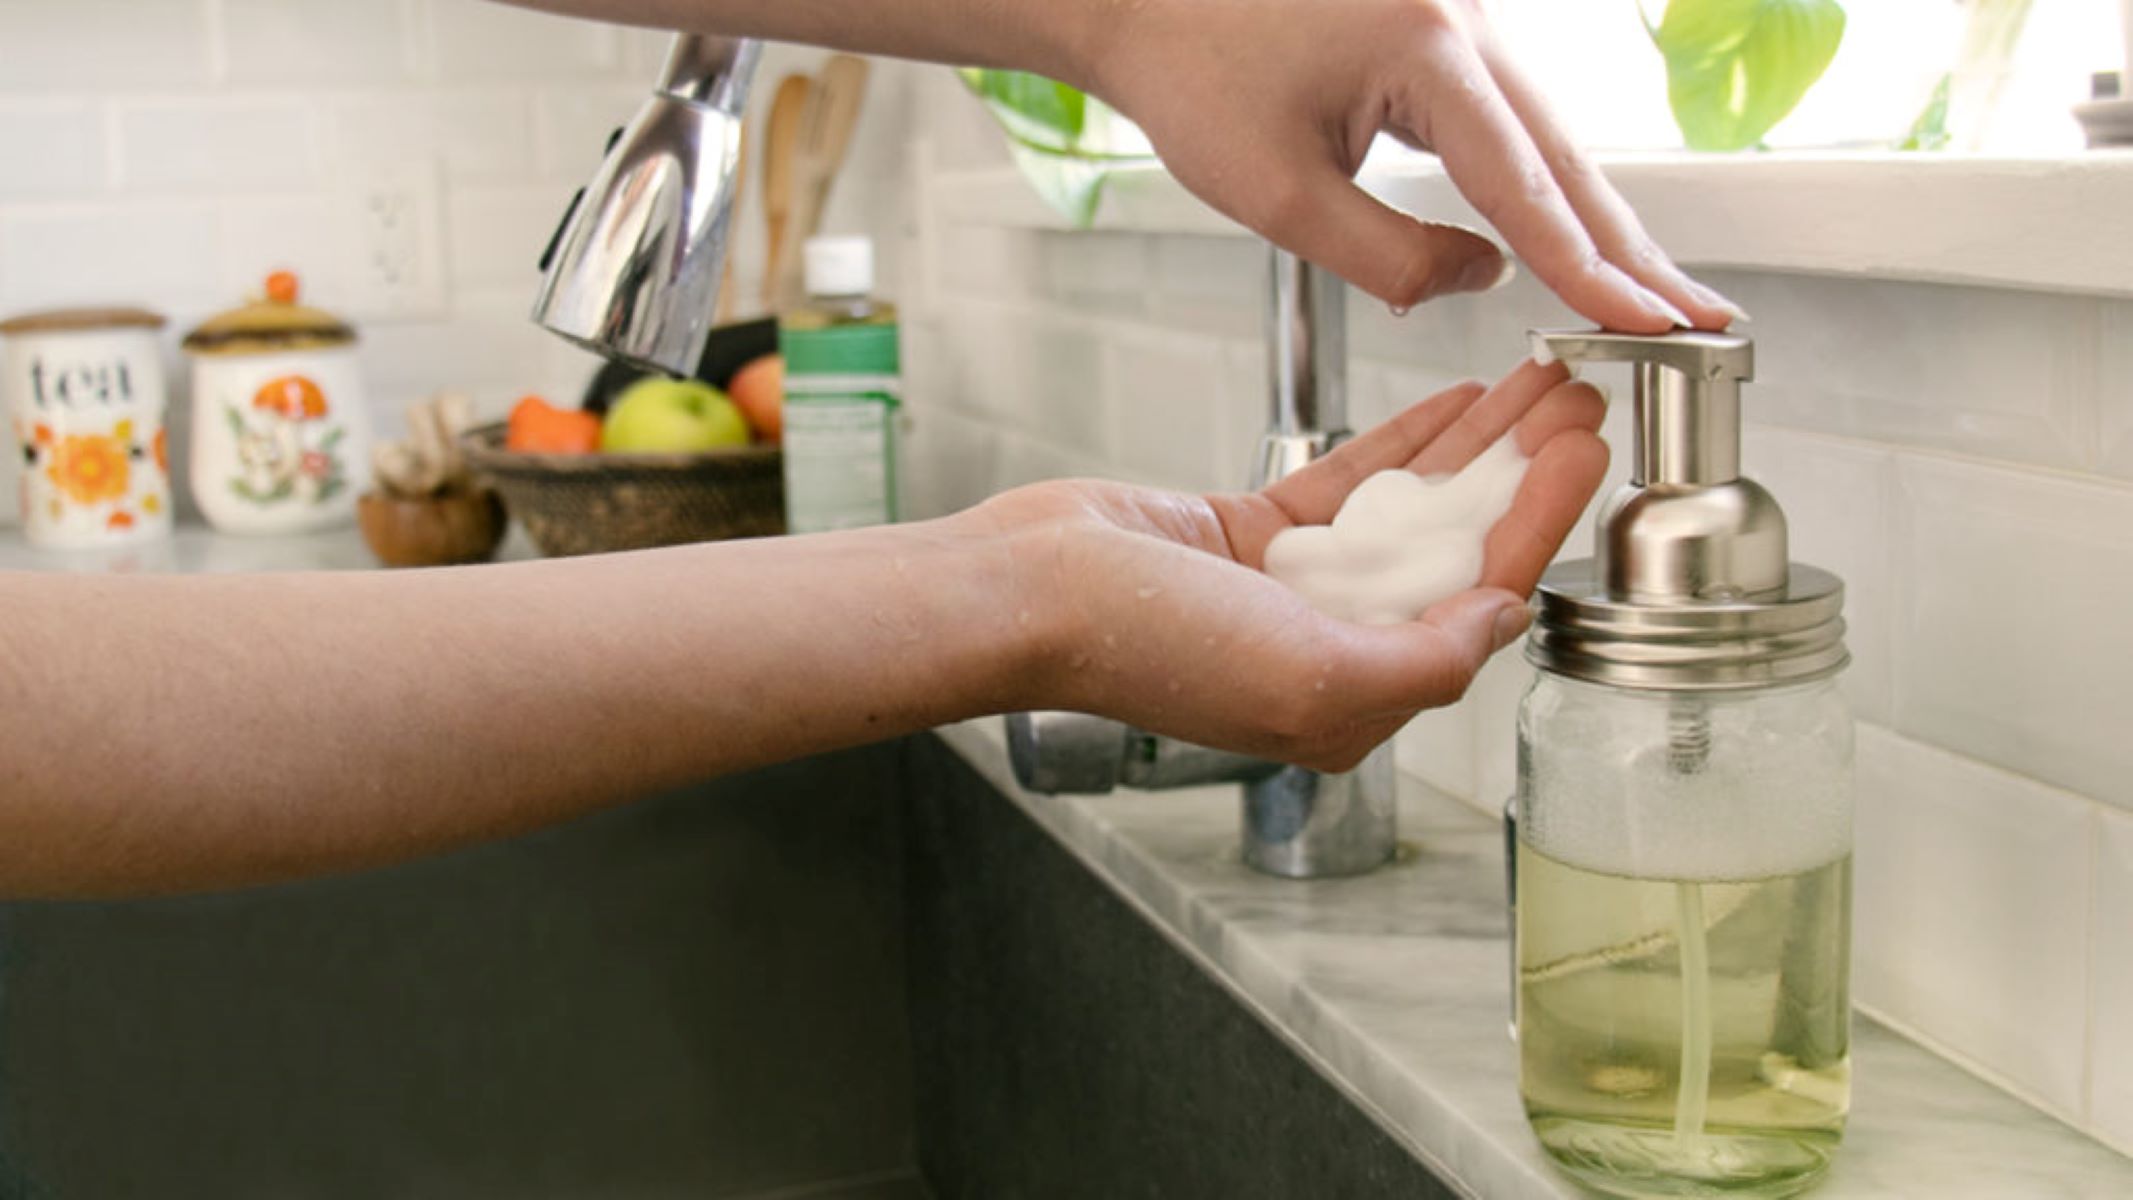
Step 5: Test and Use the Foaming Soap Dispenser
Now that you have filled the foaming soap dispenser, it’s time to test it out and start enjoying the benefits of foaming soap. Follow these steps to test and use the dispenser:
- Prime the dispenser by pumping it a few times to get the foaming action started.
- Place your hand under the pump and press down gently to dispense the foaming soap.
- Enjoy the luxurious foam as you lather your hands.
- Rinse your hands with water to remove the soap.
- Refill the dispenser as needed to continue enjoying foaming soap.
Start by priming the dispenser to get the foaming action started. Pump the dispenser a few times to build up pressure and activate the mechanism. This prepares the dispenser to dispense the foaming soap smoothly.
Place your hand under the pump and press down gently to dispense the foaming soap. As you press the pump, you will notice the luxurious foam being dispensed. The foam created by the dispenser is airy and light, providing an enjoyable and effective handwashing experience.
Lather your hands thoroughly with the foam, ensuring that you cover all areas. Feel the softness and cleanliness as you work the foam into a rich lather. Enjoy the pleasant scent if you added essential oils for fragrance.
Rinse your hands with water to remove the foaming soap. The foam will rinse away effortlessly, leaving your hands feeling clean and refreshed.
If the dispenser runs out of foaming soap, simply refill it with more of the soap solution. Unscrew the lid, pour in the foaming soap solution, and secure the lid back in place. Enjoy the convenience of having a refillable foaming soap dispenser.
By following these steps, you can test and use your homemade foaming soap dispenser to achieve clean and moisturized hands with less soap. Enjoy the benefits of foaming soap while reducing waste and customizing your handwashing experience.
Congratulations! You have successfully made and used your DIY foaming soap dispenser. Say goodbye to traditional hand soap and embrace the joy of foaming soap!
Conclusion
Congratulations on successfully creating your own foaming soap dispenser! By following the step-by-step process outlined in this guide, you have not only saved money but also contributed to reducing plastic waste and customized your handwashing experience. With just a few basic materials and a little effort, you can enjoy the benefits of foaming soap in the comfort of your own home.
By repurposing an empty foaming soap dispenser or purchasing a new one, you have taken the first step towards a more eco-friendly and cost-effective way of handwashing. The process of preparing the soap dispenser ensures that it is clean and ready for use, while making the foaming soap solution allows you to customize the soap to your preference.
Using the foaming soap dispenser is a delight. With a few pumps, you can create luxurious and airy foam that effectively cleanses your hands. The option to add essential oils for fragrance adds a personal touch and enhances the overall handwashing experience. Refilling the dispenser as needed ensures that you can continue enjoying the benefits of foaming soap and reduces the need to constantly purchase new soap bottles.
With your DIY foaming soap dispenser, you have not only embraced a more sustainable way of handwashing but also elevated the everyday task to a more enjoyable and efficient experience. Say goodbye to traditional hand soap and say hello to the world of foaming soap!
Remember to share this guide with family and friends, encouraging them to join you on the journey towards a greener and more delightful handwashing routine. Together, we can make a positive impact on our environment and enjoy the benefits of foaming soap.
Once again, congratulations on your homemade foaming soap dispenser. Happy handwashing!
Frequently Asked Questions about How To Make A Foaming Soap Dispenser
Was this page helpful?
At Storables.com, we guarantee accurate and reliable information. Our content, validated by Expert Board Contributors, is crafted following stringent Editorial Policies. We're committed to providing you with well-researched, expert-backed insights for all your informational needs.

0 thoughts on “How To Make A Foaming Soap Dispenser”