Articles
How To Make A Kegerator For Cold Brew
Modified: October 19, 2024
Discover step-by-step instructions on creating a kegerator for your cold brew with our informative articles. Elevate your coffee game today!
(Many of the links in this article redirect to a specific reviewed product. Your purchase of these products through affiliate links helps to generate commission for Storables.com, at no extra cost. Learn more)
Introduction
Are you a cold brew coffee lover tired of making daily trips to your local coffee shop for your fix? Look no further – we have the solution for you. With a homemade kegerator for cold brew, you can enjoy a refreshing cup of cold brew coffee anytime, right from the comfort of your own home.
Cold brew coffee has been gaining popularity for its smooth, less acidic taste and higher caffeine content. Making your own cold brew is not only cost-effective but also allows you to have control over the brewing process and experiment with different flavors. And what better way to store and dispense your homemade cold brew than with a custom-built kegerator?
In this article, we will guide you through the step-by-step process of creating your very own kegerator for cold brew. From selecting the right refrigerator to installing the necessary components, we will cover everything you need to know to set up your own cold brew paradise in your kitchen.
Before we dive into the details, let’s take a quick look at the materials you will need for this project.
Key Takeaways:
- Enjoy homemade cold brew anytime with a custom kegerator. Experiment with flavors and control the brewing process for a refreshing and cost-effective coffee experience at home.
- Keep your kegerator running smoothly by maintaining and cleaning it regularly. Regular inspections and part replacements will ensure optimal performance and delicious cold brew every time.
Materials Needed
Before you start building your kegerator for cold brew, make sure you have the following materials ready:
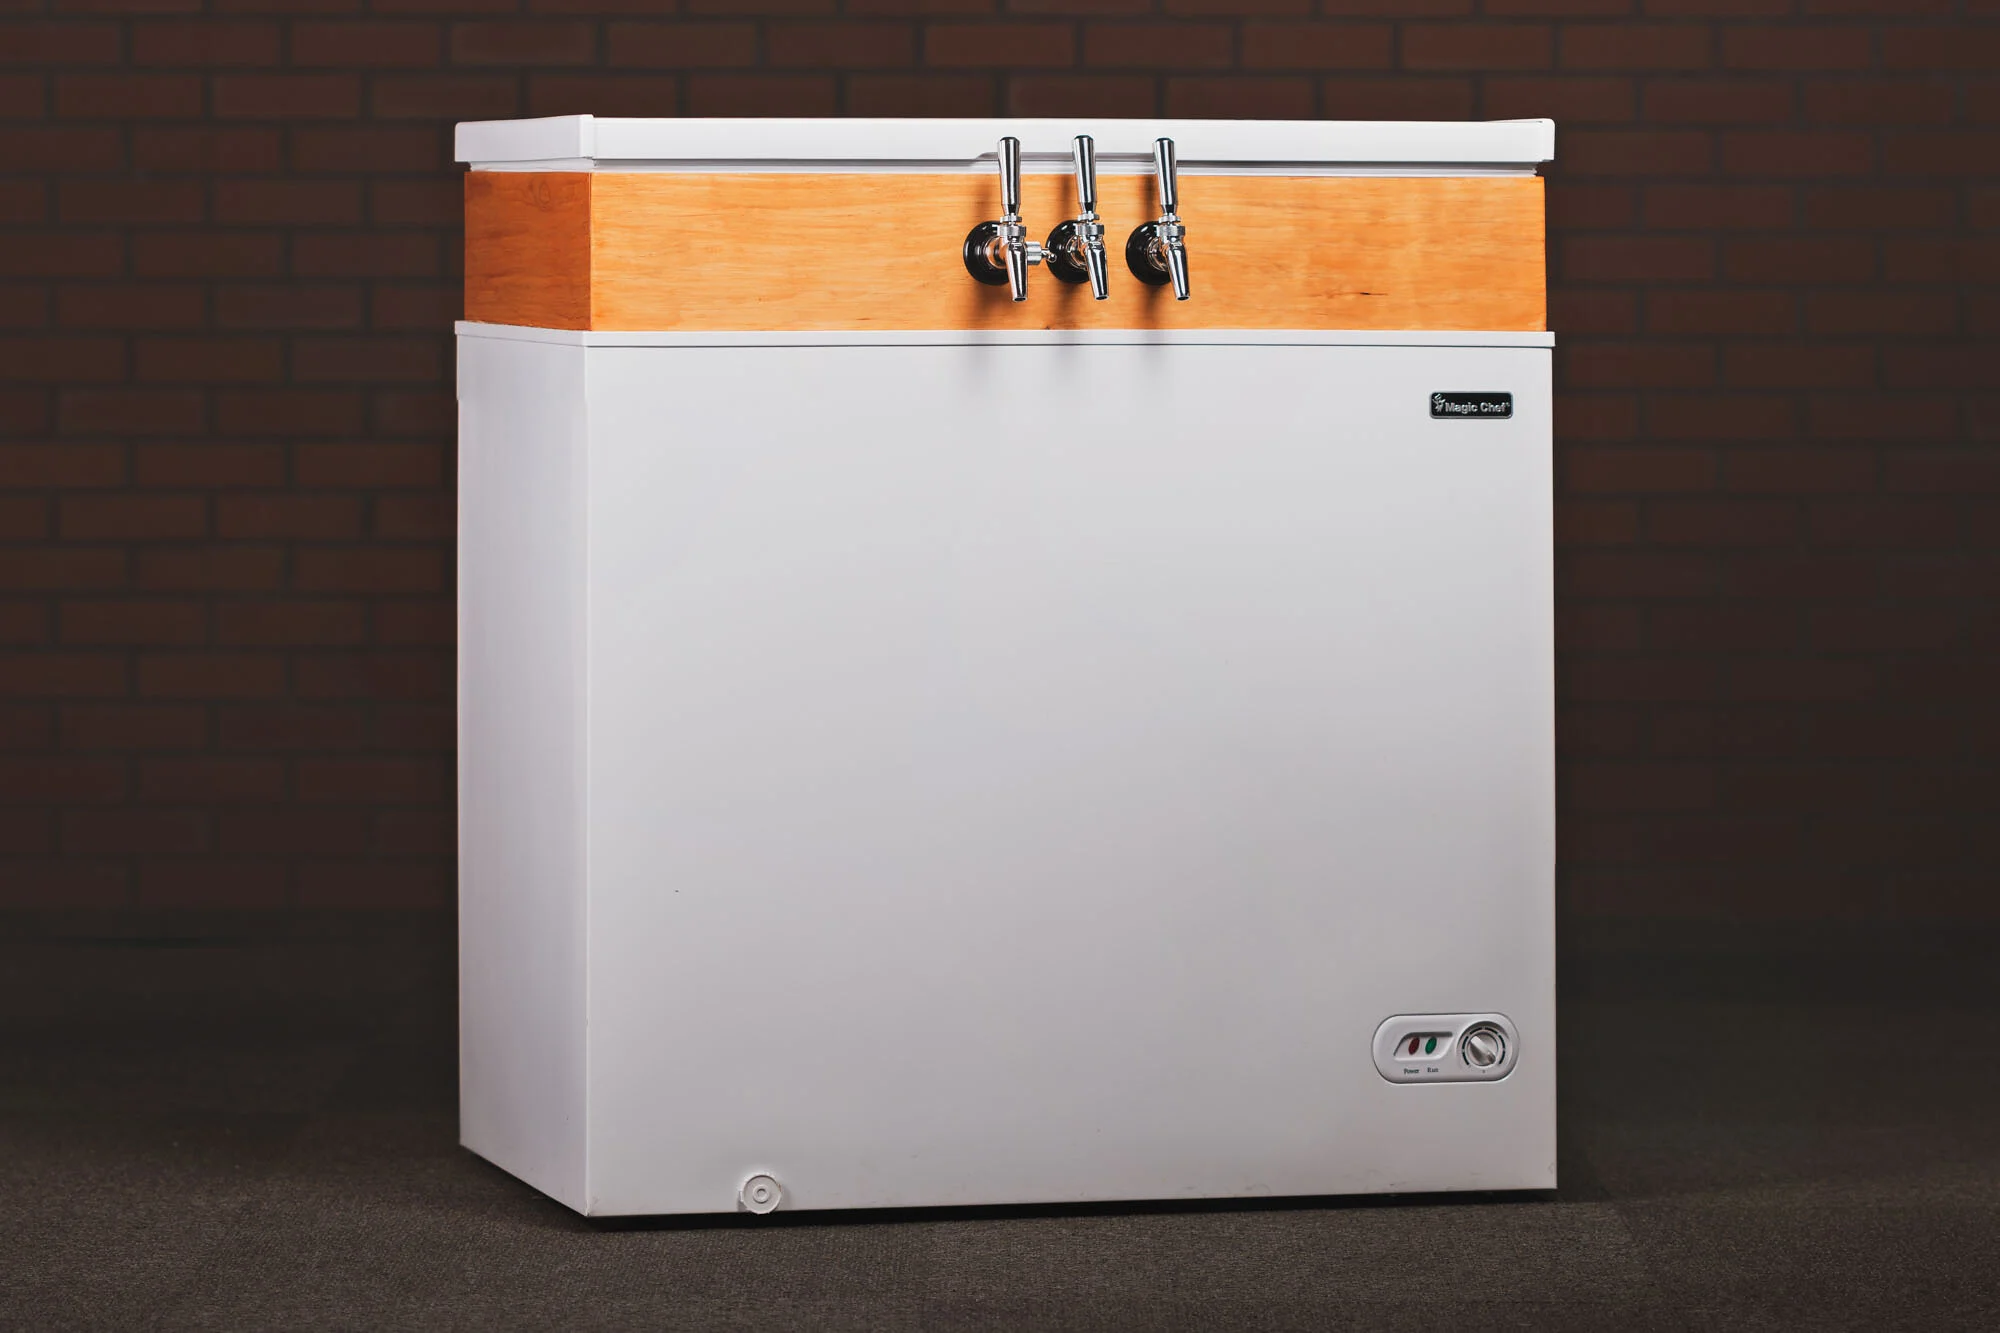
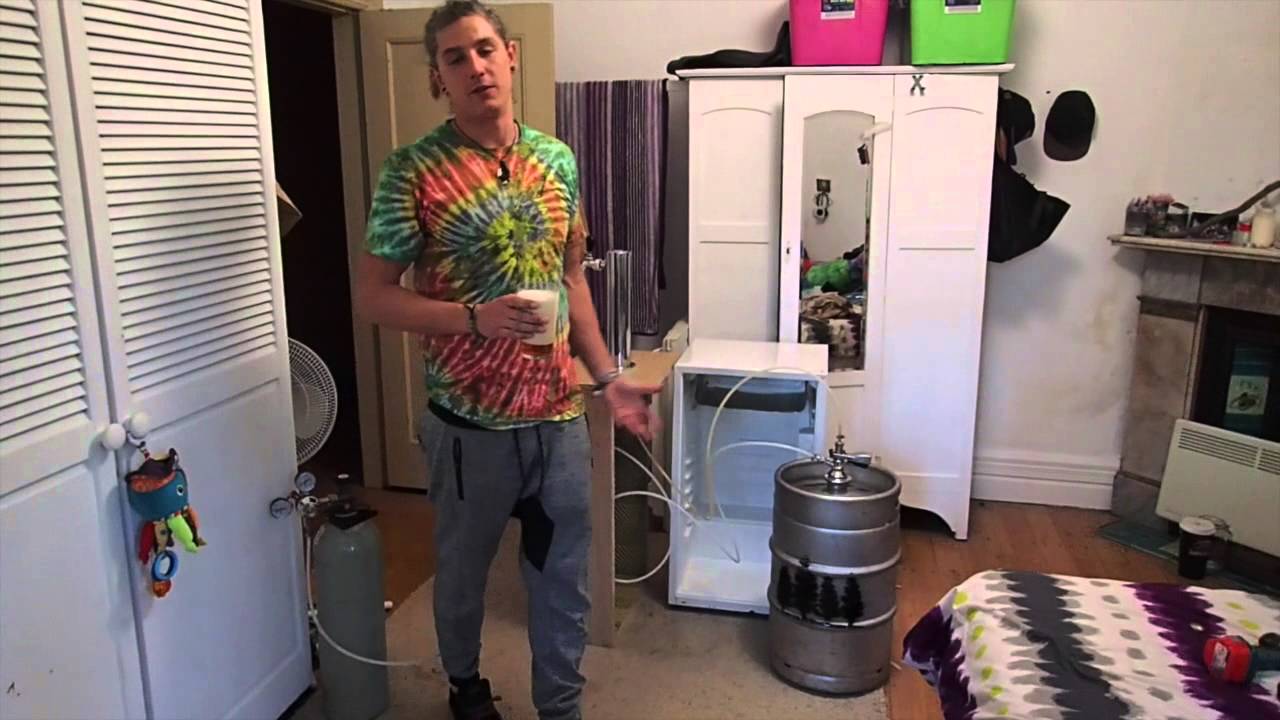
- A refrigerator: Look for a refrigerator with enough space to accommodate a keg and all the necessary components. Ideally, a mini fridge or a converted chest freezer works well for this project.
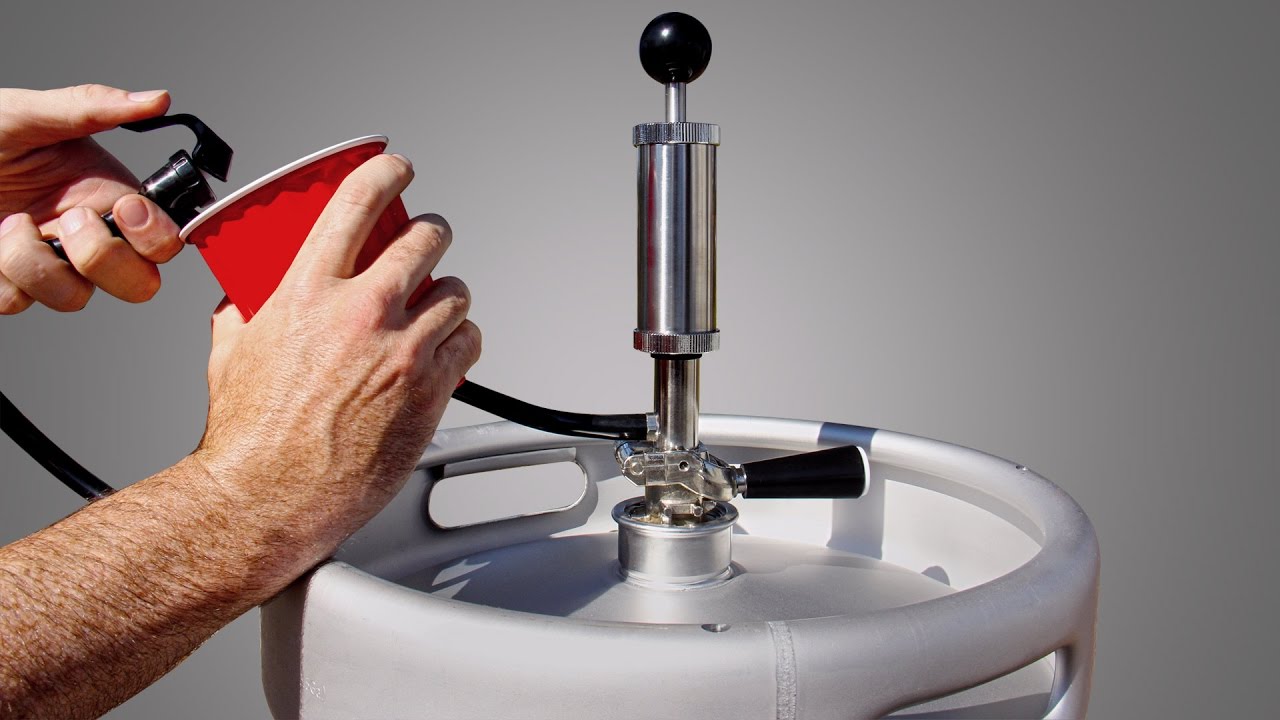
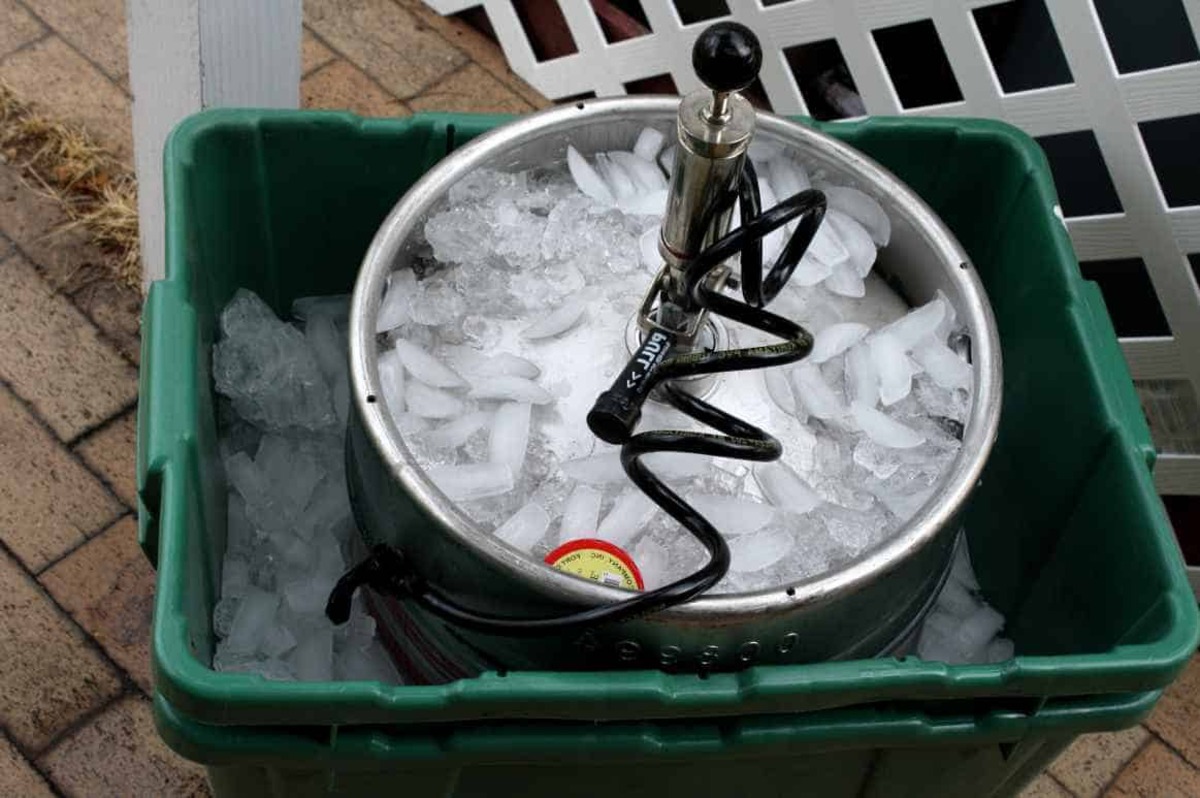
- A keg: Choose a keg that suits your brewing needs. Stainless steel kegs are the most common choice for cold brew.
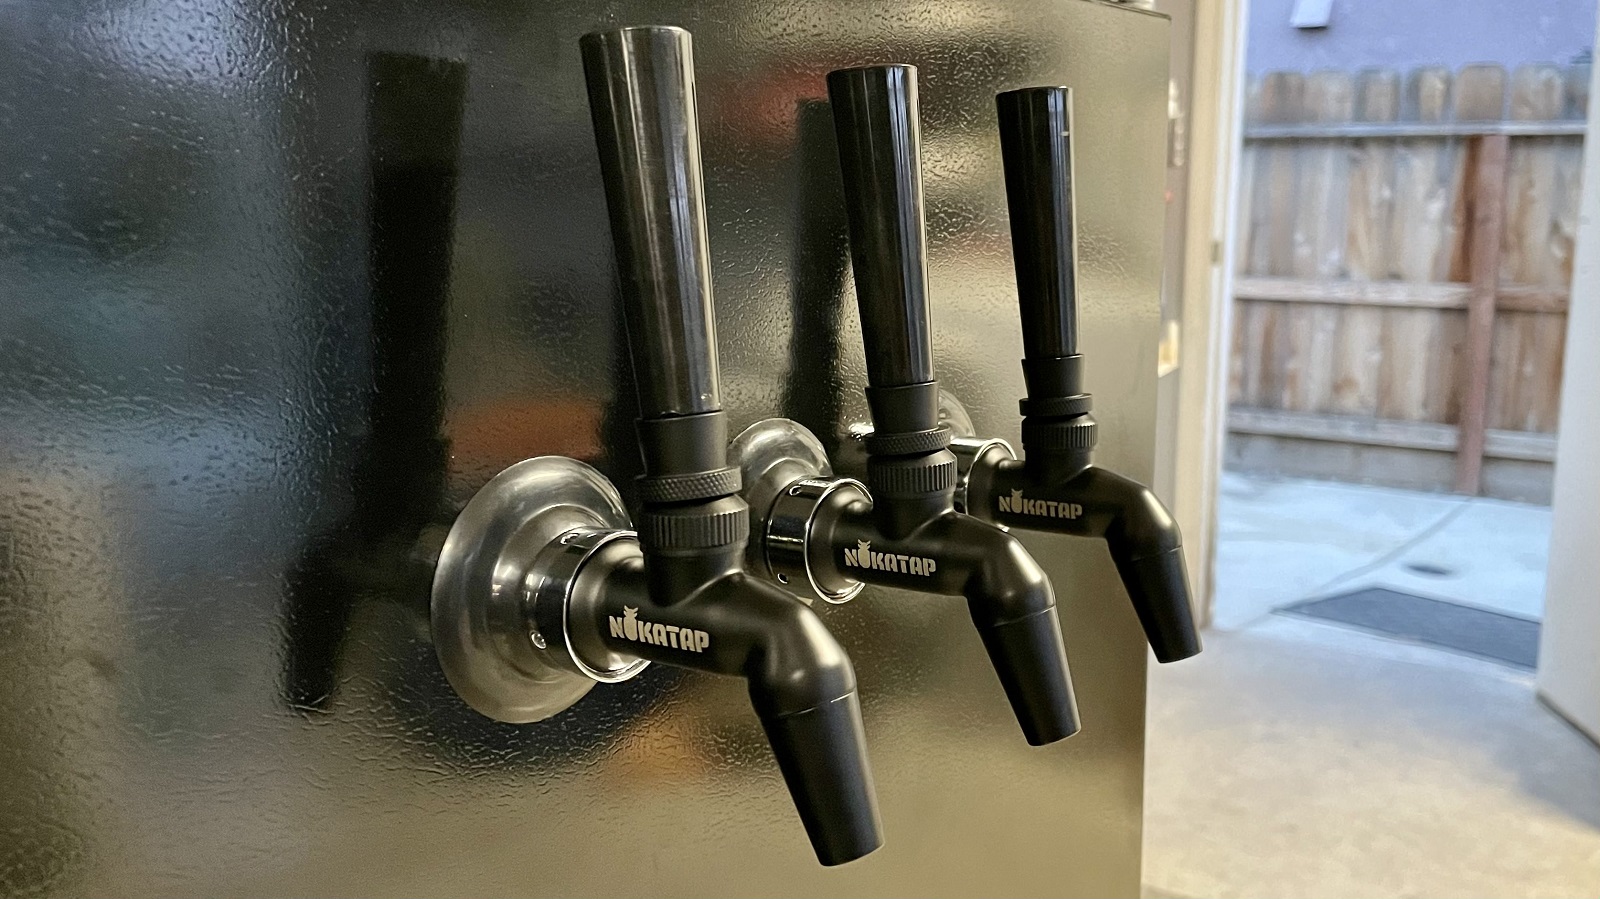
- A tap: You will need a tap to dispense your cold brew. There are different types of taps available, such as a basic faucet tap or a more professional beer tap.
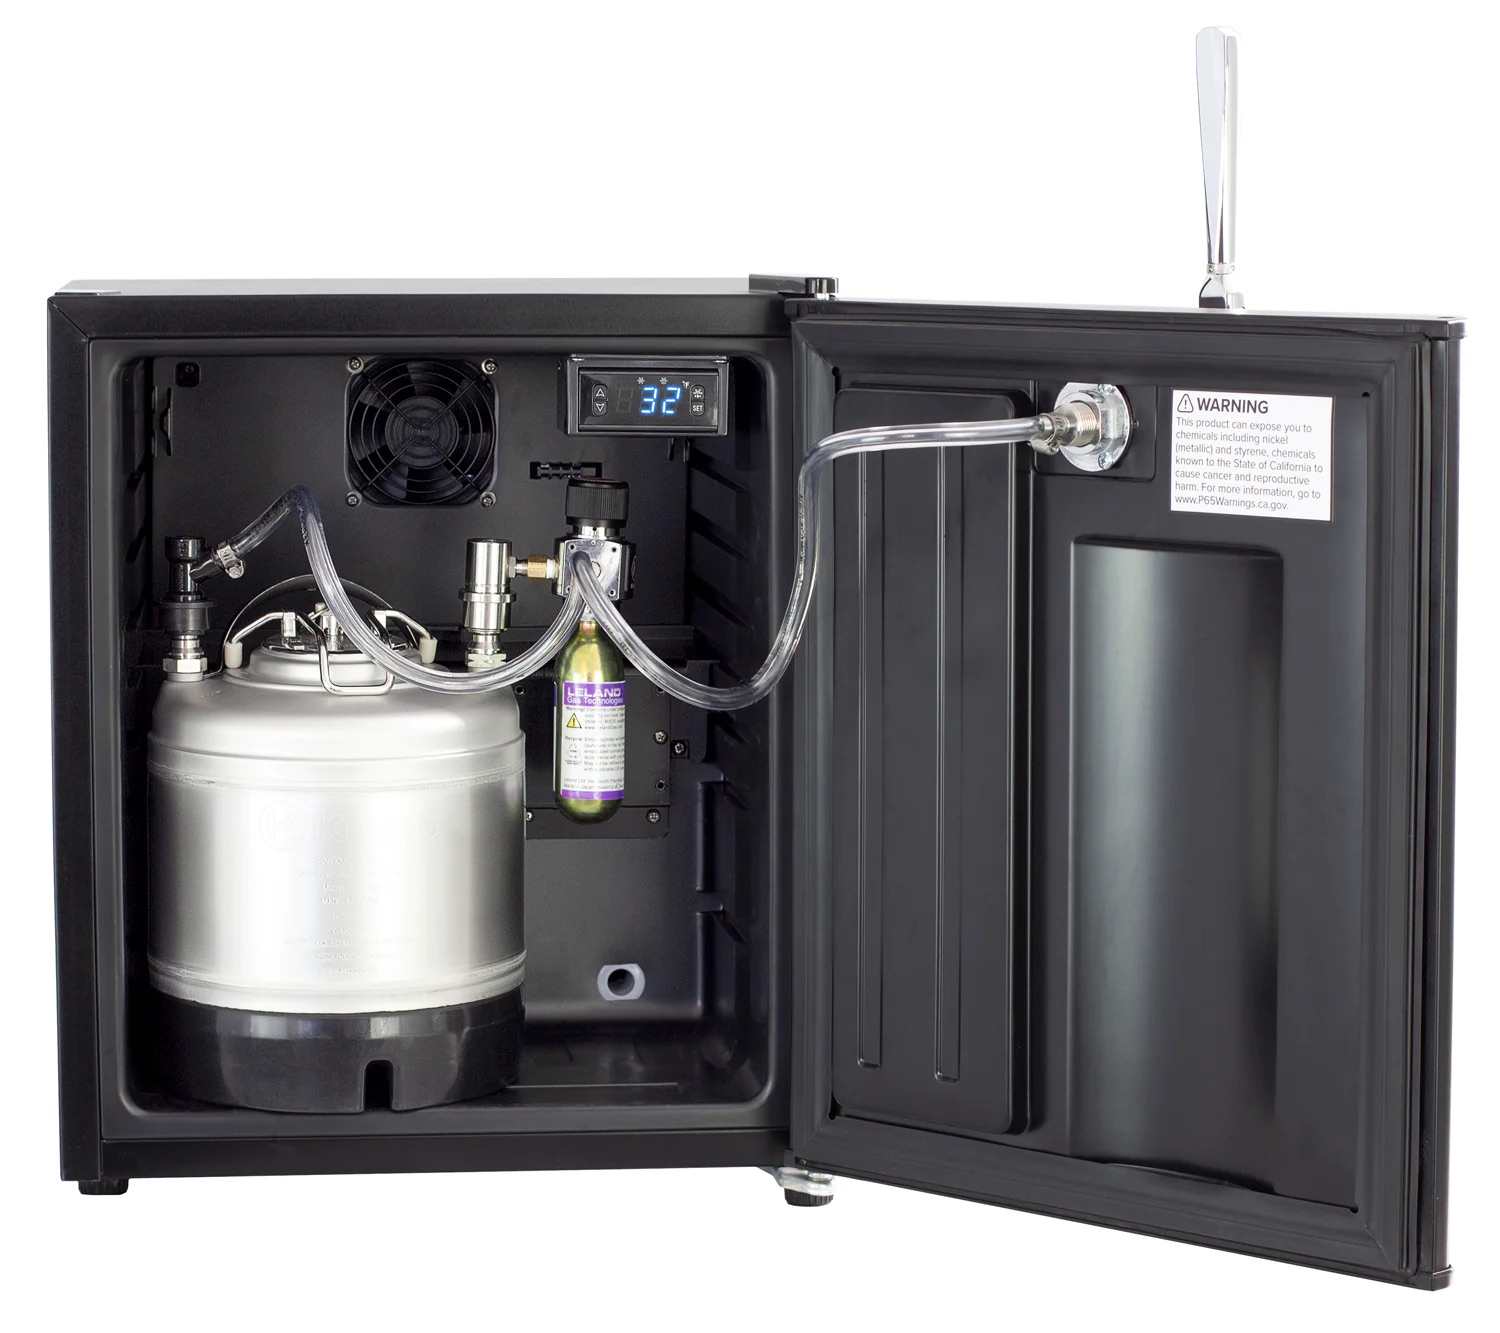
- A CO2 system: To keep your cold brew fresh and carbonated, you will need a CO2 system. This includes a CO2 tank, a regulator, and hoses.
- A cold brew system: This includes a mesh filter or a cold brew maker to brew your coffee, as well as any additional accessories like jars or bottles to store your cold brew.
- Tools: You will need basic tools like a drill, wrenches, screwdrivers, and a tape measure for installation and assembly.
Once you have gathered all the necessary materials, you are ready to start building your kegerator for cold brew. Let’s proceed to the next step – selecting a refrigerator.
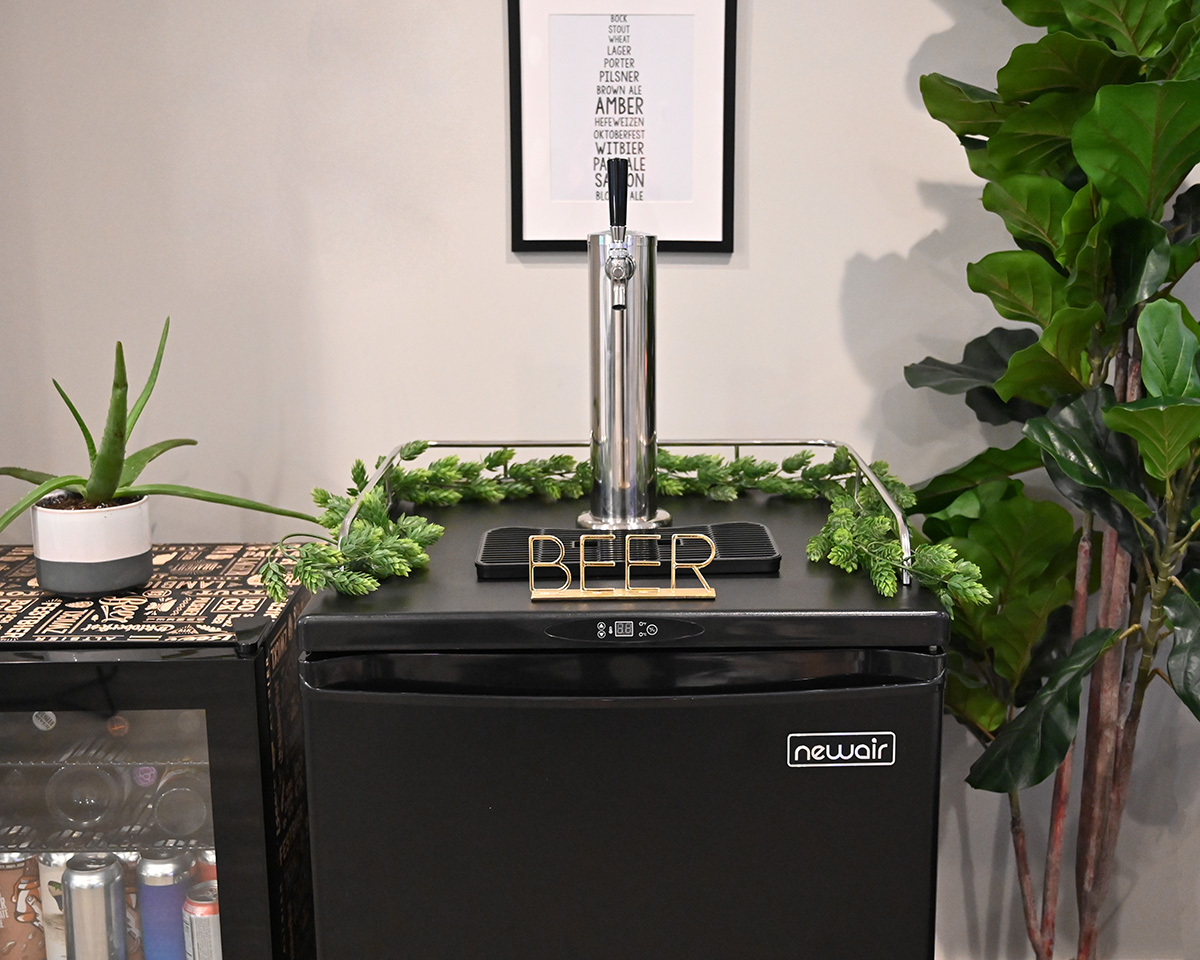
Step 1: Selecting a Refrigerator
The first step in building your kegerator for cold brew is selecting the right refrigerator. A refrigerator with sufficient space and the right features will ensure that your cold brew stays chilled and fresh.
Here are a few considerations to keep in mind when selecting a refrigerator:
- Size: Determine how much space you will need to accommodate your keg and other components. Measure the interior dimensions of the refrigerator to ensure it is large enough.
- Temperature Control: Look for a refrigerator that allows you to adjust and maintain the temperature. Cold brew is typically brewed and served between 36-40°F (2-4°C), so having a refrigerator with a temperature control feature is crucial.
- Door Design: Consider the door design of the refrigerator. A fridge with a top-opening door or a swing-out door is ideal as it provides easy access to the keg and allows for convenient installation of the tap.
- Power Consumption: Look for an energy-efficient refrigerator to minimize energy costs over time. Check the energy rating or look for models with Energy Star certification.
Once you have identified a suitable refrigerator, make sure to measure the dimensions of the interior space to ensure your keg and other components will fit comfortably. Consider the location where you will place your kegerator – it should be a well-ventilated area to prevent overheating.
With your refrigerator selected, it’s time to move on to the next step – preparing the refrigerator for kegerator conversion.
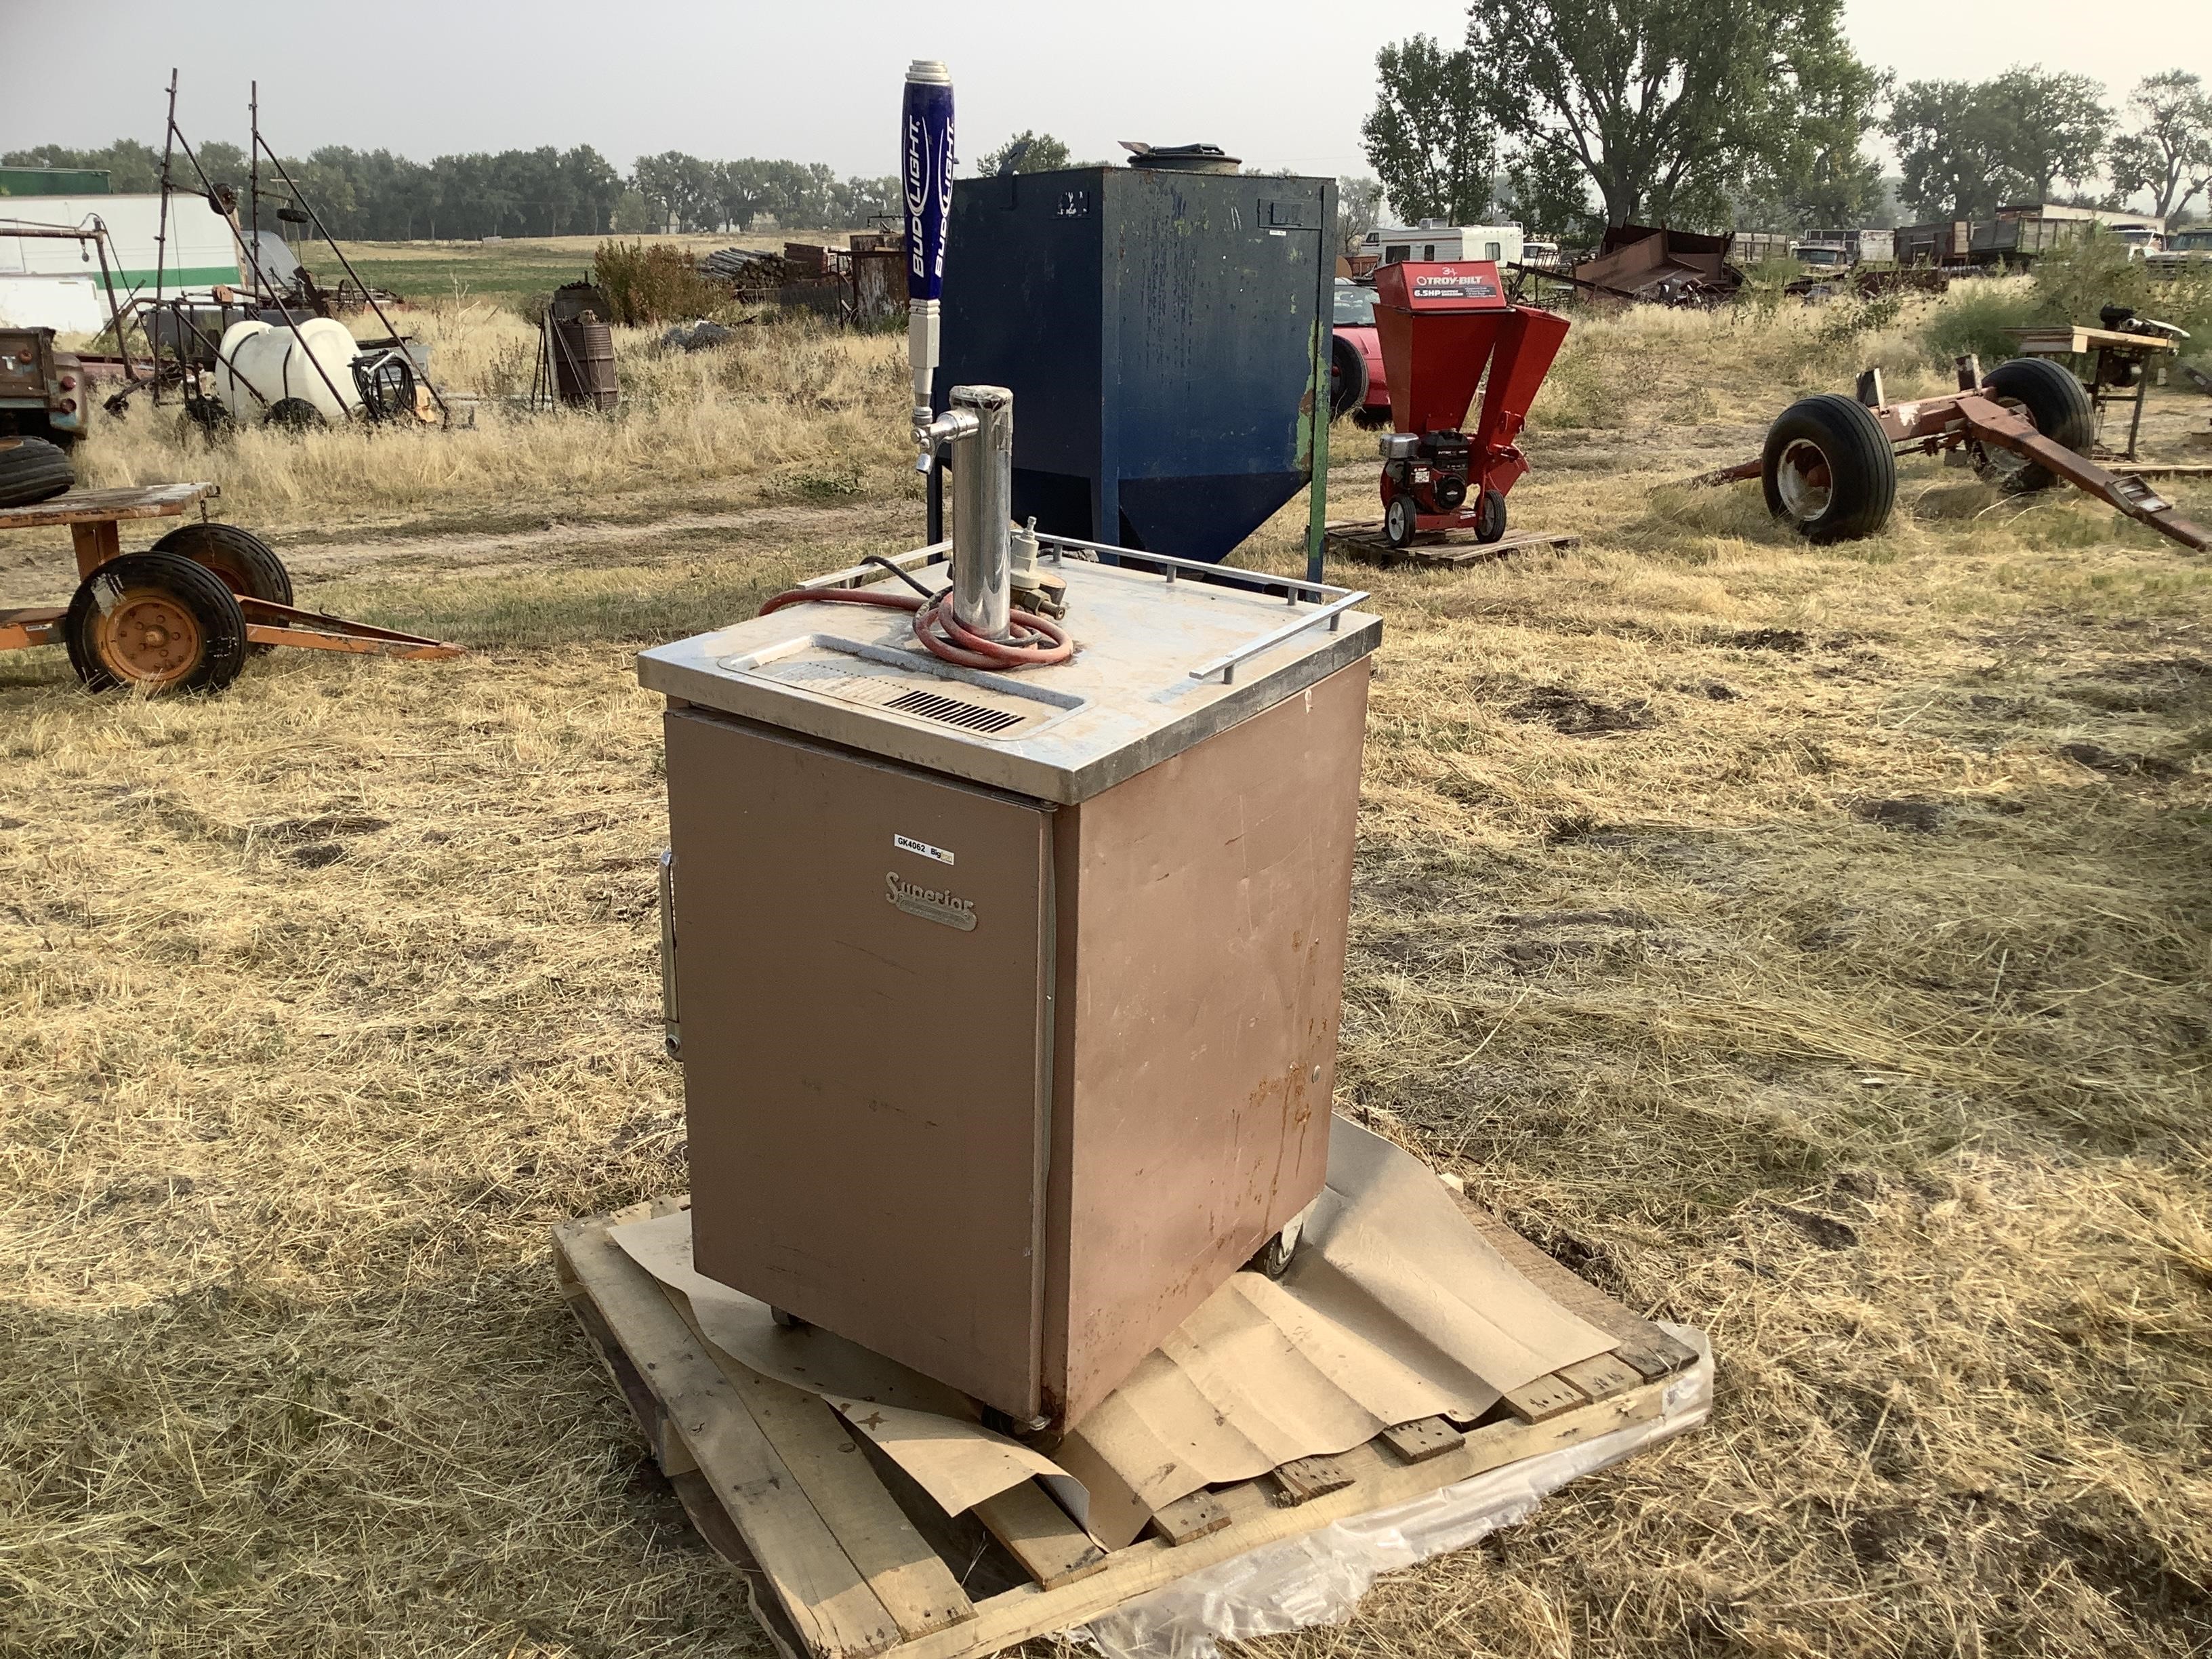
Step 2: Preparing the Refrigerator
Once you have chosen the right refrigerator for your kegerator project, it’s time to prepare it for the conversion process. Here’s a step-by-step guide on how to get your refrigerator ready:
- Clean the refrigerator: Empty the refrigerator and thoroughly clean the interior. Remove any shelves, drawers, or accessories that are not needed for the keg placement.
- Remove the door shelves: If your refrigerator has door shelves, remove them to create more space for the keg and other components. This will provide a better fit for the tap installation later on.
- Drill holes for the tap shank: Choose a suitable location on the front of the refrigerator door and mark the spot where you want to install the tap. Use a drill and the appropriate sized bit to create a hole for the tap shank.
- Install the tap shank: Insert the tap shank into the hole you drilled earlier. Make sure it fits securely and tightly. If necessary, use a wrench to tighten the nut on the inside of the door to keep it in place.
- Reassemble the refrigerator: Once the tap shank is installed, reassemble any removed shelves, drawers, or accessories. Clean the exterior of the refrigerator to make it look sleek and presentable.
It’s important to pay attention to the specific instructions provided by the manufacturer of your refrigerator when making modifications. The process may vary depending on the model and design of your appliance.
With your refrigerator now prepared, it’s time to move on to the next step – installing the tap.
Step 3: Installing the Tap
Installing the tap is one of the key steps in building your kegerator for cold brew. This process involves attaching the necessary components to the refrigerator in order to dispense your cold brew with ease. Here’s how to do it:
- Attach the faucet: Take the faucet and connect it to the tap shank that you installed previously. Secure it tightly using the appropriate hardware provided.
- Connect the beer line: Attach one end of the beer line to the faucet and the other end to the coupler of your keg. Ensure the connections are tight and secure.
- Secure the drip tray: Place a drip tray underneath the faucet to catch any spills or drips. Ensure it is securely attached to the refrigerator or mounted in a convenient location.
- Check for leaks: Turn on the CO2 system and open the faucet to check for any leaks. Inspect the connections and tighten them if necessary. It’s crucial to ensure a tight seal to prevent any CO2 or cold brew leaks.
It’s important to note that the specific installation process may vary depending on the brand and type of tap you are using. Be sure to follow the manufacturer’s instructions provided with your specific tap kit.
Once the tap is securely installed, you are one step closer to enjoying a delicious cup of cold brew straight from your kegerator. In the next step, we will guide you through setting up the CO2 system.
Consider using a chest freezer for your kegerator conversion, as it provides more space and better insulation than a standard refrigerator. This will help maintain the cold brew at the perfect temperature for serving.
Read more: How To Use Kegerator For Home Brew
Step 4: Setting Up the CO2 System
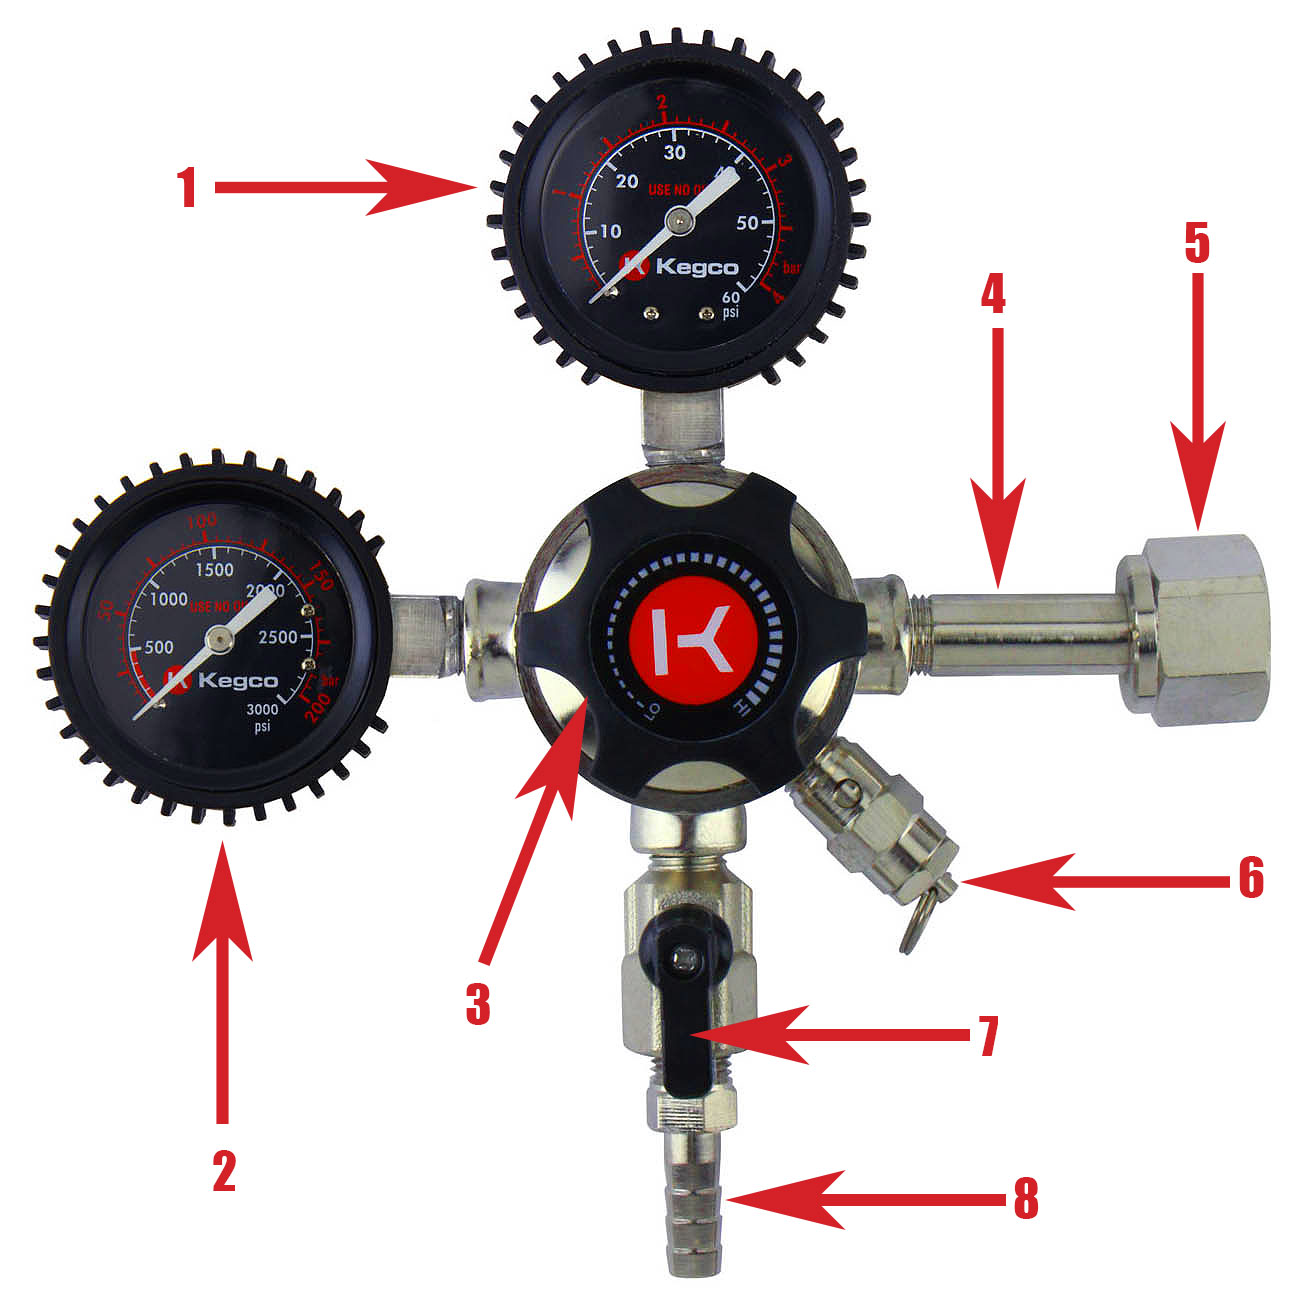
The CO2 system is an essential component of your kegerator for cold brew, as it helps to carbonize and maintain the freshness of your brew. Setting up the CO2 system involves connecting the CO2 tank, regulator, and hoses. Here’s how to do it:
- Attach the regulator: Connect the regulator to the CO2 tank by screwing it onto the top of the tank. Ensure it is securely fastened.
- Connect the CO2 line: Attach one end of the CO2 line to the regulator and the other end to the gas inlet or distributor on the back of the keg. Make sure the connections are tight and properly sealed.
- Adjust the CO2 pressure: Use the adjustment screw on the regulator to set the desired CO2 pressure. It is recommended to keep the pressure between 10-15 PSI (pounds per square inch) for cold brew.
- Test for gas leaks: Apply a solution of soapy water to all the connections in the CO2 system. If any bubbles form, it indicates a gas leak. Tighten the connections or replace any faulty parts to ensure a tight seal.
Proper CO2 pressure and a well-functioning system will aid in maintaining the carbonation and freshness of your cold brew. It’s crucial to regularly monitor and adjust the CO2 pressure as needed to keep your cold brew tasting its best.
With your CO2 system set up and functioning properly, it’s time to move on to step 5 – assembling the cold brew system.
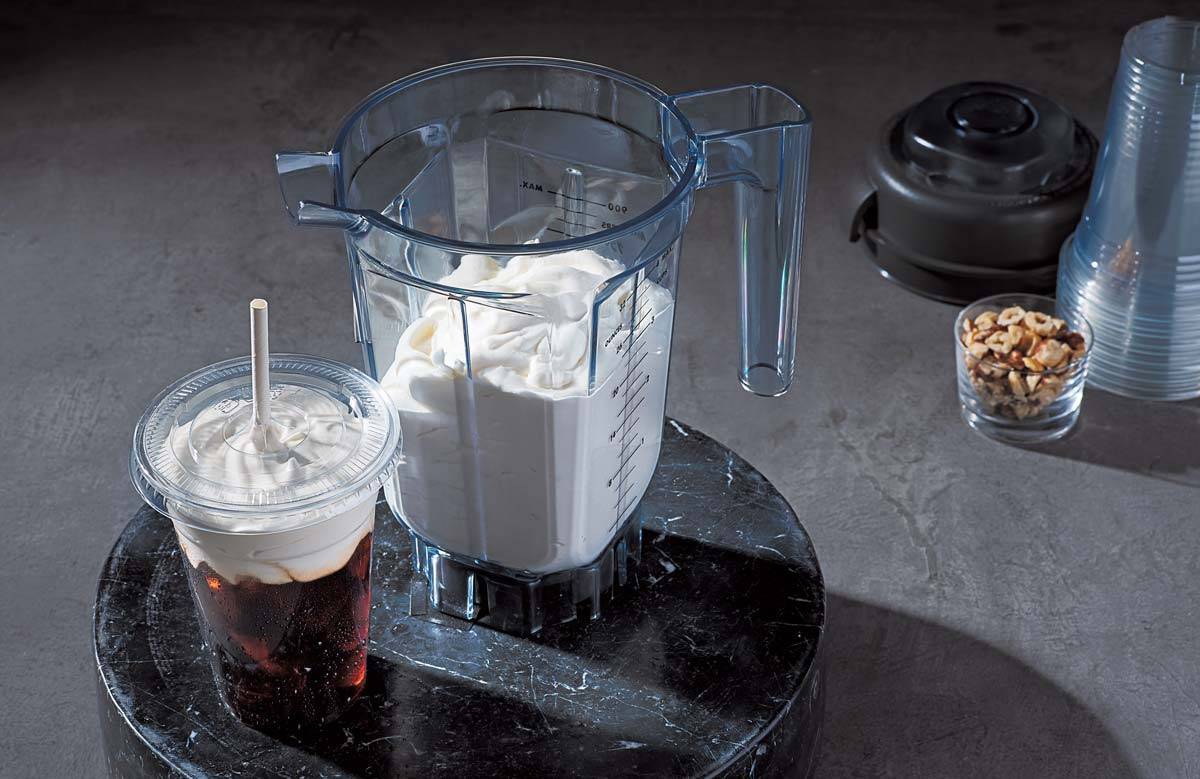
Step 5: Assembling the Cold Brew System
Assembling the cold brew system is an important step in creating a functional kegerator for cold brew. This involves setting up the components that will brew and hold your cold brew. Follow these steps to assemble your system:
- Choose a cold brew maker or mesh filter: Select a cold brew maker or mesh filter that suits your preferences. This will be used to steep your coffee grounds in cold water and extract the flavor.
- Place the filter in the brewing vessel: If you are using a mesh filter, place it inside a brewing vessel such as a jar, pitcher, or specially designed cold brew container. Ensure the filter is securely in place.
- Add coffee grounds and water: Measure out the desired amount of coarsely ground coffee and add it to the filter or brewing vessel. Pour cold, filtered water over the coffee grounds until they are fully submerged.
- Cover and steep: Cover the brewing vessel with a lid or plastic wrap and let the coffee grounds steep in the refrigerator for at least 12-24 hours. This will allow the flavors to develop and the coffee to extract.
- Remove the filter and store the cold brew: Once the steeping time is complete, remove the filter or strain the cold brew to separate it from the coffee grounds. Transfer the cold brew to a clean, airtight container for storage.
It’s important to note that the steeping time and coffee-to-water ratio may vary depending on your personal preference and the strength of cold brew you desire. Experimentation is key to finding your perfect brew.
With the cold brew system assembled, you’re almost ready to enjoy your homemade cold brew on tap. But before that, let’s move on to step 6 – testing and adjusting the temperature of your kegerator.
Step 6: Testing and Adjusting the Temperature
Testing and adjusting the temperature of your kegerator is crucial to ensuring that your cold brew remains chilled and refreshing. Follow these steps to test and adjust the temperature:
- Place a thermometer inside the kegerator: Insert a thermometer into the kegerator and allow it to stabilize for a few hours. This will give you an accurate reading of the internal temperature.
- Check the temperature: Monitor the thermometer and ensure that the temperature falls within the optimal range for cold brew, which is typically between 36-40°F (2-4°C). Adjust the temperature settings of the refrigerator if required.
- Consider insulation: If the temperature inside the kegerator fluctuates too much, consider adding insulation around the keg or using insulating materials to better regulate the temperature.
- Monitor and adjust as needed: Regularly check the temperature inside the kegerator to ensure consistency. Adjust the settings as necessary to maintain the desired temperature for your cold brew.
Consistency in temperature is key for preserving the flavor and freshness of your cold brew. Cold brew is best when served cold, and by carefully monitoring and adjusting the temperature, you can ensure a delightful and refreshing experience with each pour.
With the temperature of your kegerator set and optimized, you’re almost ready to enjoy your homemade cold brew on tap. But before that, let’s move on to the final step – maintaining and cleaning your kegerator for long-lasting performance.
Step 7: Maintaining and Cleaning the Kegerator
To keep your kegerator for cold brew running smoothly and your cold brew tasting its best, regular maintenance and cleaning are essential. Follow these steps to maintain and clean your kegerator:
- Regularly clean the tap and lines: Clean the tap and beer lines on a regular basis to prevent any build-up or contamination. Disconnect the tap and soak it in a cleaning solution, then flush the beer lines with a cleaning solution followed by clean water.
- Clean the exterior: Wipe down the exterior of the kegerator regularly to keep it clean and free from dust and dirt. Use a damp cloth and mild detergent to clean the surfaces, then dry thoroughly.
- Check CO2 levels: Monitor the CO2 tank regularly to ensure it has an adequate supply. Refill or replace the tank as needed to maintain consistent carbonation.
- Inspect and replace parts: Regularly inspect all the components of your kegerator, including seals, gaskets, and hoses. Replace any worn-out or damaged parts to prevent leaks and maintain optimal performance.
- Empty and clean the keg: After each keg is emptied, clean it thoroughly to remove any residue or build-up. Use a keg cleaning solution and follow the manufacturer’s instructions for proper cleaning.
By maintaining a clean and well-maintained kegerator, you can ensure that your cold brew remains fresh and delicious every time you dispense it. Regular cleaning and maintenance will also help extend the lifespan of your kegerator and its components.
With these steps completed, you have successfully built and learned how to maintain your very own kegerator for cold brew. Now, sit back, relax, and enjoy the convenience of having a delicious cup of cold brew on tap whenever you desire.
Remember to experiment with different coffee blends and brewing techniques to find your perfect cold brew recipe. Cheers to your homemade cold brew!
Frequently Asked Questions about How To Make A Kegerator For Cold Brew
Was this page helpful?
At Storables.com, we guarantee accurate and reliable information. Our content, validated by Expert Board Contributors, is crafted following stringent Editorial Policies. We're committed to providing you with well-researched, expert-backed insights for all your informational needs.


0 thoughts on “How To Make A Kegerator For Cold Brew”