Articles
How To Make Vases
Modified: February 24, 2024
Learn the art of creating stunning vases with our comprehensive collection of informative articles. Discover tips, techniques, and inspiration for crafting unique and beautiful vases.
(Many of the links in this article redirect to a specific reviewed product. Your purchase of these products through affiliate links helps to generate commission for Storables.com, at no extra cost. Learn more)
Introduction
Welcome to the world of DIY vase making! Creating your own vases not only offers a fun and creative activity but also allows you to personalize your home decor. Whether you are an experienced crafter or a beginner, making your own vases is a great way to showcase your artistic flair.
In this article, we will guide you through the step-by-step process of making vases from scratch. From choosing the right materials to adding the finishing touches, you will learn everything you need to know to create stunning and unique vases that will make a statement in any room.
So, let’s gather our materials, unleash our creativity, and embark on this exciting journey of vase making.
Key Takeaways:
- Unleash Your Creativity: Making your own vases allows you to express your artistic flair and personalize your home decor with unique, handcrafted pieces that reflect your style and personality.
- Endless Possibilities: From repurposing everyday items to experimenting with various decorations, vase making offers a fun and limitless creative outlet to adorn your living space with beautiful, eye-catching displays.
Read more: How To Make A Vase Into A Lamp
Materials Needed
Before we begin, let’s gather all the materials you will need to make your own vases. Don’t worry, you probably already have most of these items in your home. Here’s what you will need:
- A base: You can use a variety of materials as a base for your vase, such as glass bottles, mason jars, tin cans, or even unconventional items like teapots or wine glasses.
- A container: This will act as the main structure of your vase. It can be made of glass, ceramic, plastic, or any other material that suits your aesthetic preference.
- Decorative materials: Get creative with your vase decorations! Consider using items like ribbons, twine, beads, seashells, paint, glitter, or any materials that match your style and theme.
- Adhesive: Depending on the materials you choose for decoration, you may need adhesive to ensure they stay in place. Glue, hot glue gun, or double-sided tape are some common options.
- A cutting tool: If you plan to repurpose items like glass bottles or tin cans, you will need a cutting tool like a glass cutter or a sturdy pair of scissors to trim them into the desired shape.
- Waterproof sealant: To ensure your vase is water-resistant, consider using a sealant spray or a waterproofing solution to protect the materials from water damage.
- Flowers or greenery: The final touch to any vase is, of course, the flowers or greenery. Choose fresh flowers or artificial ones, depending on your preference and the longevity you desire.
Once you have gathered all these materials, you are ready to move on to the next step: choosing a base for your vase.
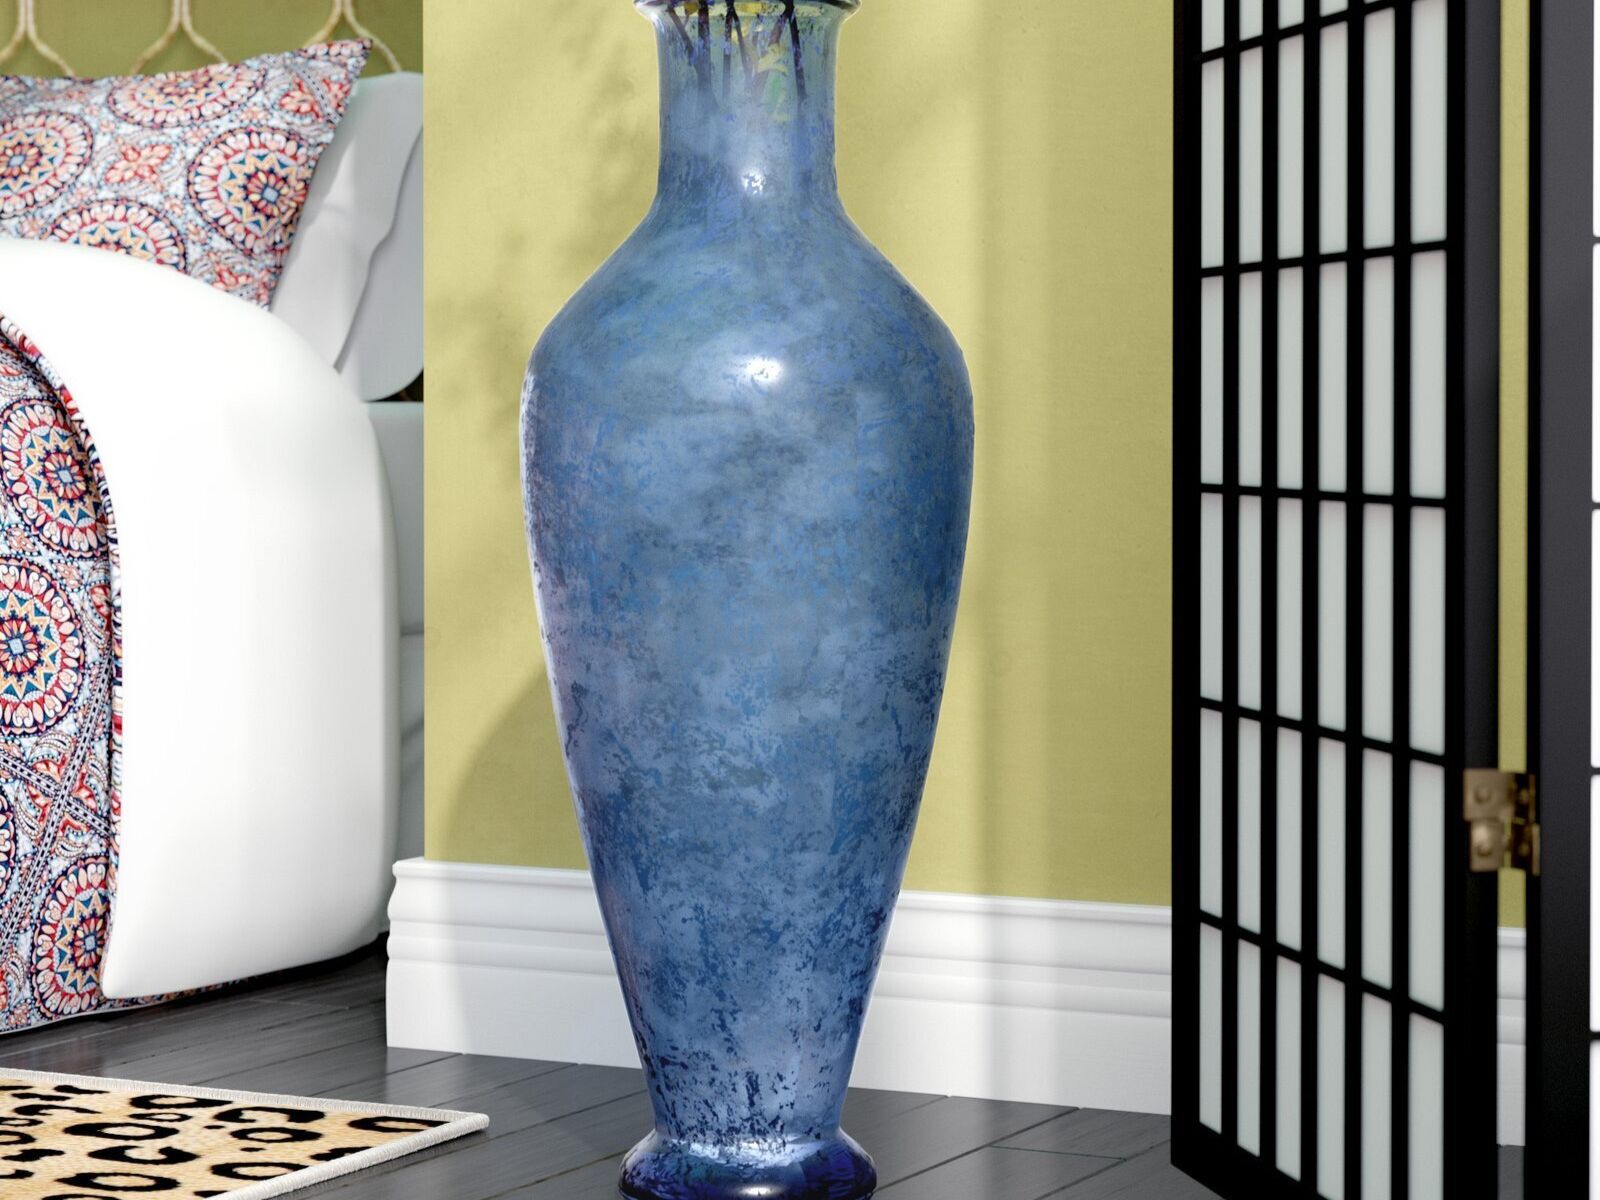
Step 1: Choose a Base
The first step in making your own vase is to choose a suitable base. The base will serve as the foundation for your vase, and there are numerous options to choose from.
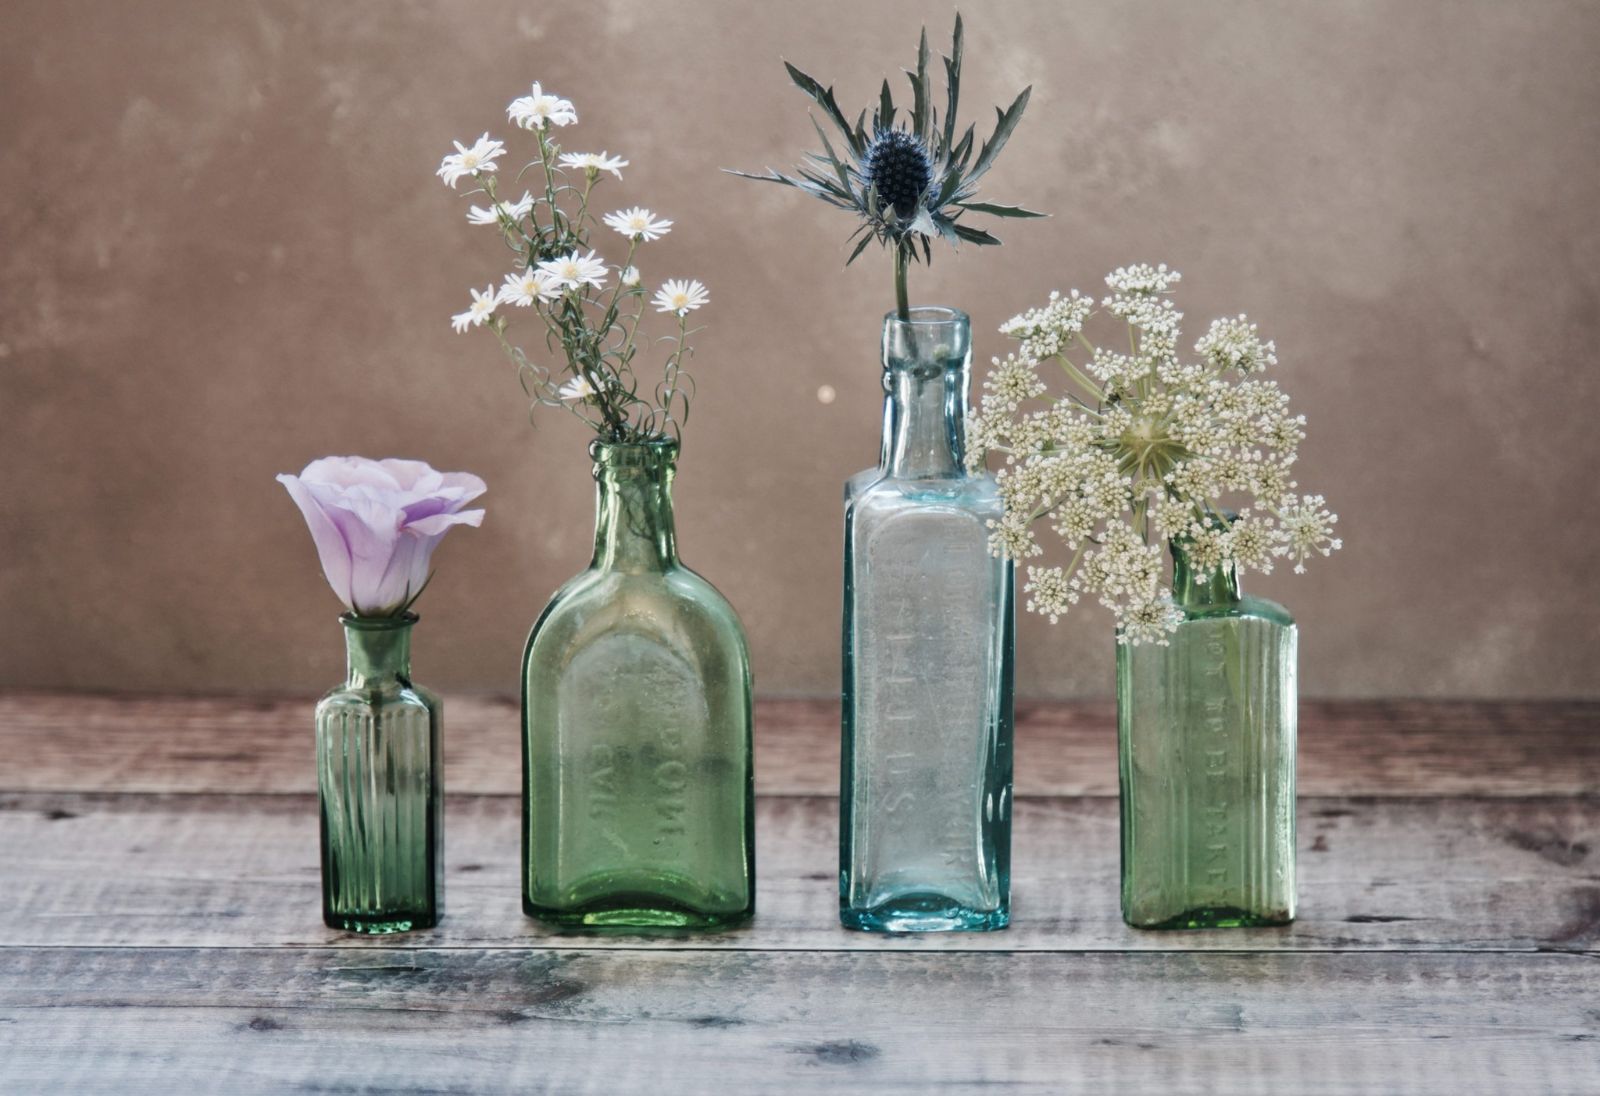
If you want to repurpose items you already have at home, consider using glass bottles, mason jars, or tin cans. These items can easily be transformed into beautiful vases with a bit of creativity and customization. You can even experiment with unique materials like teapots, vintage containers, or wine glasses for a more eclectic look.
If you prefer a more traditional approach, you can purchase a ready-made vase base. They come in various shapes, sizes, and materials such as glass, ceramic, or plastic. Consider the style and theme of the room where the vase will be displayed to ensure a cohesive look.
When choosing your base, think about the size and proportion you desire. A larger base will accommodate more flowers or greenery, creating a bold and eye-catching centerpiece, while a smaller base may be ideal for a minimalist or delicate arrangement.
Additionally, think about the functionality of your vase. If you plan on using fresh flowers, ensure that the base has enough depth to hold water. For artificial arrangements, you have more flexibility in choosing a base that doesn’t require water.
Ultimately, the choice of base will depend on your personal preference and the overall aesthetic you want to achieve. Once you have selected your base, it’s time to move on to the next step: selecting a container.
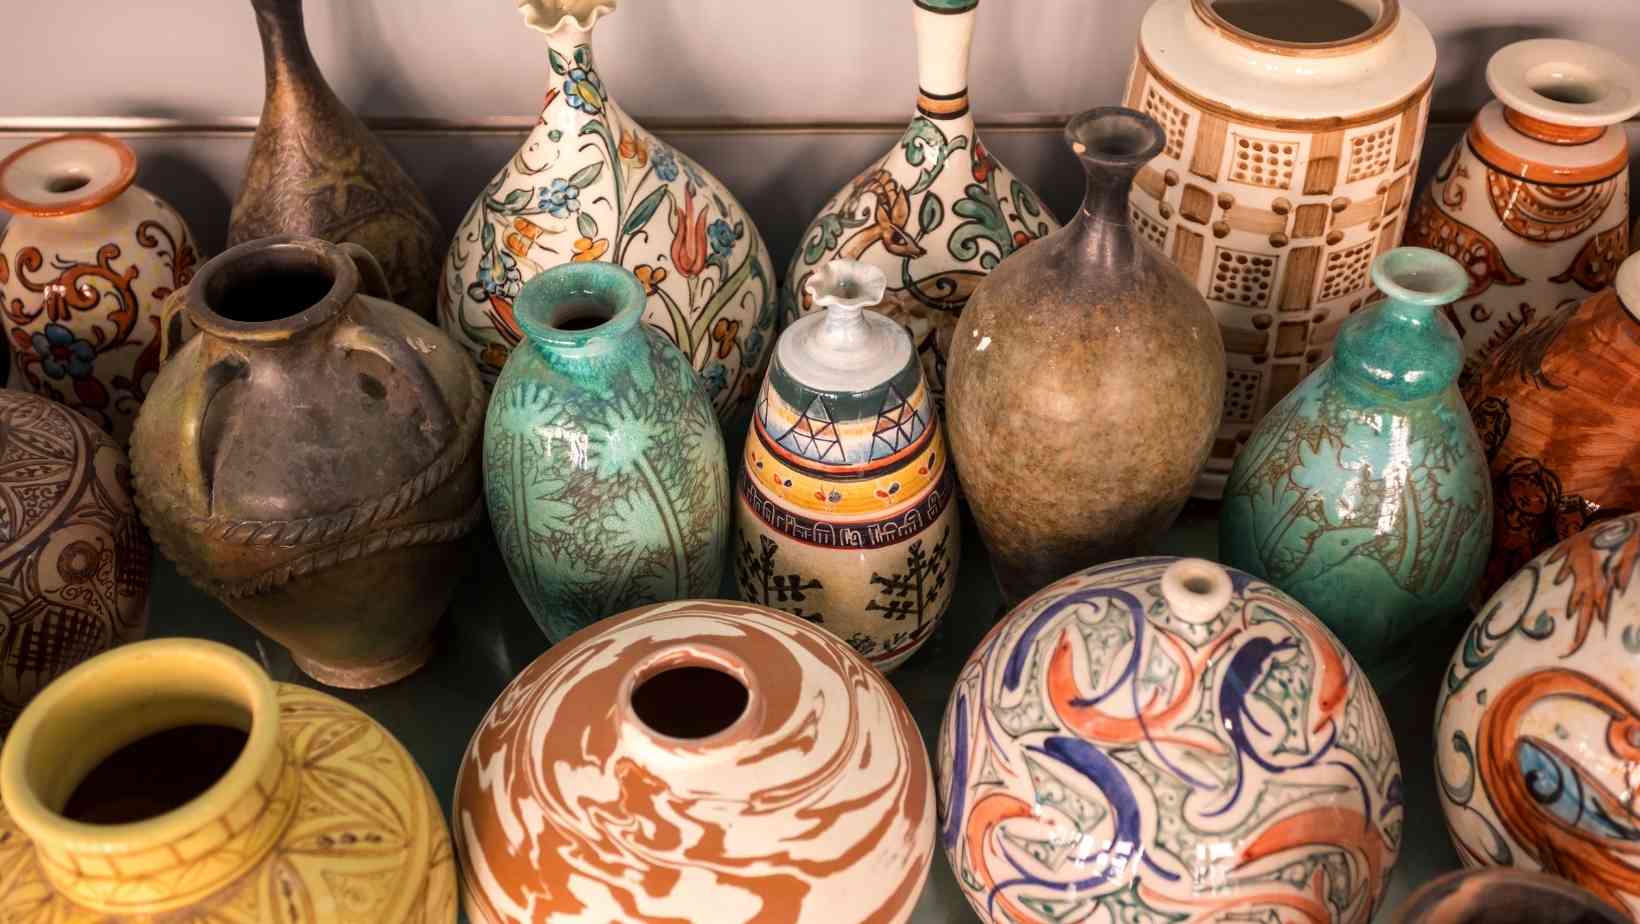
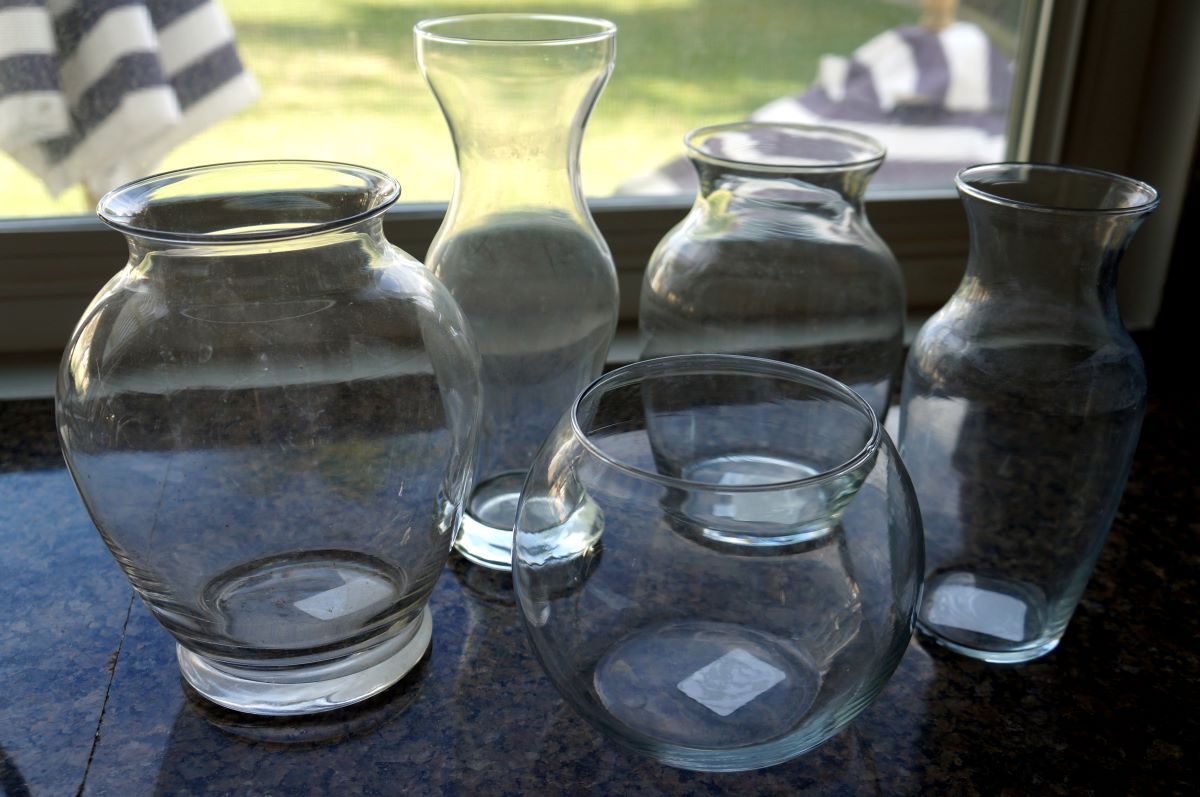
Step 2: Select a Container
Now that you have chosen a base for your vase, it’s time to select a container that will act as the main structure. The container will hold your flowers, water, and any additional decorative elements you choose to add.
The container you choose should complement the base and align with your overall design vision. Consider the following factors when selecting a container:
Size and Proportion: The size and proportion of the container should be in balance with the base you have chosen. If you have a small base, opting for a taller and narrower container will create an elegant and elongated look. Alternatively, a wider and shorter container can add a more robust and substantial feel.
Material and Style: Containers come in a variety of materials such as glass, ceramic, metal, or even wood. Choose a material that suits your aesthetic and matches the style of your base. For instance, if you have a rustic base, a ceramic or wooden container may complement it well.
Transparency: Consider whether you want your flowers to be fully visible or partially concealed. If you want the flowers to be the main focal point, a transparent glass container can showcase them beautifully. However, if you prefer a more mysterious and artistic look, consider using an opaque or textured container.
Functionality: Think about how the container will function in terms of holding water. If you plan to use fresh flowers, ensure that the container is waterproof or can accommodate a water-filled inner vase. For artificial arrangements, water resistance may not be necessary.
Keep in mind that your container choice can greatly influence the overall vibe and style of your vase. Experiment with different shapes, sizes, and materials to find the perfect container that suits your vision.
Once you have selected a container, you’re ready to move on to the next step: preparing the base and container for decoration.
Step 3: Prepare the Base and Container
With your base and container selected, it’s time to prepare them for decoration. This step involves cleaning, priming, and ensuring that the surfaces are ready to be adorned with your creative touches.
Here’s a step-by-step guide on how to prepare the base and container:
1. Clean: Start by thoroughly cleaning both the base and the container. Remove any dirt, dust, or labels that may be present. Use warm soapy water and a scrub brush to ensure they are spotless. Rinse them well and let them dry completely before proceeding.
2. Prime (if necessary): Depending on the materials you’ve chosen for your base and container, priming may be necessary. This step is particularly important if you plan to paint or decorate them with certain materials that require an adhesive surface. Apply a primer suitable for your chosen materials and follow the instructions on the packaging. Allow the primer to dry completely before proceeding.
3. Protect (optional): If you want to protect certain areas of the base or container from paint or glue, use masking tape or painter’s tape to cover those areas. This will help you achieve clean and precise lines when decorating.
4. Trim (if necessary): If you need to trim or shape the base or container to achieve your desired design, use a cutting tool appropriate for the material. Be cautious and take necessary safety precautions when trimming.
5. Sand (if necessary): If your base or container has any rough or uneven edges, gently sand them down using sandpaper. This step will ensure a smooth surface for painting or attaching decorations.
By following these steps, you will have a clean and prepared base and container, ready to be transformed into a stunning vase. Now, it’s time for the exciting part – decorating your vase!
When making vases, consider using a variety of materials such as glass, ceramic, or metal to add visual interest. Experiment with different shapes and sizes to create a unique and eye-catching display.
Read more: How To Make Table Lamps From Vases
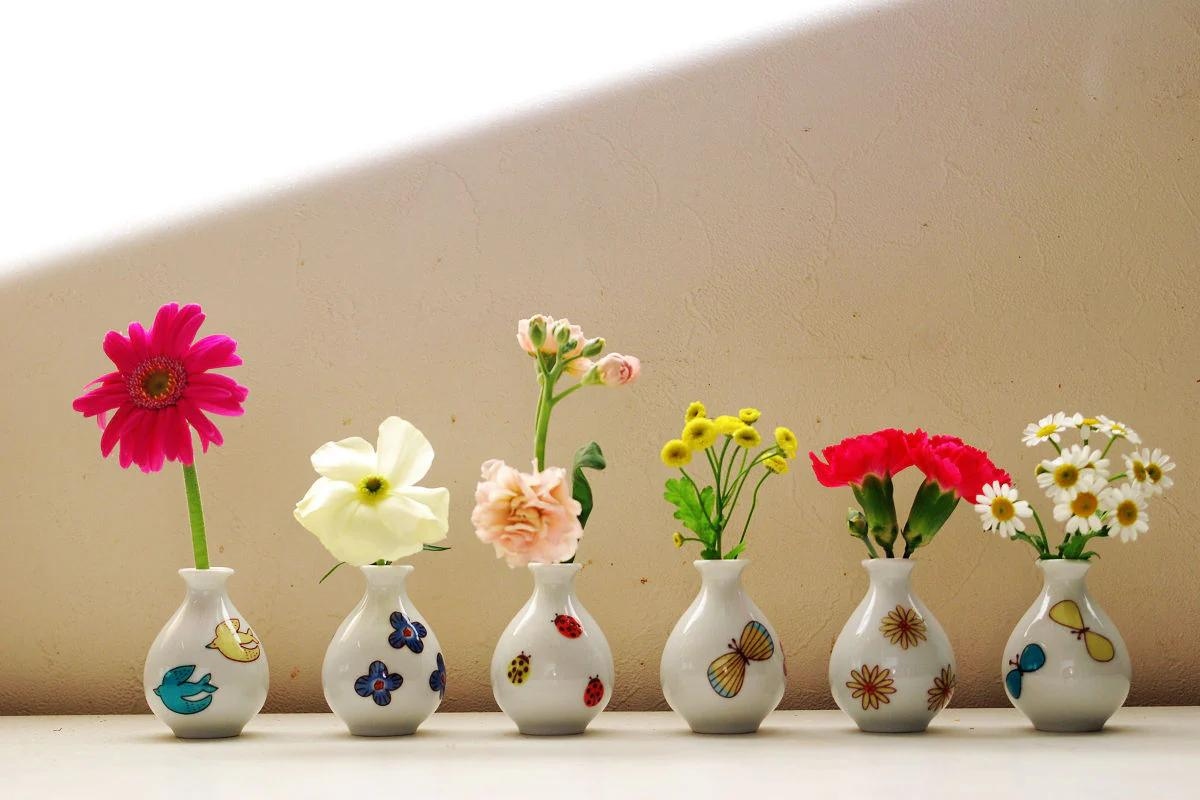
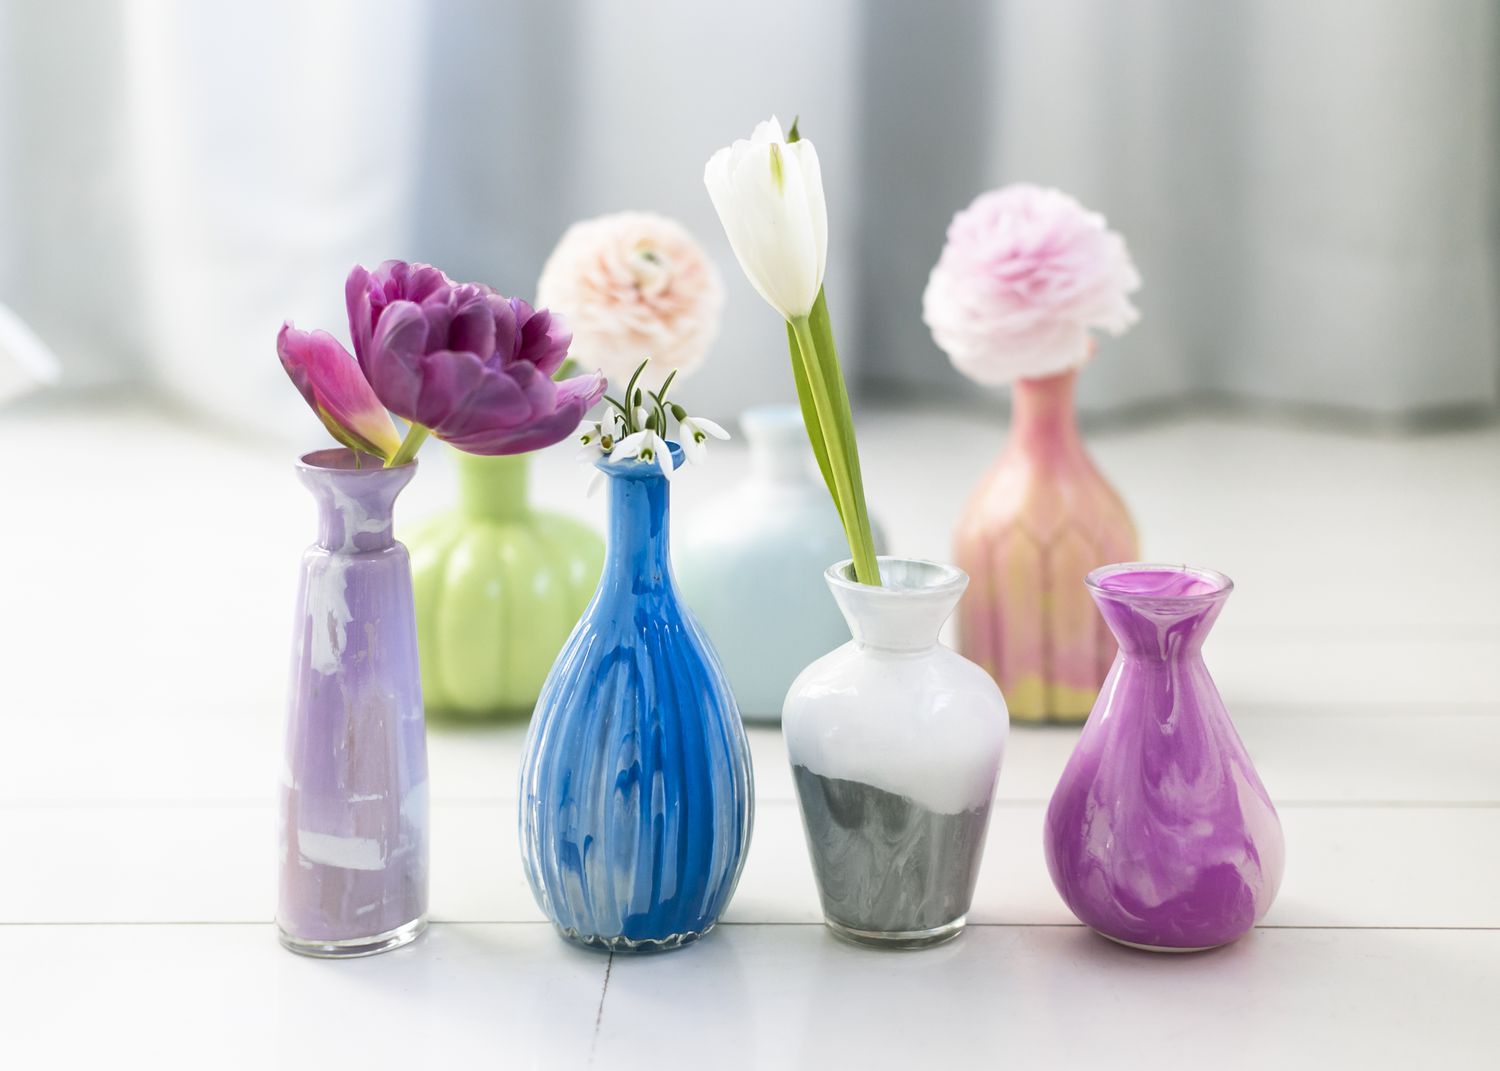
Step 4: Decorate the Vase
Decorating your vase is where your creativity truly shines. This step allows you to add your personal touch and transform the base and container into a customized and eye-catching masterpiece. Here are some ideas to inspire you:
1. Paint: One of the simplest and most effective ways to decorate your vase is by painting it. Choose a color or combination of colors that complement your overall design aesthetic. Consider using acrylic paint, spray paint, or glass paint depending on the material you are working with. Apply multiple coats for a more vibrant look, and let each coat dry completely before applying the next.
2. Add Texture: If you want to add some texture to your vase, consider using materials like fabric, ribbon, or twine. Wrap them around the base or container, securing them with glue or adhesive. You can create intricate patterns or even play with different textures for an interesting visual effect.
3. Embellish with Beads or Gems: Enhance the look of your vase by adding beads, gems, or rhinestones. Attach them to the base or container using a strong adhesive, creating patterns or designs that suit your style. This can add a touch of glamour and elegance to your vase.
4. Decoupage: Decoupage is a technique where images or paper are glued onto a surface to create a decorative effect. You can use decorative paper, napkins, or even pages from old books or magazines. Apply a decoupage glue or a mixture of water and white glue to the surface, carefully place the paper, and then apply more glue on top to seal it. Let it dry completely before proceeding.
5. Personalize with Stencils or Vinyl Decals: Use stencils or vinyl decals to add personalized messages, quotes, or designs to your vase. Secure the stencil or decal in place, and carefully apply paint or a permanent marker to achieve a clean and precise finish. This is a great way to create a meaningful and customized vase.
6. Explore other Decorative Elements: Let your imagination run wild by incorporating other decorative elements like seashells, feathers, dried flowers, or even small trinkets. Attach them to your base or container using glue, creating a unique and whimsical look.
Remember, the key to decorating your vase is to let your creativity guide you. Experiment with different materials, techniques, and designs until you achieve a look that reflects your personality and style.
Once you are satisfied with the decoration, it’s time to move on to the final steps of adding water and flowers to complete your beautiful vase.
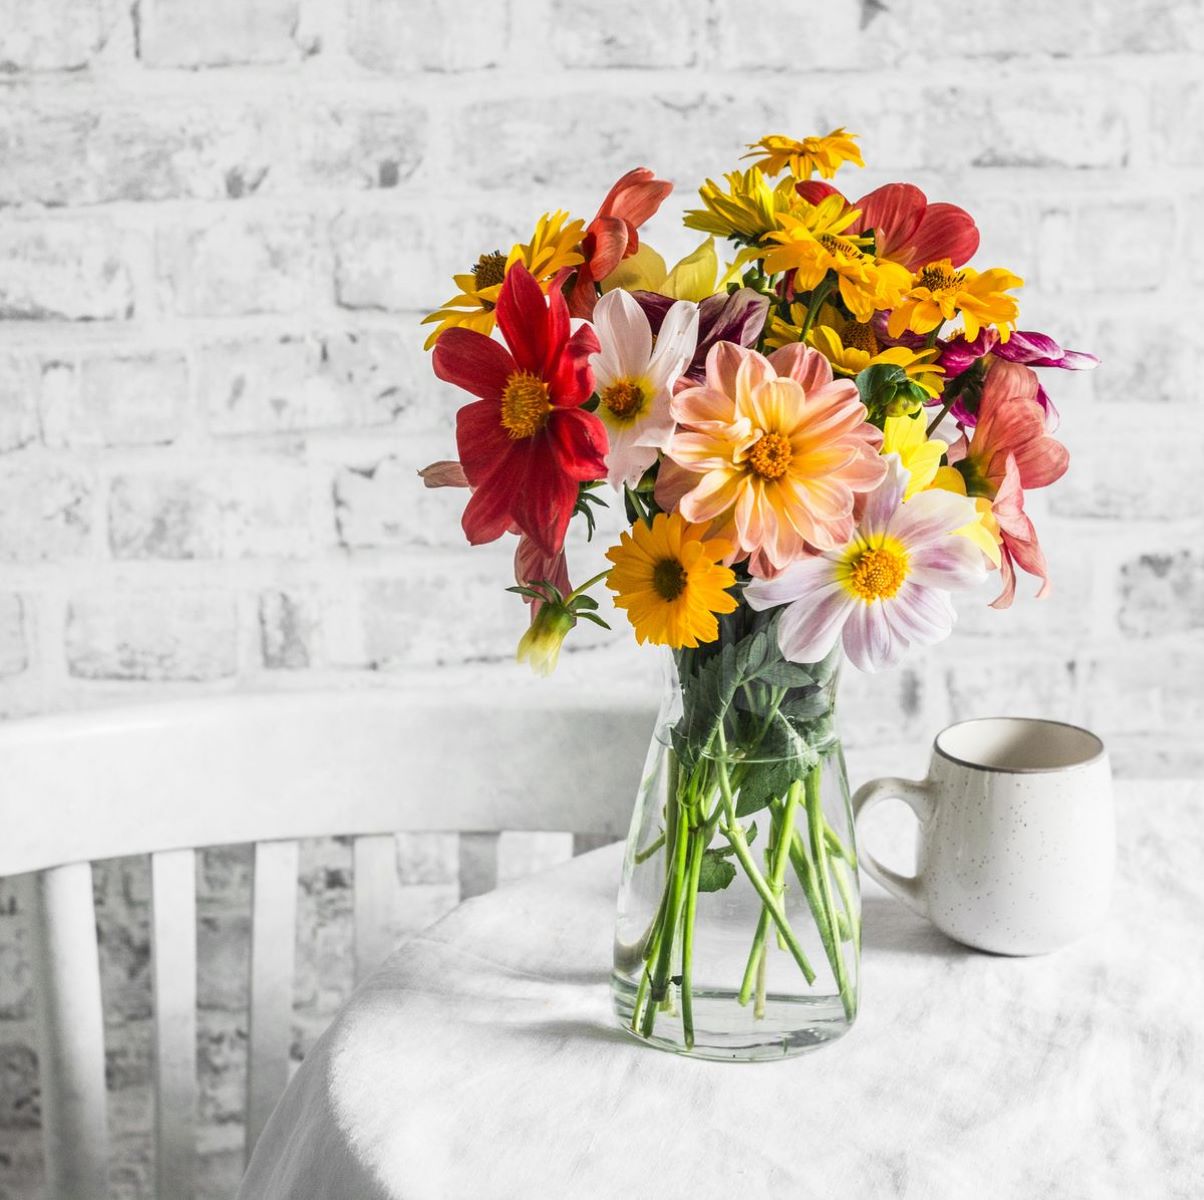
Step 5: Add Water and Flowers
Now that your vase is beautifully decorated, it’s time to bring it to life by adding water and flowers. Whether you choose fresh flowers or opt for artificial ones, this step will give your vase its final touch of elegance and charm.
1. Fresh Flowers:
If you have chosen to use fresh flowers, follow these guidelines:
– Trim the stems: Before placing the flowers in the vase, trim their stems at an angle. This will ensure better water absorption and prolong the freshness of the flowers.
– Water level: Fill the vase with enough water to cover the bottom of the stems but avoid overfilling the vase. Check the water level regularly and replenish it as needed.
– Flower arrangement: Arrange the flowers in the vase according to your desired design. Play with different heights and angles to create a visually appealing arrangement. You can also add greenery or smaller filler flowers to enhance the overall look.
2. Artificial Flowers:
If you have opted for artificial flowers, here are some tips:
– Ensure vase stability: Artificial flowers can be lighter than real ones, so make sure your vase is stable and won’t tip over. You can add decorative elements like pebbles or marbles to the bottom of the vase to provide stability.
– Arrange with care: Arrange the artificial flowers in the vase, taking care to create a natural and flowing appearance. Bend and adjust the stems and petals to achieve the desired look.
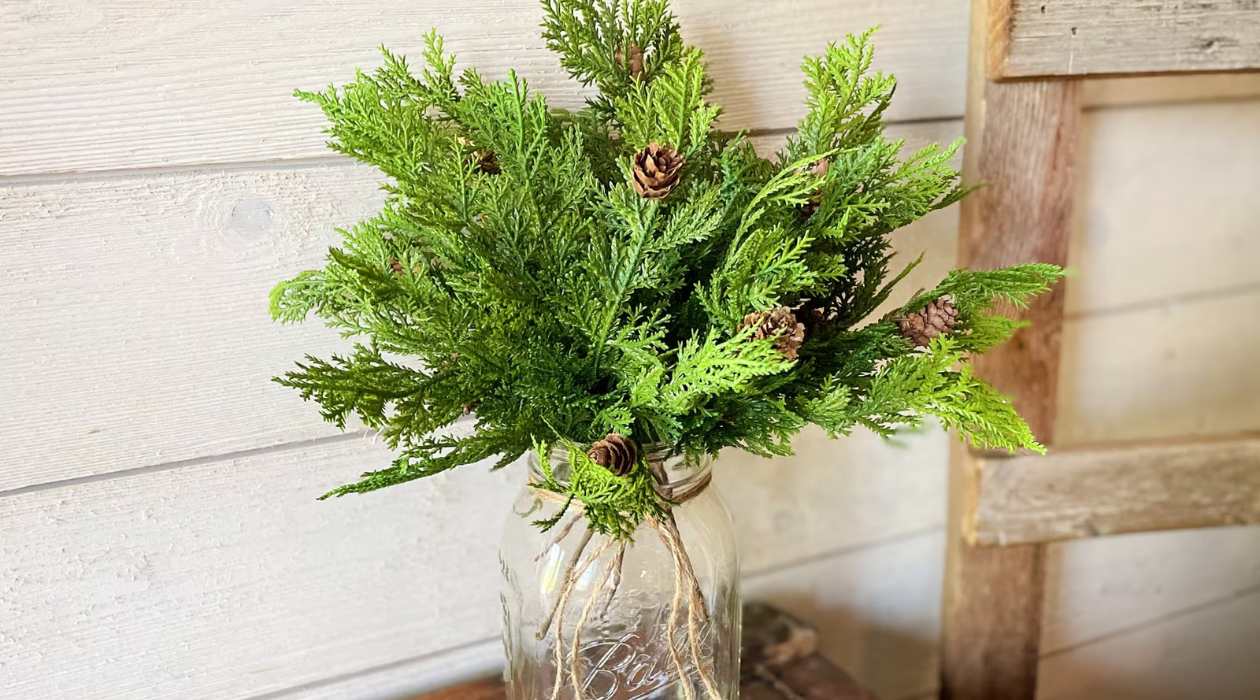
3. Alternative Fillers:
If you prefer not to use flowers, there are other options for filling your vase:
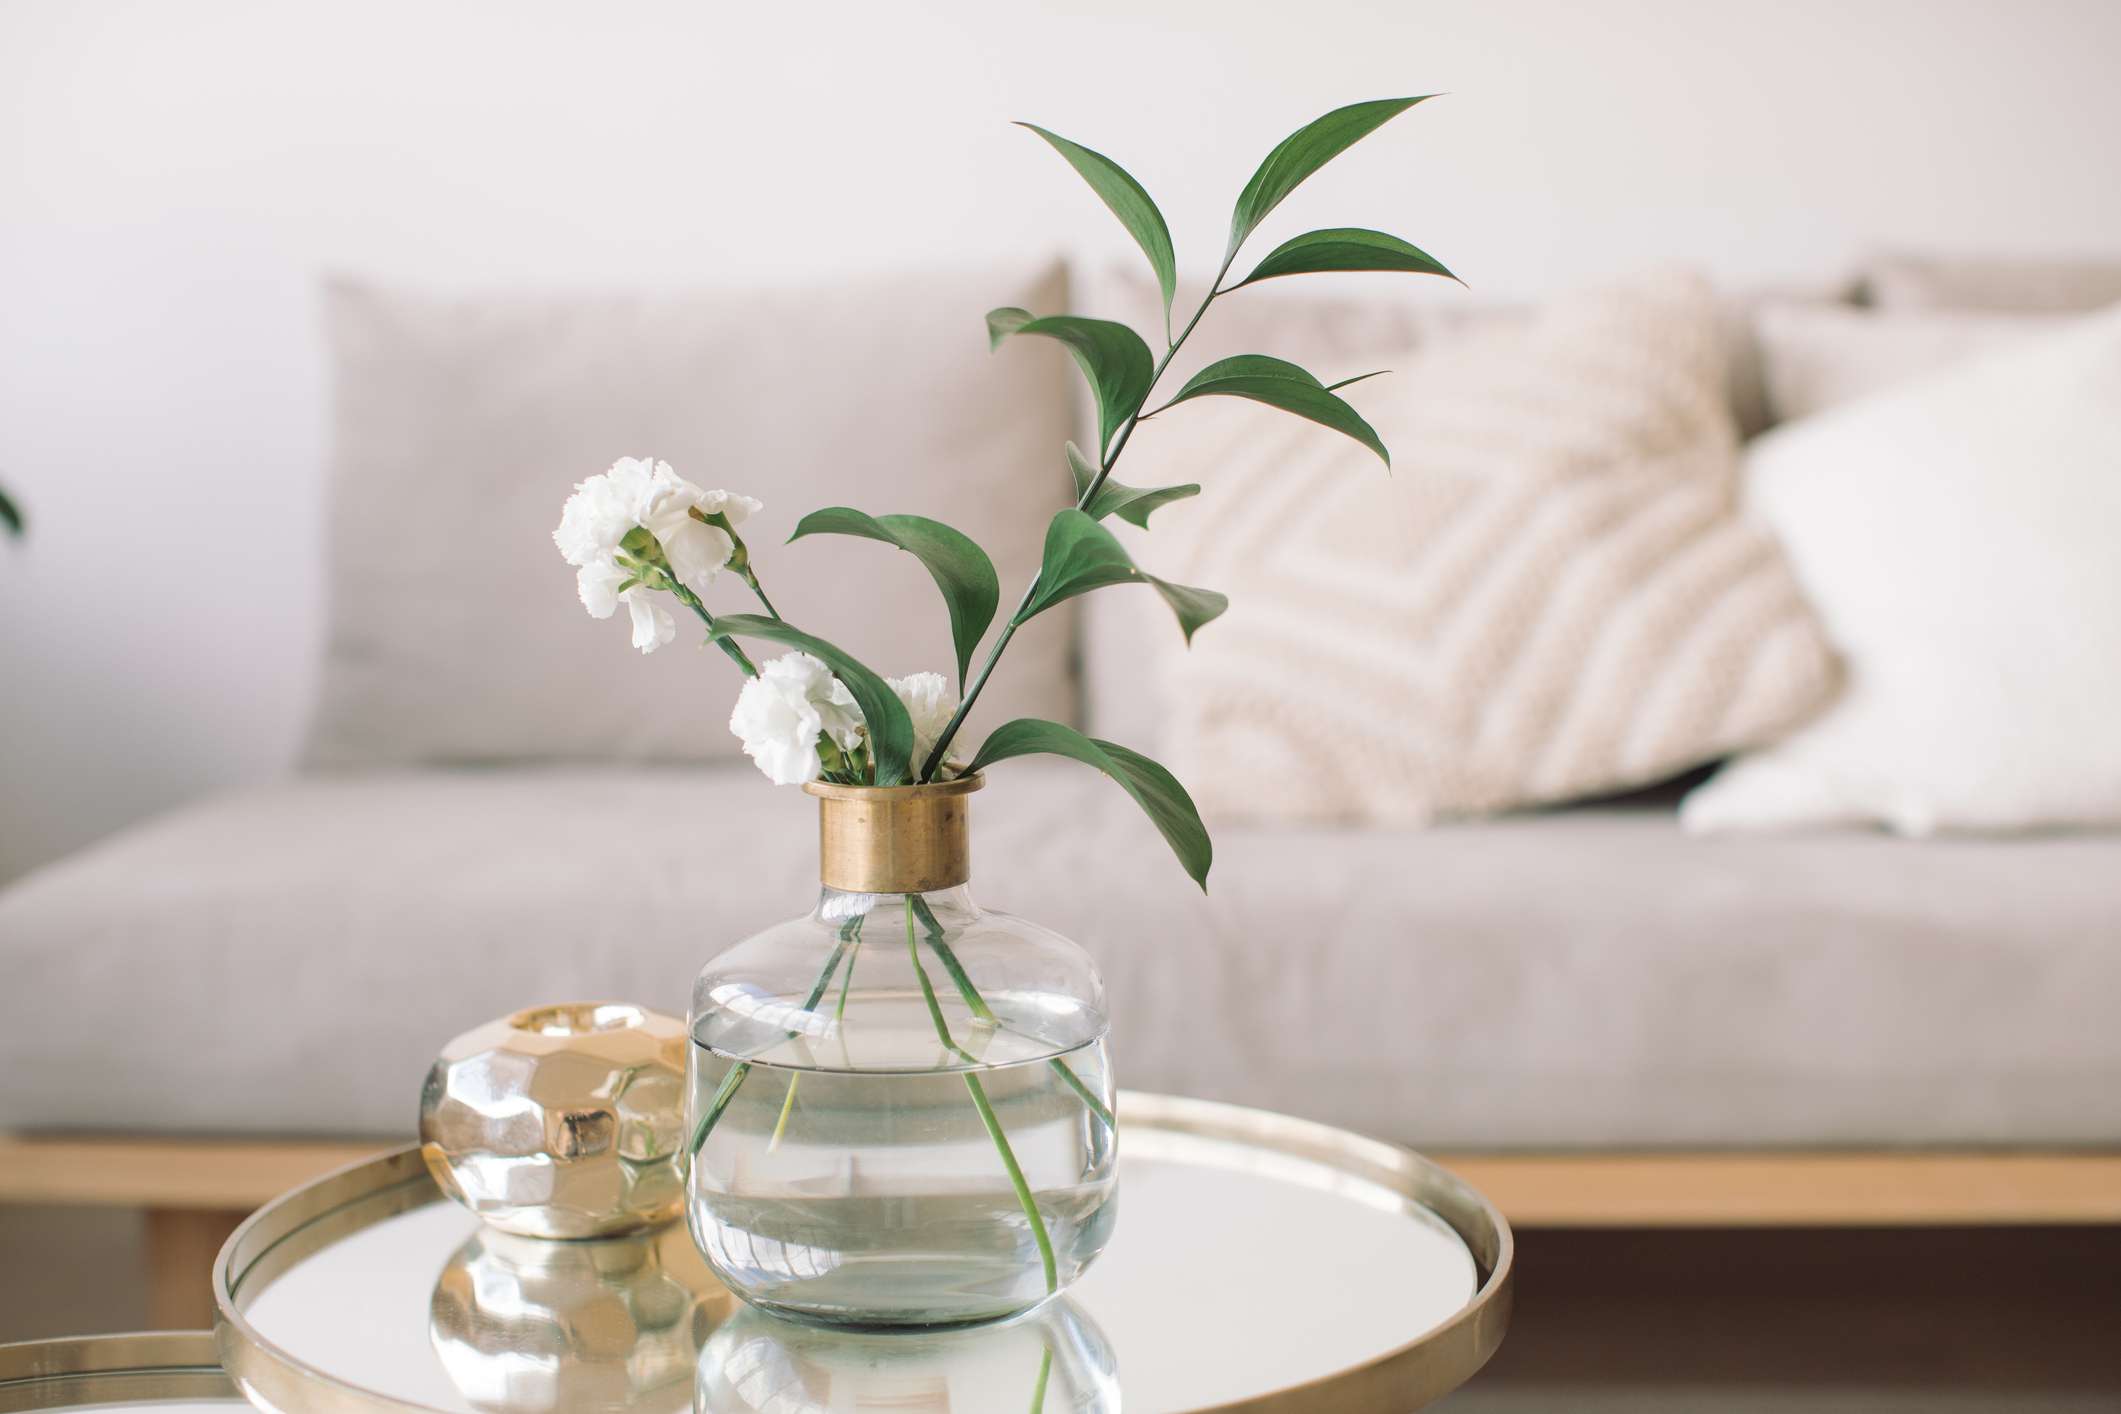
– Greenery: Use different types of foliage and leaves to create a lush and green arrangement. This can add freshness and life to your vase.
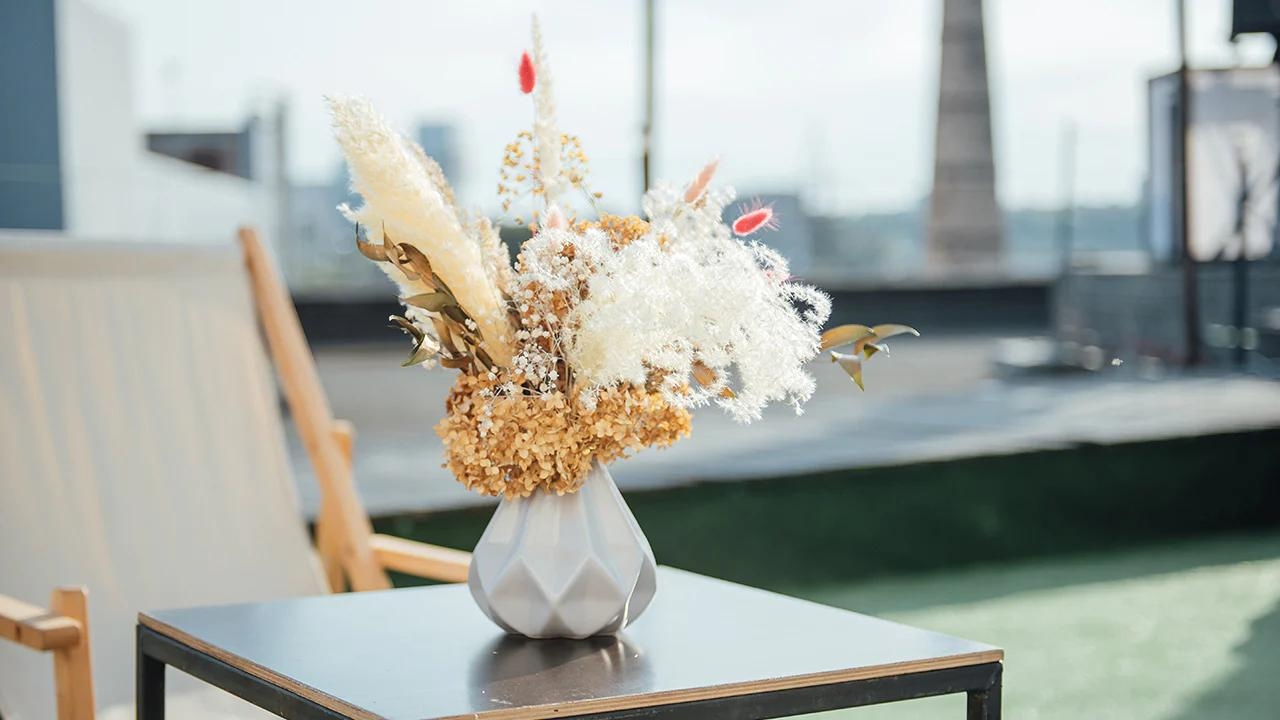
– Dried flowers: Consider using dried flowers or grasses for a unique and long-lasting display. These can bring a rustic or vintage vibe to your vase.
– Non-floral elements: Explore the use of non-floral elements such as branches, twigs, or even feathers. These can add texture and interest to your vase.
Remember to regularly change the water in your vase if you have fresh flowers, and dust and clean your artificial flowers to maintain their appearance. These maintenance steps will ensure that your vase remains beautiful and vibrant.
With the addition of water and flowers, your vase is now complete and ready to be displayed in your home or given as a thoughtful gift!
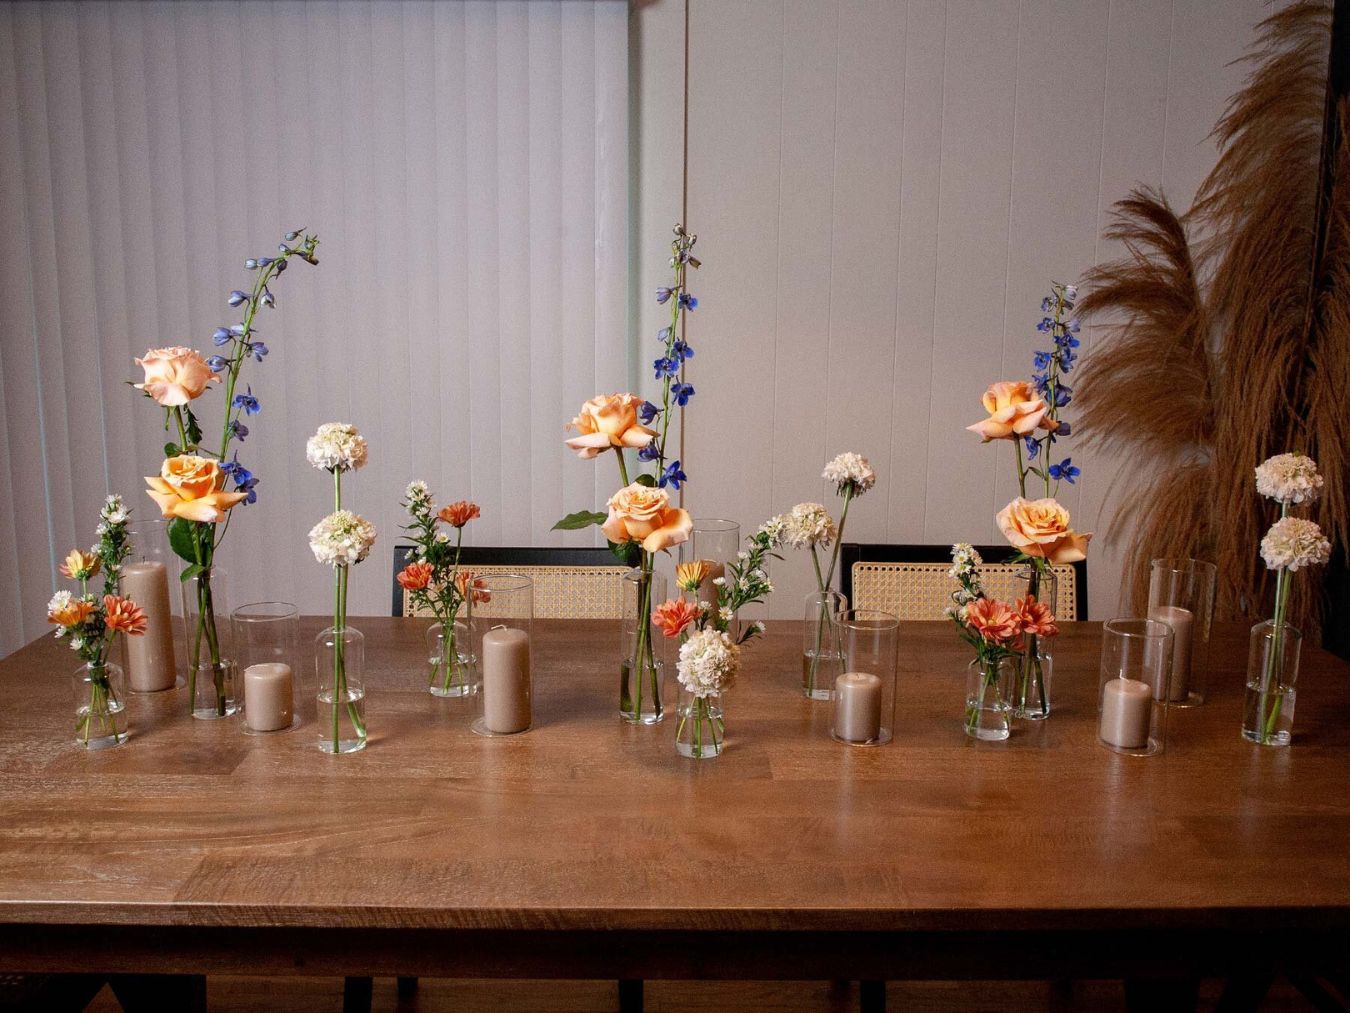
Step 6: Display Your Vase
Now that you have put so much effort into creating a stunning vase, it’s time to showcase it and let it become a centerpiece in your home decor. Here are some tips on how to effectively display your vase:
1. Choose the right location: Consider the room and area where you want to display your vase. Select a spot that allows your vase to stand out and catch the attention of anyone entering the room. It could be a mantelpiece, a dining table centerpiece, a hallway table, or even a bedroom dresser. Align the style and theme of the vase with the overall interior design of the space.
2. Coordinate with the surroundings: Take into account the color palette and style of the room when choosing where to place your vase. Ensure that it complements the existing decor and furniture in the space. A well-coordinated display will create a harmonious and visually pleasing environment.
3. Consider height and proportion: The height and proportion of your vase should align with the surrounding elements. For example, a tall and slender vase may work well on an empty corner or a table with low furniture. On the other hand, a shorter and broader vase can be suitable for a crowded shelf or a coffee table with multiple items.
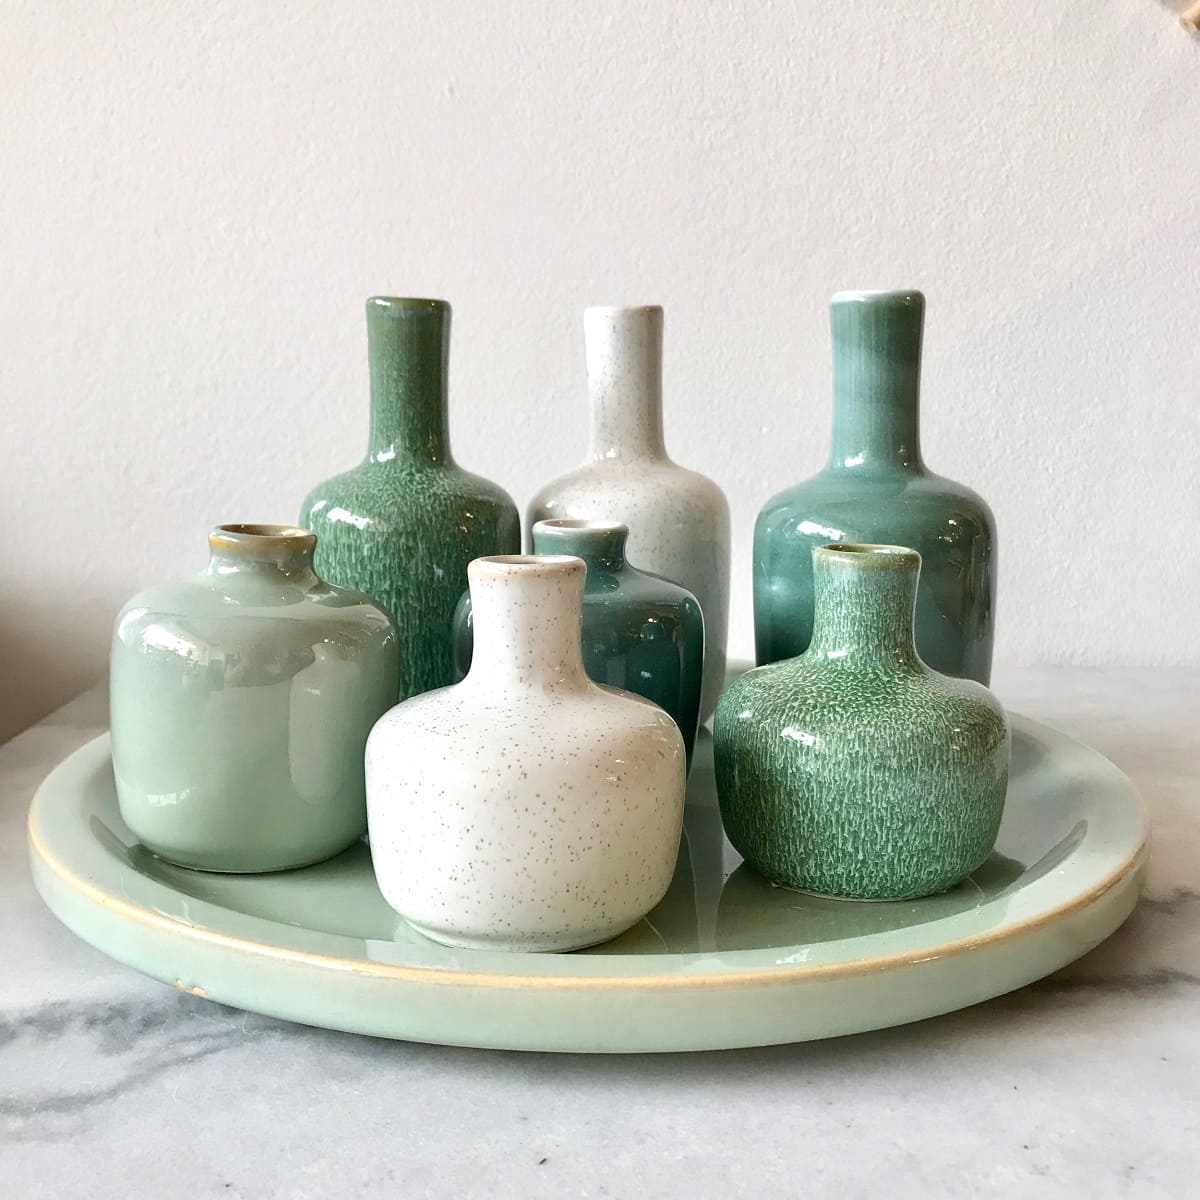
4. Play with groupings: Create visual interest by grouping multiple vases together. This can be done by arranging vases of different sizes and heights, or by combining them with other decorative items like candles or sculptures. Experiment with different arrangements until you achieve a visually pleasing composition.
5. Rotate with the seasons: Change the flowers or fillers in your vase according to the seasons. This can add freshness and a seasonal touch to your decor. Use bright and colorful blooms during spring and summer, and opt for more rustic or warm-toned elements during autumn and winter.
6. Maintain and clean: Keep your vase and the surrounding area clean and free from dust. Regularly wipe down the vase with a damp cloth or use an appropriate cleaning method depending on the materials used. This will help maintain the beauty and appeal of your display.
By following these tips, you can create an inviting and visually striking display that showcases your handcrafted vase and adds charm to your home decor. Enjoy the pride and satisfaction of seeing your DIY creation flourish in its designated spot!
Conclusion
Congratulations! You have successfully learned how to make your own vases from scratch. By following the step-by-step process outlined in this article, you have transformed basic materials into beautiful and personalized decorative pieces for your home.
From choosing a base and container to adding your own creative touches, you have unleashed your artistic flair and created vases that reflect your unique style and personality.
Remember, the possibilities for vase making are endless. You can continue to explore different materials, designs, and techniques to expand your repertoire and create an array of stunning vases.
Decorating your own vases not only allows you to express your creativity, but it also adds a personal touch to your home decor. These handmade pieces become conversation starters and can be cherished as meaningful and sentimental possessions.
So, gather your materials, let your imagination run wild, and have fun experimenting with various styles and decorations. Whether you choose vibrant flowers or tasteful greenery, your handcrafted vases will bring beauty and joy to any space.
Now, it’s time to proudly display your creations and admire the artistic masterpiece you have brought to life.
Frequently Asked Questions about How To Make Vases
Was this page helpful?
At Storables.com, we guarantee accurate and reliable information. Our content, validated by Expert Board Contributors, is crafted following stringent Editorial Policies. We're committed to providing you with well-researched, expert-backed insights for all your informational needs.


0 thoughts on “How To Make Vases”