Articles
How To Make Chapati Dough In Food Processor
Modified: August 16, 2024
Learn how to make chapati dough easily and quickly using a food processor. This step-by-step guide will help you save time and effort in the kitchen.
(Many of the links in this article redirect to a specific reviewed product. Your purchase of these products through affiliate links helps to generate commission for Storables.com, at no extra cost. Learn more)
Introduction
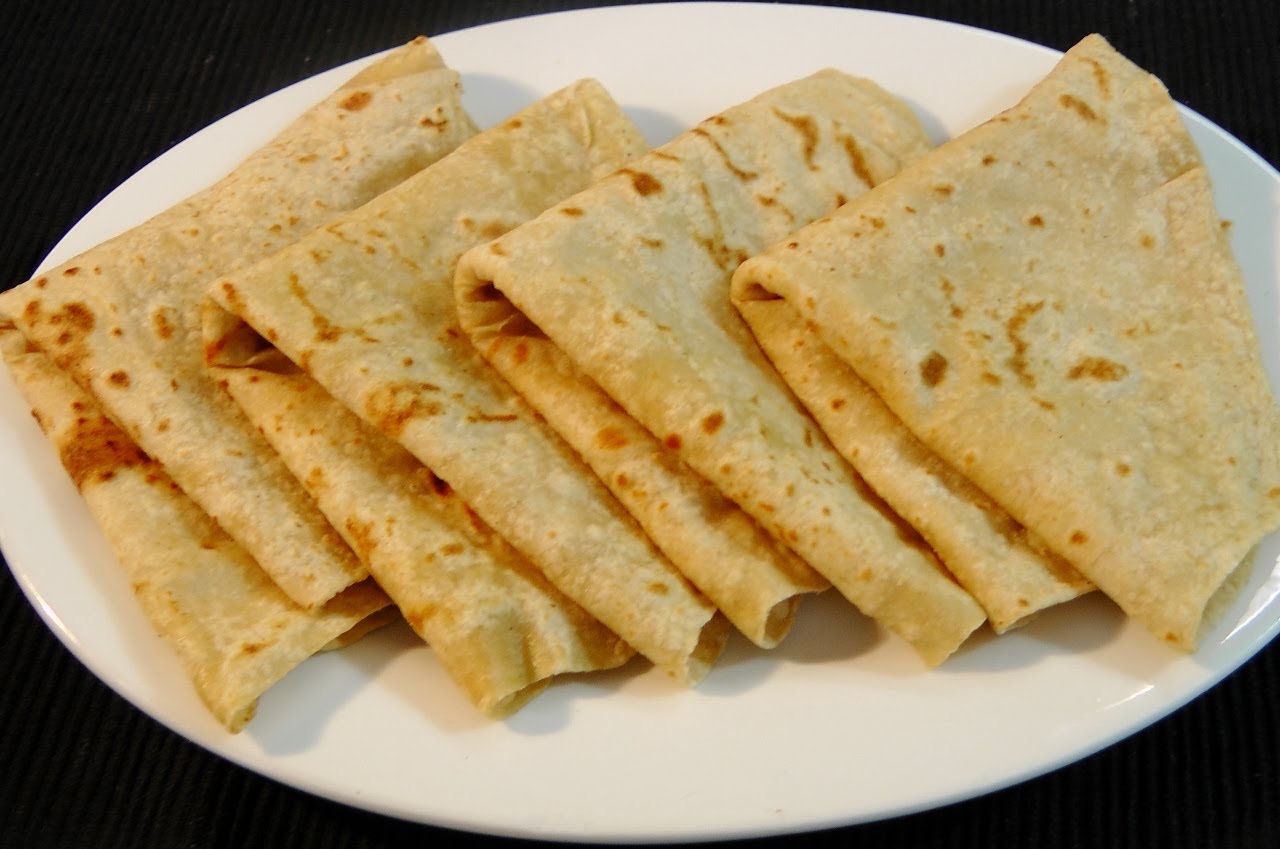
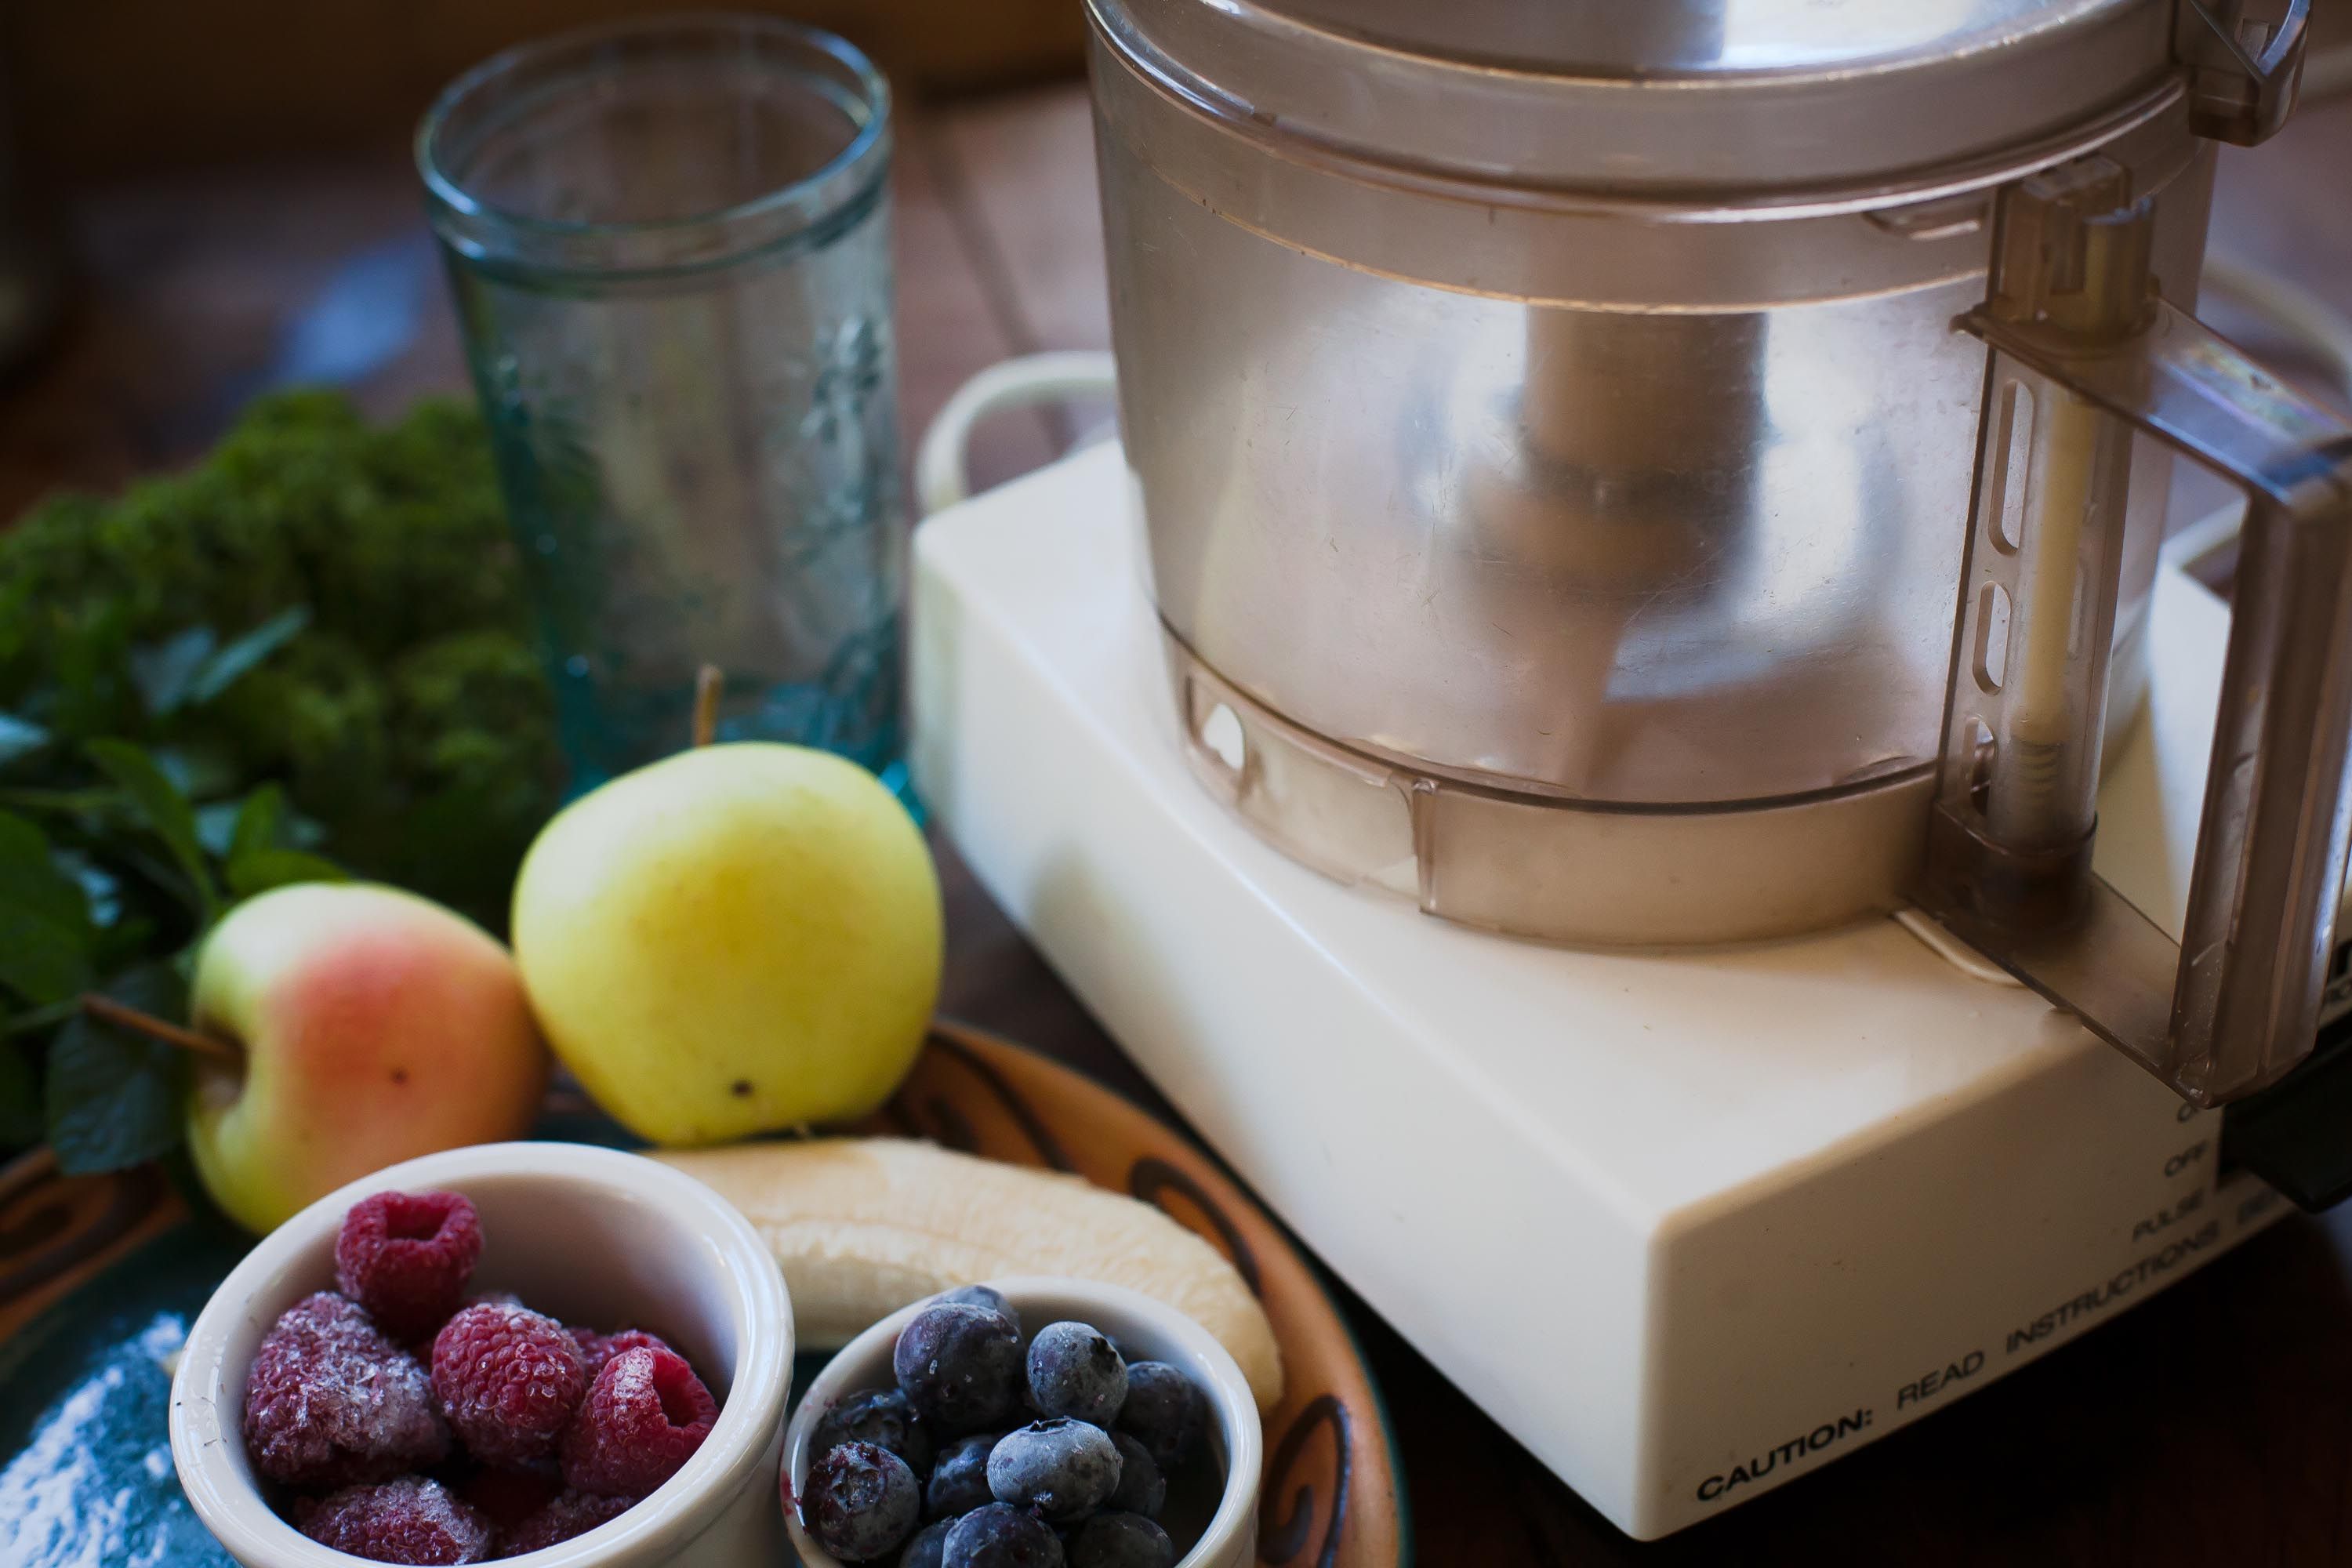
Chapati, also known as roti, is a traditional Indian flatbread that is not only delicious but also versatile. It can be paired with a variety of curries, used as a wrap or even enjoyed on its own. Making chapati dough is an essential step in the process of creating these delectable bread rounds, and while it can be done by hand, using a food processor can make the entire process much easier and more efficient.
In this article, we will explore the benefits of using a food processor for making chapati dough, the ingredients required, step-by-step instructions, and some useful tips and tricks to ensure perfect dough every time. So let’s dive in and discover how to make chapati dough using a food processor.
Key Takeaways:
- Say goodbye to the laborious task of kneading chapati dough by hand! A food processor saves time, effort, and ensures consistent, perfect dough every time.
- With a food processor, making chapati dough becomes a breeze. Enjoy the convenience, multitask while it kneads, and savor the delightful aroma of fresh chapatis in your kitchen.
Read more: How To Make Dough In Ninja Food Processor
Benefits of using a food processor
Using a food processor to make chapati dough offers several advantages over traditional methods. Here are some of the key benefits:
- Time-saving: One of the main advantages of using a food processor is the convenience and time-saving aspect. The powerful motor and sharp blades of a food processor can quickly and effortlessly knead the dough, eliminating the need for manual effort and reducing the preparation time significantly.
- Consistency: Achieving a consistent texture in chapati dough can be a challenge when kneading by hand. The food processor ensures even distribution of water and flour, resulting in a uniform and smooth dough consistency every time.
- Effortless kneading: Kneading dough by hand can be tiring and laborious, especially if you have a large batch to prepare. With a food processor, the machine does all the hard work for you. You simply need to add the ingredients, switch it on, and let it knead the dough to perfection.
- No messy hands: Bread dough can be sticky and messy, making it difficult to clean up afterwards. By using a food processor, you can keep your hands clean and avoid the sticky mess, as the dough is contained inside the processor bowl.
- Allows multitasking: While the food processor is kneading the dough, you are free to attend to other tasks in the kitchen. This allows for better time management and ensures that you can prepare other components of your meal simultaneously.
- Conserves energy: Kneading dough by hand requires considerable physical effort. By using a food processor, you can conserve your energy and avoid strain or fatigue, especially if you have to make large quantities of chapati dough.
The benefits of using a food processor for making chapati dough are undeniable. It saves time, ensures consistency, eases the kneading process, keeps your hands clean, allows for multitasking, and conserves your energy. Now that we understand the advantages, let’s move on to the ingredients required to make the perfect chapati dough.
Ingredients required for making chapati dough
To make chapati dough using a food processor, you will need the following ingredients:
- 2 cups whole wheat flour
- 1 teaspoon salt
- 1 tablespoon oil or ghee (clarified butter)
- ¾ cup warm water (adjust as needed)
These simple ingredients can be easily found in your pantry and are enough to make a batch of chapati dough that will yield about 8-10 chapatis, depending on their size.
Using whole wheat flour is ideal for making chapati dough as it is packed with nutrients and adds a delicious nutty flavor to the bread. If you prefer a lighter texture, you can use a combination of whole wheat and all-purpose flour.
The salt not only adds flavor but also helps in activating the gluten in the flour, resulting in a more elastic and pliable dough. The oil or ghee adds richness and tenderness to the chapatis.
Now that we have all the necessary ingredients ready, let’s proceed to the step-by-step instructions for making chapati dough using a food processor.
Add a small amount of oil or ghee to the chapati dough in the food processor to make it softer and more pliable. This will make it easier to roll out and cook the chapatis.
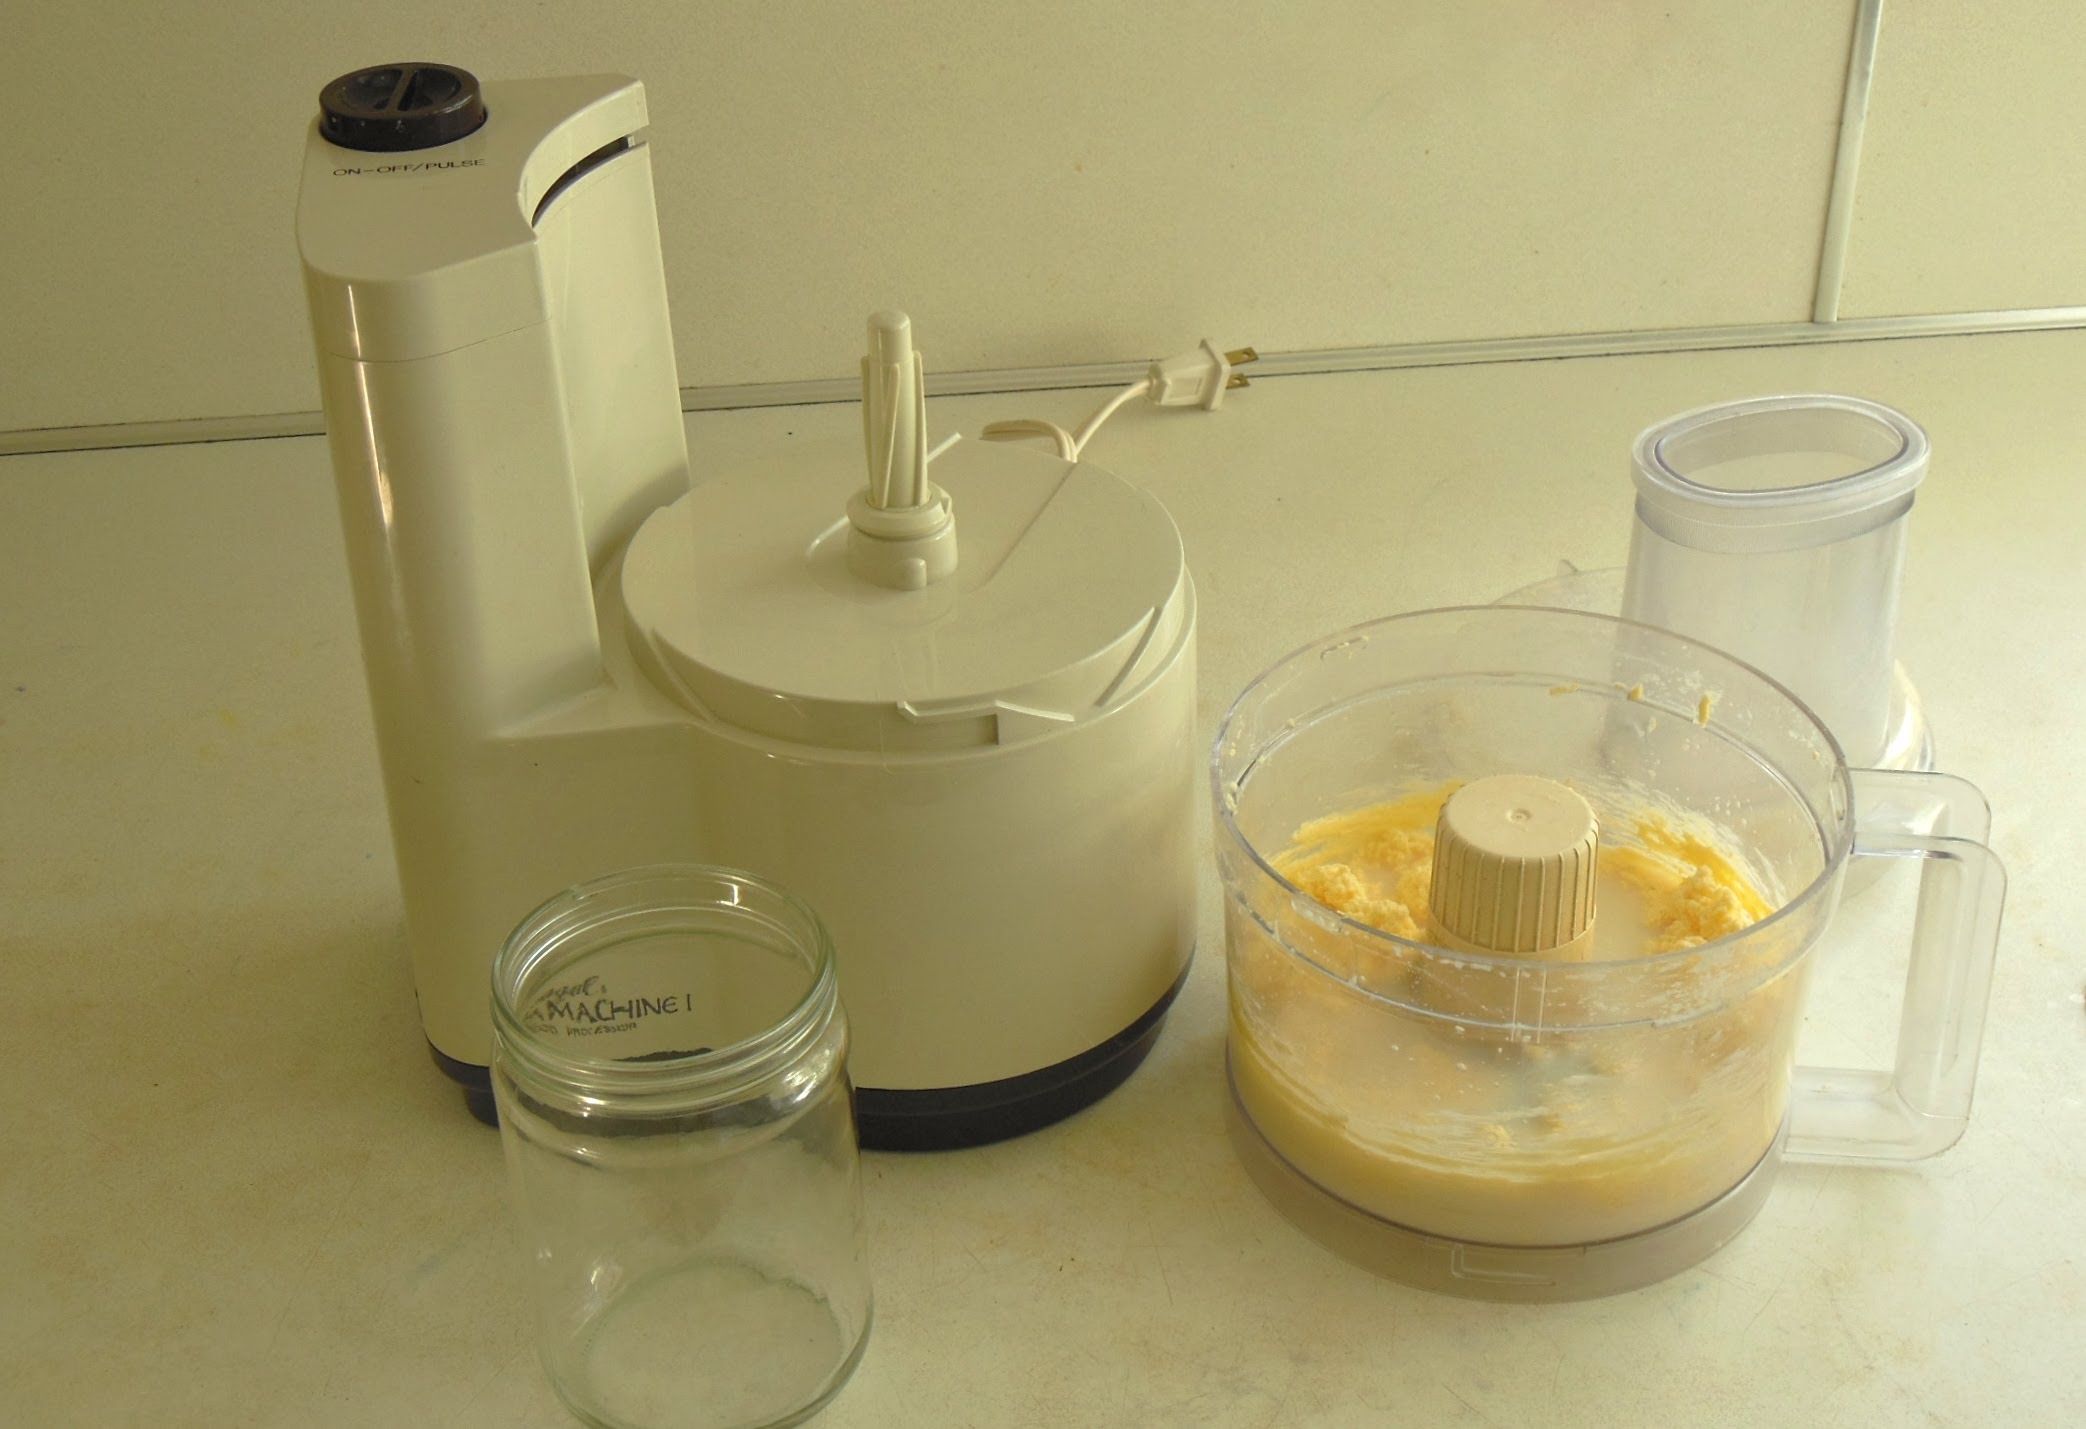
Step-by-step instructions for making chapati dough in a food processor
Follow these simple steps to make chapati dough using a food processor:
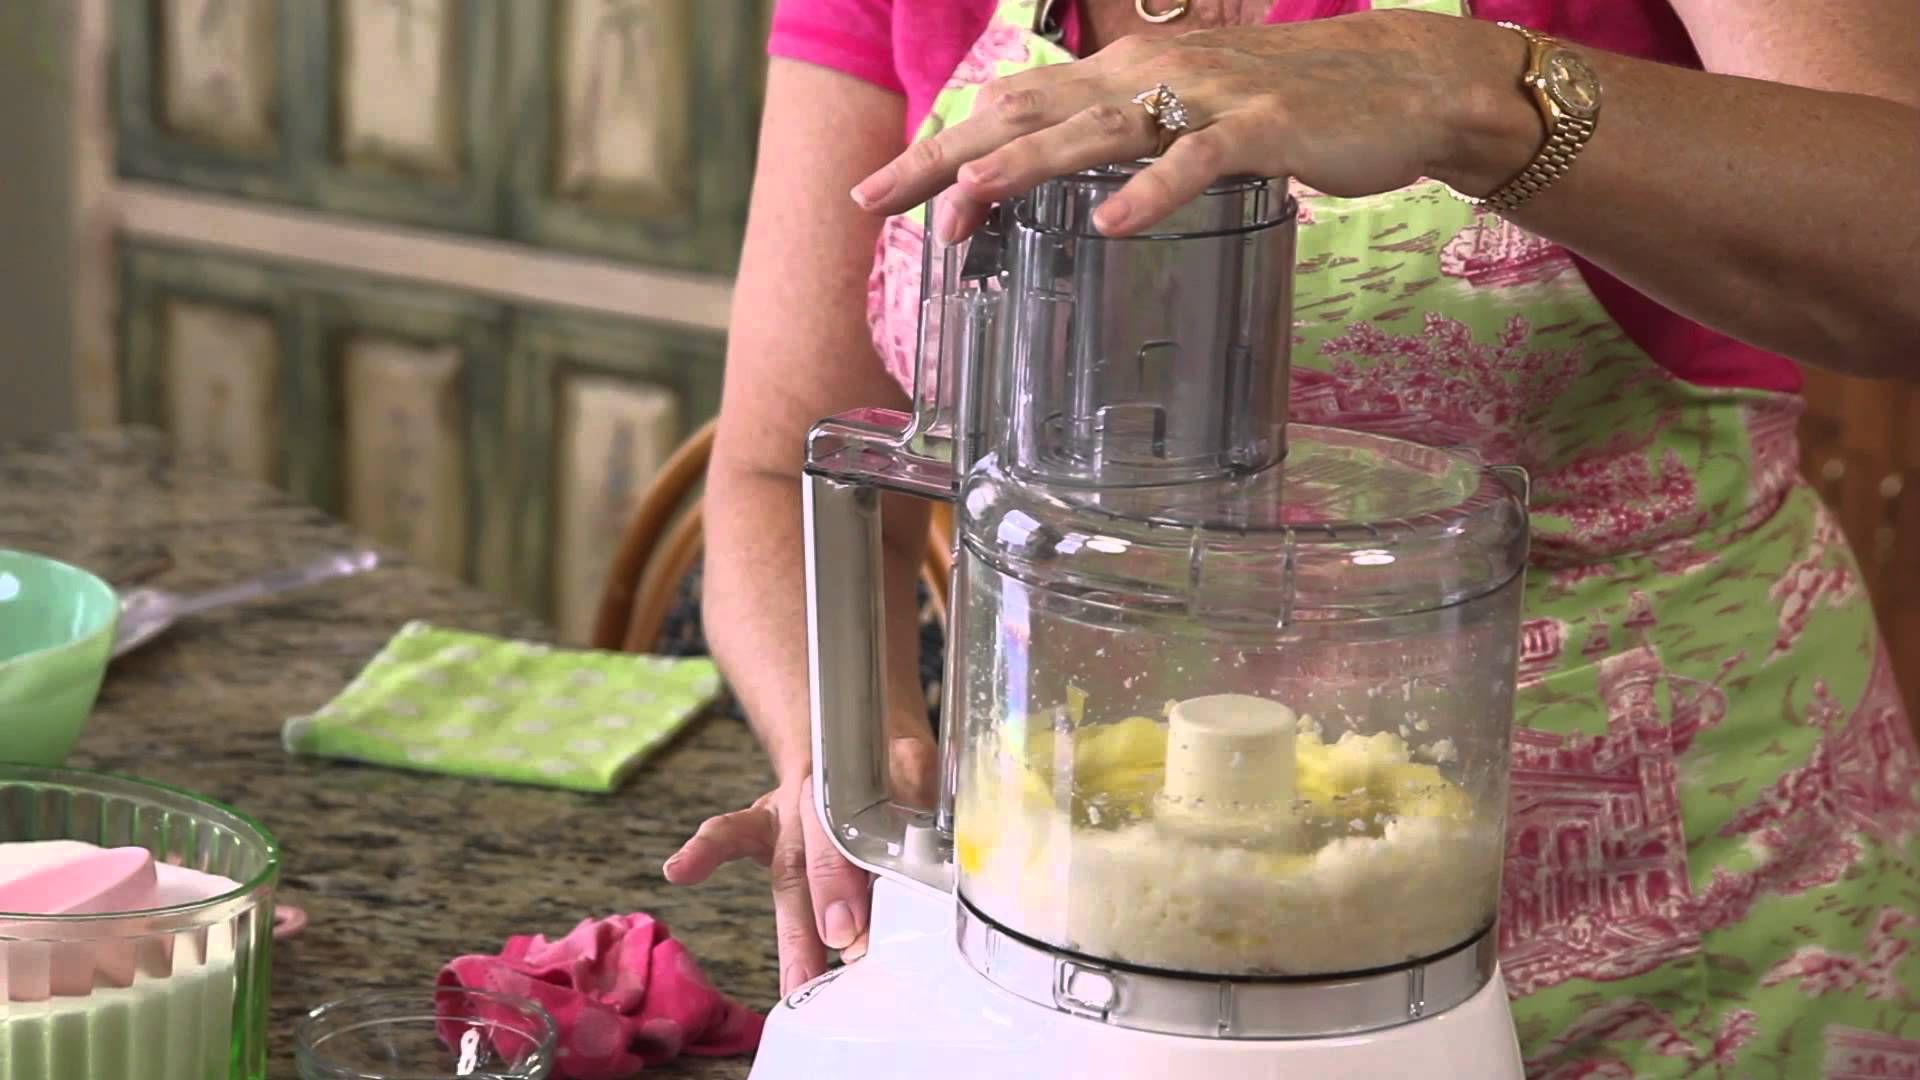
- Add the dry ingredients: Start by adding 2 cups of whole wheat flour and 1 teaspoon of salt to the bowl of your food processor. Make sure the flour is evenly distributed in the bowl.
- Add the oil: Next, add 1 tablespoon of oil or ghee to the bowl. This will help in keeping the chapatis soft and pliable.
- Pulse to combine: Secure the lid of the food processor and pulse the ingredients a few times to combine them. This will ensure that the salt and oil are evenly distributed throughout the flour.
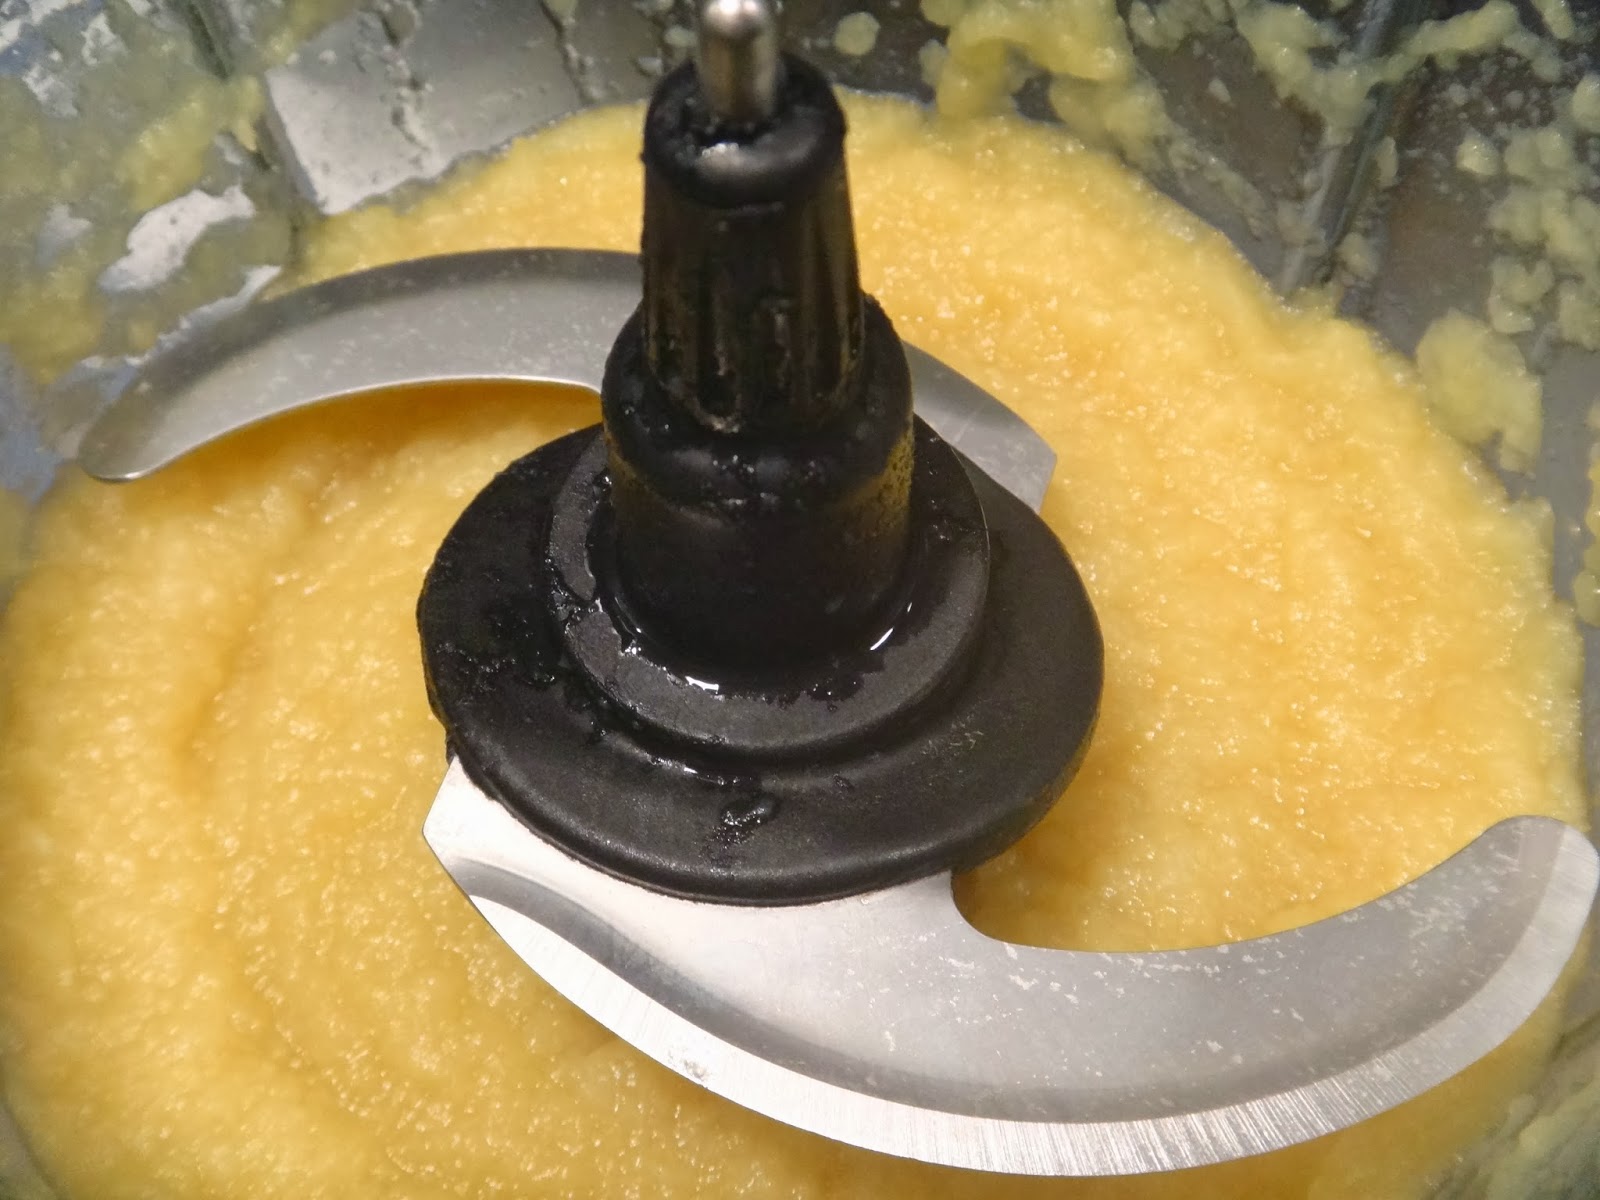
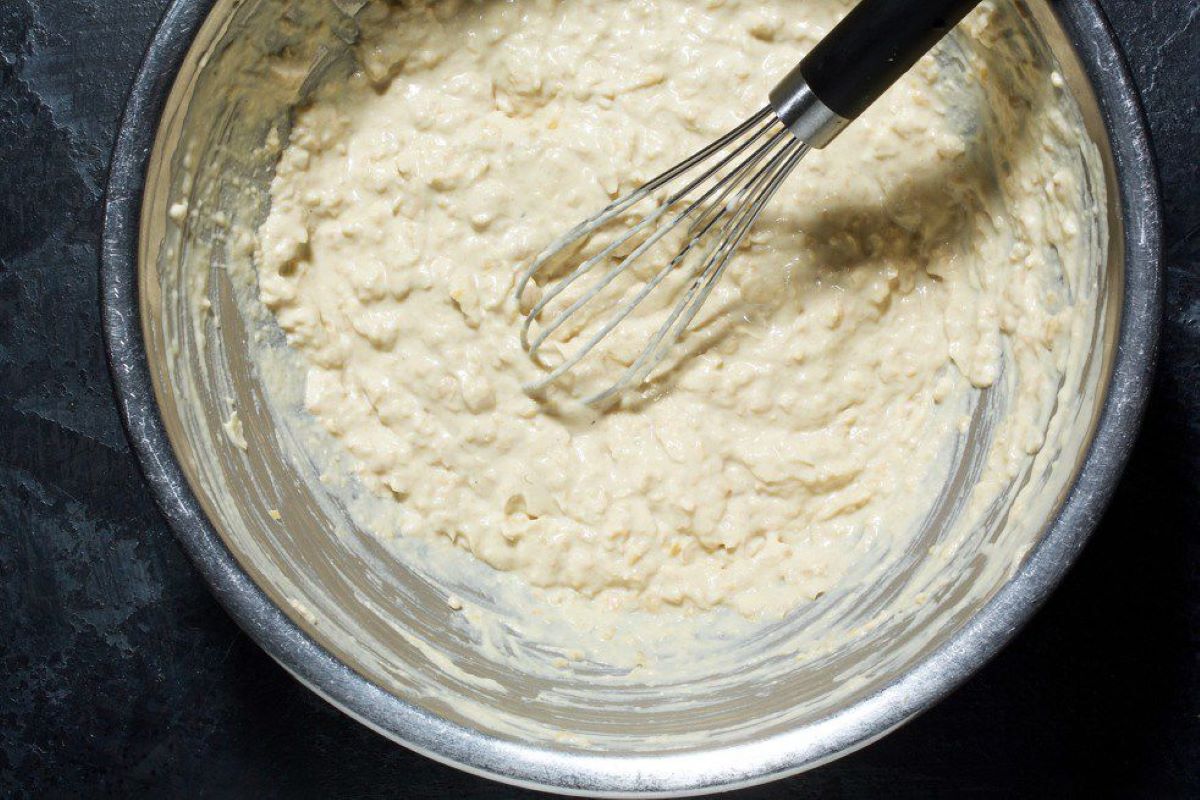
- Add warm water: Gradually pour in ¾ cup of warm water through the feed tube of the food processor while it’s running. Start with a lesser amount of water and add more as needed to form a soft and slightly sticky dough.
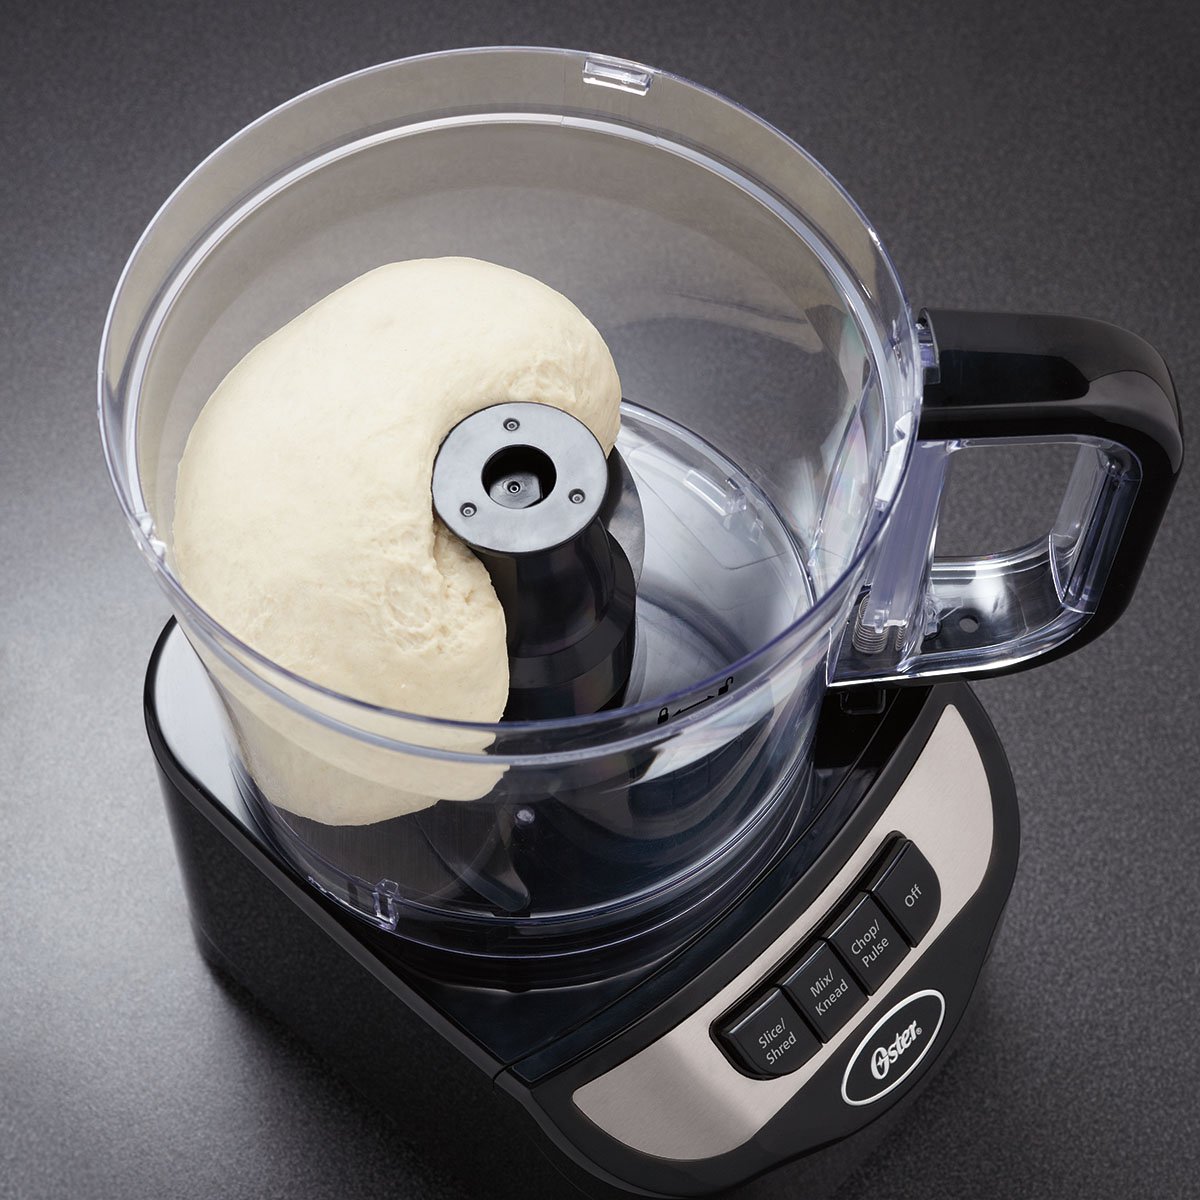
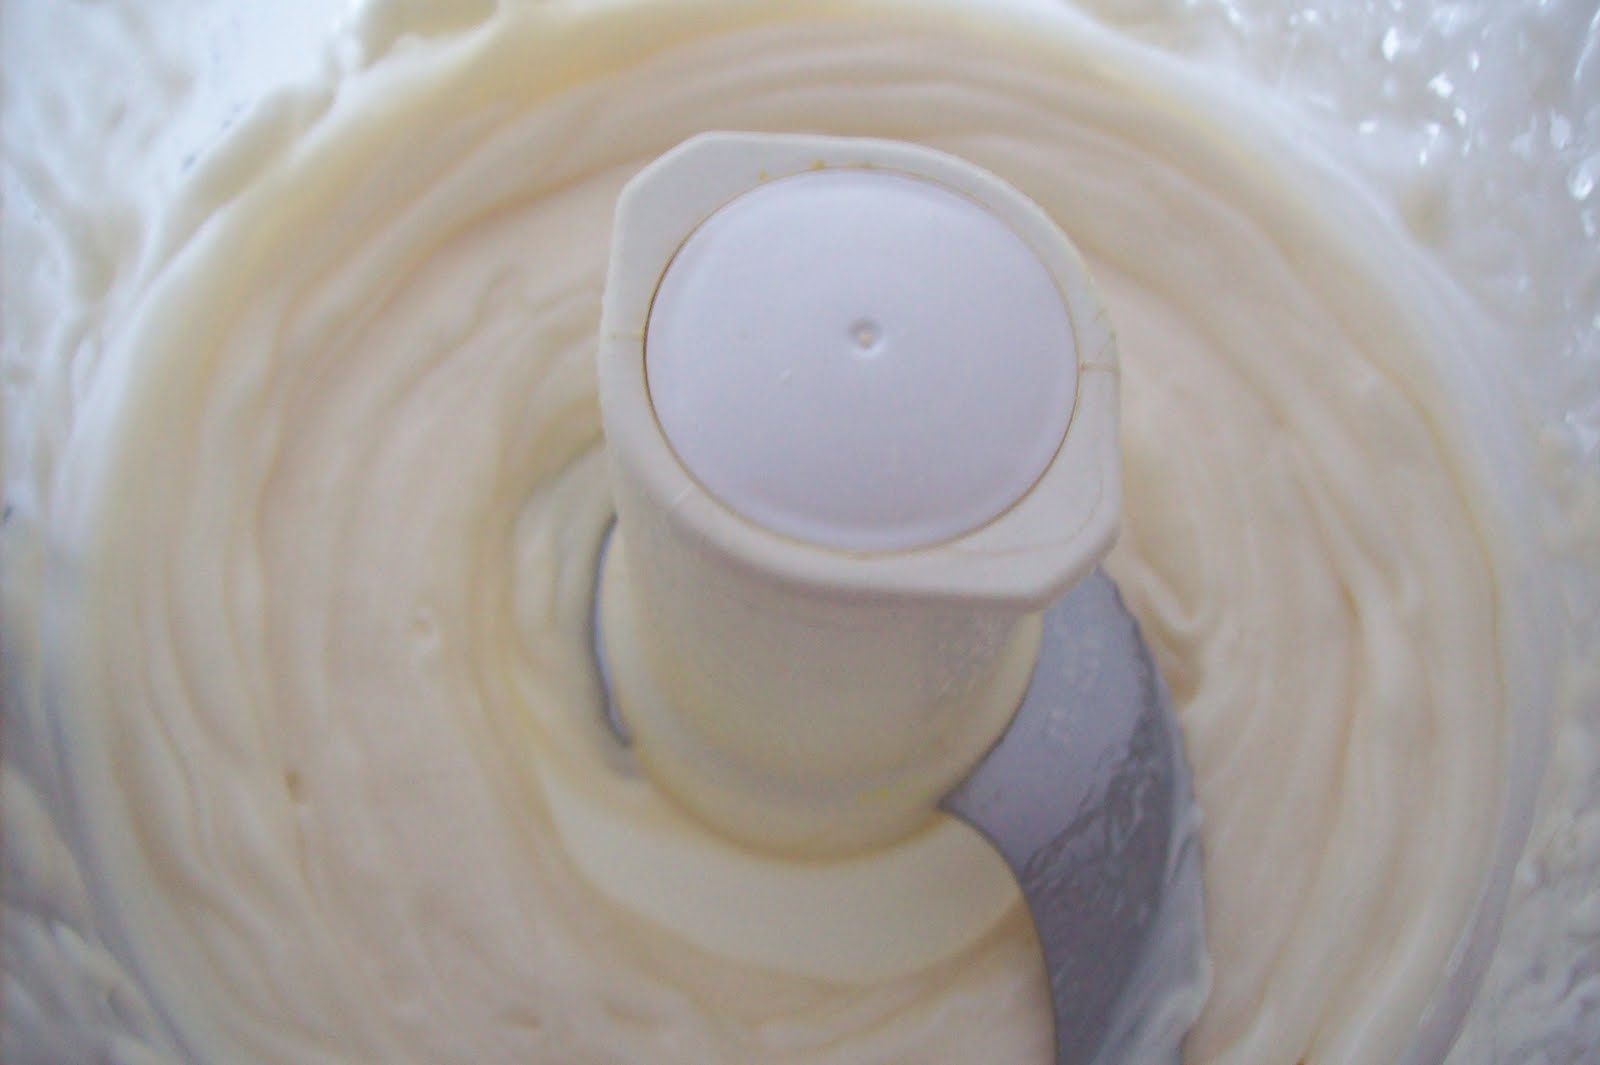
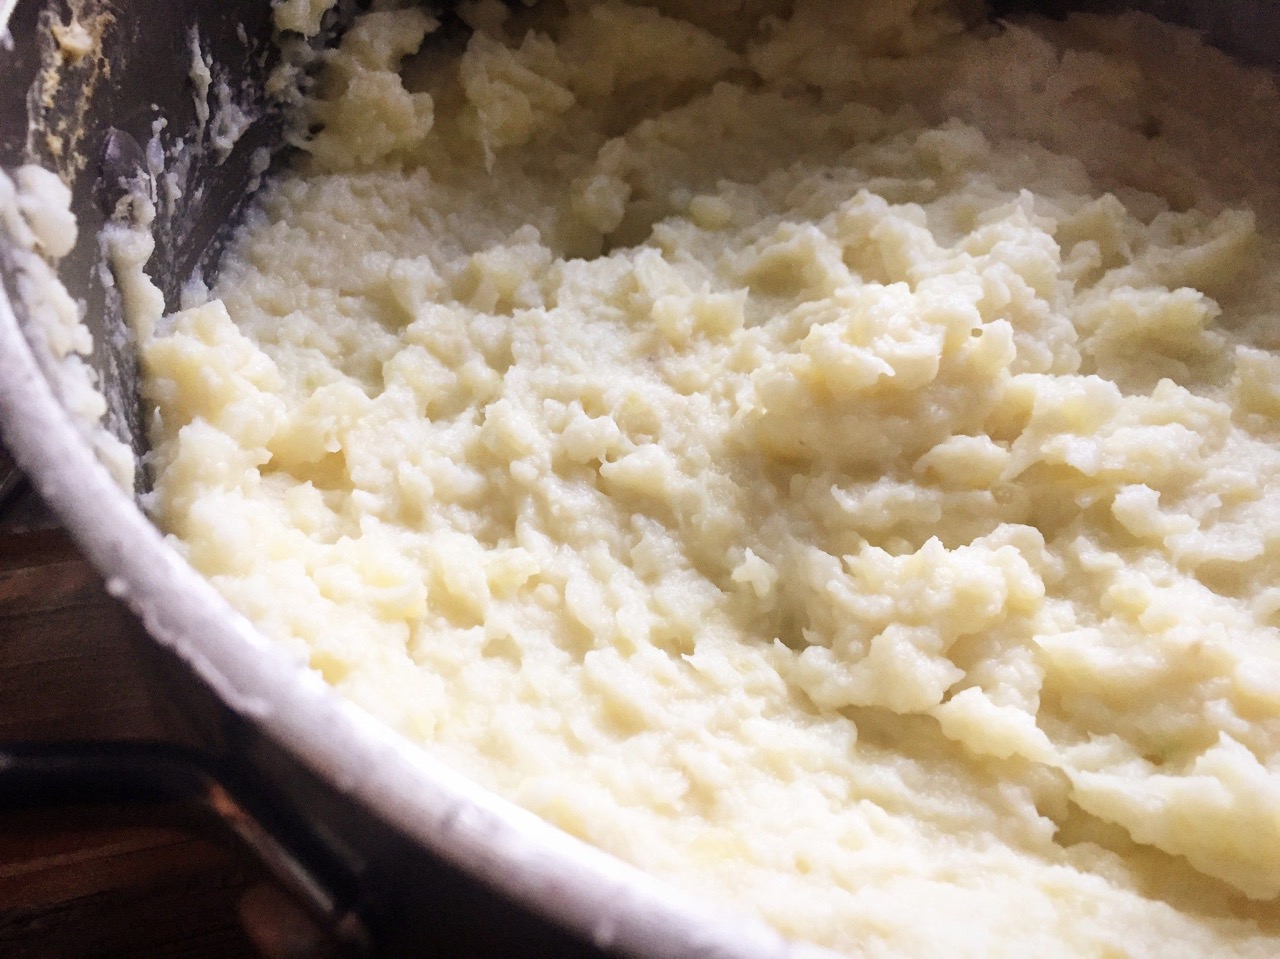
- Knead the dough: Once the dough starts to come together, let the food processor run for about 1-2 minutes to knead the dough. The dough should be smooth and elastic.
- Check consistency: Open the food processor and check the consistency of the dough. It should be soft, slightly tacky, and easily pliable. If the dough feels too dry, add a tablespoon of water at a time and pulse until it reaches the desired consistency. If it feels too wet, sprinkle a little flour and pulse again.
- Rest the dough: Once the dough is kneaded to perfection, transfer it to a clean work surface and shape it into a smooth ball. Cover it with a damp cloth or plastic wrap and let it rest for at least 30 minutes. This resting period allows the gluten to relax, making the dough easier to roll and resulting in softer chapatis.
- Your chapati dough is ready: After the resting period, your chapati dough is ready to be rolled out and cooked. Divide the dough into small portions, dust them with flour, and roll them into thin circles. Cook the chapatis on a hot griddle or tawa until they puff up and develop golden brown spots.
With these simple steps, you can effortlessly make chapati dough using a food processor. The next section will provide you with some useful tips and tricks to ensure perfect chapati dough every time.
Tips and tricks for perfect chapati dough
To help you achieve the best results when making chapati dough in a food processor, here are some tips and tricks to keep in mind:
- Measure ingredients accurately: Use standardized measuring cups and spoons to ensure accurate proportions of flour, water, salt, and oil. This will help maintain the right consistency of the dough.
- Adjust water as needed: The amount of water required may vary depending on the quality and type of flour. Start with a lesser amount and gradually add more water as needed until the dough comes together. It is easier to add more water than to fix an overly wet dough, so go slow when adding water.
- Rest the dough: Allow the dough to rest for a minimum of 30 minutes before rolling it out. This resting period improves the texture of the dough, making it softer and easier to roll. It also allows the gluten to relax, resulting in tender and pliable chapatis.
- Adjust the thickness of chapatis: The thickness of chapatis can vary depending on personal preference. If you prefer thinner chapatis, roll the dough circles slightly thinner. For thicker chapatis, roll them out a little thicker. Experiment to find the thickness that suits your taste.
- Keep the dough covered: While working with the dough, cover it with a damp cloth or plastic wrap to prevent it from drying out. This will help maintain its moisture and prevent the chapatis from becoming dry and brittle.
- Don’t skip the oil or ghee: Adding oil or ghee to the dough helps in making the chapatis softer and more flavorful. It also prevents them from getting too dry during the cooking process. Don’t skip this step for the best results.
- Keep the dough soft: While kneading the dough, ensure that it remains soft and slightly tacky. Avoid adding excess flour as it can result in dry and hard chapatis.
- Use a hot griddle: Preheat your griddle or tawa on medium-high heat before cooking the chapatis. This will ensure that they cook evenly and puff up properly.
- Cooking time and temperature: Ideally, cook the chapatis for about 30 seconds on each side or until golden brown spots appear. Adjust the cooking time and temperature as needed to achieve the desired level of doneness.
- Store leftover dough properly: If you have leftover chapati dough, store it in an airtight container in the refrigerator. It will stay fresh for up to 2 days. Bring it to room temperature before rolling and cooking.
By following these tips and tricks, you can create perfect chapati dough every time using a food processor. With a little practice, you will be able to make soft, flavorful, and delicious chapatis that will be a hit at any meal.
Now that you are armed with all the knowledge to make chapati dough using a food processor, it’s time to put it into action. Enjoy the process of kneading dough effortlessly and savor the delightful aroma of fresh chapatis wafting through your kitchen. Happy cooking!
Conclusion
Making chapati dough in a food processor is a game-changer when it comes to convenience and efficiency. The benefits of using a food processor for this task are numerous, from saving time and effort to ensuring consistent results. With just a few simple ingredients and some easy steps, you can create perfect chapati dough every time.
We explored the advantages of using a food processor, such as the time-saving aspect, the effortless kneading process, and the ability to multitask while it does the work for you. The ingredients required for making chapati dough are straightforward and easily accessible, ensuring that you can whip up a batch whenever the craving strikes.
The step-by-step instructions provided a clear guide to making chapati dough in a food processor, from adding the ingredients to kneading the dough to perfection. The tips and tricks shared added the extra touch to help you achieve the best results – from accurately measuring ingredients to adjusting the thickness of the chapatis to resting the dough for optimal texture.
Now armed with all this knowledge, you can confidently embark on your chapati-making journey. Embrace the convenience of the food processor as it effortlessly kneads the dough, allowing you to focus on other aspects of your meal preparation. Enjoy creating soft, flavorful chapatis that will delight your family and friends.
So, go ahead and try making chapati dough in a food processor. You’ll discover the joy of effortless cooking and the satisfaction of making a staple food that brings people together. With practice and experimentation, you’ll be able to perfect the art of making chapatis that are not only delicious but also a reflection of your love and culinary prowess.
Happy cooking and happy chapati-making!
Frequently Asked Questions about How To Make Chapati Dough In Food Processor
Was this page helpful?
At Storables.com, we guarantee accurate and reliable information. Our content, validated by Expert Board Contributors, is crafted following stringent Editorial Policies. We're committed to providing you with well-researched, expert-backed insights for all your informational needs.

0 thoughts on “How To Make Chapati Dough In Food Processor”