

Articles
How To Make Omelette In The Waffle Iron
Modified: August 27, 2024
Discover a unique twist on making delicious omelettes with the help of your waffle iron. This article provides step-by-step instructions and tips for creating mouthwatering breakfast creations.
(Many of the links in this article redirect to a specific reviewed product. Your purchase of these products through affiliate links helps to generate commission for Storables.com, at no extra cost. Learn more)
Introduction
Have you ever wondered if there’s a way to make your breakfast routine more exciting and delicious? Look no further than the waffle iron. Typically used for making crispy waffles, this versatile kitchen appliance can also be used to whip up a mouthwatering omelette in no time. By using a waffle iron, you can achieve a unique texture and presentation for your omelette that will leave your taste buds wanting more.
In this article, I will guide you through the step-by-step process of making an omelette in a waffle iron, creating a delightful fusion of flavors and textures. Whether you’re a seasoned chef or a beginner in the kitchen, this recipe is sure to impress your family and friends with its delightful simplicity and delicious results.
Before we dive into the cooking process, it’s essential to have a clean and well-maintained waffle iron. Ensure that there is no residue from previous use, as this can affect the taste and appearance of your omelette. Additionally, make sure you have all the necessary ingredients on hand, including eggs, vegetables, cheese, and any other fillings you desire.
Now, let’s get started on this culinary adventure and explore the art of making an incredible omelette in a waffle iron!
Key Takeaways:
- Elevate your breakfast game by making a delicious omelette in a waffle iron. Enjoy the unique texture and burst of flavors, impressing your family and friends with this creative twist on a breakfast classic.
- Transform a traditional omelette into a visually stunning and delicious dish with the waffle iron. Experiment with different fillings and seasonings to personalize your waffle iron omelette, embarking on an exciting culinary adventure.
Read more: How To Make Waffle In A Waffle Iron
Step 1: Preparing the Waffle Iron
Before diving into the cooking process, it’s crucial to prepare your waffle iron properly. This step ensures that your omelette cooks evenly and doesn’t stick to the surface. Follow these simple steps to prepare your waffle iron:
- Start by preheating your waffle iron according to the manufacturer’s instructions. This will ensure that it reaches the optimal temperature for cooking your omelette.
- If your waffle iron has a non-stick coating, you can skip this step. However, if it doesn’t, it’s essential to grease the surface lightly. You can use butter or cooking spray to prevent the omelette from sticking to the iron.
- Next, clean the surface of your waffle iron with a damp cloth or sponge. It’s important to remove any debris or residue from previous use to ensure a clean and flavorful omelette.
- If your waffle iron has removable plates, make sure they are securely in place. This ensures that the mixture doesn’t leak out during the cooking process.
Once your waffle iron is properly prepared and preheated, you’re ready to move on to the next step of creating your delicious omelette. Preparing the waffle iron is a vital step to ensure that your omelette cooks evenly and doesn’t stick, giving you a perfect omelette with a beautiful texture.
Step 2: Mixing the Ingredients
Now that your waffle iron is preheated and ready to go, it’s time to mix the ingredients for your omelette. Follow these simple steps to create a flavorful and perfectly balanced mixture:
- In a mixing bowl, crack the desired number of eggs. Typically, 2-3 eggs are enough for a single omelette, but you can adjust the quantity based on your preferences.
- Add a splash of milk or cream to the eggs. This helps to make the omelette light and fluffy.
- Season the mixture with salt, pepper, and any other desired herbs or spices. This adds depth of flavor to your omelette.
- Whisk the egg mixture vigorously until well combined. You want the eggs to be fully beaten and frothy, ensuring a light and fluffy texture.
- Now it’s time to add your favorite fillings. Chop up vegetables like bell peppers, onions, spinach, or mushrooms, and grate some cheese. You can also add cooked bacon, ham, or sausage for an extra punch of flavor.
- Add the fillings to the egg mixture and gently fold them in, ensuring that everything is evenly distributed.
Once your ingredients are well mixed, your omelette mixture is ready to be poured onto the waffle iron. The combination of eggs, milk, seasoning, and delicious fillings will provide a burst of flavors and textures, making your omelette a truly exquisite dish.
Step 3: Pouring the Mixture onto the Waffle Iron
With your mixture of eggs and fillings prepared, it’s time to pour it onto the waffle iron and bring your omelette to life. Follow these simple steps to ensure a smooth pouring process:
- Open the preheated waffle iron and check that it’s still well-greased. If needed, give it a quick spray of cooking oil or butter.
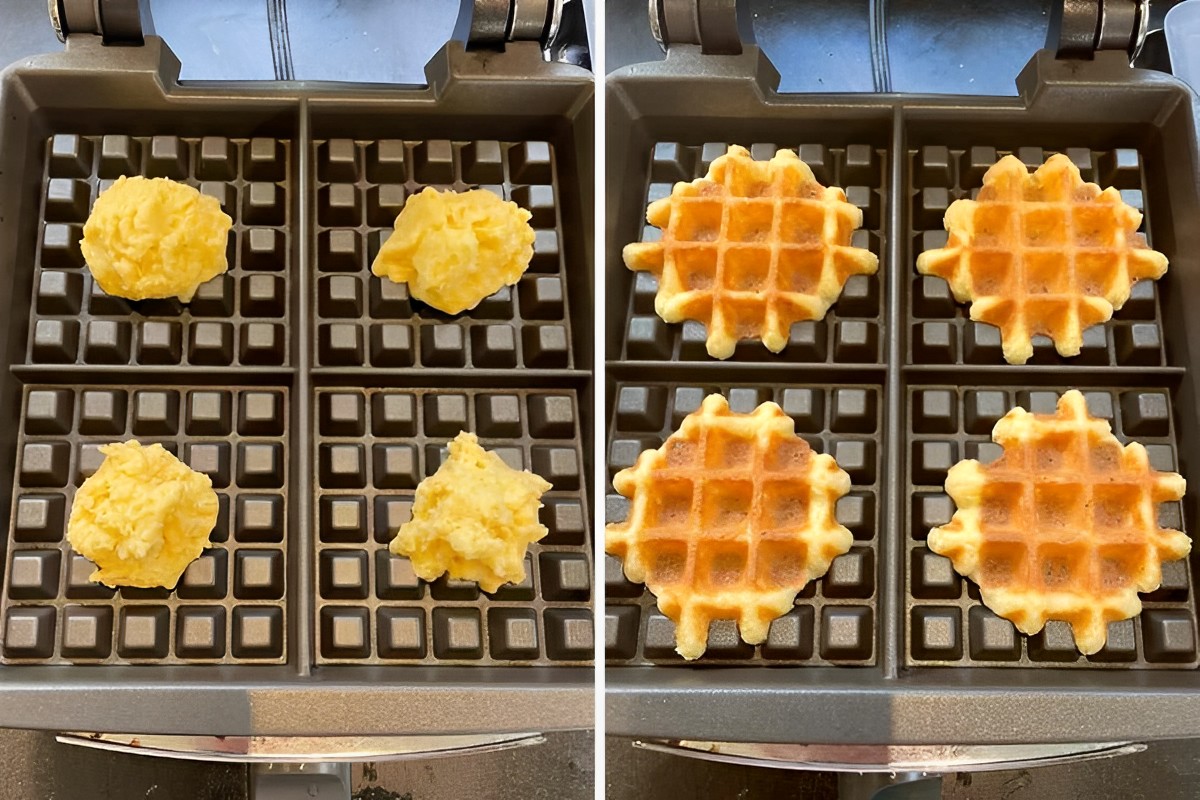
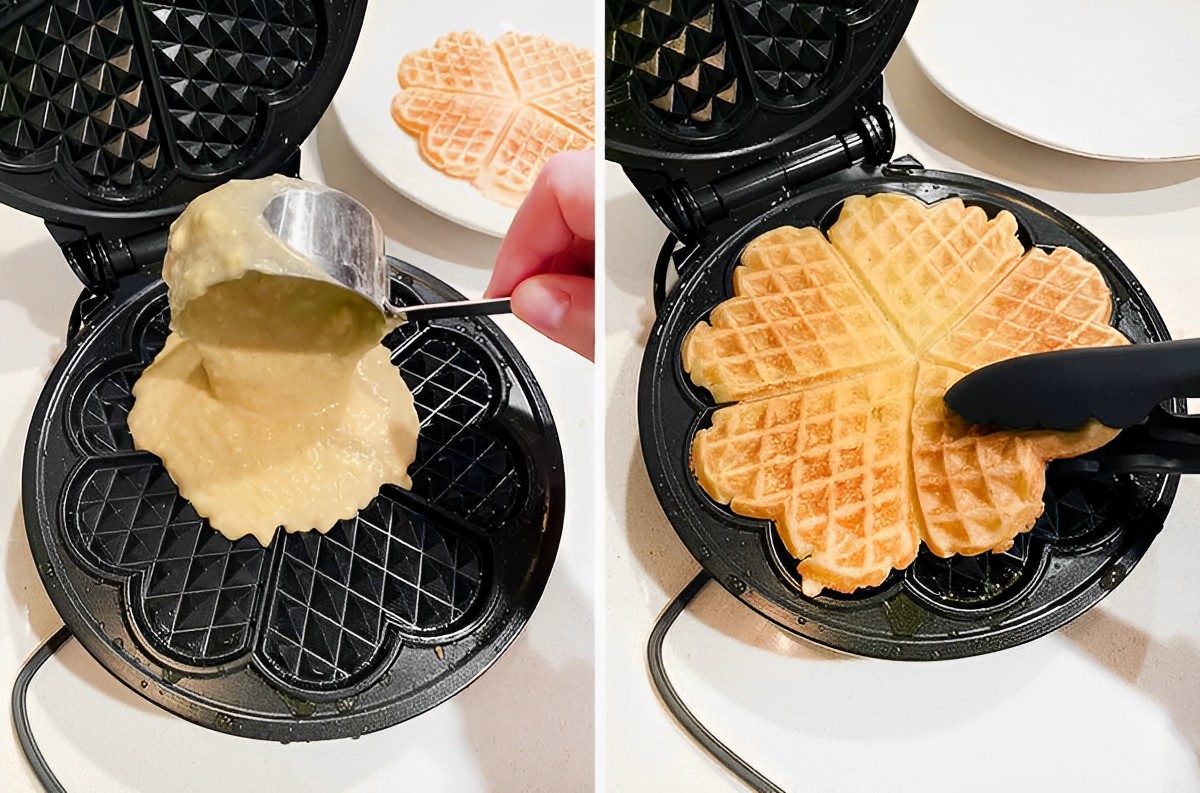
- Carefully pour the omelette mixture onto the center of the waffle iron. Start with a small amount and gradually increase if necessary, ensuring that the mixture spreads evenly across the iron.
- Use a spatula or the back of a spoon to gently spread the mixture towards the edges of the waffle iron, ensuring it covers the entire surface.
- Close the waffle iron and gently press it down to ensure even heat distribution.
Remember, the cooking time may vary depending on the thickness of your omelette and the specific instructions provided by the manufacturer of your waffle iron. It’s important to keep an eye on the doneness of your omelette to prevent it from overcooking or burning.
During the cooking process, the waffle iron will create a unique texture on the omelette’s surface, giving it a distinct appearance and an extra crispiness. This method adds a delightful twist to traditional omelette-making and guarantees a visually appealing dish.
Preheat the waffle iron, then spray with non-stick cooking spray. Beat eggs and pour into the waffle iron, add desired fillings, and cook for 3-5 minutes. Enjoy your waffle iron omelette!
Step 4: Cooking the Omelette
Now that you have poured the omelette mixture onto the waffle iron, it’s time to cook your delicious creation. Follow these steps to ensure that your omelette cooks to perfection:
- Close the waffle iron and set a timer based on the recommended cooking time for your specific waffle iron model. Typically, it takes around 5-7 minutes to cook an omelette in a waffle iron, but it may vary.
- Avoid opening the waffle iron too frequently during the cooking process, as it may affect the cooking time and result in an unevenly cooked omelette.
- Keep an eye on the color and texture of the omelette. You’re looking for a golden brown color on the outside with a soft and fluffy interior. Adjust the cooking time if needed, to achieve your desired level of doneness.
- Once the cooking time is up, carefully open the waffle iron. Use a spatula to gently lift the cooked omelette from the surface of the waffle iron.
- Place the cooked omelette on a plate or serving dish and let it cool slightly before cutting into it.
Be cautious when handling the waffle iron and removing the cooked omelette, as both will be hot. It’s important to ensure that the omelette is fully cooked before removing it from the waffle iron, as an undercooked omelette may not hold its shape or have the desired texture.
The cooking process in the waffle iron creates a delightful combination of textures, with a crisp outer layer and a fluffy interior. This unique cooking method adds an element of surprise and excitement to your traditional omelette, making it a truly memorable breakfast or brunch option.
Read more: How To Make A Waffle Without A Waffle Iron
Step 5: Removing and Serving the Omelette
Now that your omelette is cooked to perfection, it’s time to remove it from the waffle iron and present it in all its glory. Follow these simple steps to ensure a smooth removal and stylish presentation:
- Using a spatula, carefully lift the cooked omelette from the waffle iron, making sure to support it from underneath to prevent it from falling apart.
- Transfer the omelette to a cutting board or a serving plate. Let it cool for a minute or two before cutting into it.
- To make serving easier, you can cut the omelette into wedges or squares, just like you would with a traditional omelette.
- Garnish your omelette with fresh herbs, such as chives or parsley, to add a pop of color and enhance the presentation.
- Serve the waffle iron omelette hot and enjoy its unique texture and flavor.
Feel free to get creative with your serving options. You can serve your waffle iron omelette as a standalone dish or pair it with a side of toasted bread, a fresh salad, or a bowl of fruit for a well-rounded and satisfying meal.
Remember, the beauty of making an omelette in a waffle iron is that you can customize it to your liking. Experiment with different fillings, herbs, and seasonings to create a unique flavor profile that suits your taste buds.
Now that you have mastered the art of making an omelette in a waffle iron, impress your family and friends with this creative twist on a breakfast classic. Gather around the table and enjoy the delightful combination of crispy edges, fluffy interior, and mouthwatering flavors.
Conclusion
Creating an omelette in a waffle iron is a fun and innovative way to elevate your breakfast game. By following the simple steps outlined in this article, you can transform a traditional omelette into a visually stunning and delicious dish.
The waffle iron adds a unique texture to the omelette, with its crisp outer layer and fluffy interior. This method allows for even cooking and ensures that every bite is filled with a burst of flavors from the fillings you choose to include.
Throughout the cooking process, from preparing the waffle iron to pouring the mixture, cooking the omelette, and finally serving it, attention to detail is crucial. By taking the time to properly preheat and prepare the waffle iron, mix the ingredients with care, and cook the omelette to perfection, you can achieve outstanding results.
Feel free to experiment with different combinations of fillings and seasonings to personalize your waffle iron omelette. Whether you prefer a veggie-filled delight or a meaty masterpiece, the possibilities are endless.
So go ahead, break out your waffle iron, and embark on the exciting culinary adventure of making an omelette like you’ve never experienced before. Impress your family and friends with this unique breakfast dish that combines the best elements of a waffle and an omelette.
Now that you have the knowledge and skills to make an omelette in a waffle iron, it’s time to put them into practice. Get creative, explore different flavor combinations, and enjoy the deliciousness that awaits you with every bite.
Happy waffle iron omelette making!
Frequently Asked Questions about How To Make Omelette In The Waffle Iron
Was this page helpful?
At Storables.com, we guarantee accurate and reliable information. Our content, validated by Expert Board Contributors, is crafted following stringent Editorial Policies. We're committed to providing you with well-researched, expert-backed insights for all your informational needs.










0 thoughts on “How To Make Omelette In The Waffle Iron”