Home>Home Maintenance>How To Clean A Vertical Dryer Vent

Home Maintenance
How To Clean A Vertical Dryer Vent
Modified: August 20, 2024
Learn how to properly clean your vertical dryer vent with our step-by-step guide. Ensure your home maintenance routine includes this important task.
(Many of the links in this article redirect to a specific reviewed product. Your purchase of these products through affiliate links helps to generate commission for Storables.com, at no extra cost. Learn more)
Introduction
Welcome to our comprehensive guide on how to clean a vertical dryer vent. Proper maintenance of your dryer vent is essential to ensure the efficient and safe operation of your dryer. Over time, lint and debris can accumulate in the vent, causing it to become clogged and potentially pose a fire hazard. Cleaning your vertical dryer vent regularly not only improves your dryer’s performance but also reduces energy consumption and extends the lifespan of your appliance.
In this article, we will walk you through the process of cleaning a vertical dryer vent step-by-step. We will also highlight the tools and materials you will need and provide important safety precautions to follow. Additionally, we will discuss the signs of a clean and properly functioning vent to help you assess the effectiveness of your cleaning efforts.
So, whether you’re a seasoned DIY enthusiast or a homeowner looking to tackle a new project, we’ve got you covered. Let’s dive in and learn how to keep your vertical dryer vent in excellent condition.
Key Takeaways:
- Regularly cleaning your vertical dryer vent prevents fire hazards, improves dryer efficiency, and extends appliance lifespan, ensuring safe and efficient drying for your clothes.
- Prioritize safety by turning off the dryer, using protective gear, and following manufacturer’s instructions. Regularly monitor your vent’s performance for signs of cleanliness and proper function.
Read more: Who Cleans Dryer Vent
Why Cleaning a Vertical Dryer Vent is Important
Cleaning your vertical dryer vent is not just a simple chore; it is an essential task that has a significant impact on the performance and safety of your dryer. Here are several reasons why regular vent cleaning is important:
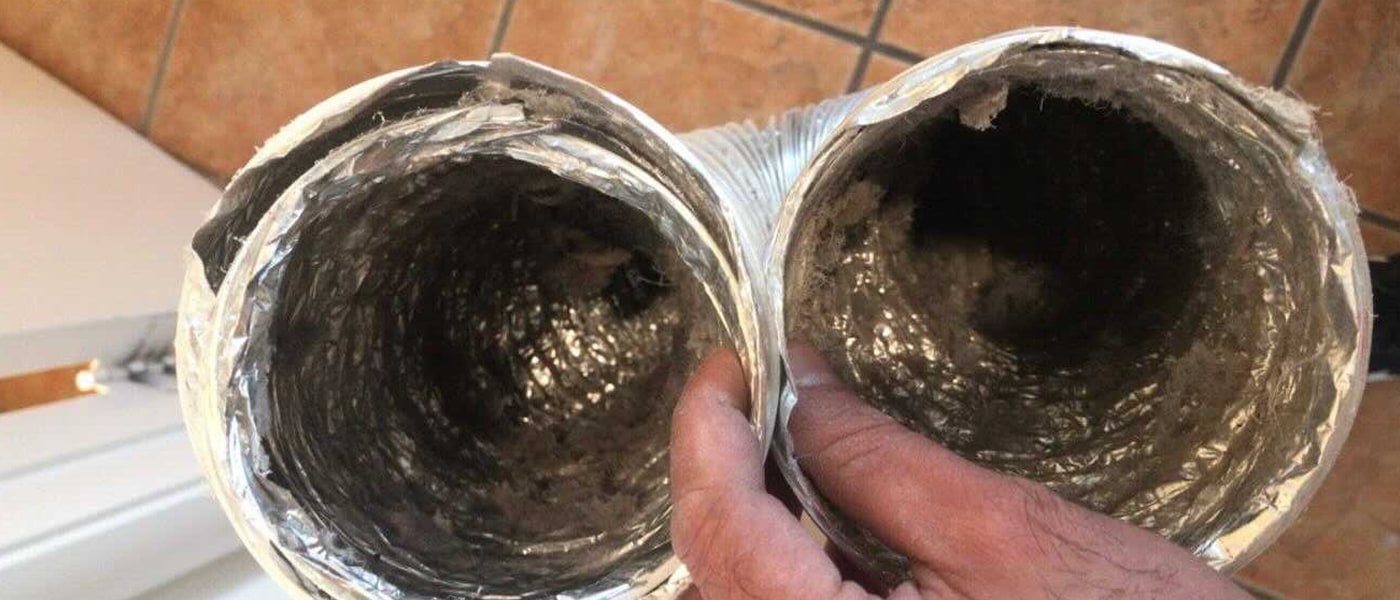
- Preventing Fire Hazards: The accumulation of lint and other debris in the dryer vent increases the risk of a fire. Dryer lint is highly flammable, and when it builds up, it can ignite from the heat generated by the dryer. Regular cleaning removes this potential fire hazard and minimizes the risk of a devastating house fire.
- Optimizing Dryer Efficiency: A clogged dryer vent restricts the airflow, forcing your dryer to work harder and longer to dry your clothes. This not only wastes energy but also prolongs the drying time. By cleaning the vent, you remove the obstruction and restore proper airflow, allowing your dryer to operate efficiently and effectively.
- Reducing Energy Consumption: As mentioned earlier, a clogged vent affects your dryer’s performance, which results in increased energy usage. By keeping the vent clean, you can enjoy energy savings and lower utility bills while still achieving perfectly dried laundry.
- Prolonging Dryer Lifespan: When a dryer works harder due to a clogged vent, it puts more stress on the motor and other components, potentially shortening its lifespan. Regular vent cleaning helps prevent excessive wear and tear on your dryer, extending its longevity and saving you money on repairs or replacements.
- Improving Indoor Air Quality: A dirty dryer vent can release harmful pollutants, such as allergens, mold spores, and volatile organic compounds (VOCs), into your home. These pollutants can negatively impact your indoor air quality, leading to respiratory issues and allergies. Cleaning the vent removes these contaminants, creating a healthier living environment.
By understanding the importance of cleaning your vertical dryer vent, you can prioritize this maintenance task and ensure the safety, efficiency, and longevity of your dryer. Now, let’s move on to the next section, where we will discuss the tools and materials you need for vent cleaning.
Tools and Materials Needed
Before you begin cleaning your vertical dryer vent, it’s important to gather the necessary tools and materials. Here is a list of items you will need:
- Screwdriver: A screwdriver is necessary to remove the screws securing the dryer vent cover or to detach the vent hose from the back of the dryer. Make sure you have the appropriate type and size of screwdriver for your specific dryer model.
- Vent Cleaning Brush: A vent cleaning brush with stiff bristles is an essential tool for removing lint and debris from the vent. Look for a brush specifically designed for dryer vent cleaning, preferably with a long and flexible handle to reach deep into the vent.
- Vacuum Cleaner: A vacuum cleaner with a narrow attachment or a crevice tool is useful for suctioning loose debris from the dryer vent. Make sure the vacuum has sufficient power to effectively remove lint and other particles.
- Lint Trap Brush: In addition to cleaning the vent, it’s important to clean the lint trap inside the dryer. A lint trap brush or a long, thin brush can help you remove trapped lint and ensure proper airflow.
- Gloves and Safety Goggles: It’s crucial to protect yourself during the vent cleaning process. Wear gloves to prevent contact with sharp edges or debris, and safety goggles to shield your eyes from any particles that may dislodge during the cleaning.
- Bucket and Trash Bags: Have a bucket or a bag nearby to collect any debris you remove from the dryer vent. This will make the cleaning process more convenient and help prevent messes.
- Extension Rods (if necessary): Depending on the length and accessibility of your vertical dryer vent, you may need extension rods for your brush to reach the entire vent length. These rods connect together and provide the length needed for effective cleaning.
By gathering these tools and materials beforehand, you will be well-prepared to clean your vertical dryer vent thoroughly. In the next section, we will provide a step-by-step guide on how to clean the vent. Let’s dive in!
Step-by-step Guide to Cleaning a Vertical Dryer Vent
Cleaning a vertical dryer vent may seem like a daunting task, but with the right approach and the following step-by-step guide, you can ensure a thorough and effective cleaning. Here’s what you need to do:
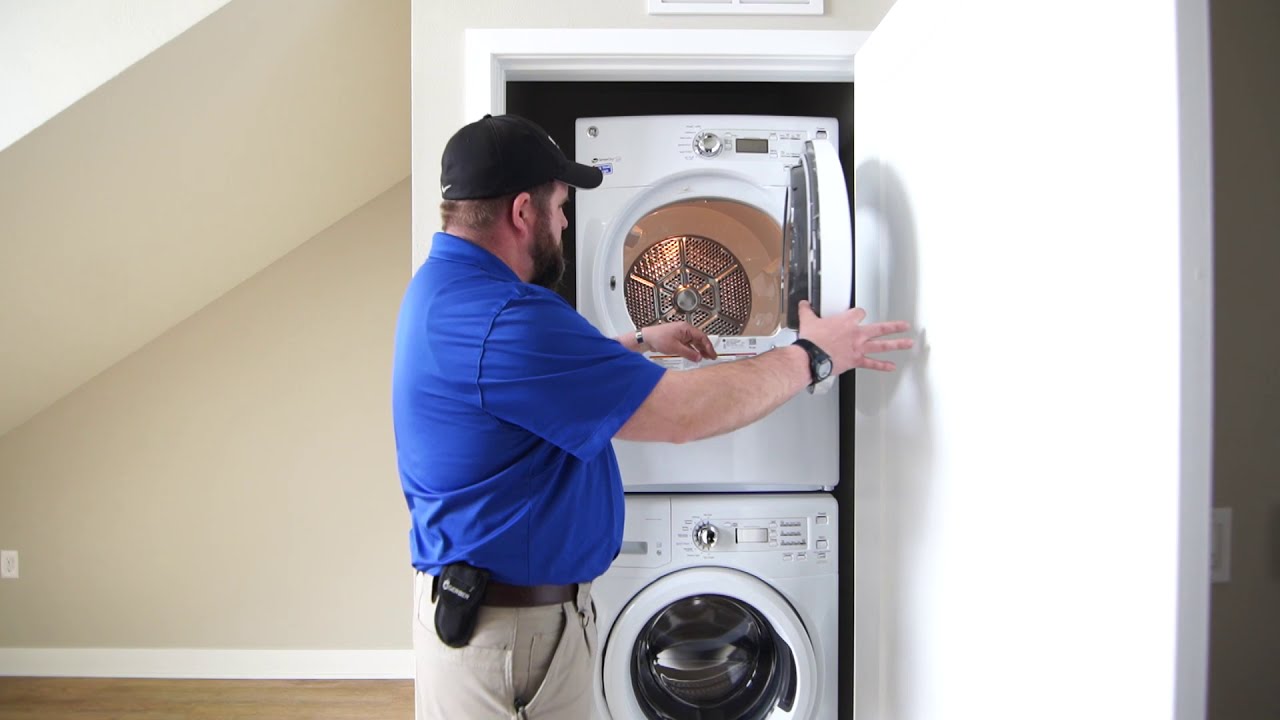
- Turn off the dryer: Start by turning off the dryer and unplugging it from the power source. Safety should always be a priority when working on any maintenance task.
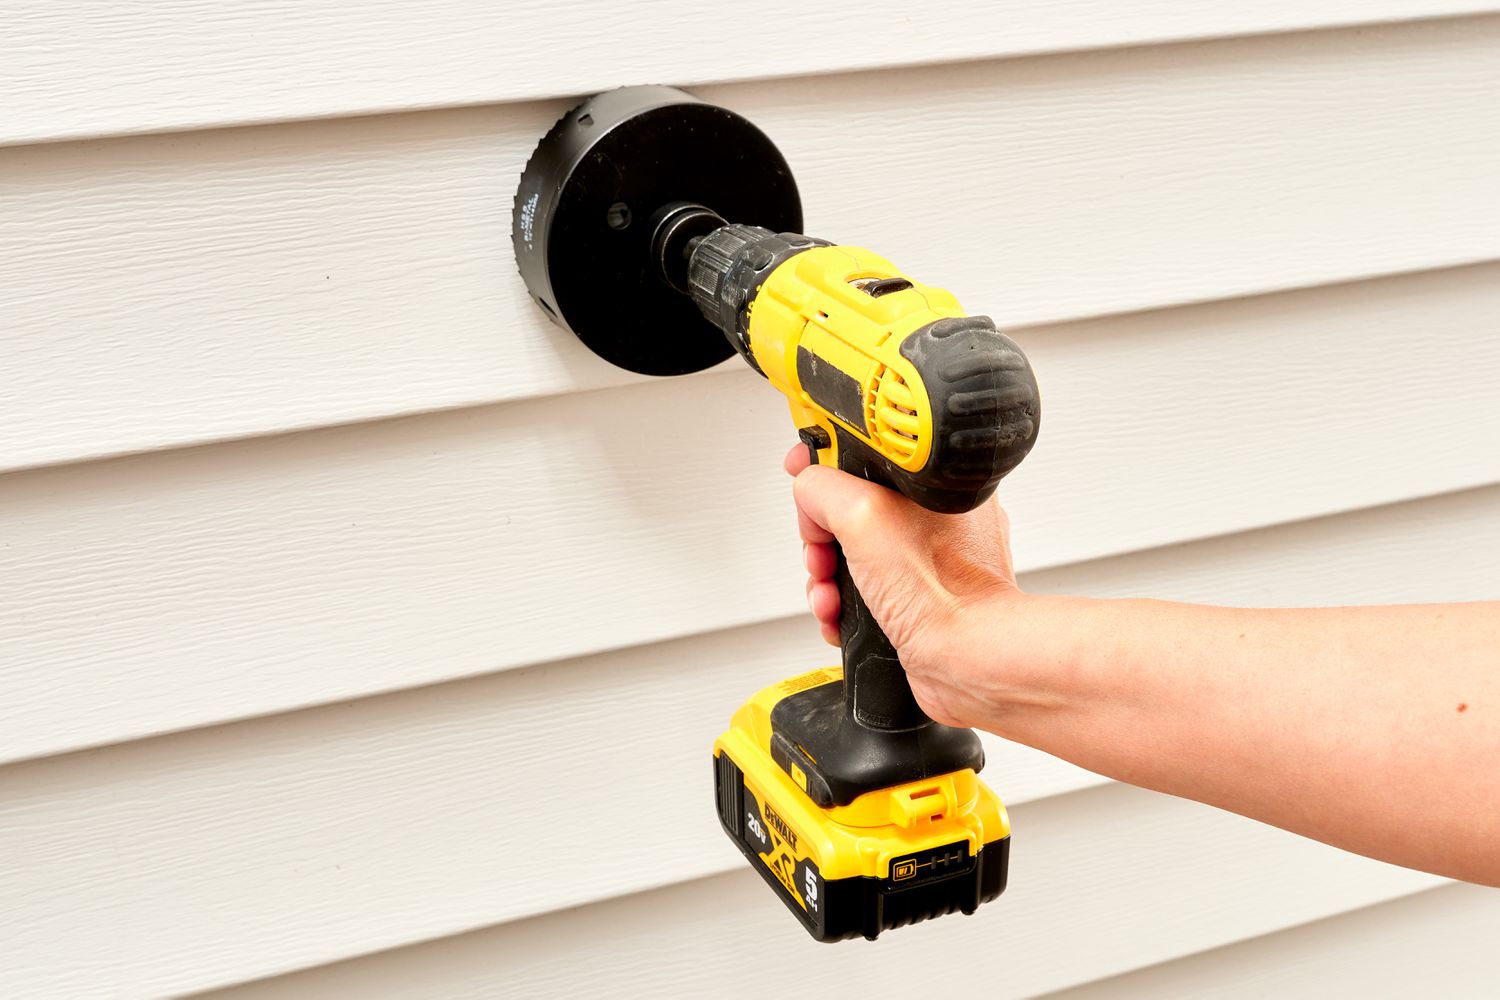
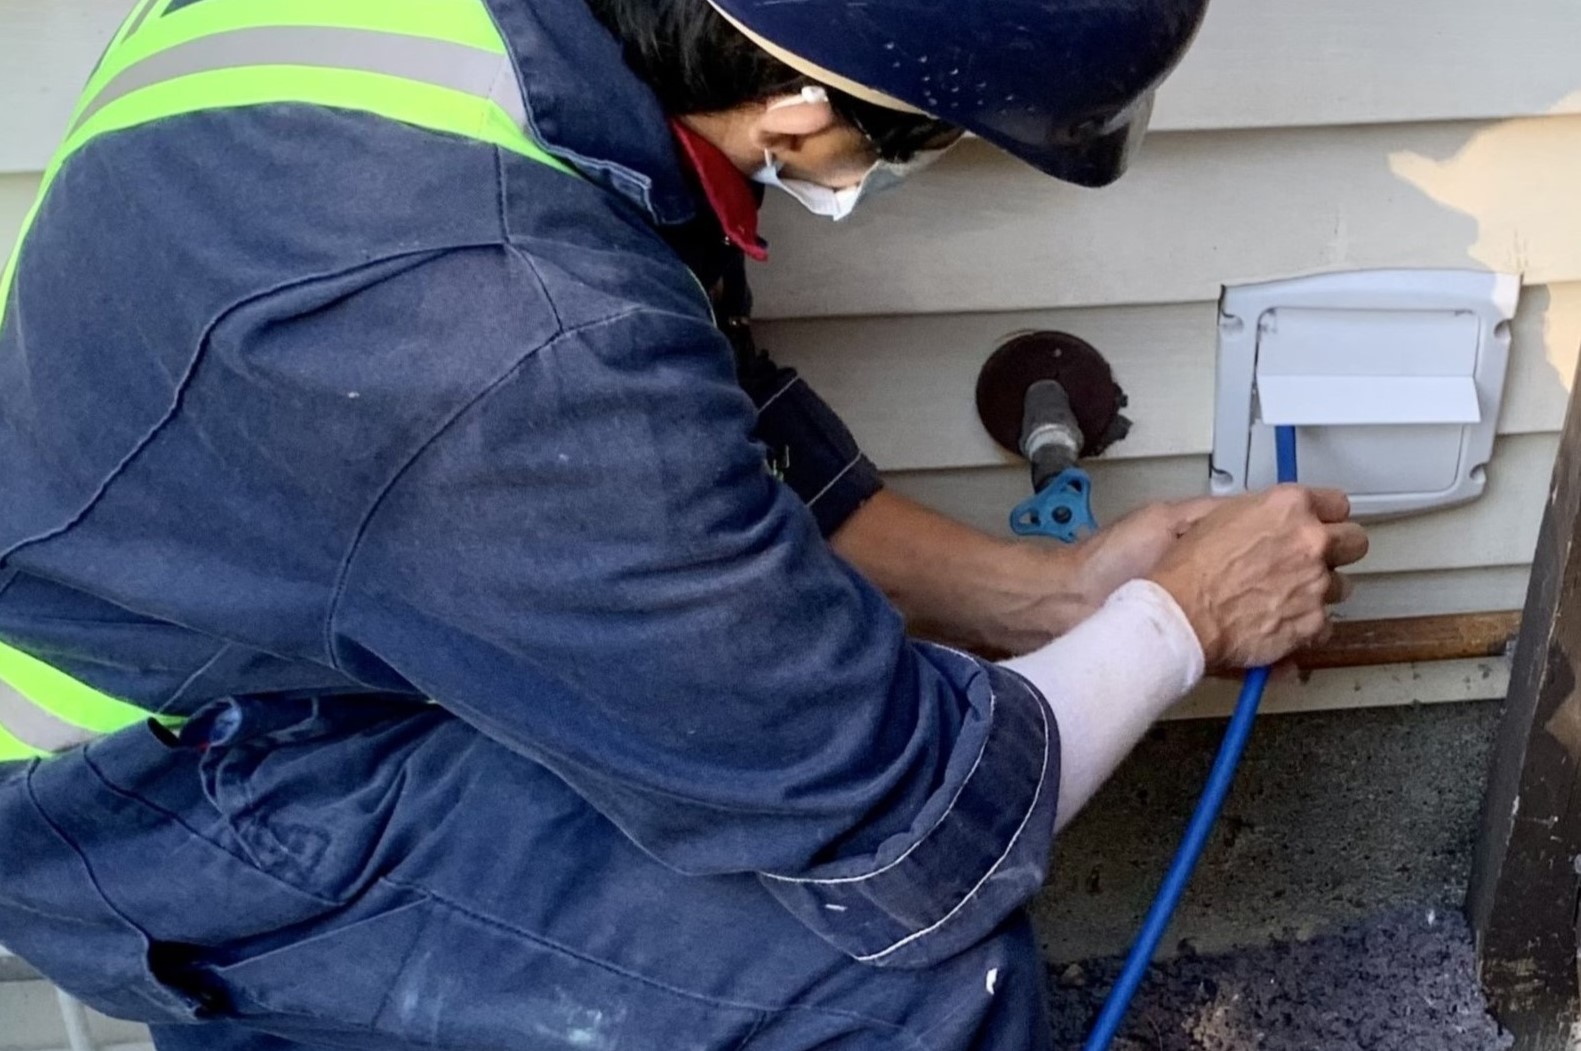
- Locate the dryer vent: Find the location of the vertical dryer vent on the exterior side of your home. It is usually a metal cover with vents that allow the air to escape. Remove any obstacles or debris from around the vent opening.
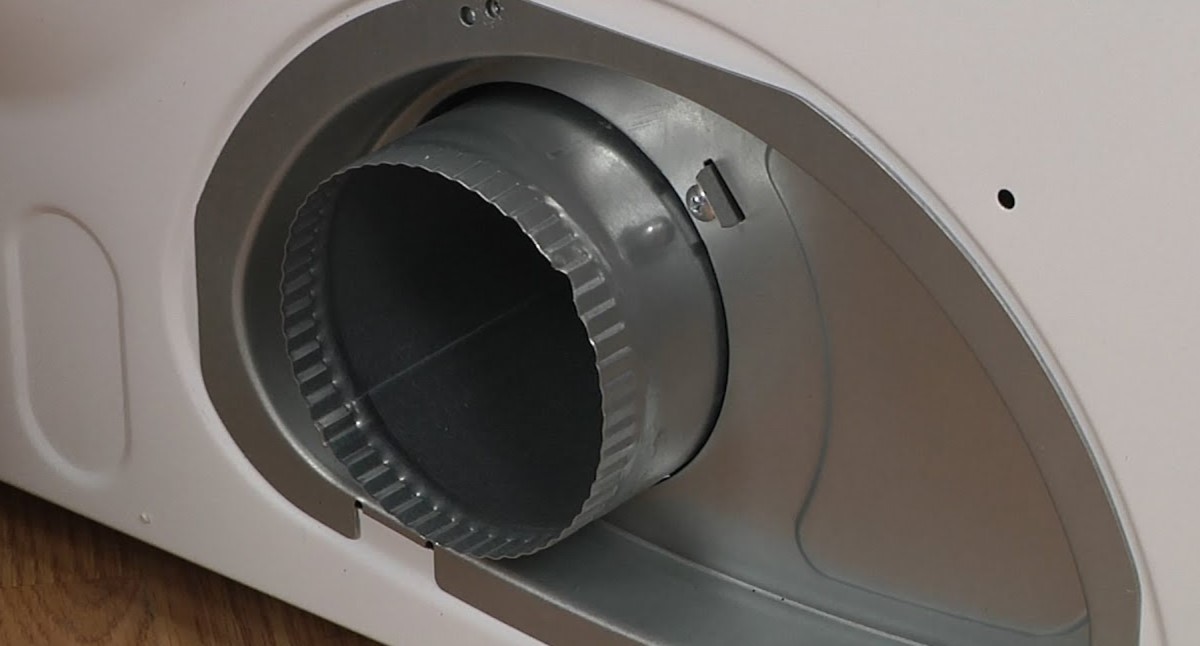
- Remove the vent cover: Use a screwdriver to remove the screws securing the vent cover. Carefully pull the cover off and set it aside. If your vent has a different type of attachment, follow the manufacturer’s instructions for removal.
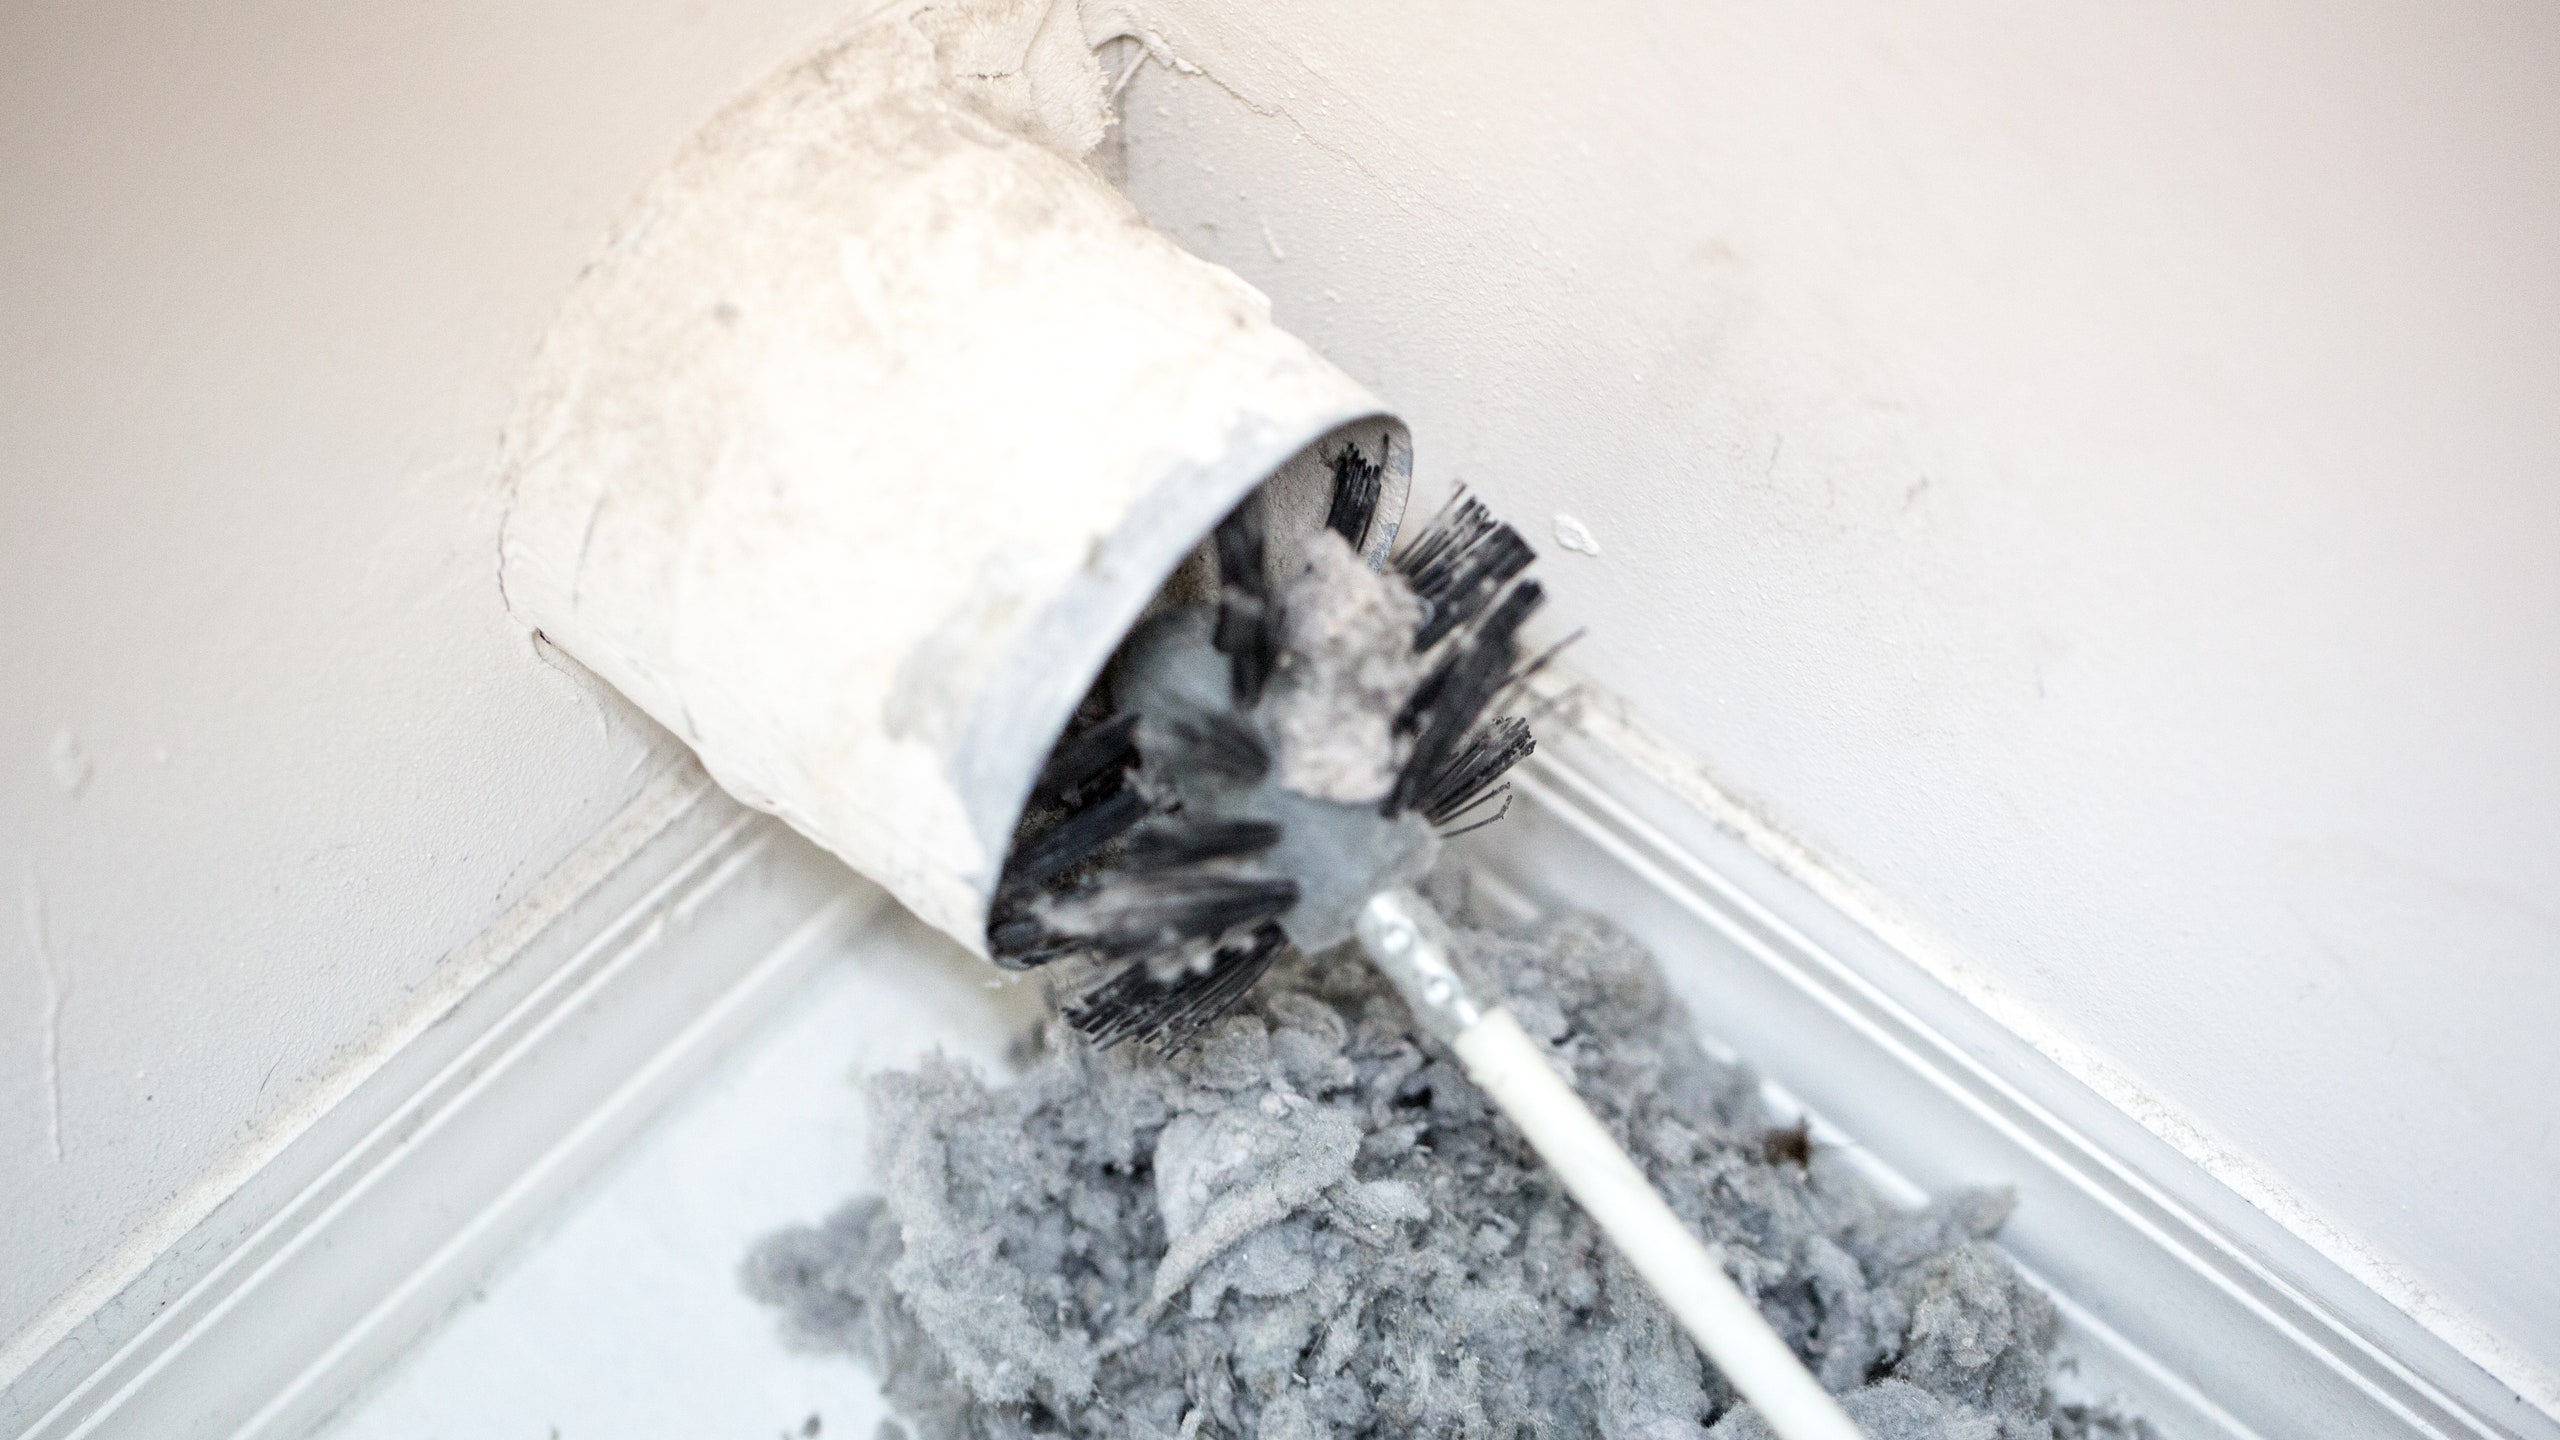
- Attach the vent cleaning brush: Connect the vent cleaning brush to the extension rods, if necessary, to reach the full length of the vent. Insert the brush into the vent opening and gently push it through the vent, rotating and maneuvering it to dislodge any lint or debris.
- Remove the collected debris: As you pull the brush out of the vent, you will likely encounter lint and other debris clinging to the bristles. Carefully remove the collected debris and place it in a bucket or a bag for disposal.
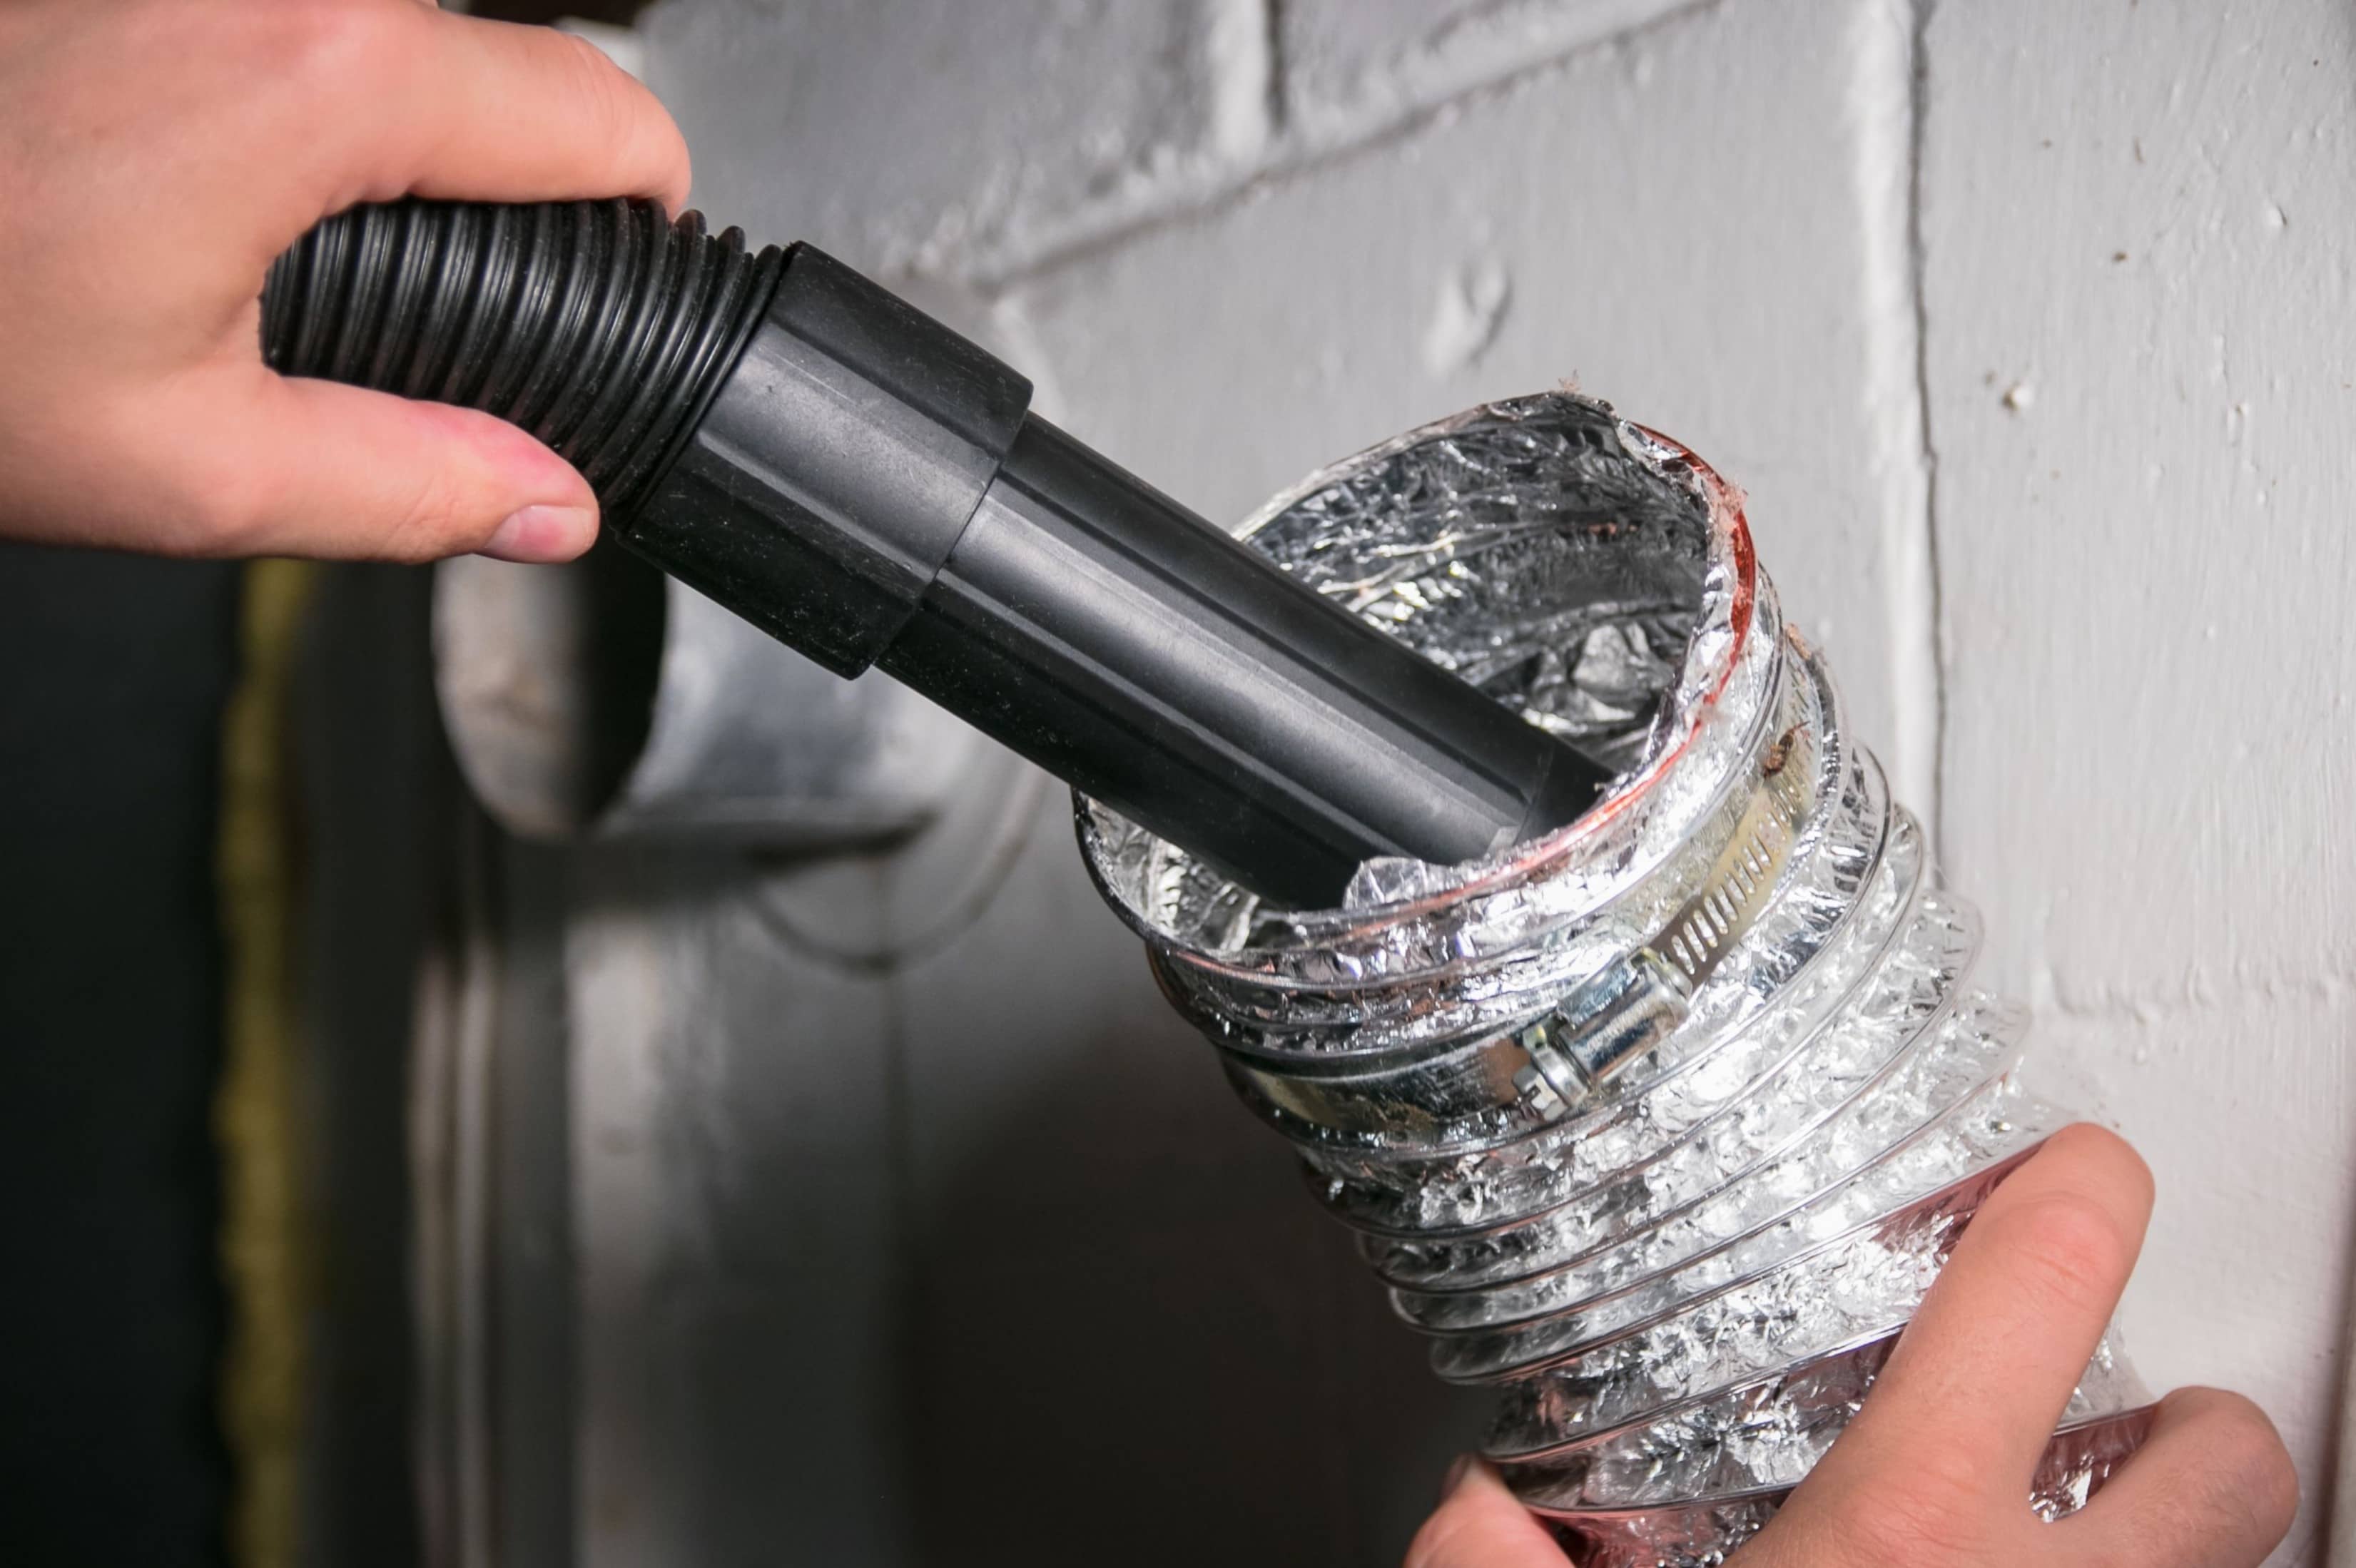
- Vacuum the vent: Use a vacuum cleaner with a narrow attachment or a crevice tool to suction any remaining loose debris that the brush might have missed. Run the vacuum along the inside of the vent to ensure a thorough cleaning.
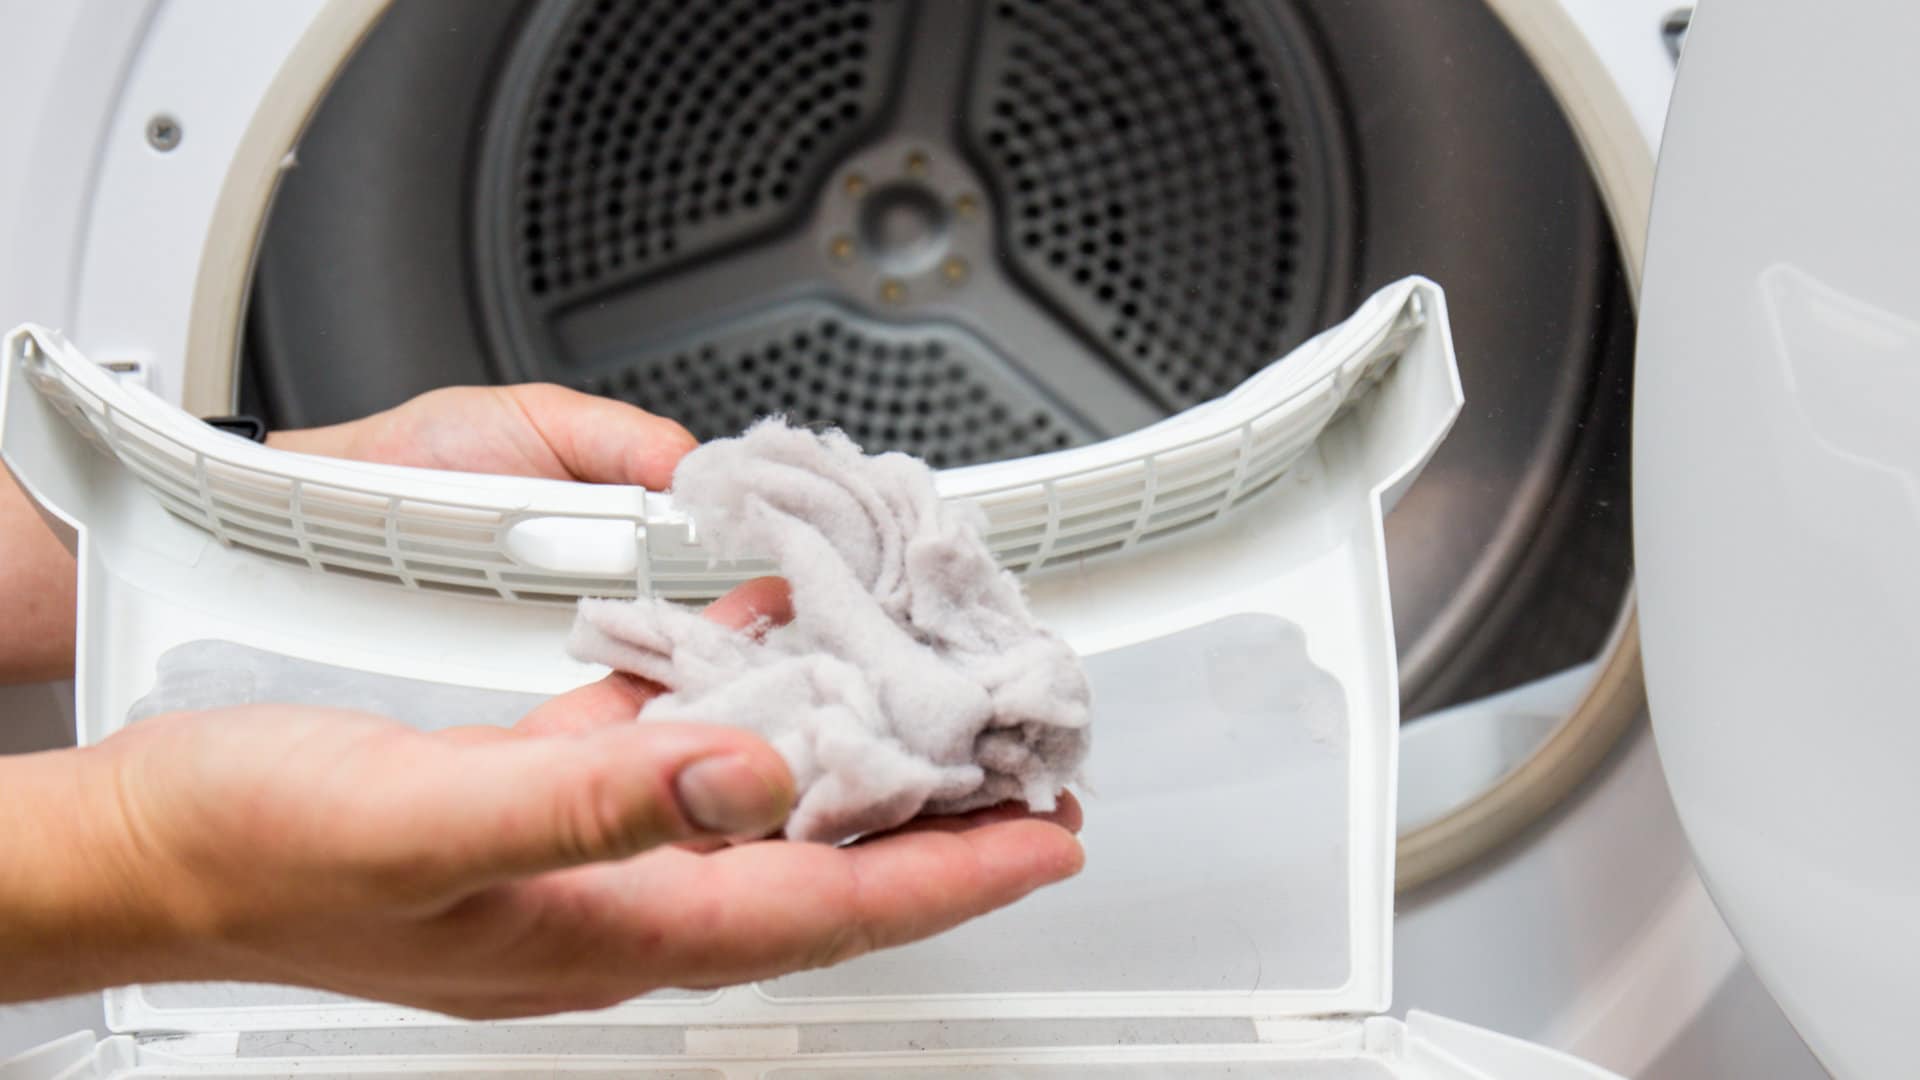
- Clean the lint trap: While you have the dryer open, take the opportunity to clean the lint trap inside the dryer using a lint trap brush or a long, thin brush. Remove any accumulated lint to improve airflow and reduce the risk of a fire.
- Reattach the vent cover: Once you are satisfied with the cleaning, securely reattach the vent cover to the exterior wall, making sure it is properly aligned and fastened. Check for any gaps or loose connections that could compromise the vent’s efficiency.
- Plug in and test the dryer: Finally, plug in the dryer and turn it on to ensure that the airflow is unrestricted and the vent is functioning properly. Pay attention to any unusual noises or decreased performance, as these may indicate further maintenance is needed.
Following these steps will help you maintain a clean and efficient vertical dryer vent. Remember to clean your vent regularly, ideally once a year, or as needed depending on usage and lint accumulation. Now, let’s move on to the next section, where we will discuss important safety precautions to keep in mind during the vent cleaning process.
Use a vacuum with a long attachment to remove lint from the vent. Then, use a vent brush to scrub the inside of the vent and remove any remaining debris. Be sure to clean the vent cover as well.
Safety Precautions
Cleaning a vertical dryer vent involves working with electrical appliances and potentially climbing ladders or accessing elevated areas. It’s crucial to prioritize safety during the entire process. Here are some important safety precautions to keep in mind:
- Turn off and unplug the dryer: Before starting any cleaning or maintenance, always turn off the dryer and unplug it from the power source. This prevents any accidental starts or electrical hazards.
- Protect yourself: Wear protective gloves to safeguard your hands from sharp edges or debris. Additionally, wear safety goggles or glasses to protect your eyes from any particles that may dislodge during the cleaning process.
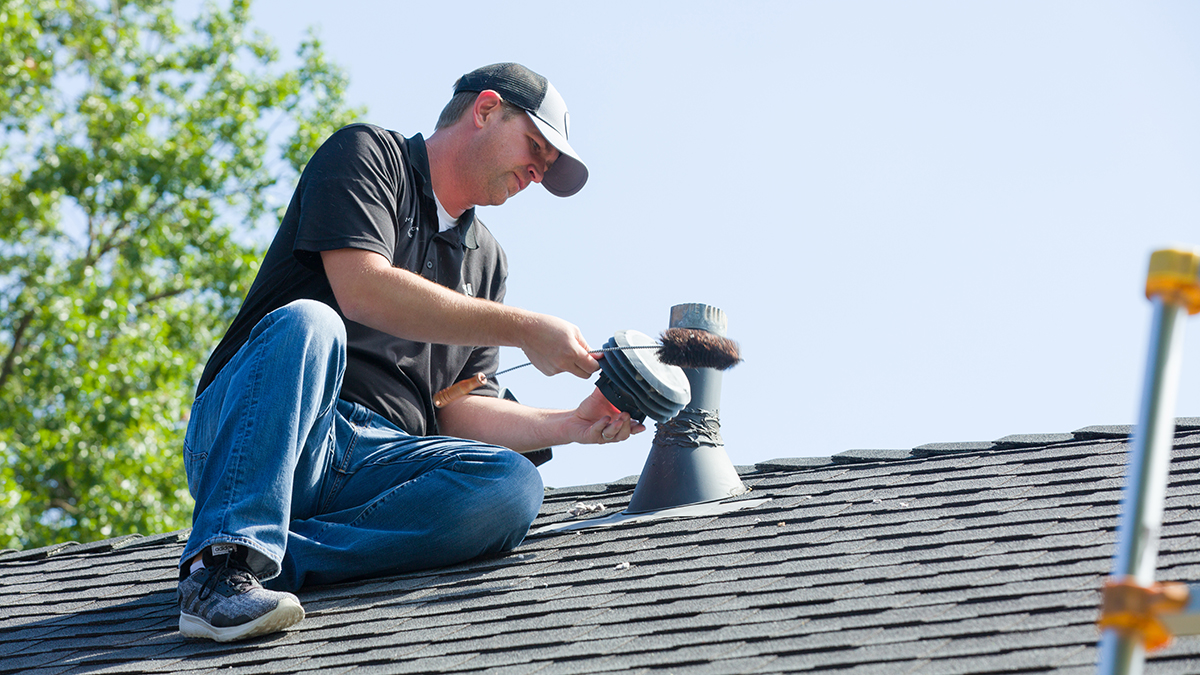
- Use a sturdy ladder or step stool: If you need to access the vertical vent opening, use a stable ladder or step stool to ensure your safety. Make sure the ladder is securely positioned and that someone is aware of your activity.
- Be cautious with the vent cover: When removing and reinstalling the vent cover, be careful of any sharp edges or screws that may cause injury. Handle the cover with care to avoid any accidents.
- Keep the area clear: Maintain a clear and clutter-free area around the vent opening to avoid tripping hazards or interference during the cleaning process.
- Avoid excessive force: Use gentle and controlled movements when cleaning the vent with the brush to prevent any damage to the vent or surrounding structures.
- Stay away from power lines: If your vertical vent is located near electrical power lines, exercise caution and ensure a safe distance to avoid any electrical hazards.
- Properly dispose of debris: Dispose of the collected lint and debris in a safe manner. Empty the bucket or bag into a trash bag and securely tie it to prevent any accidental release of flammable materials.
- Monitor dryer performance: After cleaning the vent, pay attention to the performance of your dryer. If you notice any unusual smells, noises, or decreased efficiency, it may indicate a need for further maintenance or professional inspection.
By following these safety precautions, you can ensure a safe and effective cleaning process for your vertical dryer vent. Safety should always be the top priority in any home maintenance task. Now, let’s move on to the next section, where we will discuss the signs of a clean and properly functioning vertical dryer vent.
Read more: How To Clean The Inside Of A Dryer Vent
Signs of a Clean and Properly Functioning Vertical Dryer Vent
After cleaning your vertical dryer vent, it’s important to assess its effectiveness and ensure that it is functioning properly. Here are some signs that indicate a clean and properly functioning vent:
- No visible debris: A clean vent should be free of any visible lint or debris on the vent cover or around the opening. If you have properly cleaned the vent, you should not see any accumulation of lint or other particles.
- Improved dryer performance: A properly functioning dryer vent allows for efficient airflow, resulting in improved dryer performance. After cleaning the vent, you should notice that your dryer dries clothes faster and more effectively.
- No overheating: A clean vent helps prevent overheating of the dryer. If your dryer is running at the appropriate temperature and not overheating during operation, it is an indication that the vent is clear and functioning properly.
- No excessive moisture or condensation: One of the signs of a clogged vent is the presence of moisture or condensation in the laundry area. After cleaning the vent, you should notice reduced moisture and condensation, indicating that the airflow is improved.
- No burning odors: A properly functioning vent eliminates the risk of lint buildup and reduces the chance of a fire. If you no longer detect any burning odor during or after using your dryer, it signifies that the vent is clear and allowing the heat to dissipate effectively.
- Consistent airflow: When a vent is clean, you will feel a consistent and strong airflow coming from the vent opening. If the airflow feels weak or inconsistent, it may indicate a blockage that needs to be addressed.
- Reduced energy consumption: A clean vent allows the dryer to work more efficiently, which can lead to reduced energy consumption. If you notice a decrease in your energy bills after cleaning the vent, it signifies that your dryer is operating at its optimal level.
By observing these signs, you can determine whether your vertical dryer vent is clean and functioning as it should. Regularly monitoring these indicators will help you maintain a safe and efficient dryer system. Now, let’s conclude our guide with a summary and some additional tips.
Conclusion and Additional Tips
Congratulations! You have learned how to clean a vertical dryer vent and understand the importance of this maintenance task. By following our step-by-step guide, you can ensure a clean and efficiently functioning vent, reducing the risk of fire hazards, improving dryer performance, and extending the lifespan of your appliance.
As you continue to maintain your vertical dryer vent, here are some additional tips to keep in mind:
- Establish a cleaning schedule: Set a reminder to clean your dryer vent at least once a year, or more frequently if you notice excessive lint buildup. Regular maintenance will help keep your vent clean and prevent potential issues down the line.
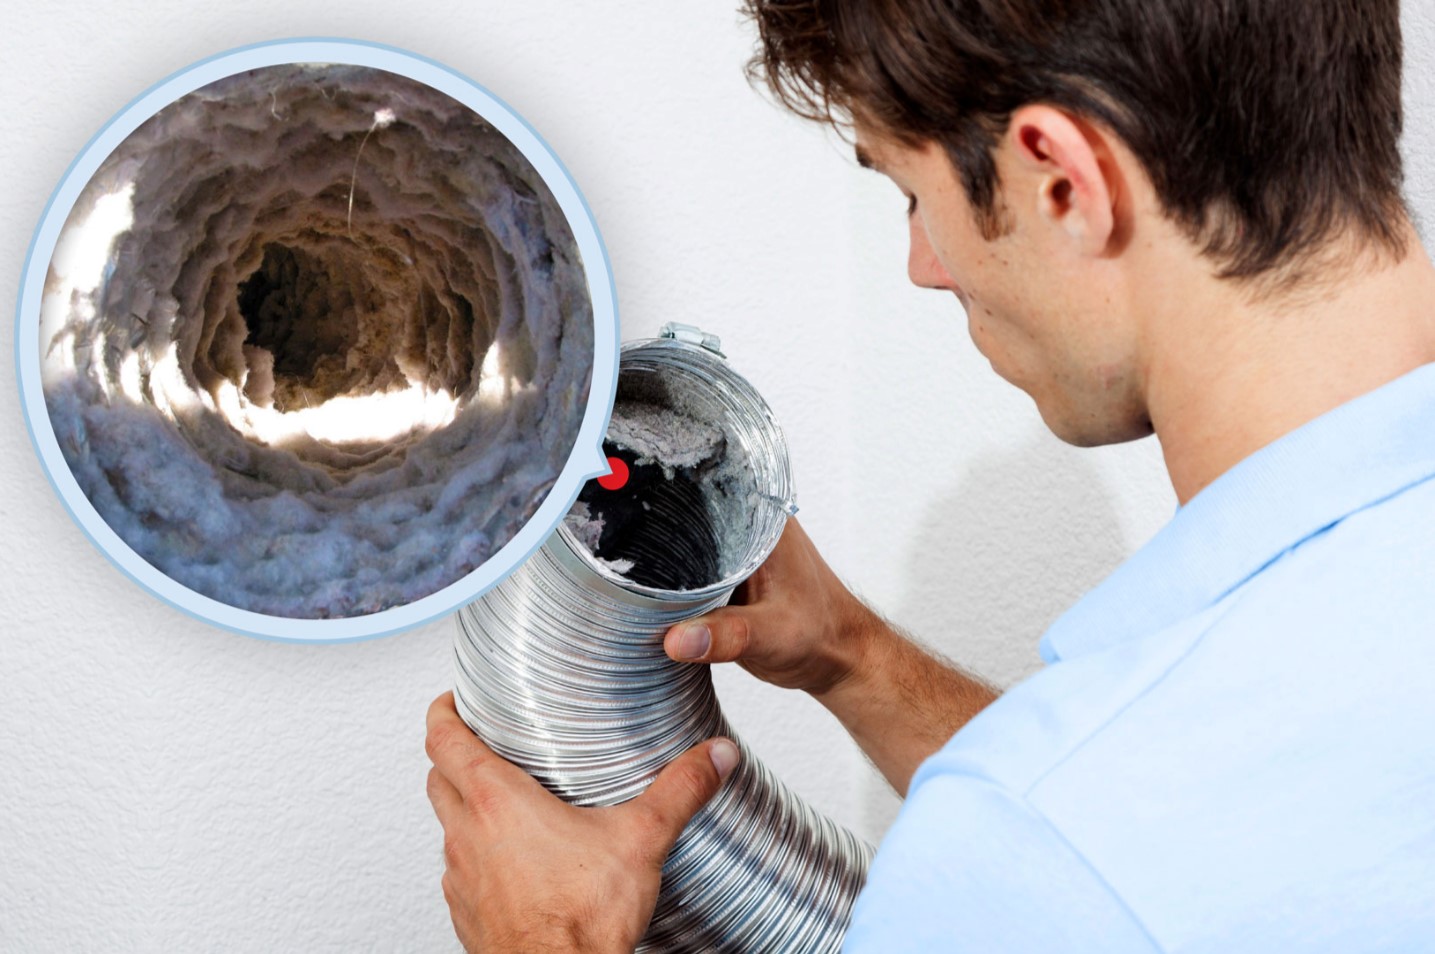
- Check for blockages: In addition to regular cleaning, periodically inspect your vent for any obstructions. Keep an eye out for bird nests, debris, or any signs of damage that may affect airflow.
- Keep the dryer area clean: Regularly vacuum or sweep around your dryer to remove lint and dust that may accumulate. This will prevent debris from getting into the vent and ensure maximum airflow.
- Use caution with dryer sheets: While dryer sheets can provide a pleasant scent, avoid overusing them as they can leave a residue that may contribute to lint buildup in the vent. If using dryer sheets, use sparingly.
- Hire a professional if needed: If you are unable to clean the vent yourself or encounter any difficulties, consider hiring a professional dryer vent cleaning service. They have the expertise and specialized tools to thoroughly clean the vent system.
- Follow manufacturer’s instructions: Always consult your dryer’s user manual for specific maintenance instructions and recommendations. Different dryer models may have unique requirements, so it’s important to follow the manufacturer’s guidelines.
Remember, a clean and properly functioning vertical dryer vent not only improves the performance of your dryer but also ensures the safety of your home and reduces energy consumption. By following the steps outlined in this guide and maintaining a regular cleaning schedule, you can enjoy efficient drying and peace of mind.
Thank you for reading our comprehensive guide on how to clean a vertical dryer vent. We hope you found it informative and helpful. Happy cleaning!
Frequently Asked Questions about How To Clean A Vertical Dryer Vent
Was this page helpful?
At Storables.com, we guarantee accurate and reliable information. Our content, validated by Expert Board Contributors, is crafted following stringent Editorial Policies. We're committed to providing you with well-researched, expert-backed insights for all your informational needs.