Home>Garden Essentials>How To Make Seed Paper

Garden Essentials
How To Make Seed Paper
Modified: March 25, 2024
Learn how to make seed paper for your garden with this step-by-step guide. Create eco-friendly paper embedded with flower seeds and watch your garden bloom!
(Many of the links in this article redirect to a specific reviewed product. Your purchase of these products through affiliate links helps to generate commission for Storables.com, at no extra cost. Learn more)
Introduction
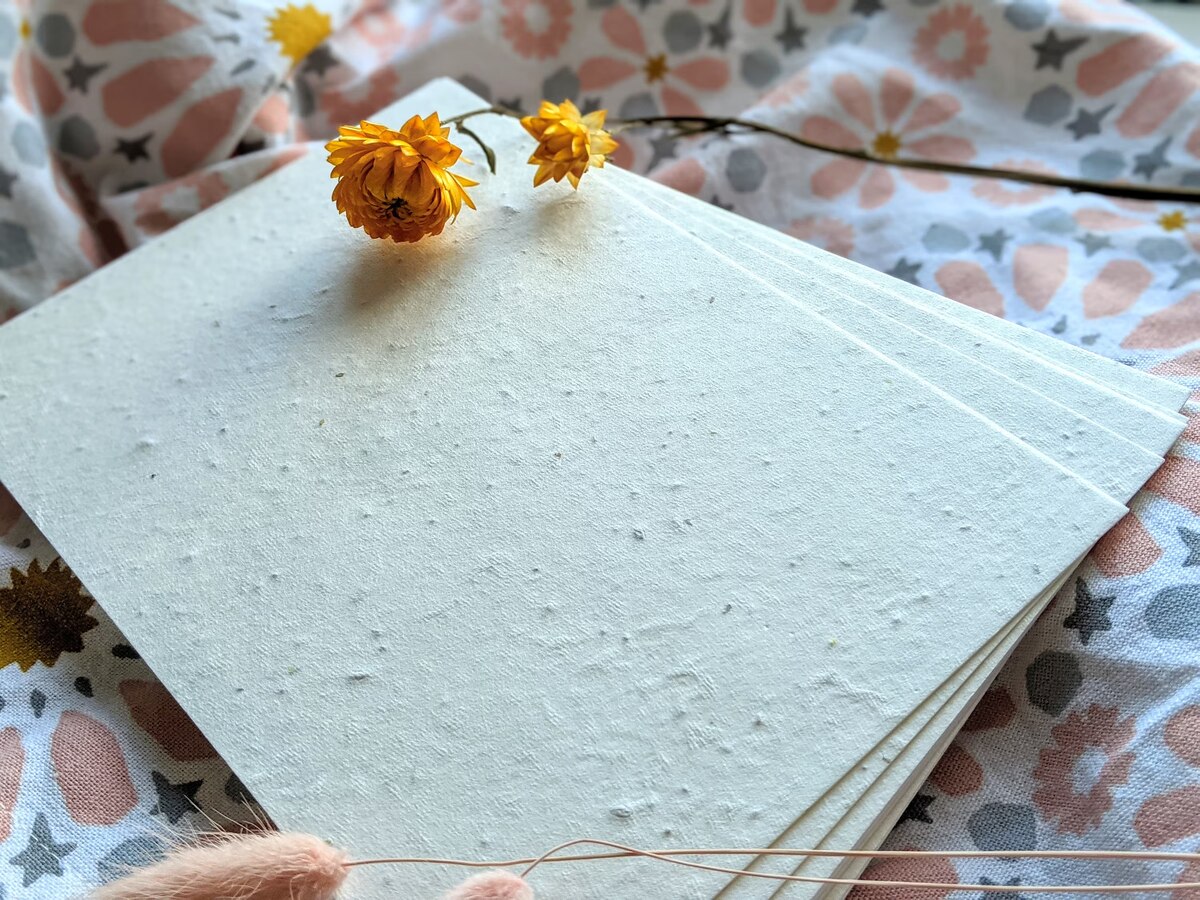
Gardening is not just about growing plants; it’s a way of connecting with nature, nurturing life, and embracing sustainability. If you’re a gardener looking for a unique and eco-friendly way to share your love for plants, seed paper is the perfect solution. Seed paper is handmade paper embedded with seeds that can be planted in the soil. It’s a fun and creative activity that allows you to produce personalized, biodegradable paper that will grow into beautiful flowers, herbs, or vegetables.
In this article, we will guide you through the process of making your own seed paper. Whether you’re a seasoned gardener or a beginner, this project is a fantastic way to create something meaningful and environmentally friendly. So gather your materials and let’s get started!
Key Takeaways:
- Embrace sustainability and creativity by making your own seed paper from recycled materials and seeds. It’s a fun way to connect with nature and grow beautiful plants.
- Share the joy of gardening and sustainability by gifting homemade seed paper. Transform recycled paper into a unique, eco-friendly material that sprouts new life.
Read more: How To Make Seed Paper Without A Screen
Materials Needed
Before we begin, make sure you have all the necessary materials on hand. Here’s a list of what you’ll need:
- Recycled paper: Collect any used paper, such as newspaper or scrap paper, to be repurposed into seed paper.
- Seeds: Choose seeds of the plants you want to grow. Opt for varieties that are suitable for your climate and the type of soil you have. Common choices include flowers like marigolds or herbs like basil.
- A blender or food processor: This will be used to blend the paper and seeds together.
- A large bowl or basin: You’ll need a container to hold the paper pulp mixture.
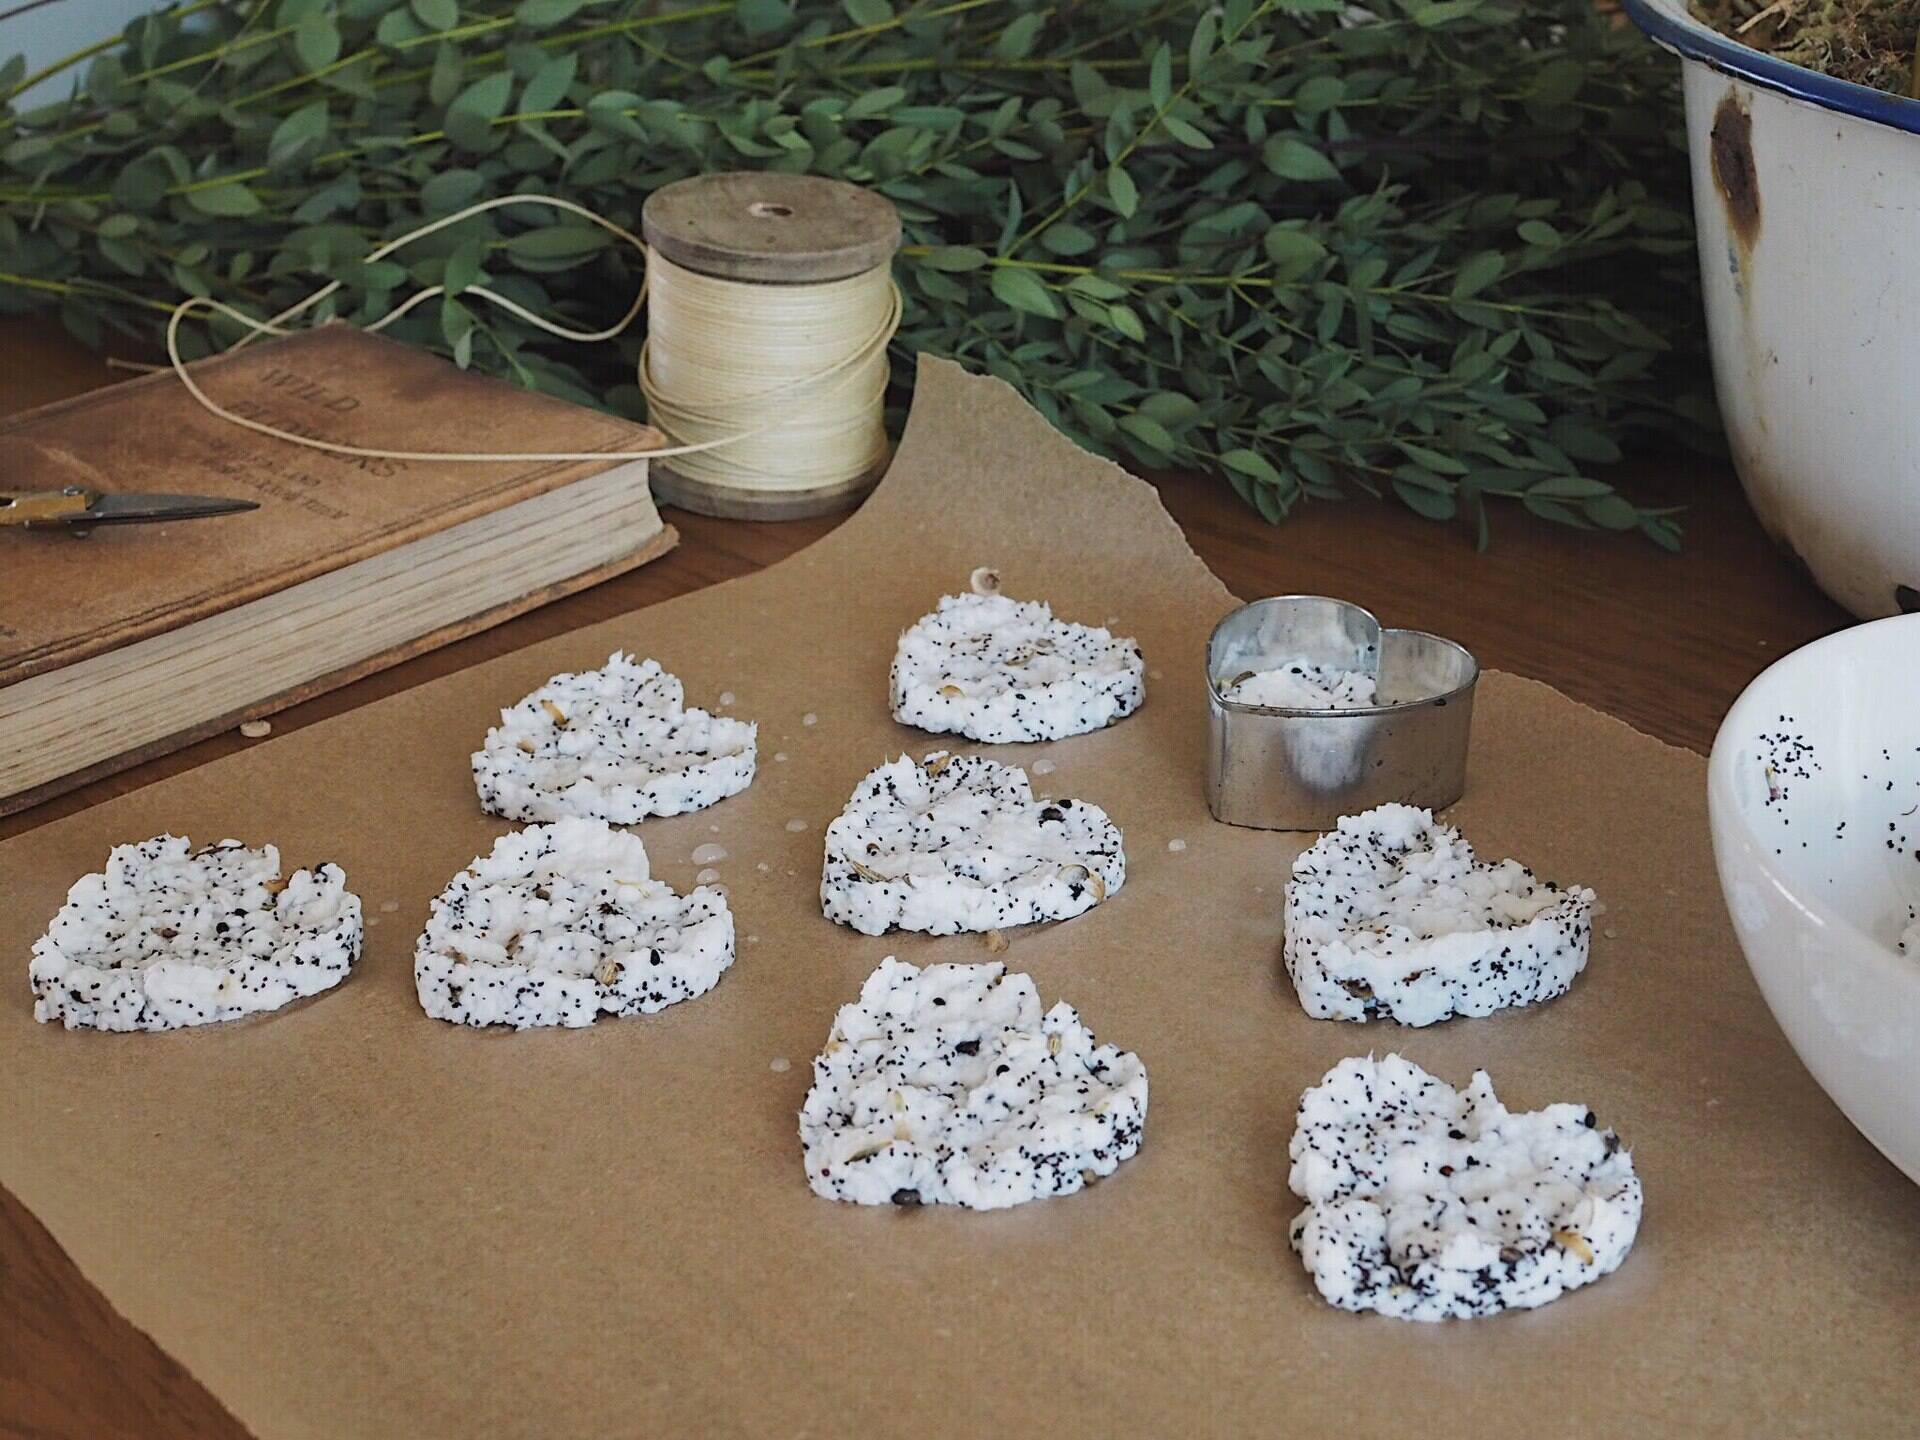
- A deckle (optional): This is a wooden or metal frame used to shape the paper pulp into sheets. If you don’t have one, you can use a cookie cutter or a custom-made mold.
- A sponge or cloth: This will help absorb excess water from the paper pulp.
- A drying rack or absorbent cloth: Set up a space for the seed paper to dry.
With these materials at your disposal, you’re ready to embark on the journey of making your own seed paper. Now let’s move on to the step-by-step process!
Step 1: Gathering Seeds
The first step in making seed paper is to gather the seeds you want to use. If you have your own garden, you can collect seeds from your existing flowers or herbs. Alternatively, you can purchase seeds from a local nursery or online.
When selecting seeds, consider the type of plants you want to grow and their specific requirements. Choose seeds that are suitable for your climate, the amount of sunlight available, and the type of soil in your area. Be sure to read the instructions on the seed packets for any specific planting guidelines.
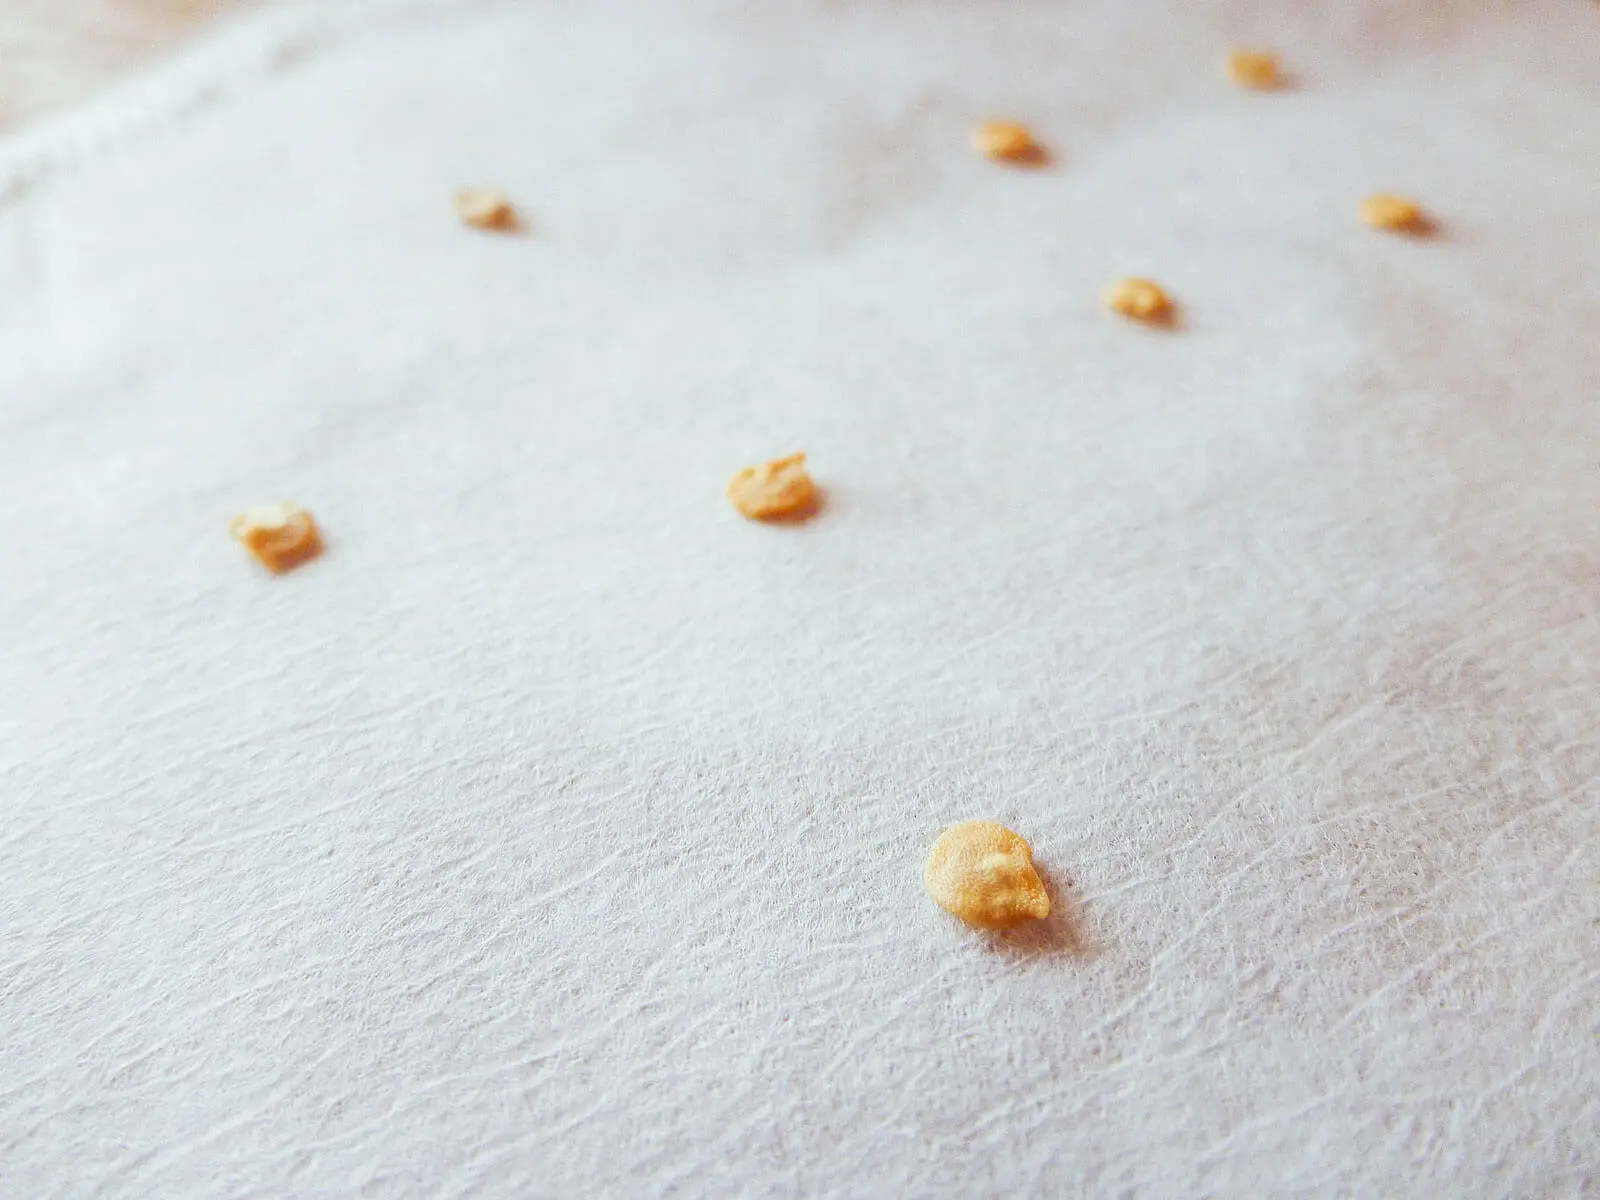
It’s also worth considering the size and shape of the seeds. Smaller seeds will be easier to blend into the paper pulp, while larger seeds may need to be placed strategically on the paper once it’s formed.
Once you have your seeds, store them in a cool, dry place until you’re ready to use them. Label the packets with the seed names and any relevant information, such as the planting season or specific care instructions.
Gathering seeds not only adds a personal touch to your seed paper but also allows you to propagate plants, creating a sustainable cycle of growth and harvest. So take some time to explore your garden or select the perfect seeds for your project. Let’s move on to the next step!
Step 2: Preparing the Paper
Now that you have your seeds ready, it’s time to prepare the paper that will form the base of your seed paper. Here’s how to do it:
- Collect recycled paper: Start by collecting used paper that you want to repurpose into seed paper. This could be newspaper, scrap paper, or even old greeting cards. Avoid glossy or coated paper, as it won’t break down as easily in the soil.
- Tear the paper into small pieces: Once you have your recycled paper, tear it into small pieces. This will make it easier to blend later on. Remove any staples or tape from the paper, as these won’t break down and can interfere with the seed germination process.
- Soak the paper overnight: Place the torn paper pieces in a large bowl or basin and cover them with water. Let the paper soak overnight or for a few hours until it becomes soft and pulpy.
- Drain and squeeze out excess water: After soaking, drain the water from the bowl, leaving behind the soft paper pulp. Squeeze out any excess water using your hands or a cloth. The pulp should be moist but not dripping wet.
Preparing the paper is an important step in creating seed paper. By repurposing used paper, you not only minimize waste but also give your seed paper a unique and rustic appearance. Once you’ve prepared the paper, it’s time to move on to the next step and blend the seeds into the mixture. Let’s continue!
Step 3: Blending the Seeds
Now that you have your prepared paper pulp, it’s time to blend in the seeds. This step ensures that the seeds are evenly distributed throughout the seed paper for optimal germination. Here’s what you need to do:
- Measure the desired seed-to-paper ratio: Start by deciding how many seeds you want to incorporate into each sheet of seed paper. The recommended ratio is usually around 1 tablespoon of seeds per cup of paper pulp, but feel free to adjust it based on your preferences.
- Add the seeds to the paper pulp: Sprinkle the measured seeds over the moist paper pulp. Make sure to distribute them evenly to ensure that each sheet of seed paper has an equal chance of sprouting.
- Gently mix the seeds and pulp: Using your hands or a spoon, gently mix the seeds into the paper pulp. Be careful not to crush the seeds or over-stir the mixture. The goal is to evenly distribute the seeds without damaging them.
Blending the seeds into the paper pulp is a crucial step in making seed paper. This ensures that the seeds are properly integrated into the paper and will have optimal conditions for germination. Make sure to handle the mixture gently and avoid damaging the seeds during the blending process. Once the seeds are mixed, it’s time to move on to the next step and create the seed paper pulp. Let’s continue!
Read more: How To Start Seeds In A Paper Towel
Step 4: Making the Seed Mixture
With the seeds blended into the paper pulp, it’s time to create the seed mixture that will form the basis of your seed paper. Follow these steps to make the seed mixture:
- Transfer the seed-infused paper pulp into a blender or food processor.
- Add a small amount of water to the blender to help with the blending process. Start with just a splash of water, as you don’t want the mixture to become too watery.
- Pulse the blender or food processor in short bursts to blend the paper pulp and seeds together. Be careful not to over-blend, as the mixture should still have some texture and visible fibers.
- Check the consistency of the mixture. It should have a pulpy texture, similar to that of porridge. If needed, add a little more water and pulse again until you achieve the desired consistency.
Creating the seed mixture is an important step as it helps bind the paper pulp and seeds together, ensuring that they stay intact once the paper dries. The mixture should have enough moisture to hold everything together but not be too wet or runny. Once you have the seed mixture ready, it’s time to move on to the next step and start forming the seed paper. Let’s continue!
To make seed paper, blend recycled paper with water and seeds, then spread the mixture on a screen to dry. The result is a biodegradable paper that can be planted to grow flowers or herbs.
Step 5: Creating the Paper Pulp
Now that you have the seed mixture prepared, it’s time to transform it into paper pulp. This step involves spreading the seed mixture evenly and shaping it into sheets. Here’s how to create the paper pulp:
- Prepare your workspace: Set up a clean, flat surface for working with the seed mixture. You can cover the area with disposable plastic or use a non-stick surface like a silicone baking mat.
- Transfer the seed mixture onto the workspace: Gently pour or scoop the seed mixture onto the prepared surface. Use a spatula or your hands to spread it out into an even layer.
- Shape the seed mixture: Use a deckle, which is a frame that acts as a mold, to shape the seed mixture into sheets. Place the deckle on top of the mixture and press it down firmly, allowing the excess water to drain away.
- Remove the excess water: Once the deckle is pressed down, carefully lift it off the seed mixture. Use a sponge or cloth to gently press out any remaining excess water from the pulp.
- Smooth and even out the pulp: Use your hands or a spatula to smooth and even out the pulp, making sure it’s spread evenly across the surface of the deckle.
Creating the paper pulp is a crucial step in the process of making seed paper. Taking the time to shape and smooth out the mixture ensures that the seed paper sheets are uniform and will dry properly. Once you have the paper pulp formed, it’s time to move on to the next step and begin the drying and curing process. Let’s continue!
Step 6: Forming the Seed Paper
Now that you have the paper pulp ready, it’s time to form the seed paper. This step involves transferring the paper pulp onto a drying surface and shaping it into individual sheets. Follow these steps to form the seed paper:
- Prepare the drying surface: Set up a drying rack or lay out an absorbent cloth on a flat surface. This will be where you place the seed paper to dry.
- Transfer the paper pulp: Carefully lift the deckle with the paper pulp and place it onto the drying surface. Gently tap or jiggle the deckle to release the pulp and create an even layer.
- Smooth the pulp and remove excess water: Use a sponge or cloth to lightly press down on the pulp, smoothing it out and removing any remaining excess water. Be careful not to press too hard and flatten the seeds.
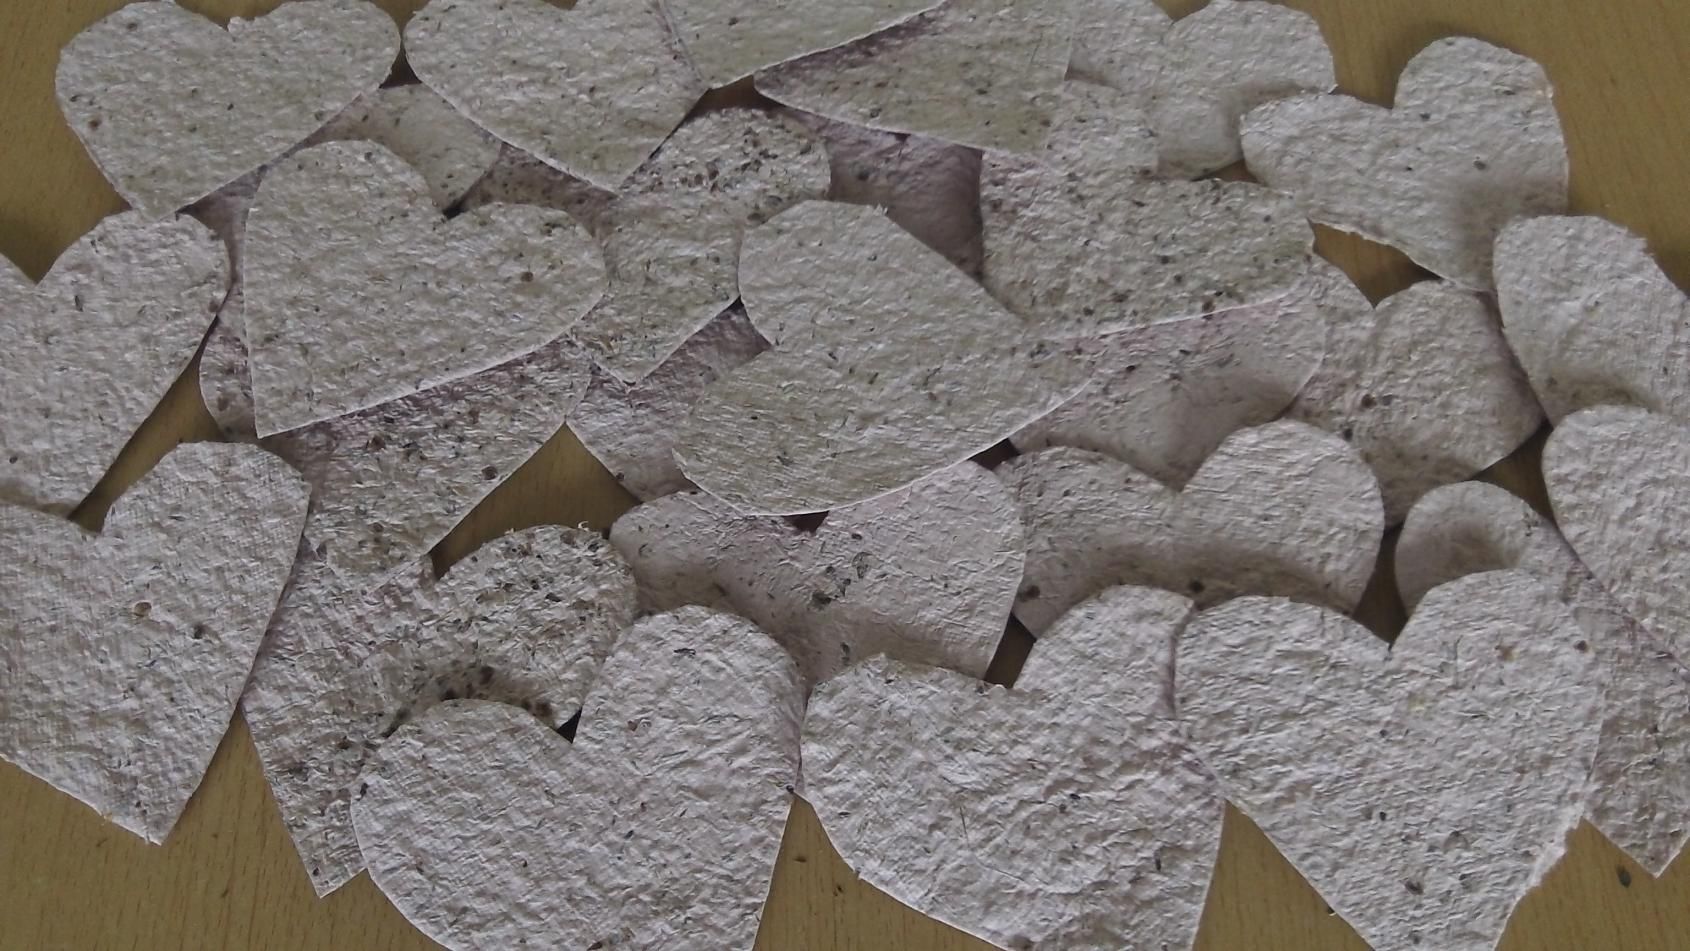
- Create individual sheets: If you’re using a deckle, carefully lift it off the pulp to reveal the formed sheet. If you don’t have a deckle, you can use a cookie cutter or custom-made mold to create individual shapes.
- Continue forming more sheets: Repeat the process of transferring the pulp, smoothing it out, and creating individual sheets until you’ve used up all the paper pulp.
Forming the seed paper is an exciting part of the process, as you start to see the individual sheets come to life. Taking care to smooth out the pulp and remove excess water ensures that the seed paper will dry evenly and maintain its shape. Once you have formed all the seed paper sheets, it’s time to move on to the next step and begin the drying and curing process. Let’s continue!
Step 7: Drying and Curing
After forming the seed paper, it’s time to dry and cure it. This step is crucial to ensure that the seed paper becomes sturdy and ready for planting. Follow these steps to properly dry and cure your seed paper:
- Transfer the seed paper to a drying area: Carefully move the formed seed paper sheets to a well-ventilated area where they can dry undisturbed. Choose a location away from direct sunlight to prevent fading or excessive drying.
- Allow the seed paper to air dry: Let the seed paper air dry naturally. This process can take anywhere from a few days to a week, depending on the weather and humidity levels. Avoid using heat sources like a hairdryer or oven, as they can damage the seeds.
- Check for dryness: After a few days, check if the seed paper is completely dry. It should feel firm and not stick to your fingers. If any moisture remains, allow the seed paper to dry for a bit longer.
- Cure the seed paper: Once dry, stack the seed paper sheets between layers of absorbent cloth or tissue paper. Place a heavy object on top to help flatten and press the sheets. Leave them in this cured state for a few more days to ensure they dry completely.
Drying and curing the seed paper is an essential step for achieving sturdy and durable sheets. Patience is key during this process, as rushing it can result in uneven drying or damage to the seeds. Once the seed paper is completely dry and cured, it’s ready for planting!
Before we conclude, let’s move on to the final step and learn how to plant your seed paper, allowing your beautiful flowers, herbs, or vegetables to grow and bloom. Let’s continue!
Read more: How To Germinate A Seed In Paper Towel
Step 8: Planting Your Seed Paper
Congratulations! You have successfully made your own seed paper. Now it’s time to plant it and watch your creations sprout and grow. Follow these steps to plant your seed paper:
- Select a suitable planting location: Choose a spot in your garden or in a pot that receives adequate sunlight and has well-draining soil.
- Prepare the planting area: If planting in the ground, loosen the soil and remove any weeds or debris. If planting in a pot, fill it with potting soil, leaving enough space for the seed paper to fit.
- Moisten the seed paper: Before planting, lightly moisten the seed paper to help activate the seeds. You can mist it with water or gently soak it for a few minutes.
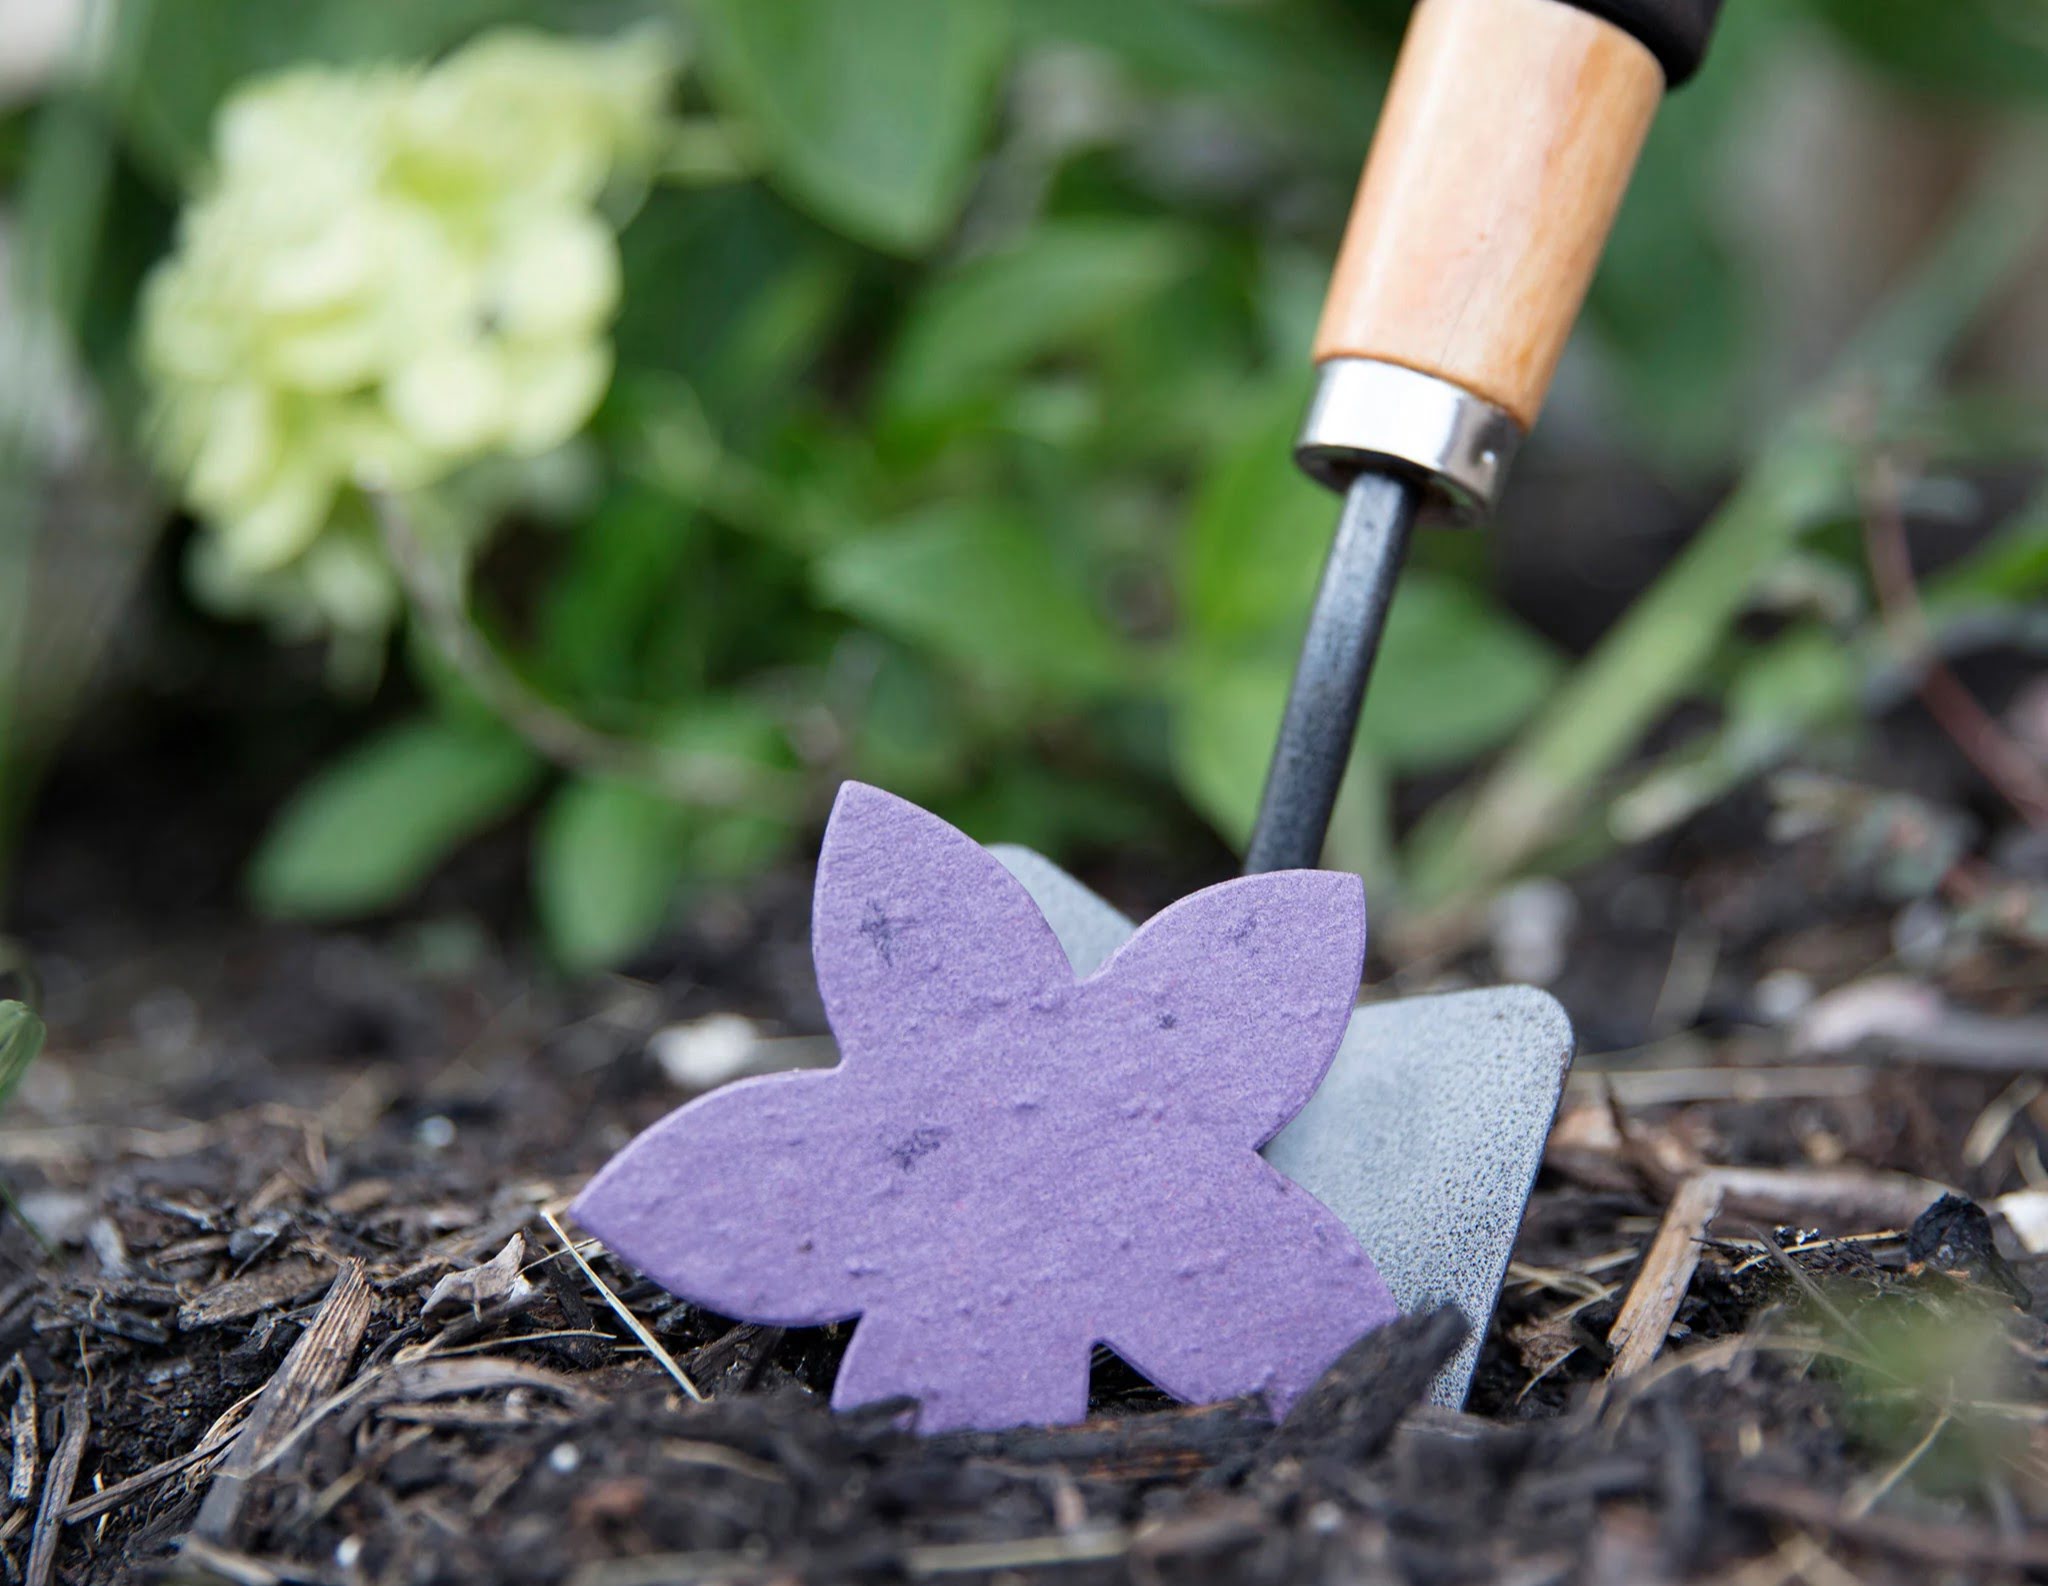
- Plant the seed paper: Place the moistened seed paper onto the prepared planting area or pot, ensuring good soil contact. If using larger seed paper sheets, you can cut them into smaller pieces or tear them apart for easier planting.
- Cover the seed paper: Gently cover the seed paper with a thin layer of soil or compost, about 1/8 to 1/4 inch thick. This will provide a protective layer and help keep the seeds moist during germination.
- Water the seed paper: Give the planted seed paper a good watering, making sure the soil is thoroughly moistened. Keep the soil consistently moist but avoid over-watering, as it can drown the seeds.
- Provide care and maintenance: Follow the specific care instructions for the plants you’ve chosen. Water regularly, provide adequate sunlight, and protect the seedlings from extreme weather conditions or pests.
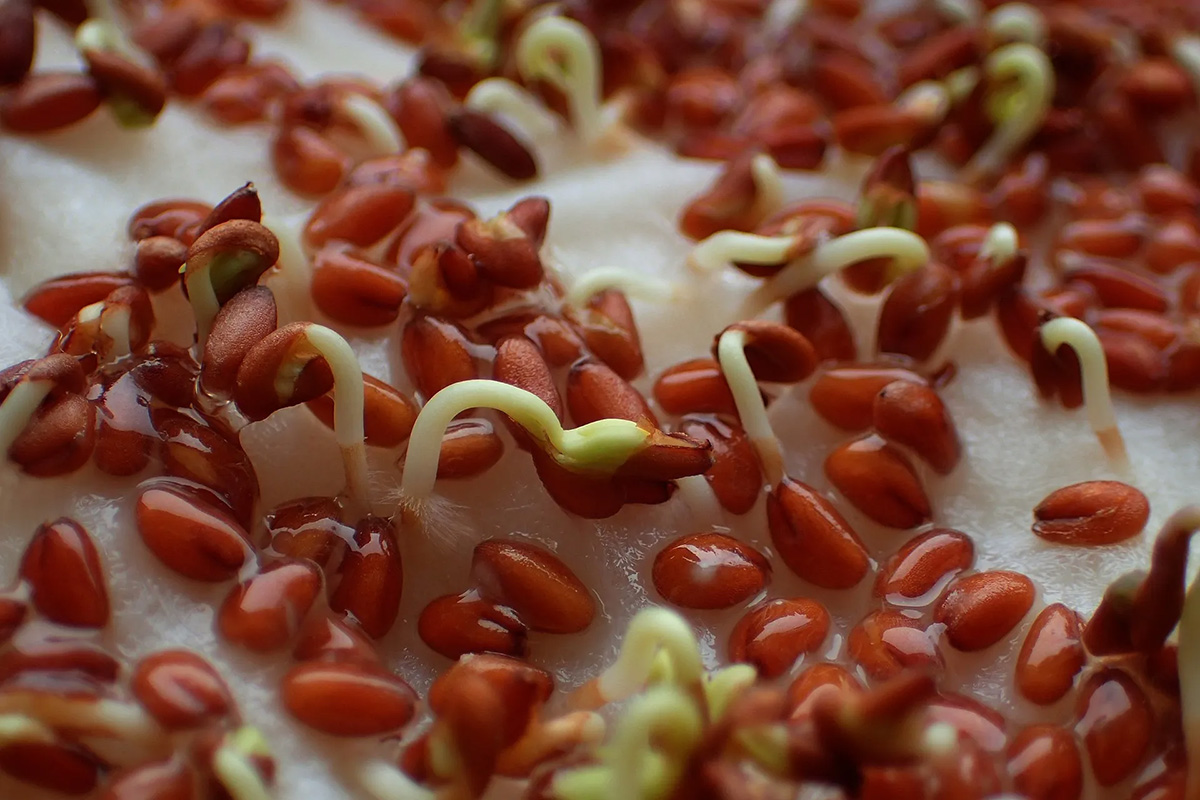
- Watch your seed paper sprout and grow: With proper care, you’ll start to see the seedlings emerge from the soil. Nurture them as they develop into beautiful flowers, herbs, or vegetables.
Planting your seed paper is the final step in the journey of creating your own sustainable and eco-friendly paper. It’s a rewarding experience to witness the transformation from paper to plants, and it’s a great way to introduce others to the beauty of gardening.
As you enjoy the fruits of your labor, remember to share the joy of seed paper with others. It makes a unique and thoughtful gift for special occasions or celebrations. Spread the love for gardening, creativity, and sustainability by creating and sharing your homemade seed paper.
Thank you for joining us on this seed paper-making adventure. Happy planting!
Conclusion
Congratulations on completing your journey of creating seed paper! By following the steps outlined in this article, you have transformed recycled paper and seeds into a unique and eco-friendly material that can be planted to grow beautiful plants.
Seed paper not only helps reduce waste by repurposing used paper, but it also provides an opportunity to connect with nature and promote sustainability. The process of making seed paper allows you to exercise your creativity, personalize your paper with different seed varieties, and share the joy of gardening with others.
Remember to choose seeds that are suitable for your climate and soil conditions, and take care in blending them into the paper pulp. Creating a balanced mixture and properly forming the seed paper ensures that the seeds are distributed evenly and have optimal conditions for germination.
After the seed paper has dried and cured, plant it in a suitable location, provide proper care, and watch as your seedlings emerge and grow. It’s a truly rewarding experience to witness the transformation from paper to plants and to contribute to a greener and more sustainable environment.
Don’t forget to share your seed paper creations with others. Give them as unique gifts, use them for special occasions, or incorporate them into your own gardening projects. Spread the joy and inspire others to take part in the wonderful world of seed paper.
Thank you for joining us on this seed paper-making journey. We hope it has sparked your creativity and passion for gardening. Now, go out there and let your seed paper bloom!
Frequently Asked Questions about How To Make Seed Paper
Was this page helpful?
At Storables.com, we guarantee accurate and reliable information. Our content, validated by Expert Board Contributors, is crafted following stringent Editorial Policies. We're committed to providing you with well-researched, expert-backed insights for all your informational needs.

0 thoughts on “How To Make Seed Paper”