Articles
How To Use A Waffle Iron
Modified: August 27, 2024
Learn how to use a waffle iron with our informative articles. Discover tips, tricks, and delicious recipes for perfectly cooked waffles at home.
(Many of the links in this article redirect to a specific reviewed product. Your purchase of these products through affiliate links helps to generate commission for Storables.com, at no extra cost. Learn more)
Introduction
Welcome to the delicious world of waffles! If you’re a breakfast enthusiast or just someone who appreciates the heavenly combination of crispy on the outside and fluffy on the inside, then learning how to use a waffle iron is a must. Whether you prefer classic buttermilk waffles, indulgent chocolate chip waffles, or even savory options like cheddar and herb waffles, a waffle iron is the key to creating these delectable treats in the comfort of your own kitchen.
Before we dive into the step-by-step guide, it’s essential to understand that using a waffle iron requires care and attention to ensure both your safety and the longevity of the appliance. By following the safety precautions and proper usage techniques, you can savor the satisfaction of perfectly cooked waffles without any mishaps.
In this article, we will walk you through all the necessary steps to use a waffle iron, from selecting the right one for your needs to creating mouthwatering waffles that will impress your friends and family. We’ll also share some useful tips and tricks to help you achieve waffle perfection.
So, start heating up your waffle iron and get ready to become a waffle-making pro in no time!
Key Takeaways:
- Master the art of waffle-making by following safety precautions, choosing the right waffle iron, and perfecting the batter pouring process. Elevate your skills with flavor experimentation and creative toppings for delightful waffle experiences.
- Ensure waffle success by preheating the iron, cooking to perfection, and mastering the removal process. Clean and maintain your waffle iron for longevity. Embrace the journey of creating unique, mouthwatering waffle recipes.
Read more: How To Use A Cast Iron Waffle Iron
Safety Precautions
When working with electrical appliances, it’s always crucial to prioritize safety. Here are some important safety precautions to keep in mind while using a waffle iron:
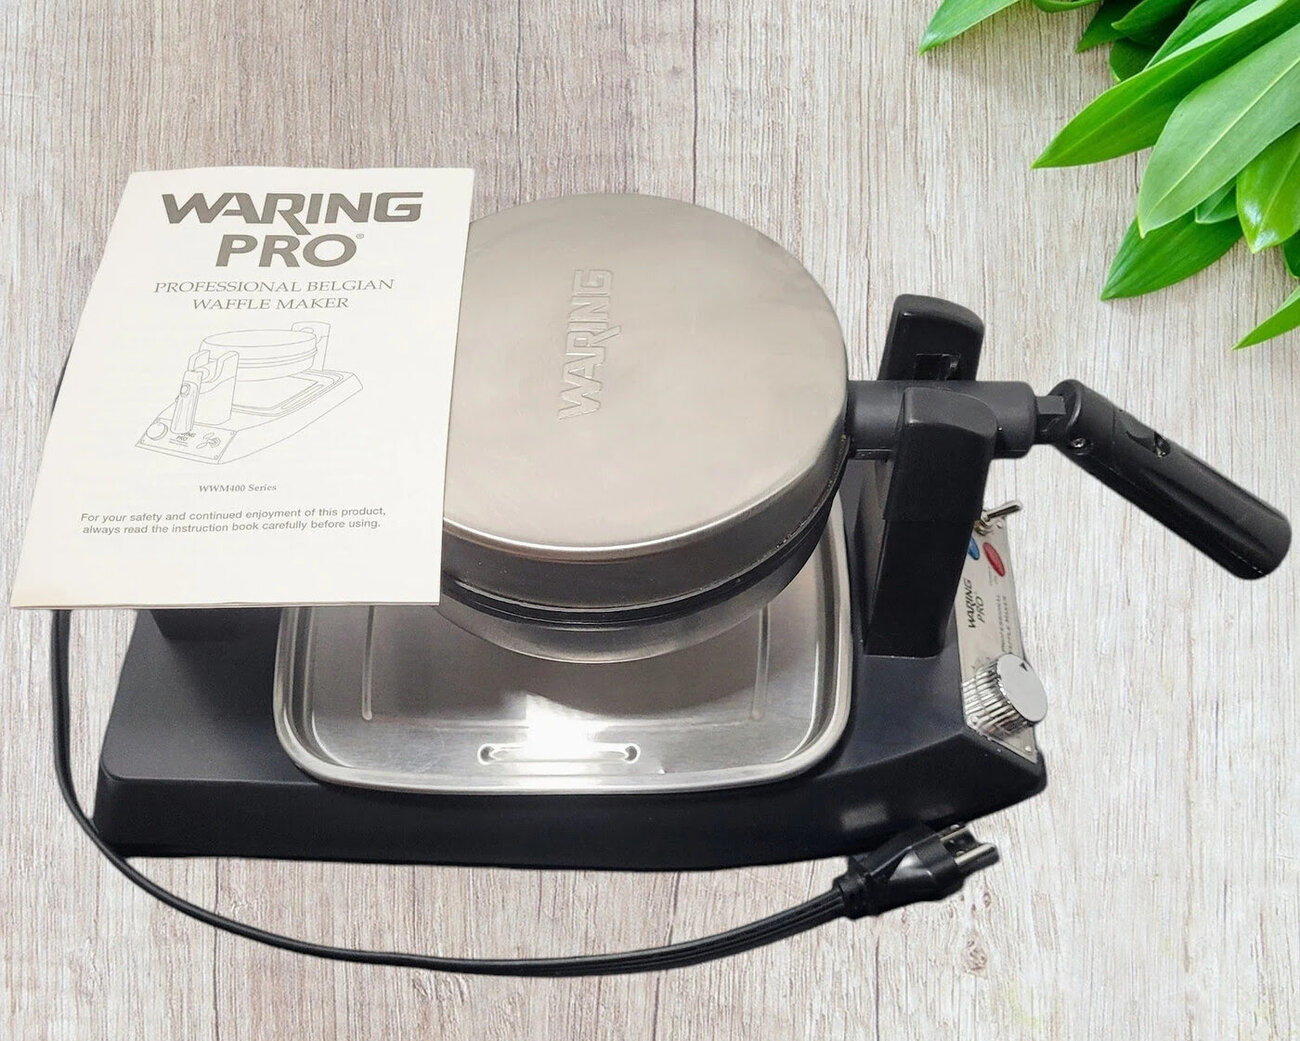
- Read the manual: Before using your waffle iron for the first time, carefully read the instruction manual provided by the manufacturer. Familiarize yourself with the specific safety guidelines and usage instructions for your particular model.
- Follow electrical safety: Ensure that your waffle iron is properly grounded and plugged into a well-maintained electrical outlet. Avoid using extension cords or adapters, as they can increase the risk of electrical malfunctions or accidents.
- Handle with care: The exterior and interior surfaces of a waffle iron can become extremely hot during the cooking process. Always use oven mitts or heat-resistant gloves when handling the iron or touching the hot surfaces. Avoid placing your hands or any other objects near the heating elements to prevent burns.
- Keep a safe distance: Make sure to leave enough space around the waffle iron for proper heat circulation and ventilation. Keep flammable objects, such as kitchen towels or curtains, away from the appliance to minimize the risk of fire hazards.
- Never leave unattended: Never leave the waffle iron unattended while it’s in use. Keep a close eye on the cooking process to avoid overcooking or burning the waffles.
- Keep away from water: Waffle irons are electrical appliances and should never come into contact with water or any other liquids. This can cause electric shock or damage to the appliance. Clean the iron with a damp cloth or sponge while ensuring that no water enters the electrical components.
- Unplug when not in use: Always unplug the waffle iron from the power source when you’re finished using it. This helps to prevent accidents and conserves energy.
By following these safety precautions, you can ensure a safe and enjoyable waffle-making experience. Now that you’re aware of the essential safety measures, let’s move on to choosing the right waffle iron that suits your needs.
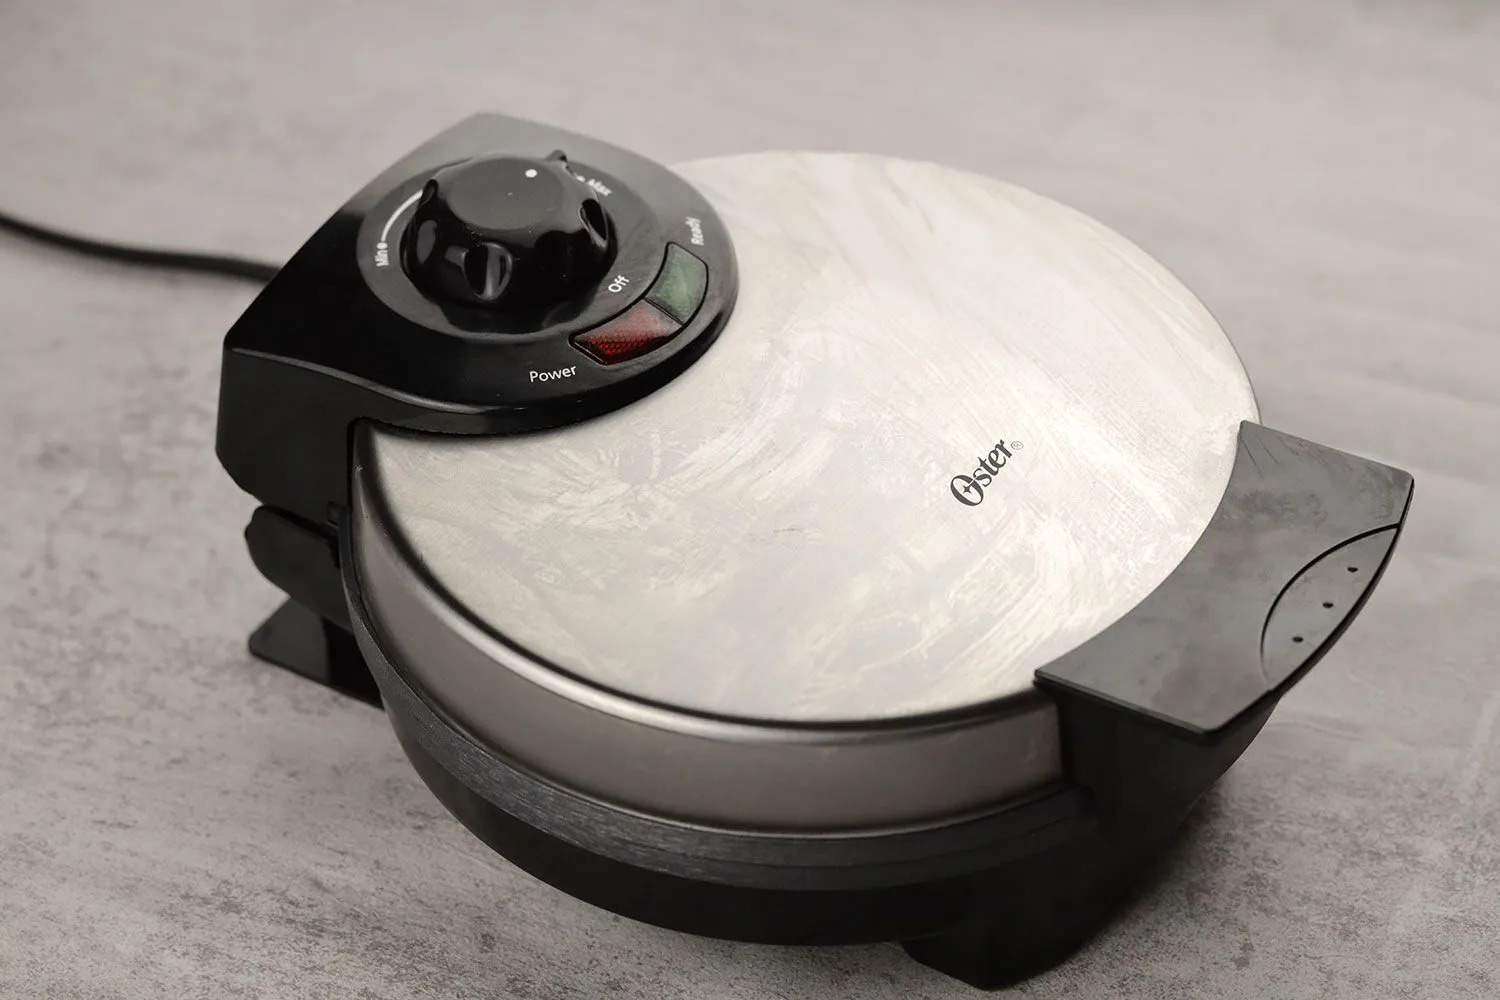
Choosing the Right Waffle Iron
When it comes to choosing the right waffle iron, there are a few factors to consider that will help you find the perfect one for your needs and preferences. Here are some key points to keep in mind:
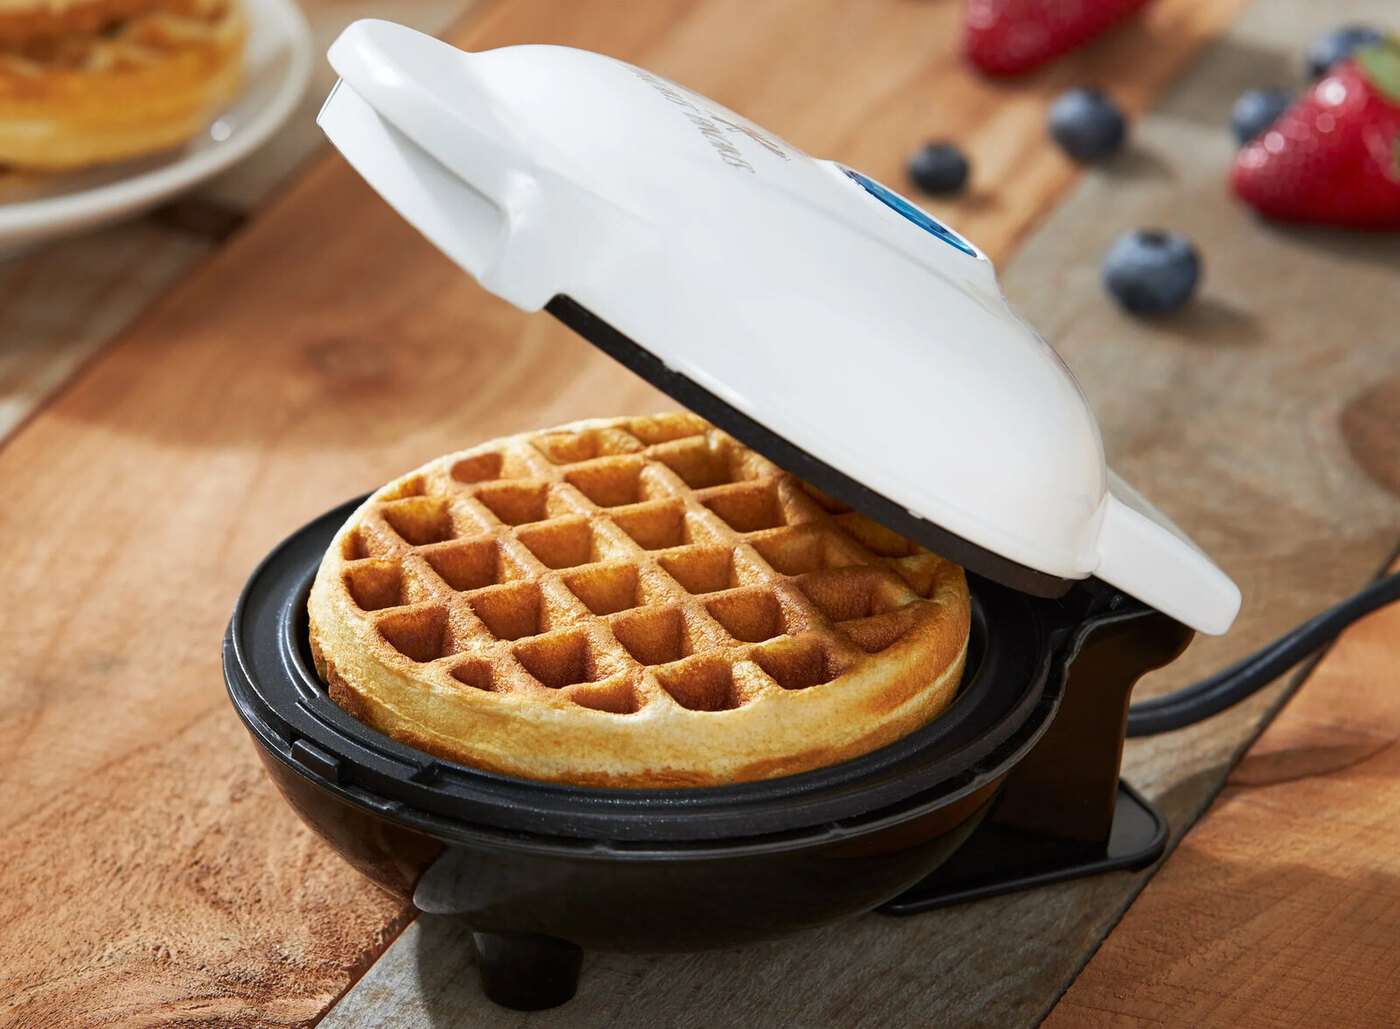
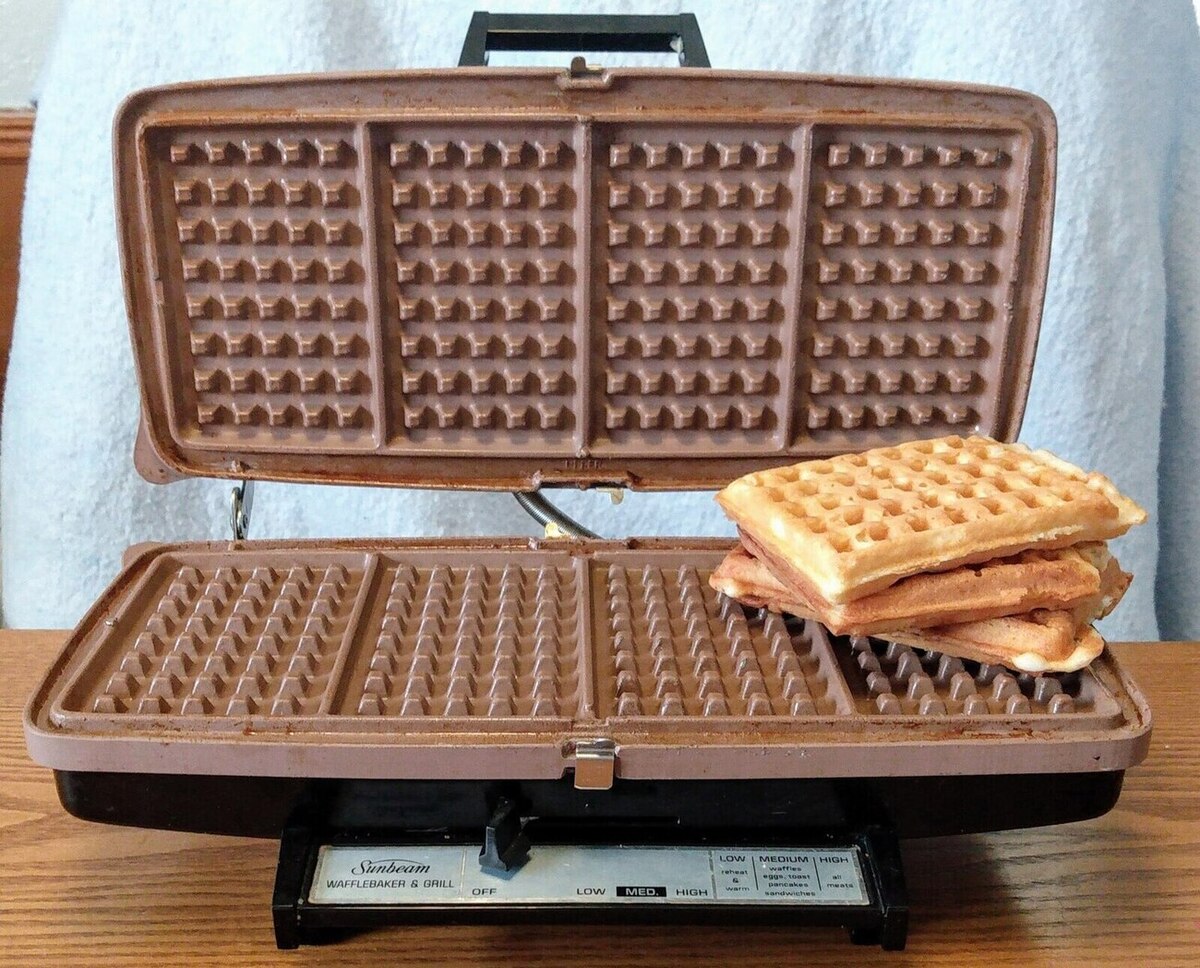
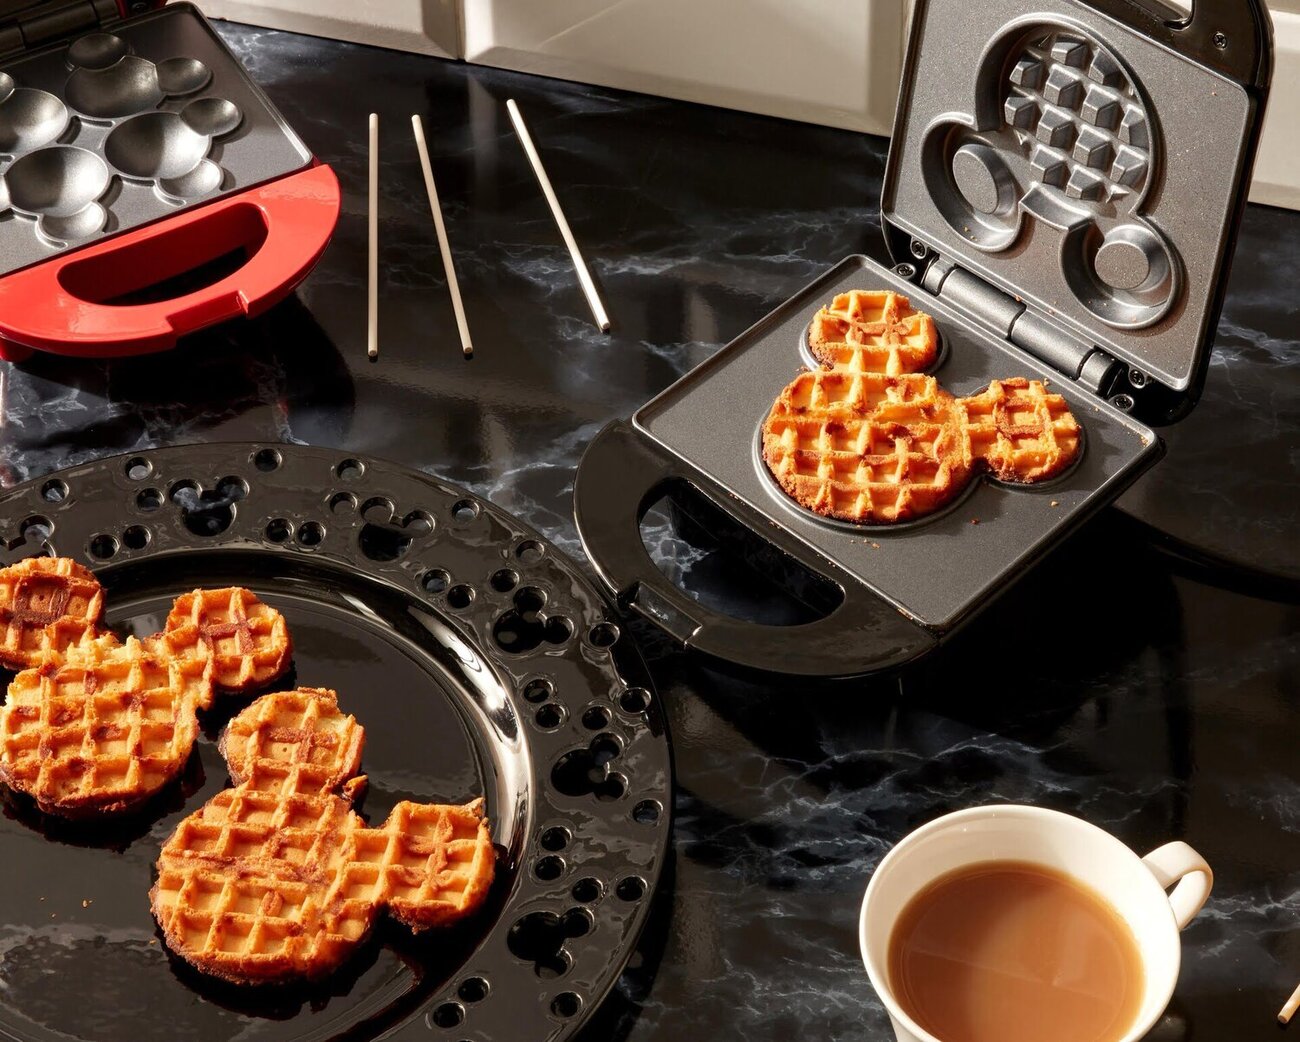
- Type of waffle: Consider the type of waffles you want to make. There are two popular types: Belgian and American. Belgian waffles are thicker with deep pockets, whereas American waffles are thinner with shallow pockets. Decide which style you prefer and choose a waffle iron that specializes in that type.
- Size and capacity: Waffle irons come in various sizes, from small individual-serving models to larger ones that can make multiple waffles at once. Think about how many people you’ll be serving and how much counter space you have available. If you have a big family or frequently entertain guests, opt for a larger-sized waffle iron.
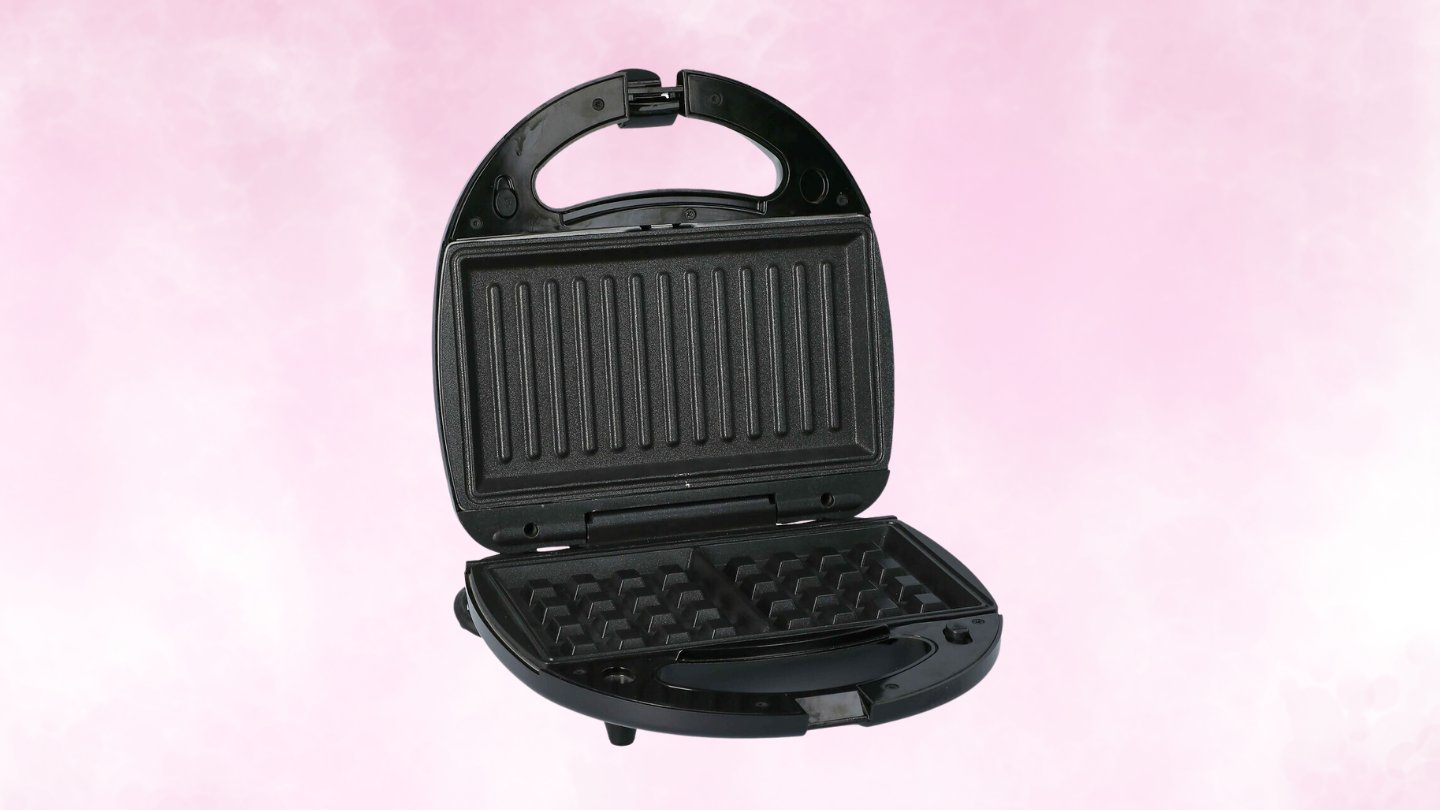
- Non-stick coating: Look for a waffle iron with a non-stick cooking surface. This feature makes it easier to release the waffles without sticking and simplifies the cleaning process. Non-stick coatings also require less oil or butter for greasing, resulting in healthier waffles.
- Adjustable temperature settings: Some waffle irons offer adjustable temperature settings, allowing you to customize the browning and crispness of your waffles. This is especially useful if you have specific preferences or if you enjoy experimenting with different textures.
- Indicator lights and audible alerts: Consider a waffle iron that features indicator lights or audible alerts. These notify you when the iron is preheated and when the waffles are done, taking the guesswork out of the cooking process and ensuring consistent results.
- Ease of cleaning: Make sure the waffle iron is easy to clean and maintain. Look for removable plates or a drip tray that can be washed separately. Dishwasher-safe parts can also make cleanup a breeze.
- Brand reputation and reviews: Research different brands and read customer reviews to get insights into the reliability and performance of the waffle irons you’re interested in. A reputable brand with positive feedback is more likely to deliver a quality product.
By considering these factors, you can select a waffle iron that fits your requirements and ensures delicious and hassle-free waffle-making experiences. Once you’ve chosen the perfect waffle iron, the next step is to preheat it before preparing the waffle batter.
Preheating the Waffle Iron
Preheating the waffle iron is an essential step in achieving perfectly cooked waffles. It helps to ensure even heat distribution and prevents the batter from sticking to the cooking surface. Follow these steps to preheat your waffle iron:
- Check the manual: Refer to the instruction manual that came with your waffle iron to determine the appropriate preheating time and temperature settings. Different models may have different specifications.
- Prepare the waffle iron: Ensure that the cooking surface of the waffle iron is clean and free from any residue or crumbs. If necessary, wipe it gently with a damp cloth and allow it to dry completely before preheating.
- Plug in and adjust settings: Plug the waffle iron into an electrical outlet and turn it on. Set the temperature to the recommended preheating level as specified in the manual. Allow the waffle iron to heat up for the suggested amount of time.
- Indicator lights: Many waffle irons have indicator lights to indicate when they’ve reached the desired temperature. Pay attention to these lights and wait until they signal that the iron is hot enough to cook the waffles.
- Test for readiness: To ensure that the waffle iron is adequately preheated, you can perform a quick test. Sprinkle a few drops of water onto the cooking surface. If the water sizzles and evaporates almost immediately, the waffle iron is ready to use. If the water just sits or evaporates slowly, give the iron a bit more time to heat up.
By preheating your waffle iron properly, you set a solid foundation for cooking waffles to perfection. Once the iron is adequately heated, you can move on to preparing the waffle batter – the heart and soul of delicious homemade waffles.
Preparing the Waffle Batter
The secret behind mouthwatering waffles lies in the perfect waffle batter. While pre-made mixes are convenient, making your own batter allows you to experiment with flavors and tailor it to your preferences. Follow these steps to prepare the waffle batter:
- Gather the ingredients: Check your recipe or choose one that suits your taste. Typical waffle batter ingredients include flour, sugar, baking powder, salt, eggs, milk, and melted butter. Make sure you have all the necessary ingredients on hand.
- Sift dry ingredients: In a mixing bowl, combine the dry ingredients – flour, sugar, baking powder, and salt. Sift them together to remove any lumps and incorporate air for a lighter texture.
- Whisk wet ingredients: In a separate bowl, whisk together the wet ingredients – eggs, milk, and melted butter. Whisk until the mixture is well combined and smooth.
- Create a well: Make a well or indentation in the center of the dry ingredients using a spatula or the back of a spoon. This will be used to pour in the wet ingredients.
- Pour and mix: Pour the wet ingredients into the well of the dry ingredients. Gently stir the mixture together using a spatula or whisk. Be careful not to overmix; a few lumps are normal and will disappear during cooking.
- Flavor variations: This is where you can get creative! If desired, add flavorings such as vanilla extract, cinnamon, or citrus zest to the batter to impart additional taste. You can also fold in ingredients like chocolate chips, blueberries, or nuts for added texture and flavor.
- Rest the batter: Allow the batter to rest for a few minutes, typically around 5-10 minutes. This resting time allows the gluten in the flour to relax and ensures a tender waffle texture.
Once your waffle batter is ready, it’s time to move on to greasing the waffle iron to prevent sticking and ensure easy removal of the cooked waffles.
Read more: How To Use Kalorik Waffle Iron
Greasing the Waffle Iron
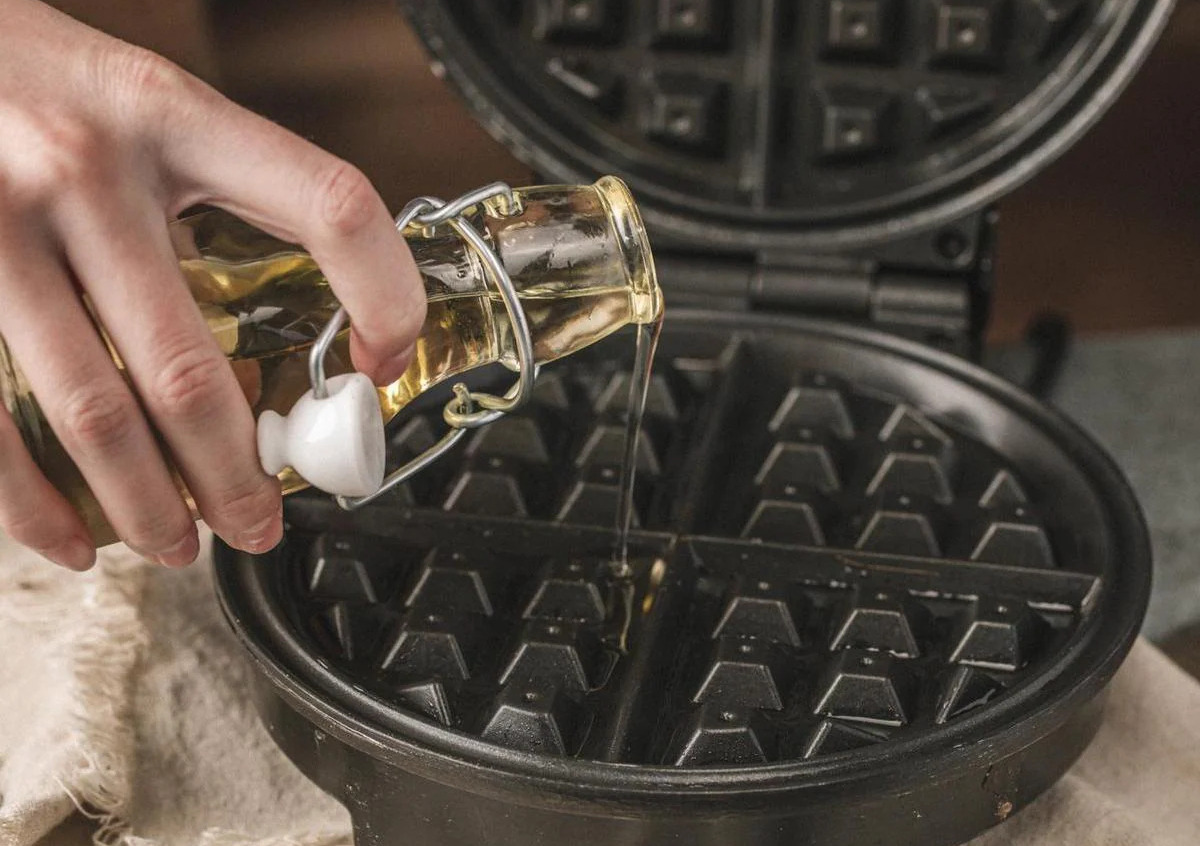
Greasing the waffle iron is an important step to prevent the waffles from sticking to the cooking surfaces. Even if your waffle iron has a non-stick coating, adding a light layer of grease helps ensure easy release and effortless cleanup. Here’s how to properly grease your waffle iron:
- Use the right type of grease: Opt for a cooking spray or a high-heat cooking oil that can withstand the heat of the waffle iron. Popular options include vegetable oil, canola oil, or melted butter.
- Allow the waffle iron to cool slightly: If you had preheated the waffle iron before preparing the batter, give it a few moments to cool down slightly. This minimizes the risk of the oil or grease smoking and burning when it touches the hot cooking surfaces.
- Apply the grease: Spray the cooking spray or use a pastry brush or paper towel to apply a thin layer of oil or melted butter to the top and bottom cooking surfaces of the waffle iron. Make sure to cover the entire surface area, paying extra attention to the crevices and edges.
- Avoid over-greasing: Be careful not to overdo the greasing, as excess oil or butter can lead to drips or smoky buildup. Remember, a little goes a long way – the goal is to create a non-stick barrier without saturating the iron.
Once you’ve adequately greased the waffle iron, it’s time to pour the batter onto the cooking surfaces and start cooking the waffles. The greased surface will allow the batter to cook evenly and facilitate easy removal of the golden brown waffles once they’re ready.
Be sure to preheat your waffle iron before adding the batter to ensure a crispy and evenly cooked waffle.
Pouring the Batter onto the Waffle Iron
Now that your waffle iron is greased and ready, it’s time to pour the batter onto the cooking surfaces. Properly portioning and distributing the batter ensures even cooking and ensures your waffles turn out perfectly. Follow these steps to pour the batter onto the waffle iron:
- Preheat the waffle iron: Make sure that your waffle iron is properly preheated according to the manufacturer’s instructions. This ensures that the batter cooks evenly and achieves that signature crispy exterior.
- Open the waffle iron: Lift the top lid or handle of the waffle iron to fully expose the cooking surfaces. This will provide you with a clear space to pour the batter without any hindrance.
- Portion the batter: Measure the appropriate amount of batter for your waffle iron’s size and pour it into a ladle or measuring cup. This ensures consistency in the amount of batter used for each waffle.
- Pour the batter: Carefully pour the measured batter onto the center of the lower cooking surface. Aim for the center and allow the batter to naturally spread towards the edges. The amount of batter may vary depending on the size of your waffle iron, so adjust accordingly to prevent overflow.
- Close the waffle iron: Lower the top lid or handle of the waffle iron to close it gently, ensuring that both cooking surfaces are in contact with the batter. This allows for even cooking and helps to shape the waffle into its characteristic shape.
Remember, it’s essential not to overfill the waffle iron with too much batter, as this can cause the batter to overflow and create a mess. It’s better to start with a smaller amount and adjust as needed for subsequent waffles.
Now that the batter is poured and the waffle iron is closed, it’s time to cook the waffles to perfection. Let’s move on to the next step.
Cooking the Waffles
Now comes the exciting part – cooking the waffles! With the batter poured onto the preheated and greased waffle iron, it’s time to let the magic happen. Follow these steps to ensure perfectly cooked waffles:
- Set a timer: It’s recommended to use a timer to keep track of the cooking time, especially if your waffle iron doesn’t have a built-in timer or indicator. The ideal cooking time varies depending on the type of waffle iron and personal preferences.
- Avoid opening too soon: Allow the waffle to cook undisturbed for the recommended cooking time or until the steam escaping from the waffle iron significantly subsides. Opening the waffle iron too soon can cause the waffle to tear or be undercooked.
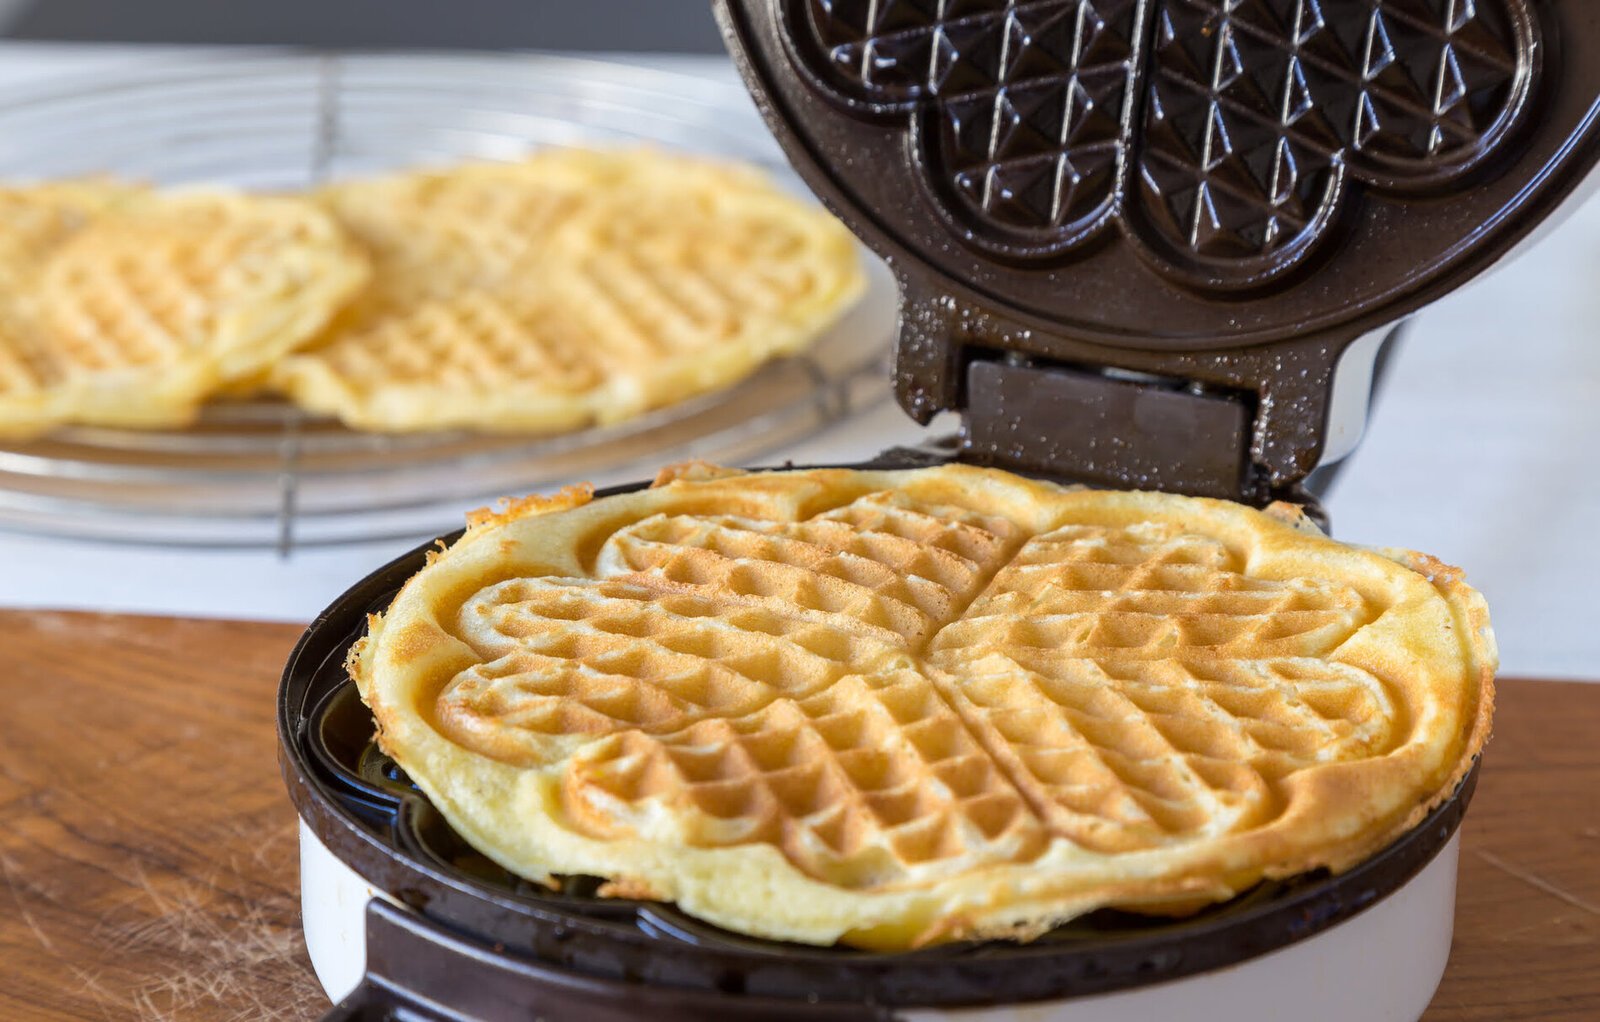
- Check for doneness: Once the recommended cooking time has elapsed, check the waffle for doneness. Gently lift the lid or handle of the waffle iron to peek at the waffle’s color and texture. It should be golden brown and crisp on the outside.
- Test with a fork or toothpick: To be sure, you can use a fork or toothpick to check the interior of the waffle. Insert it into the center of the waffle; if it comes out clean or with just a few moist crumbs, the waffle is fully cooked. If there is still wet batter clinging to the utensil, continue cooking for a bit longer.
- Adjust cooking time: If the waffle isn’t cooked to your desired level of crispness or if it appears to be undercooked, close the lid and cook for an additional minute or two. Adjust the cooking time accordingly for subsequent waffles based on your preferences.
- Avoid peeking too often: While it can be tempting to check on the progress of your waffle during the cooking process, try to resist the urge to open the waffle iron frequently. Opening it too often can disrupt the cooking process and lead to unevenly cooked waffles.
Once the waffle is cooked to perfection, it’s time to remove it from the waffle iron and indulge in its irresistible aroma and taste.
Next, let’s move on to the important step of removing the cooked waffles from the waffle iron with ease.
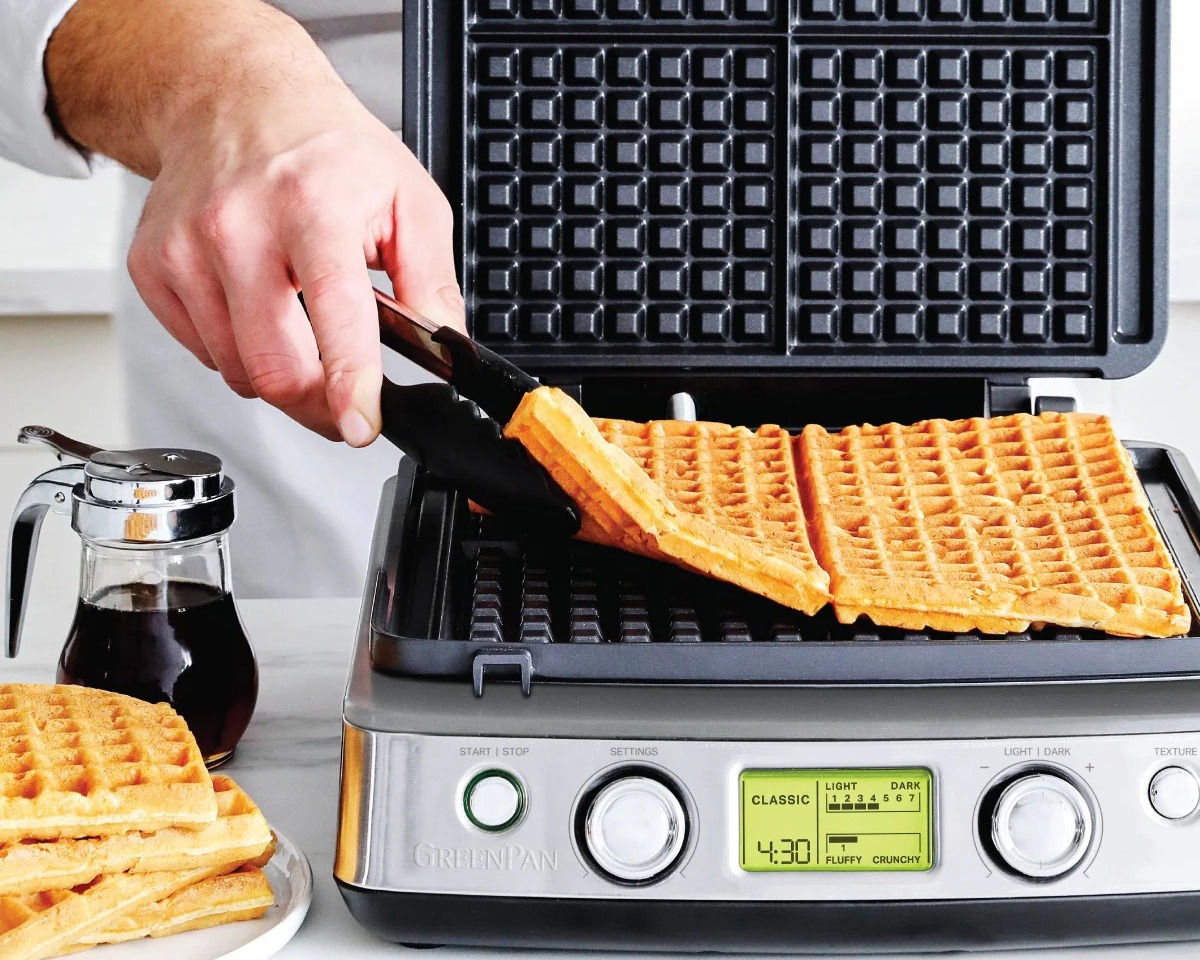
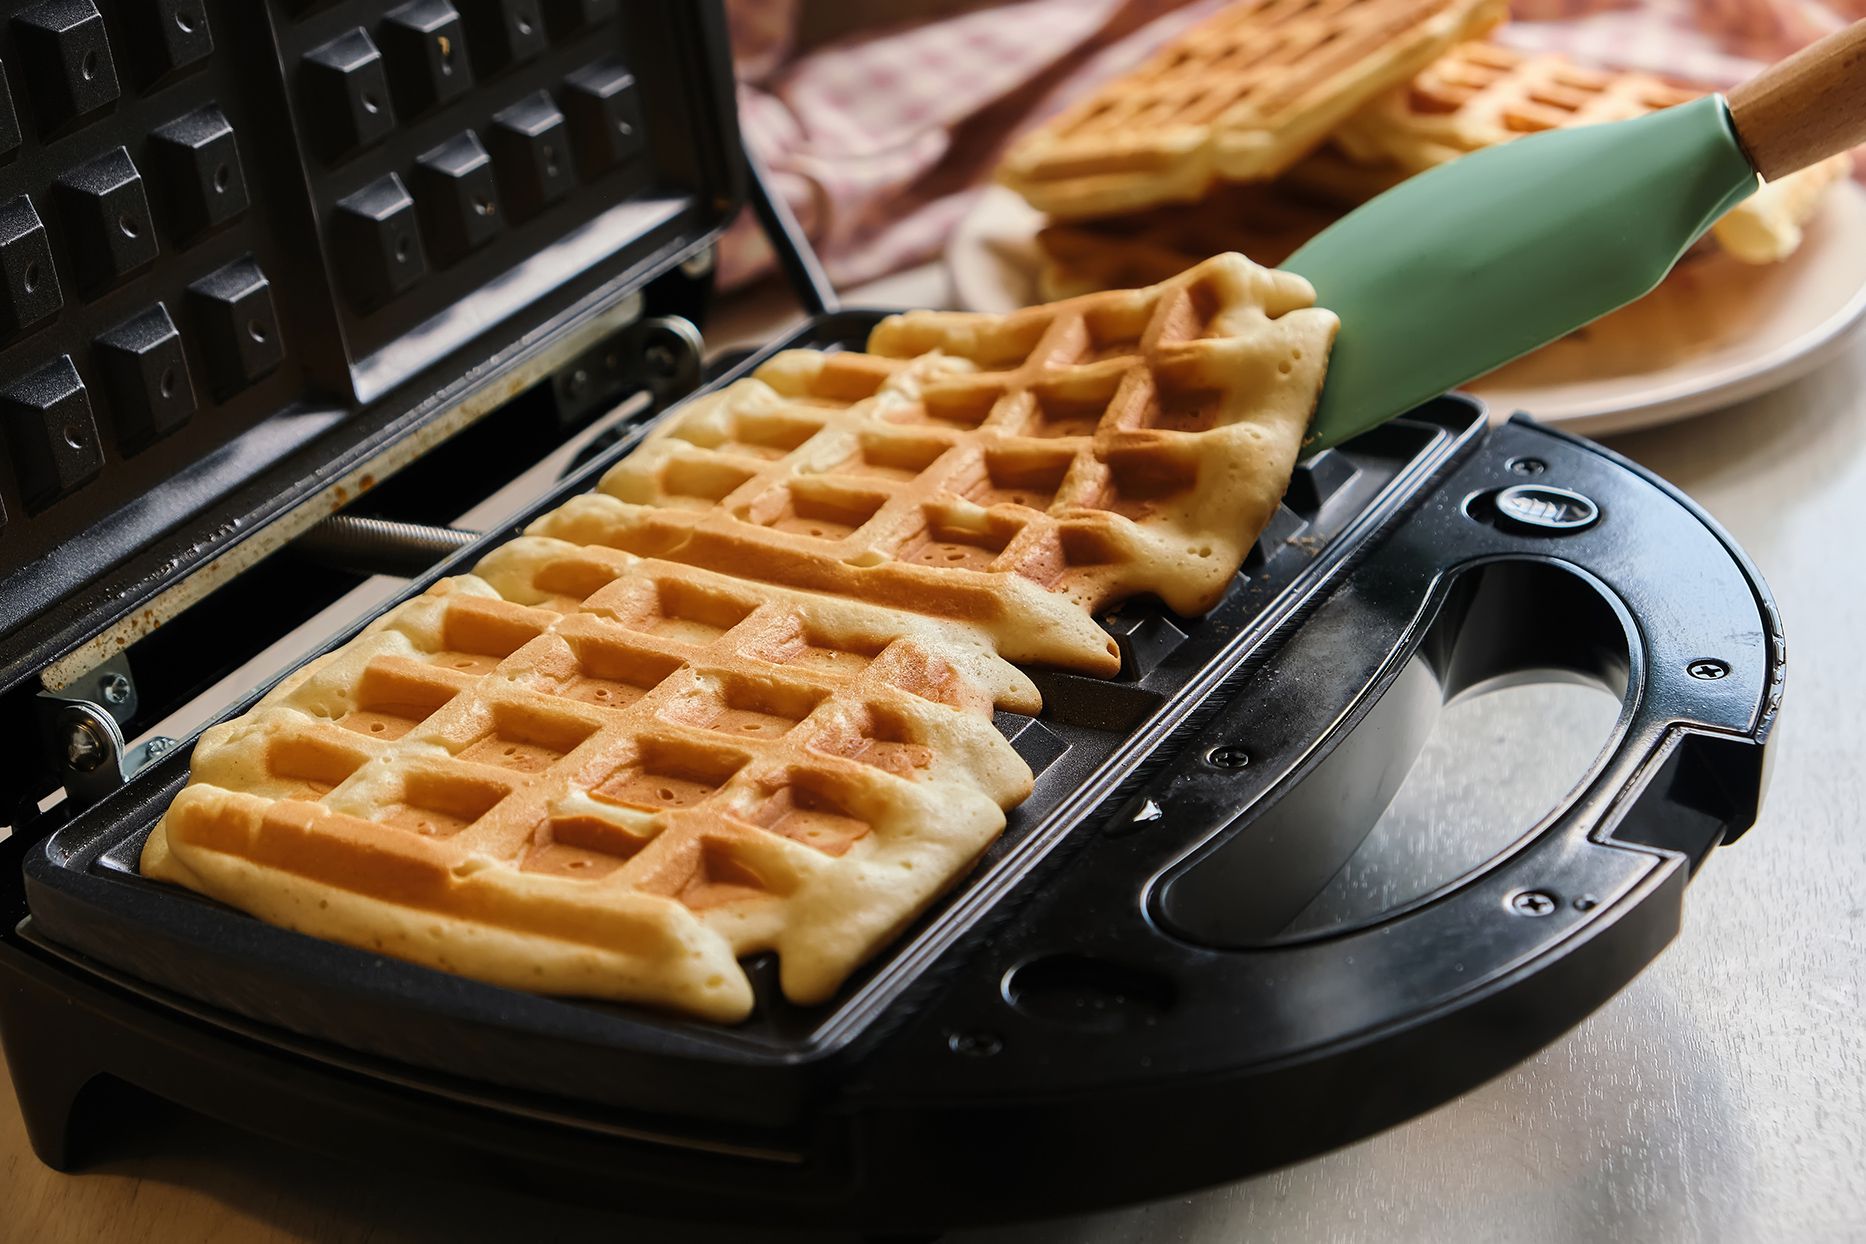
Removing the Cooked Waffles
Now that your waffles are beautifully cooked, it’s time to remove them from the waffle iron without any mishaps or sticking. Follow these steps to ensure easy and successful removal of your delicious creations:
- Open the waffle iron: Lift the top lid or handle of the waffle iron to fully expose the cooked waffle. Be cautious as the waffle iron and the waffle itself may still be hot. Use oven mitts or heat-resistant gloves if necessary.
- Use a fork or spatula: Gently slide a fork or spatula under one edge of the waffle. Carefully lift and loosen the waffle, making sure not to scrape or scratch the cooking surfaces of the waffle iron.
- Lift the waffle: Once you’ve loosened the waffle, lift it off the cooking surfaces using the fork or spatula. Support the entire surface of the waffle to keep it intact and prevent it from breaking or tearing.
- Place the waffle on a wire rack: Transfer the cooked waffle to a wire rack or a heatproof plate. This allows the waffle to cool slightly, prevents sogginess, and maintains its crispness on the outside.
- Repeat for remaining waffles: If you’re making multiple waffles, repeat the process of removing each waffle from the waffle iron. Remember to re-grease the cooking surfaces lightly before pouring the batter for each new waffle.
- Serve and enjoy: Once the waffles have cooled slightly for a minute or two, they are ready to be served and enjoyed. Top them with your favorite toppings such as syrup, berries, whipped cream, or powdered sugar.
By following these steps, you can remove the cooked waffles from the waffle iron without any sticking or damage. Now that you’ve mastered the art of removing waffles, it’s time to savor their delightful flavors.
Next, let’s move on to an important step that is often overlooked – cleaning the waffle iron for its longevity and future use.
Read more: How To Use Toastmaster Waffle Iron
Cleaning the Waffle Iron
Properly cleaning your waffle iron is essential for maintaining its performance and longevity. Here’s how to clean a waffle iron effectively:
- Allow the waffle iron to cool: Before cleaning the waffle iron, ensure that it has cooled down completely to avoid any risk of burns.
- Remove excess crumbs: Use a soft-bristle brush or a damp cloth to gently remove any loose crumbs or residue from the cooking surfaces of the waffle iron. Be careful not to scratch or damage the non-stick coating.
- Wipe the surfaces: Dampen a cloth or sponge with warm water and wipe down the cooking surfaces to remove any remaining debris or oil. Avoid getting water on the electrical components and make sure the cloth or sponge is only damp, not soaked.
- Deep clean if necessary: If there are stubborn stains or dried batter on the waffle iron, create a paste by mixing baking soda with a small amount of water. Apply the paste to the stains and let it sit for a few minutes. Gently scrub the affected areas with a soft brush or cloth, then wipe away the paste with a damp cloth.
- Clean the exterior: Wipe the exterior of the waffle iron with a damp cloth to remove any fingerprints, spills, or grease. Dry the exterior thoroughly to prevent any moisture from entering the electrical components.
- Remove removable parts (if applicable): If your waffle iron has removable plates or drip trays, remove them according to the manufacturer’s instructions. Wash these parts with warm soapy water, rinse thoroughly, and dry them before reattaching them to the waffle iron.
- Store properly: Once the waffle iron is clean and dry, store it in a cool, dry place. Avoid stacking heavy objects on top of it to prevent any damage to the appliance.
Regular cleaning and proper maintenance of your waffle iron will ensure its longevity and optimal performance for many delicious batches of waffles to come.
Now that you know how to clean your waffle iron, let’s move on to some useful tips and tricks to further elevate your waffle-making skills.
Tips and Tricks for Perfect Waffles
Want to take your waffle-making skills to the next level? Here are some valuable tips and tricks to help you achieve waffle perfection:
- Preheat thoroughly: Ensure that you preheat your waffle iron thoroughly before pouring the batter. This helps to achieve evenly cooked waffles and prevents them from sticking to the cooking surfaces.
- Don’t overmix the batter: When mixing the waffle batter, avoid overmixing. Overmixing can result in dense and tough waffles. Mix just until the ingredients are combined, allowing for a few lumps in the batter.
- Measure accurately: Use measuring cups and spoons to measure the ingredients accurately. This helps to maintain the proper balance of ingredients and ensures consistent results.
- Adjust the batter consistency: If your batter seems too thick, add a tablespoon of milk at a time until you reach the desired consistency. If it’s too thin, add a tablespoon of flour at a time and stir until it thickens. This allows you to achieve the perfect texture for your waffles.
- Experiment with flavors: Don’t be afraid to get creative with flavors and add-ins. Add vanilla extract, cinnamon, or your favorite spices to the batter for extra flavor. You can also mix in chocolate chips, nuts, or fruits for added texture and taste.
- Avoid overfilling the waffle iron: Pour the batter onto the waffle iron, leaving some space around the edges to allow for expansion. Overfilling can cause the batter to overflow and create a mess.
- Wait for steam to subside: After closing the waffle iron, wait until the steam escaping from the iron significantly reduces before you check for doneness. This ensures that the waffles cook thoroughly and reach a crispy texture.
- Keep cooked waffles warm: Place the cooked waffles on a wire rack in a single layer to keep them crisp. If you’re making a large batch, preheat your oven to a low temperature and place the waffles on a baking sheet in the oven to keep them warm while you finish cooking the rest.
- Get creative with toppings: Elevate your waffles by exploring a variety of toppings. Go classic with butter and maple syrup, or try fresh fruit, whipped cream, chocolate sauce, or savory options like fried chicken and gravy. The possibilities are endless!
- Experiment and have fun: Don’t be afraid to experiment and make the waffle-making process your own. Adjust cooking times, try different batters, and get creative with flavors and toppings. Enjoy the journey of perfecting your own unique waffle recipe.
With these tips and tricks in mind, you’re well-equipped to create delicious, fluffy, and crispy waffles that will impress everyone at the breakfast table.
Now that we’ve covered all the essentials, it’s time to wrap up.
Conclusion
Congratulations! You have now learned how to use a waffle iron to create scrumptious, golden-brown waffles. By following the safety precautions, choosing the right waffle iron, preheating it properly, and pouring the batter onto the cooking surfaces, you’ve set the groundwork for waffle success.
Through the process of greasing the waffle iron, cooking the waffles to perfection, and removing them with ease, you’ve mastered the art of creating delicious waffles. By implementing the tips and tricks we shared, you can elevate your waffle-making skills and explore new flavors and toppings to delight your taste buds.
Remember, cleaning and maintaining your waffle iron is crucial for its longevity and performance, so be sure to follow the proper cleaning steps we outlined.
So, what are you waiting for? It’s time to gather your ingredients, preheat your waffle iron, and start pouring that batter. The enticing aroma and mouthwatering taste of homemade waffles await you. Enjoy the process, get creative, and savor every bite!
Happy waffle-making!
Frequently Asked Questions about How To Use A Waffle Iron
Was this page helpful?
At Storables.com, we guarantee accurate and reliable information. Our content, validated by Expert Board Contributors, is crafted following stringent Editorial Policies. We're committed to providing you with well-researched, expert-backed insights for all your informational needs.


0 thoughts on “How To Use A Waffle Iron”