Articles
How To Make Grilled Cheese In A Waffle Iron
Modified: January 5, 2024
Discover the perfect way to create irresistible grilled cheese sandwiches using your waffle iron with these step-by-step articles! Boost your cooking skills today!
(Many of the links in this article redirect to a specific reviewed product. Your purchase of these products through affiliate links helps to generate commission for Storables.com, at no extra cost. Learn more)
Introduction
Welcome to the delicious world of grilled cheese sandwiches made in a waffle iron! If you’re a fan of grilled cheese sandwiches and are looking for a fun and unique way to enjoy them, then using a waffle iron is the perfect option. Not only does it add a delightful crunch to the bread, but it also creates those iconic waffle lines that make your sandwich look even more appetizing. In this article, we’ll take you through the step-by-step process of making grilled cheese in a waffle iron, including the equipment and ingredients you’ll need, how to prepare the waffle iron, assembling the sandwich, cooking it to perfection, and some tips and variations to try. Get ready to elevate your grilled cheese game to a whole new level!
Key Takeaways:
- Elevate your grilled cheese game by making it in a waffle iron for a delightful crunch and iconic waffle lines. Experiment with different bread, cheese, fillings, and seasonings for endless flavor combinations.
- Enjoy the joy of biting into a crispy, gooey, and satisfying grilled cheese sandwich made in a waffle iron. Get creative, cut into fun shapes, and savor the mouthwatering combination of crispy, cheesy, and flavorful goodness!
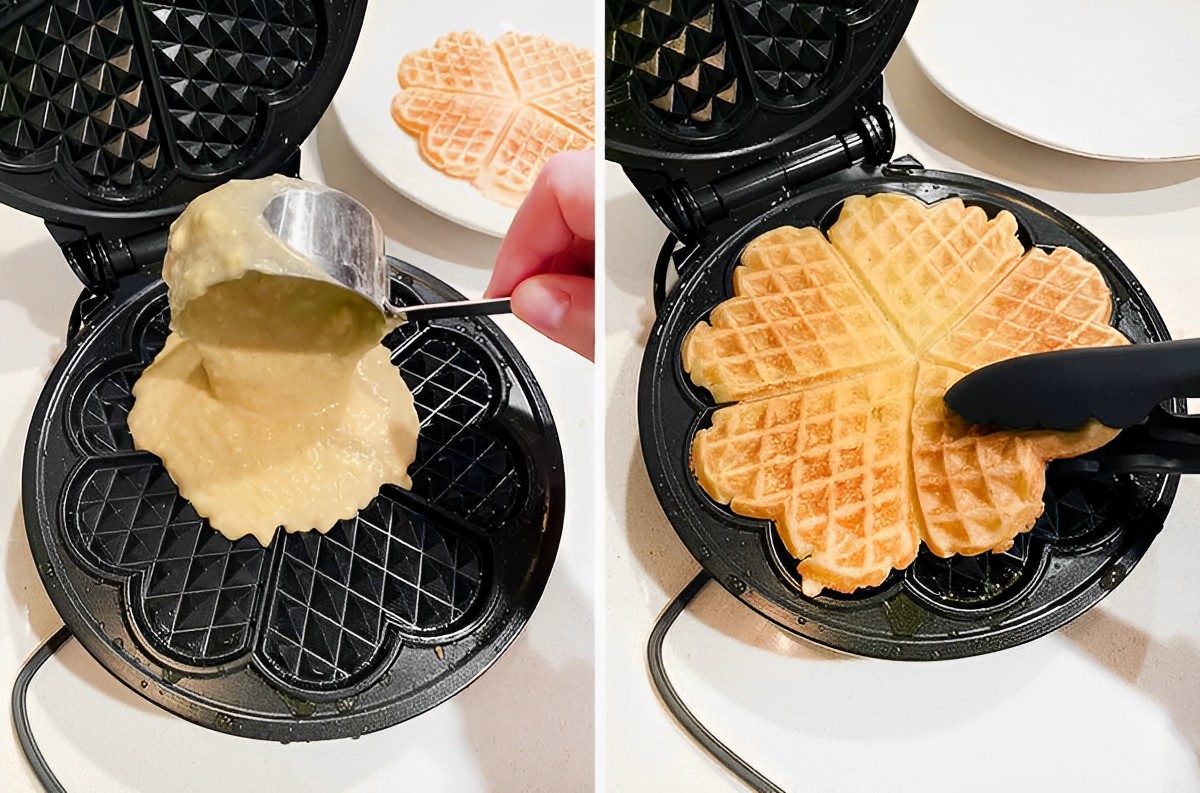
Read more: How To Make Waffle In A Waffle Iron
Equipment and Ingredients
To make a delicious grilled cheese sandwich in a waffle iron, you’ll need a few key items. Here’s a list of the equipment and ingredients you’ll need:
Equipment:
- A waffle iron (preferably non-stick)
- A spatula or tongs
- A brush or spray bottle for oil
Ingredients:
- Bread slices (your choice of white, whole wheat, sourdough, or any other type)
- Cheese slices (cheddar, American, Swiss, or any other favorite cheese)
- Butter or margarine, softened
- Optional fillings: sliced tomatoes, cooked bacon, ham, or any other desired ingredient
These equipment and ingredients are the foundation for your delicious grilled cheese sandwich. Feel free to experiment with different types of bread and cheese to create your own unique flavor combinations. Now that we have everything we need, let’s move on to learning how to prepare the waffle iron for the perfect grilled cheese creation.
Preparing the Waffle Iron
Before you start making your grilled cheese sandwich in the waffle iron, it’s essential to properly prepare the iron to ensure optimal cooking and easy cleanup. Here’s how to do it:
- Start by removing any excess crumbs or debris from the waffle iron. You can do this by wiping it down with a damp cloth or using a soft brush.
- If your waffle iron has a non-stick surface, you can skip this step. However, if it doesn’t, lightly coat the cooking surface with cooking spray or brush it with a thin layer of oil. This will prevent the sandwich from sticking to the iron.
- Preheat the waffle iron according to the manufacturer’s instructions. This usually involves plugging it in and waiting for it to heat up to the desired temperature.
- While the waffle iron is preheating, you can start assembling your grilled cheese sandwich.
By taking a few minutes to prepare your waffle iron, you’ll ensure that your grilled cheese sandwich cooks evenly and doesn’t stick to the surface. Now that the waffle iron is ready, let’s move on to the next step: assembling the sandwich.
Read more: How To Make Waffles Without Waffle Iron
Assembling the Grilled Cheese Sandwich
Now that your waffle iron is preheating, it’s time to assemble your delicious grilled cheese sandwich. Here’s how to do it:
- Take two slices of bread and spread a thin layer of softened butter or margarine on one side of each slice. This will create a golden and crispy exterior for your sandwich.
- Place one slice of bread, buttered side down, on a clean surface. Add a cheese slice or any other desired fillings, such as sliced tomatoes or cooked bacon.
- Carefully place the second slice of bread on top of the fillings, buttered side up.
- Press the sandwich together gently to ensure that the ingredients stick together and the cheese is evenly distributed.
- Repeat the above steps to assemble as many grilled cheese sandwiches as you’d like.
Now that your sandwiches are assembled and the waffle iron is hot, it’s time to cook them to perfection. In the next section, we’ll learn how to cook your grilled cheese sandwiches in the waffle iron for that unique and delicious waffle texture on the bread.
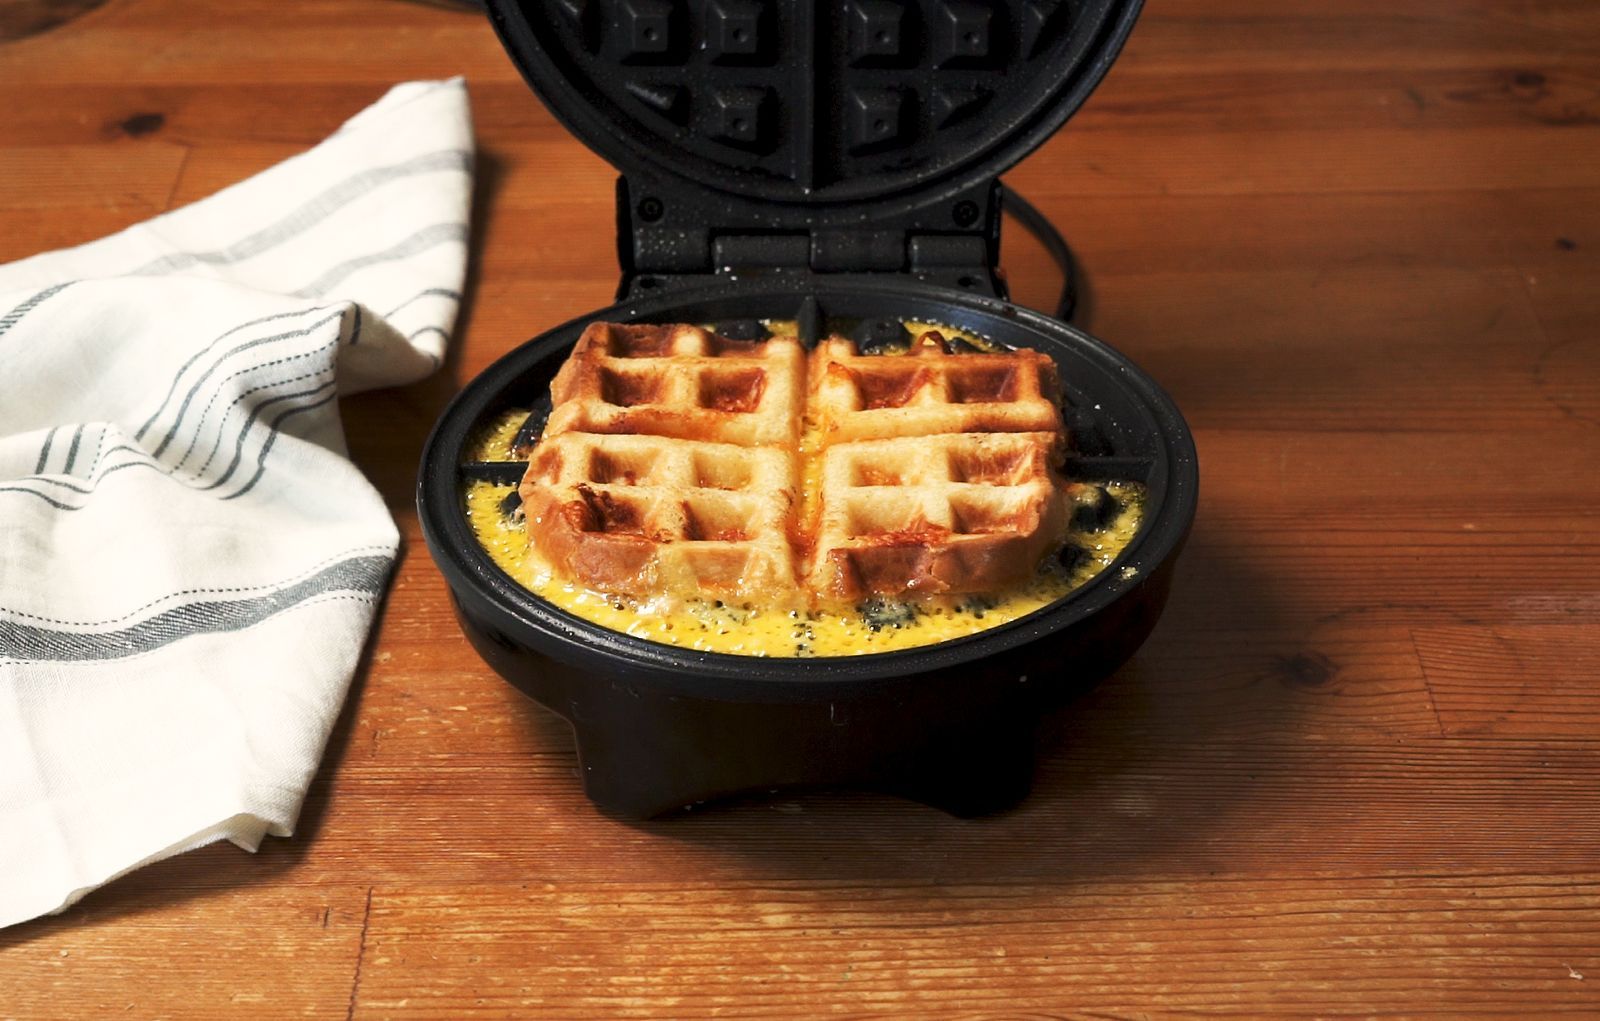
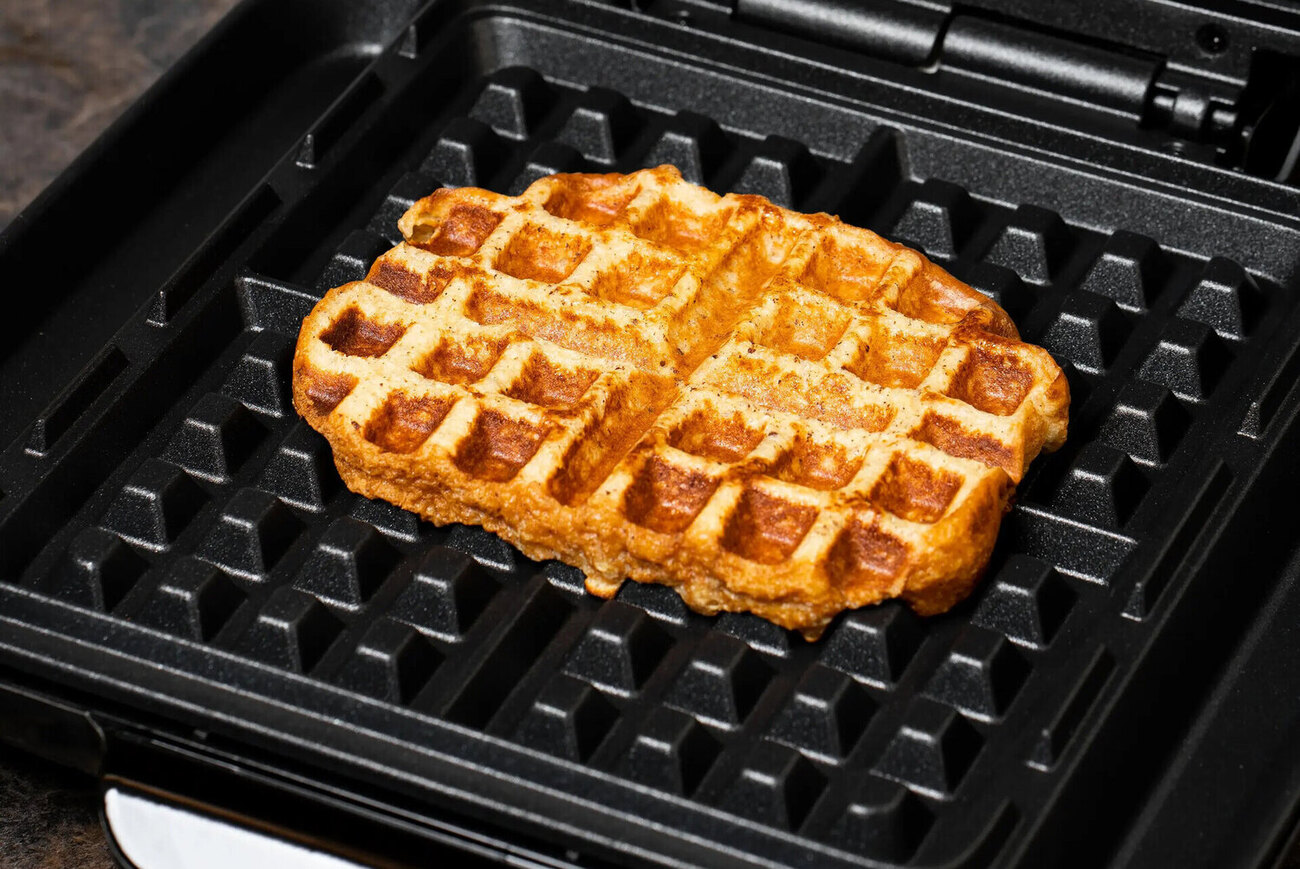
Cooking the Sandwich in the Waffle Iron
Now comes the exciting part – cooking your grilled cheese sandwich in the waffle iron! Follow these steps for a crispy and gooey masterpiece:
- Once your waffle iron is preheated, open it up and place one assembled sandwich onto the bottom plate, ensuring that it’s centered.
- Close the waffle iron gently but firmly, pressing it down slightly to ensure even cooking.
- Cook the sandwich for about 3-5 minutes, or until the bread turns golden brown and crispy. The cooking time may vary depending on the heat of your waffle iron, so keep a close eye on it to prevent burning.
- Using a spatula or tongs, carefully remove the sandwich from the waffle iron and place it on a cutting board or plate.
- Repeat the above steps for any remaining sandwiches you want to cook.
It’s important to note that the waffle iron will create those distinctive waffle grid marks on your sandwich, giving it a unique look and adding that extra layer of crunchiness. Once all your sandwiches are cooked, you can move on to the final steps: serving and enjoying your delicious grilled cheese sandwiches!
Spread mayonnaise on the outside of the bread instead of butter before placing it in the waffle iron. This will give the grilled cheese a crispy and golden crust.
Tips and Variations
Here are some tips and variations to enhance your grilled cheese sandwich made in a waffle iron:
- Experiment with different types of bread: Try using different bread varieties like sourdough, rye, or even cinnamon swirl bread for a sweet and savory twist.
- Get creative with cheeses: Don’t limit yourself to just cheddar or American cheese. Explore different cheeses like mozzarella, pepper jack, or brie to elevate the flavor of your sandwich.
- Add extra fillings: While a classic grilled cheese consists of just bread and cheese, feel free to throw in some additional fillings like sliced tomatoes, caramelized onions, avocado, or cooked bacon to take it to the next level.
- Seasonings and spreads: Enhance the flavor of your grilled cheese by spreading some mustard, pesto, or mayonnaise on the bread or sprinkling some garlic powder or herbs onto the cheese.
- Serve with dipping sauces: Elevate your sandwich experience by serving your grilled cheese with a side of tomato soup, ranch dressing, or your favorite dipping sauce.
- Cut into fun shapes: Use cookie cutters to create fun shapes with your grilled cheese sandwiches, making mealtime more exciting for kids and adults alike.
- Experiment with sweet versions: Don’t limit yourself to savory fillings. Try using nutella and sliced bananas or cream cheese with berries for a sweet twist on the classic grilled cheese.
Remember, these are just suggestions, and the possibilities are endless when it comes to creating your own unique grilled cheese sandwich in a waffle iron. Let your creativity take flight and enjoy the process of experimenting with different flavors and combinations!
Serving and Enjoying the Grilled Cheese
After all the anticipation, it’s time to savor and enjoy your delicious grilled cheese sandwiches made in a waffle iron. Here’s how to serve and elevate your culinary experience:
- Carefully transfer the cooked sandwich onto a cutting board.
- Use a sharp knife to cut the sandwich diagonally or into smaller bite-sized pieces.
- Arrange the grilled cheese on a plate and garnish it with fresh herbs like parsley or basil for a pop of color and added freshness.
- Pair your grilled cheese sandwich with your favorite side dishes such as a crispy garden salad, sweet potato fries, or a bowl of creamy tomato soup.
- Sit back, take a bite, and savor the blend of crispy bread, gooey cheese, and flavorful fillings.
- Share the joy of your homemade grilled cheese sandwiches with family and friends, or simply enjoy the comforting meal on your own.
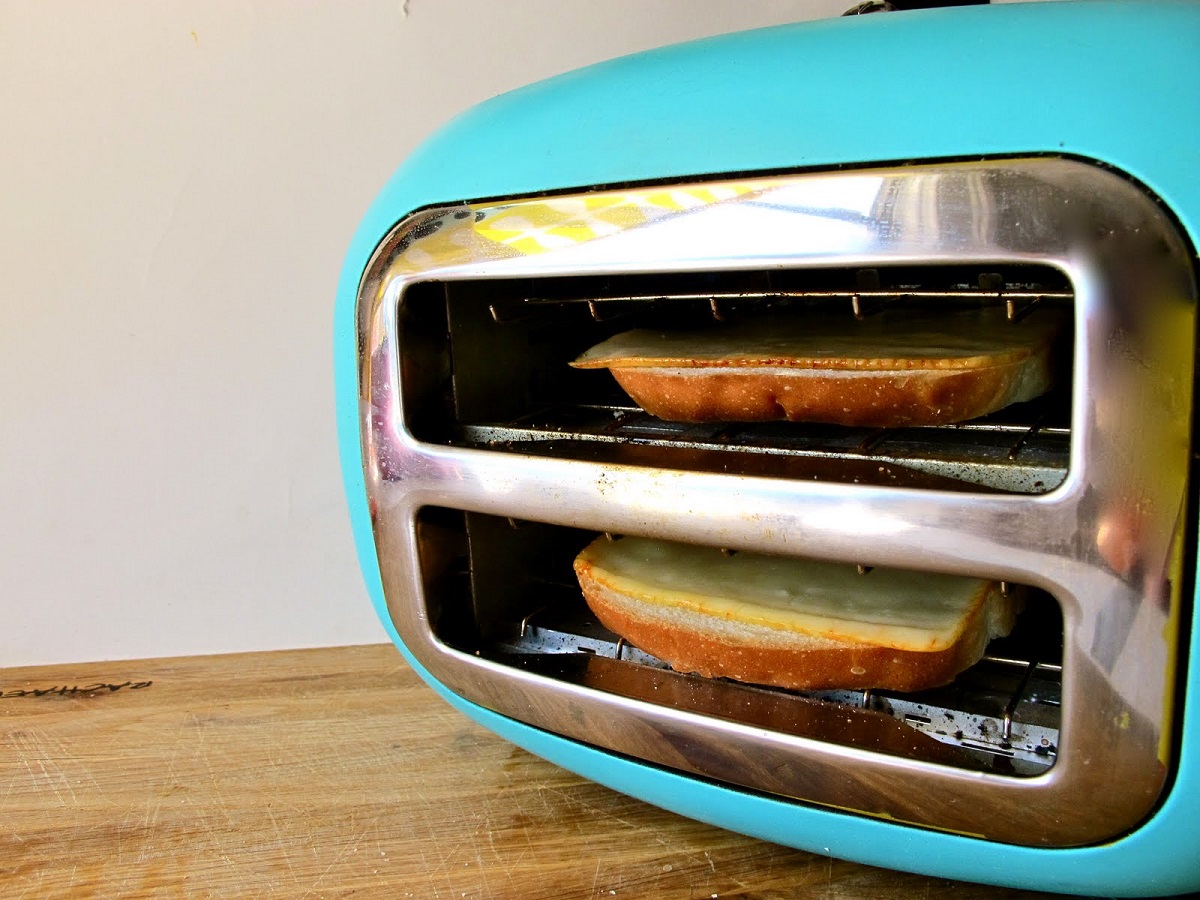
Remember, while your grilled cheese sandwiches are best eaten hot and fresh, you can also store any leftovers in an airtight container in the refrigerator. Simply reheat them in the toaster oven or microwave for a quick and satisfying snack or meal.
Now that you know the art of making grilled cheese in a waffle iron, go ahead and get creative in the kitchen. Customize your sandwich to your liking, experiment with different fillings and cheese combinations, and enjoy the delicious results. Whether it’s a classic cheddar and tomato combination or a gourmet creation, your grilled cheese sandwiches are sure to be a hit!
Read more: How To Make Waffles Crispy In Waffle Iron
Conclusion
Making grilled cheese sandwiches in a waffle iron is a fantastic way to elevate a classic comfort food to new heights. The combination of crispy bread, melty cheese, and the unique waffle design adds a delightful twist to this beloved dish. With just a few simple steps, you can create a delicious grilled cheese sandwich with a perfect balance of textures and flavors.
By preparing your waffle iron, assembling your sandwich with your favorite bread and cheese, and cooking it to golden perfection, you’ll experience the joy of biting into a crispy, gooey, and satisfying meal. The possibilities for variations are endless, allowing you to explore different bread types, cheeses, fillings, and seasonings to suit your preferences.
Whether you’re enjoying your grilled cheese sandwich as a quick lunch, a cozy dinner, or a delightful snack, it’s a versatile dish that can be enjoyed on its own or paired with soup, salad, or your favorite dipping sauces. And don’t forget to get creative – cut your sandwich into fun shapes for a playful twist or experiment with sweet versions for a delightful dessert.
So, grab your waffle iron, gather your ingredients, and let your culinary creativity shine. There’s no better feeling than indulging in a homemade grilled cheese sandwich that’s made with love and personal flair. Whether you’re cooking for yourself, your family, or entertaining guests, grilled cheese made in a waffle iron is sure to bring smiles to everyone’s faces.
Now that you have learned how to make grilled cheese in a waffle iron, it’s time to put your newfound knowledge to the test and enjoy the delicious results. So get cooking and savor the mouthwatering combination of crispy, cheesy, and flavorful goodness!
Frequently Asked Questions about How To Make Grilled Cheese In A Waffle Iron
Was this page helpful?
At Storables.com, we guarantee accurate and reliable information. Our content, validated by Expert Board Contributors, is crafted following stringent Editorial Policies. We're committed to providing you with well-researched, expert-backed insights for all your informational needs.


0 thoughts on “How To Make Grilled Cheese In A Waffle Iron”