Articles
How To Open A Garage Door Remote
Modified: August 17, 2024
Learn how to open your garage door remote with our informative articles. Get step-by-step instructions and troubleshooting tips for easy access and convenience.
(Many of the links in this article redirect to a specific reviewed product. Your purchase of these products through affiliate links helps to generate commission for Storables.com, at no extra cost. Learn more)
Introduction
Welcome to the world of garage door remotes! Opening your garage door with just a press of a button is not only convenient but also adds an extra layer of security to your home. However, like any other electronic device, garage door remotes may require some maintenance or troubleshooting from time to time.
In this article, we will guide you through the process of opening a garage door remote, step by step. Whether you need to replace the battery, reset the code, or simply want to understand how it works, we’ve got you covered. By following these instructions, you’ll be well on your way to having a fully functional garage door remote once again.
Before we dive into the details, let’s take a moment to understand the importance of regularly maintaining your garage door remote. Over time, the battery in your remote may weaken, causing the signal strength to decrease and resulting in a less responsive remote. Additionally, if your garage door remote has a rolling code feature, it is recommended to periodically reset the code to ensure maximum security.
Now that we have set the stage, let’s move on to the first step in opening a garage door remote: identifying the remote type.
Key Takeaways:
- Regular maintenance of your garage door remote, including battery replacement and code resetting, ensures optimal performance and adds an extra layer of security to your home.
- Identifying the remote type, locating the battery compartment, and testing the remote are essential steps in troubleshooting and maintaining your garage door remote for reliable everyday use.
Read more: How To Set Remote Garage Door Opener
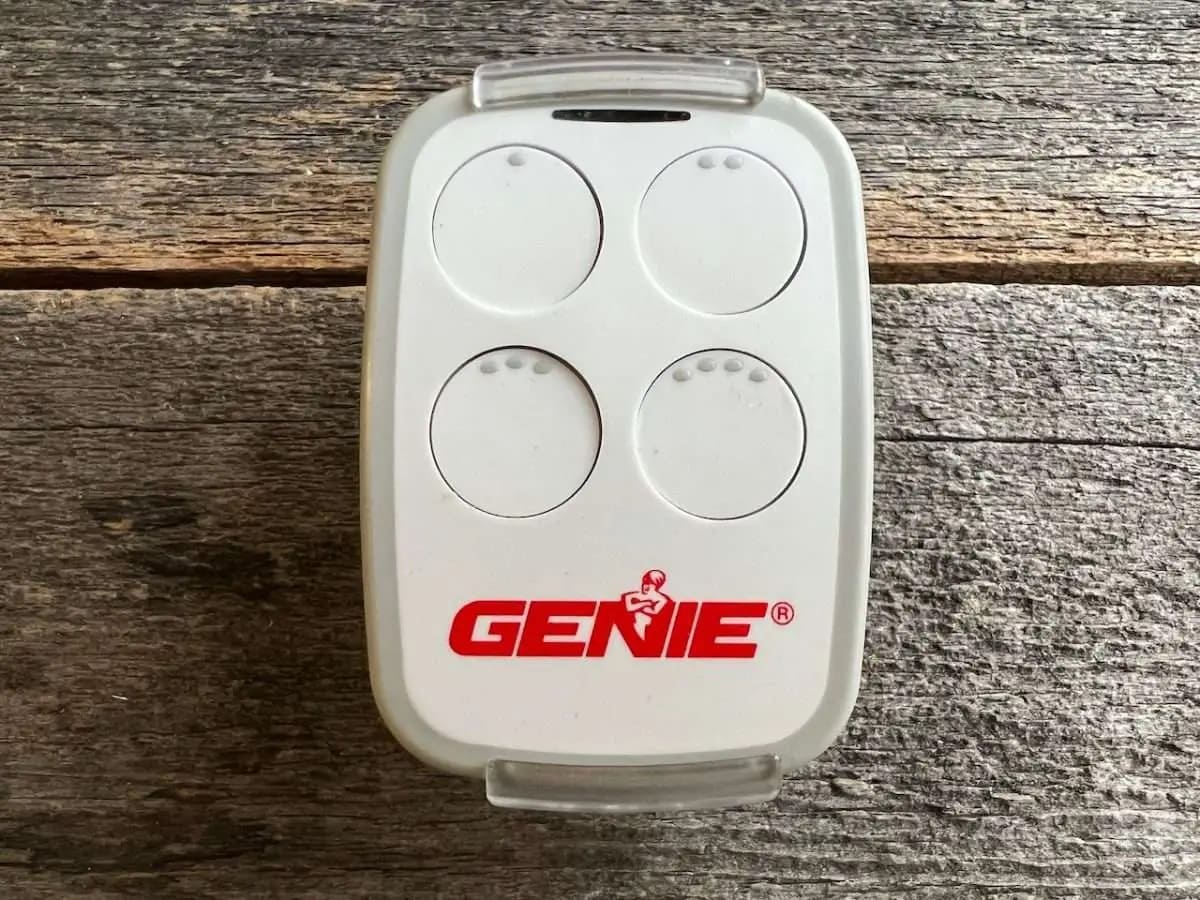
Step 1: Identify the Remote Type
Before you can begin troubleshooting or performing any maintenance tasks on your garage door remote, it’s essential to determine the type of remote you have. There are two main types of garage door remotes: fixed code remotes and rolling code remotes.
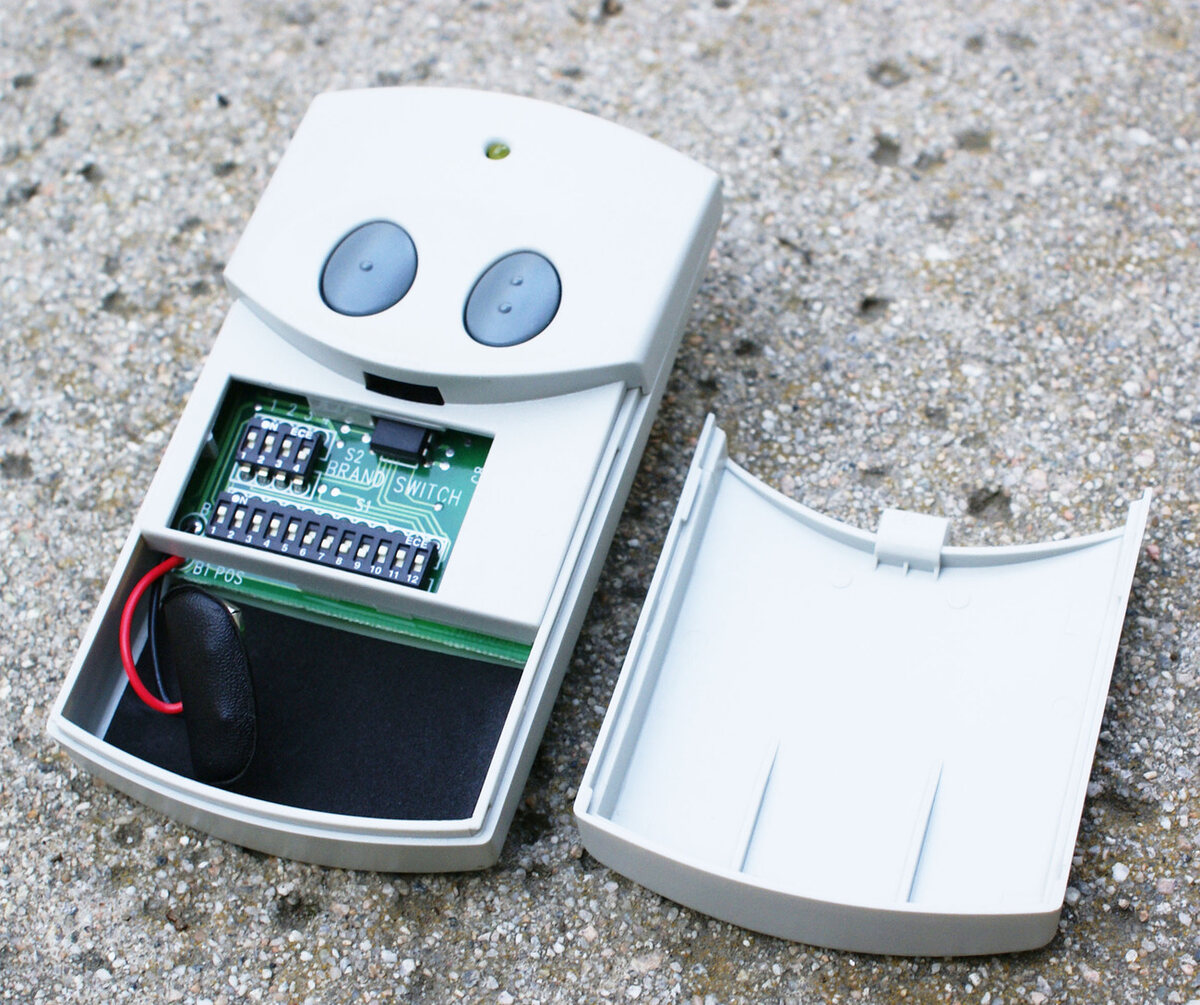
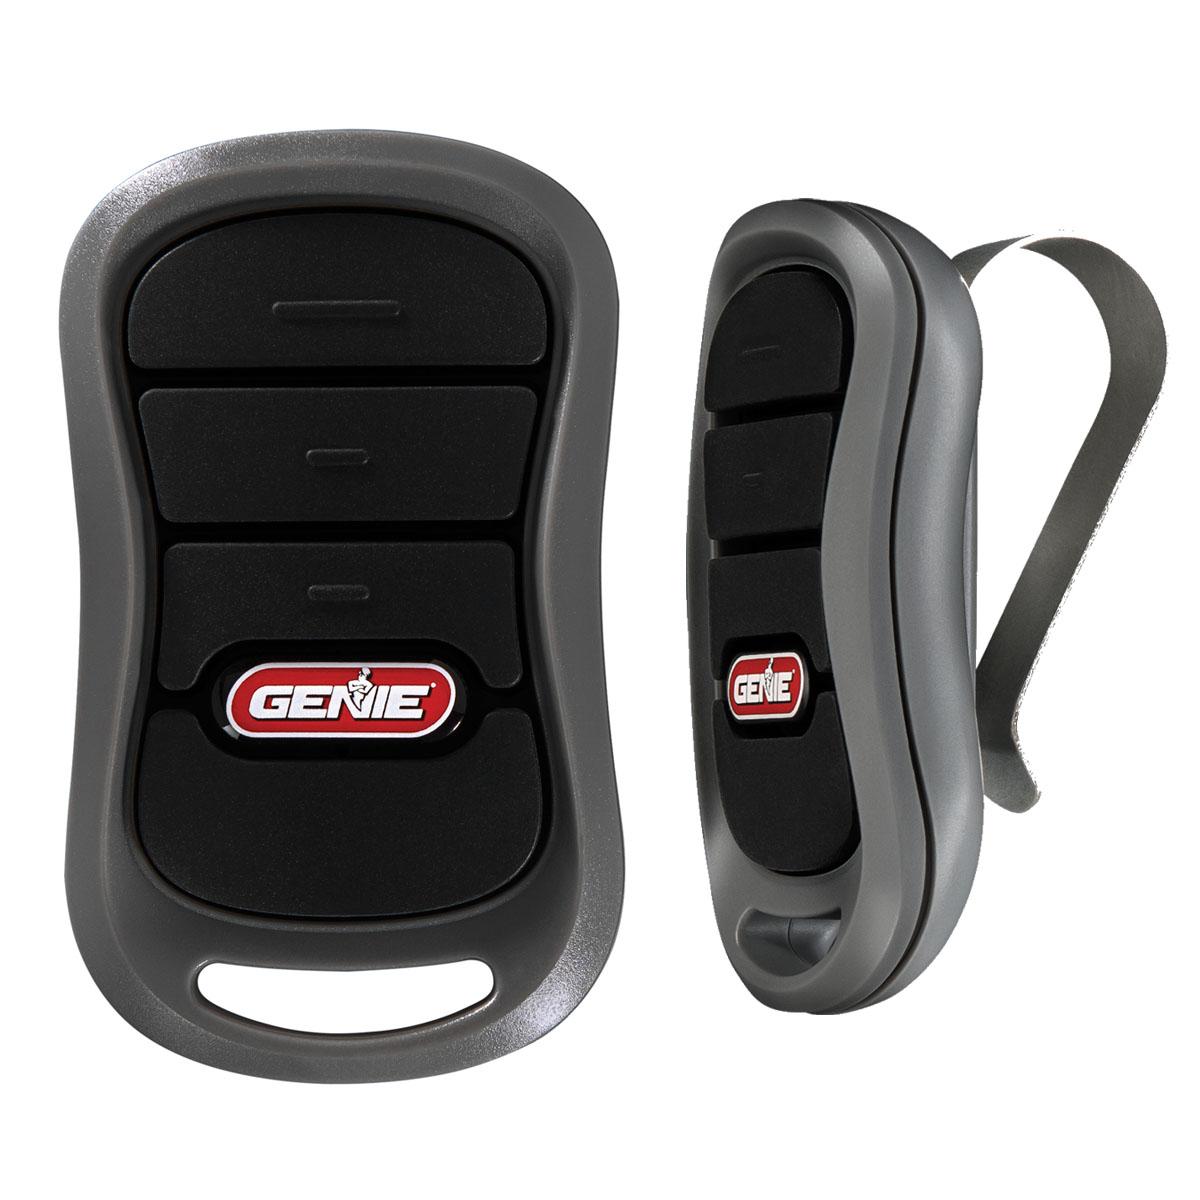
Fixed code remotes, also known as dip switch remotes, use a set of physical switches to create a unique code that corresponds to your garage door opener. These switches are usually located on the back of the remote or inside the battery compartment. Each switch can be either “on” or “off,” representing binary code.
Rolling code remotes, also known as code-hopping remotes, use a more advanced encryption technology that changes the code each time the remote is used. This ensures that each signal sent from the remote is unique and cannot be copied or intercepted by potential intruders.
To identify the type of remote you have, you can consult the user manual or check the manufacturer’s website for information. Alternatively, you can inspect the exterior of the remote for any indications or labels that mention the type of code used.
Once you have determined whether your remote is a fixed code or rolling code remote, you can proceed to the next step to open the remote and access its internals.
Step 2: Locate the Battery Compartment
Now that you have identified the type of remote you have, it’s time to locate the battery compartment. The battery compartment is where the power source for your garage door remote is housed.
The location of the battery compartment varies depending on the design of the remote. In most cases, it can be found on the back of the remote. However, some remotes may have a slide-off cover on the front or bottom of the device.
Inspect the remote for any buttons or tabs labeled “open” or with an icon that resembles a battery. Press or slide these buttons or tabs to open the battery compartment. Some remotes may require a small tool, such as a screwdriver or coin, to release the compartment.
Once the battery compartment is open, you will find the existing battery inside. Take note of the type and size of the battery, as this information will be needed when purchasing a replacement.
It’s important to handle the battery compartment with care to avoid damaging any delicate components. Avoid applying excessive force when opening the compartment and take note of any springs or clips that may be present.
If you are unsure or unable to locate the battery compartment on your garage door remote, consult the user manual or visit the manufacturer’s website for specific instructions.
Now that you have successfully located the battery compartment, it’s time to move on to the next step: replacing the battery.
Step 3: Replace the Battery
Now that you have accessed the battery compartment, it’s time to replace the battery in your garage door remote. A weak or dead battery can cause the remote to become unresponsive or have reduced signal strength.
Begin by removing the old battery from the compartment. Depending on the design of the remote, the battery may slide out easily or may be held in place by a small spring or clip. Use your fingers or a small tool, such as a screwdriver, to carefully remove the battery.
Take note of the type and size of the old battery as you remove it. This information will be crucial when purchasing a replacement. Most garage door remotes use common battery types such as AA, AAA, or CR2032. Ensure that you select a battery with the correct voltage and size to ensure compatibility.
Once you have the new battery in hand, carefully insert it into the battery compartment. Pay attention to the correct polarity, indicated by the + and – symbols on the battery and inside the compartment. It’s important to align the battery correctly to ensure proper functionality.
Once the new battery is in place, gently close the battery compartment. Ensure that it is securely closed and latched to avoid any accidental battery dislodging.
It’s a good practice to test the remote at this point to verify that the new battery is functioning correctly. Press the buttons on the remote and observe if the LED indicator lights up or if you can hear any audible signals. If the remote responds as expected, it means the replacement was successful.
If the remote does not respond or if it continues to exhibit issues, double-check that the battery is installed correctly. Also, ensure that the battery contacts in the remote and compartment are clean and free from any debris or corrosion. You can use a soft, dry cloth or a small brush to clean them if needed.
With the new battery installed and the remote working properly, you are ready to move on to the next step: resetting the remote code.
When opening a garage door remote, always ensure that the batteries are working and properly inserted. If the remote still doesn’t work, try reprogramming it according to the manufacturer’s instructions.
Step 4: Reset the Remote Code
If you have a rolling code remote or if you suspect unauthorized access to your garage, it is recommended to periodically reset the remote code to ensure maximum security. Resetting the remote code will prevent any previously programmed codes from being used to open your garage door.
The process of resetting the remote code may vary depending on the make and model of your garage door opener. However, the basic steps are generally similar for most remotes.
Here is a general guide on how to reset the remote code:
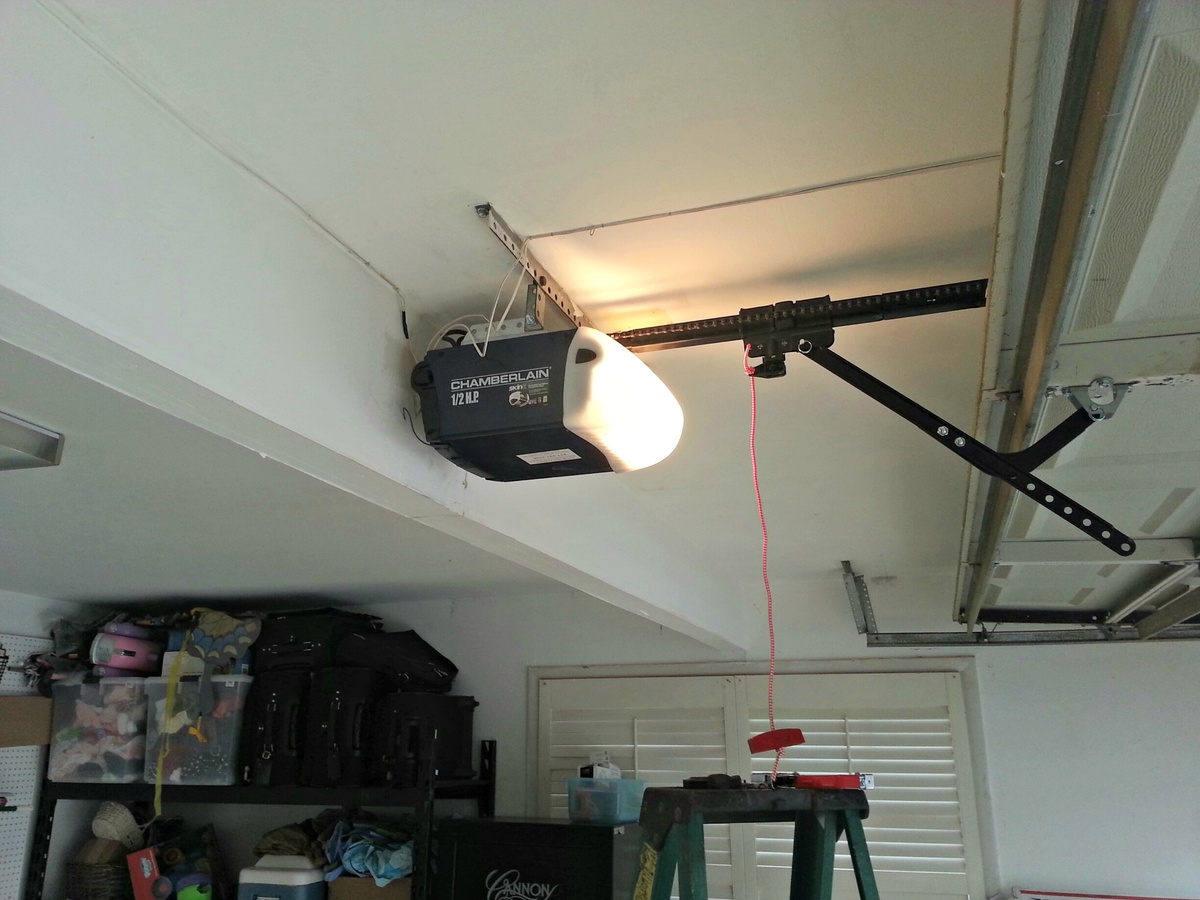
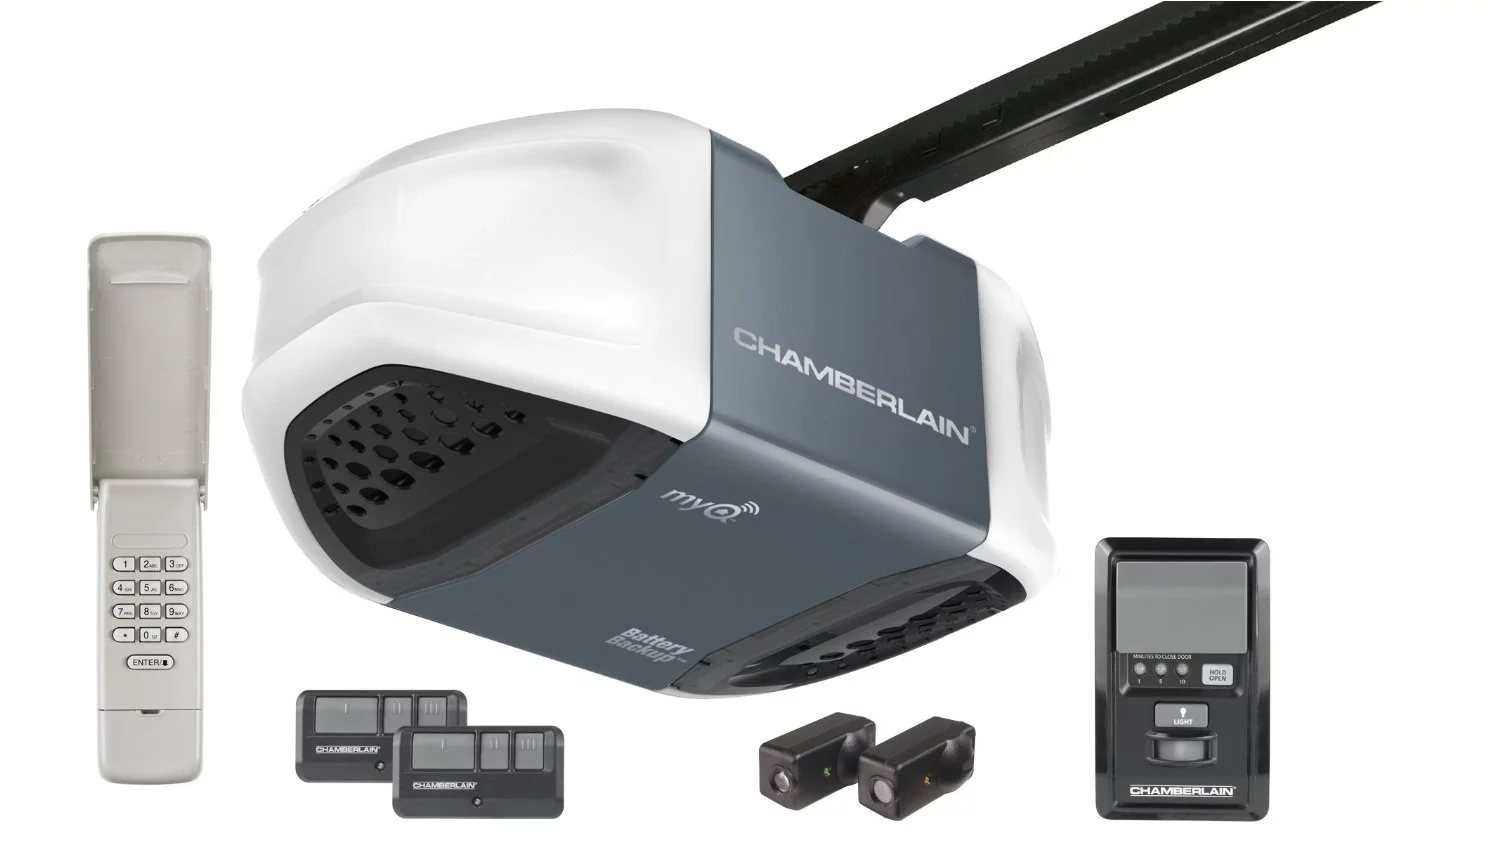
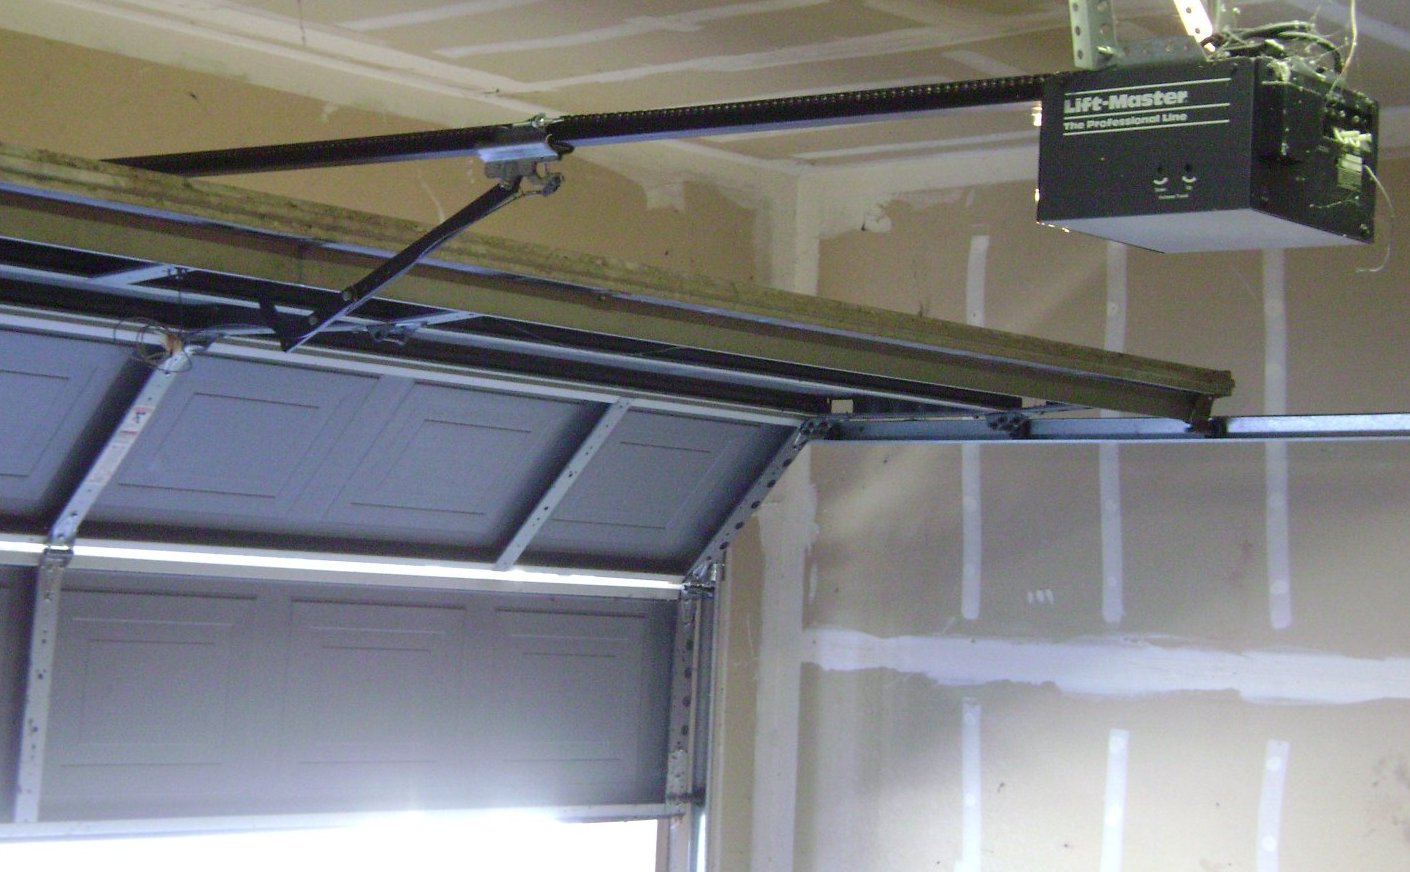
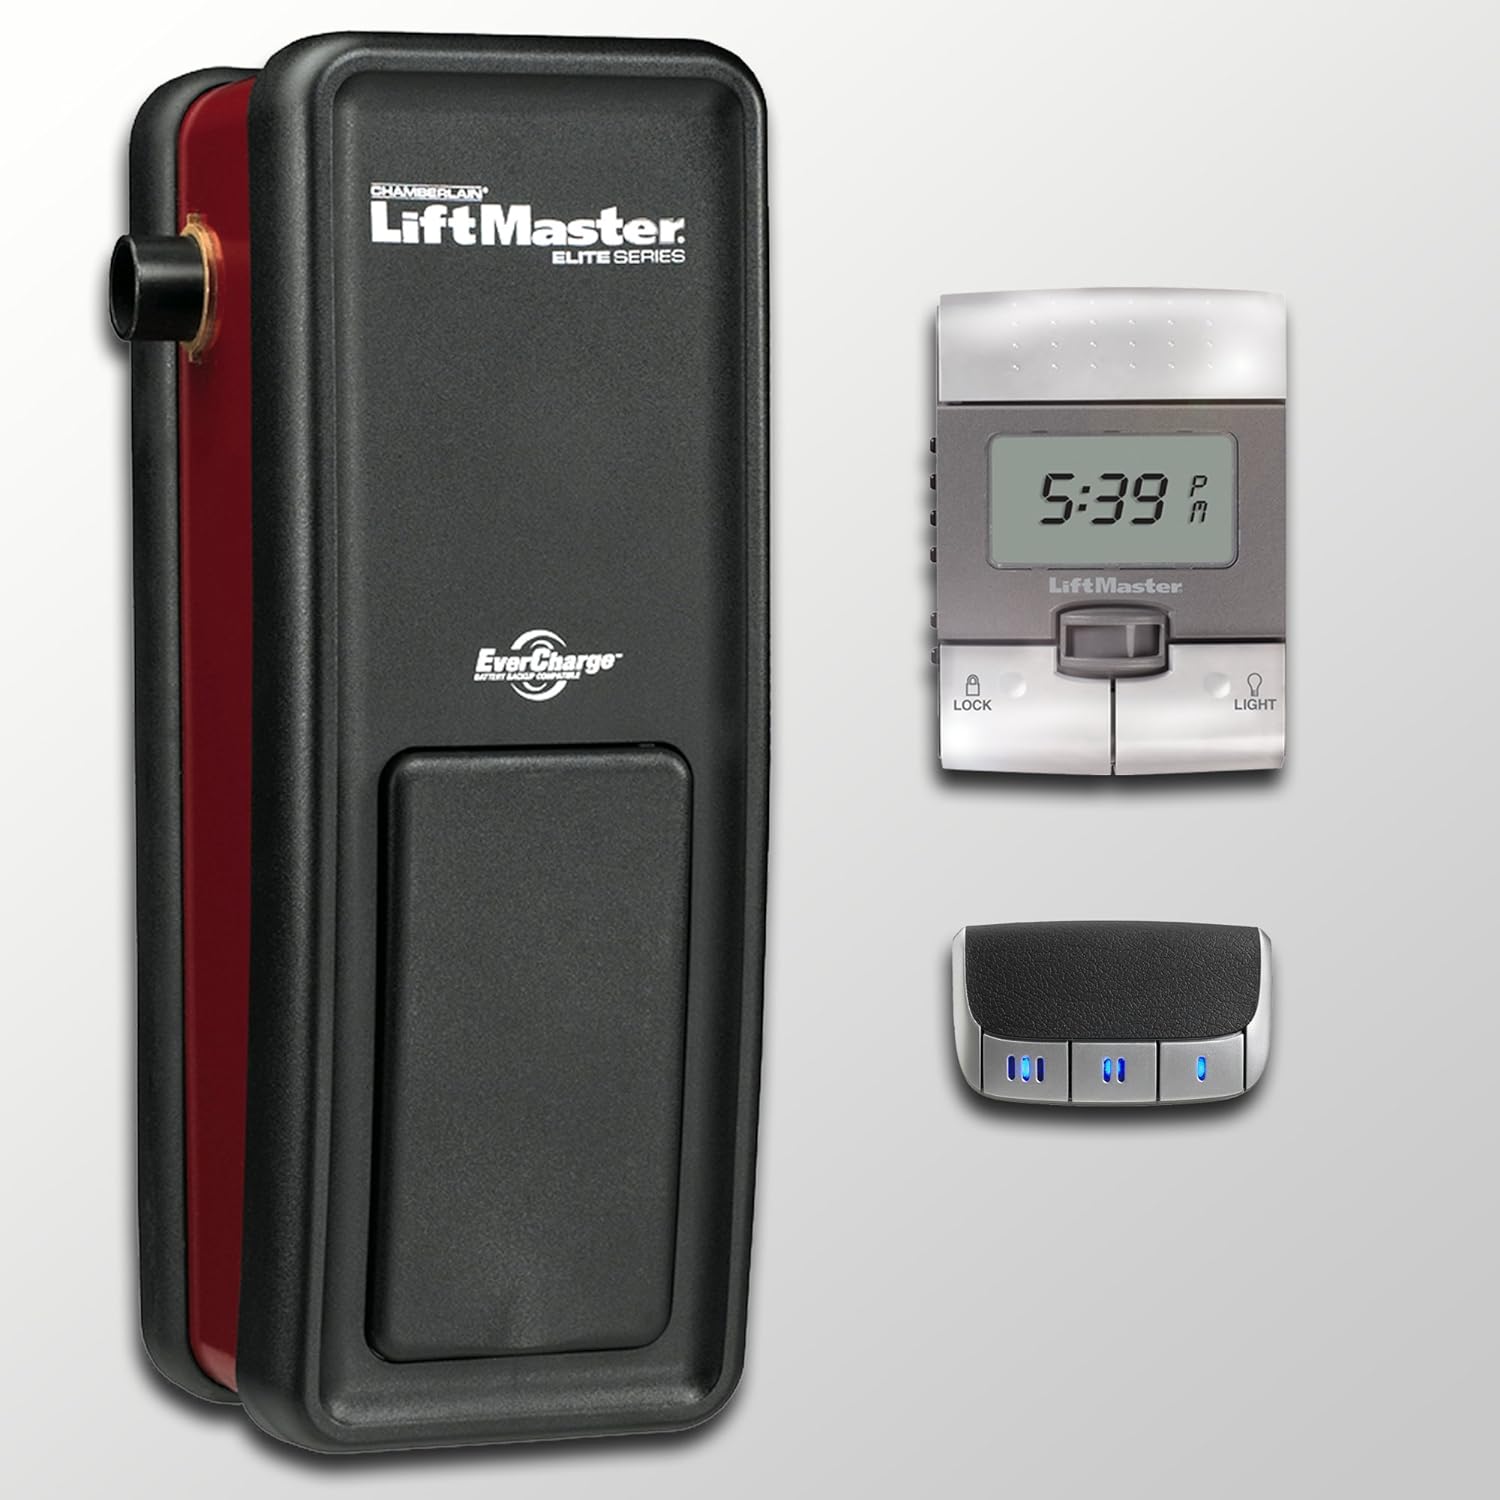
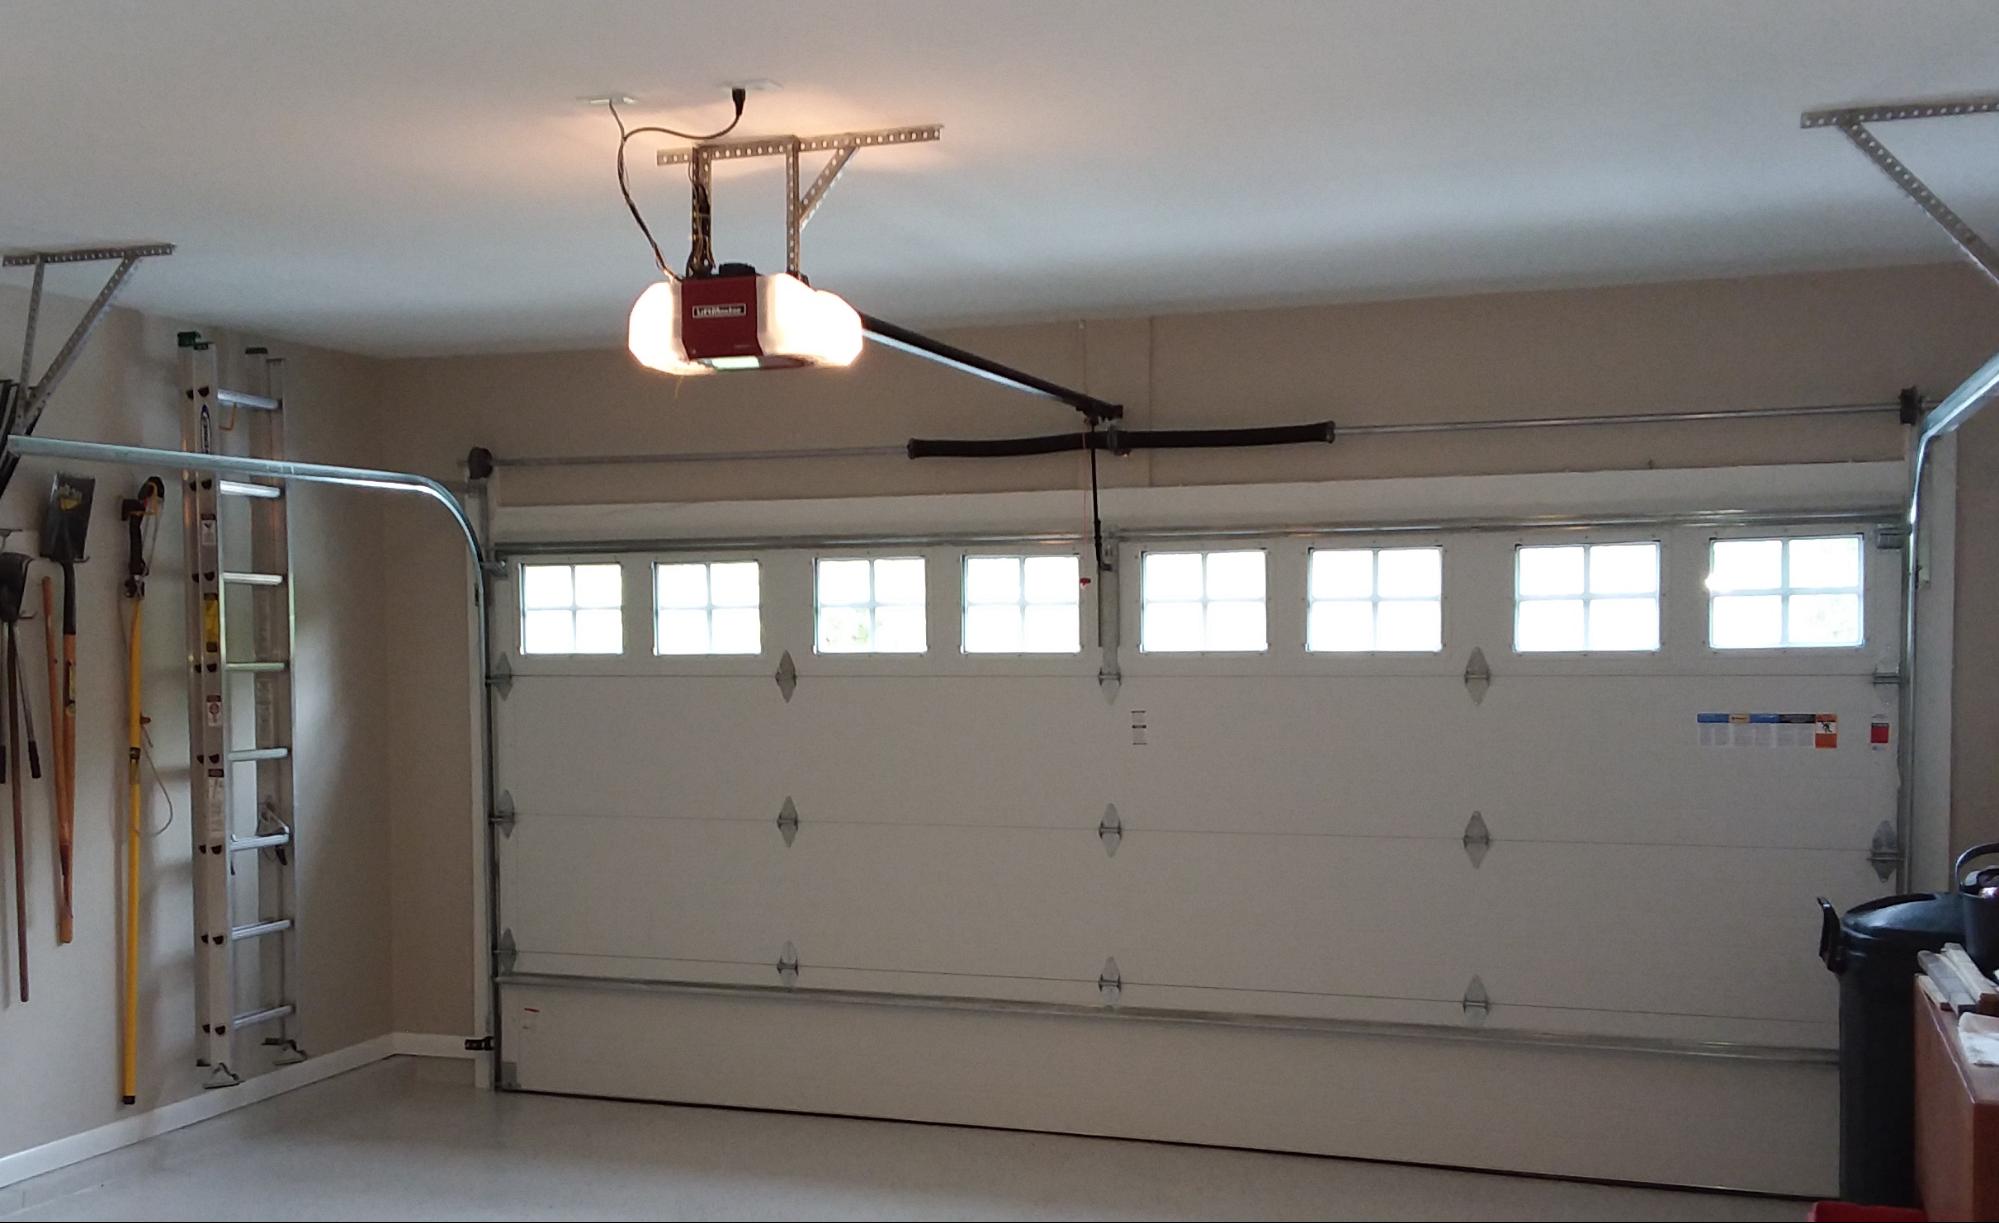
- Locate the control panel on your garage door opener. This panel is usually mounted on the ceiling of your garage near the opener motor.
- Find the “Learn” or “Program” button on the control panel. This button is typically small and may be labeled or marked with an icon.
- Press and hold the “Learn” or “Program” button for a few seconds until the indicator light on the control panel starts to blink or change color.
- Within 30 seconds of pressing the button, press and hold the desired button on your remote control. This will send a signal to the control panel to reprogram the remote.
- Wait for the indicator light on the control panel to stop blinking or change back to its original color. This indicates that the remote code has been successfully reset.
It’s important to note that the steps provided above are general guidelines. It’s always recommended to consult the user manual or contact the manufacturer for specific instructions related to your garage door opener model.
After resetting the remote code, you may need to reprogram any additional remotes or keypads that you use to operate your garage door.
With the remote code successfully reset, it’s time to move on to the final step: testing the remote to ensure everything is functioning correctly.
Read more: How To Reset A Garage Door Opener Remote
Step 5: Test the Remote
After replacing the battery and resetting the remote code, it’s crucial to test the garage door remote to ensure that it is functioning correctly. Testing the remote will give you confidence that the maintenance and troubleshooting steps you have taken have been successful.
Follow these steps to test the remote:
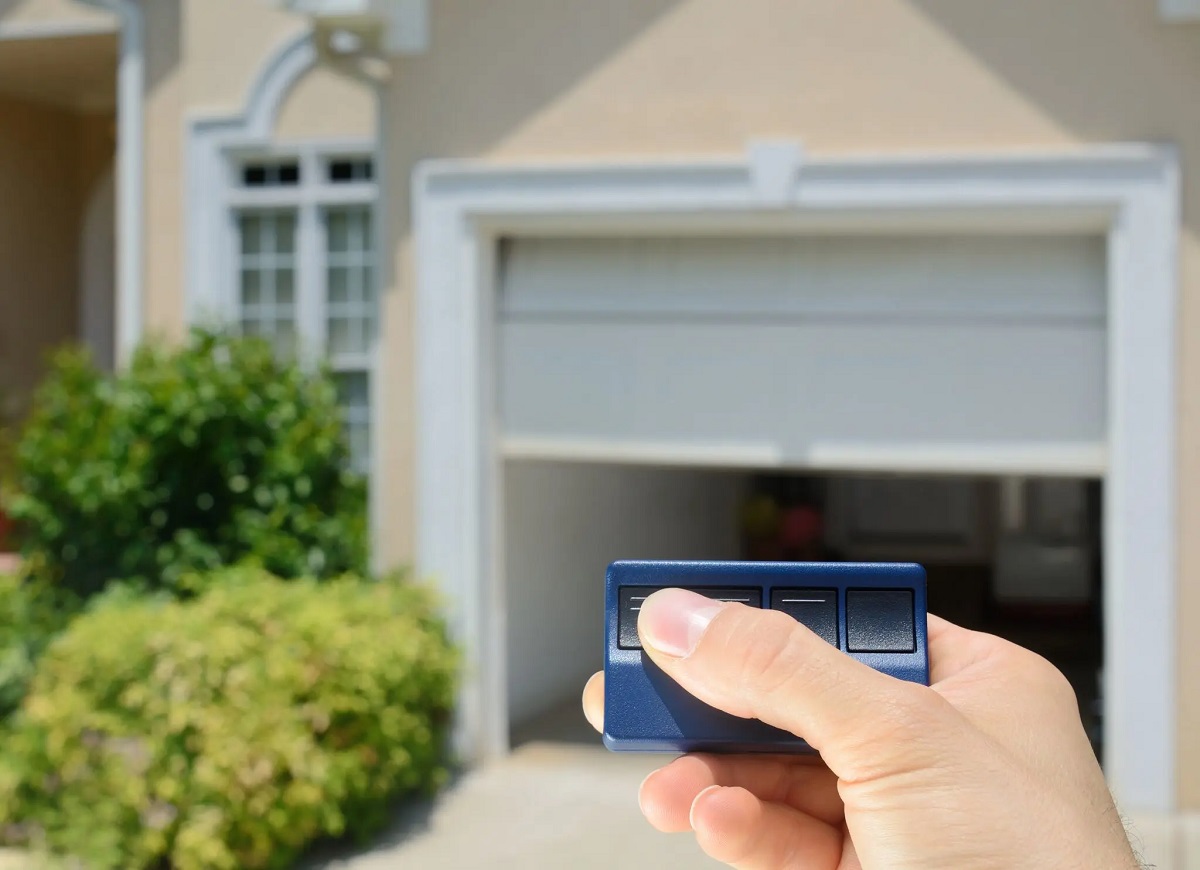
- Stand within a reasonable distance from your garage door, usually within 20-30 feet.
- Press the button on the remote control that corresponds to the garage door you want to open or close.
- Observe if the garage door responds to the remote command. The door should start moving, either opening or closing, depending on its current position.
- If the garage door does not respond, make sure that you are within range and that there are no obstructions blocking the signal. Move closer to the door and try again.
- If the garage door still does not respond, try replacing the battery again, ensuring proper installation. Alternatively, consult the user manual or contact a professional for further assistance.
It’s also a good idea to test the remote from different angles and distances to ensure consistent performance. This will help you identify any potential signal strength issues or dead zones.
By successfully testing the remote and confirming that it operates the garage door as intended, you can be confident that your remote is fully functional and ready for everyday use.
Congratulations! You have now completed all the necessary steps to open a garage door remote. Regular maintenance and troubleshooting of your remote will ensure its longevity and reliable operation.
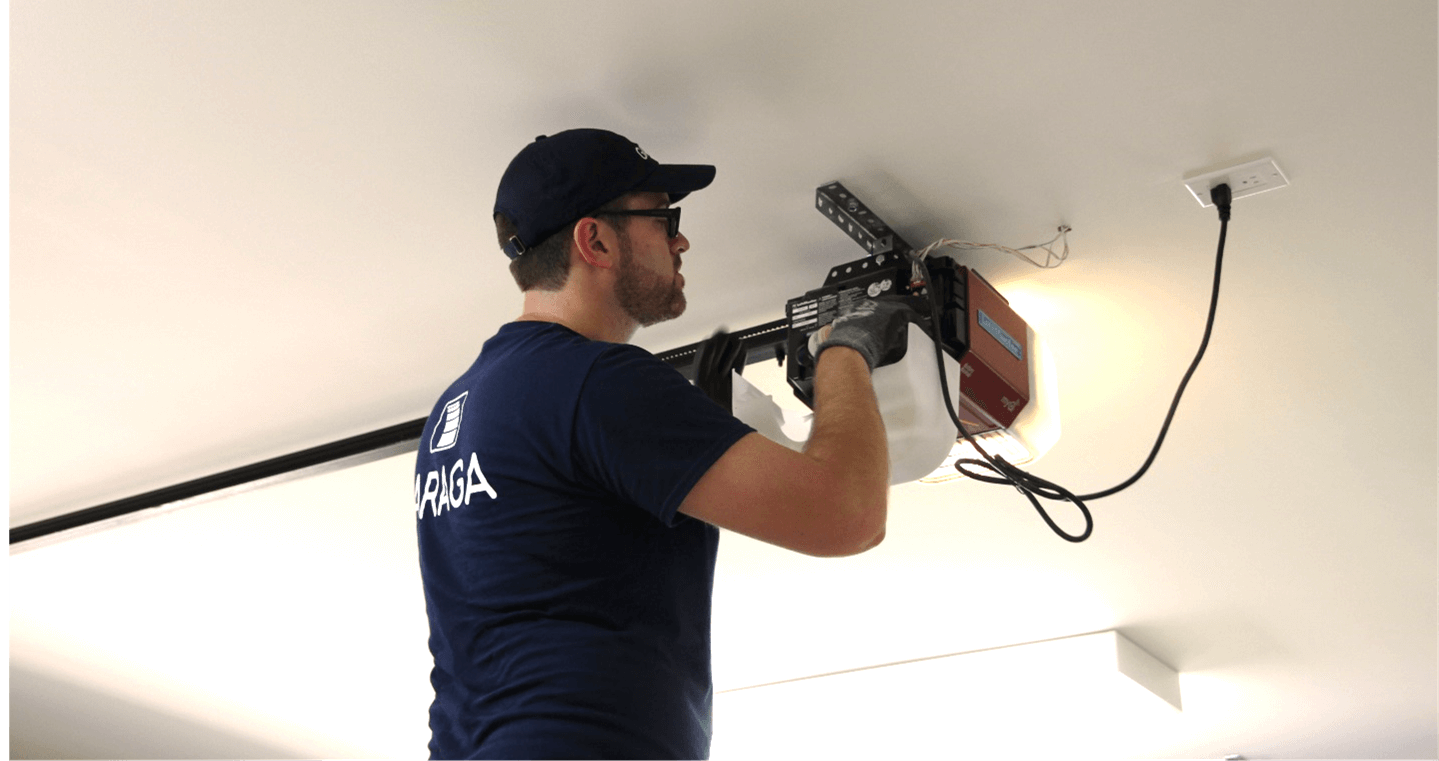
Remember, if you ever encounter any persistent issues or if you require professional assistance, don’t hesitate to contact your garage door manufacturer or a certified technician.
Now, sit back and enjoy the convenience and security that your fully functional garage door remote brings.
Conclusion
Opening a garage door remote may seem like a daunting task, but with the right knowledge and guidance, it can be a straightforward process. By following the steps outlined in this article, you can easily troubleshoot and maintain your garage door remote to ensure optimal performance.
Remember, it all starts with identifying the remote type. Whether you have a fixed code remote or a rolling code remote, understanding the type of remote you have is essential for successful troubleshooting.
Next, locating the battery compartment allows you to access the power source of your remote. By replacing the battery, you can restore the remote’s responsiveness and signal strength.
Resetting the remote code, especially for rolling code remotes, adds an extra layer of security to your garage. Periodically resetting the code prevents unauthorized access and ensures the safety of your belongings.
Finally, testing the remote not only confirms that it is functioning correctly but also gives you peace of mind knowing that the maintenance tasks you have performed have been successful. With a reliable and fully functional garage door remote, you can enjoy the convenience and security it provides.
Regular maintenance of your garage door remote is essential to avoid any unexpected issues and ensure its longevity. If you ever encounter persistent problems or have any concerns, it’s always best to consult the user manual or contact the manufacturer for professional assistance.
We hope this guide has been helpful and that you now feel confident in opening your garage door remote. By following these steps and taking proper care of your remote, you can enjoy smooth and hassle-free operation for years to come.
Happy remote opening!
Frequently Asked Questions about How To Open A Garage Door Remote
Was this page helpful?
At Storables.com, we guarantee accurate and reliable information. Our content, validated by Expert Board Contributors, is crafted following stringent Editorial Policies. We're committed to providing you with well-researched, expert-backed insights for all your informational needs.

0 thoughts on “How To Open A Garage Door Remote”