
Articles
How To Make A Garage Door
Modified: January 6, 2024
Looking for articles on how to make a garage door? Find step-by-step guides and expert tips for building your own garage door from scratch.
(Many of the links in this article redirect to a specific reviewed product. Your purchase of these products through affiliate links helps to generate commission for Storables.com, at no extra cost. Learn more)
Introduction
Welcome to the ultimate guide on how to make a garage door! Whether you’re building a new garage or looking to replace your existing door, this step-by-step article will provide you with the knowledge and guidance you need to create a functional and stylish garage door.
A well-crafted garage door not only enhances the exterior aesthetics of your home but also provides security and convenience. By following these instructions and utilizing the right materials and tools, you can design and build a custom garage door that suits your specific needs and preferences.
Before we dive into the construction process, it’s essential to have a clear understanding of the various steps involved. From determining the size and style of the door to installing the opener, each stage requires meticulous attention to detail. By following this comprehensive guide, you’ll learn how to build a garage door that is not only visually appealing but also functions smoothly for years to come.
Now, let’s get started on the journey to creating your very own garage door!
Key Takeaways:
- Building a custom garage door involves a series of meticulous steps, from determining the size and style to installing the opener. Safety, precision, and attention to detail are crucial for a successful and functional outcome.
- The process of creating a garage door is a rewarding journey that combines craftsmanship, creativity, and practicality. By following the comprehensive guide, individuals can design and build a personalized garage door that enhances the aesthetics and functionality of their home.
Read more: How To Make Garage Door Quieter
Step 1: Determine the Size and Style of the Garage Door
The first step in making a garage door is to determine the appropriate size and style that will suit your garage and complement the overall look of your home. Consider the following factors when making this decision:
- Measurements: Start by measuring the width and height of your garage opening accurately. Take multiple measurements to ensure accuracy. Additionally, measure the depth of the garage to determine the space available for the door tracks and hardware.
- Clearance: Assess the amount of clearance you have in the garage. This includes considering any overhead obstructions such as pipes, lights, or shelves that may affect the installation of a particular style of door.
- Style: Next, choose the style of your garage door. There are various options available, including traditional raised-panel doors, contemporary styles with horizontal panels, and carriage-style doors that mimic the look of old-fashioned swing-out doors.
- Material: Consider the material you want for your garage door. Common options include wood, steel, aluminum, and fiberglass. Each material has its own advantages and considerations, such as durability, maintenance requirements, and cost.
- Insulation: Depending on your climate and how you plan to use your garage, you may want to consider adding insulation to your door. Insulated doors can help regulate temperature and reduce noise.
Once you have all the necessary information and have made decisions regarding size and style, you can proceed to the next step of gathering the materials and tools required to build your garage door.
Note that it’s always a good idea to consult with professionals or experienced individuals who can provide guidance based on local building codes and regulations. This ensures that your garage door meets safety standards and functions optimally.
Step 2: Choose the Materials and Tools Needed
After determining the size and style of your garage door, the next step is to gather the necessary materials and tools to bring your vision to life. Here’s a list of essential items you’ll need:
Materials:
- Door Panels: Select the appropriate material for your garage door panels, such as wood, steel, aluminum, or fiberglass, based on your personal preferences and budget. Ensure that the material is suitable for the climate conditions in your area.
- Hinges and Hardware: Purchase high-quality hinges and hardware that are designed for garage doors. These include rollers, brackets, tracks, torsion springs, cables, and pulleys.
- Insulation: If you’ve decided to insulate your garage door, consider insulation materials such as polystyrene or polyurethane foam insulation.
- Paint or Stain: If you’re using wood panels, you may need paint or stain to protect and enhance the appearance of the door.
- Weatherstripping: Weatherstripping is essential to prevent drafts and ensure energy efficiency. Choose weatherstripping that suits your climate.
Tools:
- Tape Measure: Accurate measurements are crucial, so have a tape measure on hand.
- Saw: Depending on the materials you’ve chosen for your door, you may need a circular saw or a miter saw to cut the panels to the desired size.
- Drill: A drill will be necessary for drilling pilot holes and attaching hardware.
- Screwdriver: Have both a flathead and a Phillips screwdriver for various tasks.
- Pliers: Pliers will assist in handling cables and springs.
- Level: Use a level to ensure that your door is plumb and level during the installation process.
- Safety Gear: Always prioritize safety and wear protective gear such as goggles, gloves, and ear protection.
Make sure to gather all the necessary materials and tools before you begin the construction process. It’s also a good idea to read through the manufacturer’s instructions for any specific requirements or recommendations.
With your materials and tools in hand, you’re ready to move on to the next step: measuring and cutting the panels for your garage door.
Read more: How To Make Garage Door Rust
Step 3: Measure and Cut the Panels
Now that you have gathered all the necessary materials and tools, it’s time to measure and cut the panels for your garage door. This step will ensure that the door fits perfectly into the opening and functions smoothly. Here’s how to proceed:
- Measurements: Take accurate measurements of the width and height of your garage opening. Consider any adjustments needed for the tracks and hardware. Double-check your measurements to ensure accuracy.
- Panel Design: Determine the desired panel design for your garage door. Mark the dimensions and layout of each panel on the chosen material. Ensure that the panel dimensions fit within the overall measurements of the door.
- Cutting: Use a circular saw or a miter saw to cut the panels according to your marked measurements. Take your time to ensure clean and precise cuts. Follow all safety precautions when using power tools, such as wearing protective gear and securing the panels properly.
- Smooth Edges: After cutting the panels, use sandpaper or a router to smooth out any rough edges. This will give the panels a professional and finished look.
- Holes and Openings: If your door design includes windows or openings for decorative purposes, mark and cut those as well. Use appropriate tools, such as a jigsaw, to create clean and precise openings.
Remember to pay attention to each panel’s design and cutting process, ensuring uniformity and accuracy. Double-check your measurements and consult the manufacturer’s instructions, if available, to ensure that everything aligns properly.
Once you have successfully measured and cut the panels, you’re ready to move on to the next step: assembling the door sections. Stay tuned!
Step 4: Assemble the Door Sections
With the panels cut to the correct size, it’s time to assemble the door sections. This step involves joining the individual panels together to create a cohesive and functional garage door. Follow these instructions to ensure a smooth assembly process:
- Layout: Lay out all the panels in the correct order, according to your panel design. This will help you ensure that the panels align properly and that the overall door looks cohesive.
- Attach Hinges: Install hinges on the edges where the panels will join together. Use a drill and screws to secure the hinges in place. Make sure the hinges are properly aligned to allow for smooth movement between panels.
- Connect the Panels: Lift the first panel and connect it to the next panel using the hinges. Secure the hinges tightly. Repeat this process for all the remaining panels until the entire door is assembled.
- Test the Movement: After connecting all the panels, test the movement of the door. Open and close it to ensure that the panels move smoothly and without any obstructions. If there are any issues, adjust the hinges or panels as needed.
- Reinforcement: Depending on the material and design of your door, you may need to reinforce it for added stability and strength. This can involve adding additional supports or braces behind the panels.
During the assembly process, it’s important to pay attention to the alignment of the panels and ensure that they fit together seamlessly. Take your time to make any necessary adjustments and double-check that all hinges and connections are secure.
Once you have successfully assembled the door sections, it’s time to move on to the next step: installing hinges and hardware. This step will bring your garage door one step closer to completion. Stay with us!
Step 5: Install Hinges and Hardware
After assembling the door sections, the next step in building your garage door is to install the hinges and hardware. This essential step will allow your door to operate smoothly and securely. Here’s how to proceed:
- Positioning: Start by positioning the door in the desired location within the opening. Ensure that it is centered and level. Use blocks or shims to hold it in place temporarily.
- Attach Hinges: Begin by attaching the hinges to the door frame using screws or bolts. Depending on the size and weight of your door, you may need multiple hinges per panel for added stability. Make sure to align the hinges properly, allowing the door to operate smoothly.
- Install Track System: Attach the vertical and horizontal tracks to the door frame using screws or brackets. Ensure that the tracks are level, plumb, and firmly secured. These tracks will guide the door as it opens and closes.
- Attach Rollers: Install the rollers onto each panel of the door. These rollers will allow the door to move smoothly along the tracks. Make sure the rollers are securely attached and can rotate freely.
- Install Bottom Seal: Attach a bottom seal to the bottom edge of the door to prevent drafts, debris, and water from entering the garage. This will help in maintaining the temperature and cleanliness of the space.
During the installation process, ensure that all hinges, tracks, and rollers are properly aligned and securely fastened. This will ensure the smooth operation and longevity of your garage door.
Take the time to double-check all the hardware and connections before moving on to the next step. Any loose or improperly installed parts can compromise the functionality and safety of the door.
With the hinges and hardware in place, it’s time to install the rollers and tracks. This step will bring your garage door closer to its final form. Stay tuned for the next step!
Step 6: Attach Rollers and Tracks
Now that the hinges and hardware are installed, it’s time to move on to the next step: attaching the rollers and tracks to your garage door. This step is crucial for ensuring smooth and efficient movement of the door. Follow these steps to properly attach the rollers and tracks:
- Install Vertical Tracks: Start by installing the vertical tracks on either side of the door opening. Secure the tracks to the wall using brackets and screws. Ensure that the tracks are plumb and aligned properly.
- Attach Rollers to the Panels: Attach the rollers to each panel of the garage door. Use the provided hardware, usually screws or bolts, to secure the rollers to the designated holes or brackets on the panels. Make sure the rollers are aligned with the tracks for smooth movement.
- Hang the Door: Lift the garage door and insert each roller into the corresponding track. Make sure the rollers fit securely and move freely along the track without any obstructions. Repeat this process for each panel of the door.
- Test the Movement: With the door hung on the tracks, test its movement. Open and close the door to ensure that it operates smoothly and without any binding or jamming. If there are any issues, check the alignment of the tracks and make any necessary adjustments.
- Secure the Tracks: Once the door is moving smoothly, secure the tracks to the wall using additional screws or bolts. Make sure the tracks are firmly attached and do not wobble or shift during operation.
During the installation process, ensure that the rollers are properly seated in the tracks and that they can move freely without any resistance. Any misalignment or friction can hinder the smooth operation of the door.
Take the time to inspect and test the movement of the door after attaching the rollers and tracks. This will help identify any potential issues and allow you to address them before proceeding to the next step.
With the rollers and tracks securely in place, your garage door is starting to take shape. The next step will cover the installation of springs and cables. Join us as we continue building your custom garage door!
When installing a garage door, make sure to carefully follow the manufacturer’s instructions and use the proper tools to ensure a safe and secure installation.
Read more: Who Makes The Best Garage Door
Step 7: Install Springs and Cables
As we move forward in the garage door building process, it’s time to focus on installing the essential components that ensure smooth and controlled movement: the springs and cables. These components work together to counterbalance the weight of the door and facilitate easy opening and closing. Here’s how to proceed:
- Safety First: Before proceeding with the installation, it’s crucial to emphasize safety. Garage door springs are under high tension and can cause serious injury if mishandled. Make sure to wear safety goggles and gloves, and exercise caution throughout this step.
- Identify the Springs: There are two types of springs commonly used in garage doors: extension springs and torsion springs. Extension springs are attached to the sides of the door and stretch as the door opens, while torsion springs are installed on a metal shaft above the door and twist to provide lifting force.
- Extension Springs: If you have extension springs, carefully install them on the sides of the door by attaching them to the mounting brackets. Use safety cables to prevent the springs from becoming projectiles in case of breakage.
- Torsion Springs: For torsion springs, secure the torsion tube above the door and insert the springs onto the tube. Ensure appropriate winding and tension adjustment according to the weight of the door. It’s advisable to seek professional assistance for torsion spring installation due to the high risk involved.
- Install Cables: Attach the lifting cables to the bottom brackets and run them through the pulleys. Make sure the cables are properly tensioned and not twisted or frayed. Attach the other end of the cables to the springs or designated attachment points.
- Test and Adjust: Once the springs and cables are installed, carefully test the door’s operation by manually opening and closing it. Ensure that the springs and cables work together to smoothly counterbalance the weight of the door. Make any necessary adjustments to the tension or cable lengths for optimal functionality.
Remember, installing springs and cables can be complex and potentially dangerous. If you’re unsure or uncomfortable with the process, it’s best to consult a professional garage door installer who has experience handling these components.
With the springs and cables properly installed, your garage door is almost complete. In the next step, we’ll cover the process of hanging the door. Keep following along to bring your custom garage door to fruition!
Step 8: Hang the Garage Door
Now that the essential components like springs and cables are in place, it’s time to move on to the exciting step of hanging your garage door. Hanging the door involves attaching it to the track system and ensuring it is aligned and balanced for smooth operation. Follow these steps to properly hang your garage door:
- Clear the Area: Remove any obstacles or debris from the garage floor and surrounding areas. This will ensure a safe and unobstructed installation process.
- Raise the Door: With the help of a friend or a garage door opener, lift the door and align the rollers with the track system. Slowly raise the door until it is fully open and secure it in place with clamps or locking mechanisms to prevent it from accidentally closing.
- Track Alignment: Check that the horizontal tracks are properly aligned and level. Adjust as necessary by tightening or loosening the mounting brackets. It’s essential to ensure that the tracks are straight and parallel for smooth door movement.
- Attach the Door: Once the tracks are aligned, lower the door onto the tracks by releasing the clamps or locking mechanisms. Make sure the rollers are properly seated in the tracks and move freely without any binding or resistance.
- Test the Movement: Carefully test the door’s movement by manually opening and closing it. Ensure that it moves effortlessly along the tracks without any issues. If there are any problems, address them by adjusting the track alignment or roller positioning.
- Secure the Door: Once you’re satisfied with the door’s movement, secure it to the track system by tightening the mounting brackets and fasteners. Ensure that the door is stable and properly attached to prevent any accidents or shifting during operation.
During the hanging process, it’s crucial to have a friend or a professional assist you to avoid any accidents or injuries. Working with a heavy garage door requires caution and proper lifting techniques.
With the garage door successfully hung, you’re now ready to move on to the final step: the installation of the opener. Stay tuned as we wrap up the process and bring your custom garage door project to completion!
Step 9: Install the Opener
Installing a garage door opener adds convenience and automation to your garage door system. It allows you to effortlessly open and close the door with just a push of a button. Follow these steps to properly install the opener:
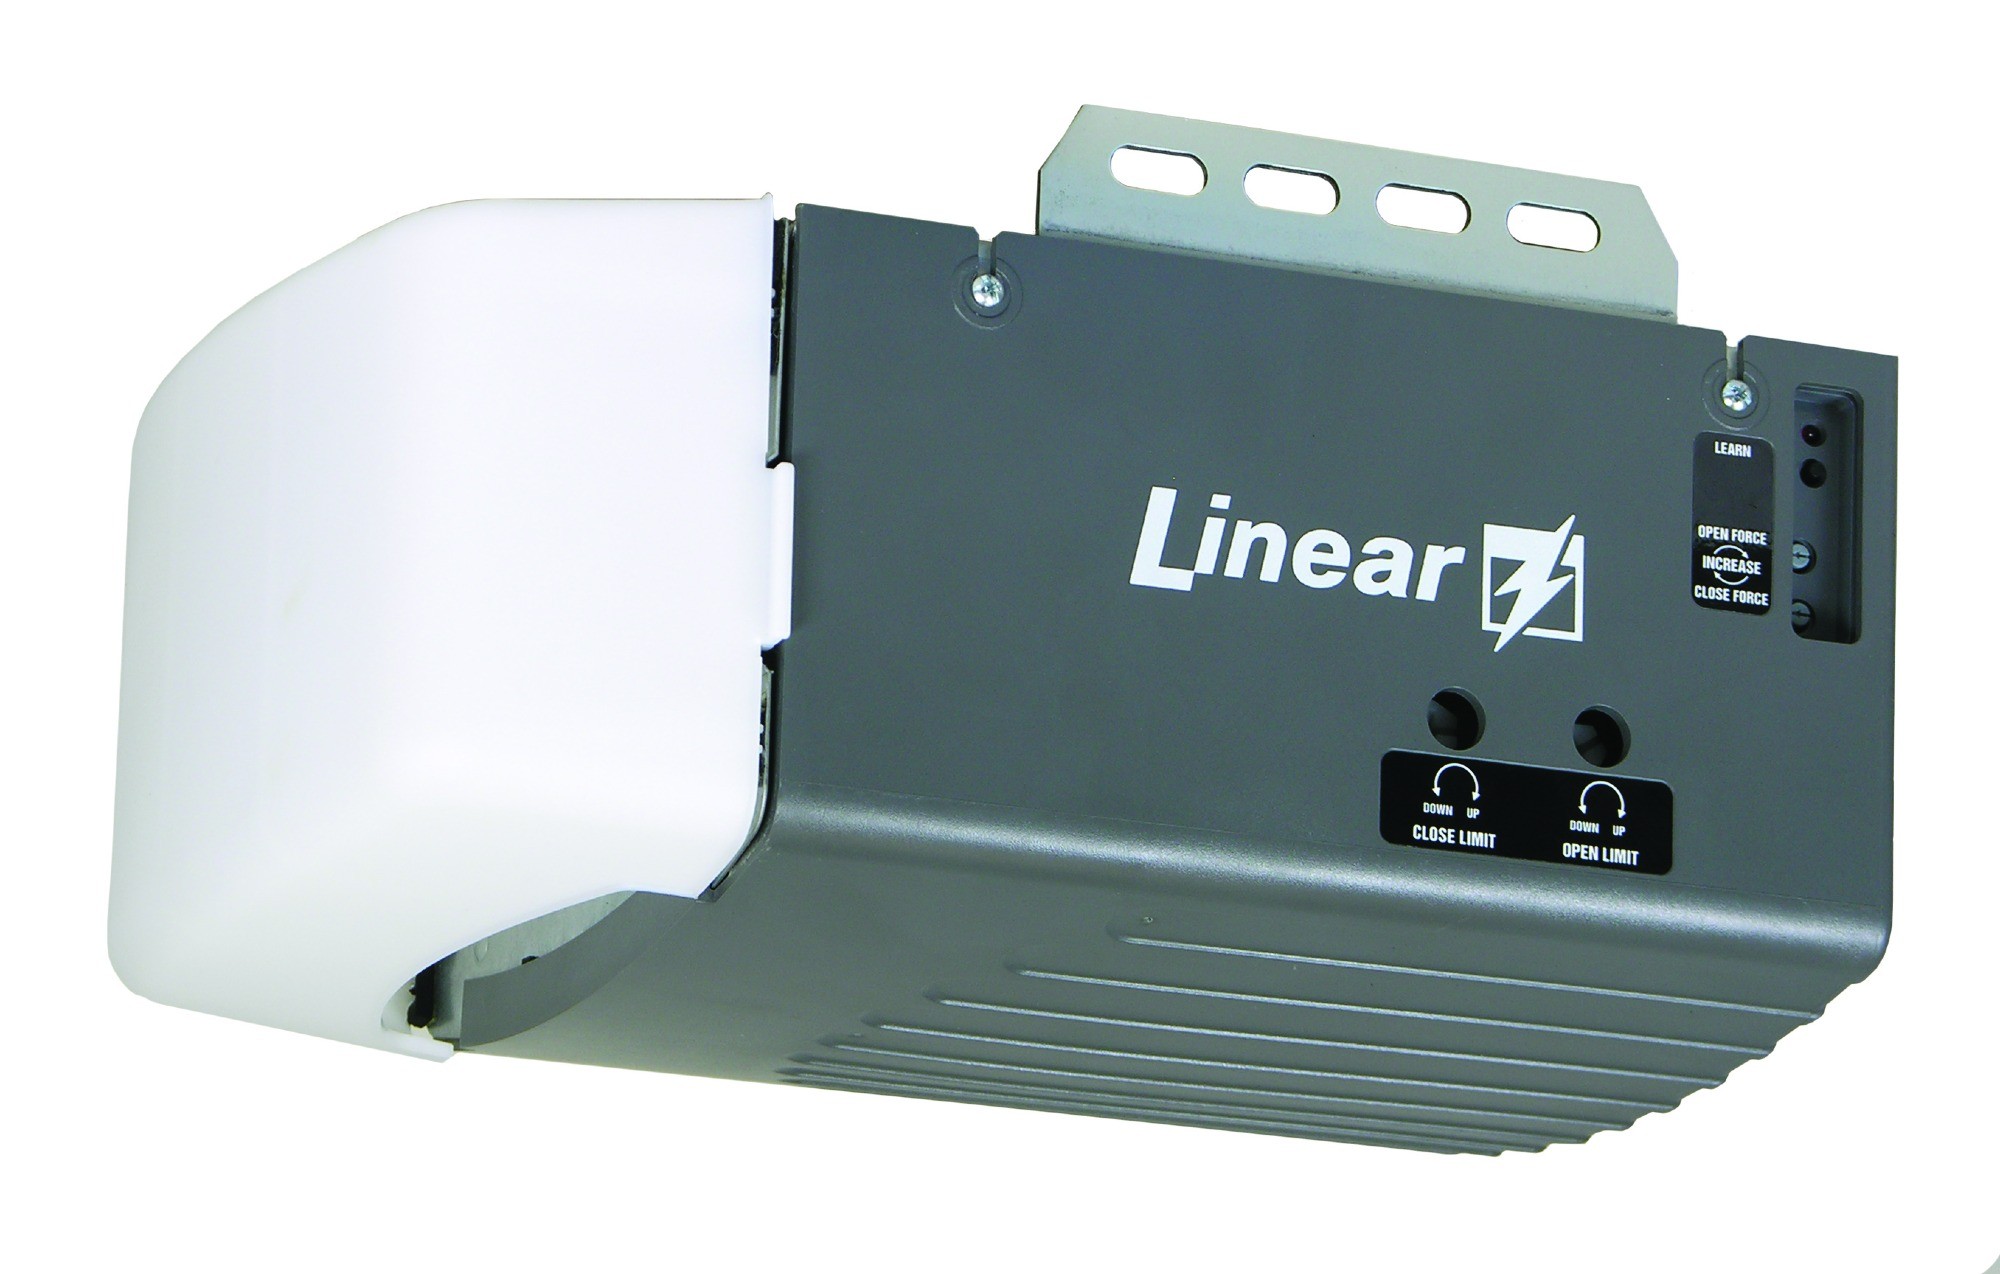
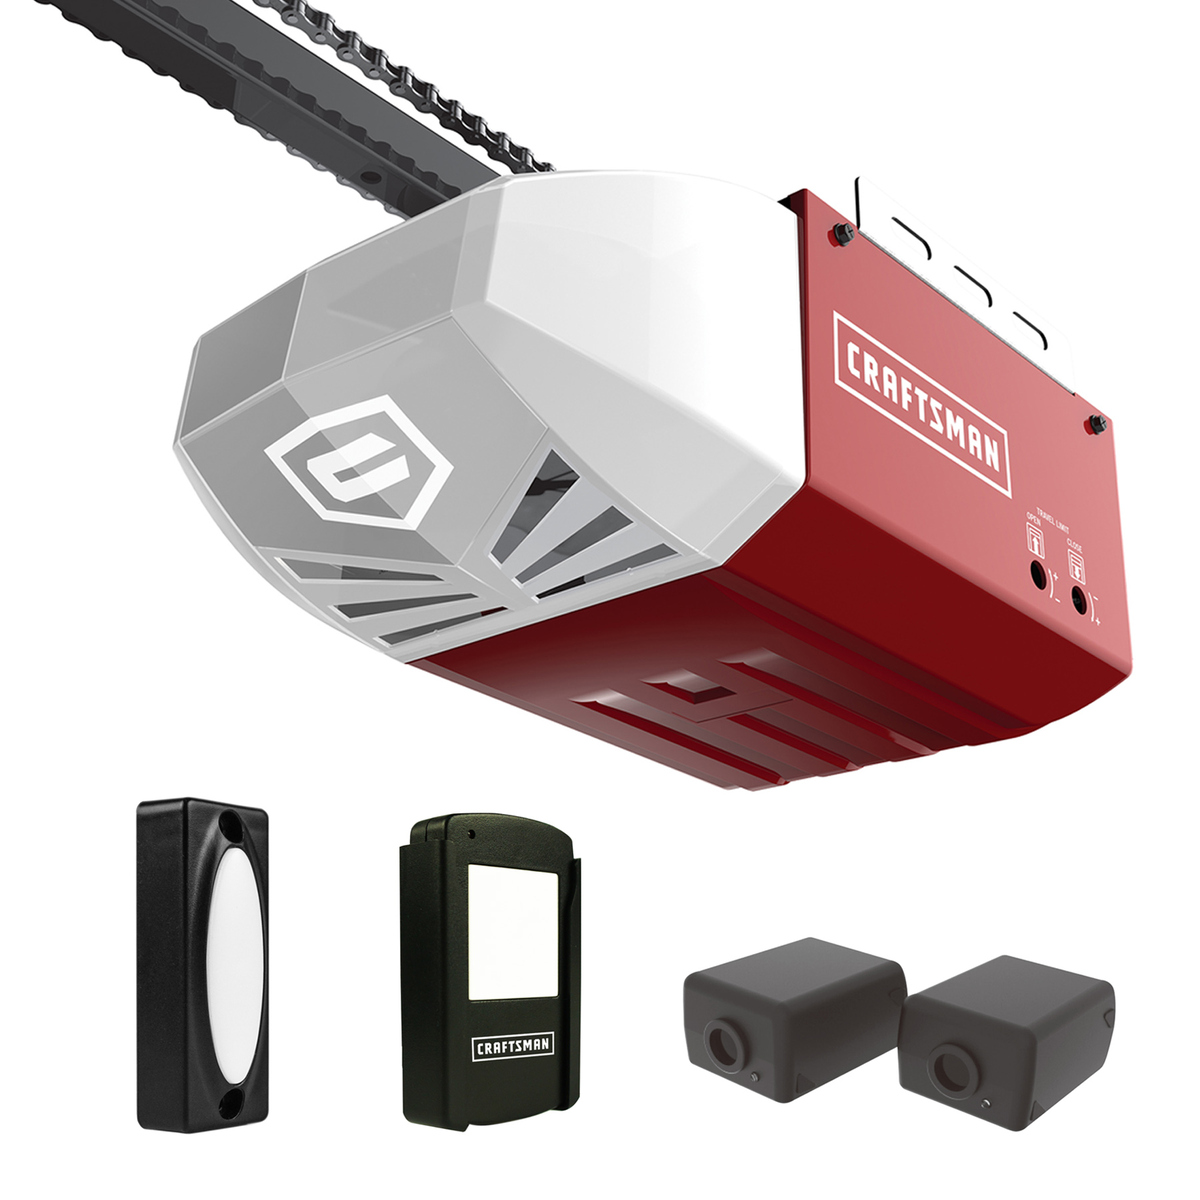
- Select the Right Opener: Choose a garage door opener that is suitable for the weight and size of your door. Consider factors such as horsepower, drive type (chain, belt, or screw), and additional features like battery backup and smart connectivity.
- Prepare the Opener: Read the manufacturer’s instructions thoroughly before beginning the installation process. Assemble the opener according to the provided guidelines, ensuring all components are securely attached and connected.
- Mount the Opener: Install the opener unit on the ceiling or wall of the garage, following the manufacturer’s instructions. Ensure that it is securely fastened and level.
- Attach the Rail: Connect the rail or drive system to the opener unit. The rail will guide the movement of the garage door opener’s lifting mechanism. Ensure it is properly aligned and secured.
- Install the Safety Sensors: Attach the safety sensors to the sides of the garage door, near the floor. These sensors detect objects in the door’s path and prevent it from closing if something is obstructing the way.
- Connect the Control Panel: Mount the control panel inside the garage at a convenient location. Connect it to the opener unit, following the provided wiring instructions.
- Program and Test: Program the opener according to the manufacturer’s instructions, including any remote controls or wireless keypad entry systems. Test the opener to ensure it operates smoothly and responds to the controls correctly.
- Adjust Settings: Adjust the opener’s settings, such as the force and travel limits, to ensure safe and efficient operation. Follow the manufacturer’s guidelines to make any necessary adjustments.
- Secure the Opener: Once everything is installed and tested, ensure that all components, including the opener, rail, and safety sensors, are securely fastened. Double-check all connections and mounting hardware for stability.
Always adhere to the manufacturer’s instructions and safety guidelines when installing a garage door opener. If you’re unsure of any step or encounter any difficulties, it’s recommended to seek professional assistance to ensure proper installation and avoid any potential issues.
With the opener successfully installed, you’re ready for the final step: testing and adjusting the door. Let’s proceed and wrap up the process of building your custom garage door!
Step 10: Test and Adjust the Door
The final step in building your custom garage door is to test and adjust its operation to ensure smooth and efficient performance. This step allows you to fine-tune the door’s balance, safety features, and overall functionality. Here’s how to properly test and adjust your garage door:
- Test the Door’s Balance: Disconnect the opener and manually lift the door to about waist height. Release the door, and it should stay in place. If the door moves up or down, it may be unbalanced, indicating the need for adjustment. Consult the manufacturer’s instructions or seek professional assistance to properly balance the door.
- Operate the Door with the Opener: Reconnect the opener and test the door’s operation. Use both the wall control panel and any remote controls to open and close the door. Ensure that the opener’s motor runs smoothly and the door responds correctly to commands.
- Check Safety Features: Verify that the safety features, such as the auto-reverse function and the safety sensors, are working correctly. Place an object obstructing the door’s path and attempt to close it. The door should automatically reverse to prevent accidents.
- Inspect Hardware and Connections: Carefully inspect all hardware, including hinges, rollers, cables, and springs, for any signs of wear, damage, or loosening. Tighten any loose connections and replace any damaged parts as needed.
- Test the Weatherstripping: Close the door and inspect the weatherstripping along the edges. It should create a tight seal, preventing drafts, water, and debris from entering the garage. Replace any worn or damaged weatherstripping to maintain optimal insulation.
- Listen for Noise or Obstructions: Pay attention to any unusual noises or obstructions during the door’s operation. Grinding sounds, excessive vibration, or jerky movements may indicate underlying issues that require further inspection or adjustment.
Regularly perform these tests and inspections to ensure the ongoing functionality and safety of your garage door. Address any issues promptly to prevent further damage and maintain optimal performance.
By following these ten steps, you have successfully built and installed your custom garage door. Enjoy the convenience, security, and stylish enhancement it brings to your home!
Remember, if you encounter any difficulties or are unsure about any steps, it’s always advisable to consult professionals experienced in garage door installation and maintenance.
Conclusion
Congratulations! You have successfully completed the process of building your custom garage door. By following the ten steps outlined in this guide, you have transformed a vision into a tangible and functional garage door that enhances both the aesthetics and functionality of your home.
Throughout this journey, you’ve learned how to determine the appropriate size and style of your garage door, choose the right materials and tools, measure and cut the panels, assemble the door sections, install hinges and hardware, attach rollers and tracks, install springs and cables, hang the door, and finally, install the opener. Each step has contributed to the creation of a garage door that reflects your personal style and meets your specific needs.
It’s important to note that safety should always remain a top priority. Always use the necessary protective gear when handling tools and working with heavy materials. Additionally, consult professional guidance or seek assistance whenever needed, especially when dealing with components like springs and opener installation.
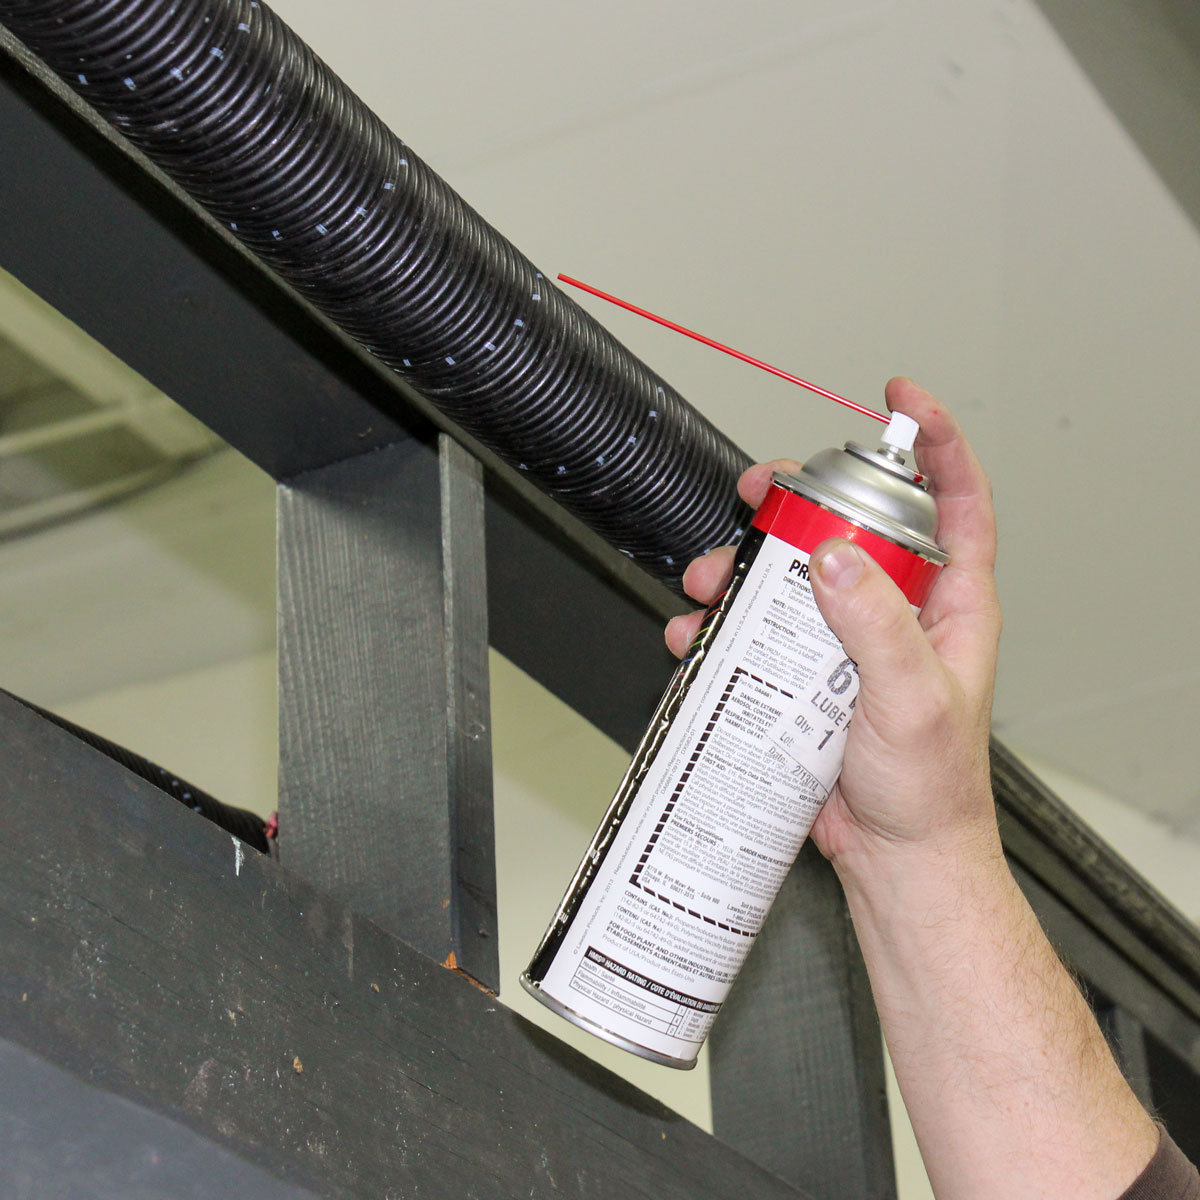
Once your garage door is fully installed, it’s essential to regularly maintain and inspect it to ensure its longevity and trouble-free operation. Perform routine inspections, lubricate moving parts, and address any issues promptly to prevent further damage and ensure the door continues to operate smoothly.
Thank you for joining us on this comprehensive and engaging journey of building a garage door. We hope this guide has empowered you with the knowledge and skills to create a customized garage door that adds value and convenience to your home. Enjoy the benefits of your unique and functional garage door for years to come!
Frequently Asked Questions about How To Make A Garage Door
Was this page helpful?
At Storables.com, we guarantee accurate and reliable information. Our content, validated by Expert Board Contributors, is crafted following stringent Editorial Policies. We're committed to providing you with well-researched, expert-backed insights for all your informational needs.


0 thoughts on “How To Make A Garage Door”