Articles
How To Mount A Smoke Detector
Modified: October 20, 2024
Learn how to mount a smoke detector with this informative article. Get step-by-step instructions and ensure the safety of your home.
(Many of the links in this article redirect to a specific reviewed product. Your purchase of these products through affiliate links helps to generate commission for Storables.com, at no extra cost. Learn more)
Introduction
Welcome to our comprehensive guide on how to properly mount a smoke detector. Smoke detectors are essential devices for ensuring the safety of your home or office. They provide early warning of smoke and potential fire hazards, allowing you to take the necessary precautions and protect yourself and your loved ones.
Properly mounting a smoke detector is crucial for its effectiveness. It ensures that the detector is in the optimal position to detect smoke and trigger the alarm when necessary. In this article, we will walk you through the step-by-step process of mounting a smoke detector, from choosing the ideal location to securing it in place.
Before we begin, it’s important to note that this guide is intended for battery-powered smoke detectors. If you have a hardwired smoke detector or a different type of detection system, it is recommended to consult the manufacturer’s instructions or seek professional assistance.
Now, let’s dive into the steps required to mount a smoke detector properly, so you can have peace of mind knowing that your home or office is protected against potential fire hazards.
Key Takeaways:
- Properly mounting a smoke detector involves choosing the ideal location, gathering the necessary tools, and testing its functionality. Regular maintenance ensures it provides early warning in case of a fire.
- Mounting a smoke detector is a critical task for home and office safety. Following the step-by-step process and conducting regular tests and maintenance ensures its effectiveness in providing early warnings.
Read more: How To Remove A Smoke Detector
Step 1: Choose the Ideal Location
Choosing the ideal location for your smoke detector is crucial for its effectiveness. The goal is to place the detector in an area where it can quickly detect smoke and provide early warning in the event of a fire. Here are some important factors to consider when selecting the location:
- Place the smoke detector on the ceiling or high on the wall, as smoke rises and tends to accumulate near the ceiling.
- Avoid placing the detector near windows, vents, or doors, as drafts can interfere with its performance and accuracy.
- Ensure that the detector is installed in every level of your home or office, as well as in each sleeping area and outside every bedroom. This ensures maximum coverage and early detection.
- Avoid placing the detector in areas prone to false alarms, such as the kitchen or bathroom, where steam or cooking fumes may trigger the alarm unnecessarily.
- Consider installing interconnected smoke detectors if possible. This means that when one detector detects smoke or triggers an alarm, all the interconnected detectors will also sound, providing an enhanced level of safety.
By carefully selecting the ideal location, you can optimize the performance of your smoke detector and ensure that it provides accurate and timely warnings in the event of a fire.
Step 2: Gather the Necessary Tools and Equipment
Before you begin mounting your smoke detector, it’s important to gather all the necessary tools and equipment. Having everything prepared beforehand will make the installation process smoother and more efficient. Here are some key tools and equipment you’ll need:
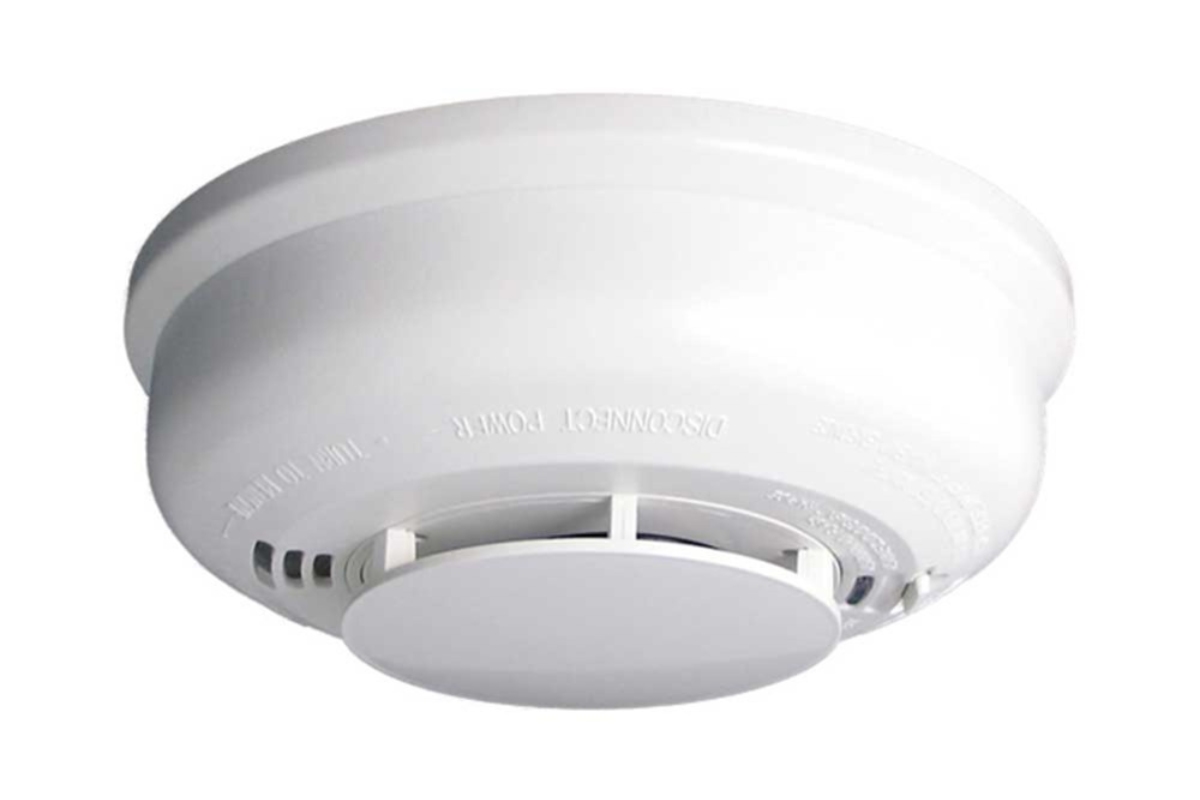
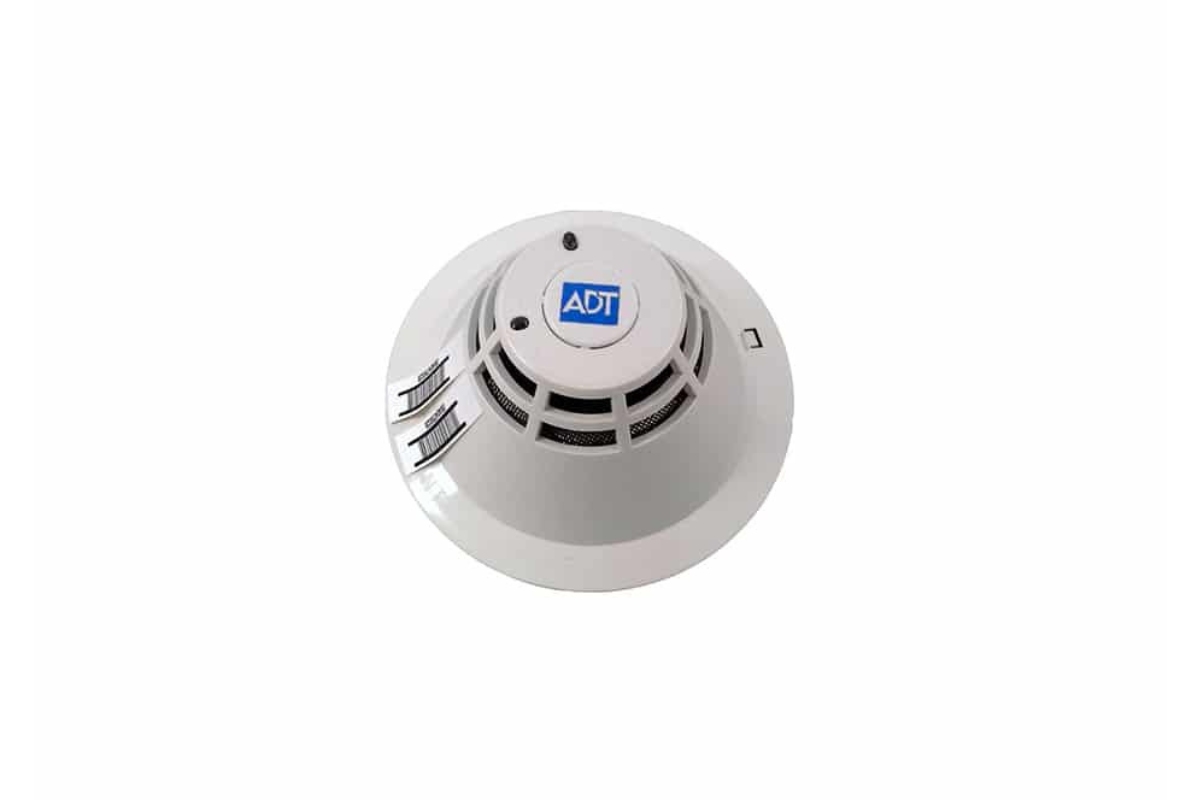
- Smoke detector: Make sure you have the appropriate smoke detector for your needs. There are different types available, such as ionization smoke detectors and photoelectric smoke detectors. Refer to the manufacturer’s instructions to select the right one for your home or office.
- Batteries: If your smoke detector is battery-powered, ensure you have the right batteries for it. It’s a good practice to use long-lasting batteries to minimize the need for frequent replacements.
- Mounting bracket: Most smoke detectors come with a mounting bracket that allows you to attach the detector securely to the ceiling or wall. Ensure that you have the correct mounting bracket for your specific model.
- Screws and anchors: Depending on the type of mounting surface (e.g., drywall, concrete, etc.), you may need screws and anchors to secure the mounting bracket in place.
- Power drill or screwdriver: These tools are necessary for drilling holes, driving screws, and securing the mounting bracket to the wall or ceiling. Ensure you have the appropriate drill bits and screwdriver attachments.
- Stud finder (optional): If you’re mounting the detector on a wall instead of the ceiling, a stud finder can help locate the studs behind the wall for a stronger and more secure installation.
- Ladder or step stool: Depending on the height of the ceiling, you may need a ladder or step stool to reach the installation area safely.
By gathering all the necessary tools and equipment ahead of time, you’ll have everything you need at your fingertips and minimize any disruptions during the installation process.
Step 3: Prepare the Mounting Surface
Before you begin installing the smoke detector, it’s important to prepare the mounting surface to ensure a secure and stable installation. Here are the steps to prepare the mounting surface:
- Clear the area: Remove any objects or debris from the installation area to provide a clear and accessible workspace.
- Turn off power: If you’re installing a hardwired smoke detector, make sure to turn off the power at the circuit breaker to avoid any potential electrical hazards.
- Locate the studs (if applicable): If you plan to mount the detector on a wall, use a stud finder to locate the studs behind the wall. Mark the position of the studs with a pencil for reference.
- Mark the installation spot: Use a pencil to mark the desired location where you’ll be installing the smoke detector. This should align with the mounting bracket and be in accordance with the placement guidelines discussed in Step 1.
- Prepare the surface: If you’re installing the smoke detector on a wall, you may need to use a drill to create pilot holes for the screws or anchors. Use a drill bit that is slightly smaller than the size of the screws or anchors.
- Remove excess material: If necessary, remove any excess drywall or debris from the pilot holes to ensure a clean and secure fit for the screws or anchors.
By properly preparing the mounting surface, you ensure that the smoke detector is installed securely and that it will function optimally. Take the time to follow these steps to achieve the best results.
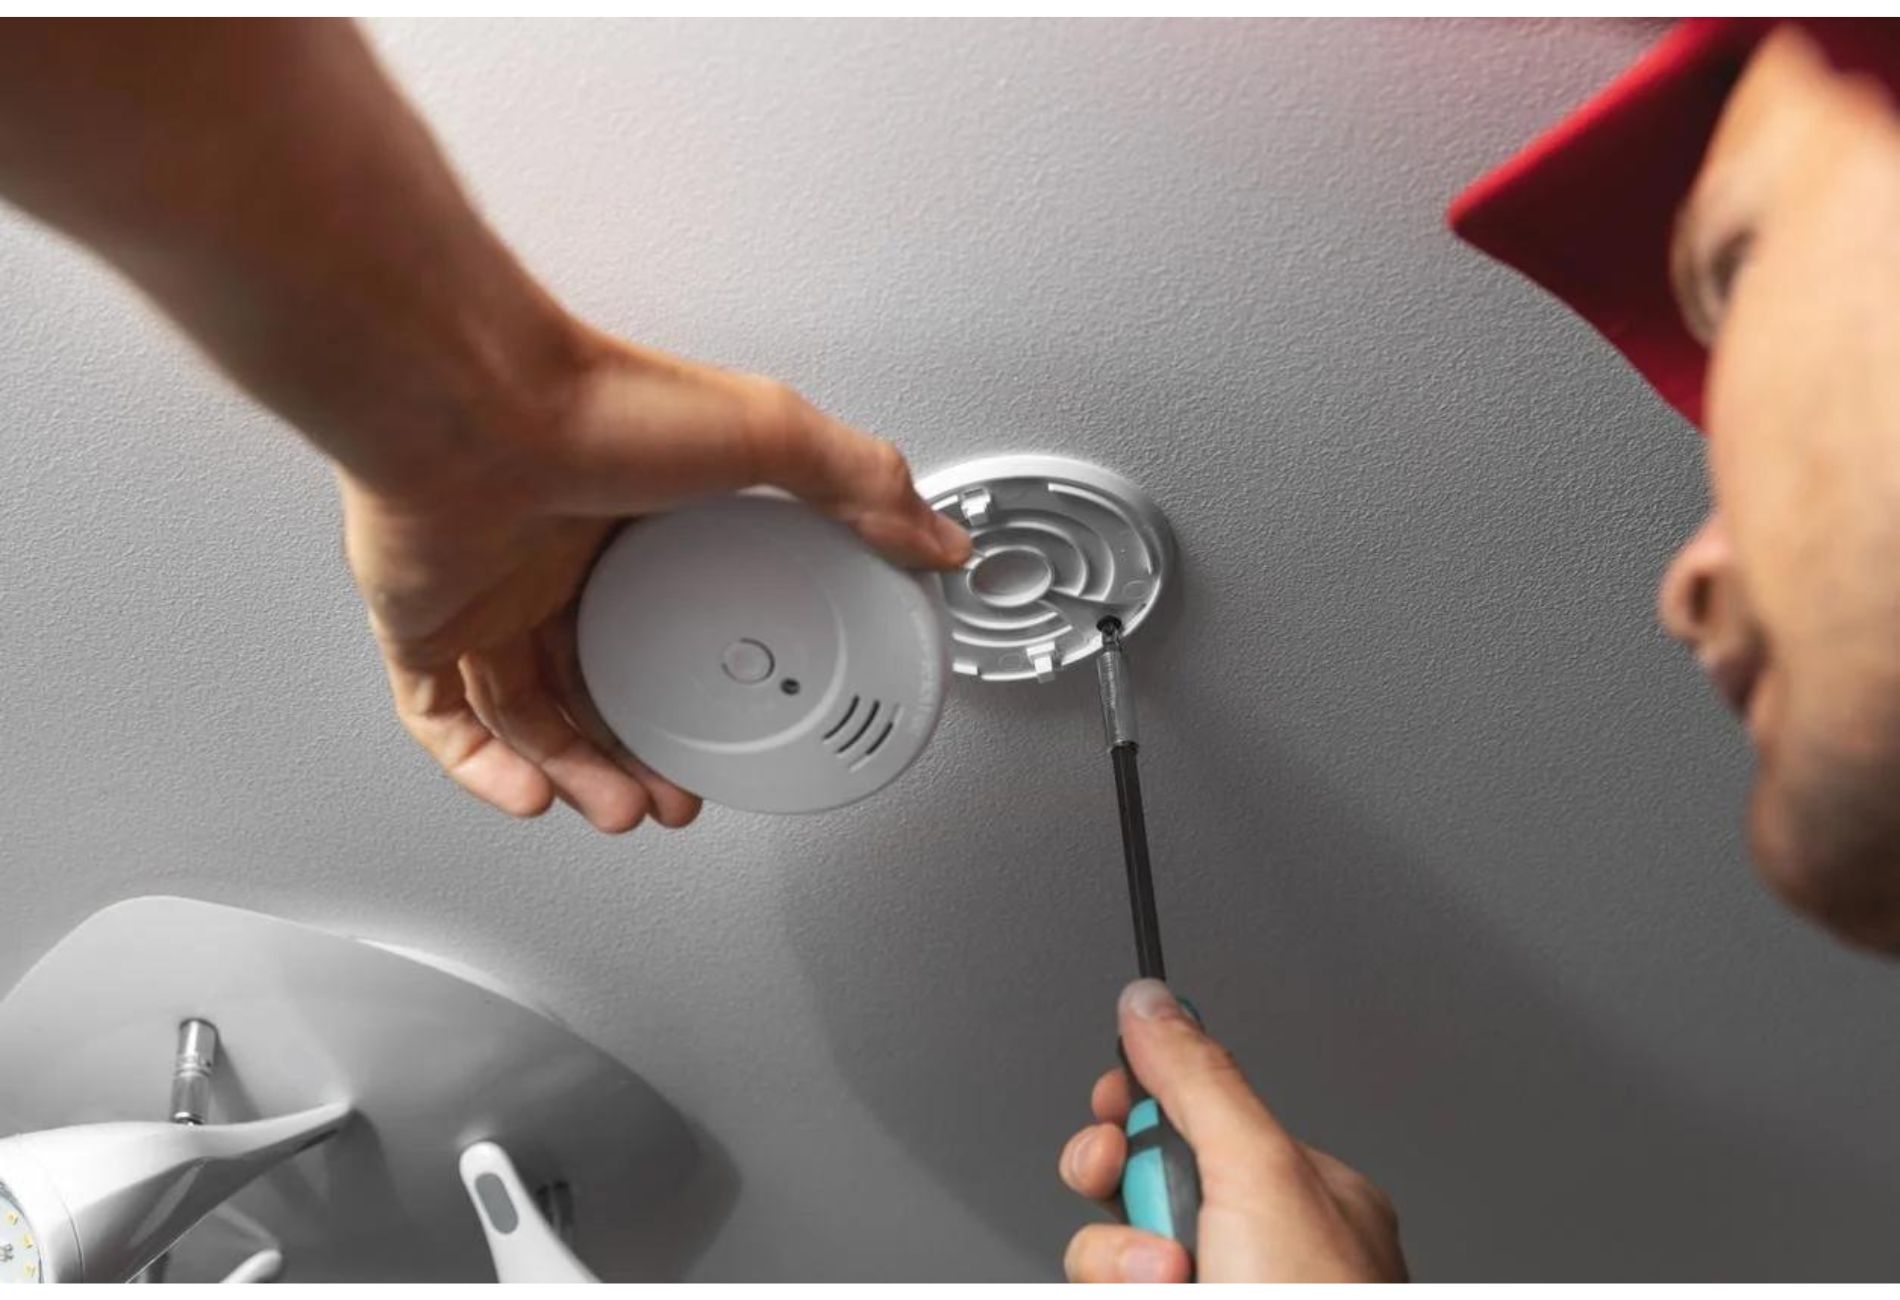
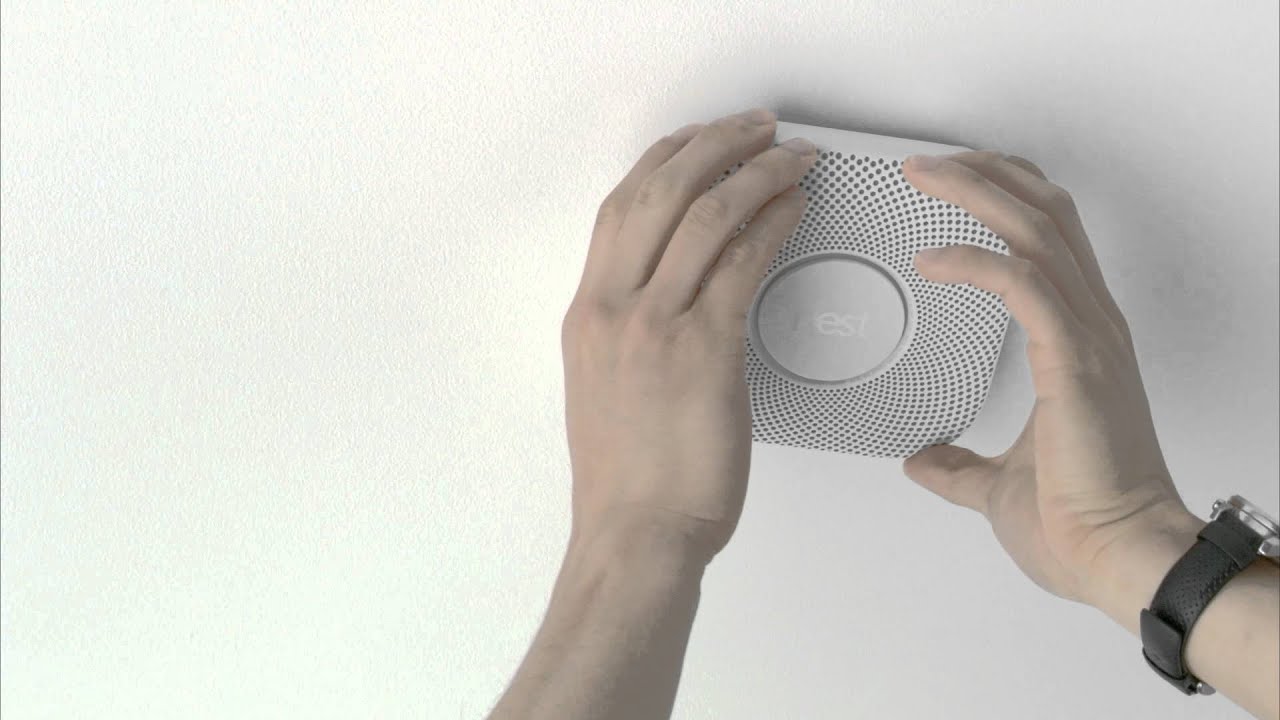
Step 4: Install the Mounting Bracket
Installing the mounting bracket is an essential step in mounting your smoke detector. The mounting bracket provides a stable base for attaching the detector securely to the wall or ceiling. Here’s how to install the mounting bracket:
- Align the bracket: Hold the mounting bracket against the prepared installation spot and ensure it is level. Use a spirit level to achieve a straight and balanced alignment.
- Mark the screw holes: Once the bracket is aligned, use a pencil to mark the positions of the screw holes on the wall or ceiling. These marks will serve as a guide for drilling pilot holes.
- Drill pilot holes: Using a drill and the appropriate drill bit for your mounting surface, carefully drill pilot holes into the marked positions. The pilot holes should be slightly smaller than the screws or anchors you’ll be using.
- Secure the bracket: Attach the mounting bracket to the wall or ceiling by inserting screws or anchors into the pilot holes. Use a screwdriver or drill to tighten them securely. Be careful not to overtighten and damage the mounting surface.
After installing the mounting bracket, give it a gentle tug to ensure it is securely attached. If it feels loose, double-check the positioning and tighten the screws or anchors as needed.
It’s worth noting that some smoke detectors come with a snap-on mounting bracket, which eliminates the need for screws or anchors. In such cases, follow the manufacturer’s instructions to attach the bracket securely.
Once the mounting bracket is installed, you’re ready to move on to the next step in mounting your smoke detector.
When mounting a smoke detector, make sure to place it on the ceiling or high on the wall, away from air vents or drafts. Test it regularly to ensure it’s working properly.
Read more: How To Cover A Smoke Detector
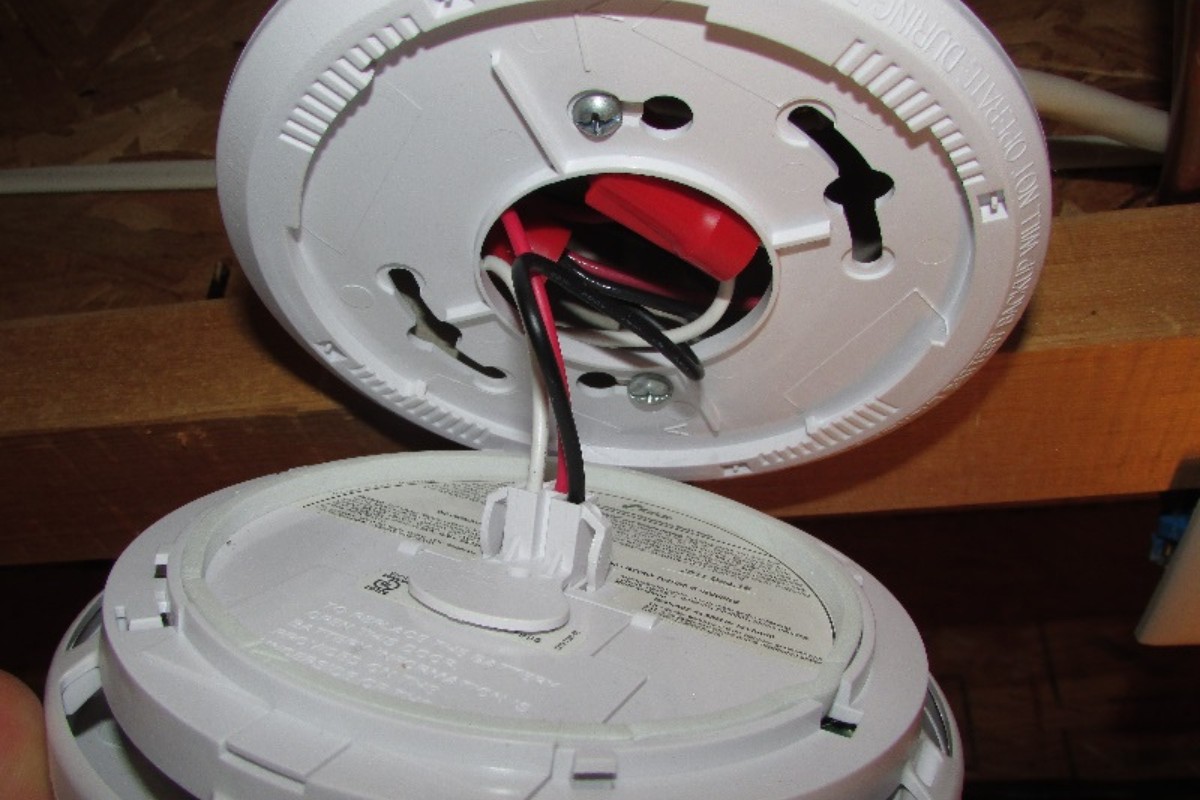
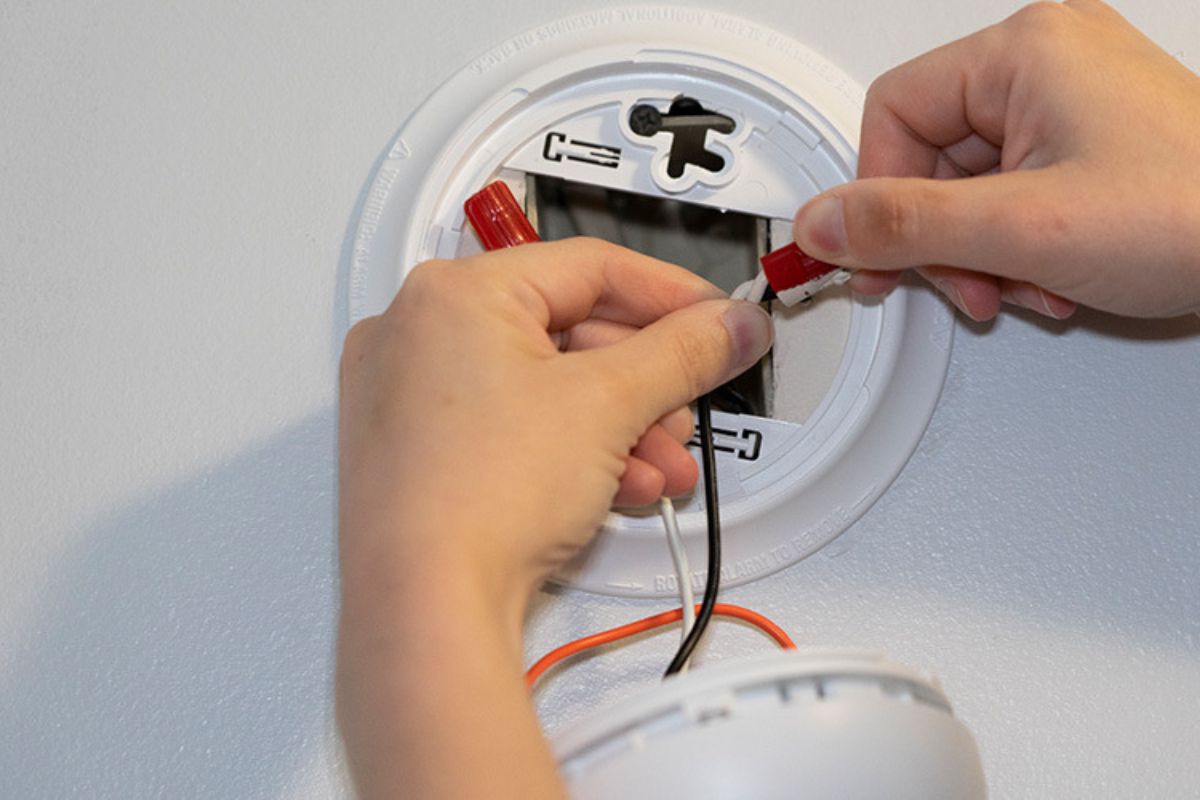
Step 5: Connect the Smoke Detector
With the mounting bracket securely in place, it’s time to connect the smoke detector to the bracket. The process may vary slightly depending on the specific smoke detector model you are installing, but here are the general steps:
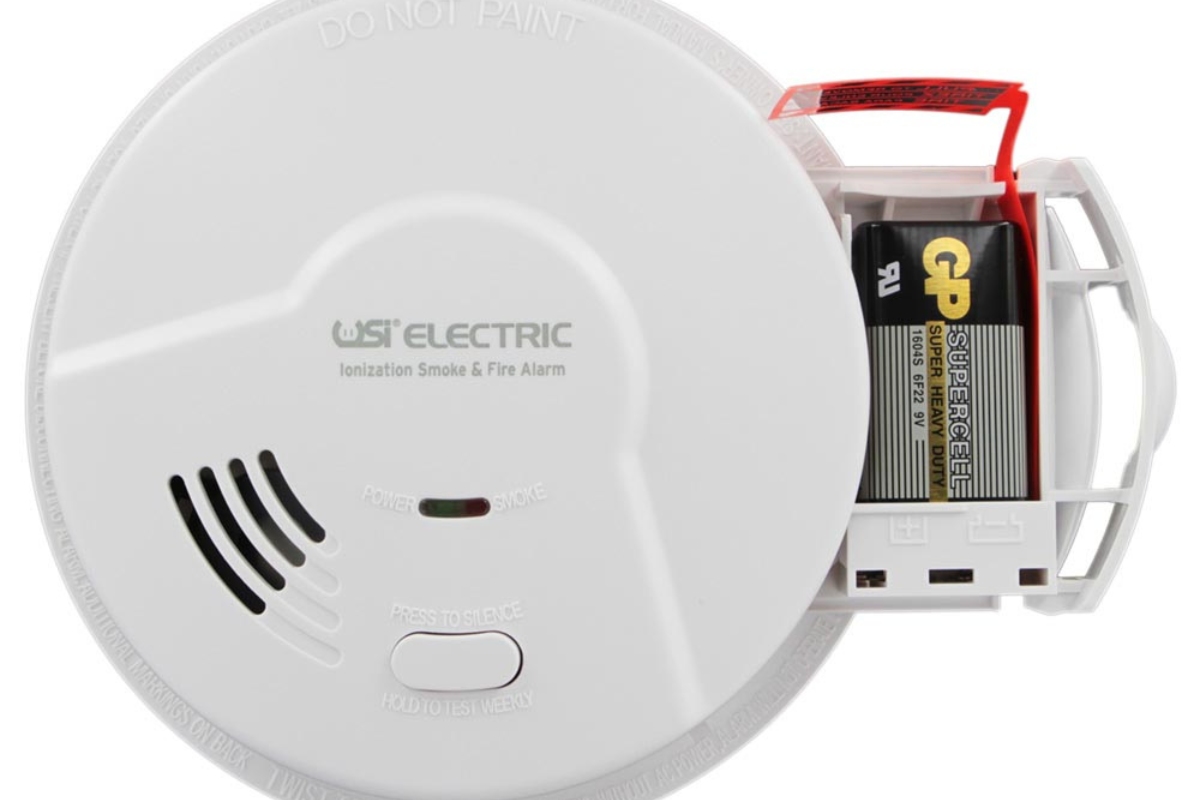
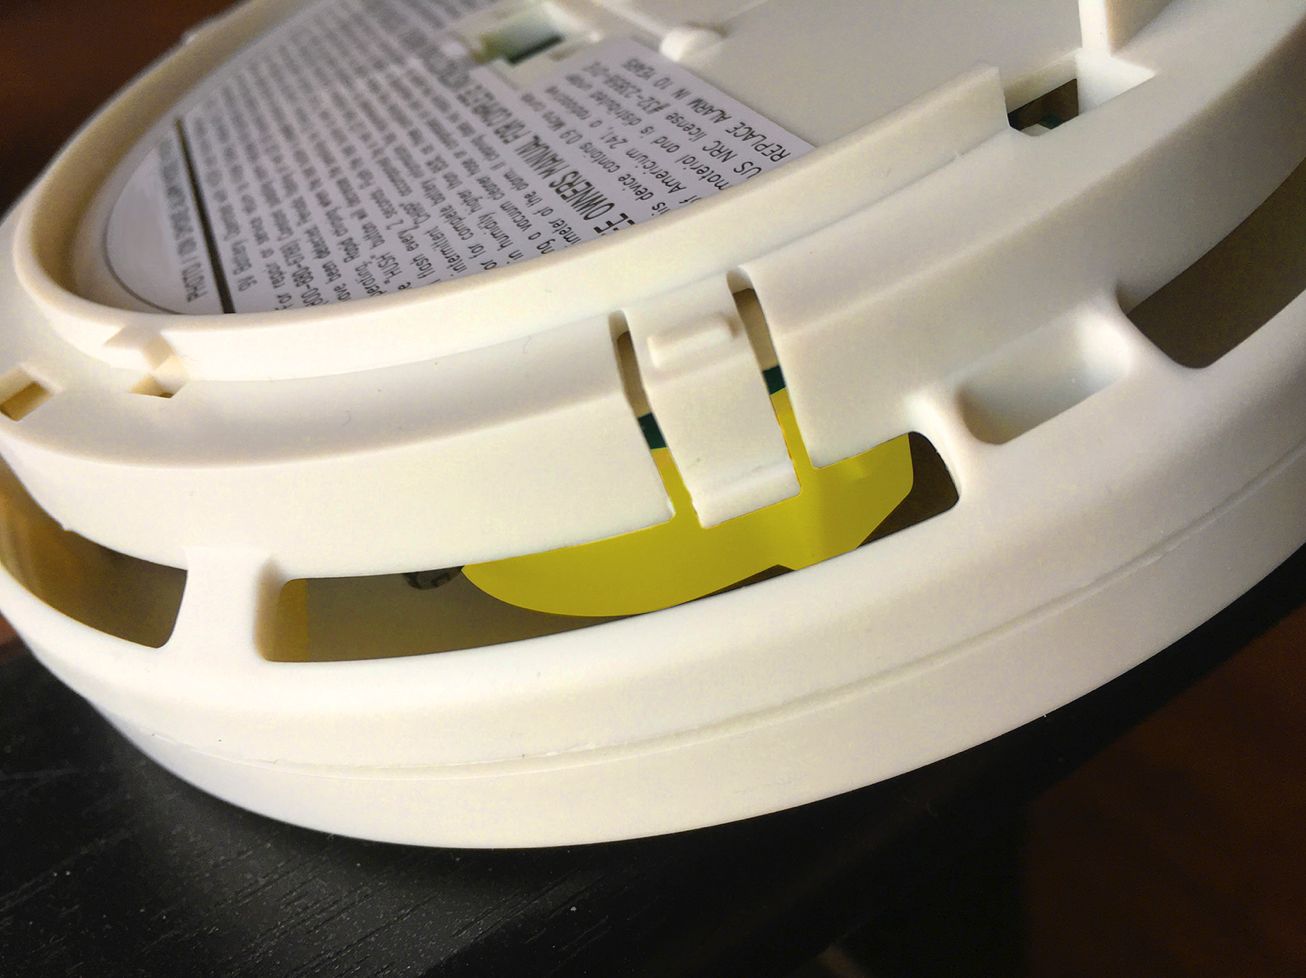
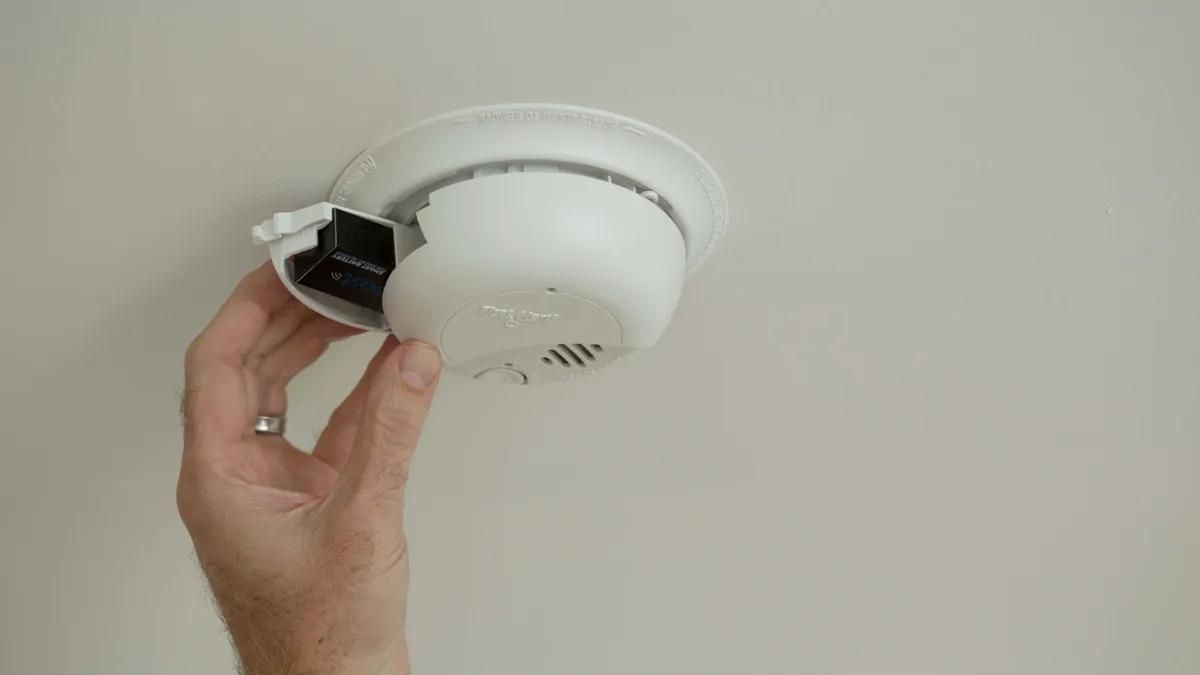
- Remove the battery cover: If your smoke detector is battery-powered, locate the battery cover and remove it. This will give you access to the battery compartment.
- Insert the batteries: Insert the appropriate batteries into the battery compartment, following the correct polarity (+ and -). Make sure the batteries are inserted firmly and securely.
- Attach the smoke detector: Align the smoke detector with the mounting bracket and carefully slide it onto the bracket. You may need to twist or turn the detector slightly to lock it into place.
- Secure the detector (if applicable): Depending on the specific smoke detector model, there may be additional steps to secure the detector to the mounting bracket. This could involve twisting or locking mechanisms. Consult the manufacturer’s instructions for guidance.
- Restore power (if applicable): If you’re installing a hardwired smoke detector, restore power at the circuit breaker to activate the unit. Verify that it is receiving power by checking for any LED indicators or sound signals.
Once the smoke detector is connected to the mounting bracket and powered, it should be ready to function. You can now proceed to the next step to ensure that it is working correctly.
Note: It is recommended to regularly test the smoke detector to ensure proper functionality and replace the batteries according to the manufacturer’s guidelines or when the low battery indicator is activated.
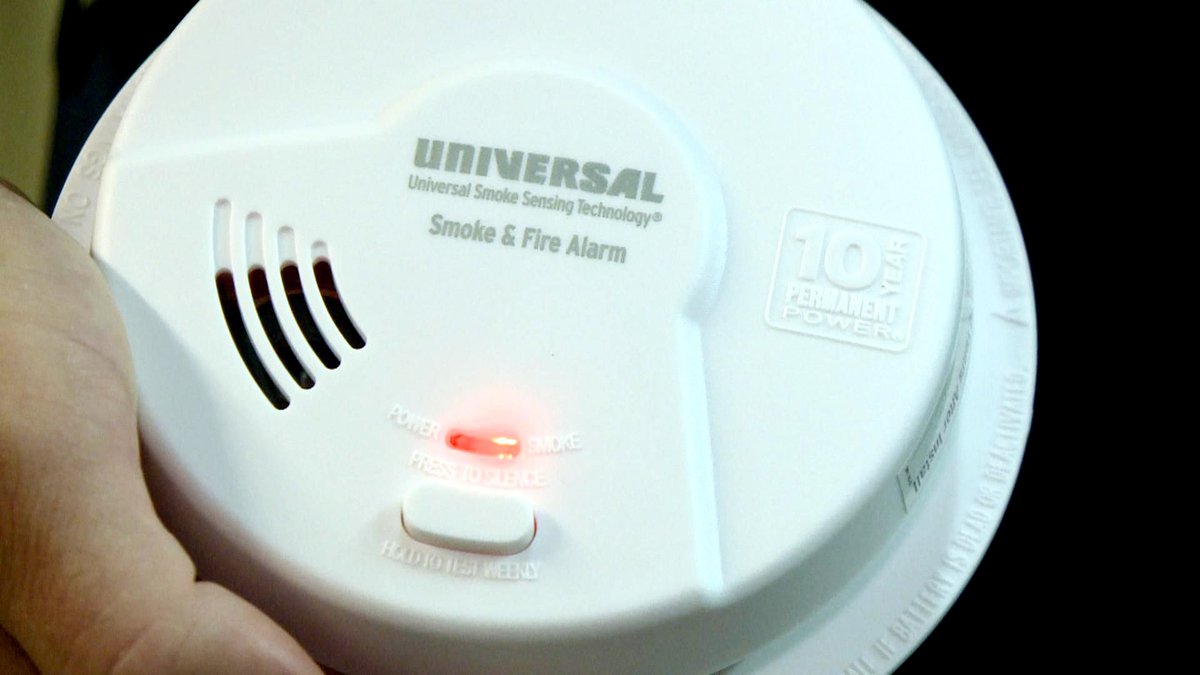
Step 6: Test the Smoke Detector
After connecting the smoke detector, it is crucial to test its functionality to ensure it will provide early warning in case of a fire. Testing the detector should be done regularly to ensure it is working correctly. Here’s how to test the smoke detector:
- Alert others: Inform everyone in your household or office that you will be testing the smoke detector. This will prevent any unnecessary panic or confusion when the alarm sounds.
- Prepare for the test: Familiarize yourself with the test button on your smoke detector. It is usually located on the front or side of the device and is often labeled “test” or “push to test.”
- Press the test button: Gently press and hold the test button for a few seconds until you hear the alarm sound. This will simulate a smoke alarm activation and allow you to verify that the detector is functioning correctly.
- Listen for the alarm: Ensure that the alarm sound is loud and audible throughout the designated area. If the sound is weak or barely noticeable, check the battery connection or replace the batteries if necessary.
- Confirm reaction from interconnected detectors: If you have interconnected smoke detectors, ensure that all the detectors sound simultaneously when the test button is pressed. This confirms that the interconnection is working properly.
- Stop the alarm: Once you have confirmed that the smoke detector is functioning correctly, press the test button again or follow the instructions provided by the manufacturer to stop the alarm.
Regularly testing your smoke detector is essential for maintaining its reliability. It is recommended to perform this test at least once a month to ensure optimal performance.
If, during the test, you discover that the smoke detector is not functioning correctly, refer to the manufacturer’s instructions for troubleshooting steps or consider replacing the unit.
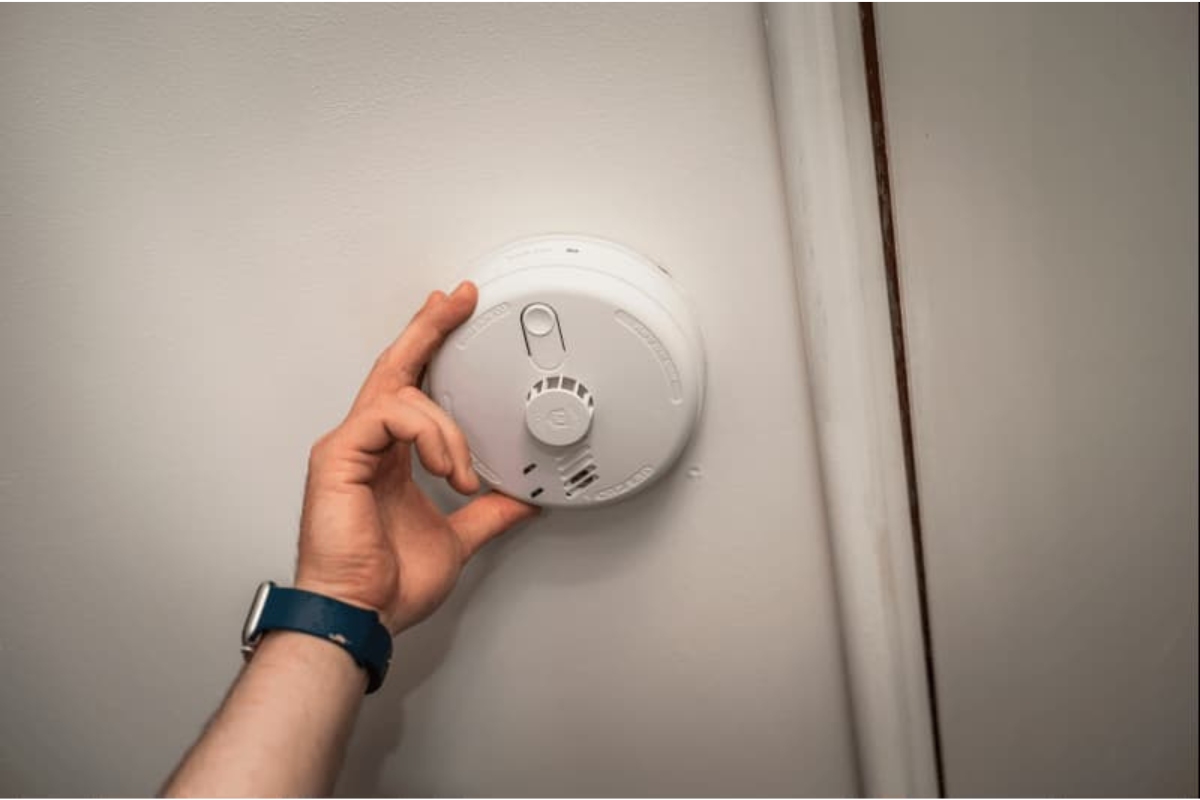
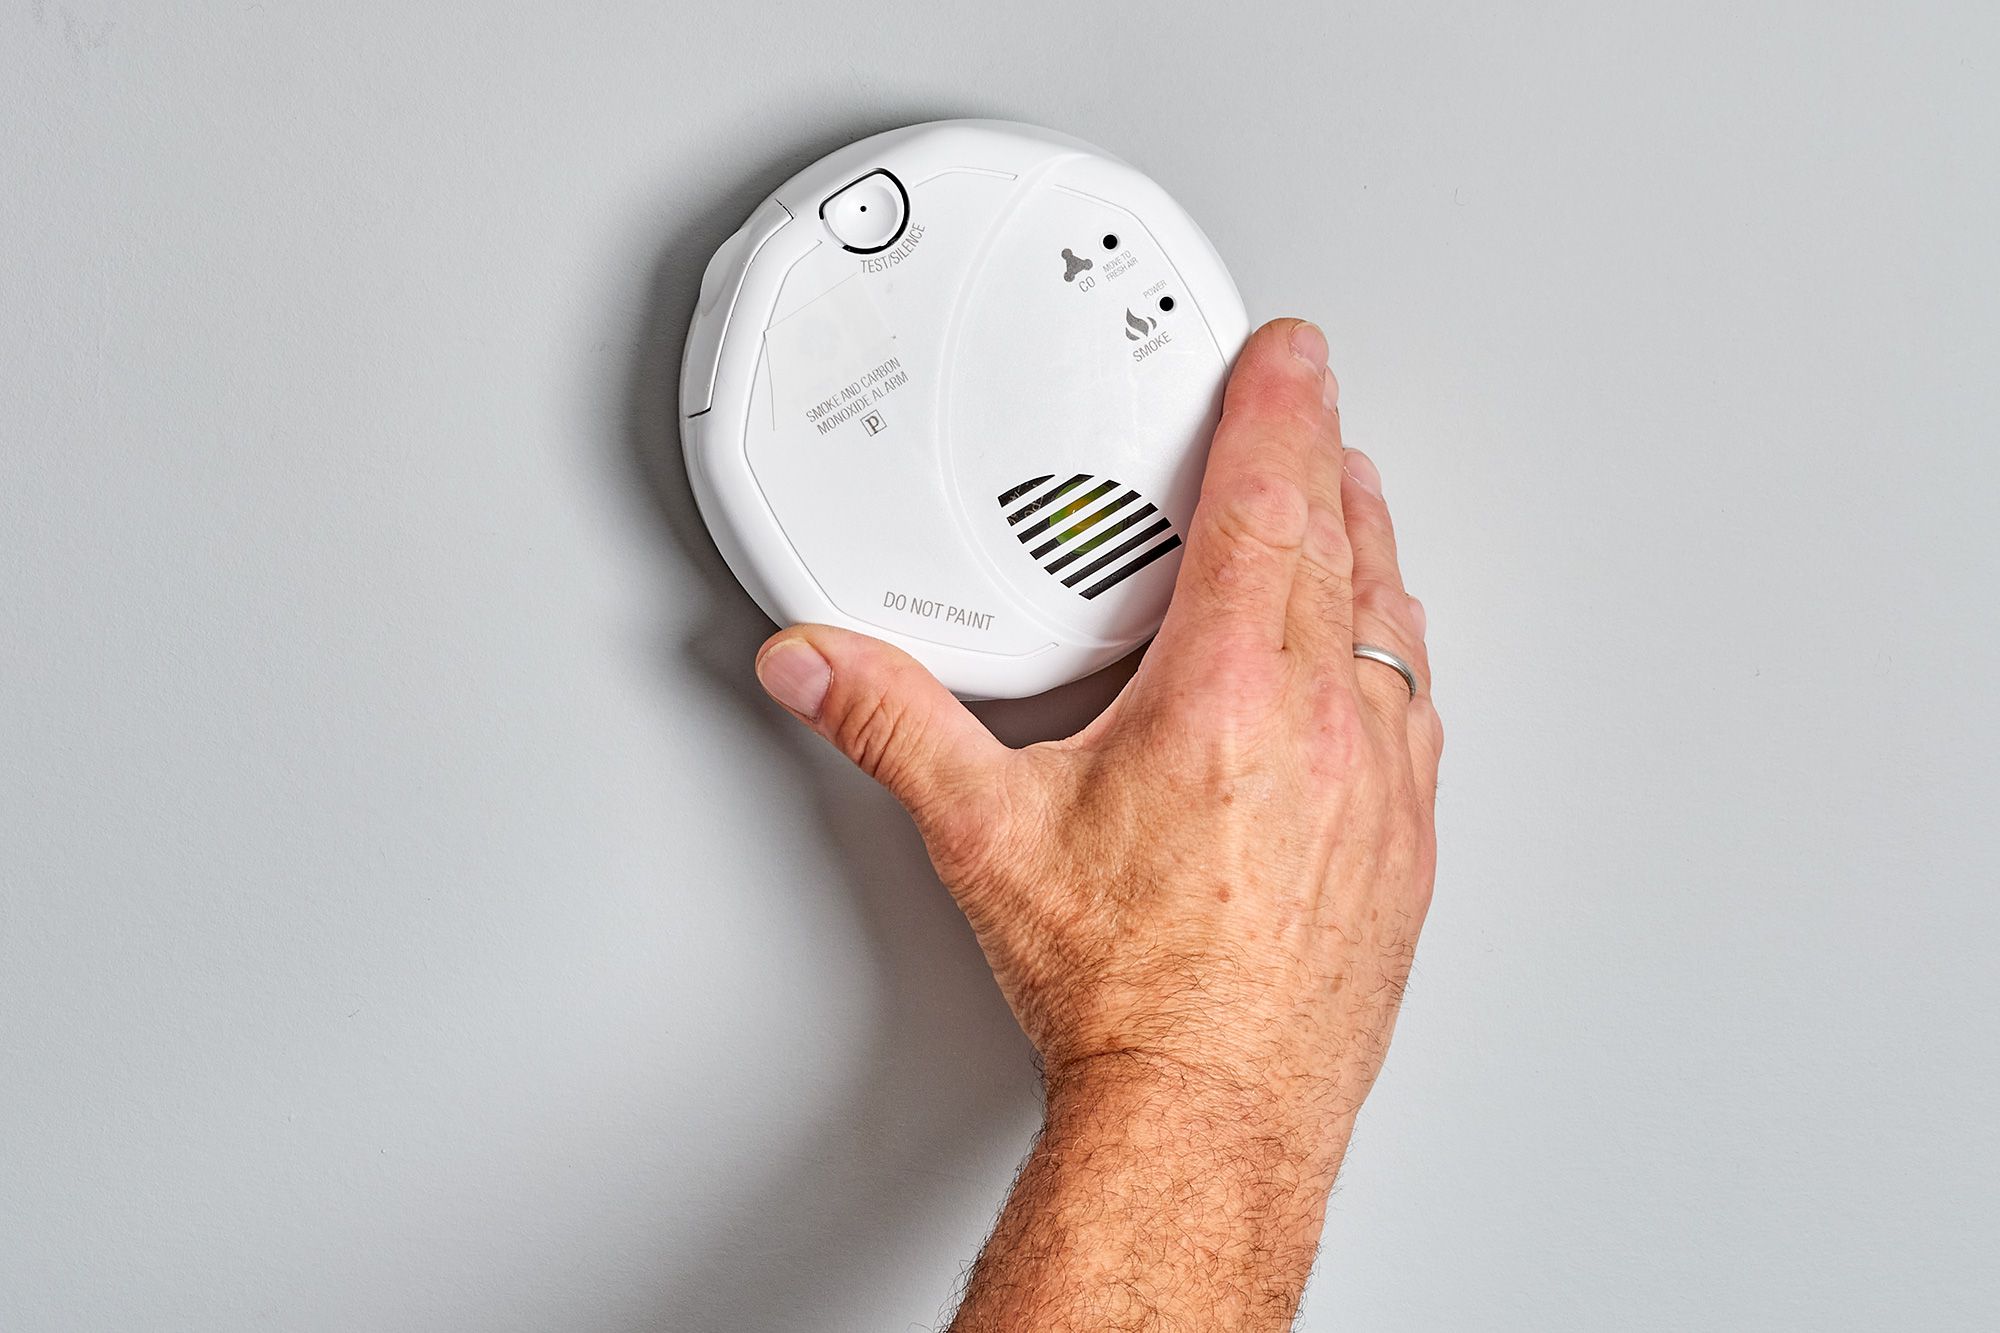
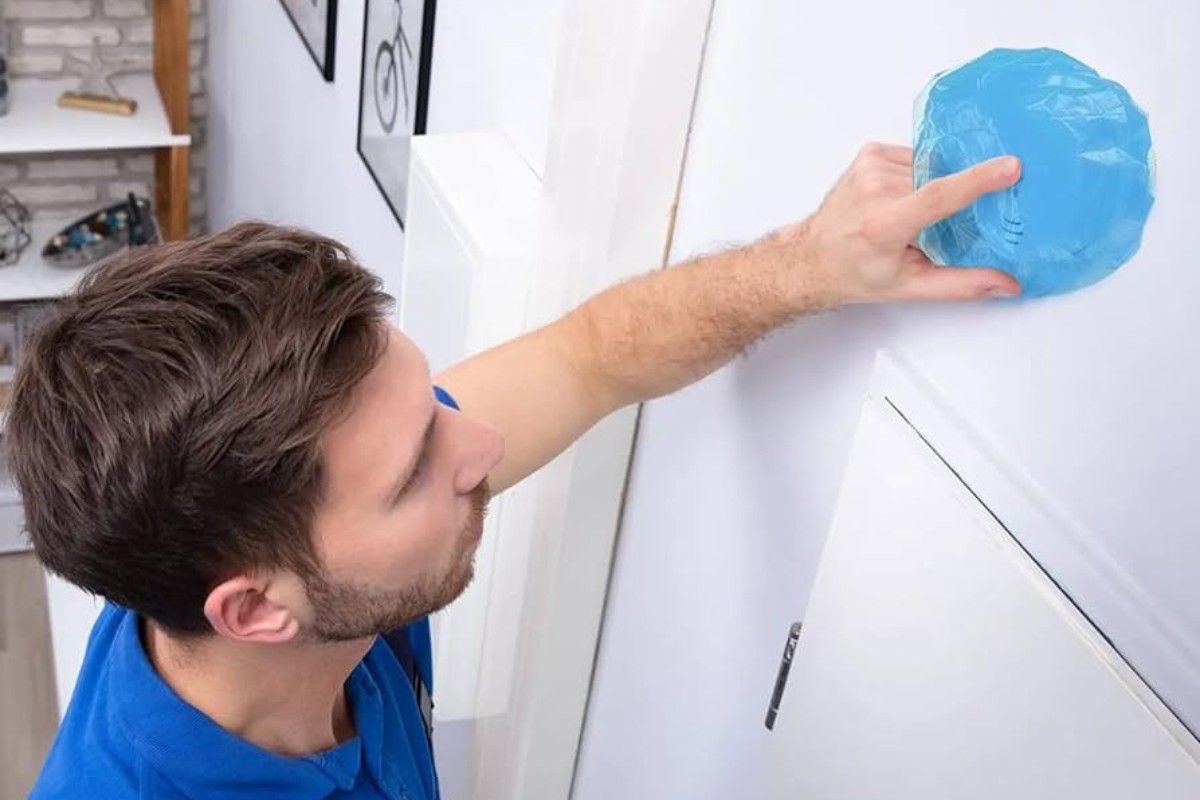
Step 7: Secure the Smoke Detector in Place
Once you have tested the functionality of your smoke detector and ensured that it is working correctly, the next step is to secure it in place. Properly securing the smoke detector helps prevent accidental displacement and ensures that it remains in position to detect smoke effectively. Follow these steps to secure the smoke detector:
- Check the alignment: Verify that the smoke detector is aligned properly with the mounting bracket. It should be snug and flush against the bracket.
- Rotate or twist the detector (if applicable): Depending on the specific model of smoke detector, there may be a rotating or twisting mechanism to lock it in place. Follow the manufacturer’s instructions to secure the detector firmly.
- Insert screws (if applicable): Some smoke detectors come with screws or locking tabs that need to be inserted to secure the detector in place. Refer to the manufacturer’s instructions for the specific installation requirements of your smoke detector model.
- Double-check stability: Give the smoke detector a gentle tug to ensure it is securely attached to the mounting bracket. If it feels loose or wobbly, make adjustments or consult the manufacturer’s instructions for troubleshooting.
Remember, a properly secured smoke detector is essential for its effective operation. It ensures that the detector remains in the optimal position to detect smoke and trigger the alarm when needed.
Once the smoke detector is securely in place, you can move on to the final step to ensure that everything is functioning correctly.
Step 8: Final Testing and Maintenance Notes
Now that your smoke detector is securely installed, it’s time for the final testing and maintenance checks. Follow these steps to ensure that everything is in working order:
- Test the smoke detector again: Press the test button on the smoke detector to verify that it is still functioning correctly after securing it in place. Listen for the alarm sound and confirm that it is loud and clear.
- Check the batteries: Regularly inspect the batteries in your smoke detector and replace them as needed. It’s a good idea to change the batteries annually or when the low battery indicator is activated.
- Clean the smoke detector: Dust and debris can accumulate on the smoke detector over time, affecting its performance. Use a soft brush or vacuum attachment to gently clean the exterior and vents of the detector periodically.
- Keep the detector free from obstructions: Ensure that the area around the smoke detector is clear and free from any obstructions that could hinder its performance, such as furniture, curtains, or decorations.
- Replace aging smoke detectors: Smoke detectors have a recommended lifespan of 8-10 years. If your smoke detector is approaching this age or is no longer functioning correctly, it’s time to replace it with a new one.
- Review manufacturer’s instructions: Familiarize yourself with the specific maintenance recommendations and guidelines provided by the manufacturer of your smoke detector. This will ensure that you’re following the best practices for your particular model.
Remember that smoke detectors are essential safety devices, and regular maintenance is crucial to ensure their effectiveness. It’s better to be proactive in testing and maintaining your smoke detectors rather than wait until an emergency situation arises.
By following these steps and implementing regular checks and maintenance, you can have peace of mind knowing that your smoke detector is ready to provide early warning in the event of a fire, ensuring the safety of your home or office.
Conclusion
Mounting a smoke detector is a critical step towards ensuring the safety of your home or office. By following the steps outlined in this guide, you can confidently install a smoke detector in the ideal location, connect it properly, and perform necessary tests to ensure its functionality.
Choosing the ideal location for your smoke detector, gathering the necessary tools and equipment, and preparing the mounting surface are essential for a successful installation. Installing the mounting bracket securely, connecting the smoke detector, and testing it thoroughly are crucial steps to guarantee its effectiveness.
Remember to regularly test your smoke detector and perform maintenance checks to keep it in optimal working condition. Replace batteries as needed, clean the detector, and ensure that it remains free from obstructions.
In conclusion, mounting a smoke detector is a simple but crucial task that can make a significant difference in the safety of your home or office. Taking the time to properly mount and maintain your smoke detector ensures that it can provide early warning in the event of a fire, allowing you to take the necessary actions to protect yourself and those around you.
Stay vigilant, stay safe, and make mounting a smoke detector a priority for the well-being of your loved ones and property.
Frequently Asked Questions about How To Mount A Smoke Detector
Was this page helpful?
At Storables.com, we guarantee accurate and reliable information. Our content, validated by Expert Board Contributors, is crafted following stringent Editorial Policies. We're committed to providing you with well-researched, expert-backed insights for all your informational needs.

0 thoughts on “How To Mount A Smoke Detector”