Articles
How To Connect A Wired Smoke Detector
Modified: August 22, 2024
Learn how to connect a wired smoke detector in this informative article. Follow our step-by-step guide to ensure your safety.
(Many of the links in this article redirect to a specific reviewed product. Your purchase of these products through affiliate links helps to generate commission for Storables.com, at no extra cost. Learn more)
Introduction
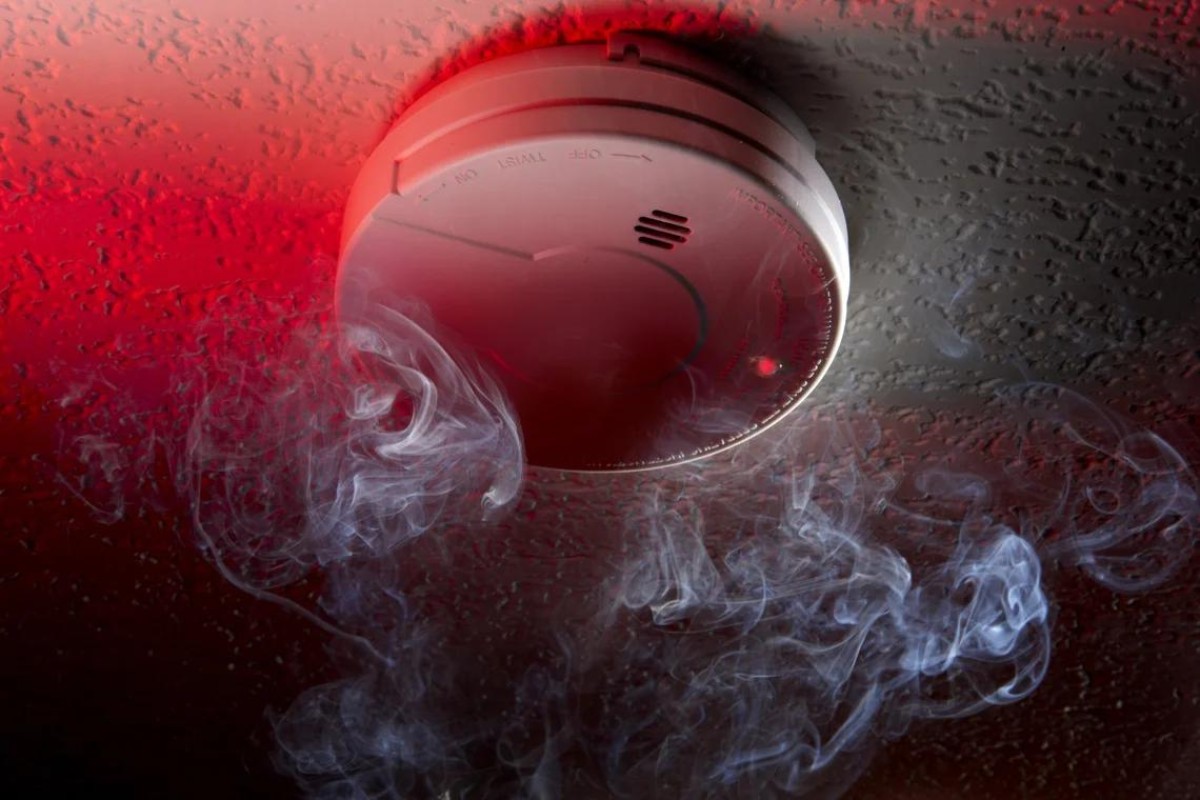
Welcome to this step-by-step guide on how to connect a wired smoke detector. Having a functioning smoke detector in your home is crucial for the safety of you and your loved ones. A properly installed smoke detector can provide early warnings in the event of a fire, allowing you to take action quickly and potentially save lives.
Connecting a wired smoke detector may seem like a daunting task, but with the right tools and instructions, it can be a straightforward process. In this article, we will walk you through the necessary steps to connect a wired smoke detector, ensuring that it is properly installed and ready to protect your home.
Before we dive into the actual steps, it’s important to note that if you are not comfortable working with electrical wiring, it is always best to consult a professional electrician to carry out the installation. Safety should always be the top priority when it comes to any electrical work.
Now, let’s move on to the first step: gathering the necessary tools and materials.
Key Takeaways:
- Prioritize safety and gather the necessary tools and materials before connecting a wired smoke detector. Always consult a professional electrician if you’re uncomfortable working with electrical wiring to ensure a secure installation.
- Regularly test and maintain your smoke detector to ensure optimal performance. By following the step-by-step guide, you’re making a significant investment in the safety of your home and potentially saving lives in the event of a fire.
Step 1: Gather the necessary tools and materials
Before starting the process of connecting a wired smoke detector, it is essential to gather all the required tools and materials. This will ensure that you have everything you need on hand, minimizing interruptions and making the installation process smoother.
Here are the tools and materials you will need:
- Wire strippers: These will be used to remove the insulation from the wires.
- Screwdriver: Depending on the smoke detector model, you may need a flathead or Phillips screwdriver to open and secure the device.
- Electrical tape: This will be used to secure the connections and prevent any exposed wires.
- Wire nuts: These small plastic caps will be used to securely connect the wires together.
- New smoke detector: Make sure you have a compatible wired smoke detector that is suitable for your home’s electrical system.
Additionally, it is crucial to have a safe and stable ladder or step stool to reach the location where you will be installing the smoke detector.
Once you have gathered all the necessary tools and materials, you are ready to move on to the next step: turning off the power.
Step 2: Turn off the power
Before handling any electrical components, it is crucial to ensure your safety by turning off the power to the area where you will be working. This will prevent any electrical shock or damage to the wiring.
Here’s how to turn off the power:
- Locate the circuit breaker panel in your home. It is typically found in the basement, utility room, or garage.
- Open the circuit breaker panel and identify the breaker that controls the electrical circuit for the smoke detector. It is usually labeled as “Smoke Detector” or “Circuit X.”
- Flip the switch or lever of the designated breaker to the “Off” position. This will cut off power to the smoke detector and ensure that you can safely work on the wiring without any electrical current.
- Double-check that the power is indeed turned off by attempting to turn on the smoke detector. If it does not power up, you can proceed with confidence.
Remember, safety should always be the top priority when working with electricity. If you are unsure about which breaker controls the smoke detector circuit or are uncomfortable working with the circuit breaker panel, consult a professional electrician for assistance.
Once you have verified that the power is turned off, it’s time to move on to Step 3: removing the old smoke detector.
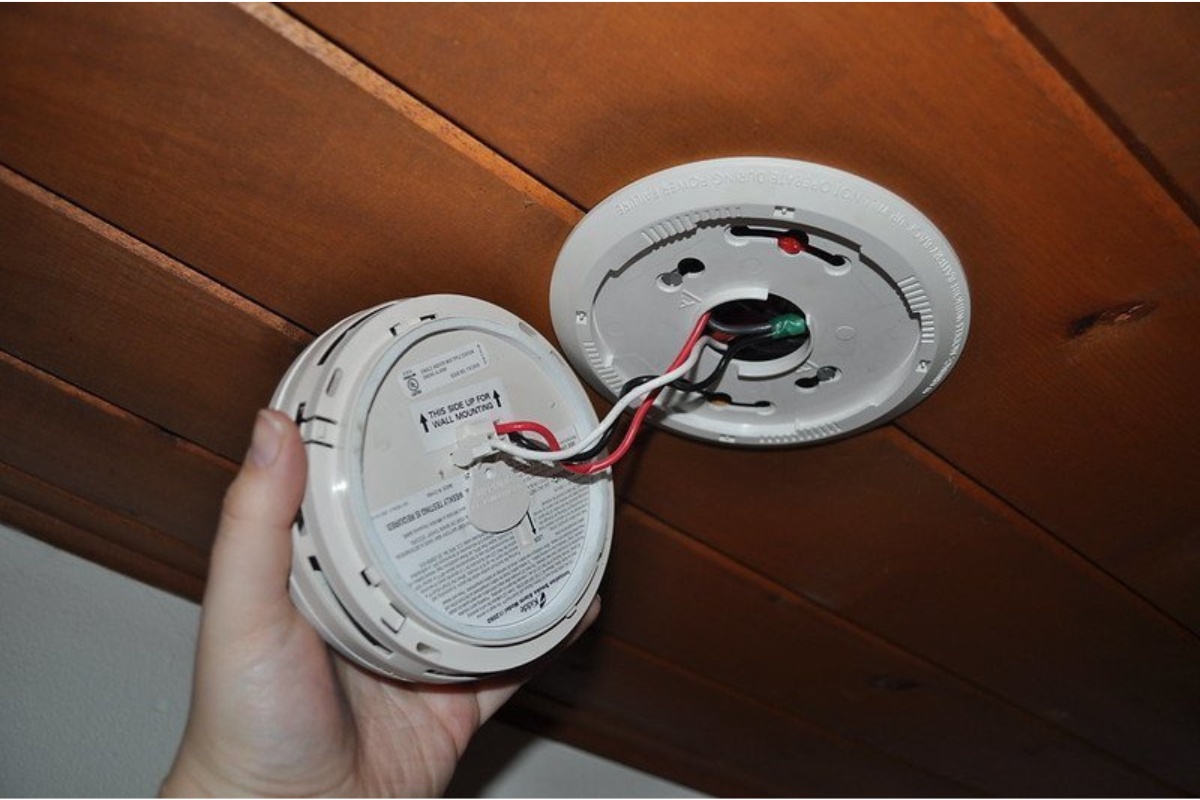
Step 3: Remove the old smoke detector
Now that the power is turned off, it’s time to remove the old smoke detector. Removing the old unit is an essential step in the process, as it allows you to disconnect the wiring and prepare for the installation of the new smoke detector.
Follow these steps to remove the old smoke detector:
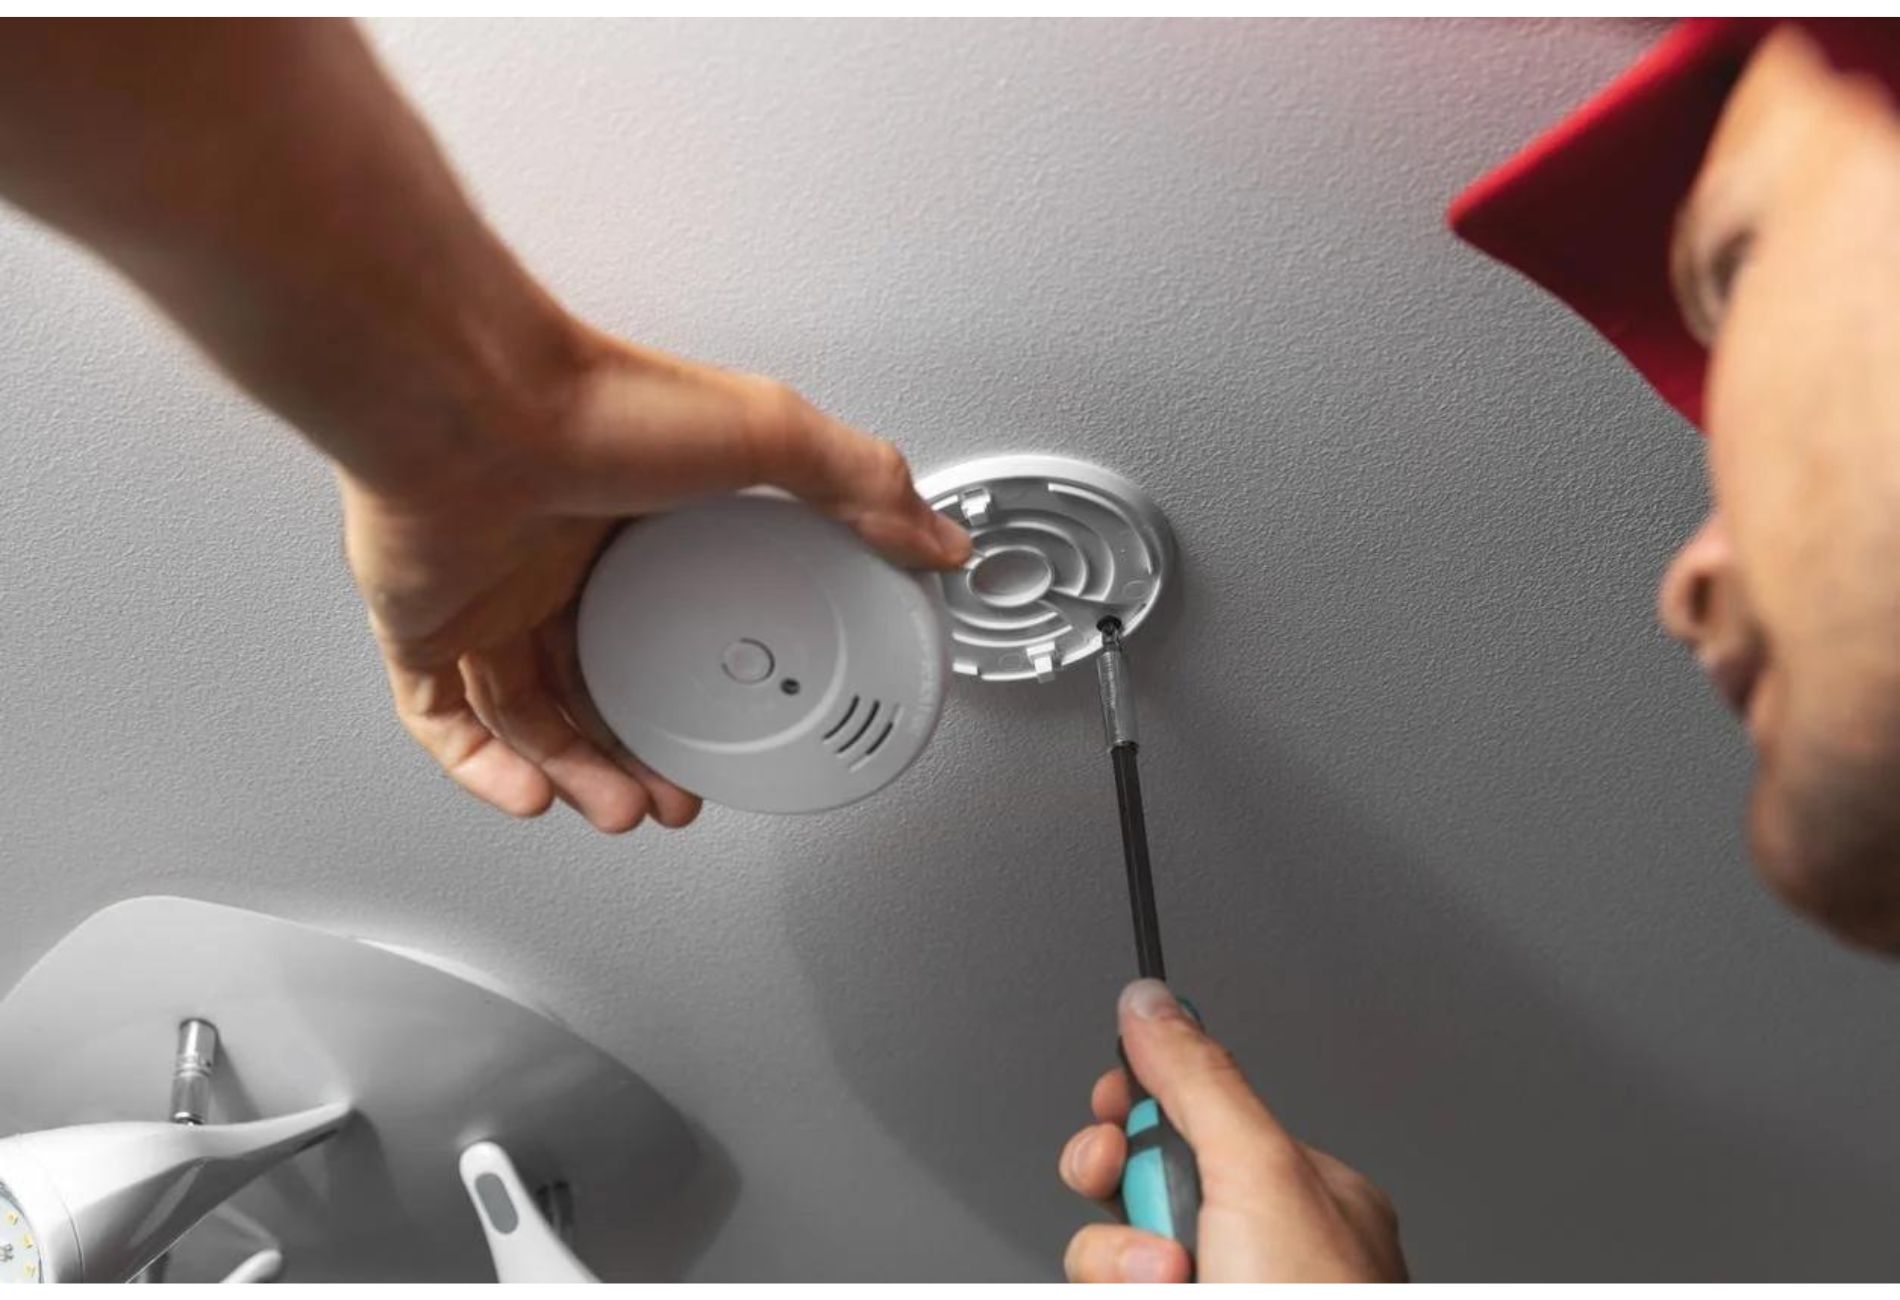
- Inspect the existing smoke detector to identify how it is attached to the ceiling or wall. Most smoke detectors are either screwed onto a mounting bracket or attached by a twist-lock mechanism.
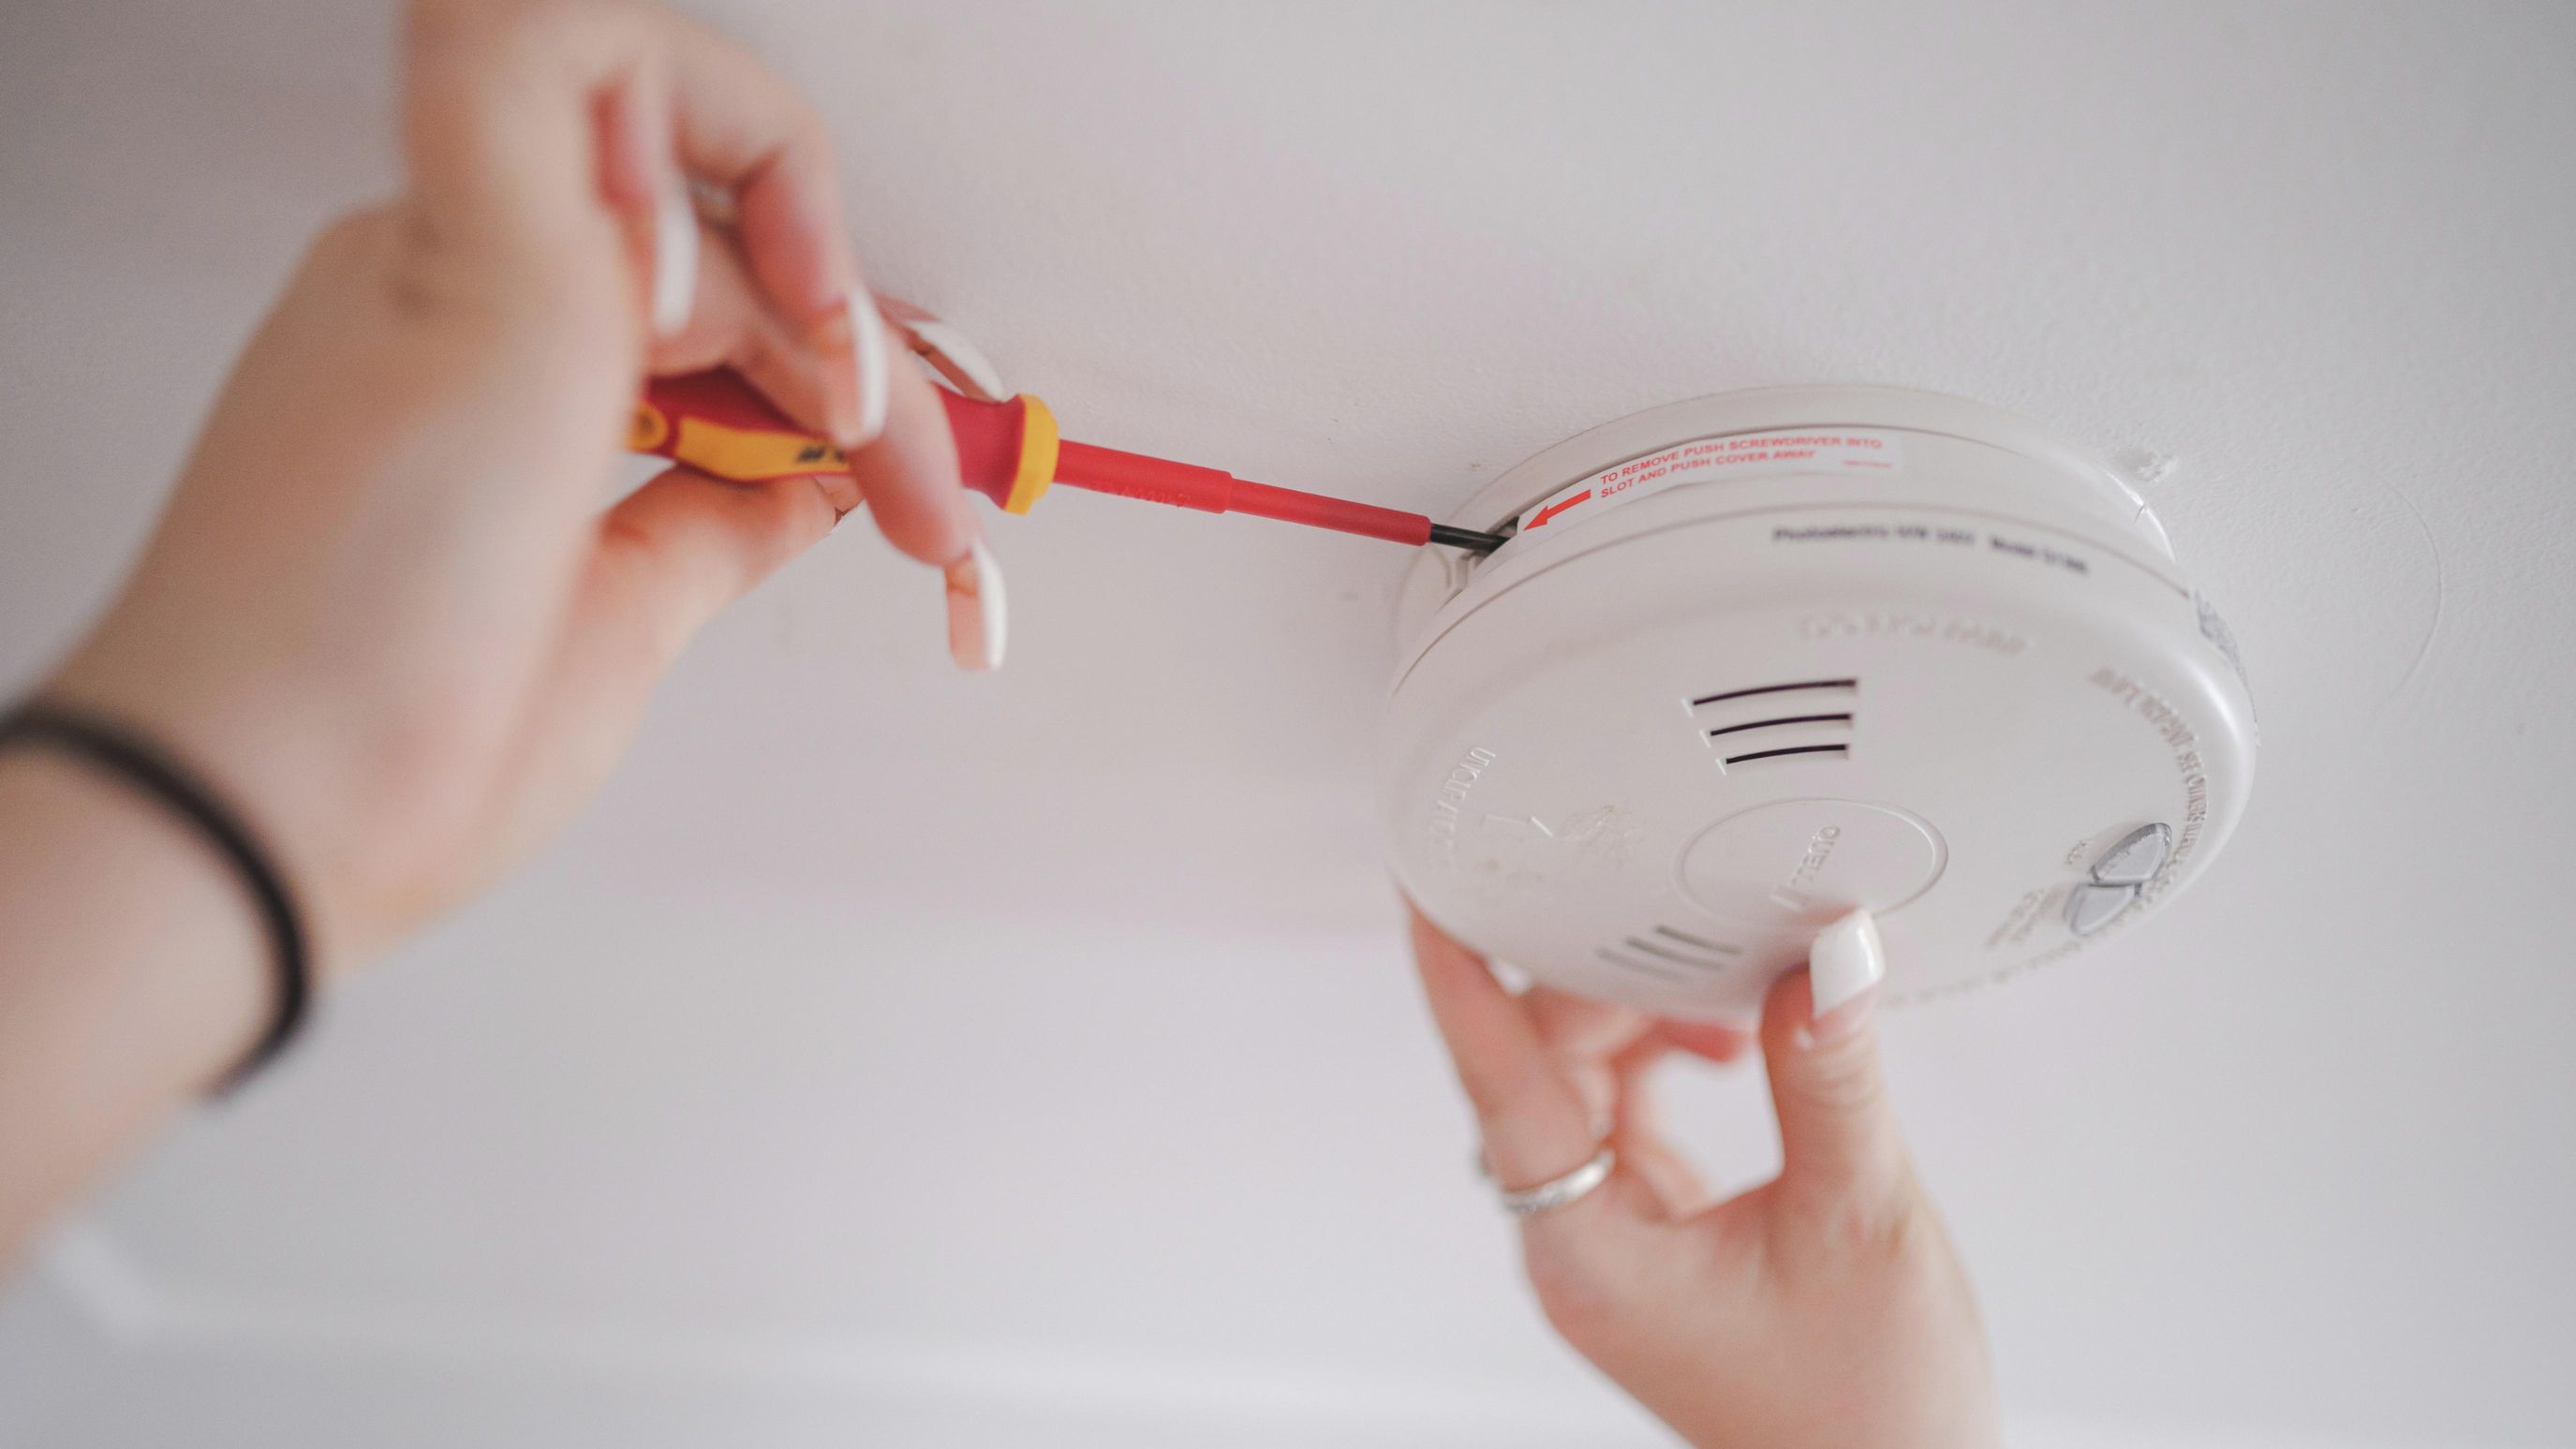
- If your smoke detector is screwed onto a mounting bracket, use a screwdriver to remove the screws that secure it in place. Carefully detach the smoke detector from the bracket and set it aside.
- If your smoke detector has a twist-lock mechanism, twist the detector counterclockwise to unlock it from the bracket. Gently pull down on the detector to detach it from the bracket and set it aside.
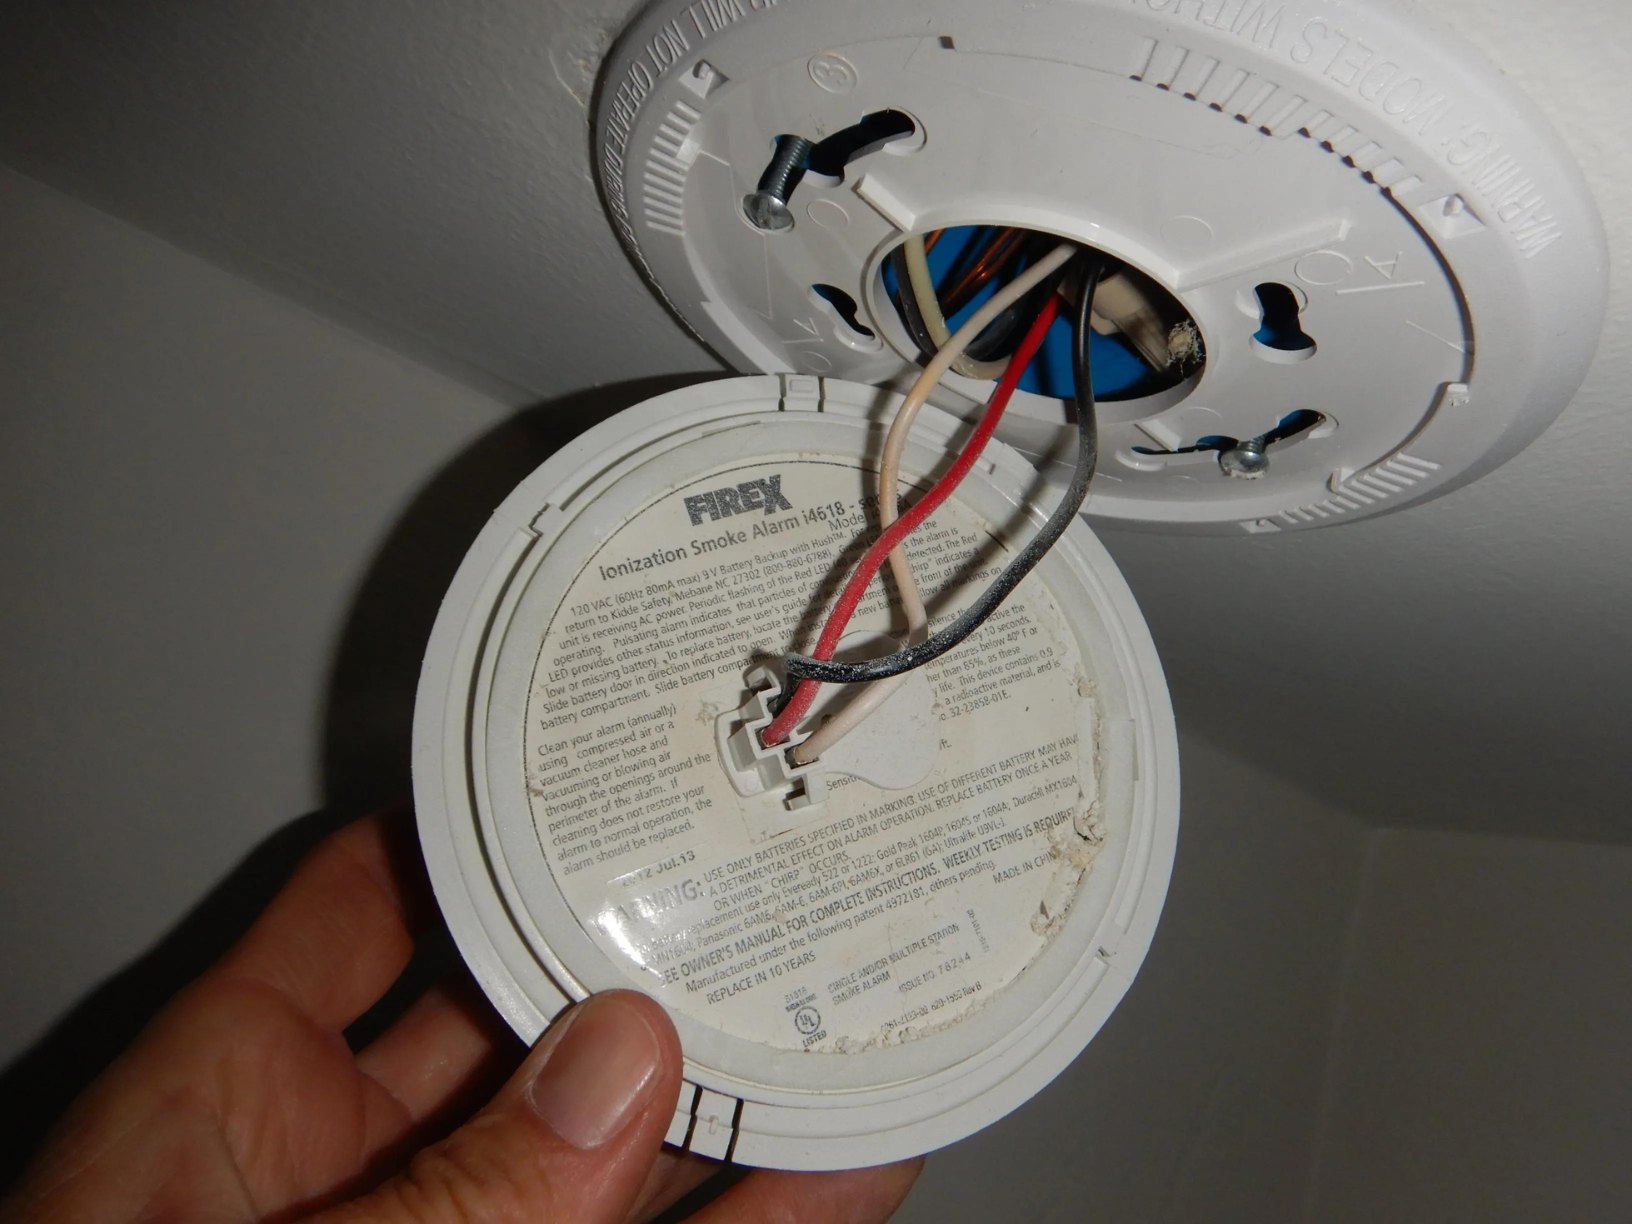
- Once the smoke detector is removed, inspect the wiring protruding from the ceiling or wall. Take note of the wire colors and how they are connected.
- Using a wire stripper, carefully strip around half an inch of insulation from the ends of each wire. This will expose the bare copper wire for the next steps.
It’s important to handle the old smoke detector with care, as it may contain hazardous materials such as radioactive elements or batteries. Follow the manufacturer’s instructions or consult your local waste management guidelines for proper disposal.
With the old smoke detector removed and the wires prepared, you are now ready to move on to Step 4: preparing the wires for the new smoke detector.
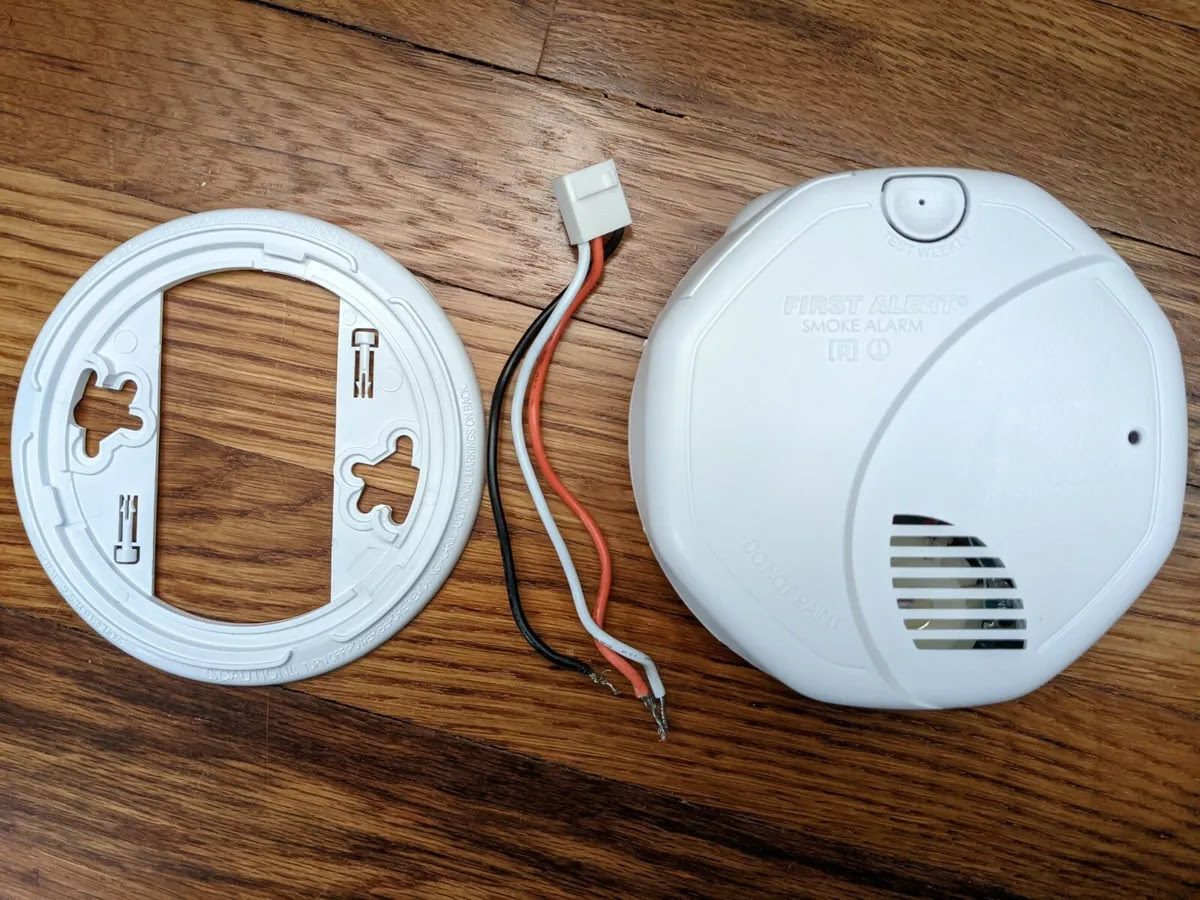
Step 4: Prepare the wires
Now that the old smoke detector has been removed, it’s time to prepare the wires for the new smoke detector installation. Properly preparing the wires will ensure a secure and reliable connection, allowing the new smoke detector to function correctly.
Follow these steps to prepare the wires:
- Inspect the wires that were connected to the old smoke detector. Take note of the wire colors and their corresponding terminals.
- If the wires are damaged or frayed, it is important to repair or replace them before proceeding. This can be done by carefully cutting away the damaged portion and stripping off the insulation to expose the bare copper wire.
- Ensure that the exposed portion of each wire is approximately the same length. Trim any excess wire if necessary.
- Using wire strippers, gently strip about half an inch of insulation from the ends of the wires. Be careful not to damage the copper strands inside.
- Twist the exposed copper strands tightly to ensure a secure connection.
It’s crucial to maintain the correct wire connections and colors during the preparation process. If needed, refer to the manufacturer’s instructions or consult a wiring diagram specific to your smoke detector model.
By properly preparing the wires, you have set the foundation for a successful installation. Now, it’s time to move on to Step 5: connecting the wires to the new smoke detector.
When connecting a wired smoke detector, make sure to turn off the power at the circuit breaker before starting. Follow the manufacturer’s instructions for proper wiring and testing.
Read more: How To Clean A Hard Wired Smoke Detector
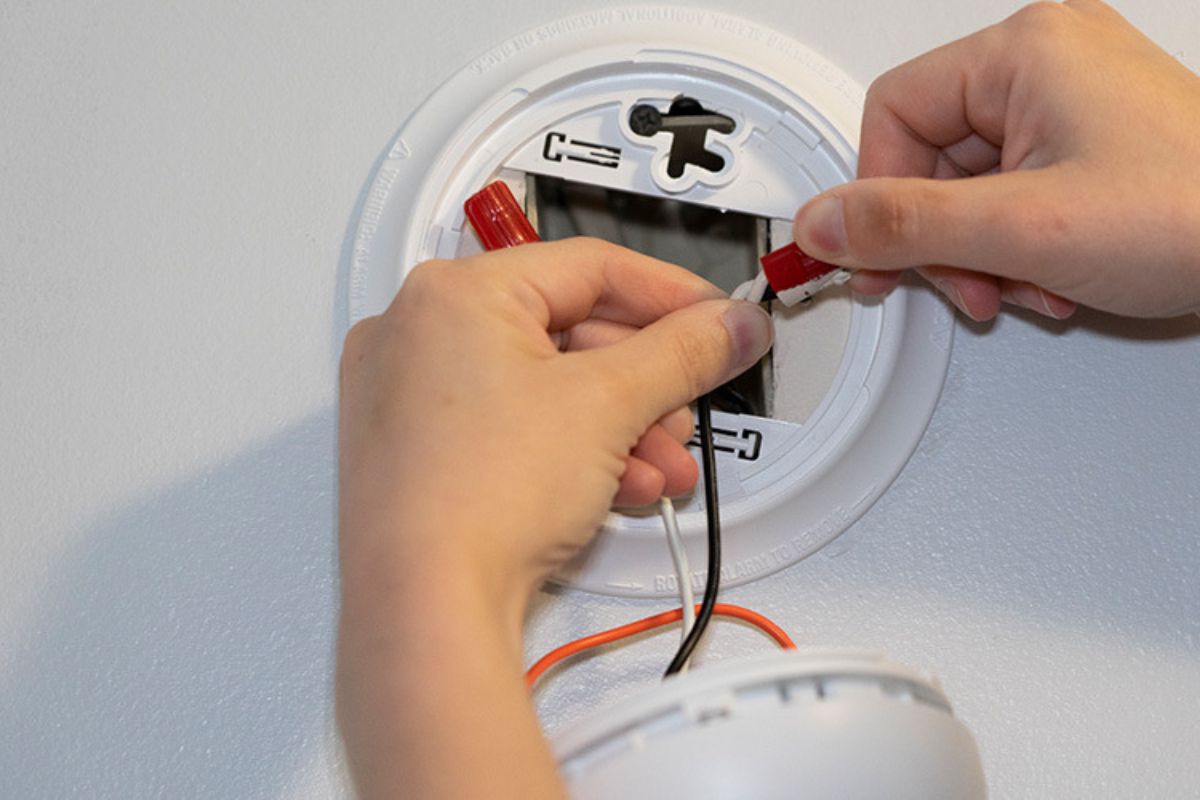
Step 5: Connect the wires
With the wires prepared, it’s time to connect them to the new smoke detector. Properly connecting the wires is crucial to ensure a secure and reliable electrical connection, allowing the smoke detector to function effectively.
- Hold the new smoke detector near the ceiling or wall where you will be installing it.
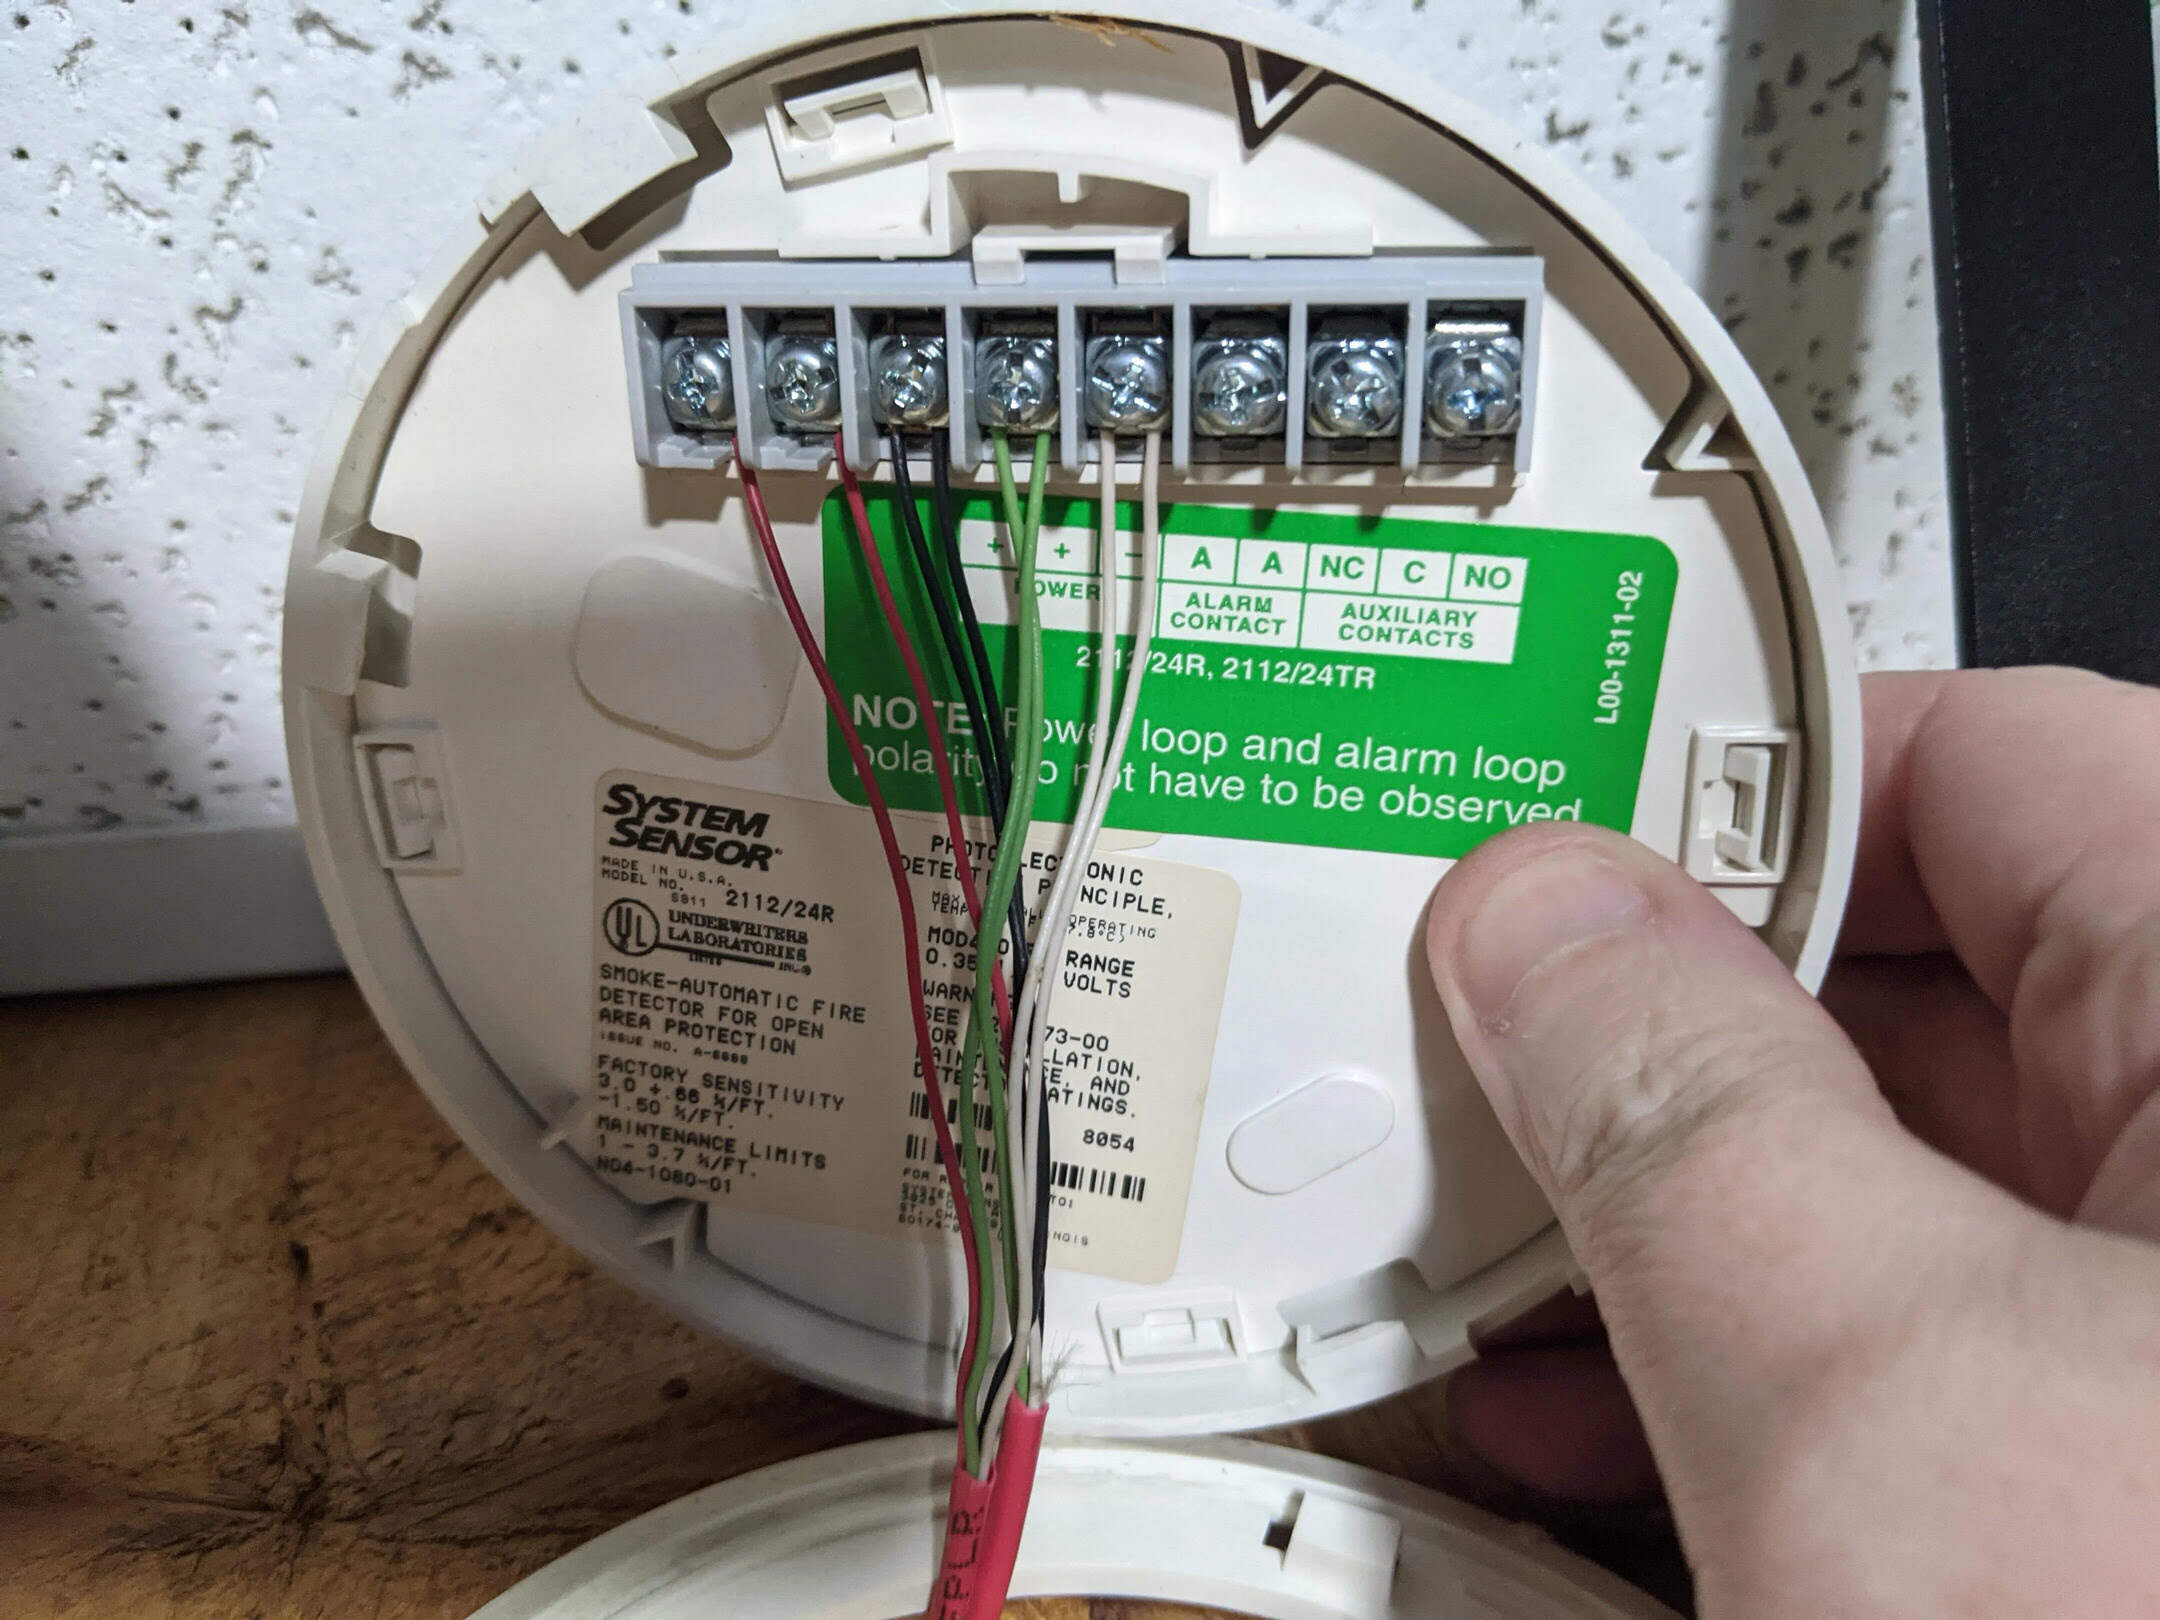
- Locate the terminals on the back of the smoke detector. These terminals are typically labeled with letters or symbols corresponding to the wire colors.
- Match the wire colors from the prepared wires to the corresponding terminals on the smoke detector. For example, connect the black wire to the terminal labeled “Black” or “B.”
- Insert the stripped end of each wire into the appropriate terminal. Ensure that the exposed copper strands are fully inserted and making a secure connection.
- Tighten the terminal screws or connectors to secure the wires in place. Be careful not to overtighten, as this could damage the wires or terminals.
- Double-check that each wire is securely connected to the correct terminal by giving them a gentle tug. They should not come loose or pull out easily.
It’s important to meticulously follow the manufacturer’s instructions and consult any wiring diagrams provided to ensure a proper connection. If you encounter any confusion or difficulties, do not hesitate to seek professional assistance.
With the wires successfully connected, you have made significant progress toward completing the installation. The next step is to test the connections to ensure everything is functioning as expected.
Step 6: Test the connections
After connecting the wires to the new smoke detector, it’s important to test the connections to ensure that they are properly secured and functioning correctly. Testing the connections will give you the confidence that your smoke detector is ready to detect and alert you in the event of a fire.
- Restore power to the smoke detector circuit by flipping the breaker switch back to the “On” position in the circuit breaker panel.
- Stand back and observe the smoke detector. It should power up and emit a brief chirping sound to indicate that it is receiving power.
- Press the “Test” button on the smoke detector. This will initiate a test of the detection mechanism and sound the alarm to ensure it is in working order.
- Listen for the alarm sound and check that it is loud and clear. If the sound is weak or distorted, double-check the connections and make any necessary adjustments.
- If the smoke detector doesn’t activate or produces a weak alarm sound, turn off the power again and review the connections. Ensure that the wires are securely connected and that there is no damage or loose connections.
- If everything is functioning as expected, use the reset button on the smoke detector to silence the alarm, and then turn off the breaker to the smoke detector circuit.
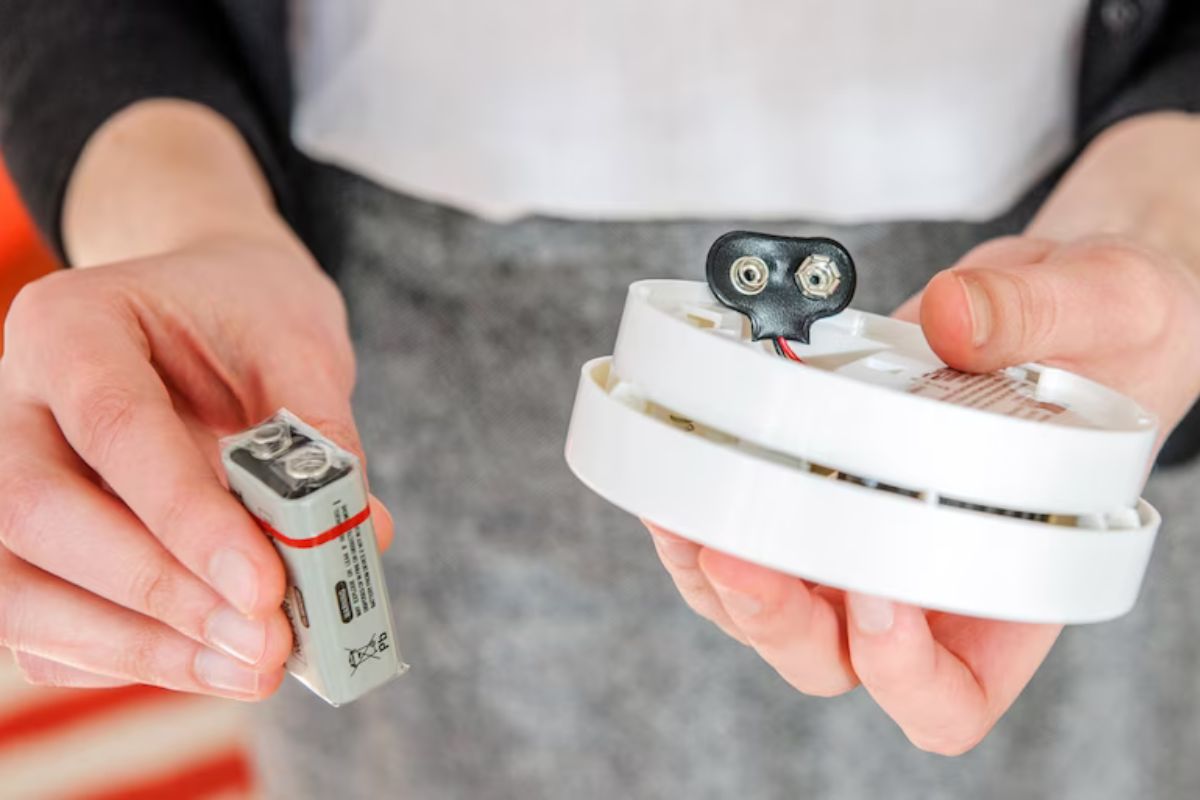
It is important to note that testing the smoke detector should be done regularly even after the initial installation. Follow the manufacturer’s instructions on how often to test your specific model and replace the batteries if necessary.
Testing the connections ensures that your smoke detector is ready to protect your home and loved ones. The next step is to mount the new smoke detector in its designated location.
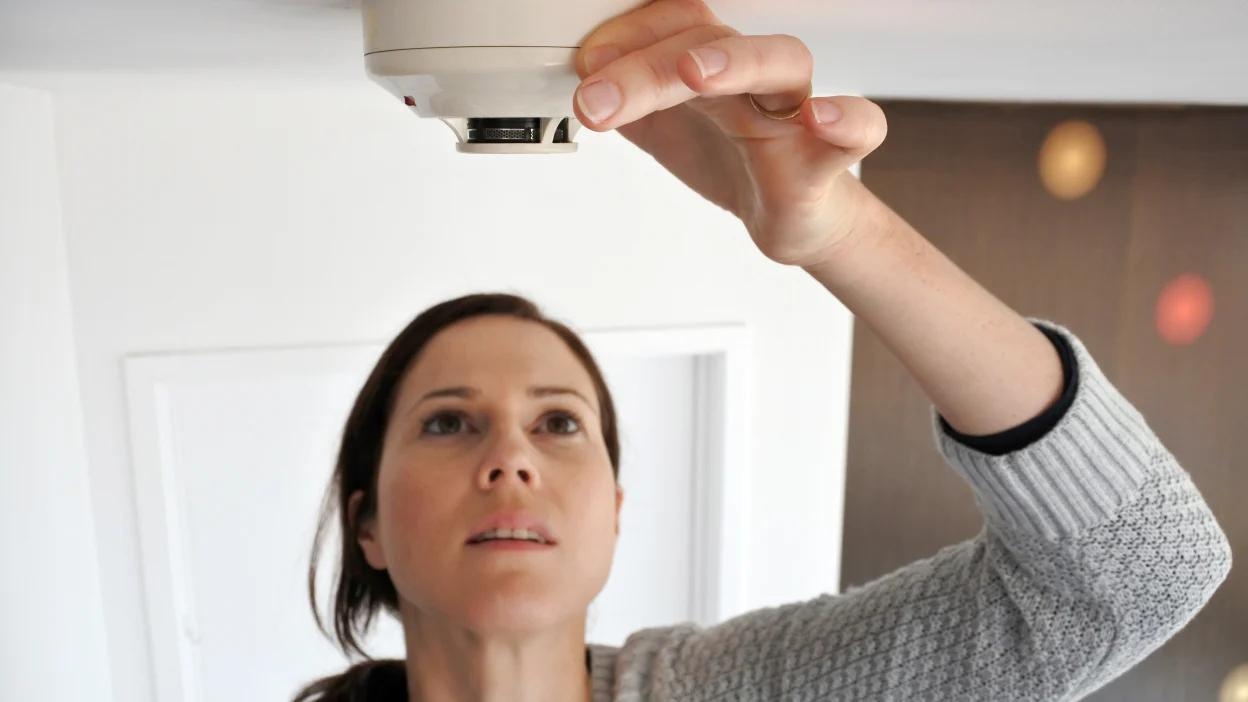
Step 7: Mount the new smoke detector
With the connections tested and confirmed, it’s time to securely mount the new smoke detector in its designated location. Properly mounting the smoke detector is essential to ensure that it is positioned correctly to detect smoke and provide early warnings in the event of a fire.
- Choose the ideal location for the smoke detector. It should be installed on the ceiling in the center of the room or hallway. If you are installing it on a wall, position it at least 4-12 inches from the ceiling.
- Hold the smoke detector against the chosen spot and mark the mounting holes with a pencil or marker.
- Using a power drill or screwdriver, drill pilot holes at the marked spots. Ensure that the drill bit is the same size as the mounting screws provided with the smoke detector.
- Align the mounting bracket or plate of the smoke detector with the pilot holes and attach it using the provided mounting screws. Make sure the detector is securely fastened to the ceiling or wall.
- Once the mounting bracket is in place, carefully align the smoke detector with the bracket and twist it clockwise or follow the manufacturer’s instructions to lock it into position.
- Gently tug on the smoke detector to ensure that it is securely mounted and properly aligned.
If you are replacing an existing smoke detector, make sure that the new detector is compatible with the existing mounting bracket. If not, you may need to remove the old bracket and install the new one provided with your smoke detector.
Keep in mind that different smoke detectors may have specific mounting instructions, so it’s crucial to refer to the manufacturer’s instructions for guidance throughout this process.
With the new smoke detector securely mounted, it’s time for the final step: restoring power to the smoke detector circuit.
Step 8: Restore power
The final step in connecting a wired smoke detector is to restore power to the circuit, allowing the smoke detector to receive electrical power and function properly. It is essential to ensure a safe and reliable power connection for the smoke detector to effectively detect and alert in the event of a fire.
- Locate the circuit breaker panel in your home and open the cover.
- Identify the breaker that controls the smoke detector circuit and make sure it is in the “Off” position.
- Flip the breaker switch to the “On” position, restoring power to the smoke detector circuit.
- Wait for a few seconds to allow the smoke detector to power up and initialize properly.
- Observe the smoke detector to ensure that it is receiving power and functioning correctly. It should emit a brief chirping sound to indicate that it is powered on.
- Test the smoke detector by pressing the “Test” button to check if the alarm sounds properly.
Ensure that the smoke detector is properly mounted and securely attached to the mounting bracket or plate. Double-check all the wire connections to make sure they are secure and intact.
Remember to periodically test the smoke detector as recommended by the manufacturer to ensure it continues to work optimally. Regular maintenance and replacement of batteries, if applicable, are essential to keep your smoke detector in proper working condition.
Congratulations! You have successfully connected and installed a wired smoke detector. Your home is now equipped with an essential safety device that can provide early warning in the event of a fire, giving you and your loved ones necessary time to evacuate and stay safe.
Always refer to the manufacturer’s instructions and consult a professional electrician if you have any doubts or concerns during the installation process. Safety should be the utmost priority when working with electrical components.
By taking these steps to connect a wired smoke detector, you have taken a significant step towards securing your home and protecting the wellbeing of your family.
Read more: How To Remove A Hard-Wired Smoke Detector
Conclusion
Installing a wired smoke detector is a crucial step towards ensuring the safety of your home and loved ones. By following the step-by-step guide provided in this article, you can confidently connect a wired smoke detector and have peace of mind knowing that your home is equipped with a reliable early warning system in the event of a fire.
From gathering the necessary tools and materials to testing the connections and mounting the new smoke detector, each step is essential to a successful installation. It’s important to prioritize safety throughout the process and consult a professional electrician if needed.
Regularly testing and maintaining your smoke detector is just as vital as the initial installation. Follow the manufacturer’s recommendations and replace the batteries as necessary to ensure optimal performance.
Remember, a smoke detector is only effective if it is properly installed, maintained, and in good working condition. Make it a habit to test your smoke detector regularly and educate your family members on fire safety procedures.
By taking the time to connect a wired smoke detector, you have made a significant investment in the safety of your home. Your diligent efforts can potentially save lives and protect your property in the event of a fire.
We hope that this guide has provided clear and concise instructions to help you successfully connect a wired smoke detector. Stay proactive, stay safe, and always prioritize fire safety in your home.
Frequently Asked Questions about How To Connect A Wired Smoke Detector
Was this page helpful?
At Storables.com, we guarantee accurate and reliable information. Our content, validated by Expert Board Contributors, is crafted following stringent Editorial Policies. We're committed to providing you with well-researched, expert-backed insights for all your informational needs.

0 thoughts on “How To Connect A Wired Smoke Detector”