Articles
How To Remove A Smoke Detector
Modified: October 20, 2024
Learn effective techniques and step-by-step instructions in our articles to safely remove a smoke detector from your home. Expert tips and guidelines provided.
(Many of the links in this article redirect to a specific reviewed product. Your purchase of these products through affiliate links helps to generate commission for Storables.com, at no extra cost. Learn more)
Introduction
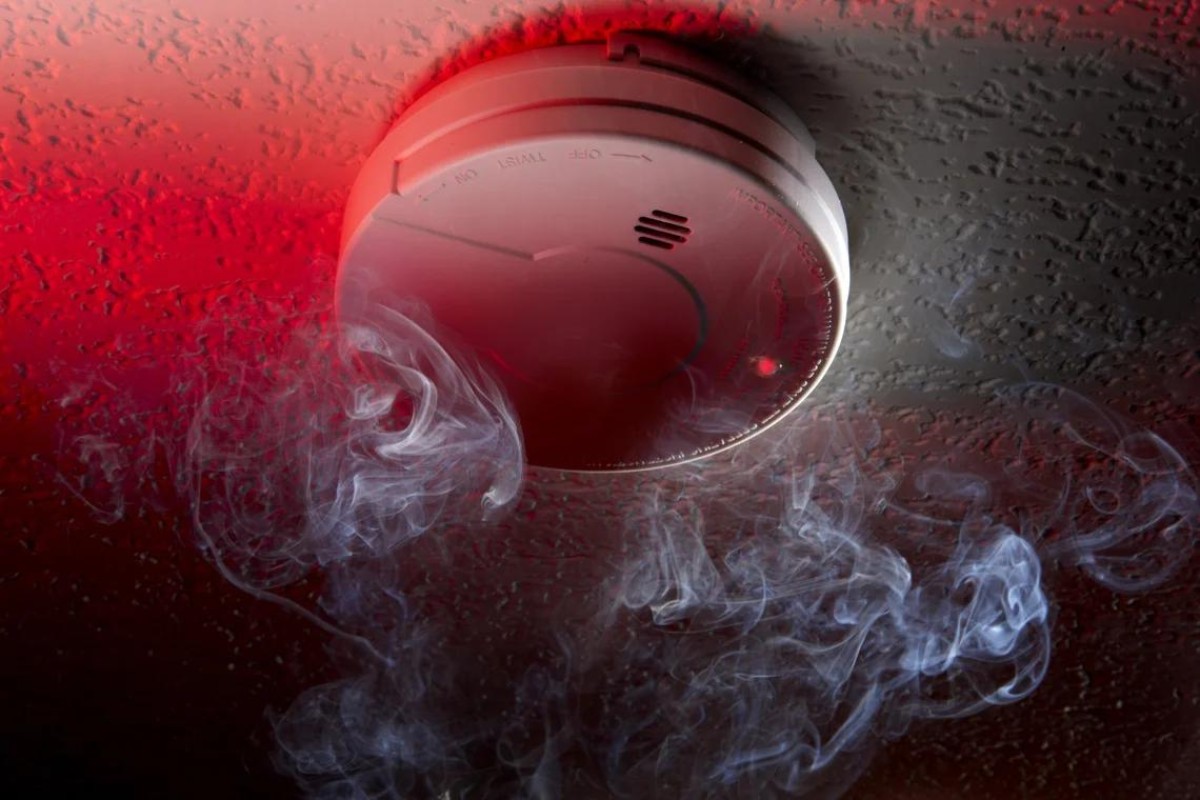
Having a properly functioning smoke detector is crucial for the safety of your home and your loved ones. Smoke detectors are designed to detect and alert you to the presence of smoke and fire, giving you precious time to evacuate and potentially save lives. However, there may come a time when you need to remove a smoke detector either due to maintenance issues or upgrading to a newer model.
In this article, we will guide you through the step-by-step process of removing a smoke detector safely and efficiently. Whether you are a DIY enthusiast or simply need to replace a faulty smoke detector, following these instructions will help you complete the task seamlessly.
Before we dive into the removal process, it’s worth mentioning that smoke detectors are connected to your home’s electrical system and often have a backup battery. To ensure your safety, it’s essential to turn off the power to the smoke detector and remove the battery (if applicable) before starting any work.
Now, let’s proceed with the step-by-step guide on how to remove a smoke detector.
Key Takeaways:
- Ensure safety by turning off power and disconnecting wiring before removing a smoke detector. Follow step-by-step instructions for a seamless process and always refer to the manufacturer’s guidelines.
- Installing a new smoke detector is crucial for home safety. Securely fasten the mounting bracket, connect wiring, and test the detector for proper functionality. Regular maintenance ensures continued protection.
Read more: How To Remove A Nest Smoke Detector
Step 1: Turn off the Power
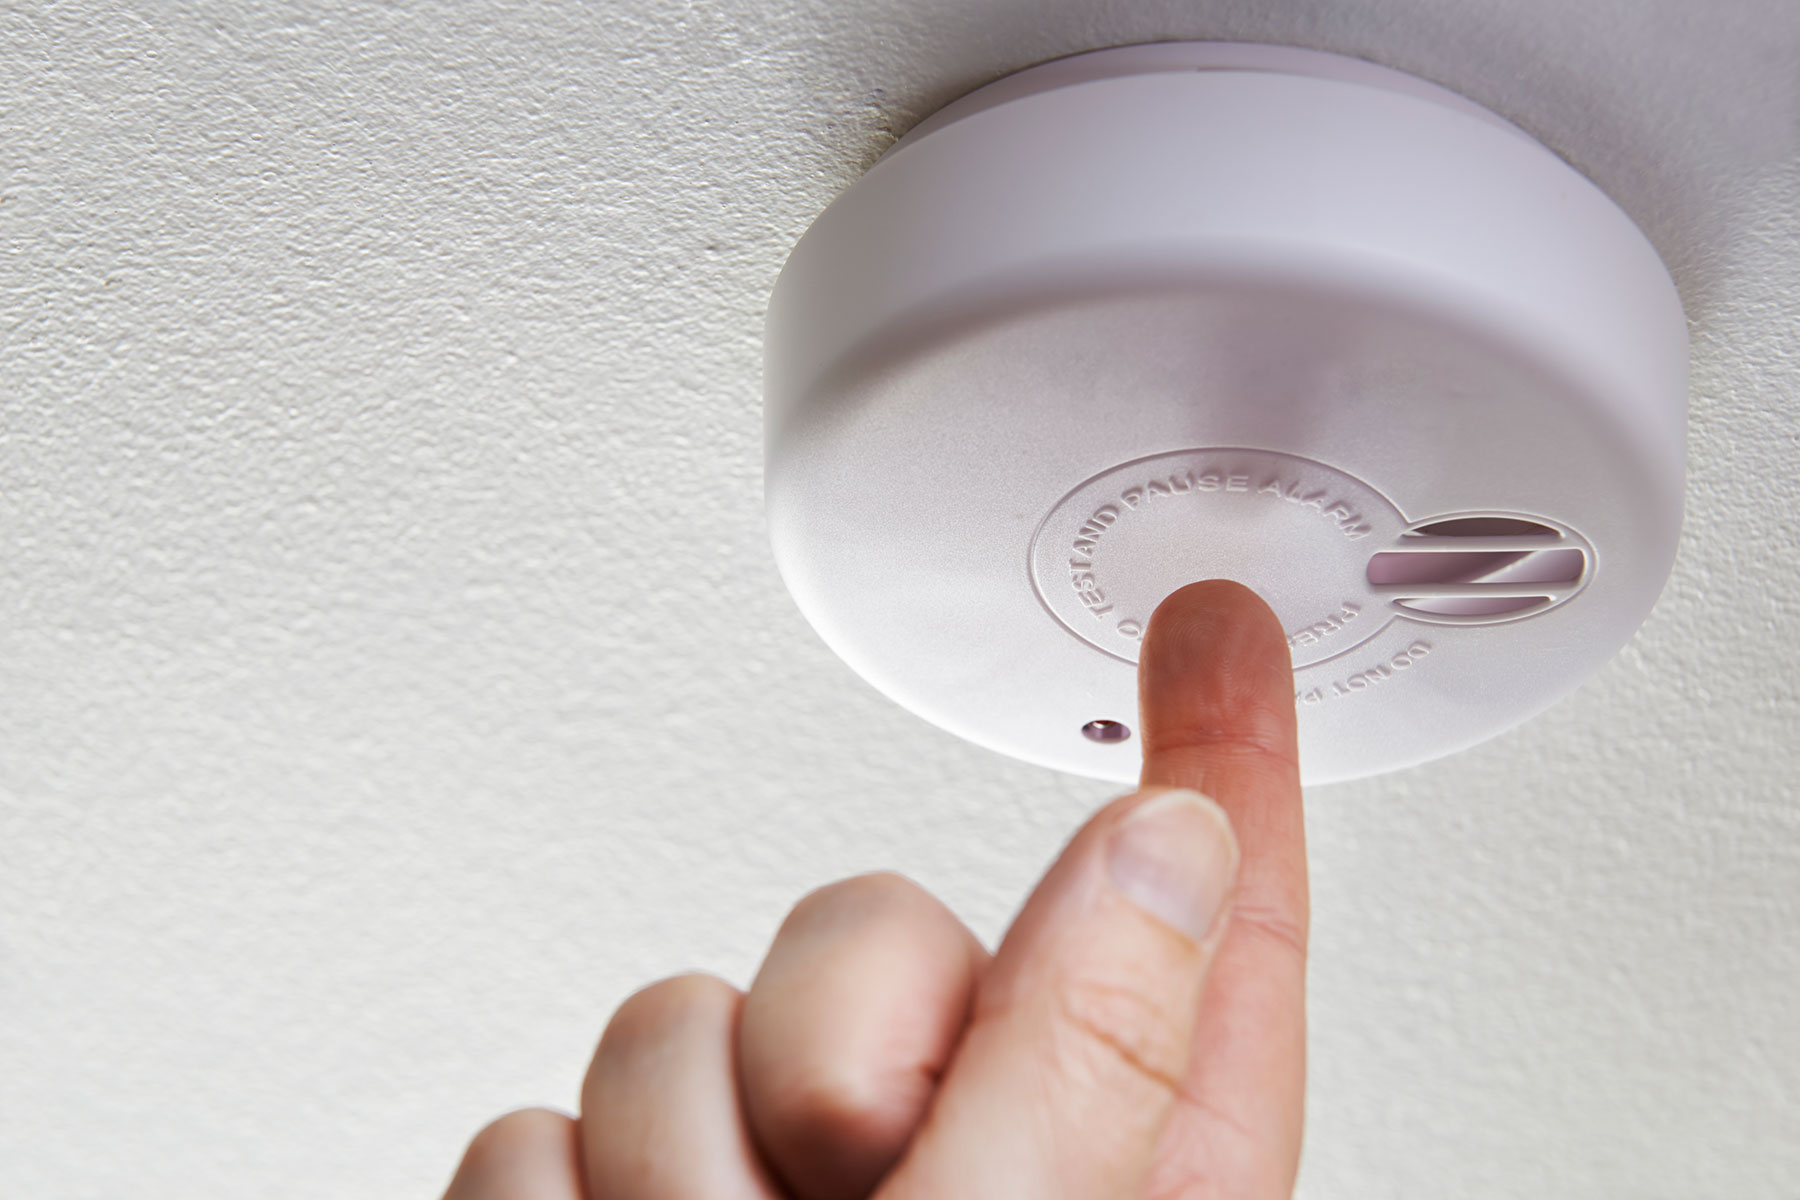
The first and most important step before removing a smoke detector is to turn off the power to the circuit it is connected to. This will prevent any electrical accidents while you work on removing the detector.
To turn off the power to the smoke detector, you can follow these steps:
- Locate your home’s electrical panel or circuit breaker box.
- Open the panel or box cover to access the circuit breakers.
- Look for the breaker that controls the circuit for the smoke detector you want to remove.
- Flip the breaker switch to the “Off” position. You can verify that the power is off by testing the smoke detector to ensure it does not sound or light up.
Once you have turned off the power, you can proceed to the next step of removing the smoke detector.
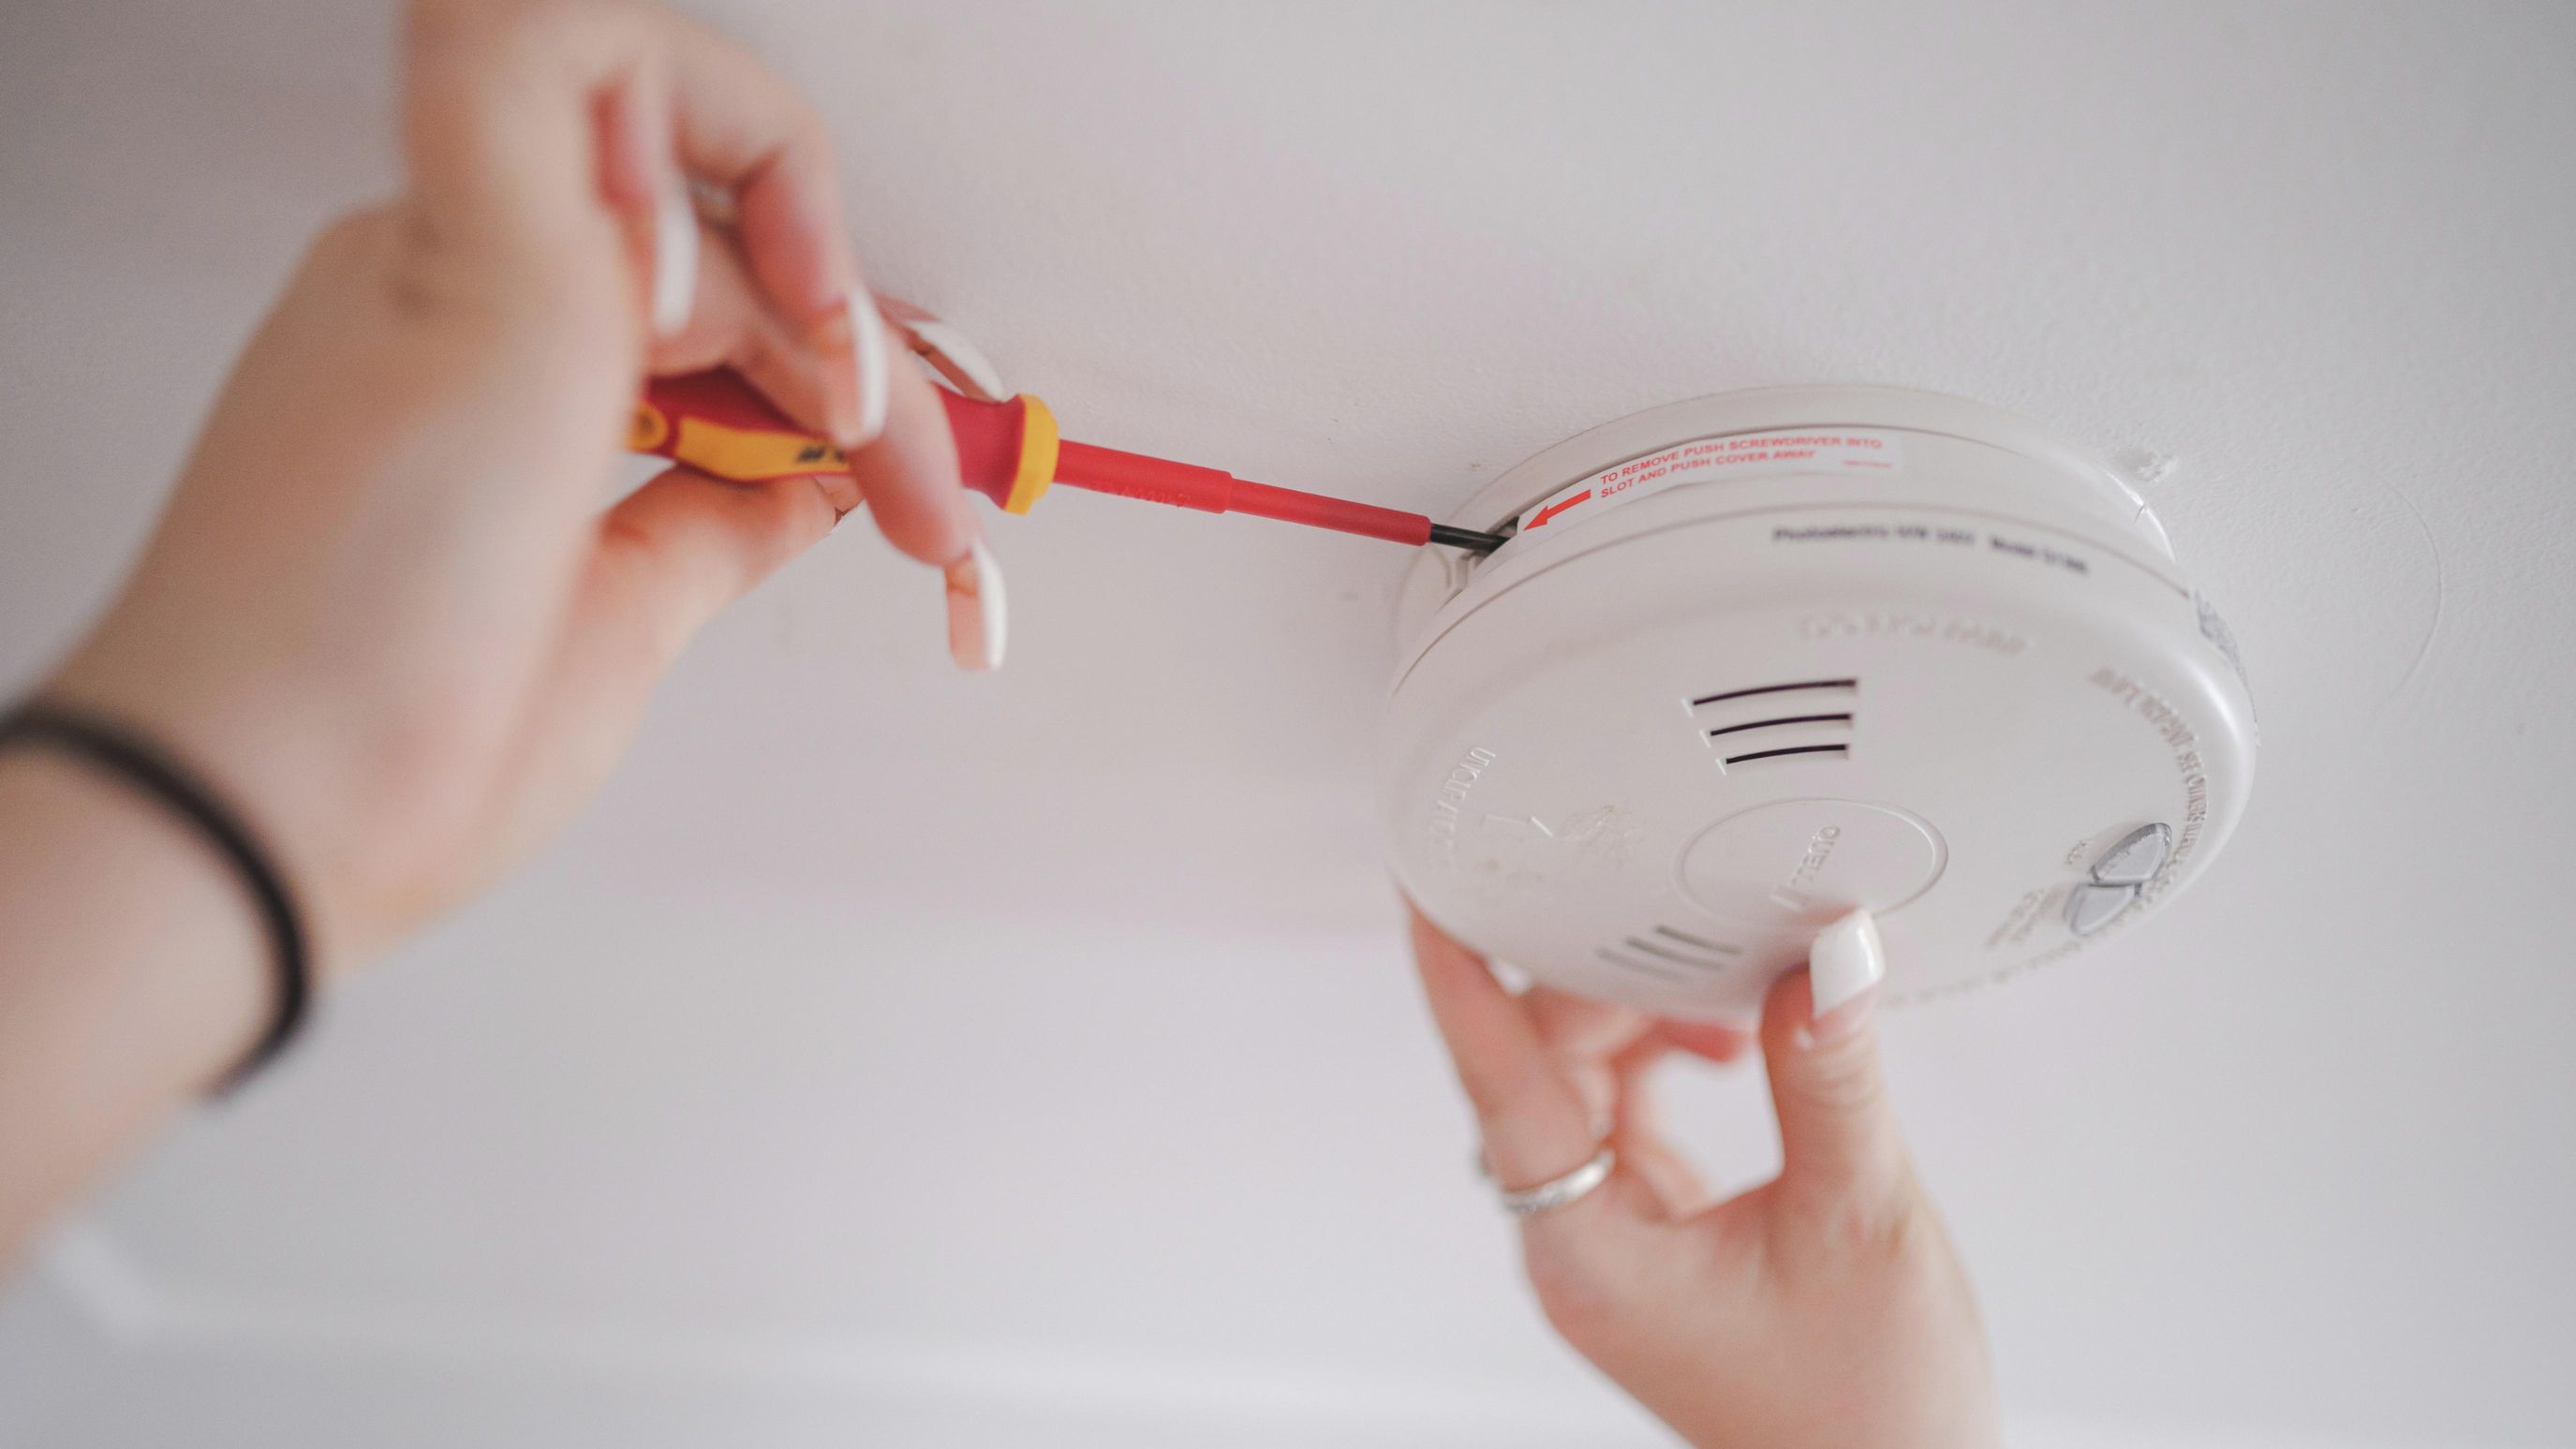
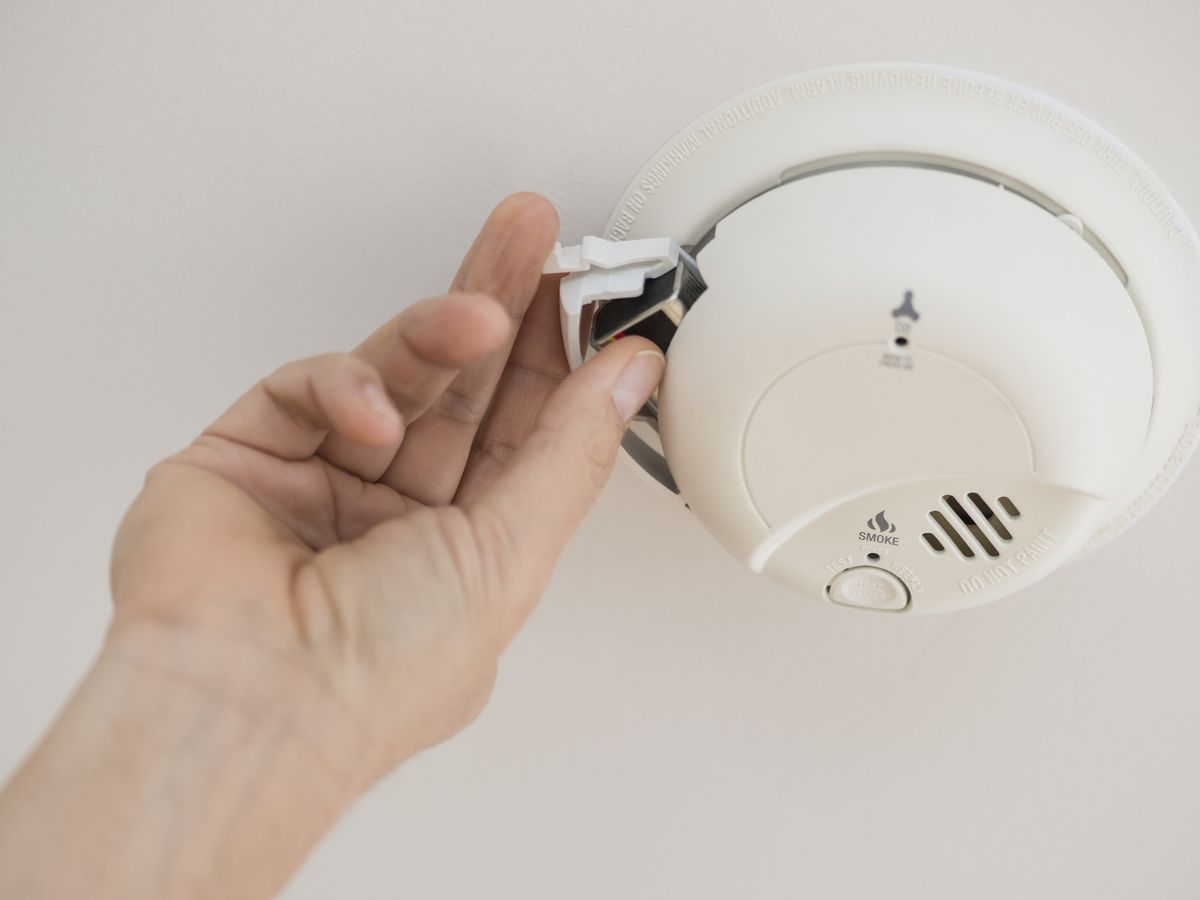
Step 2: Remove the Smoke Detector Cover
Now that the power is turned off, it’s time to remove the smoke detector cover. The cover is typically held in place by either screws or a twist-lock mechanism.
Here are the steps to remove the smoke detector cover:
- Inspect the smoke detector and locate any visible screws on the cover.
- If screws are present, use a screwdriver to loosen and remove them.
- If there are no visible screws, look for a small notch or indentation on the edge of the cover.
- If you find a notch, gently insert a flathead screwdriver or a small pry tool into the notch and carefully pry the cover away from the base of the smoke detector.
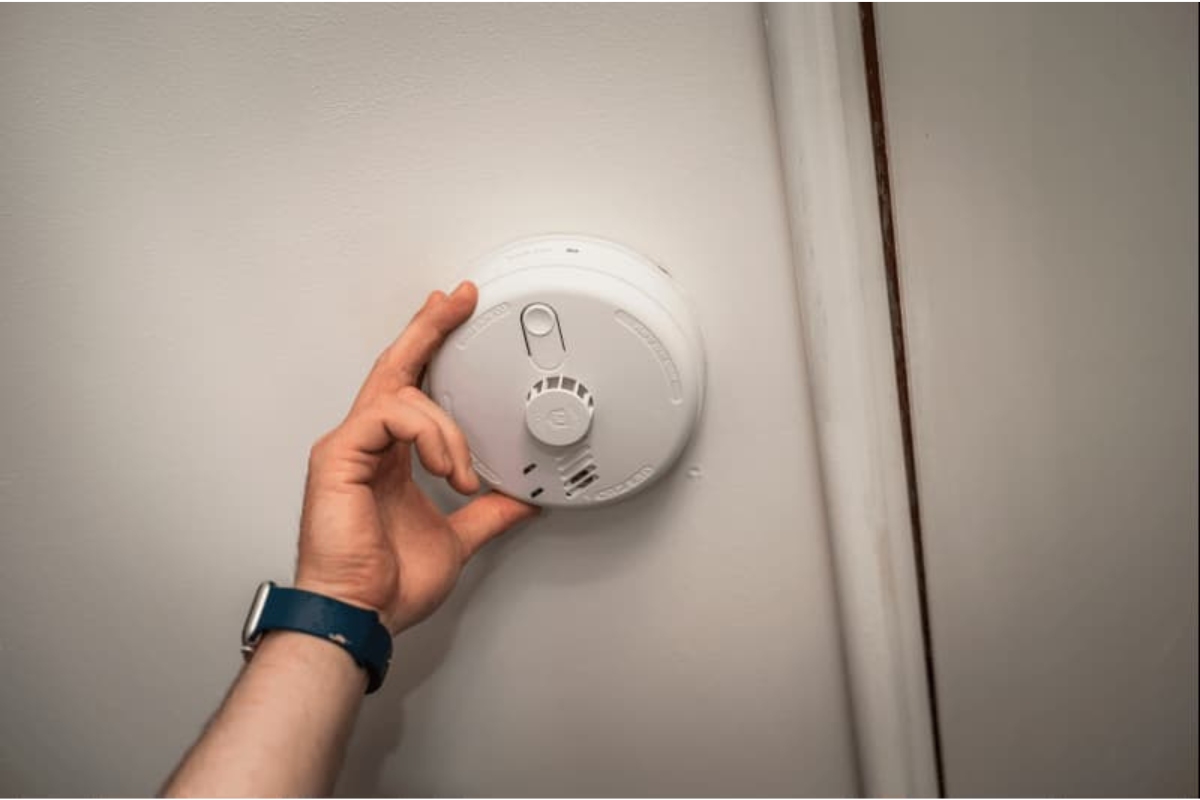
- If the cover is held in place by a twist-lock mechanism, grip the cover firmly with one hand while twisting it counterclockwise to unlock it from the base.
Once you have successfully removed the smoke detector cover, set it aside in a safe place. Be mindful of any wires or connections that may be attached to the cover.
You are now ready to proceed to the next step of disconnecting the wiring.
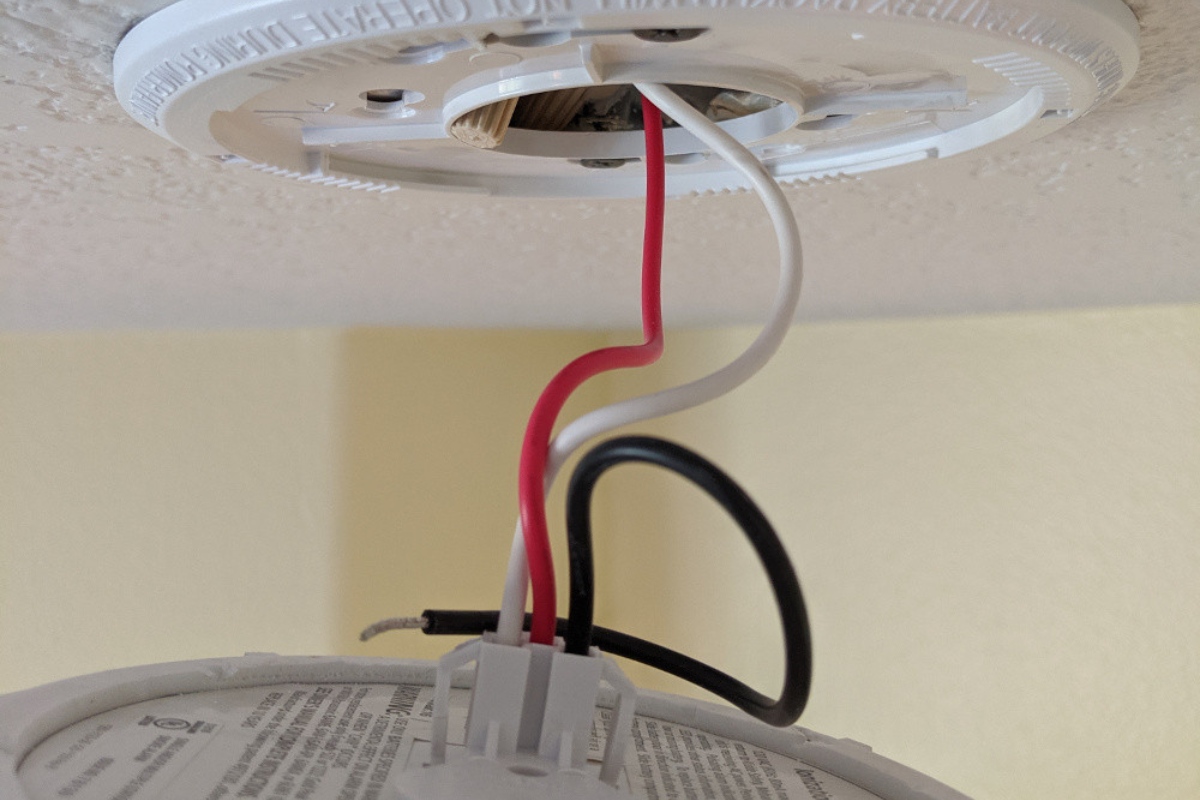
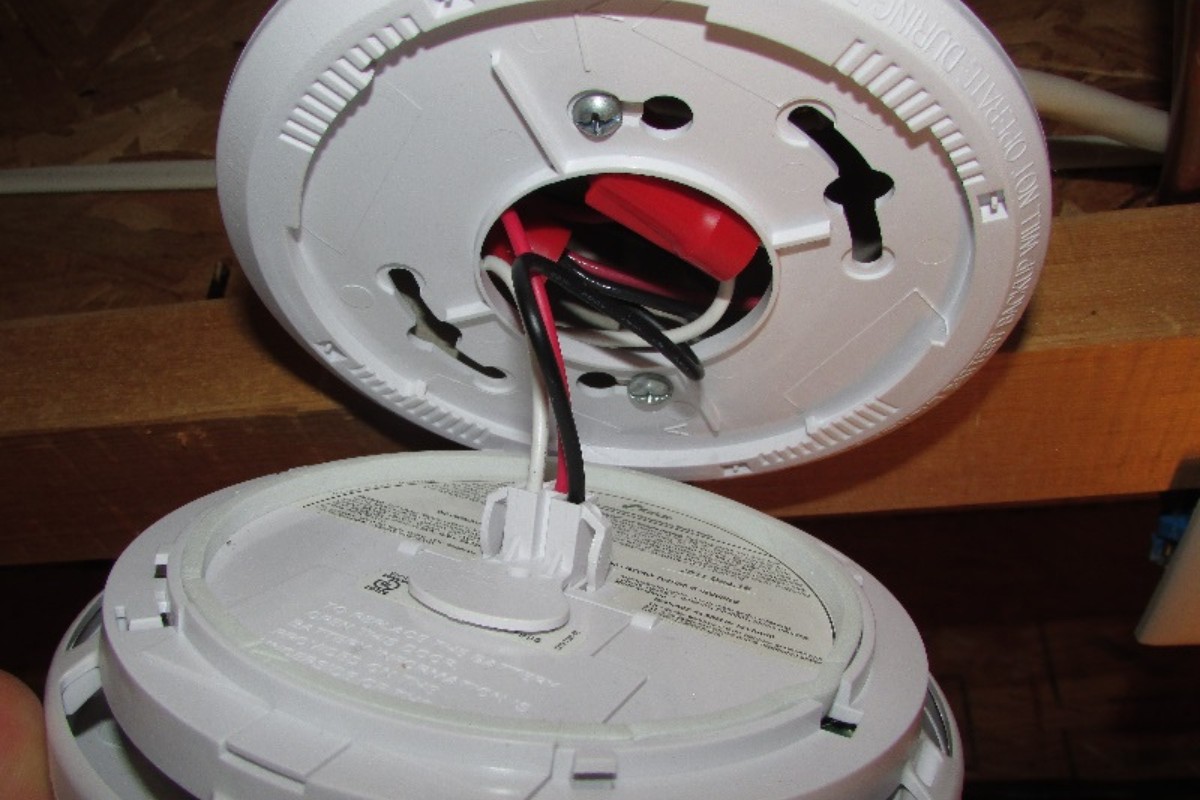
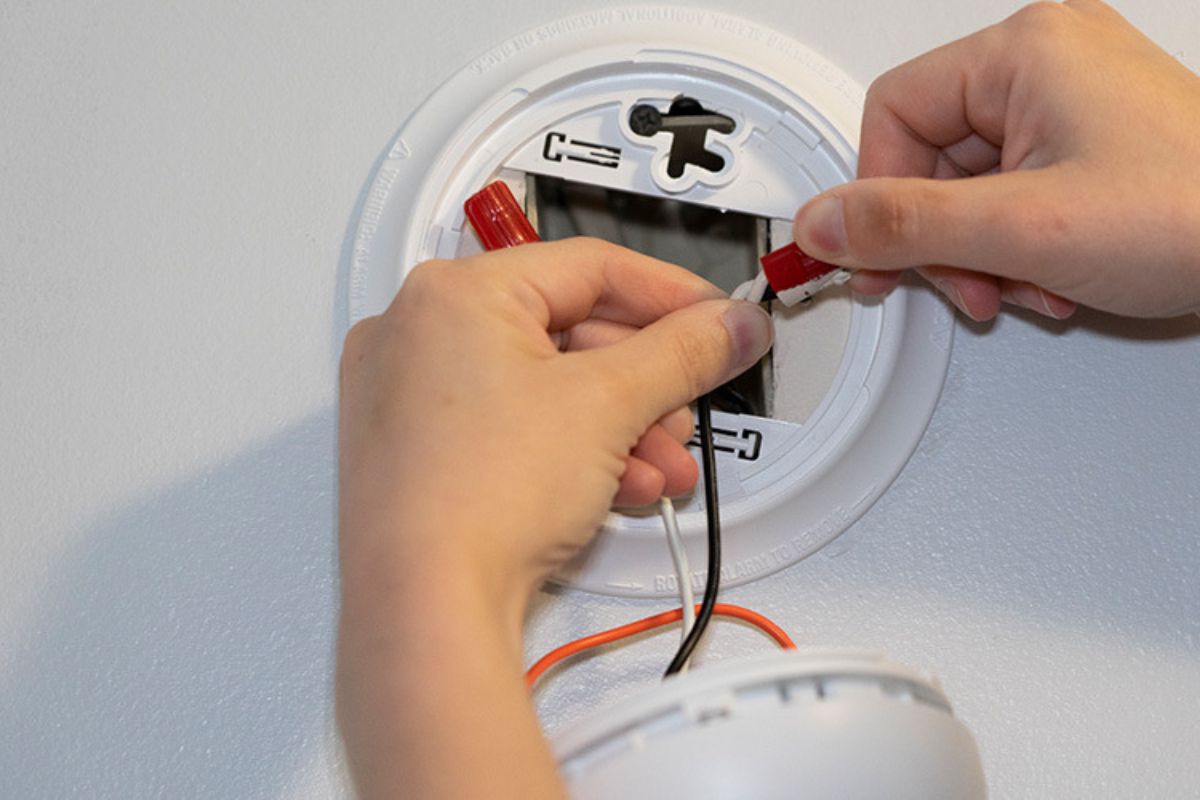
Step 3: Disconnect the Wiring
With the smoke detector cover removed, you can now move on to disconnecting the wiring. The detector is typically connected to the electrical circuit through a set of wires.
Follow these steps to disconnect the wiring:
- Identify the wiring connections on the back of the smoke detector.
- Depending on the type of smoke detector, you may see a wire harness, individual wires wrapped around terminals, or a combination of both.
- Carefully remove any wire nuts or connectors that are holding the wires together.
- If the wires are connected to terminals, use a small screwdriver to loosen the screws and release the wires.
- Before completely disconnecting the wires, take a moment to note the color-coded connections. This will be helpful when installing a new smoke detector.
Once the wiring connections are disconnected, gently guide the wires away from the smoke detector and make sure they are out of the way.
You have now successfully disconnected the wiring from the smoke detector and are ready to move on to the next step of removing the mounting bracket.
When removing a smoke detector, make sure to turn off the power to the unit at the circuit breaker before disconnecting the wires. Use a screwdriver to remove the mounting bracket and carefully detach the detector from the ceiling or wall. Dispose of the old detector properly and install a new one if necessary.
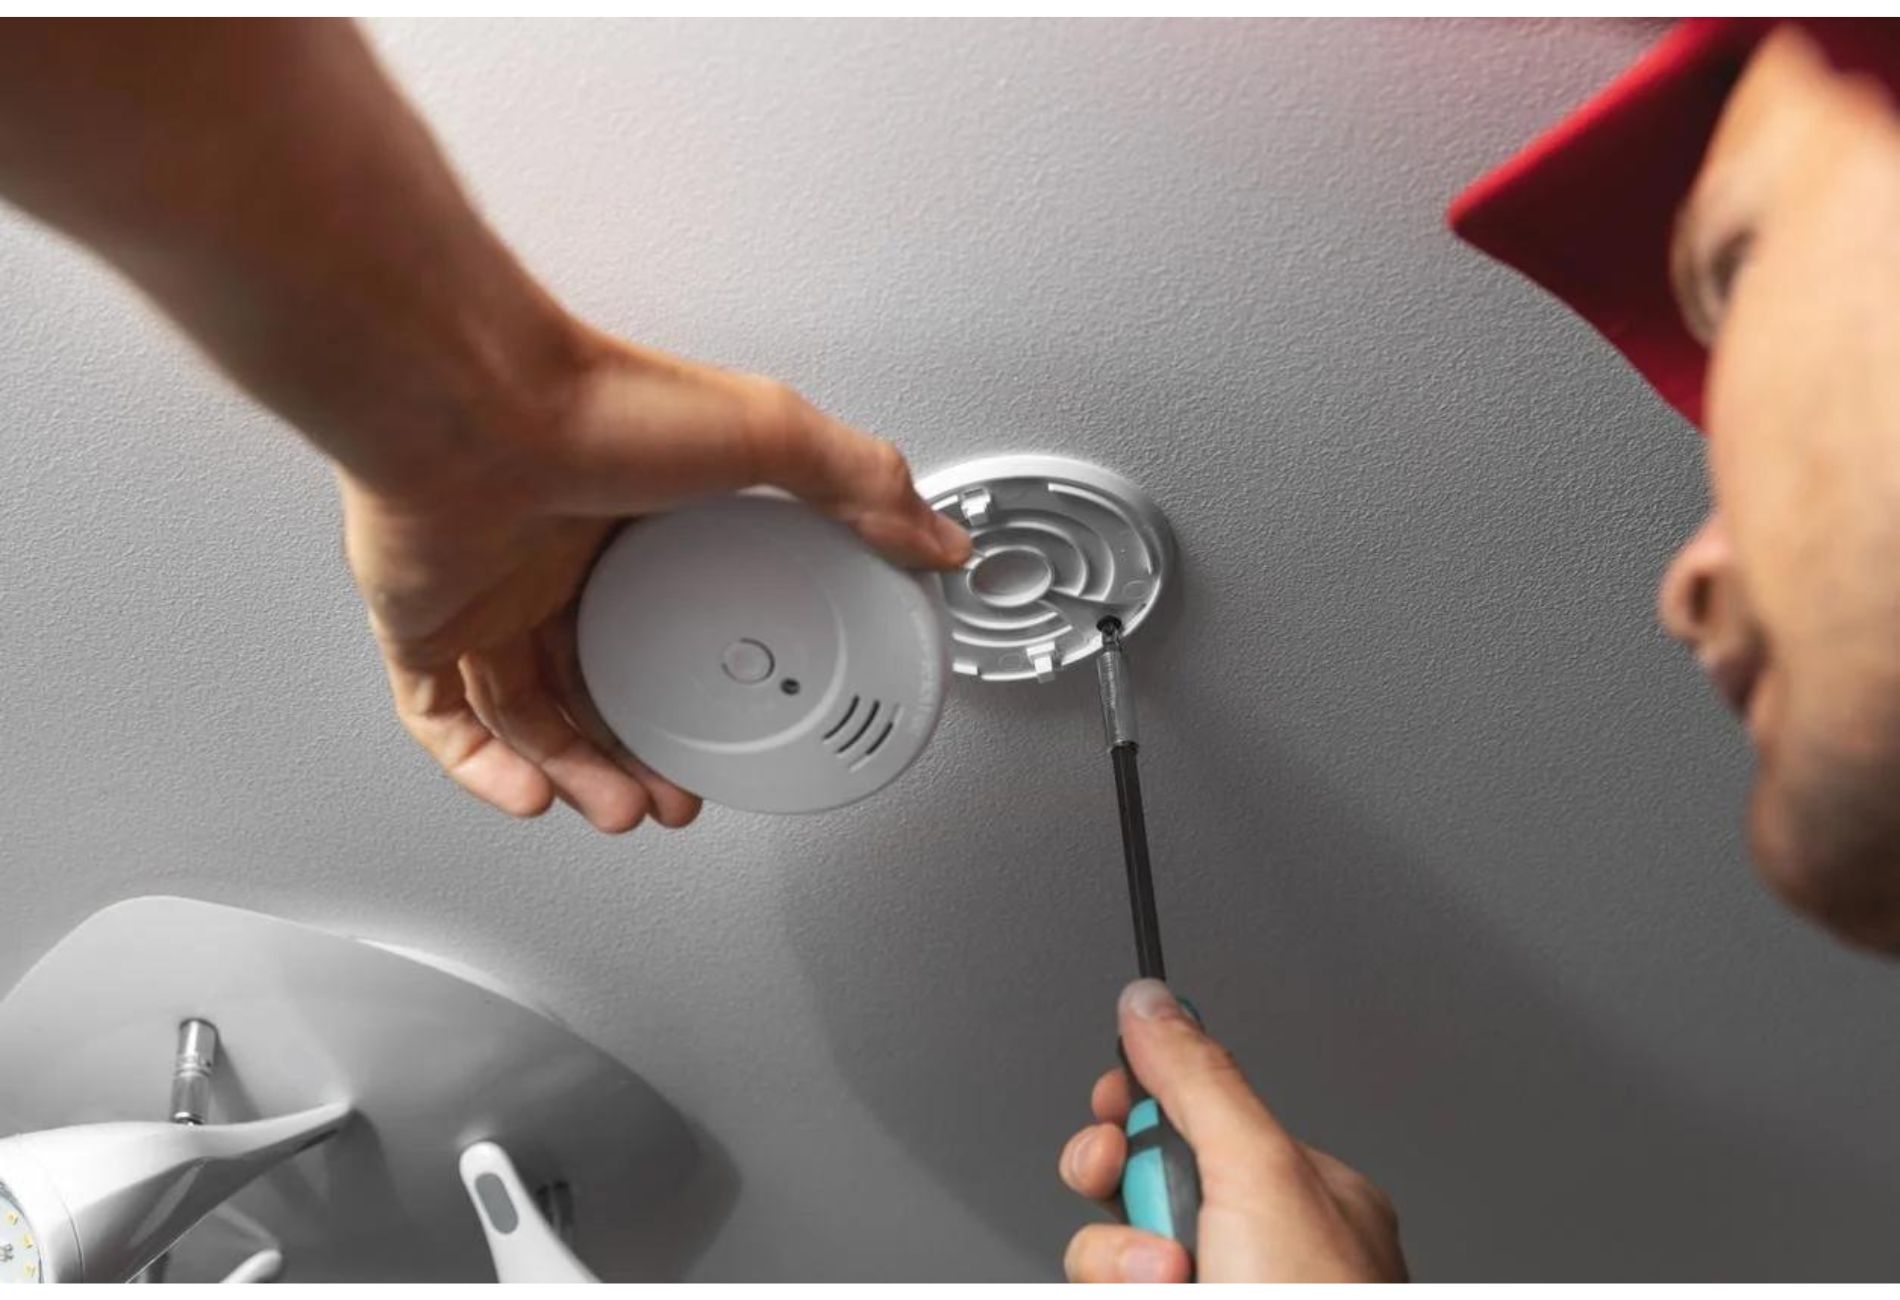
Step 4: Remove the Mounting Bracket
After disconnecting the wiring, the next step is to remove the mounting bracket that holds the smoke detector in place. The mounting bracket is usually attached to the ceiling or wall with screws.
Follow these steps to remove the mounting bracket:
- Inspect the mounting bracket and locate the screws that are securing it to the ceiling or wall.
- Using a screwdriver, carefully unscrew and remove the screws one by one.
- As you remove the screws, ensure that you are holding the smoke detector and bracket securely to prevent them from falling.
- Once all the screws are removed, gently pull the mounting bracket away from the ceiling or wall.
- Set the mounting bracket aside in a safe place, as you may need it when installing a new smoke detector.
With the mounting bracket removed, you have completed the process of removing the smoke detector from its position.
Next, we will discuss how to install a new smoke detector in its place.
Read more: How To Remove A First Alert Smoke Detector
Step 5: Install a New Smoke Detector
Now that you have successfully removed the old smoke detector, it’s time to install a new one in its place. Installing a new smoke detector ensures the continued safety and protection of your home and family.
Follow these steps to install a new smoke detector:
- Before starting, refer to the manufacturer’s instructions for the specific model of smoke detector you are installing.
- Position the mounting bracket on the ceiling or wall at the desired location. Ensure that it is securely fastened using screws appropriate for your specific mounting surface.
- If your smoke detector comes with a separate base and detector unit, align the detector unit with the mounting bracket and secure it by twisting it clockwise or following the manufacturer’s instructions.
- If your smoke detector is an all-in-one unit, ensure that it is securely attached to the mounting bracket according to the manufacturer’s instructions.
- If there are wires present, connect them to the appropriate terminals on the back of the smoke detector. Refer to the color-coded connections you noted during the removal process.
- Secure the wiring connections using wire nuts or connectors, ensuring a tight and secure connection.
- Place the smoke detector cover over the base or detector unit. Align it properly and secure it with screws or by twisting it clockwise.
- Finally, restore power to the circuit by flipping the breaker switch back to the “On” position. Test the smoke detector to ensure it is functioning correctly by pressing the test button.
With these steps followed, you have successfully installed a new smoke detector in your home.
It is important to remember that smoke detectors should be tested regularly and batteries replaced according to the manufacturer’s recommendations. This ensures that they continue to effectively detect and alert you to the presence of smoke and fire.
Congratulations! You have now completed the process of removing and installing a smoke detector.
Conclusion
Removing a smoke detector can be necessary for maintenance or when upgrading to a newer model. By following the step-by-step guide outlined in this article, you can safely and efficiently remove a smoke detector from your home.
Remember to always turn off the power to the circuit and remove the battery (if applicable) before starting any work. This ensures your safety during the removal process.
Once the power is turned off, you can proceed to remove the smoke detector cover, disconnect the wiring, remove the mounting bracket, and install a new smoke detector in its place.
When installing a new smoke detector, refer to the manufacturer’s instructions specific to the model you are working with. Ensure that the mounting bracket is securely fastened, connect the wiring correctly, and properly attach the smoke detector cover. Finally, restore power to the circuit and test the smoke detector to ensure it is functioning correctly.
Regularly testing your smoke detectors and replacing batteries as recommended by the manufacturer is crucial for maintaining their effectiveness in alerting you to the presence of smoke and fire. A well-functioning smoke detector is essential for the safety of your home and the well-being of your loved ones.
By following the steps outlined in this guide, you can confidently remove and install smoke detectors whenever needed, ensuring the continued protection of your home and peace of mind.
Remember, safety should always be your top priority when working with electrical components. If you are unsure or uncomfortable working with electricity, it is best to seek professional assistance.
Frequently Asked Questions about How To Remove A Smoke Detector
Was this page helpful?
At Storables.com, we guarantee accurate and reliable information. Our content, validated by Expert Board Contributors, is crafted following stringent Editorial Policies. We're committed to providing you with well-researched, expert-backed insights for all your informational needs.
0 thoughts on “How To Remove A Smoke Detector”