Articles
How To Open A Smoke Detector
Modified: February 24, 2024
Learn how to open a smoke detector safely and efficiently with our insightful articles. Gain expert knowledge on smoke detector maintenance and troubleshooting.
(Many of the links in this article redirect to a specific reviewed product. Your purchase of these products through affiliate links helps to generate commission for Storables.com, at no extra cost. Learn more)
Introduction
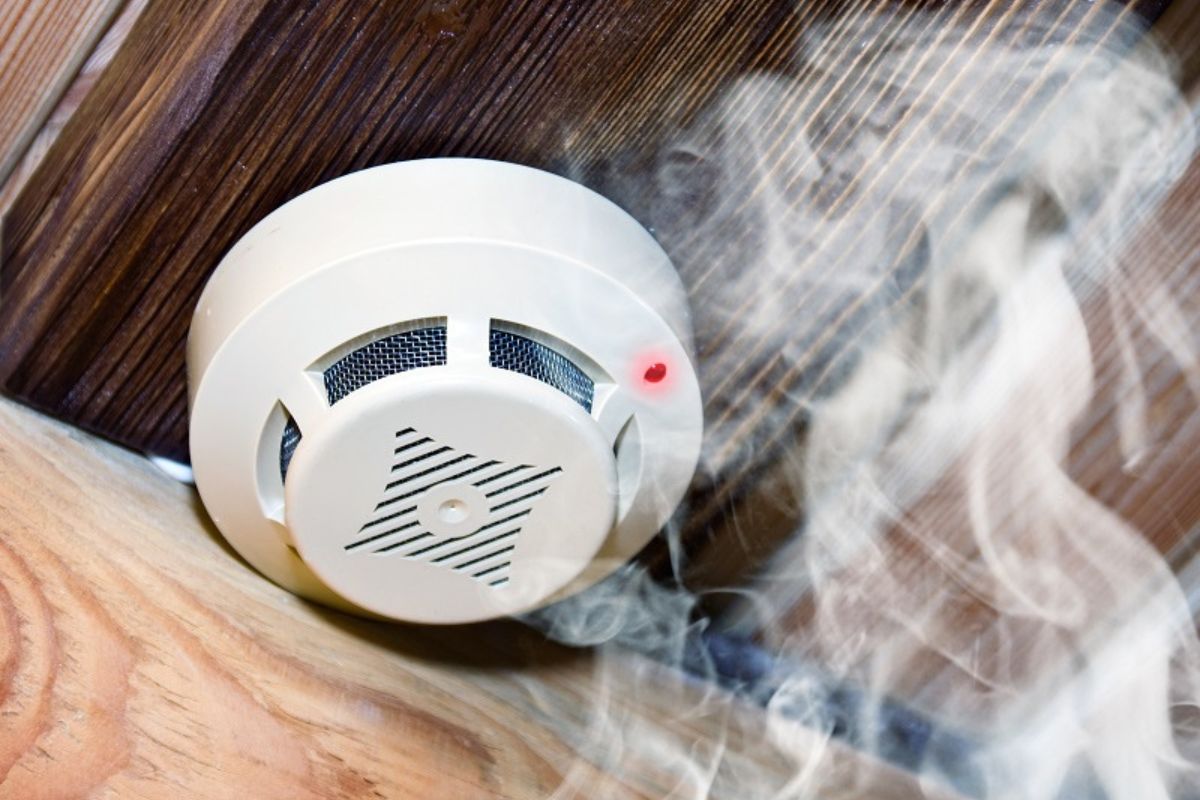
Welcome to this comprehensive guide on how to open a smoke detector. Smoke detectors are essential safety devices that help protect us from the dangers of fire by alerting us to the presence of smoke. It’s important to know how to properly open a smoke detector, whether you need to replace the batteries, clean the unit, or perform any necessary maintenance.
Understanding how smoke detectors work and being aware of the different types available on the market is crucial before attempting to open one. By following the correct steps and using the necessary tools and safety precautions, you can confidently open a smoke detector without causing any damage or compromising its functionality.
In this article, we will guide you through the process of opening a smoke detector, ensuring that you have all the information you need to do so safely and effectively. So, let’s dive in!
Key Takeaways:
- Safely opening a smoke detector involves understanding its type, gathering the right tools, and prioritizing safety measures. By following the step-by-step process, you can confidently maintain and replace your smoke detector for optimal home safety.
- Regularly testing your smoke detector is crucial for ensuring its proper functionality. By conducting monthly tests and following safety precautions, you can have peace of mind knowing that your home is well-protected from fire hazards.
Read more: How To Smoke In A Room With A Smoke Detector
Understanding Smoke Detectors
Before we delve into how to open a smoke detector, it’s important to have a basic understanding of how these devices work. Smoke detectors are designed to detect the presence of smoke, which is often an early indicator of a fire. They consist of two main components: a sensor and an alarm system.
There are two primary types of smoke detectors: ionization smoke detectors and photoelectric smoke detectors. Ionization smoke detectors use a small amount of radioactive material to detect smoke particles, while photoelectric smoke detectors use a beam of light to detect smoke particles. Both types are effective in detecting smoke, but they have different sensitivities and response times.
Ionization smoke detectors are generally more responsive to flaming fires, while photoelectric smoke detectors are more sensitive to smoldering fires. For optimal safety, a combination of both types or a dual-sensor smoke detector is often recommended.
It’s important to note that smoke detectors should be installed in every bedroom, outside each sleeping area, and on every level of the home, including the basement. Regular maintenance and testing are crucial to ensure that smoke detectors are functioning properly.
Now that you have a basic understanding of smoke detectors, let’s move on to the tools and materials you’ll need and the steps to open a smoke detector.
Gathering the Necessary Tools and Materials
Before you can begin opening a smoke detector, it’s important to gather the necessary tools and materials to ensure a smooth and safe process. Here’s a list of what you’ll need:
1. Screwdriver:
A small handheld screwdriver with interchangeable heads is essential for removing the screws that hold the smoke detector cover in place. Make sure you have a screwdriver that matches the type of screws used in your specific smoke detector model.
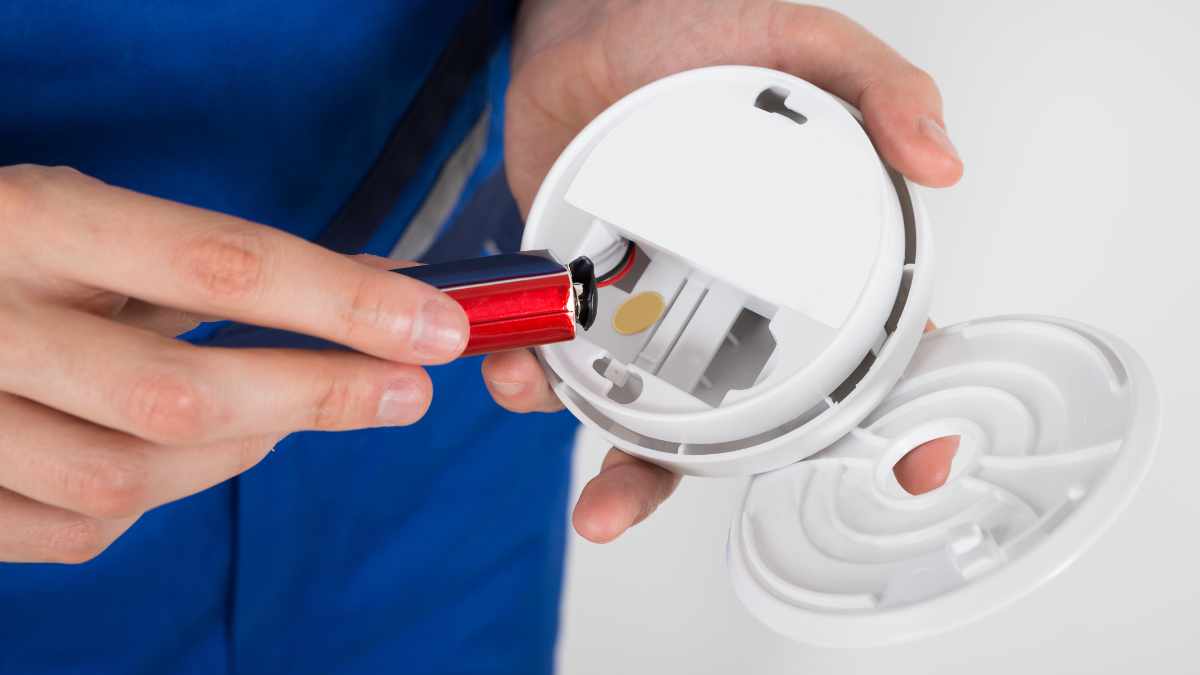
2. Replacement Batteries:
Smoke detectors are typically powered by batteries, so it’s crucial to have replacement batteries on hand. Check the user manual or the label on your smoke detector to find out the specific type of batteries required.
Read more: How To Remove A Smoke Detector
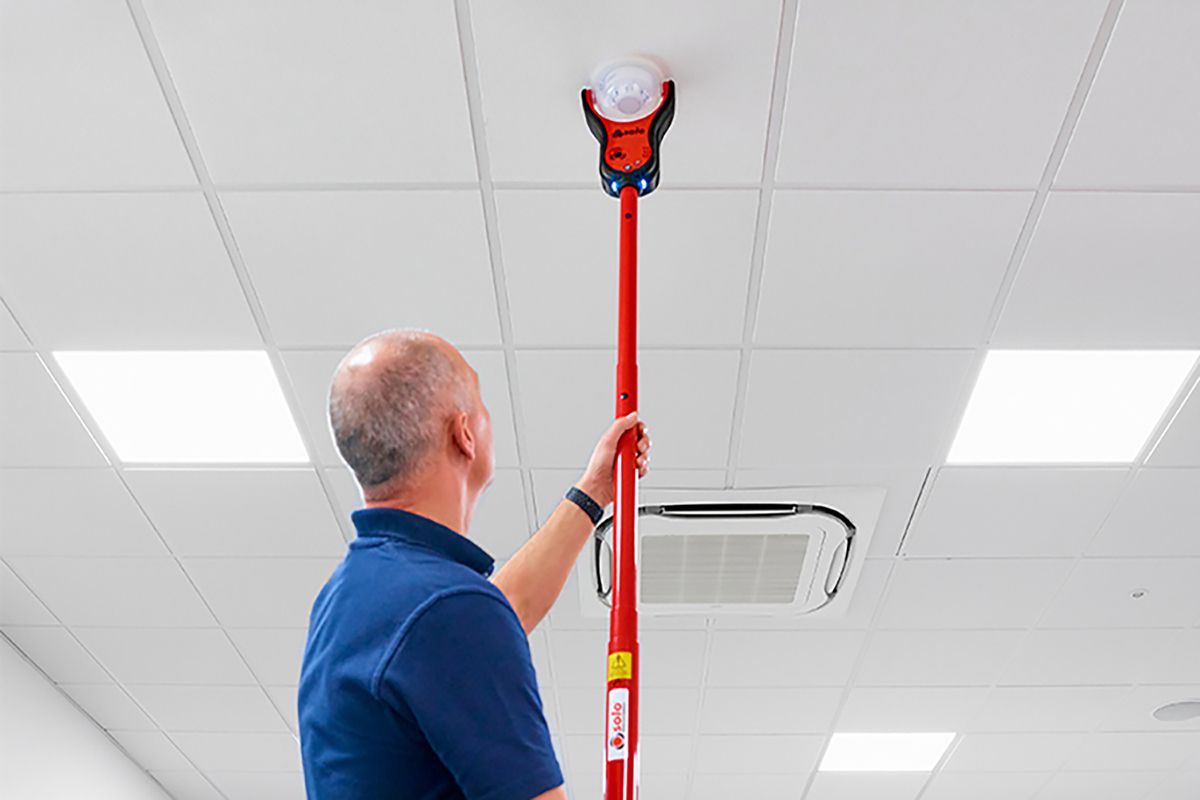
3. Ladder:
Depending on the location of your smoke detector, you may need a ladder to safely reach it. Ensure that the ladder is sturdy and secure, and always follow proper ladder safety guidelines.
4. Cleaning Supplies:
If your intention is to clean the smoke detector, gather some cleaning supplies such as a soft cloth or a small brush to remove any dust or debris that may have accumulated on the unit.
5. Safety Equipment:
It’s always a good idea to prioritize safety when working with smoke detectors. This may include wearing safety goggles, gloves, and a dust mask to protect yourself from any potential hazards.
By gathering these tools and materials before you start, you’ll be well prepared to open your smoke detector and carry out any necessary maintenance.
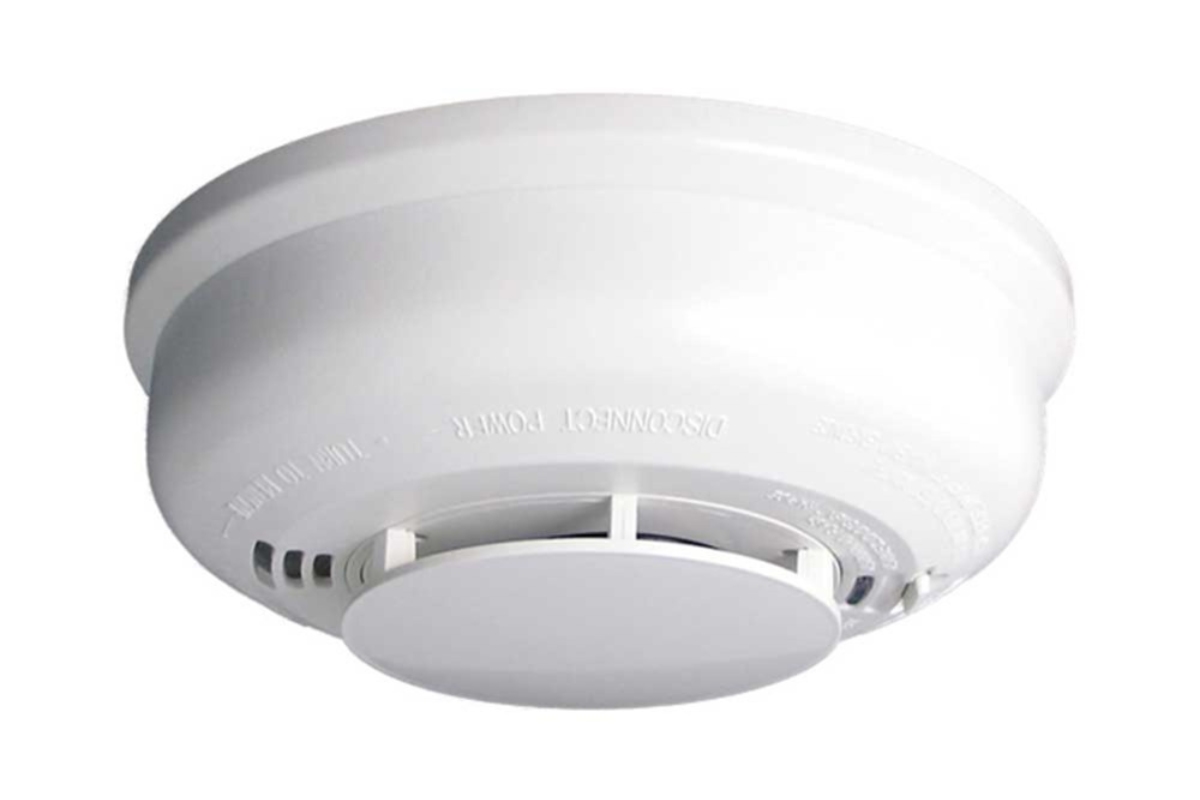
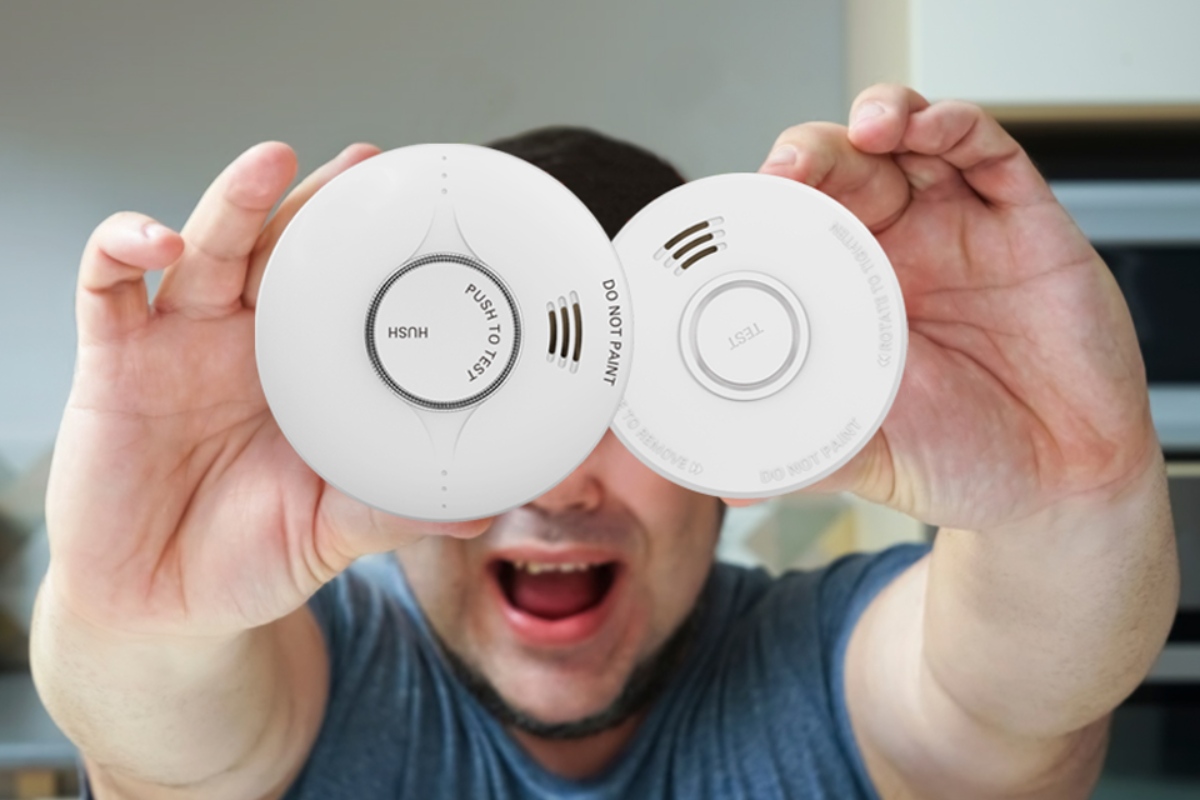
Step 1: Determine the Type of Smoke Detector
The first step in opening a smoke detector is to determine the type of smoke detector you have. As mentioned earlier, there are two primary types: ionization smoke detectors and photoelectric smoke detectors.
To identify the type of smoke detector you have, you can check the label on the device or refer to the user manual. It may also be indicated on the packaging or on the back of the unit.
Ionization smoke detectors are usually labeled as such, while photoelectric smoke detectors may be labeled as “optical” or “photo-optical.” If you’re still unsure, you can search for the model number online to find more information about its specific type.
It’s important to determine the type of smoke detector you have because different types may require slightly different procedures for opening and maintenance. This knowledge will help you proceed with confidence and ensure that you handle the smoke detector correctly.
Once you have identified the type of smoke detector, you’re ready to move on to the next step: preparing the necessary safety measures.
Read more: How To Cover A Smoke Detector
Step 2: Prepare the Necessary Safety Measures
Before opening a smoke detector, it’s crucial to prioritize safety and take the necessary precautions to protect yourself and your surroundings. Here are some important safety measures to consider:
1. Turn Off the Power:
Before working on a smoke detector, it’s essential to turn off the power to the device. This can usually be done by switching off the circuit breaker that controls the smoke detector’s electrical circuit. This precaution ensures that you won’t be exposed to any electrical hazards during the process.
2. Gather Personal Protective Equipment (PPE):
Wearing personal protective equipment (PPE) is advisable when handling a smoke detector. Consider wearing gloves, safety goggles, and a dust mask to protect yourself from potential debris, dust, or any harmful substances that may be present.
3. Clear the Surrounding Area:
Make sure the area around the smoke detector is clear and free from any obstacles or clutter. This will provide you with a safe and unobstructed working space.
Read more: What Is A Smoke Detector?
4. Utilize a Steady and Secure Platform:
If your smoke detector is out of arm’s reach, it may be necessary to use a ladder or a steady platform to safely access it. Ensure that the ladder or platform is stable and secure before climbing on it.
5. Read the User Manual:
Take a few moments to read and understand the user manual specific to your smoke detector model. The manual will provide important information regarding the correct procedures for opening and maintaining the device.
By following these safety measures, you can minimize any potential risks and ensure a safe working environment while opening your smoke detector.
Step 3: Turn Off the Power
Turning off the power is an important step before opening a smoke detector to ensure your safety and prevent any electrical mishaps. Follow these steps to turn off the power:
- Locate the Circuit Breaker: Identify the circuit breaker that controls the electrical circuit for the smoke detector. The circuit breaker box is usually located in a utility room, basement, or garage.
- Identify the Correct Circuit Breaker: Locate the circuit breaker labeled for the smoke detector or look for one that is connected to the specific area of your home where the smoke detector is installed.
- Switch Off the Circuit Breaker: Flip the switch either to the “Off” or “Off” position to cut off the power supply to the smoke detector. You may hear a click, indicating that the power has been successfully turned off.
- Double-Check the Power: To make sure the power is completely off, test the smoke detector by pressing the test button. If the smoke detector does not emit any sound or light up, it is a good indication that the power has been successfully disconnected.
By turning off the power to your smoke detector, you eliminate the risk of electrical shock and ensure a safe working environment when you proceed with opening the device.
Remember, safety should always be your top priority when handling any electrical equipment.
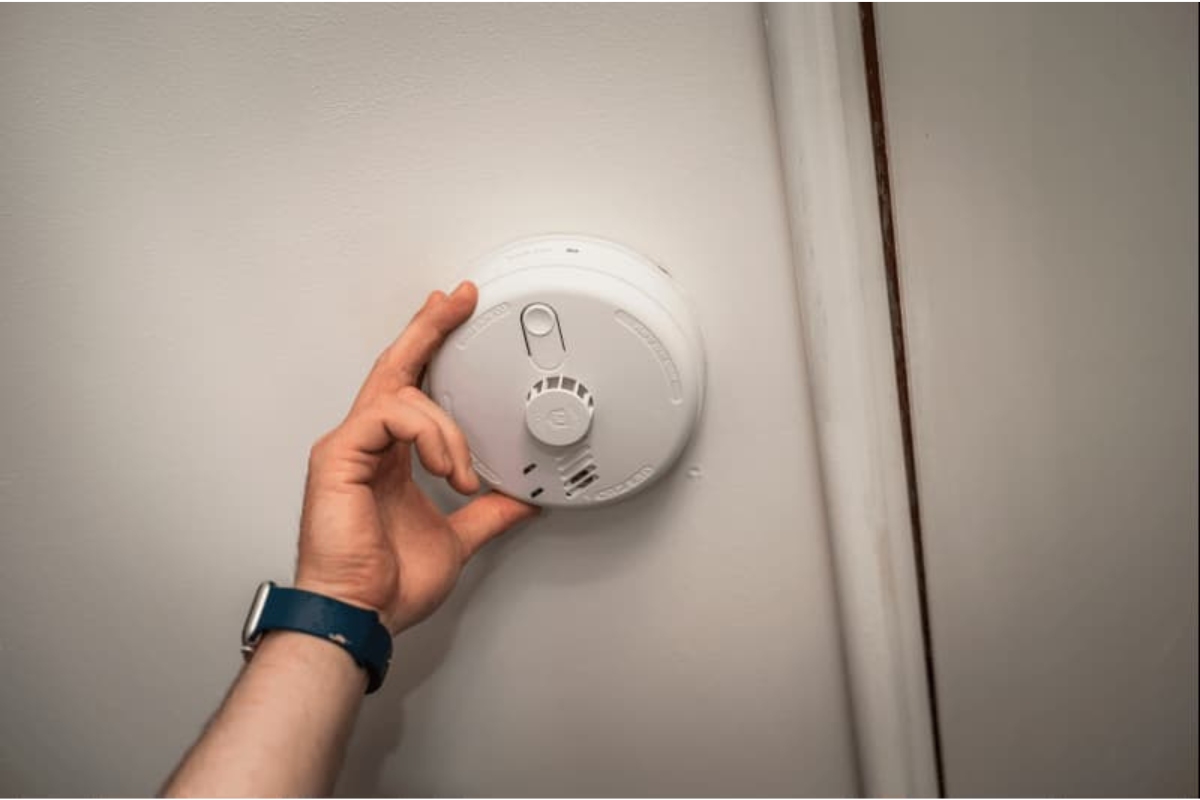
Step 4: Removing the Smoke Detector Cover
Once you have turned off the power to the smoke detector, you can proceed with removing the cover. Follow these steps to safely remove the smoke detector cover:
- Locate the Screws: Examine the smoke detector frame and locate the screws that secure the cover. Depending on the model, there may be one or more screws holding the cover in place.
- Prepare the Screwdriver: Choose the appropriate screwdriver head that matches the type of screws used in your smoke detector. Ensure that the screwdriver is securely fitted in the screw head to prevent slipping.
- Remove the Screws: Place the screwdriver into the screw head and rotate counterclockwise to loosen and remove each screw. Set the screws aside in a safe place where they won’t get lost.
- Gently Remove the Cover: Carefully lift and remove the smoke detector cover, taking note of any wires connected to the housing. If necessary, detach any wire connections using gentle pulling or by loosening screw terminals, being cautious not to damage the wires or connections.
It’s important to handle the smoke detector cover with care, as excessive force or mishandling could cause damage to the device. If you encounter any difficulties in removing the cover, consult the user manual or contact the manufacturer for guidance.
With the smoke detector cover successfully removed, you’re one step closer to opening it and performing any necessary maintenance or replacement tasks.
Read more: How To Block A Smoke Detector
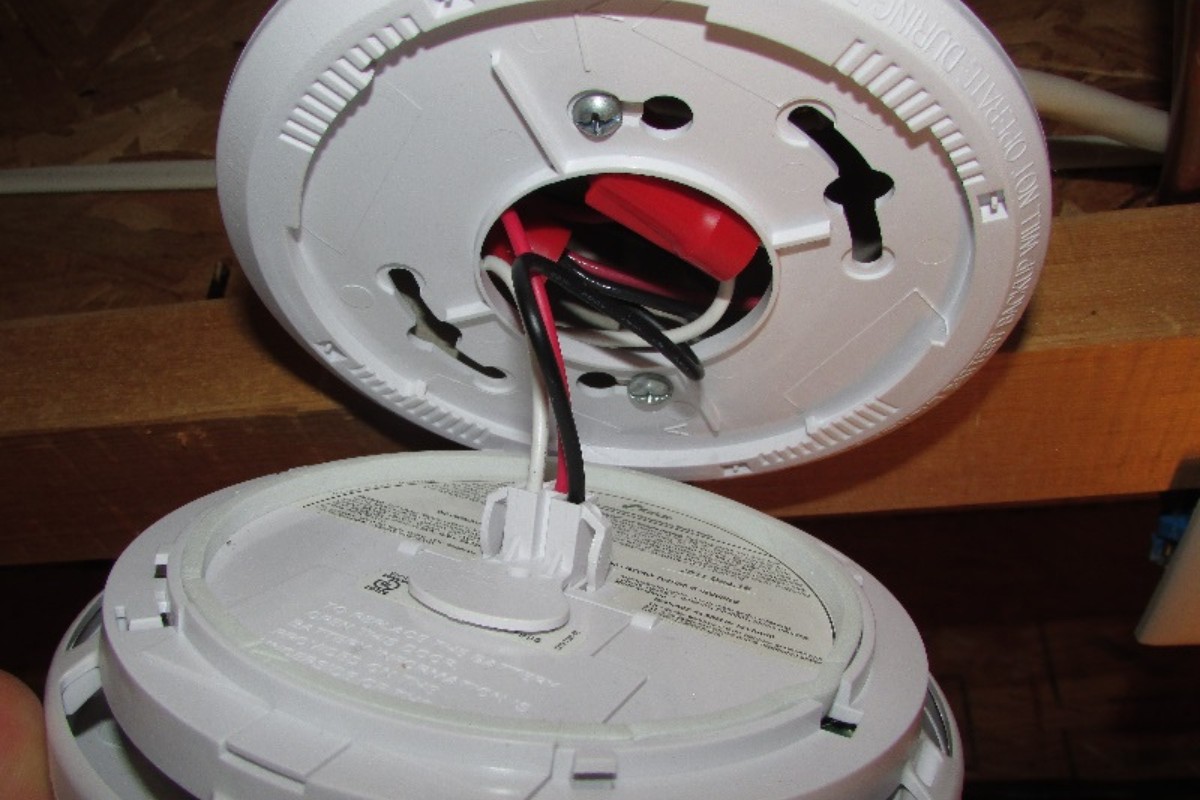
Step 5: Disconnecting the Wiring
After successfully removing the smoke detector cover, the next step is to disconnect the wiring. Follow these steps to disconnect the wiring safely:
- Examine the Wiring: Take a moment to inspect the wiring connections inside the smoke detector housing. Observe how the wires are connected and identify any terminal screws or connectors.
- Identify the Wire Connections: There may be multiple wires inside the housing, typically color-coded for easy identification. Common wire colors include black, white, and red. Refer to the user manual or documentation specific to your smoke detector model for accurate wire identification.
- Loosen Terminal Screws: If your smoke detector has terminal screws, loosen them using a screwdriver in a counterclockwise motion. As the screws loosen, the wires should come free. Be careful not to pull on the wires forcefully.
- Detach Wire Connectors: In some cases, the wires may be connected using wire connectors or twist-on wire nuts. To disconnect these types of connections, gently twist and separate the wire connectors or remove the wire nuts.
- Label and Organize the Wires: If you plan to replace the smoke detector or perform further maintenance, it’s a good practice to label and organize the wires. This will make it easier to reconnect them correctly later on. Use masking tape or small adhesive labels to mark each wire’s position or take a photo for reference.
By carefully disconnecting the wiring, you ensure a smooth process of opening and working on the smoke detector. Take your time, be gentle, and refer to the user manual or documentation for any specific instructions or troubleshooting tips.
With the wiring successfully disconnected, you’re now ready to proceed with installing the new smoke detector or performing any necessary maintenance tasks.
Step 6: Installing the New Smoke Detector
Once you have removed the old smoke detector and disconnected the wiring, it’s time to install the new smoke detector. Follow these steps for a successful installation:
- Read the User Manual: Take a moment to read the user manual or any accompanying instructions that come with the new smoke detector. Familiarize yourself with any specific installation requirements or recommendations provided by the manufacturer.
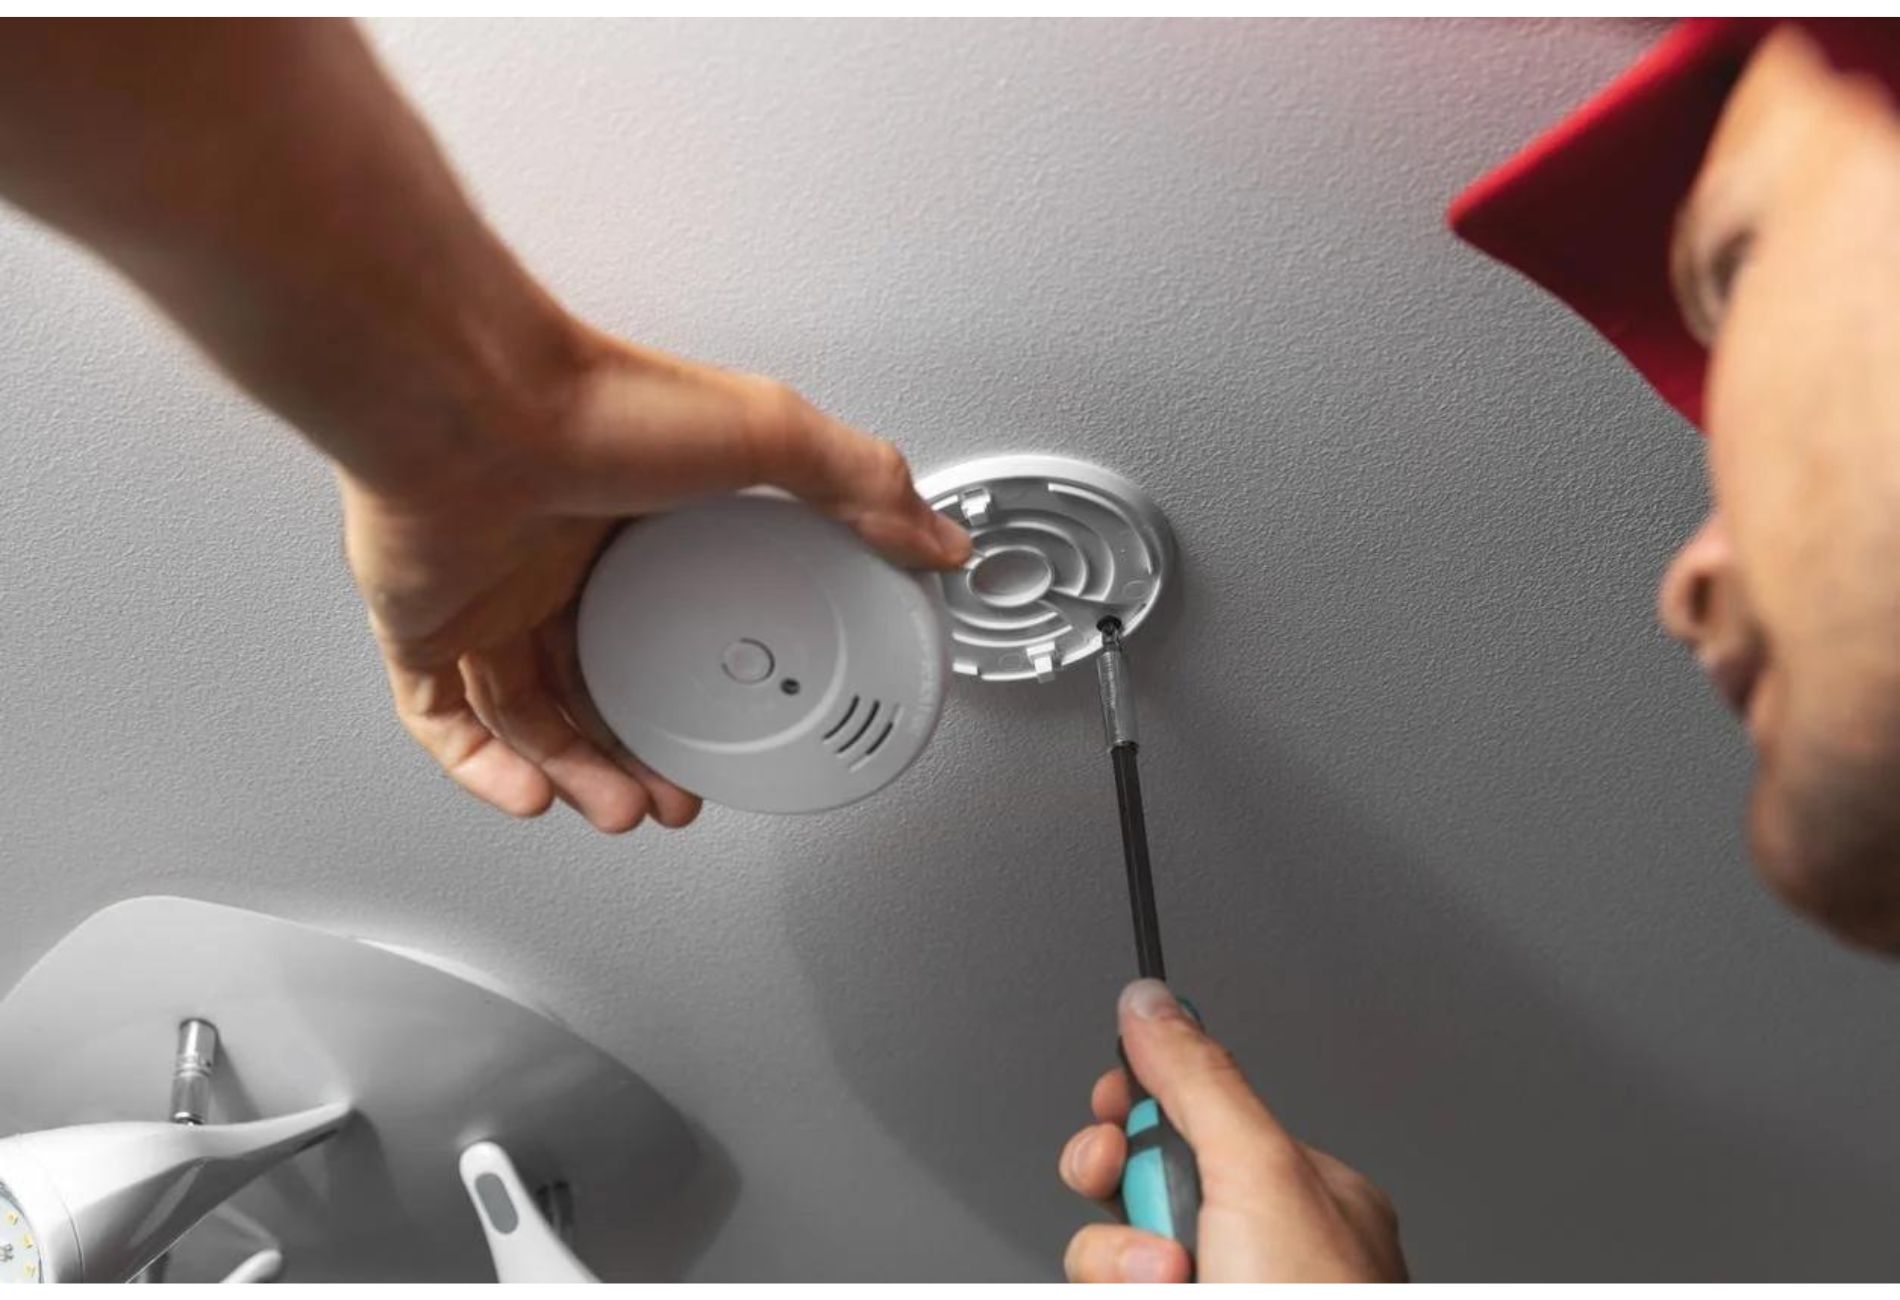
- Align the Mounting Bracket: Position the new smoke detector’s mounting bracket on the wall or ceiling where the old smoke detector was previously installed. Ensure that the mounting holes align with the existing mounting holes or, if necessary, use a pencil or marker to mark the positions for new holes.
- Secure the Mounting Bracket: Use screws or the appropriate hardware provided with the new smoke detector to secure the mounting bracket in place. Make sure the bracket is firmly attached to the wall or ceiling and can support the weight of the smoke detector.
- Connect the Wiring: Reconnect the wires to the corresponding terminals or wire connectors in the new smoke detector. Match the labeled or color-coded wires to their appropriate connections. Use the screwdriver to tighten the terminal screws securely, creating a solid connection.
- Attach the Smoke Detector: Carefully align the smoke detector with the mounting bracket and slide it into place. Depending on the model, you may need to twist or lock the smoke detector onto the bracket. Ensure it is securely attached and does not wobble or move.
- Test the Smoke Detector: Once the smoke detector is installed, follow the manufacturer’s instructions to test the unit. Press the test button and listen for the alarm or observe any indicator lights to verify that the smoke detector is functioning correctly.
It’s essential to follow the manufacturer’s instructions and guidelines to ensure the proper installation of the new smoke detector. If you encounter any difficulties or have questions, consult the user manual or contact the manufacturer or a professional for assistance.
With the new smoke detector successfully installed, you can now move on to the final step: testing the smoke detector to ensure its proper functionality.
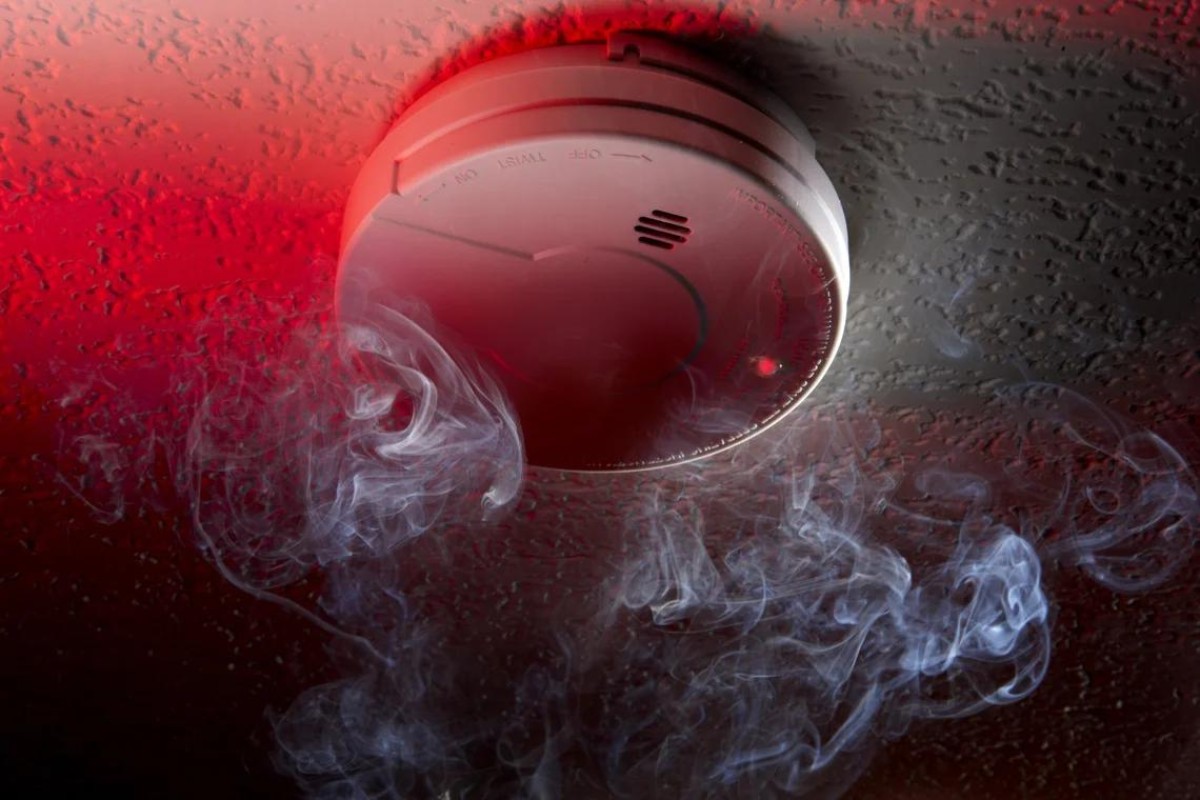
Step 7: Testing the Smoke Detector
The final step in the process of opening a smoke detector is to test its functionality. Testing the smoke detector ensures that it is working properly and will effectively detect and alert you in the event of a fire. Here’s how to test your smoke detector:
- Notify Household Members: Inform everyone in your household that you will be conducting a test on the smoke detector. This will prevent any unnecessary panic or alarm when the alarm sounds.
- Access the Test Button: Locate the test button on the smoke detector. It is usually labeled and can be easily pressed to initiate the testing process.
- Press the Test Button: Press and hold the test button for a few seconds. This will simulate a smoke condition and trigger the alarm for testing purposes.
- Observe and Listen: As you press the test button, observe the smoke detector’s response. The alarm should sound loudly, and the indicator lights may flash or illuminate, depending on the model.
- Check for Adequate Sound and Visibility: Ensure that the alarm sound is loud and audible throughout your home. Walk to different areas and rooms to confirm that you can hear the alarm from various locations. Additionally, verify that the indicator lights are clearly visible.
- Reset the Smoke Detector: After testing, reset the smoke detector by pressing any reset buttons or by reconnecting the power supply, if applicable. Refer to the user manual for specific instructions on how to reset your smoke detector.
Testing your smoke detector regularly is essential for maintaining its functionality and ensuring your safety. Performing this test periodically, such as once a month, is recommended.
If the smoke detector does not emit a sound or the alarm does not function as expected during testing, refer to the user manual for troubleshooting tips or contact the manufacturer for further assistance.
With the smoke detector successfully tested and functioning correctly, you have completed the process of opening a smoke detector and can now have peace of mind knowing that you have a reliable and operational safety device in your home.
Conclusion
Opening a smoke detector is an essential skill that allows you to perform maintenance, replace batteries, or clean the device, ensuring its optimal performance in detecting smoke and keeping you and your loved ones safe. By following the steps outlined in this guide, you can confidently open a smoke detector without causing any damage or compromising its functionality.
We began by understanding the different types of smoke detectors and the importance of having them installed in strategic locations throughout your home. Gathering the necessary tools and materials, such as a screwdriver, replacement batteries, and safety equipment, is crucial for a smooth and safe process.
We then walked through each step, from determining the type of smoke detector and preparing the necessary safety measures to turning off the power, removing the cover, disconnecting the wiring, installing the new smoke detector, and finally, testing its functionality.
Throughout the process, safety should be your top priority. Ensure you always turn off the power, use personal protective equipment, clear the surrounding area, and work on a steady platform. Following these safety measures will minimize risks and help you complete the task safely.
Remember to consult the user manual and manufacturer’s instructions specific to your smoke detector model for any additional recommendations or troubleshooting steps.
Regularly testing your smoke detector is crucial for maintaining its functionality. By periodically conducting tests, you can verify that the alarm sound is loud and audible and that the indicator lights are visible throughout your home.
Opening a smoke detector may seem daunting at first, but with the proper tools, knowledge, and safety precautions, you can successfully navigate the process. By taking the time to open and maintain your smoke detector, you are taking a proactive step towards safeguarding your home and loved ones from the dangers of fire.
Stay vigilant, follow the necessary maintenance schedule, and always prioritize safety when it comes to your smoke detectors. With these precautions in place, you can have peace of mind knowing that your smoke detectors are ready to swiftly alert you in case of a fire emergency.
Frequently Asked Questions about How To Open A Smoke Detector
Was this page helpful?
At Storables.com, we guarantee accurate and reliable information. Our content, validated by Expert Board Contributors, is crafted following stringent Editorial Policies. We're committed to providing you with well-researched, expert-backed insights for all your informational needs.

0 thoughts on “How To Open A Smoke Detector”