Home>Articles>How To Take A Battery Out From A Smoke Detector
Articles
How To Take A Battery Out From A Smoke Detector
Modified: October 22, 2024
Learn how to safely remove a battery from a smoke detector in this informative article. Properly maintaining your smoke detector is crucial for home safety.
(Many of the links in this article redirect to a specific reviewed product. Your purchase of these products through affiliate links helps to generate commission for Storables.com, at no extra cost. Learn more)
Introduction
Smoke detectors are an essential safety feature in every home or business, providing early warning in the event of a fire. Regular maintenance, including replacing the batteries, is crucial to ensure their proper functioning. However, many people may be unsure of how to take a battery out from a smoke detector without causing any damage or triggering false alarms.
In this article, we will guide you through the step-by-step process of safely removing the battery from a smoke detector. By following these instructions, you can replace the battery efficiently while minimizing any potential risks or inconveniences.
Before we dive into the details, it’s important to note that smoke detectors can vary in design and functionality. Therefore, we recommend consulting the user manual or contacting the manufacturer for specific instructions tailored to your smoke detector model. However, the general steps outlined in this article are applicable to most smoke detectors on the market.
Now, let’s get started with the first step: turning off the power to the smoke detector.
Key Takeaways:
- Safely replace smoke detector batteries by following 10 simple steps, ensuring proper functionality and minimizing false alarms. Regular maintenance is key to fire safety.
- Turn off power, locate the detector, remove the cover, identify the battery compartment, and replace the battery with ease. Regular testing ensures optimal functionality.
Read more: How To Put A Battery In A Smoke Detector
Step 1: Turn off the Power
Before attempting to remove the battery from a smoke detector, it is essential to turn off the power to the detector. This step ensures your safety and prevents unnecessary alarms from being triggered during the battery replacement process.
The power to the smoke detector is typically controlled by a circuit breaker or a power switch located near the smoke detector itself or in the breaker box. Here is how you can turn off the power:
- Locate the circuit breaker or power switch that controls the smoke detector.
- If using a circuit breaker, identify the specific breaker dedicated to the smoke detector. It may be labeled as “smoke detector” or “fire alarm”.
- If using a power switch, usually found near the smoke detector, flip it to the off position.
Once the power is turned off, you can proceed to safely remove the smoke detector’s battery without worrying about any electrical shocks or triggering false alarms.
Please keep in mind that if your smoke detector is hard-wired or connected to a security system, additional precautions may be necessary. Consult the user manual or reach out to a professional electrician for guidance specific to your setup.
With the power turned off, we can now move on to the next step: locating the smoke detector within your premises.
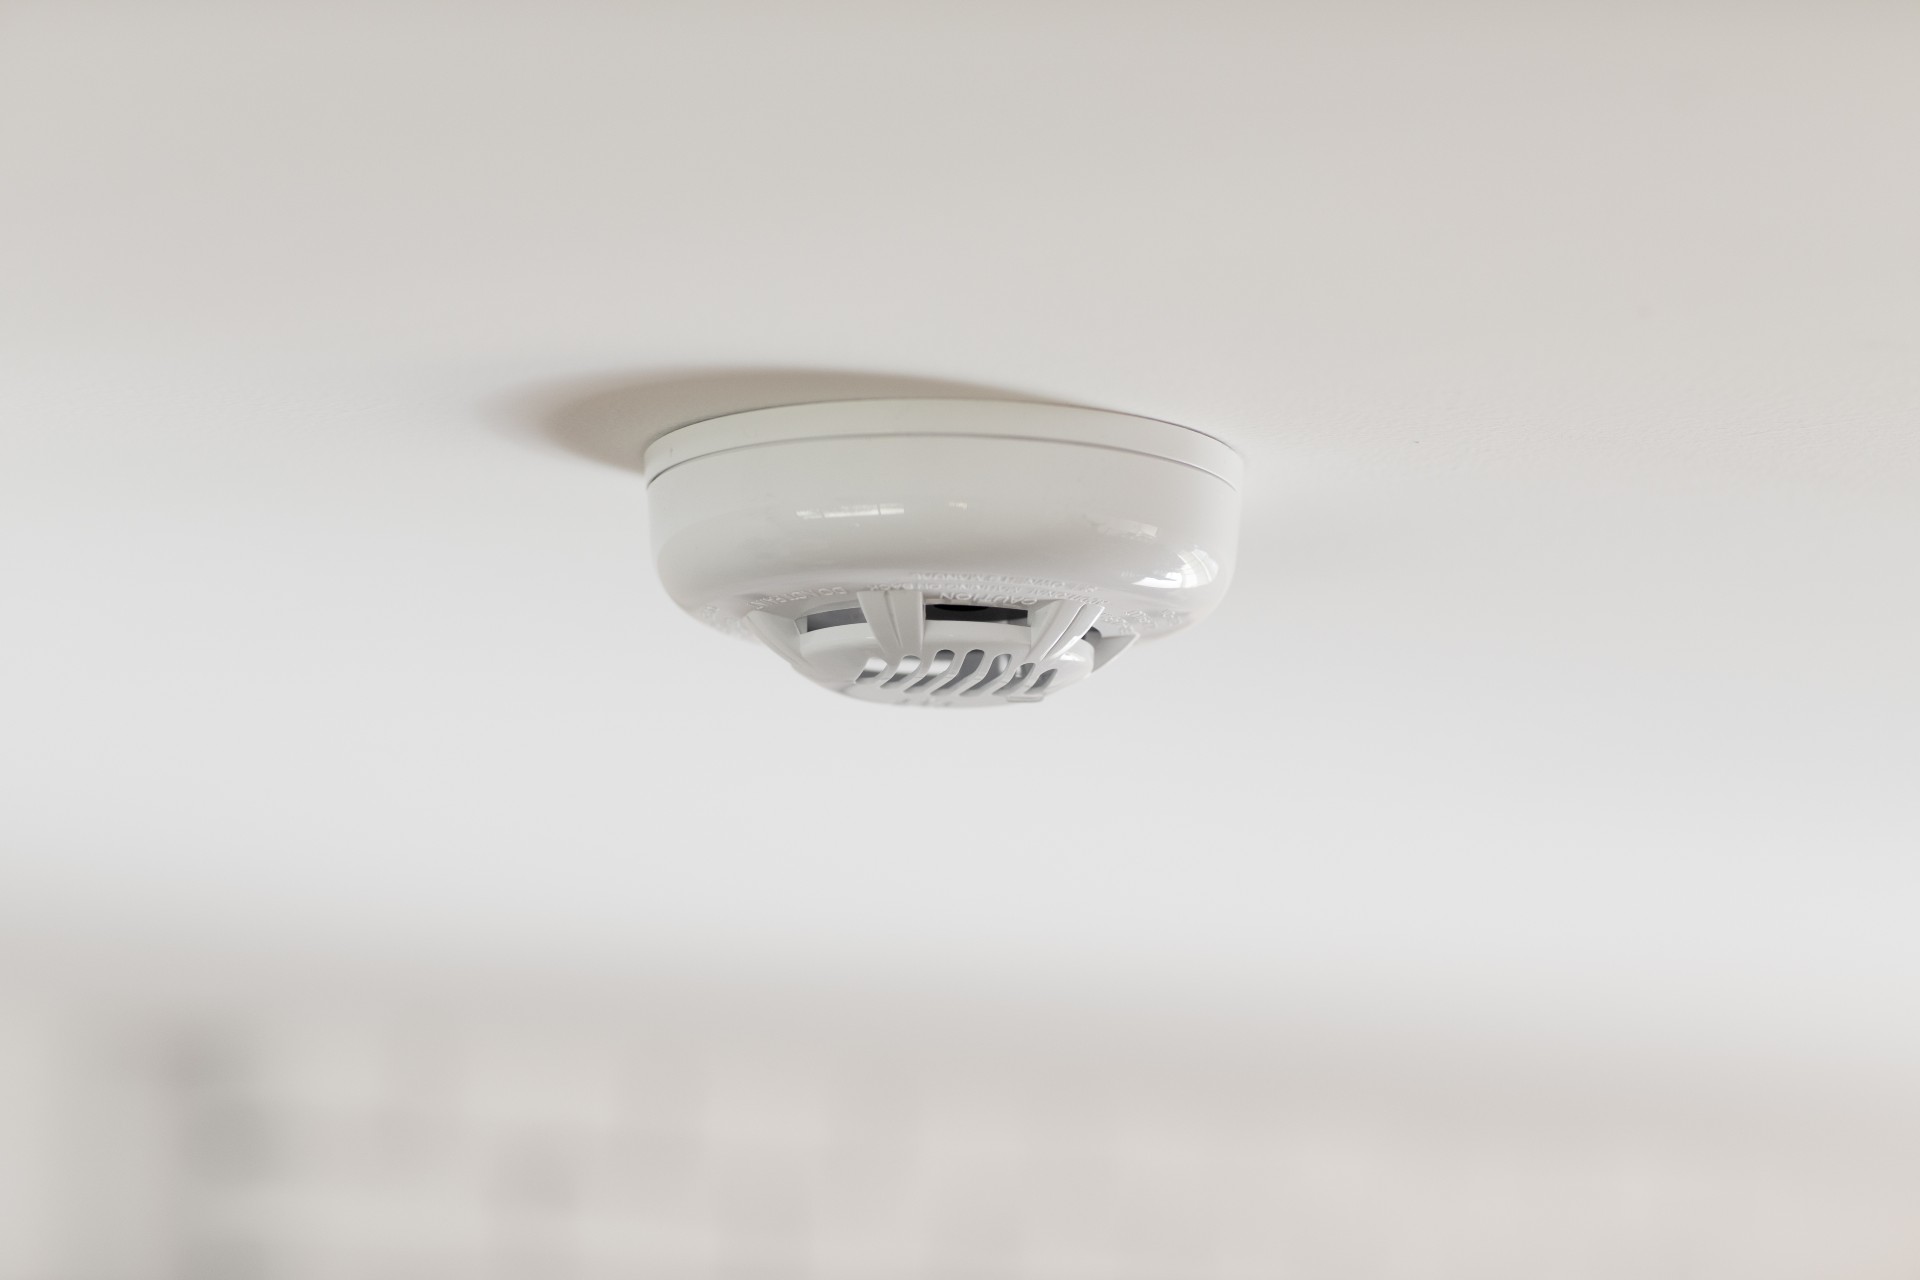
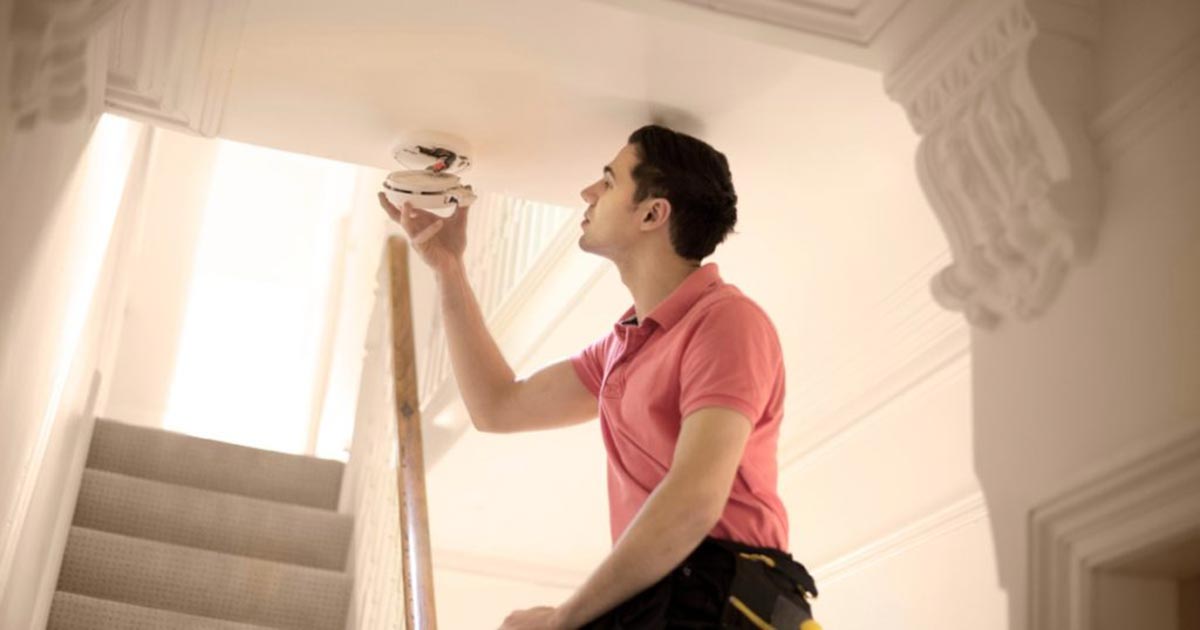
Step 2: Locate the Smoke Detector
Now that the power is turned off, it’s time to locate the smoke detector within your home or business. Smoke detectors are typically installed in key areas, such as bedrooms, living rooms, hallways, or near kitchens. Here are some common places to check:
- Bedrooms: Smoke detectors are often mounted on the ceiling or high on the wall near the entrance of bedrooms.
- Living Rooms: Look for smoke detectors mounted on the ceiling or walls in the main living area.
- Hallways: Hallways are common locations for smoke detectors, usually mounted on the ceiling or at the end of the hall.
- Kitchens: In kitchens, smoke detectors may be placed on the ceiling or wall, but they are typically located further away from stoves and ovens to minimize false alarms.
If you have multiple levels in your home or building, make sure to check each floor for smoke detectors. It’s important not to overlook any potential smoke detector locations.
If you are unsure about the exact location of your smoke detectors, you can consult your home’s blueprints or floor plans, check for any visible smoke detector markings, or even reach out to the previous homeowner or landlord for guidance.
After locating the smoke detector, you are ready to move on to the next step: removing the smoke detector cover.
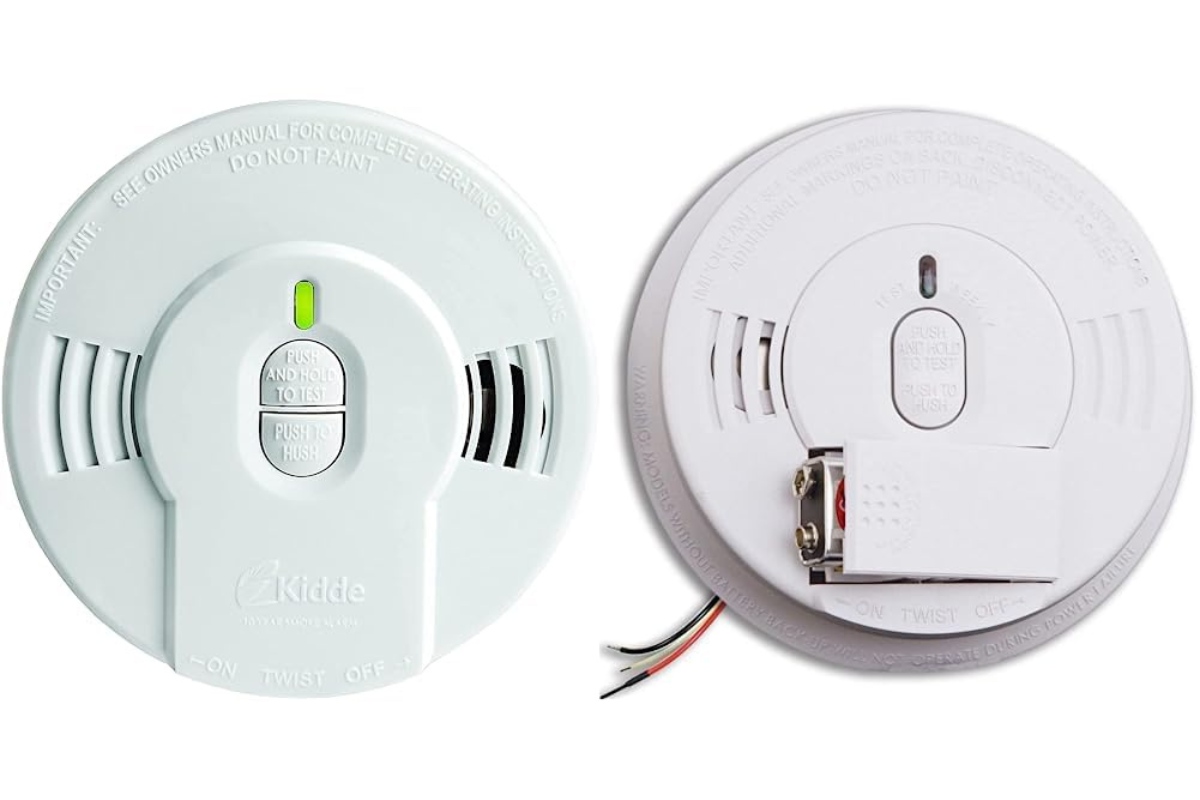
Step 3: Remove the Smoke Detector Cover
Now that you have located the smoke detector, it’s time to remove the cover. The cover protects the internal components of the smoke detector, including the battery compartment. Here’s how you can remove the smoke detector cover:
- Carefully examine the smoke detector to identify any screws or tabs that are securing the cover in place.
- If there are visible screws, use a screwdriver to loosen and remove them. Be sure to keep track of the screws to avoid misplacing them.
- If there are tabs, gently press or slide them to release the cover from the smoke detector body.
- Some smoke detectors may have a twist-off design. In this case, rotate the cover counterclockwise to detach it.
It’s important to handle the smoke detector cover with care to avoid any damage or dislodging of internal components. If you encounter any difficulties in removing the cover or are unsure about the specific removal method, consult the user manual or contact the manufacturer for guidance.
With the smoke detector cover removed, it’s time to move on to the next step: locating the battery compartment.
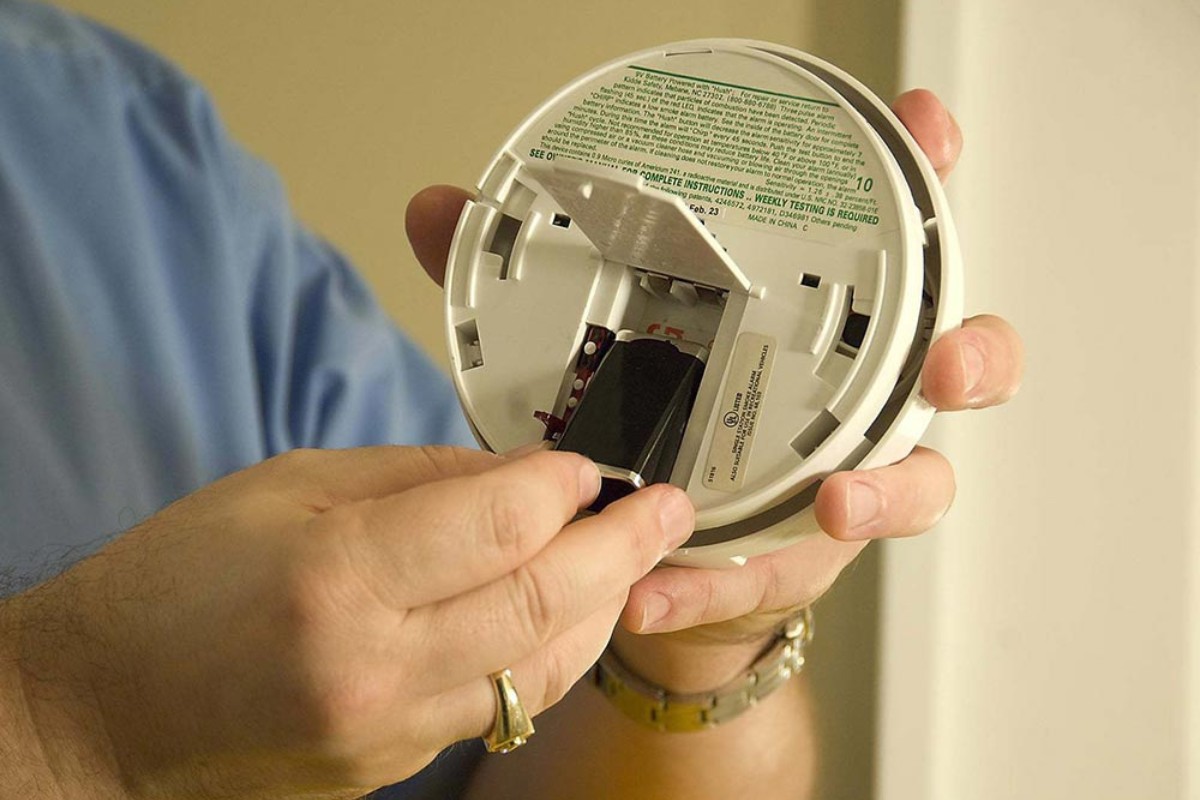
Step 4: Identify the Battery Compartment
Now that you have successfully removed the smoke detector cover, it’s time to identify the battery compartment. The battery compartment is where the old battery is housed, and it’s where you will insert the new battery. Here’s how you can identify the battery compartment:
- Examine the internal components of the smoke detector once the cover is removed.
- Look for a small compartment or slot specifically designed to hold the battery. It is often located near the center or bottom of the smoke detector.
- The battery compartment may have a clear label or markings indicating its purpose.
It’s important to note that not all smoke detectors have the same type of battery compartment. Some may require you to unscrew a small panel to access the compartment, while others may have a simple slide-in design. Pay attention to the design and structure of the battery compartment to ensure you handle it correctly during the removal and insertion process.
If you are having trouble identifying the battery compartment or are unsure about its location, refer to the user manual or contact the manufacturer for assistance.
With the battery compartment identified, you are ready to move on to the next step: unclipping or unscrewing the battery compartment to access the old battery.
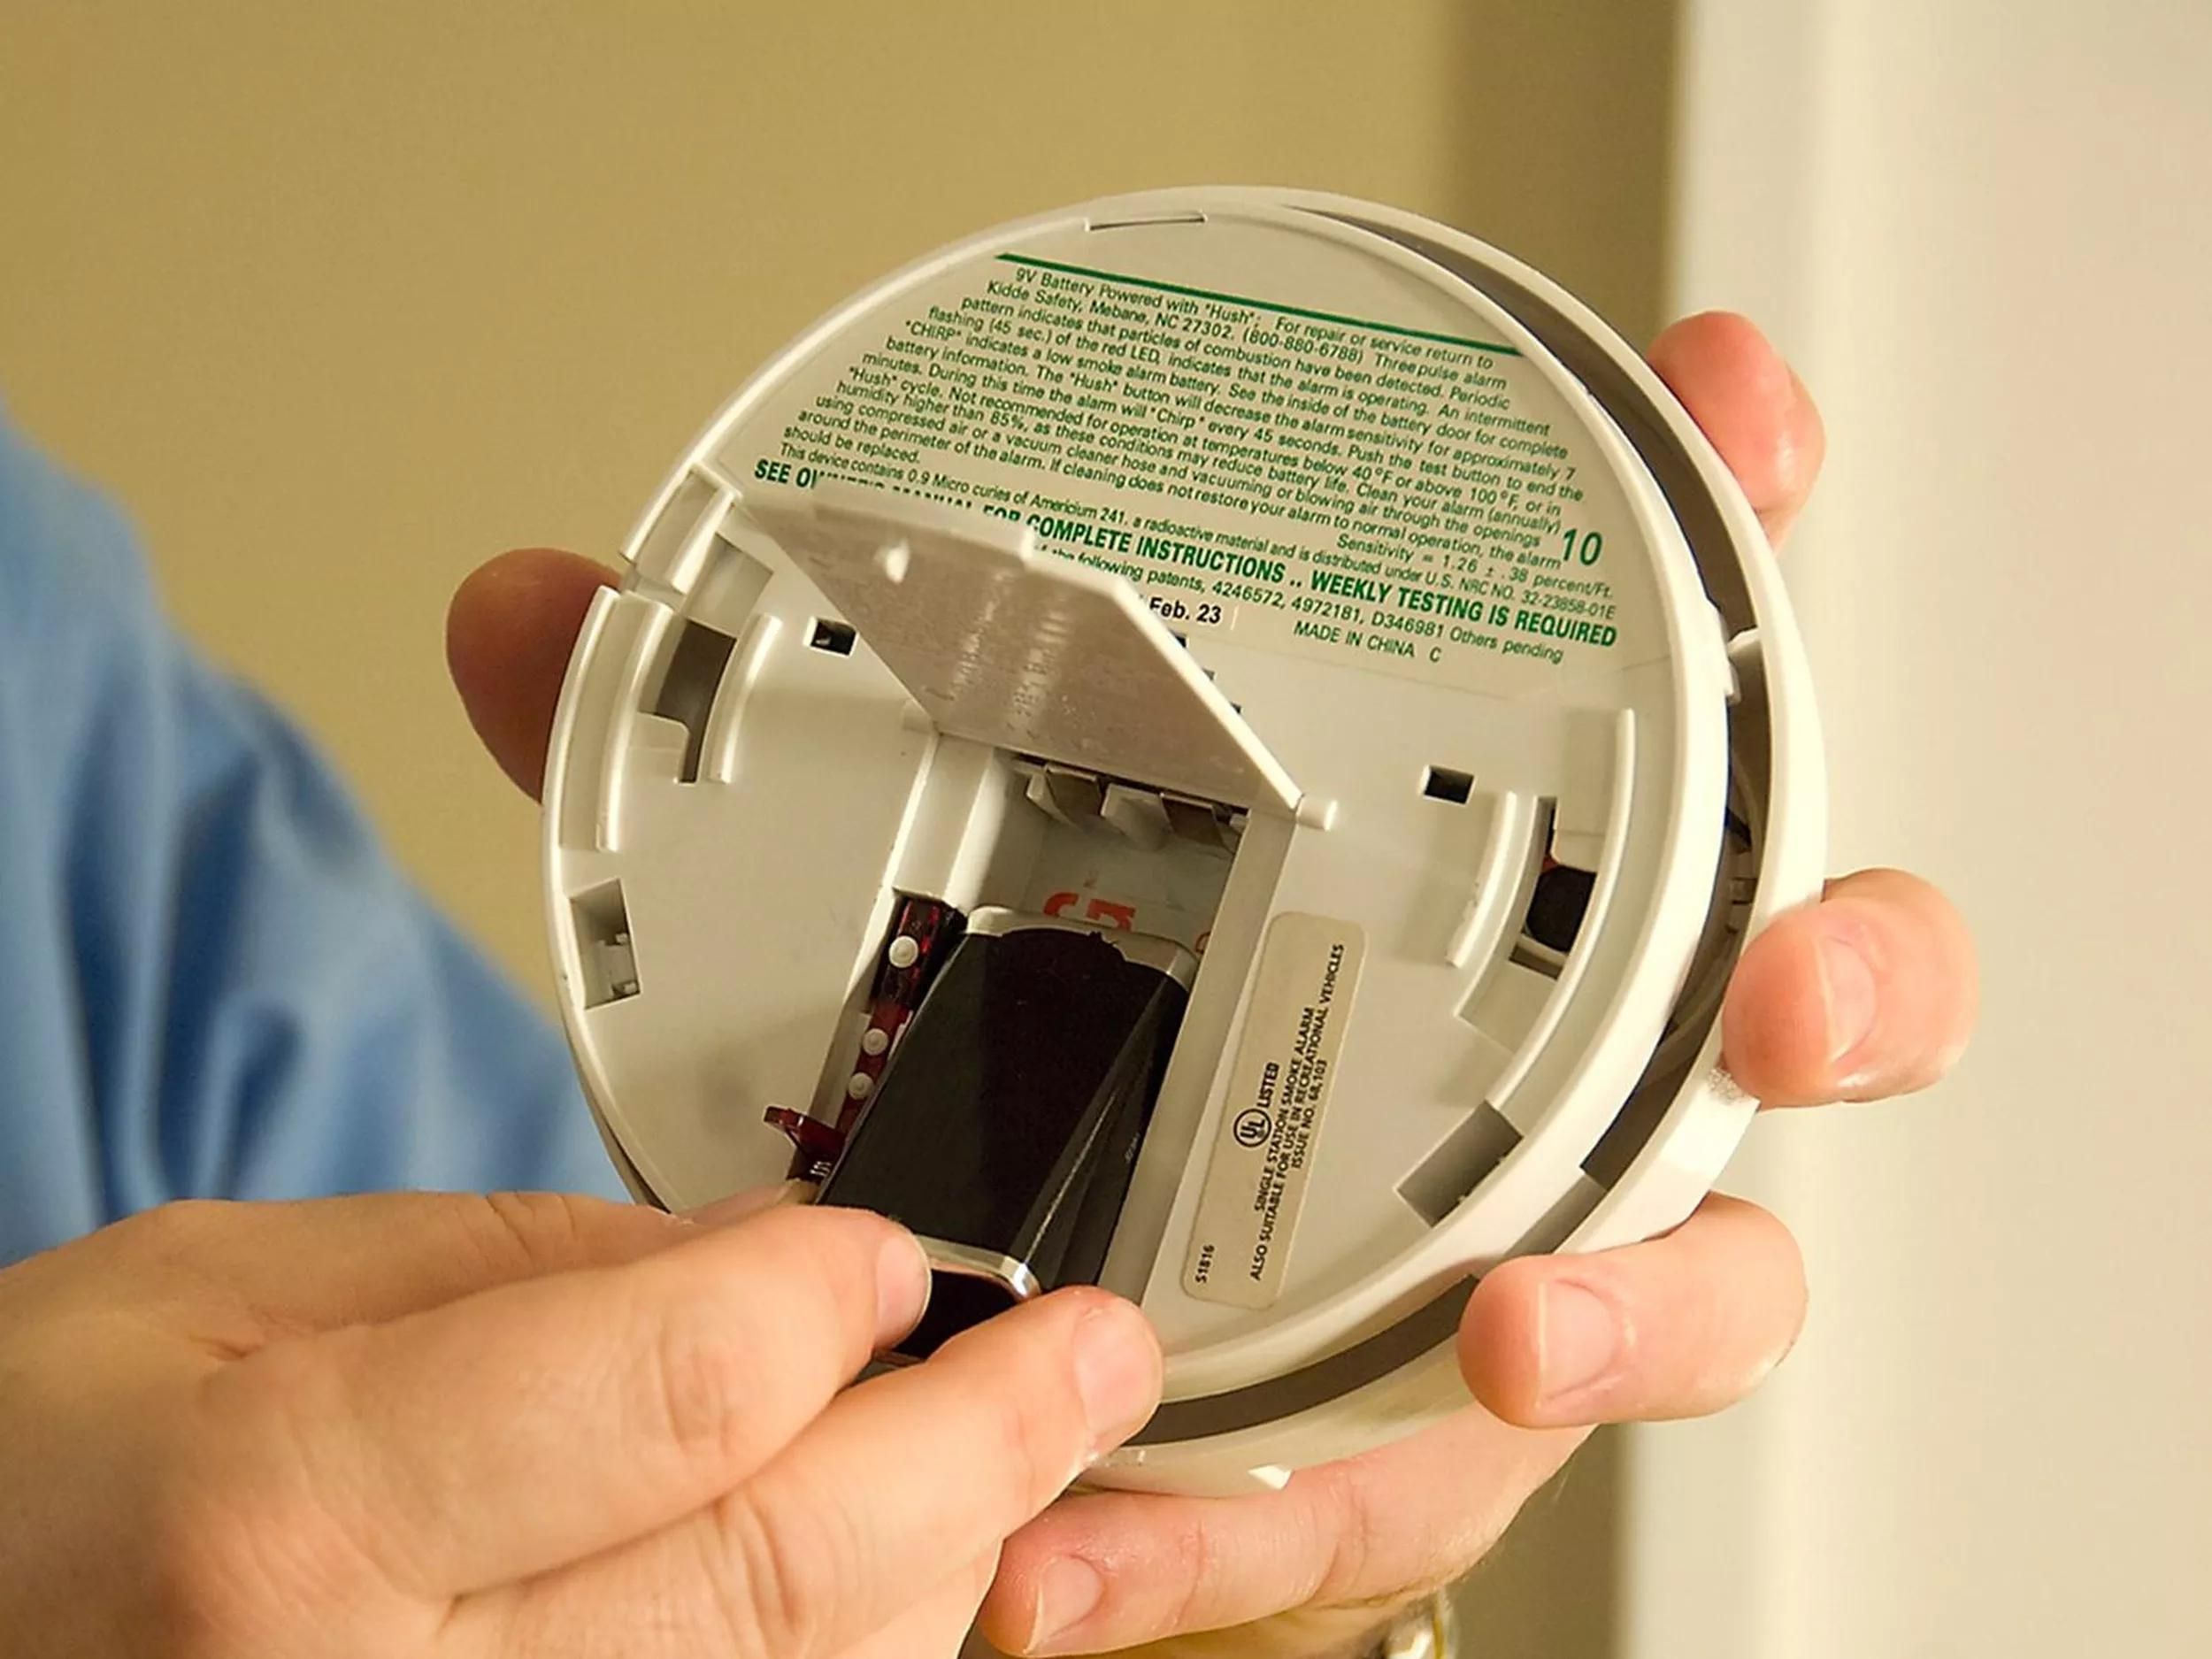
Step 5: Unclip or Unscrew the Battery Compartment
Now that you have located the battery compartment, it’s time to unclip or unscrew it to access the old battery. The method of opening the battery compartment may vary depending on the smoke detector model. Here are the general steps to unclip or unscrew the battery compartment:
- Inspect the battery compartment for any clips or screws that are securing it in place.
- If there are clips, gently press or push them to release the compartment. You may need to use a small flat-head screwdriver to pry it open.
- If there are screws, use an appropriate screwdriver to loosen and remove them. Place the screws aside in a safe spot for reassembly later.
- Some battery compartments may have a twist-off design. In this case, rotate the compartment counterclockwise to detach it from the smoke detector.
Remember to handle the battery compartment with care, as it may contain sensitive components. Avoid applying excessive force or causing any damage during the opening process.
If you are having difficulty unclipping or unscrewing the battery compartment, consult the user manual or contact the manufacturer for further guidance specific to your smoke detector model.
With the battery compartment unclipped or unscrewed, you are ready to move on to the next step: removing the old battery from the smoke detector.
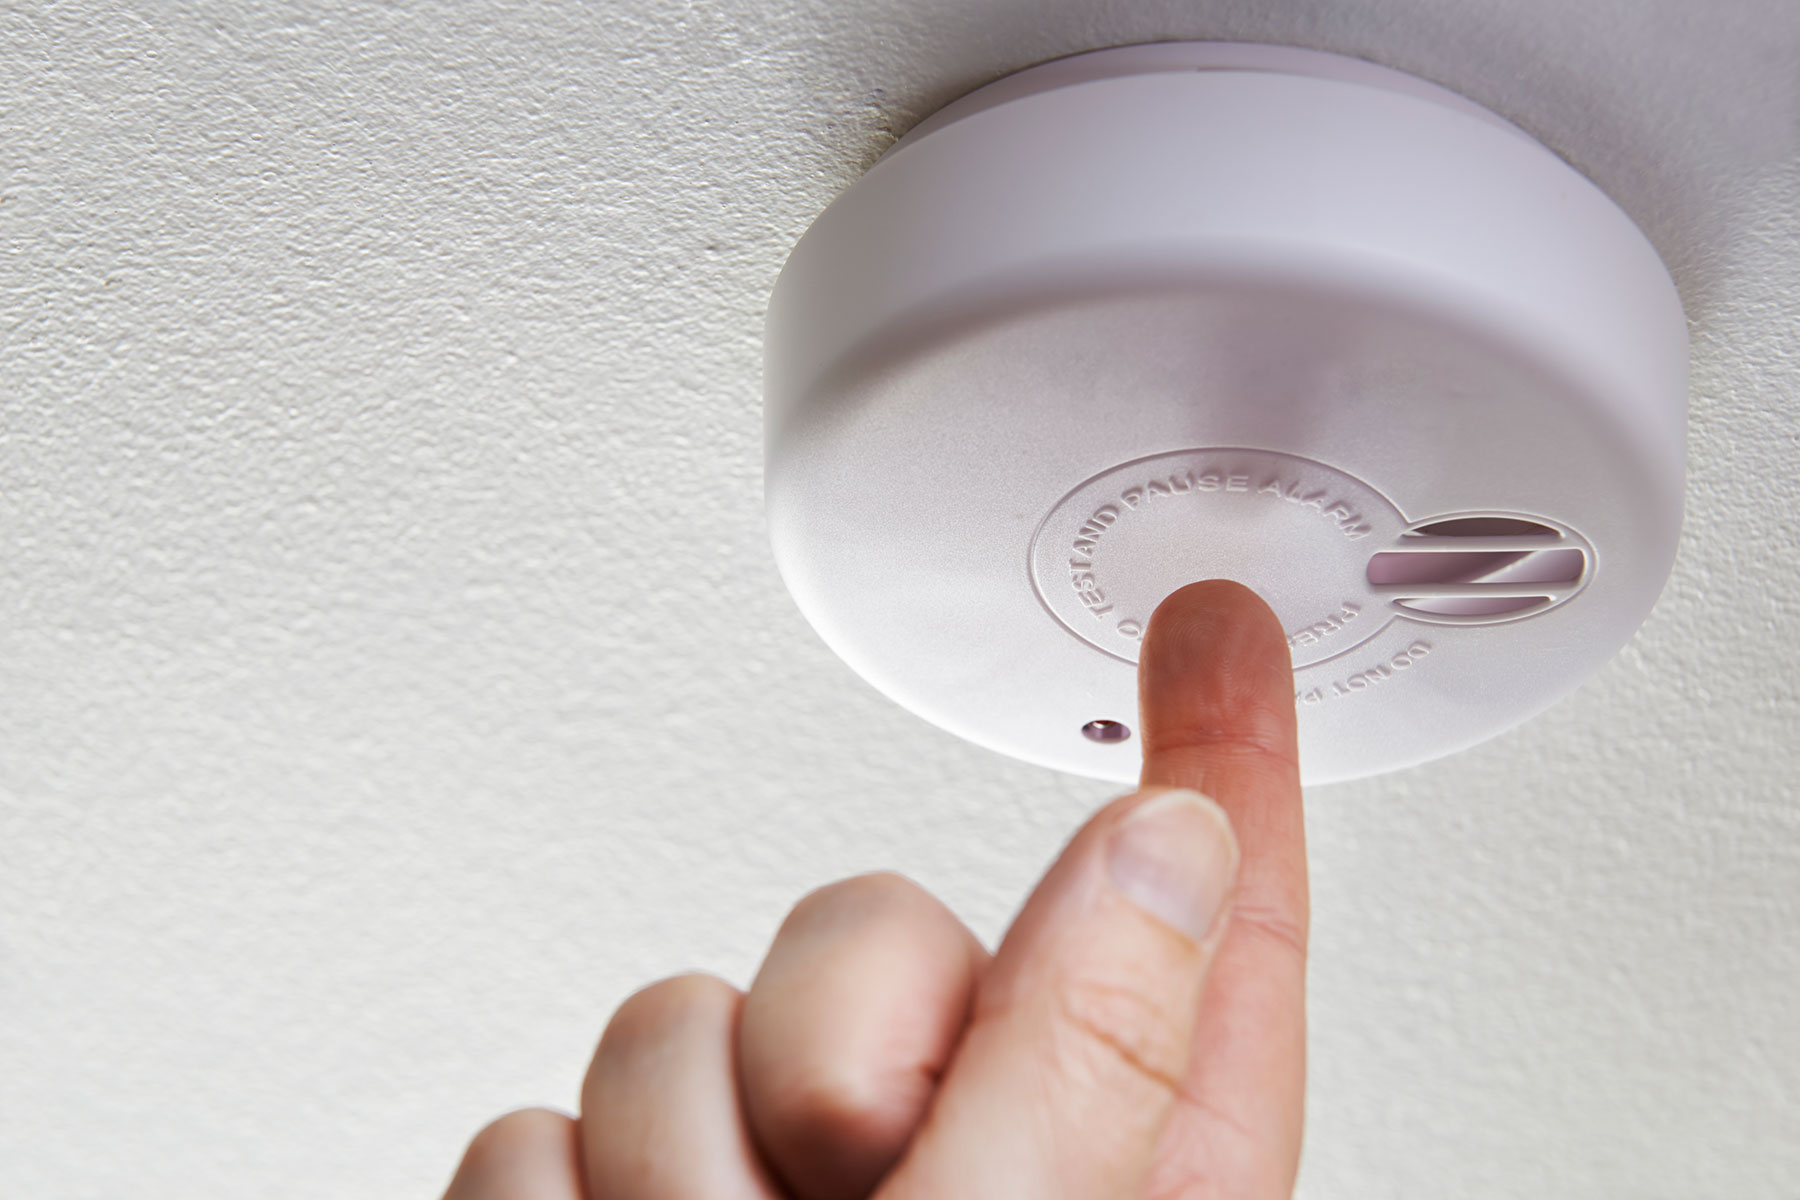
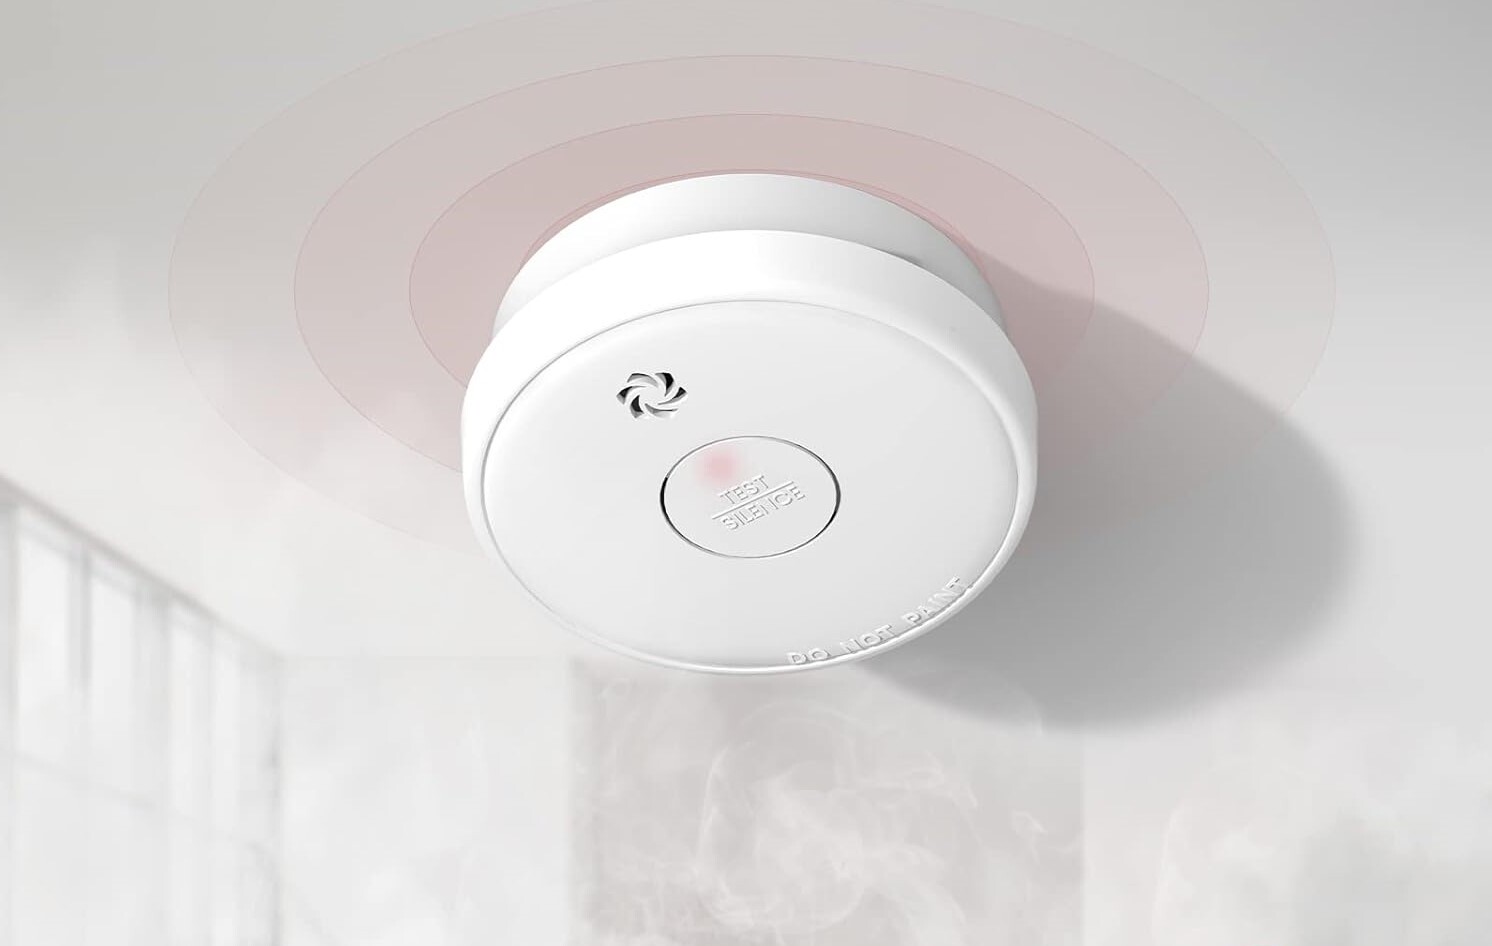
Before removing the battery from a smoke detector, make sure to press the test button to ensure the alarm is working. Then, carefully open the cover and remove the old battery, replacing it with a new one.
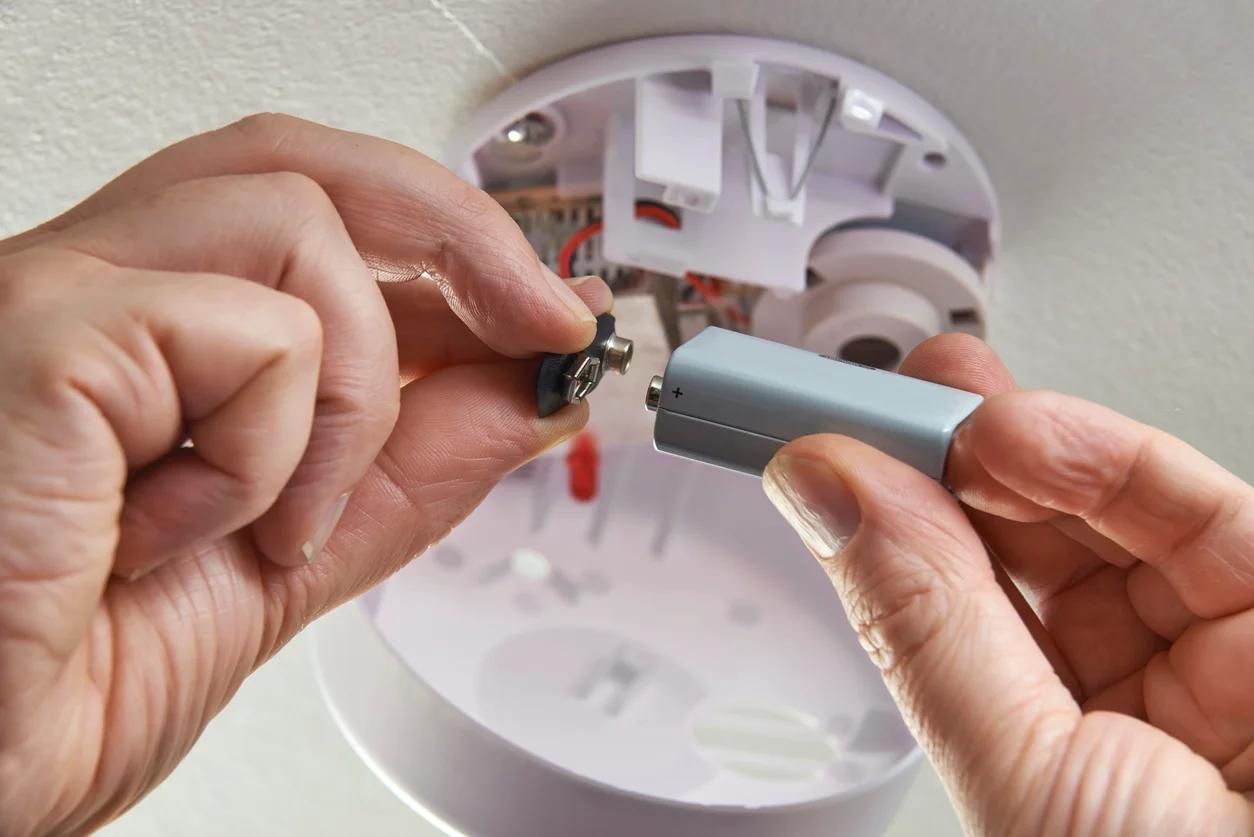
Step 6: Remove the Old Battery
Now that you have successfully accessed the battery compartment, it’s time to remove the old battery from the smoke detector. Here’s how you can safely remove the old battery:
- Inspect the battery compartment to locate the old battery.
- Gently grasp the edges of the battery and carefully pull it out of the compartment. If the battery is held in place by a clip or bracket, release it before removing the battery.
- Make sure to hold the battery firmly to avoid dropping it or accidentally disconnecting any wires connected to the battery compartment.
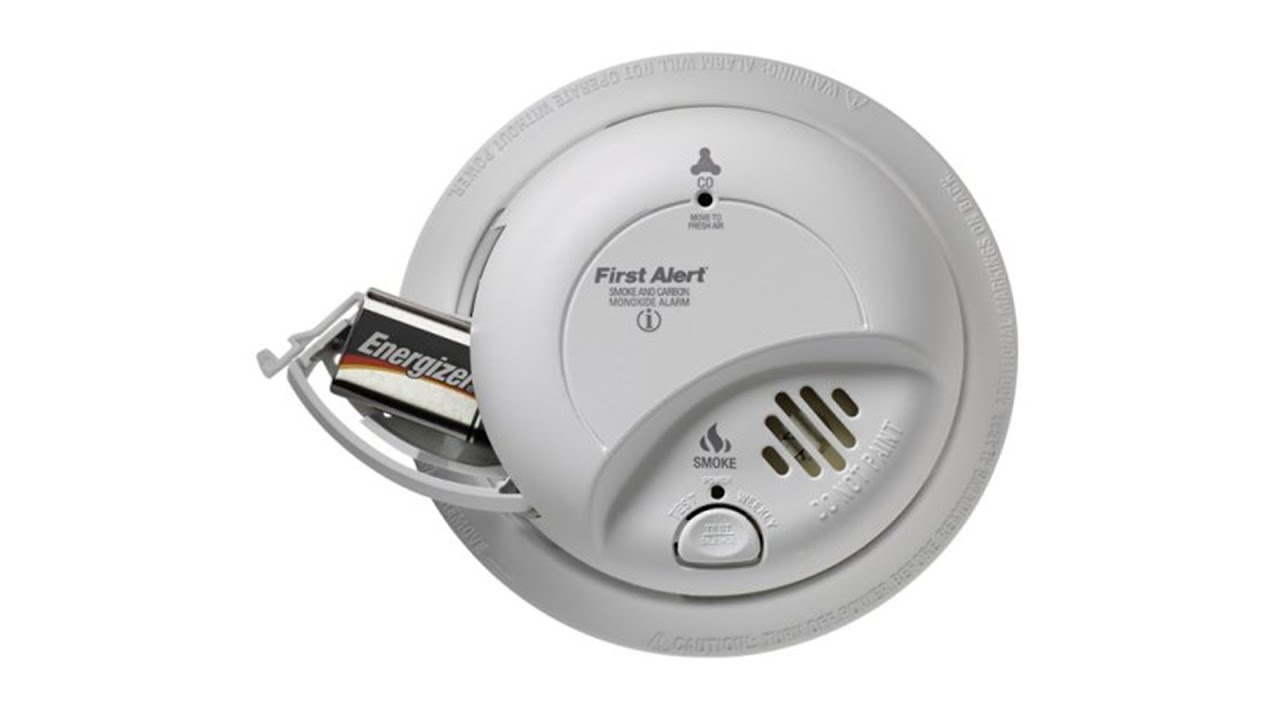
It’s important to note that smoke detectors typically use 9-volt batteries or AA batteries. However, the specific battery type required may vary depending on your smoke detector model. Take note of the battery type and make sure to purchase a compatible replacement before proceeding to the next step.
Dispose of the old battery properly according to your local regulations or recycling guidelines. Many communities have designated battery drop-off points or recycling centers.
With the old battery removed, it’s time to move on to the next step: inserting the new battery into the smoke detector.
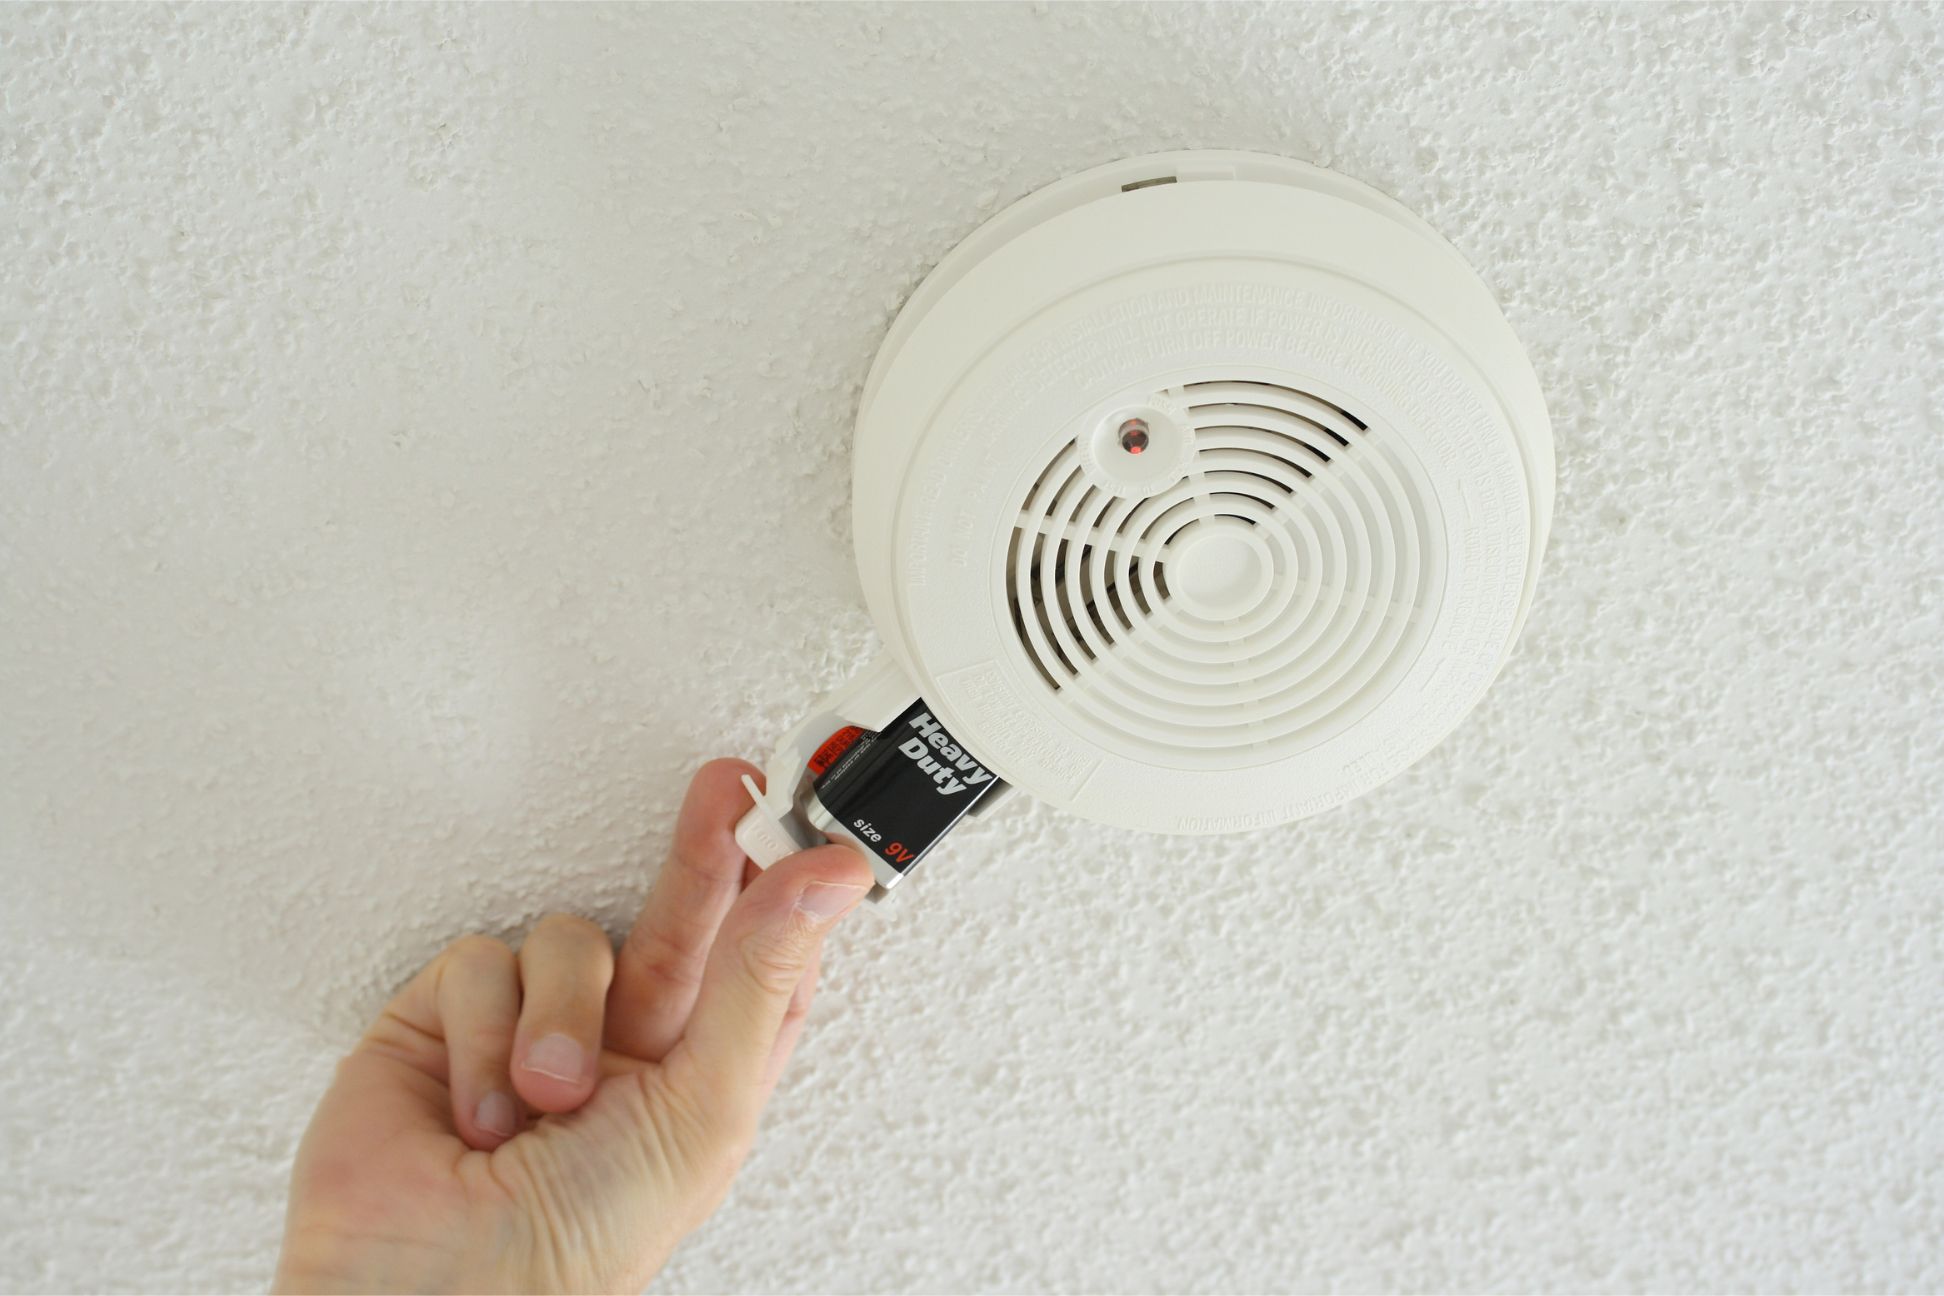
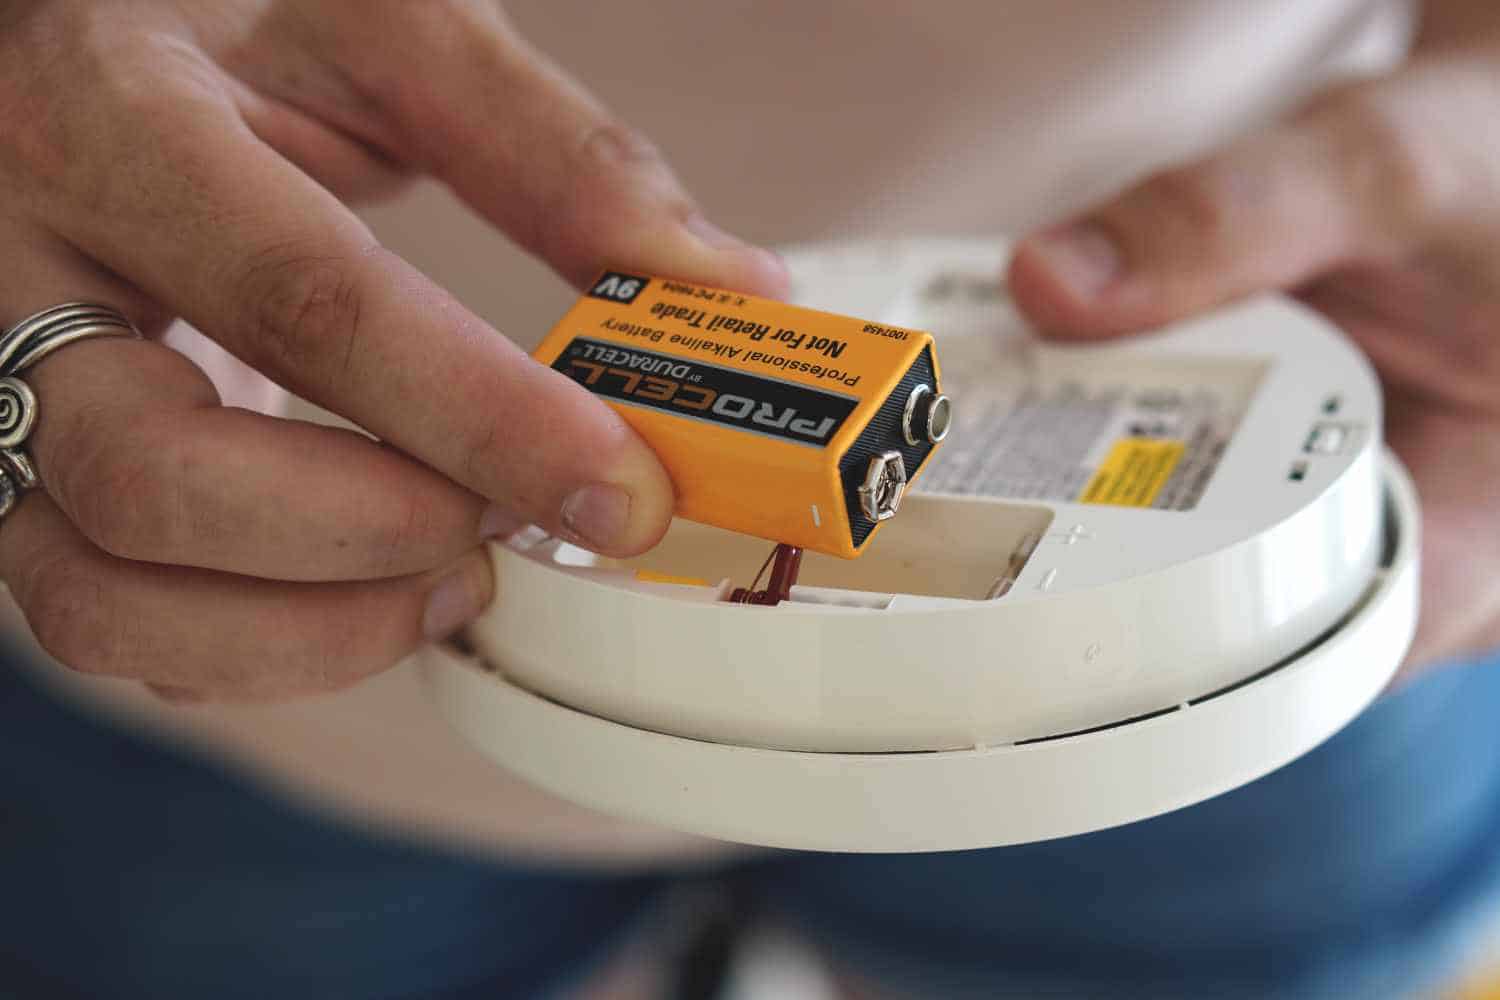
Step 7: Insert the New Battery
Now that you have removed the old battery, it’s time to insert the new battery into the smoke detector. Here’s how you can safely insert the new battery:
- Take the new battery that is compatible with your smoke detector model.
- Check the battery for any signs of damage or defects. It should be clean and free from corrosion.
- Align the positive (+) and negative (-) terminals of the battery with the corresponding markings inside the battery compartment. Most smoke detectors have clear indicators to guide you.
- Gently insert the battery into the compartment, making sure it fits snugly and securely in place. Do not force the battery or use excessive pressure.
- Double-check that the battery is inserted correctly and that the terminals align properly.
It’s essential to ensure the battery is inserted correctly to guarantee proper functionality of the smoke detector. An incorrectly inserted battery can lead to malfunctions or a complete failure of the smoke detection system.
If you encounter any difficulties or are unsure about the correct orientation of the battery, consult the user manual or contact the manufacturer for further assistance.
With the new battery securely inserted, you are ready to move on to the next step: reattaching the battery compartment.
Step 8: Reattach the Battery Compartment
Now that you have inserted the new battery into the smoke detector, it’s time to reattach the battery compartment. Properly securing the compartment is crucial to ensure the battery remains in place and the smoke detector functions correctly. Here’s how you can reattach the battery compartment:
- Position the battery compartment back into its original place, aligning it with the smoke detector body.
- If the compartment was clipped, snap it back into place until you hear a click or feel it securely engage with the smoke detector.
- If the compartment was screwed, align the screw holes and use the appropriate screwdriver to tighten and secure the screws.
- If the compartment has a twist-off design, rotate it clockwise until it locks into place.
- Ensure the battery compartment is firmly attached and does not wobble or come loose.
Take a moment to visually inspect the smoke detector and ensure that the battery compartment is properly reattached. It’s important to note that a loose or misaligned battery compartment can lead to issues with the smoke detector’s operation.
If you encounter any difficulties while reattaching the battery compartment or if it does not secure properly, refer to the user manual or contact the manufacturer for assistance specific to your smoke detector model.
With the battery compartment successfully reattached, you are ready to move on to the next step: replacing the smoke detector cover.
Step 9: Replace the Smoke Detector Cover
Now that you have securely reattached the battery compartment, it’s time to replace the smoke detector cover. The cover not only protects the internal components but also ensures a sleek and aesthetically pleasing appearance. Here’s how you can replace the smoke detector cover:
- Hold the smoke detector cover in your hands, ensuring that you are gripping it firmly but gently so as not to damage it.
- Align the cover with the smoke detector body, making sure it fits snugly and aligns correctly with any screw holes or tabs.
- If there are screws, insert them back into the appropriate holes and use a screwdriver to tighten them, ensuring the cover is secure.
- If there are tabs, carefully place the cover back onto the smoke detector body and press or slide the tabs until they secure the cover in place.
- If the cover has a twist-off design, align it with the smoke detector body and rotate it clockwise until it locks into position.
Take a moment to visually inspect the smoke detector and ensure that the cover is properly replaced. The cover should sit flush with the smoke detector body and there should be no gaps or loose parts.
If you encounter any difficulties while replacing the smoke detector cover or if it does not fit properly, double-check the alignment and consult the user manual or contact the manufacturer for guidance.
With the smoke detector cover securely replaced, you are ready to move on to the final step: testing the smoke detector to ensure proper functionality.
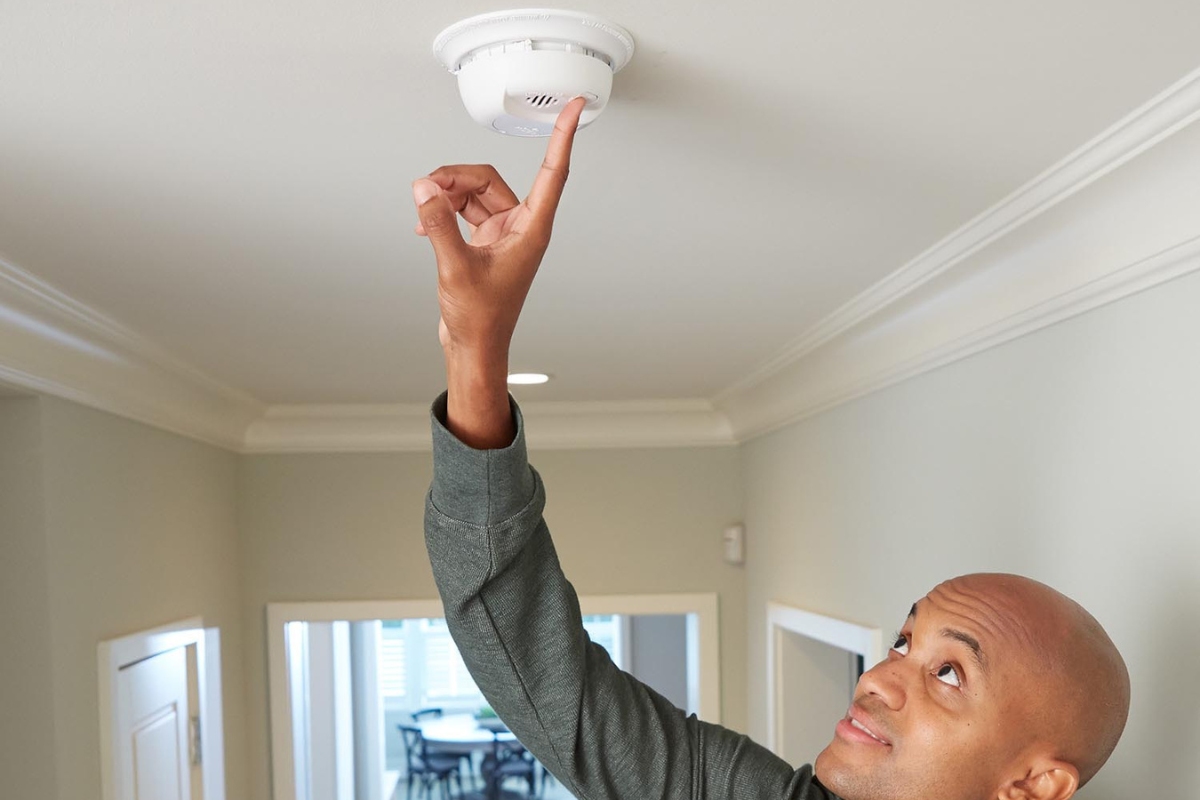
Step 10: Test the Smoke Detector
After replacing the smoke detector cover, the last step is to test the smoke detector to ensure it is functioning correctly. Testing the smoke detector is crucial for your safety and peace of mind. Here’s how you can test the smoke detector:
- Locate the test button on the smoke detector. It is usually labeled as “test” or represented by a bell or speaker icon.
- Press and hold the test button for a few seconds until you hear a loud, piercing alarm sound. The smoke detector may also have a visual indicator, such as a flashing LED light.
- Observe the smoke detector’s response. Check if the alarm sounds loud and clear and if the LED light (if available) is operating as expected.
- If the smoke detector does not emit a sound or if the sound is weak or distorted, double-check the battery connection and make sure it is securely inserted. If the problem persists, replace the battery and test again.
It’s important to test your smoke detector regularly, ideally once a month, to ensure it is in proper working condition. According to the National Fire Protection Association (NFPA), this simple step can significantly reduce the risk of fire-related fatalities.
Remember to consult the user manual or contact the manufacturer for specific testing instructions or additional troubleshooting steps if necessary.
Congratulations! You have successfully completed the process of taking a battery out from a smoke detector and replacing it. By following these steps, you have ensured the continued safety and functionality of your smoke detector.
Regular maintenance of your smoke detectors, including battery replacement, is essential for the early detection of fires and can greatly increase the chances of a safe and timely response. Make it a habit to check and replace batteries as needed to keep your smoke detectors in optimal condition.
Frequently Asked Questions about How To Take A Battery Out From A Smoke Detector
Was this page helpful?
At Storables.com, we guarantee accurate and reliable information. Our content, validated by Expert Board Contributors, is crafted following stringent Editorial Policies. We're committed to providing you with well-researched, expert-backed insights for all your informational needs.

0 thoughts on “How To Take A Battery Out From A Smoke Detector”