Home>Articles>How Far Can A Smoke Detector Be From A Bedroom Door
Articles
How Far Can A Smoke Detector Be From A Bedroom Door
Modified: January 5, 2024
Find out the recommended distance for placing smoke detectors from bedroom doors in our informative articles. Ensure your safety with proper installation guidelines.
(Many of the links in this article redirect to a specific reviewed product. Your purchase of these products through affiliate links helps to generate commission for Storables.com, at no extra cost. Learn more)
Introduction
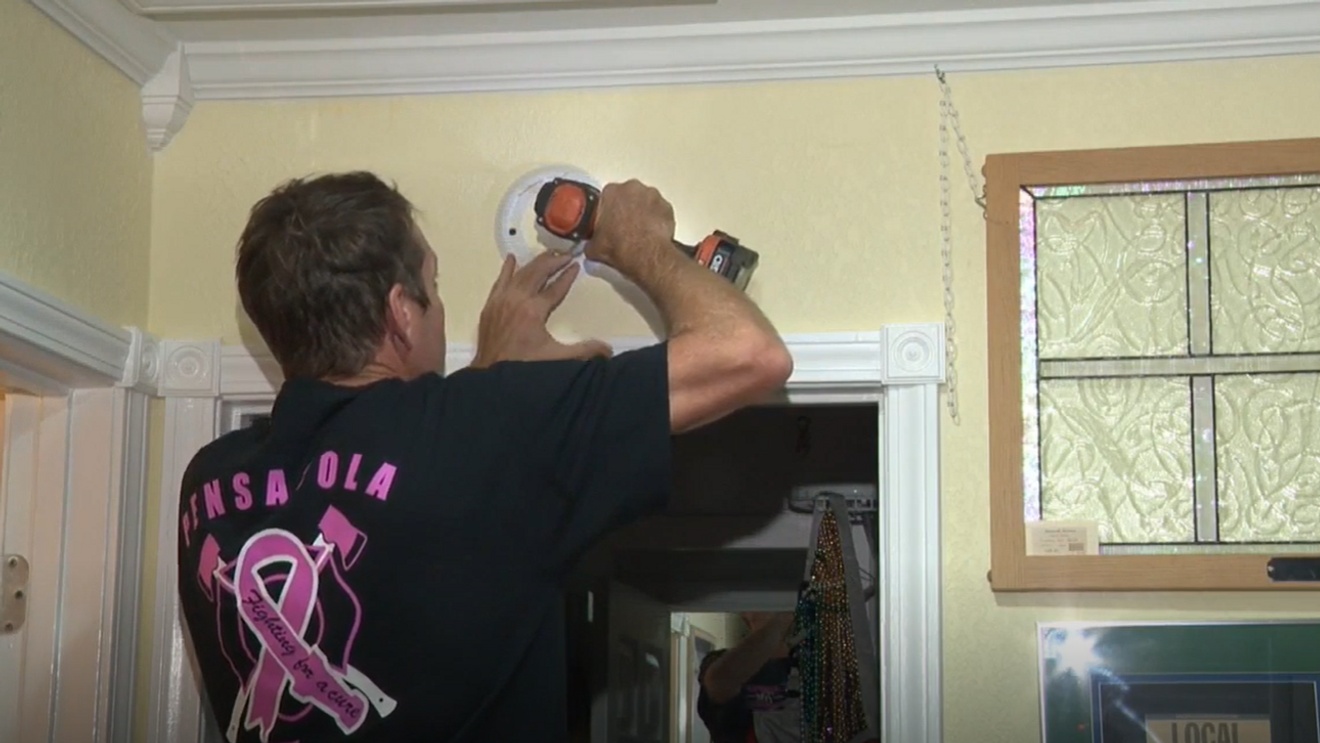
A smoke detector is an essential device that plays a crucial role in protecting our homes and our loved ones from the dangers of fire. These devices are designed to detect smoke early on and emit a loud, piercing alarm, giving occupants ample time to evacuate safely. While we often focus on the importance of having smoke detectors installed in our homes, it is also vital to consider their proper placement, including their distance from bedroom doors.
Placing smoke detectors in the right locations can significantly increase their effectiveness in alerting occupants to potential fire hazards. This article will explore the recommended distance between a smoke detector and a bedroom door, as well as the various factors to consider when determining this distance.
By understanding and following these guidelines, homeowners can ensure that their smoke detectors are optimally positioned to provide early warning in the event of a fire, potentially saving lives and minimizing property damage.
Key Takeaways:
- Proper placement of smoke detectors is crucial for early fire detection. Install them within 10 feet of bedroom doors and follow regulations and best practices to maximize effectiveness.
- Consider factors like residence size and layout when placing smoke detectors. Avoid common mistakes and regularly test and maintain detectors for optimal fire safety.
Importance of Smoke Detectors
Smoke detectors are widely regarded as one of the most crucial safety devices every home should have. Their importance cannot be overstated, as they serve as the first line of defense against the devastating effects of fire. Here are some reasons why smoke detectors are essential:
- Early Detection: Smoke detectors are designed to detect smoke particles in the air. They are equipped with sensitive sensors that can pick up even the smallest traces of smoke. By sounding an alarm at the first sign of smoke, they provide occupants with crucial time to evacuate before the fire spreads, potentially saving lives.
- 24/7 Monitoring: Smoke detectors are designed to work round the clock, providing continuous monitoring and protection. They are always vigilant, alerting occupants to any potential fire hazards, whether it’s in the middle of the night or during the day.
- Fire Prevention: In addition to alerting occupants to existing fires, smoke detectors can also help prevent fires from escalating. By promptly detecting sources of smoke, such as overheating electrical wires or smoldering embers, occupants can take immediate action, such as extinguishing the fire or contacting emergency services.
- Peace of Mind: Knowing that smoke detectors are installed and operating properly can provide homeowners with peace of mind. They can rest assured that these devices are working diligently to protect their family and their property.
Overall, smoke detectors serve as critical early warning systems, ensuring that prompt action can be taken in the event of a fire. By having properly installed and maintained smoke detectors, homeowners can significantly reduce the risk of injury, loss of life, and property damage caused by fires.
Regulations and Standards for Smoke Detector Placement
When it comes to placing smoke detectors in residential settings, there are regulations and standards that provide guidelines for optimal placement. These regulations are put in place to ensure the maximum effectiveness of smoke detectors in detecting and alerting occupants to the presence of smoke. Here are some of the key regulations and standards:
- National Fire Protection Association (NFPA) 72: The NFPA 72 is a standard established by the National Fire Protection Association that provides guidelines for the installation and maintenance of fire alarm systems, including smoke detectors. This standard provides specific requirements for the placement of smoke detectors based on the size and layout of the residential space.
- Building Codes: Building codes, which vary by jurisdiction, often include specific requirements for smoke detector placement in residential buildings. These codes typically address the number of smoke detectors needed, their location within different areas of the home, and the interconnectedness of the detectors.
- Manufacturer Guidelines: It is important to refer to the manufacturer’s guidelines when installing smoke detectors. Each brand and model may have specific recommendations for placement, which should be followed to ensure optimal performance.
It is crucial to familiarize yourself with the regulations and standards in your area to ensure compliance and maximize the effectiveness of your smoke detectors. Consulting with local fire departments or building authorities can provide valuable information regarding specific requirements and recommendations for smoke detector placement.
Recommended Distance Between Smoke Detector and Bedroom Door
The recommended distance between a smoke detector and a bedroom door is typically determined by regulations and standards set by organizations such as the National Fire Protection Association (NFPA). While distance requirements may vary slightly depending on specific circumstances and building codes, the general guideline is to have a smoke detector installed within 10 feet of any bedroom door.
The reason for this recommended distance is to ensure that the smoke detector can quickly detect smoke and provide early warning to the occupants of the bedrooms. By being located within close proximity to the bedrooms, the smoke detector can detect smoke particles in the air more efficiently, allowing for prompt evacuation in case of a fire.
For multi-story homes, it is important to have smoke detectors installed on each level of the house, including the basement and attic if applicable. Additionally, it is recommended to have interconnected smoke detectors throughout the home. This means that if one smoke detector is triggered, all the interconnected detectors will sound an alarm, providing immediate notification and ensuring that everyone in the home is alerted, regardless of their location.
While the recommended distance between a smoke detector and a bedroom door is important, it is equally essential to consider the overall placement and coverage of smoke detectors throughout your home. It is advisable to have smoke detectors installed in each sleeping area, including bedrooms, as well as in common areas such as living rooms, hallways, and kitchens.
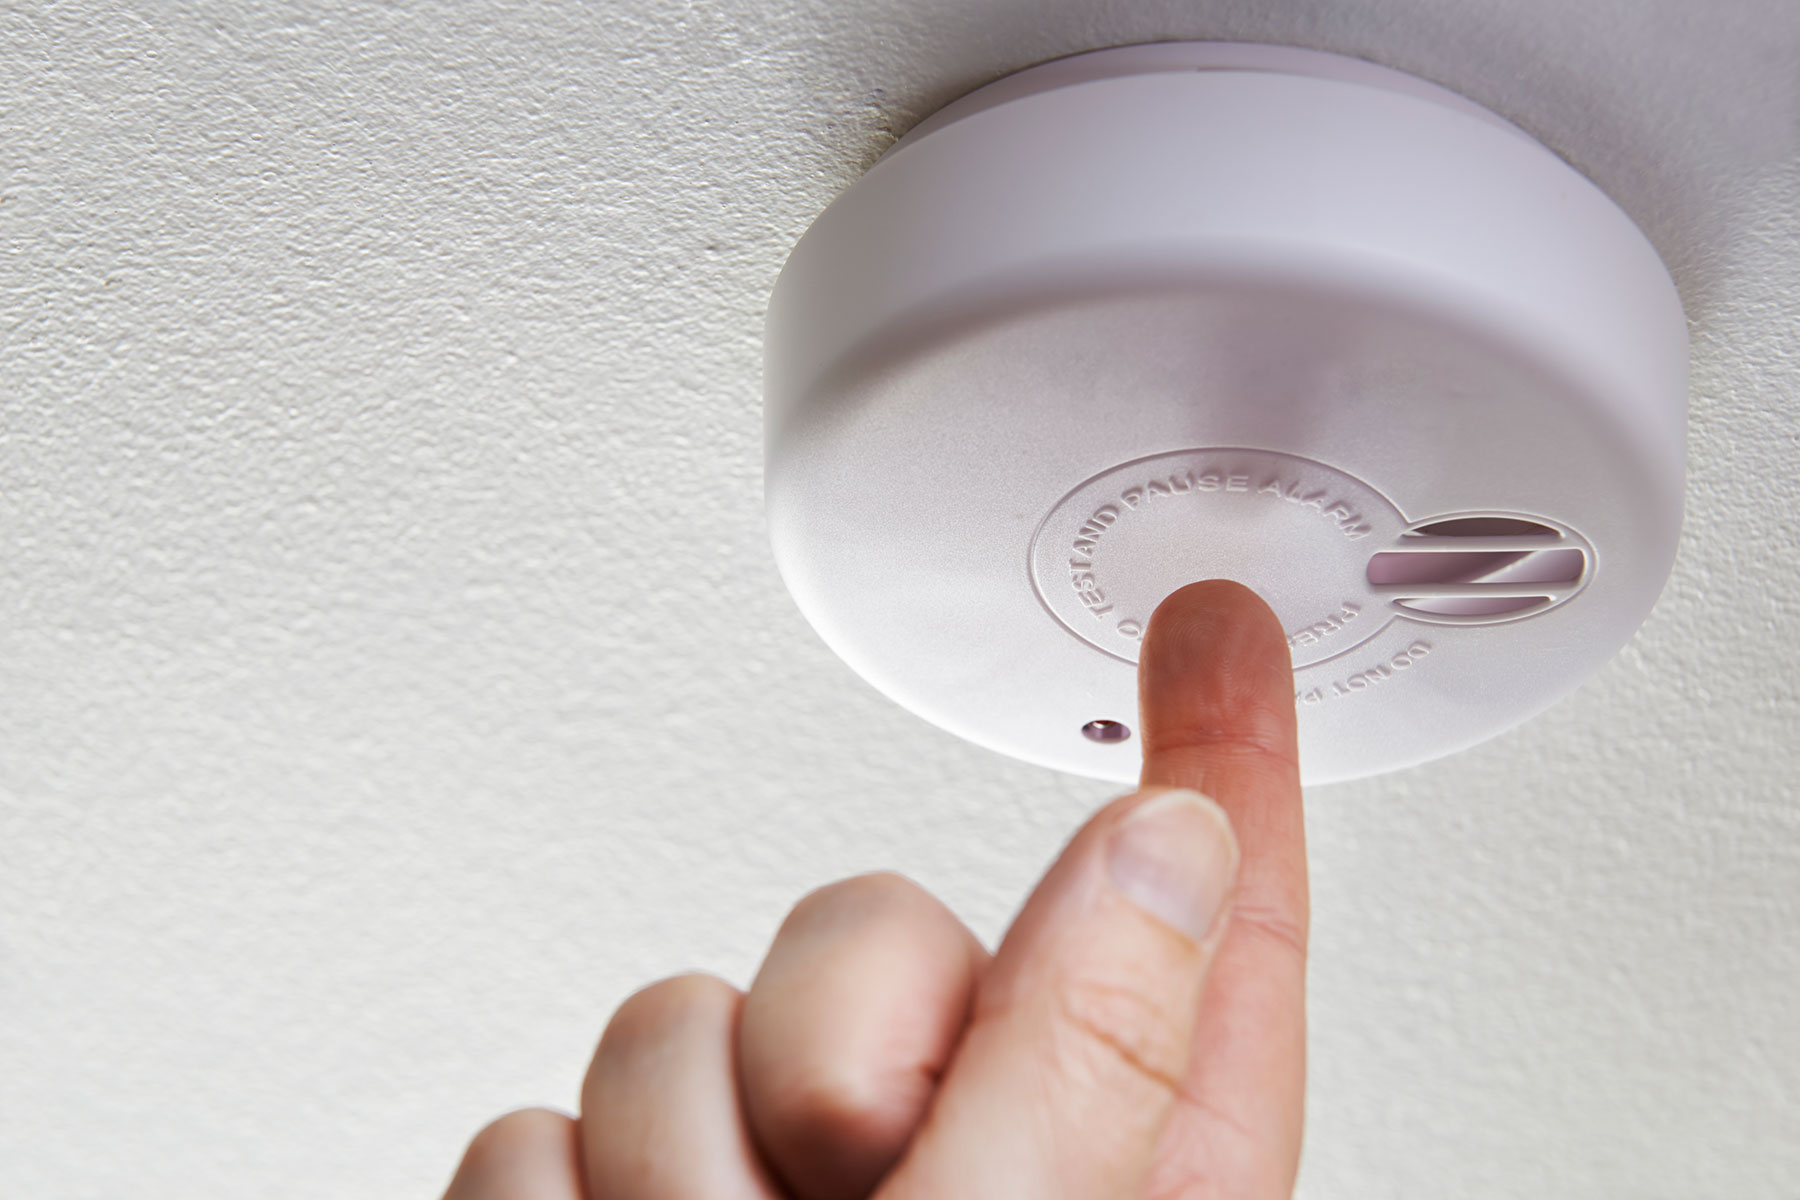
Remember to regularly test and maintain your smoke detectors according to the manufacturer’s recommendations. This includes testing the alarms monthly, replacing batteries as needed, and replacing the entire unit every 10 years.
By adhering to the recommended distance guidelines and following proper installation and maintenance practices, you can ensure that your smoke detectors are optimally positioned to provide early detection and warning in the event of a fire, helping to keep you and your loved ones safe.
A smoke detector should be placed within 10 feet of a bedroom door, as this allows for early detection of smoke in case of a fire. Placing it too far away may result in a delayed response.
Factors to Consider When Determining Distance
When determining the distance between a smoke detector and a bedroom door, there are several factors that need to be considered. These factors can affect the effectiveness and reliability of the smoke detector in detecting smoke and providing early warning. Here are some important factors to keep in mind:
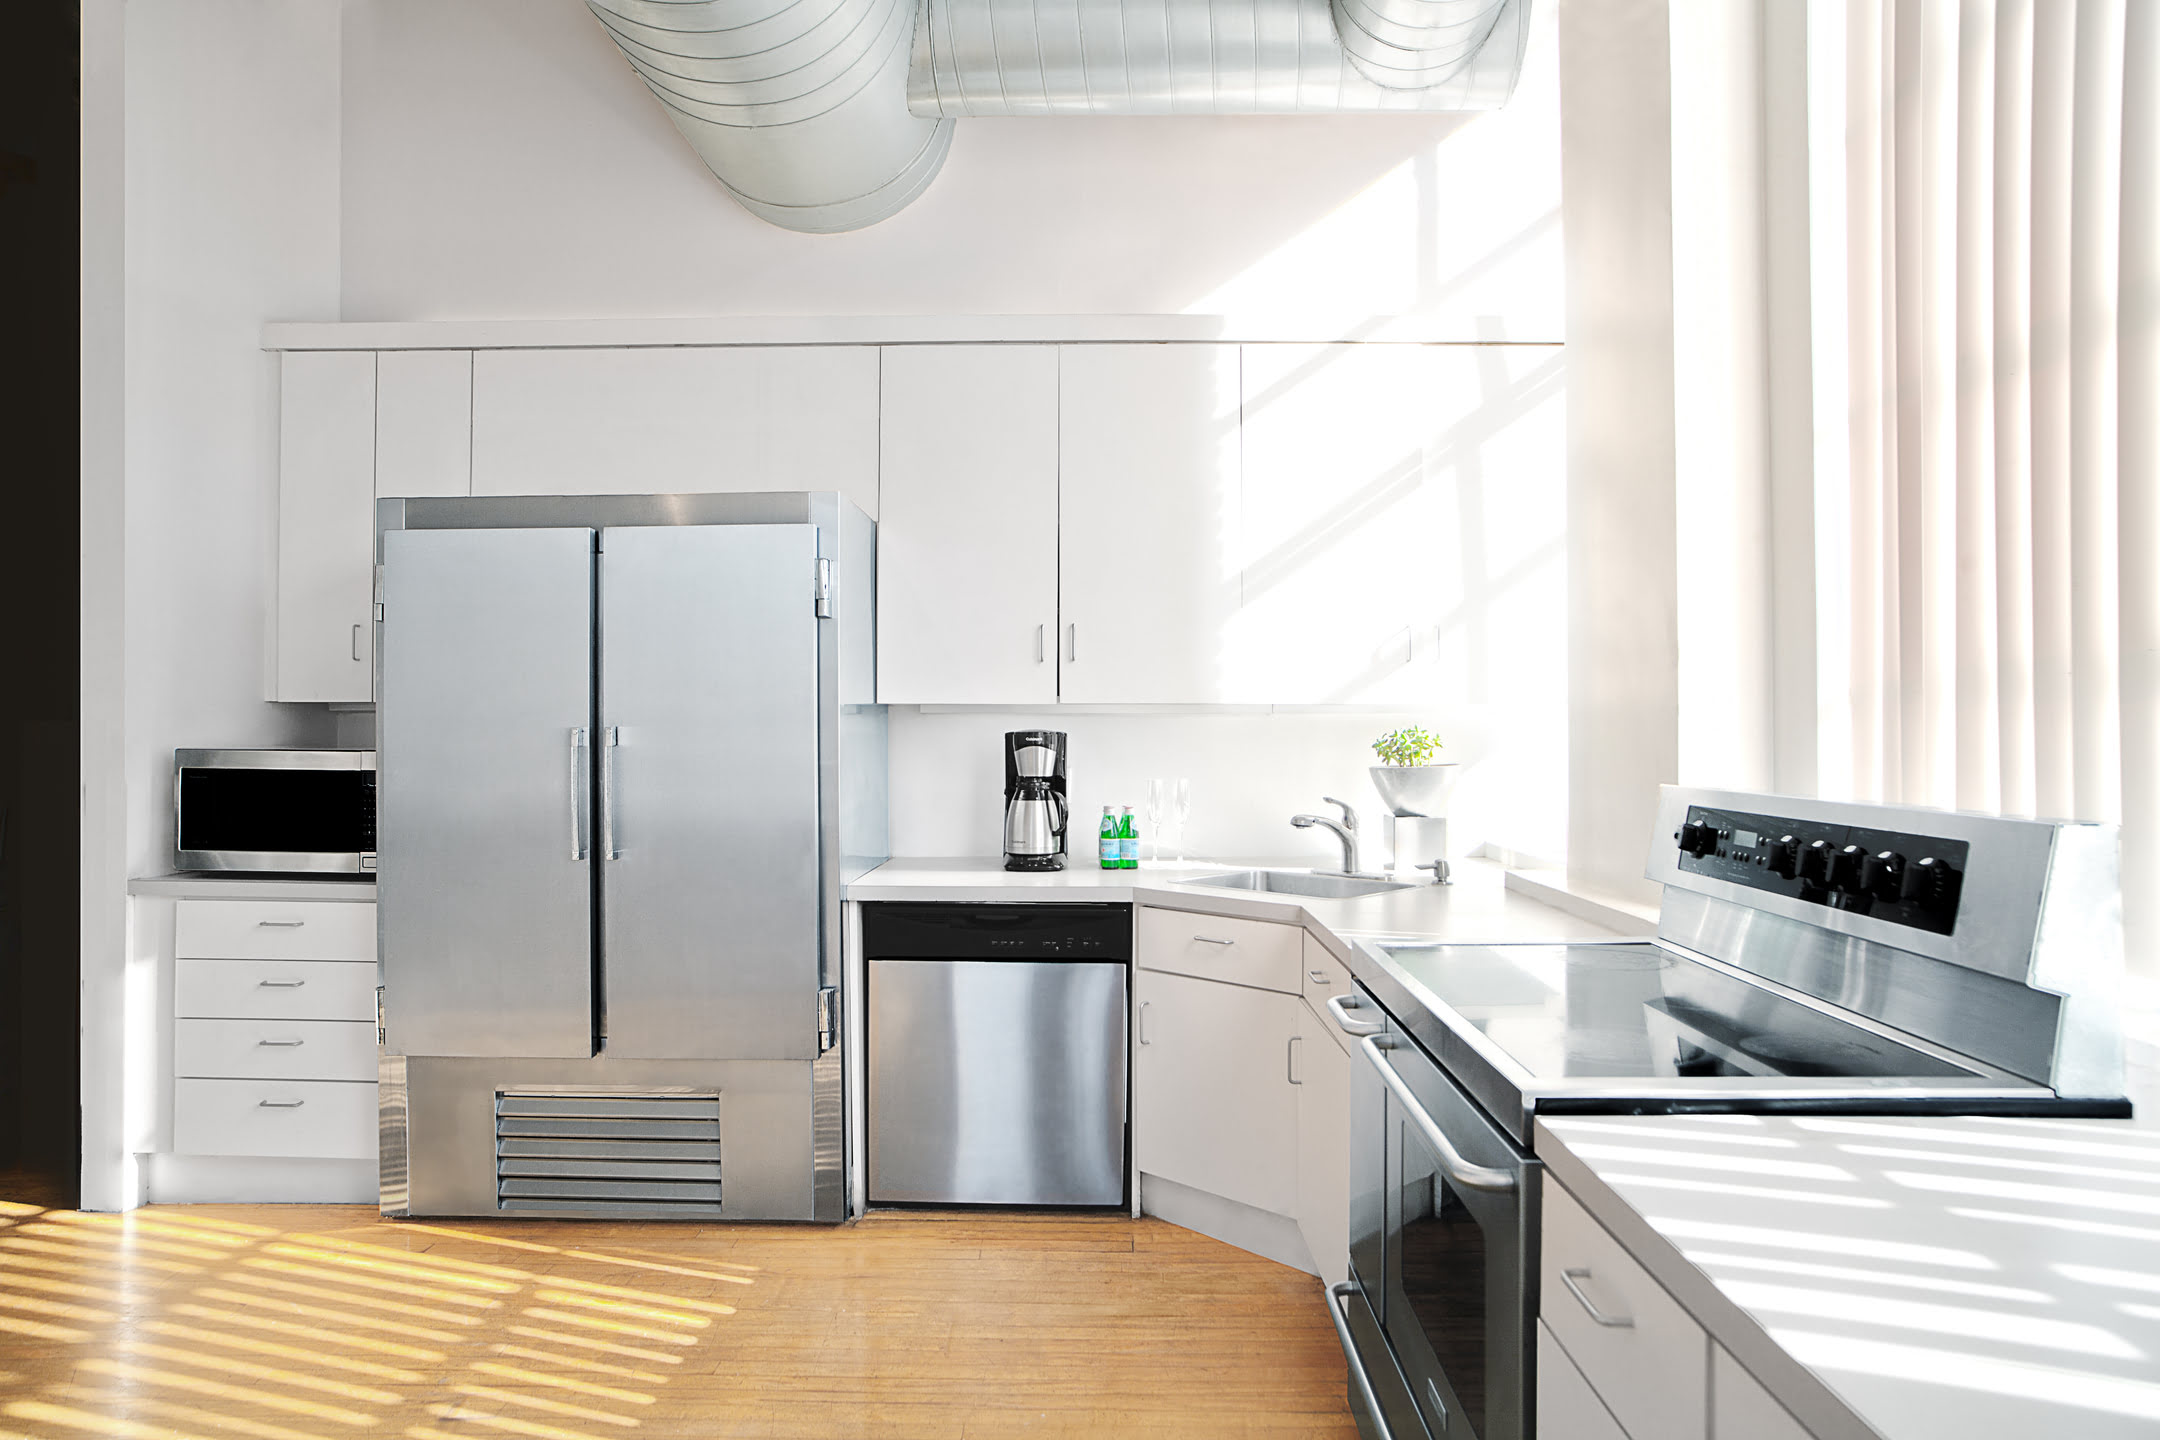
- Size and Layout of the Residence: The size and layout of the residence play a significant role in determining the positioning of smoke detectors. Larger homes may require multiple smoke detectors on each level, while smaller residences may only need one per floor. Consider the distance between bedrooms and the central living areas, as well as any areas that may be more prone to fire hazards, such as kitchens or utility rooms.
- Obstructions: Consider any potential obstructions that may hinder the smoke detector’s ability to detect smoke. Obstacles such as walls, furniture, or other objects may impede the smoke particles from reaching the detector. Ensure that the detector is mounted in a location that allows for unobstructed airflow and visibility.
- Ceiling Height: The height of the ceiling can affect the placement of smoke detectors. In rooms with high ceilings, it may be necessary to install smoke detectors closer to the door to ensure effective detection. Refer to manufacturer guidelines for specific recommendations regarding ceiling heights and detector placement.
- Avoiding Dead Zones: It is important to avoid placing smoke detectors in “dead zones,” which are areas where smoke may be unlikely to reach. This includes areas such as corners, near air vents, or near windows. Instead, opt for central locations within rooms or in hallways, where smoke is more likely to accumulate.
- Interconnected Detectors: Consider the ability to have interconnected smoke detectors throughout the home. Interconnected detectors are wired to communicate with each other, so when one alarm is triggered, all alarms will sound. This ensures that all occupants are promptly alerted to the presence of smoke, regardless of their location within the residence.
By carefully considering these factors and making informed decisions about smoke detector placement, you can ensure optimal coverage and early detection in case of a fire.
Read more: Where To Place A Smoke Detector In A Bedroom
Common Mistakes in Smoke Detector Placement
While it is crucial to have smoke detectors installed in our homes, it is equally important to ensure that they are placed correctly to maximize their effectiveness. Unfortunately, there are some common mistakes that homeowners make when it comes to smoke detector placement. Becoming aware of these mistakes can help you avoid them and ensure the safety of your household. Here are some common errors in smoke detector placement:
- Placing Detectors in Inadequate Locations: One common mistake is placing smoke detectors in areas that are less likely to detect smoke effectively. Avoid installing detectors near sources of drafts, such as vents or windows, as air movement can disperse smoke and delay detection.
- Ignoring Specific Manufacturer Guidelines: Each smoke detector brand and model may have specific placement recommendations. Ignoring these guidelines may result in suboptimal performance and reduced effectiveness. Always refer to the manufacturer’s instructions for proper placement.
- Not Having Enough Detectors: Insufficient coverage is another mistake. It is important to have smoke detectors installed on each level of the home, including the basement and attic, as well as inside and outside of every sleeping area. This ensures that occupants are alerted to potential fire hazards, regardless of their location.
- Placing Detectors Too Close to Sources of Heat: Placing smoke detectors near heat sources, such as stoves or heaters, can lead to false alarms. The heat may trigger the smoke detector’s sensors, causing unnecessary panic and potentially compromising the functionality of the device.
- Not Testing or Maintaining Detectors: Neglecting to regularly test and maintain smoke detectors is a common oversight. It is crucial to test smoke detectors monthly, replace batteries as needed, and replace the entire unit every 10 years to ensure their reliability.
- Failure to Interconnect Detectors: Interconnected smoke detectors ensure that all alarms sound simultaneously when one detector is triggered. However, some homeowners fail to take advantage of this feature, potentially compromising the safety of occupants by limiting the scope of the alert.
To ensure the utmost safety in your home, it is essential to avoid these common mistakes. By placing smoke detectors in appropriate locations, following manufacturer guidelines, and regularly testing and maintaining the devices, you can significantly enhance the effectiveness of your smoke detectors in detecting and alerting you to potential fire hazards.
Best Practices for Smoke Detector Placement
Proper placement of smoke detectors is crucial in ensuring the safety of your home and family. By following these best practices, you can maximize the effectiveness of your smoke detectors in detecting smoke and providing early warning in case of a fire:
- Install Smoke Detectors on Every Level: Place smoke detectors on every level of your home, including the basement and attic if applicable. This helps ensure that smoke is detected promptly, regardless of where the fire starts.
- Position Detectors Near Bedrooms: Install smoke detectors inside and outside each sleeping area, including bedrooms. This is particularly important as most fires occur at night when occupants are asleep and may not smell or see the smoke immediately.
- Place Detectors in Central Locations: Install smoke detectors in central locations within rooms or hallways, away from corners or near air vents. Central placement allows for optimal smoke detection and ensures that smoke does not bypass the detector due to airflow patterns.
- Avoid Placing Detectors near Drafts: Keep smoke detectors away from doors, windows, and vents, as these areas may introduce drafts that can disperse smoke and delay detection. Instead, position detectors on interior walls for more accurate detection.
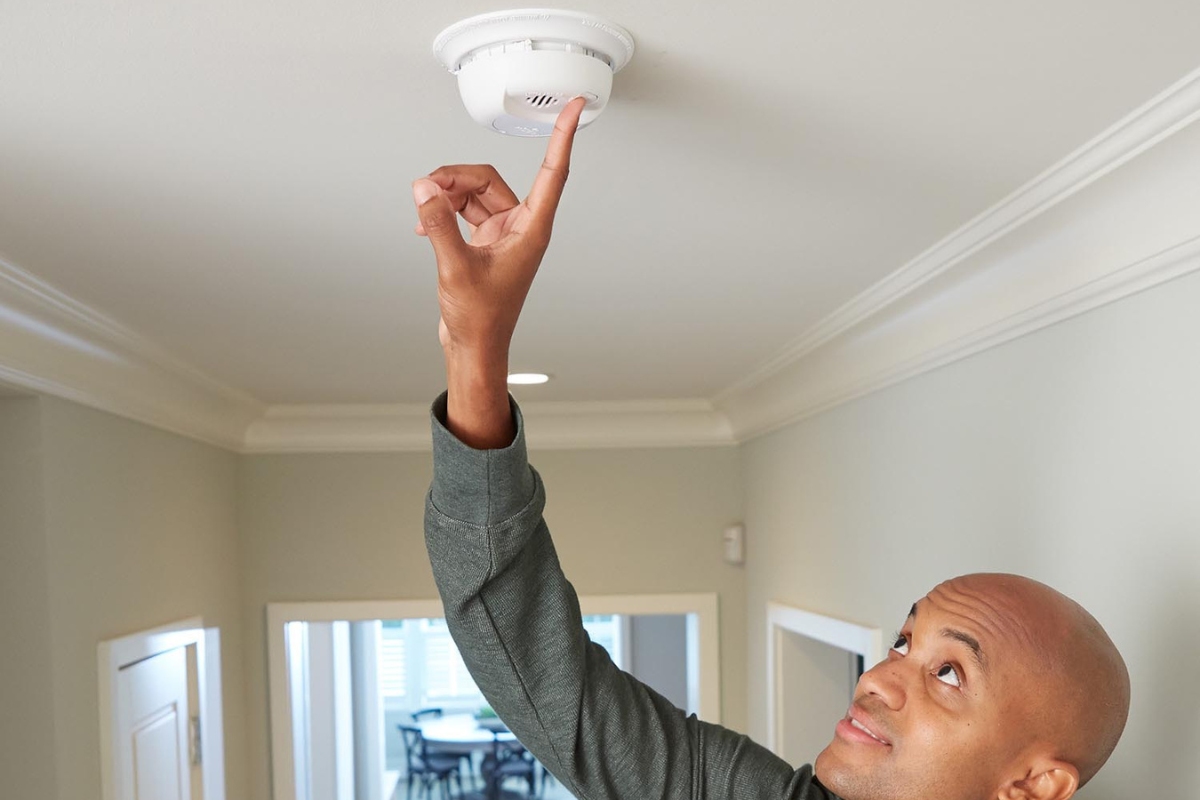
- Test Detectors Regularly: Test your smoke detectors once a month to ensure they are functioning properly. Follow the manufacturer’s instructions for testing procedures, and replace batteries as needed.
- Interconnect Detectors: Consider using interconnected smoke detectors, which are wired to communicate with each other. When one detector is triggered, all interconnected detectors will sound an alarm, providing the earliest possible warning to all occupants in the home.
- Maintain and Replace Detectors: In addition to regular testing, make sure to keep your smoke detectors clean and free from dust or debris that can hinder their performance. Replace the entire unit every 10 years or according to the manufacturer’s recommendation.
Remember, smoke detectors are a critical part of your home’s fire safety system. By following these best practices and ensuring proper placement, testing, and maintenance, you can significantly increase your chances of detecting and escaping a fire in its early stages, potentially saving lives and minimizing property damage.
Conclusion
Smoke detectors are essential devices for ensuring the safety of our homes and loved ones. By detecting smoke early on, they provide crucial seconds or minutes that can make all the difference in evacuating safely during a fire emergency. Proper placement of smoke detectors is vital to maximize their effectiveness in detecting smoke and providing early warning.
When considering the distance between a smoke detector and a bedroom door, it is recommended to have the detector installed within 10 feet of the door. This proximity allows for quick detection and timely alerting of occupants in case of a fire.
There are several factors to consider when determining the distance, including the size and layout of the residence, potential obstructions, ceiling height, and the avoidance of dead zones. Adhering to regulations and standards set by organizations such as the NFPA, as well as following manufacturer guidelines, are also crucial in optimizing the placement of smoke detectors.
Common mistakes in smoke detector placement, such as placing detectors in inadequate locations, ignoring manufacturer guidelines, or not having enough detectors, should be avoided. Instead, homeowners should prioritize best practices, including installing detectors on every level of the home, positioning them near bedrooms, placing them in central locations, and avoiding drafts and obstructions.
Regular testing and maintenance of smoke detectors, along with the use of interconnected detectors, further enhance the reliability and effectiveness of these life-saving devices.
In conclusion, by understanding and implementing proper smoke detector placement, homeowners can significantly improve their home’s fire safety. By following regulations, considering key factors, and adopting best practices, you are taking important steps to protect yourself and your loved ones from the devastating effects of fires. Remember, the early detection provided by a properly placed smoke detector can truly be a lifesaver.
Frequently Asked Questions about How Far Can A Smoke Detector Be From A Bedroom Door
Was this page helpful?
At Storables.com, we guarantee accurate and reliable information. Our content, validated by Expert Board Contributors, is crafted following stringent Editorial Policies. We're committed to providing you with well-researched, expert-backed insights for all your informational needs.

0 thoughts on “How Far Can A Smoke Detector Be From A Bedroom Door”