
Articles
How To Unplug A Wired Smoke Detector
Modified: December 7, 2023
Learn how to safely unplug a wired smoke detector with our informative articles. Ensure your home's safety by following these step-by-step instructions.
(Many of the links in this article redirect to a specific reviewed product. Your purchase of these products through affiliate links helps to generate commission for Storables.com, at no extra cost. Learn more)
Introduction
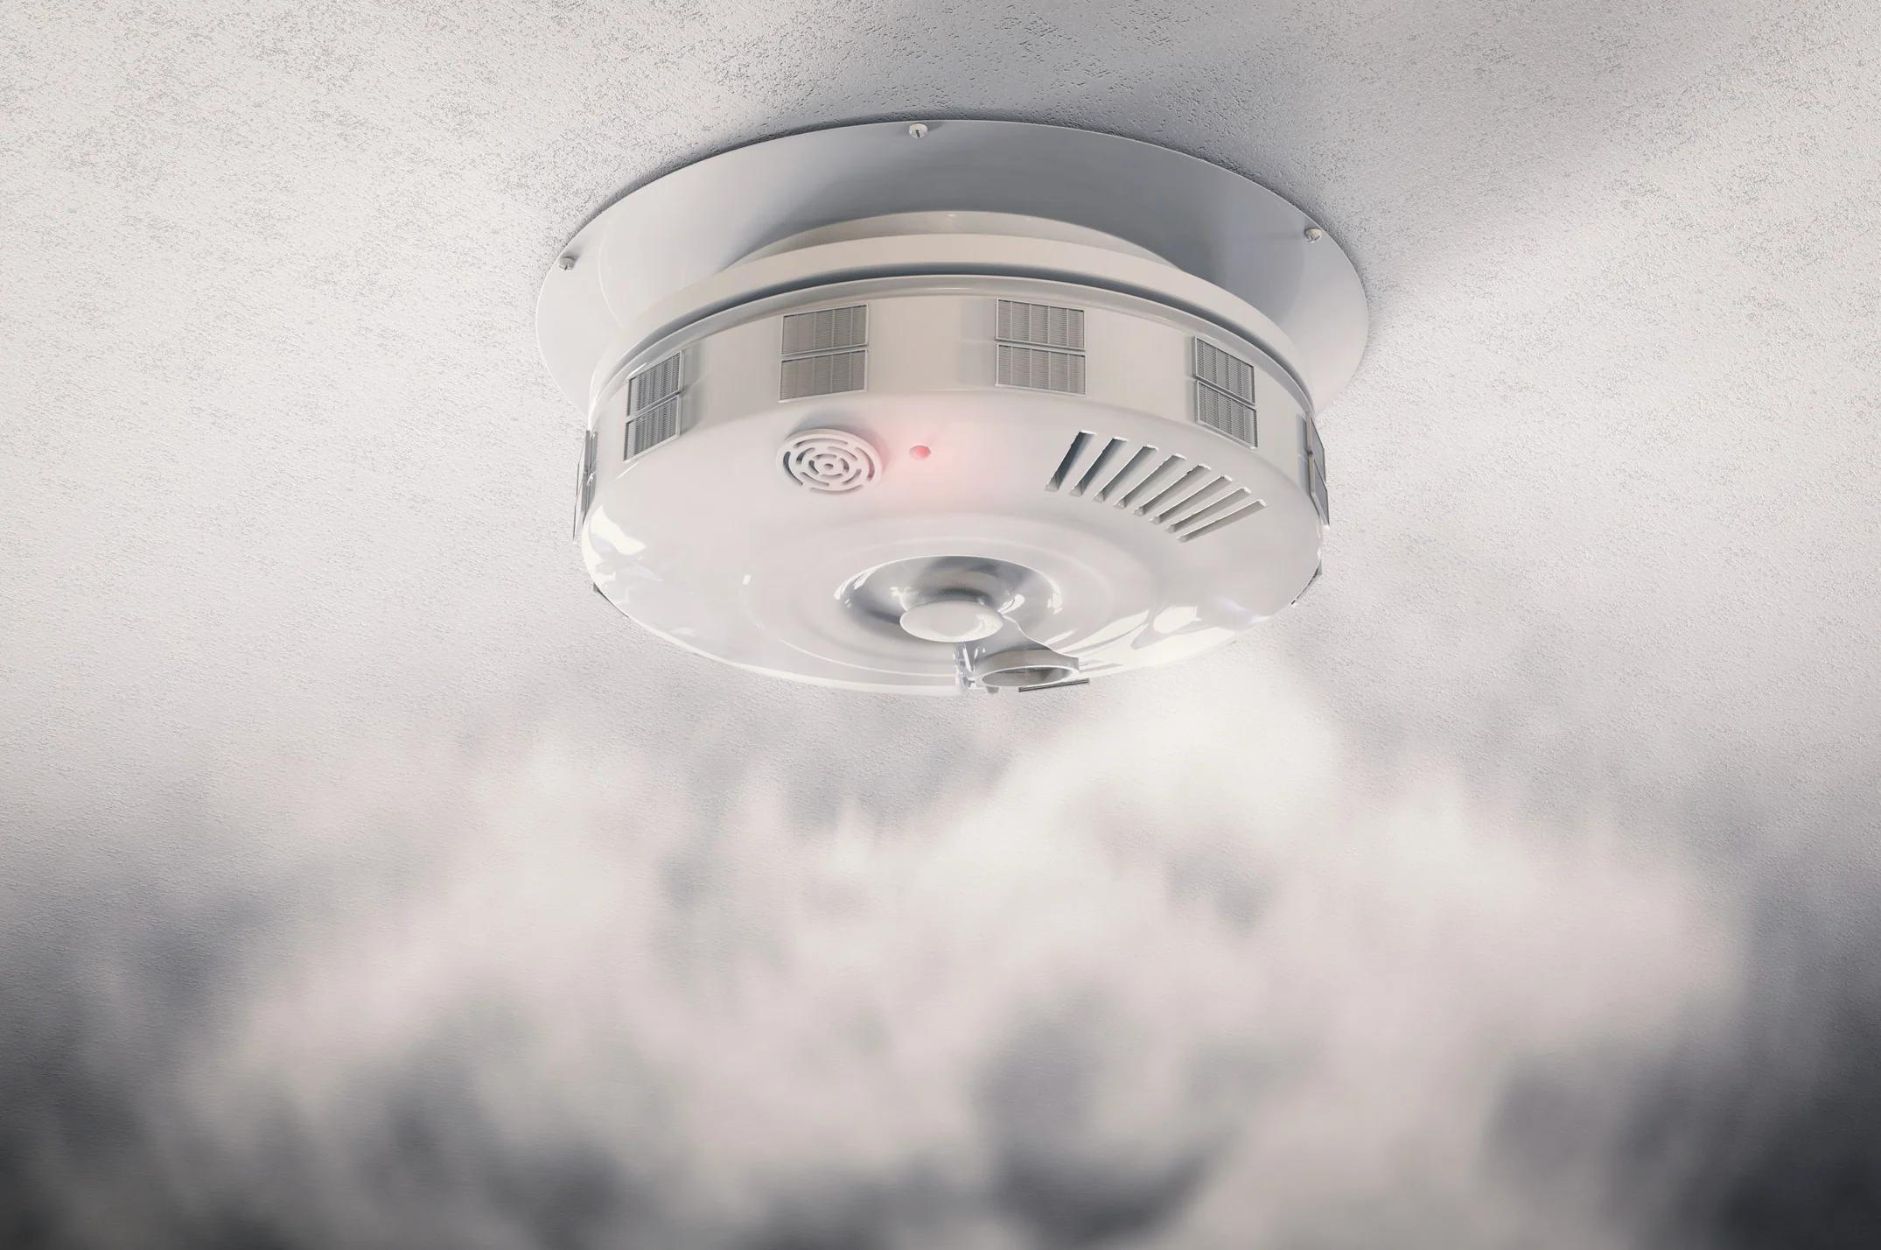
Smoke detectors play a crucial role in keeping our homes and loved ones safe. These devices are designed to detect smoke and fire, alerting us immediately so that we can take timely action. While wireless smoke detectors have become more popular in recent years, many homes still rely on wired smoke detectors for their fire safety systems.
Unplugging a wired smoke detector may be necessary during maintenance or if the device is malfunctioning. This article will guide you through the process of safely unplugging a wired smoke detector, ensuring that you can perform the task confidently and efficiently.
Before we dive into the steps, it’s important to note that safety should always be a top priority when dealing with electrical components. If you are unsure or uncomfortable with any part of the process, it’s best to seek the assistance of a professional electrician.
Key Takeaways:
- Safely unplug a wired smoke detector by following step-by-step instructions, ensuring proper power disconnection, wire handling, and reinstallation for optimal fire safety in your home.
- Regularly test and maintain smoke detectors to protect your household from fire and smoke emergencies. Remember to replace batteries annually and the entire unit every 10 years for continued safety.
Read more: How To Install A Wired Smoke Detector
Step 1: Locate the smoke detector
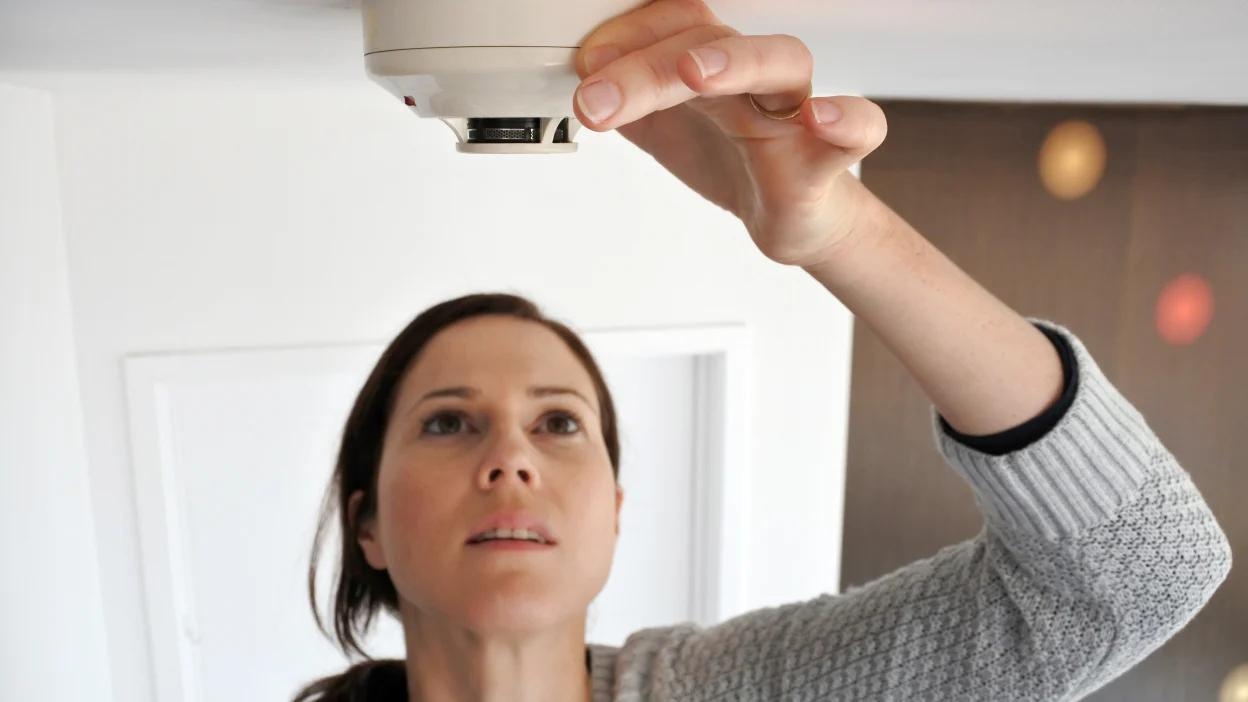
The first step in unplugging a wired smoke detector is to locate its position in your home. The most common places for smoke detectors are on the ceiling or high up on the walls, typically near bedrooms or common areas.
Start by taking a quick walk around your home and visually inspecting each room. Look for a small, disc-shaped device attached to the ceiling or wall. It will usually have a white or off-white color, but some models may come in different shades.
If you have multiple floors in your home, you may need to check each level for smoke detectors. They are often installed near staircases or in hallway intersections to provide optimal coverage.
If you’re having trouble locating the smoke detector, refer to the homeowner’s manual or contact the manufacturer for guidance. It’s crucial to identify the correct smoke detector to avoid accidentally disabling a different device or triggering a false alarm.
Step 2: Turn off the power
Before you begin working on the wired smoke detector, it is important to turn off the power to ensure your safety. Smoke detectors are typically connected to the electrical system of your home, so you need to cut off the power to the specific circuit that powers the detector.
Start by locating your electrical panel or circuit breaker box. This is usually found in a utility room, basement, or garage. Open the panel door and look for the circuit breaker that controls the smoke detector. The circuit breaker may be labeled or numbered, making it easier to identify.
Once you have located the correct circuit breaker, switch it to the “Off” position. This will cut off the power supply to the smoke detector, rendering it safe to work on. It’s important to ensure that the circuit breaker is fully off and not in a partially tripped position.
To further ensure your safety, use a non-contact voltage tester to double-check that there is no electrical current running to the smoke detector. Simply hold the tester near the wires connected to the detector. If the tester remains silent or shows no indication of voltage, you can proceed to the next step.
However, if the voltage tester indicates the presence of electricity, do not proceed any further. It means that the circuit breaker you turned off may not be the correct one, or there may be additional power sources connected to the smoke detector. In such cases, it is best to consult a professional electrician for assistance.
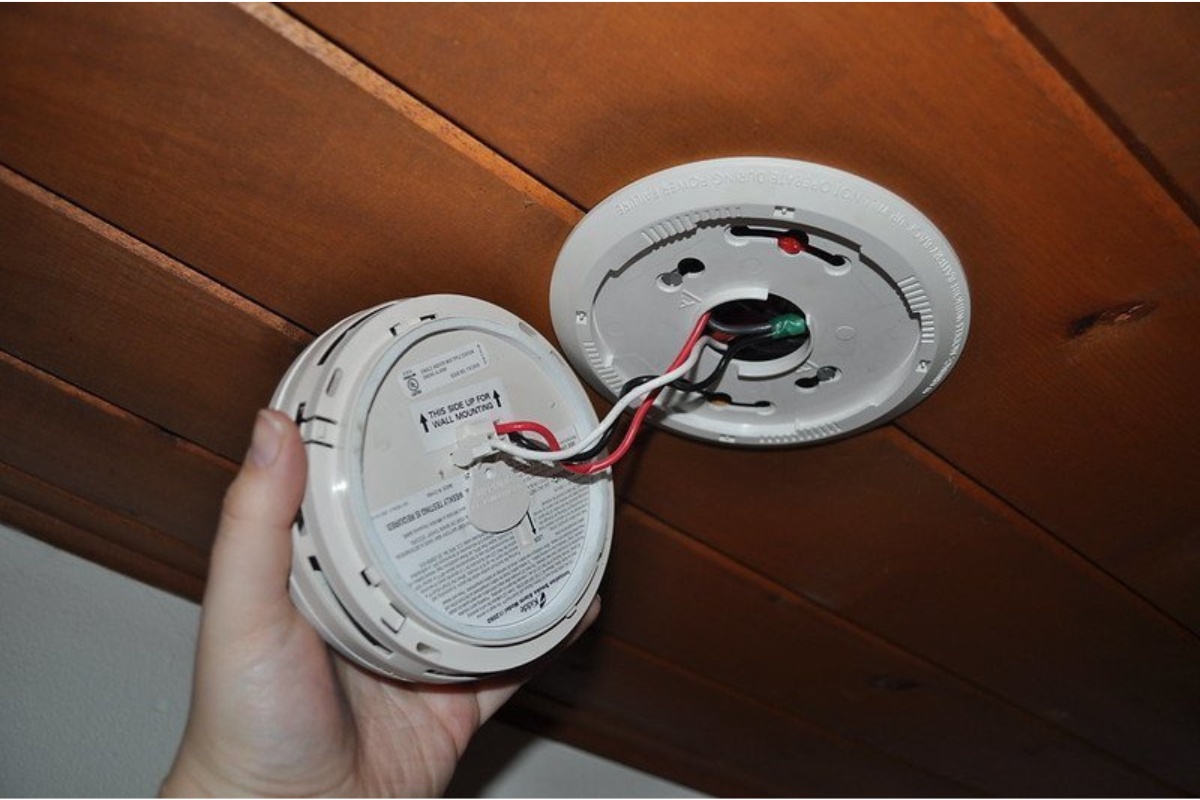
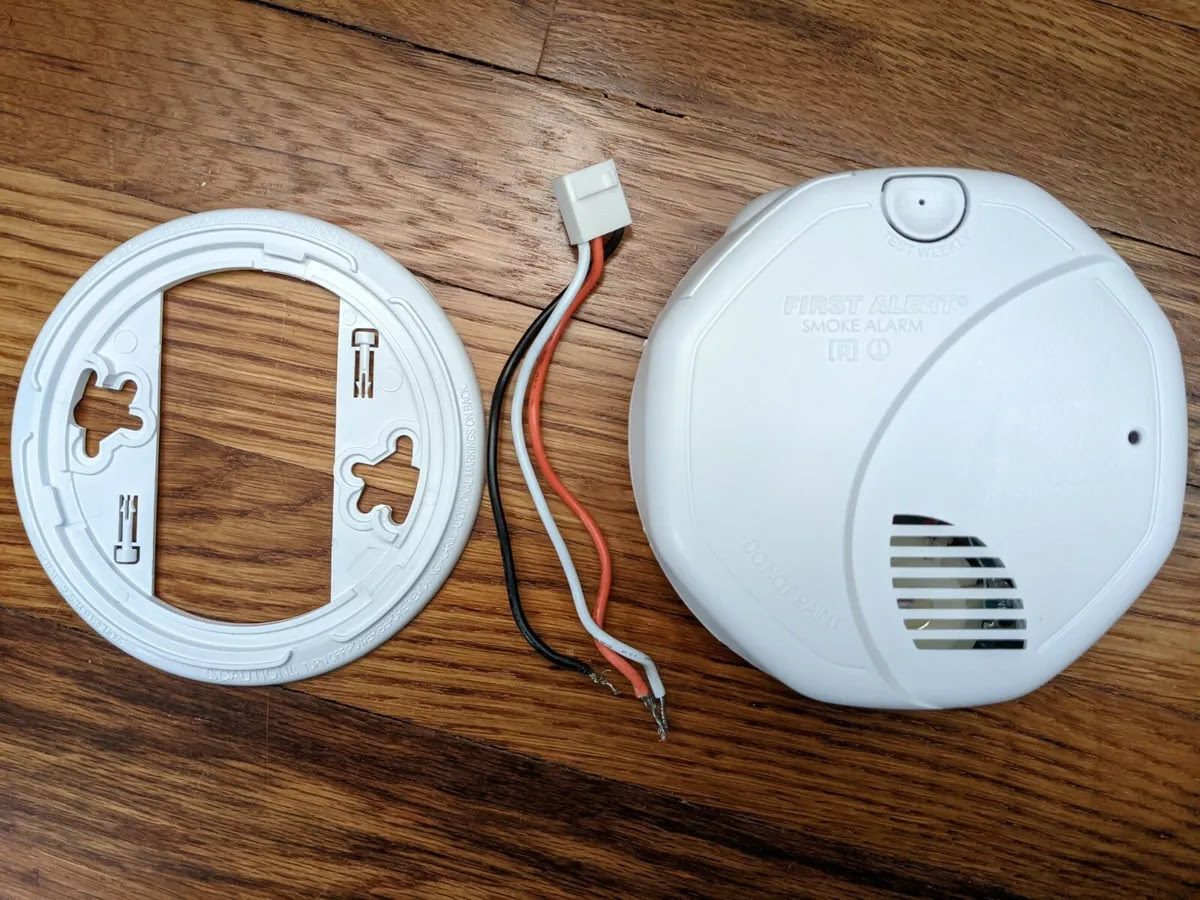
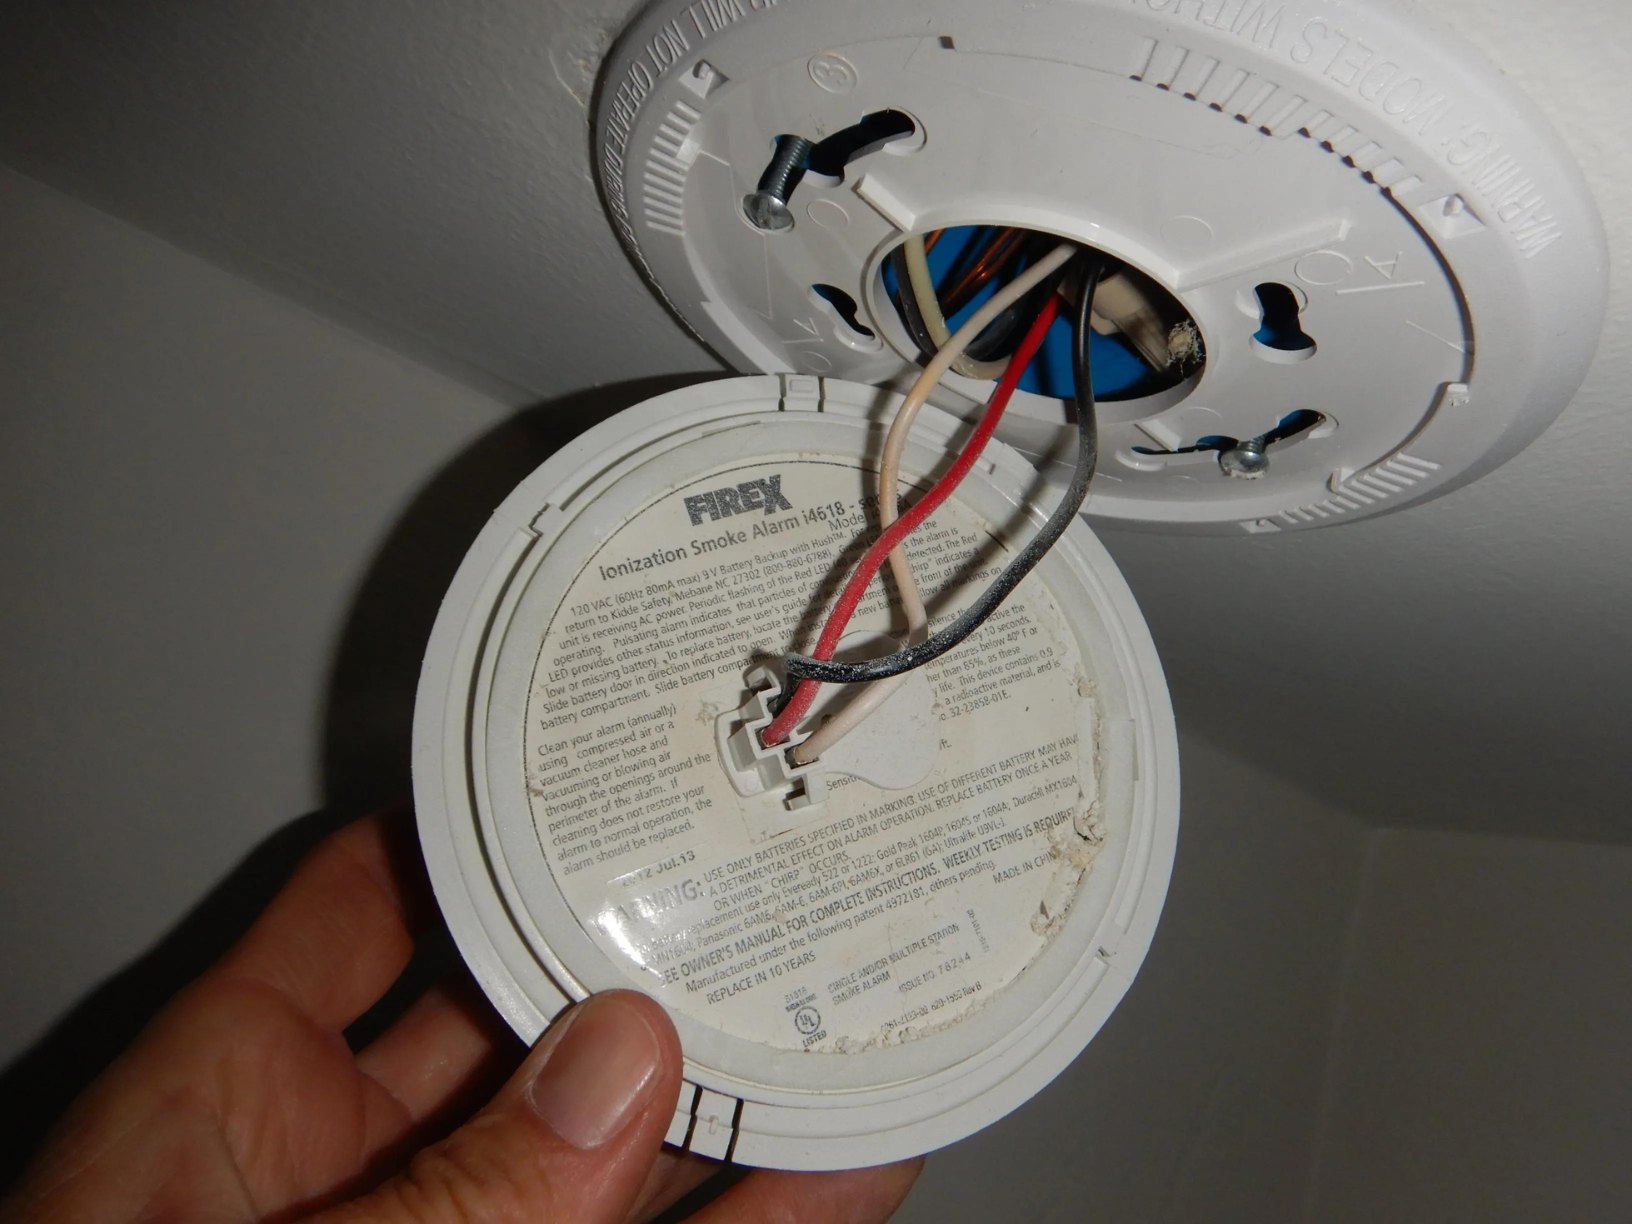
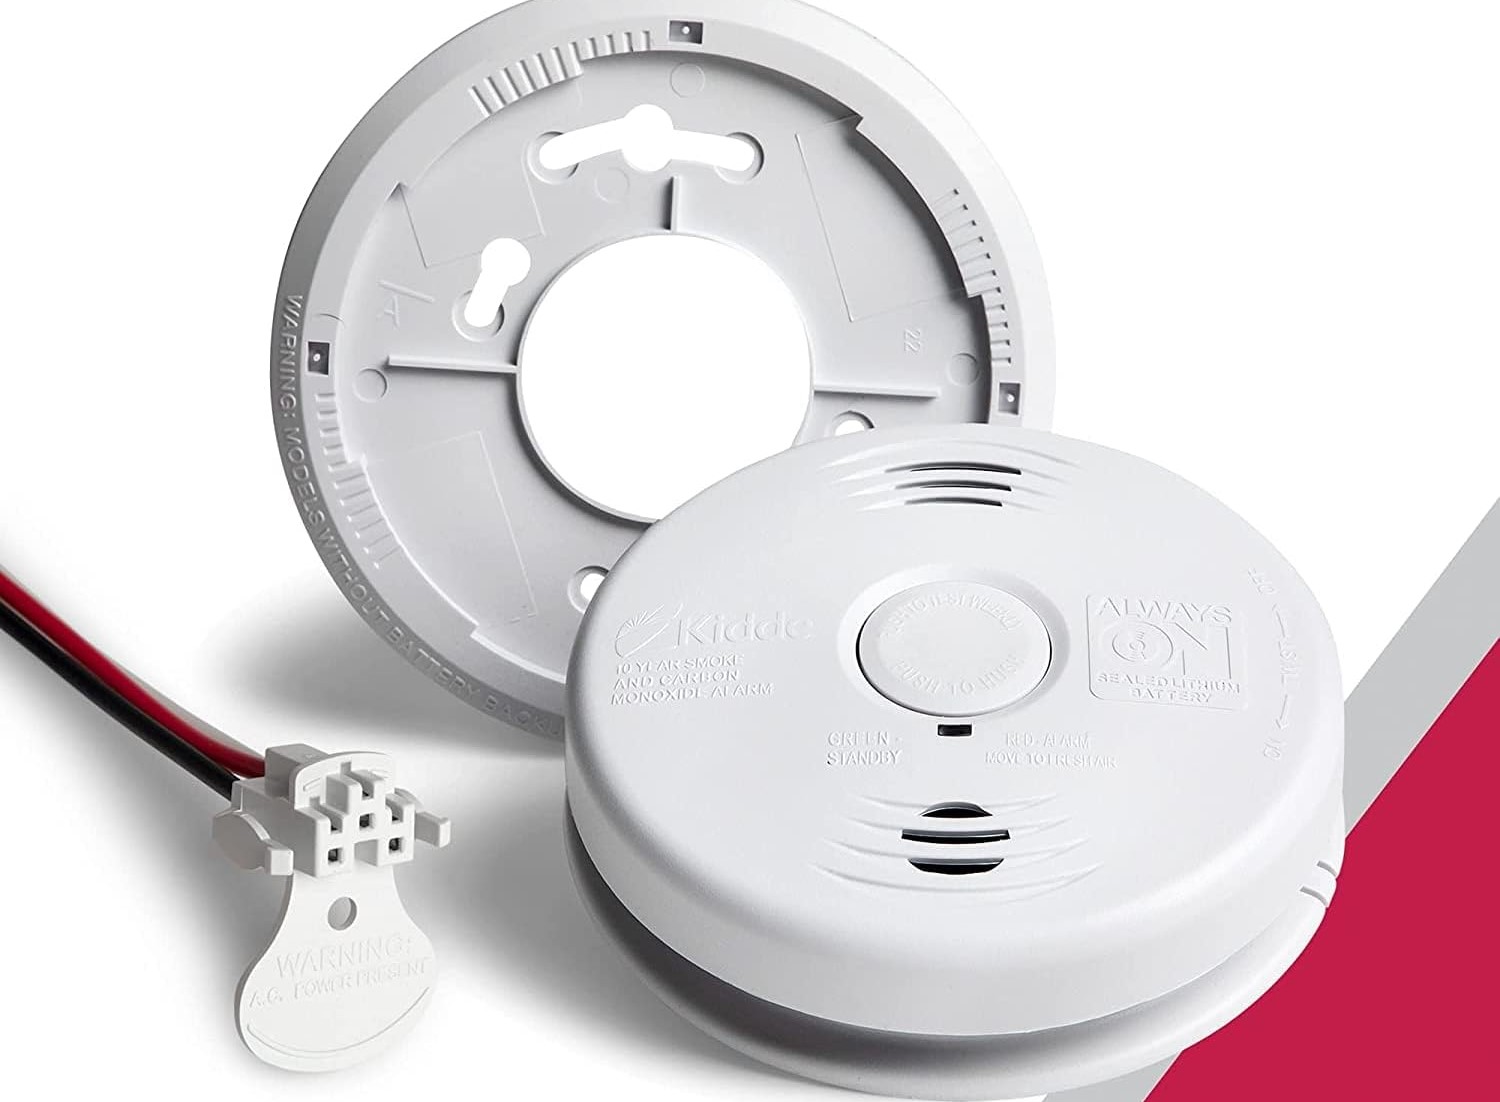
Step 3: Remove the smoke detector from the mounting bracket
Now that you have ensured the power is off, it’s time to remove the wired smoke detector from its mounting bracket. The mounting bracket is the device that holds the smoke detector in place on the ceiling or wall.
Start by gently twisting or rotating the smoke detector counterclockwise to unlock it from the mounting bracket. Most smoke detectors have a twisting mechanism that allows for easy removal.
Once the smoke detector is unlocked, carefully lower it down from the mounting bracket. Be cautious not to pull on any wires or cause damage to the surrounding area. If necessary, you can use a small step stool or ladder to reach the smoke detector if it is installed on a high ceiling.
It’s important to note that different smoke detector models may have different types of mounting brackets. Some may have a simple twist and release mechanism, while others may require you to press a release button or use a screwdriver to detach it. Refer to the manufacturer’s instructions or manual if you are unsure of the specific removal method for your smoke detector.
Once the smoke detector is removed from the mounting bracket, safely set it aside on a stable surface. This will allow you to access the wires and proceed to the next step.
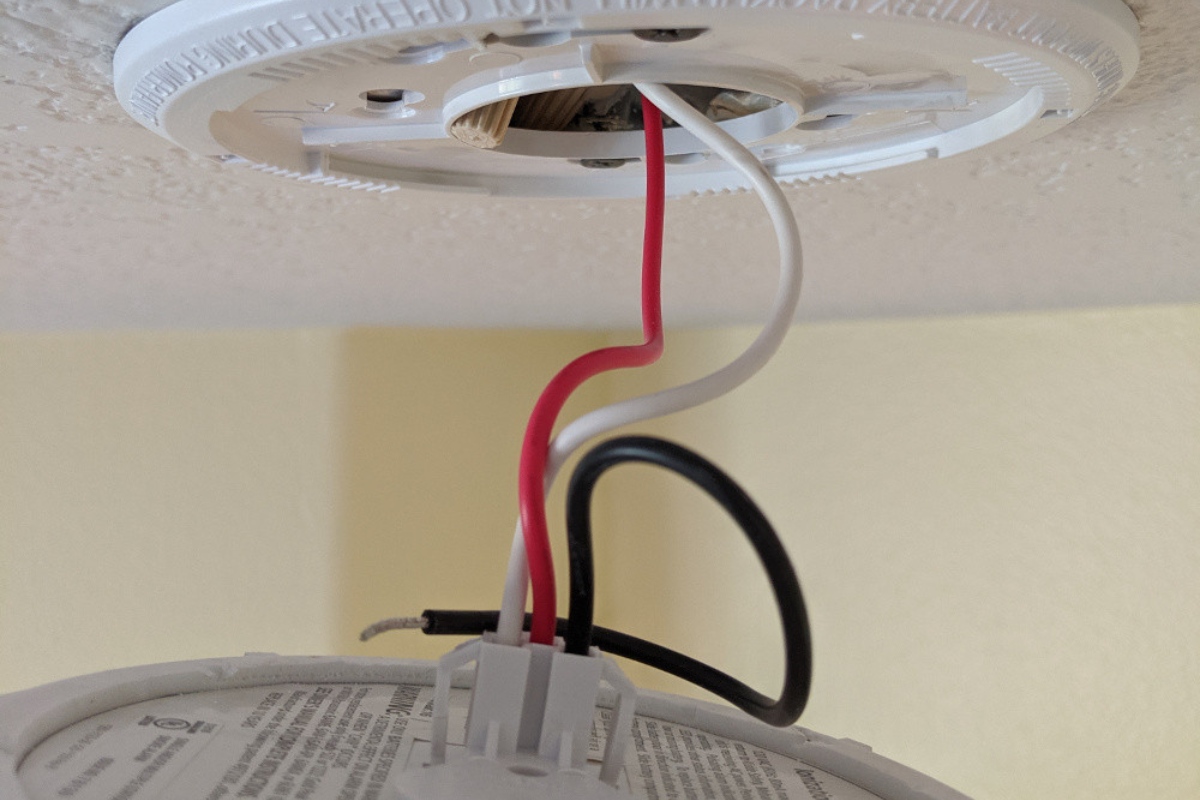
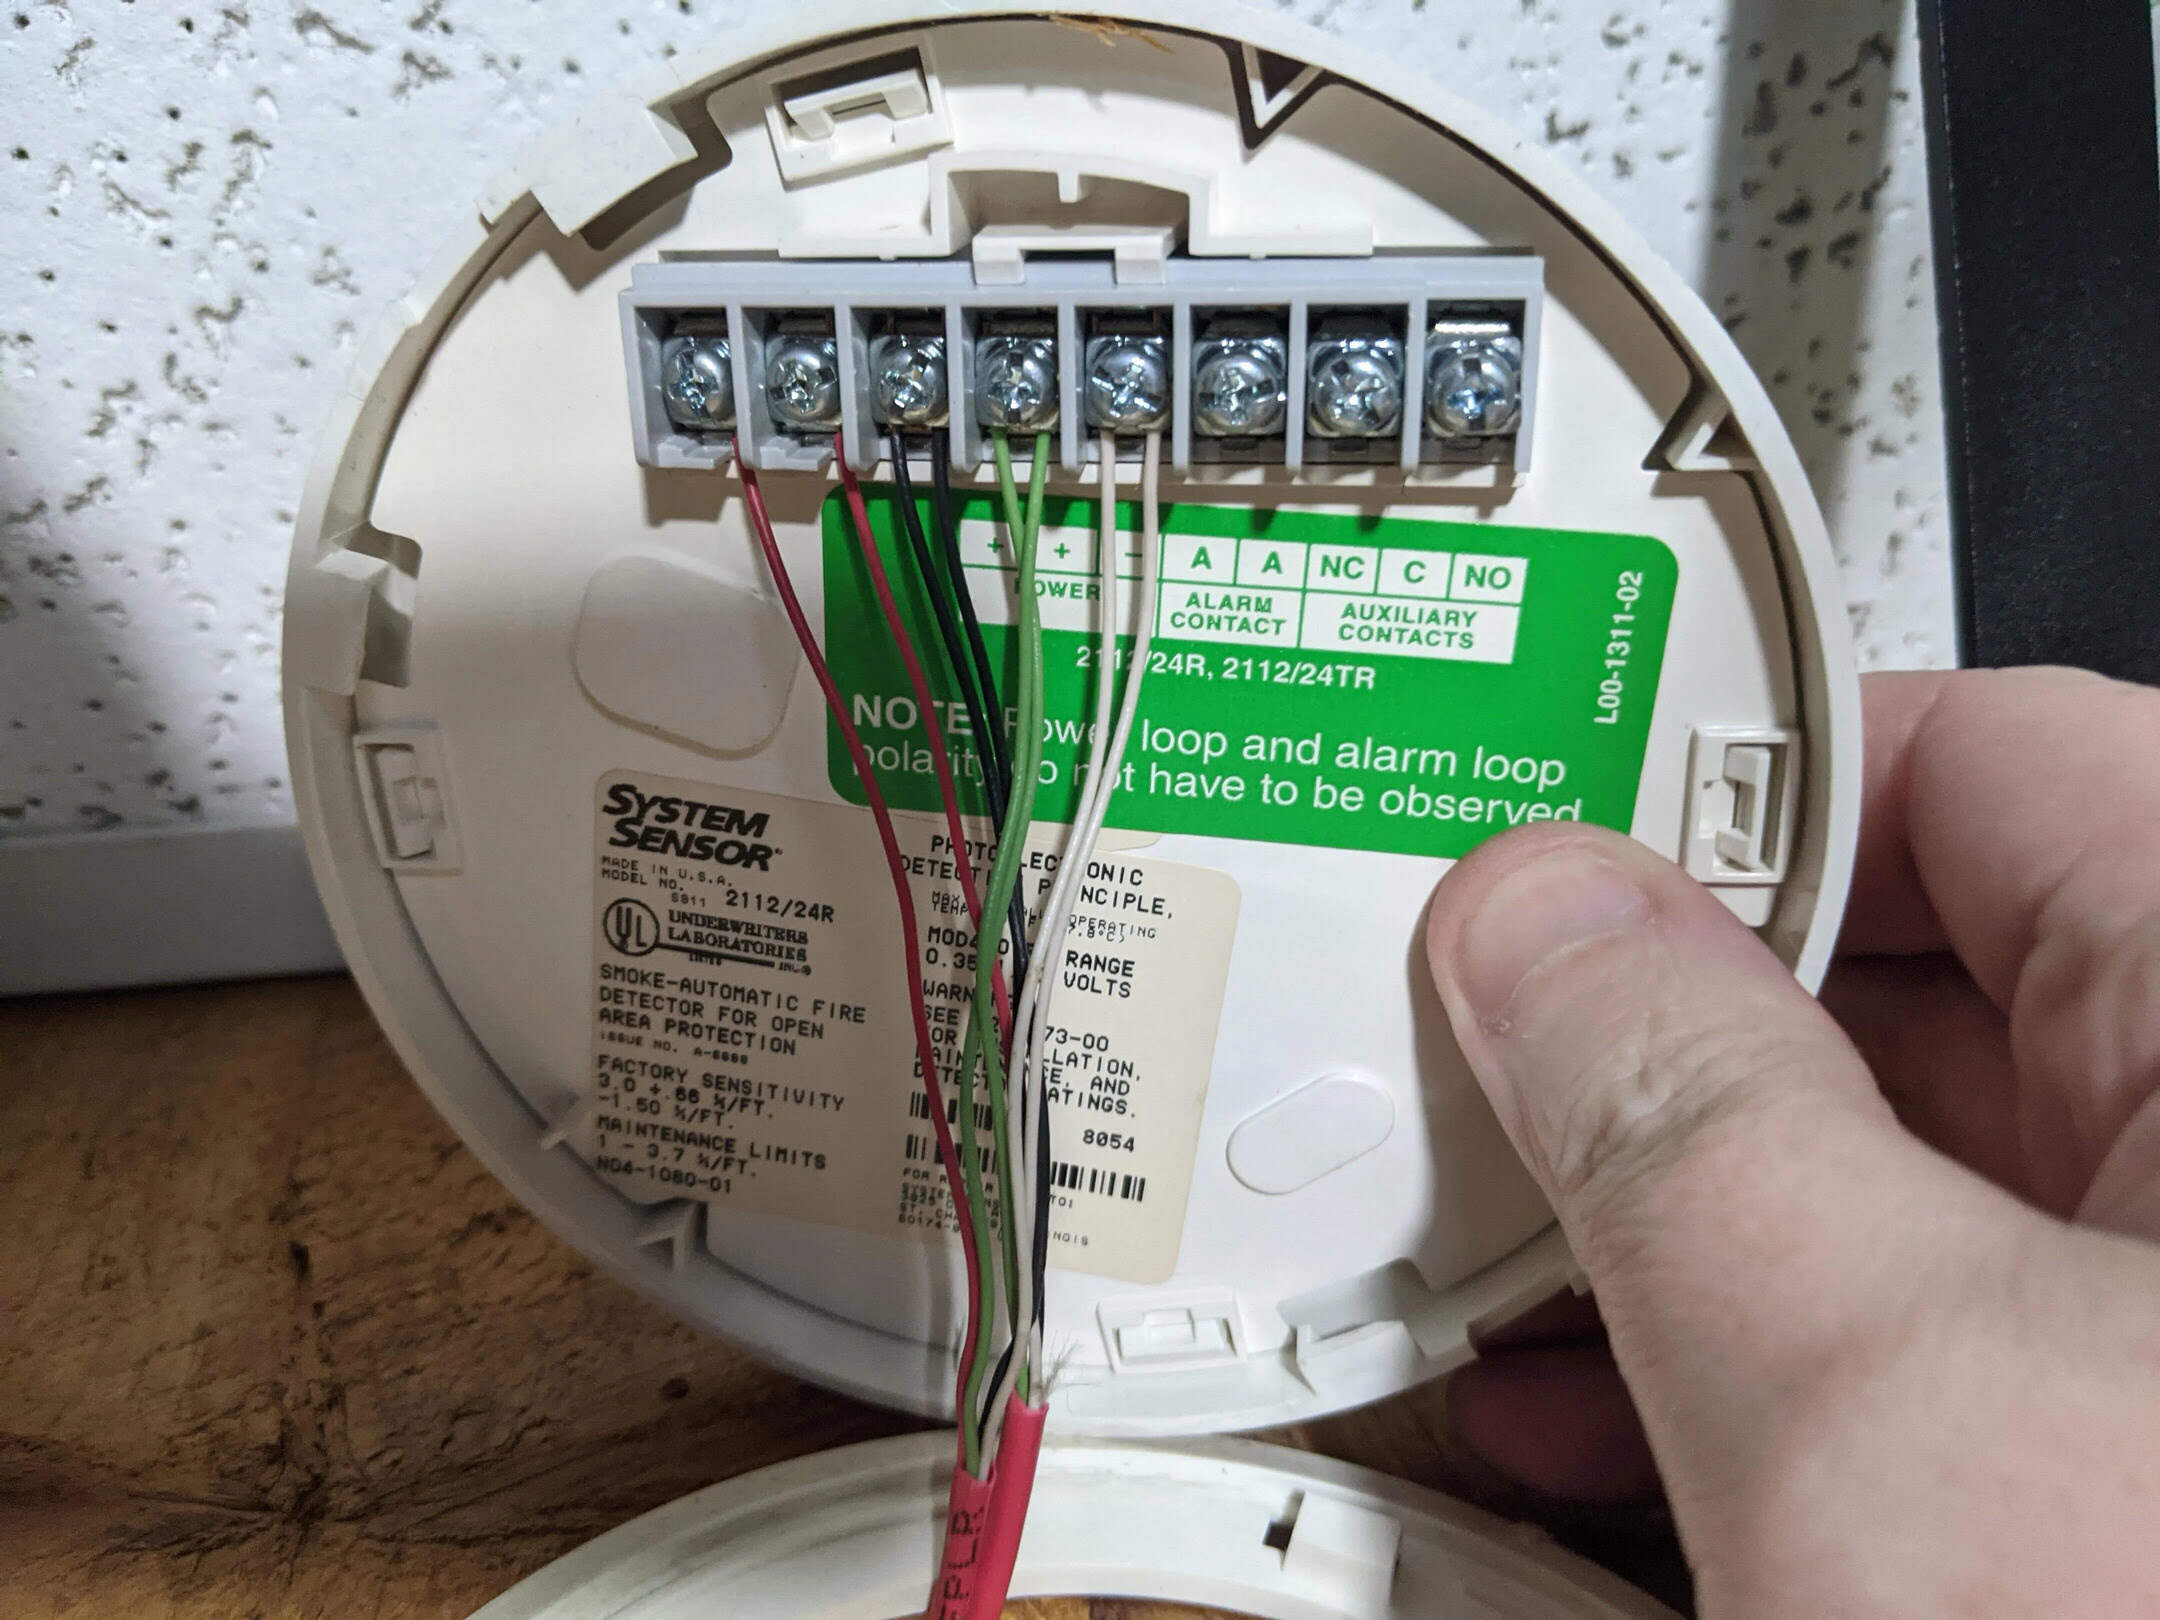
Step 4: Disconnect the wires
With the smoke detector safely removed from the mounting bracket, it’s time to disconnect the wires. The wires are responsible for delivering power to the smoke detector and transmitting the signals in case of fire or smoke detection.
Inspect the wires connected to the smoke detector. Typically, there will be three wires – black, white, and green or bare copper. The black wire is the hot wire, the white wire is the neutral wire, and the green or bare copper wire is the ground wire.
To disconnect the wires, you will need a pair of wire cutters or wire strippers. Start by carefully removing the wire nuts or connectors that hold the wires together. Twist the wire nuts counterclockwise until they come loose. Be cautious not to twist too forcefully to avoid damaging the wires.
Once the wire nuts are removed, gently pull the connected wires apart. It’s important to note that the wires may still be connected even without wire nuts. In such cases, use your wire cutters or wire strippers to carefully cut or strip the wires, ensuring that there is enough length remaining to connect the new smoke detector later.
During this process, it’s important to avoid touching any exposed wires or allowing them to come into contact with other surfaces or objects. This can lead to electrical shock or short circuits. Always handle the wires with caution, preferably while wearing insulated gloves.
After disconnecting the wires, you can coil them and tape them off with electrical tape to ensure they don’t come into contact with each other or anything else while you proceed with the replacement process.
Read more: How To Connect A Wired Smoke Detector
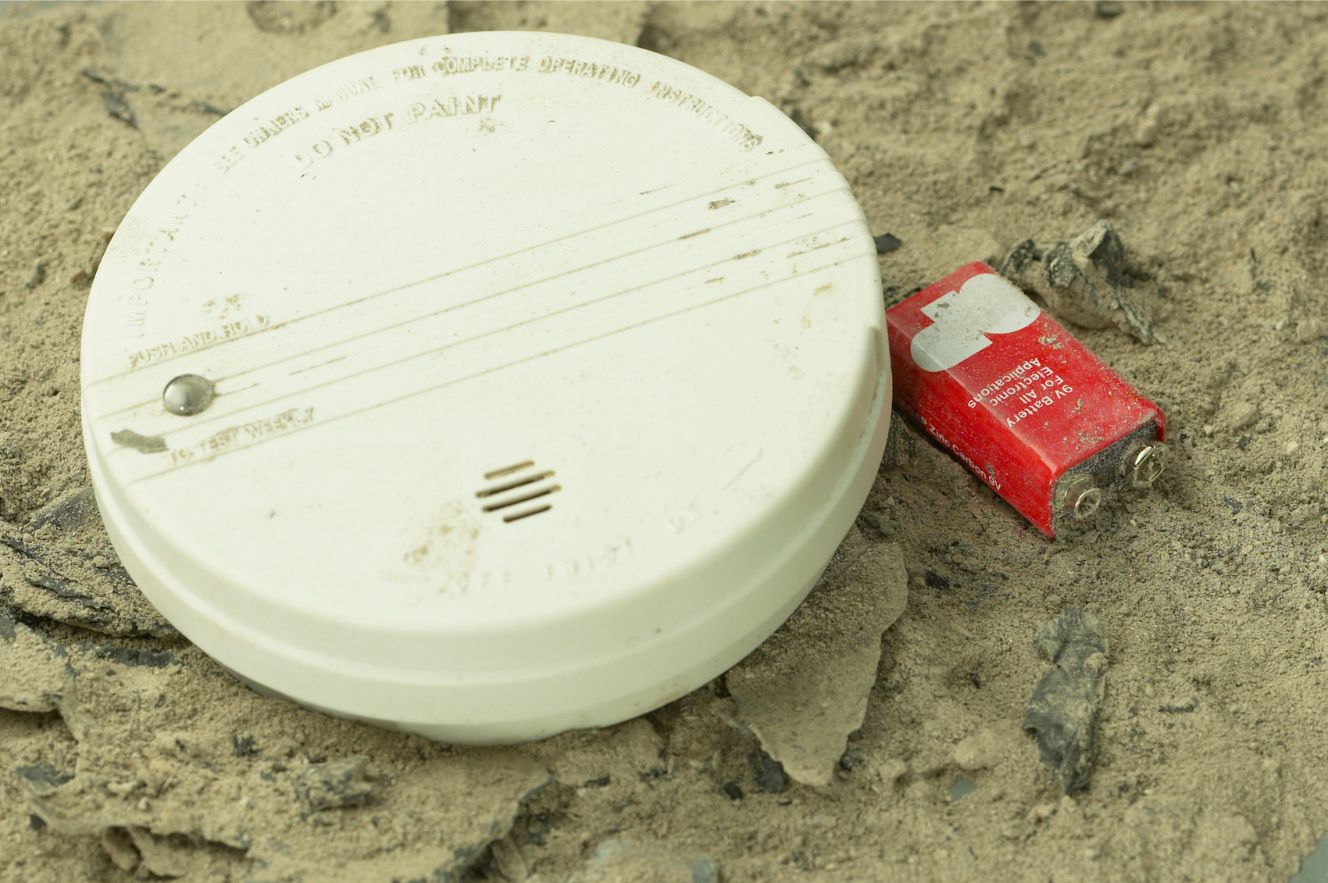
Step 5: Remove the old battery (if applicable)
Some wired smoke detectors also have a backup battery to ensure they continue functioning during a power outage. If your smoke detector has a battery, it’s important to remove it before proceeding with any further steps.
Start by inspecting the smoke detector for a battery compartment. This is typically located on the back or side of the device. Look for a latch or release button that will allow you to open the compartment.
Once you have located the battery compartment, open it by either sliding the latch or pressing the release button. This will reveal the battery inside.
Carefully observe the orientation of the battery and how it is connected to the smoke detector. Take note of any markings or labels indicating the correct placement of the battery.
To remove the old battery, gently push it out or lift it using your fingers. Be cautious not to apply too much force or damage the battery, as it may contain hazardous materials.
If the battery is connected with a wire, disconnect it from the smoke detector by gently pulling it out or releasing any connector mechanism.
Once the old battery is removed, safely dispose of it according to your local regulations. Many communities have specific guidelines for disposing of hazardous materials like batteries. Be sure to follow these guidelines to protect the environment and yourself.
If your smoke detector does not have a battery compartment or backup battery, you can skip this step and proceed to the next step.
Before unplugging a wired smoke detector, make sure to turn off the power to the circuit it’s connected to. Use a screwdriver to remove the detector from the mounting bracket, then unplug the wire harness. Test the detector to ensure it’s working properly before re-installing.
Step 6: Reconnect the wires (if necessary)
After removing the old smoke detector and battery (if applicable), it’s time to prepare for the installation of the new smoke detector. This step involves reconnecting the wires that were disconnected earlier.
Start by unwrapping or untaping the coiled wires that were previously disconnected. Inspect the ends of the wires to ensure they are clean and free from any damage or fraying.
If the wires have been cut or stripped, you may need to trim the ends to remove any damaged sections. Use wire cutters or wire strippers to carefully remove the damaged portion and expose a fresh section of the wire.
Next, align the black wire (hot wire) with the corresponding wire on the new smoke detector. Twist the ends of the wires together in a clockwise direction. Once they are securely twisted together, you can use a new wire nut to secure the connection. Twist the wire nut clockwise until it is tight and snug.
Repeat the same process with the white wire (neutral wire) on the smoke detector and the corresponding wire from your electrical system. Twist them together and secure with a wire nut.
If your smoke detector has a ground wire (green or bare copper), connect it to the ground wire from your electrical system in the same manner.
After making the necessary wire connections, gently tug on each wire to ensure they are securely attached and won’t come loose easily.
It’s important to note that different smoke detectors may have different wiring configurations. Always refer to the manufacturer’s instructions or follow the wiring diagram provided to ensure you connect the wires correctly.
Once the wires are properly connected, proceed to the next step for the final installation of the new smoke detector.
Step 7: Install a new battery (if applicable)If your wired smoke detector has a backup battery, it’s time to install a new battery to ensure uninterrupted operation during power outages. This step is crucial for maintaining the functionality of your smoke detector.
Start by inspecting the new smoke detector to locate the battery compartment. It is typically located on the back or side of the device. Look for a latch or release button that will allow you to open the compartment.
Once you have accessed the battery compartment, observe the orientation and polarity markings inside. These markings indicate the correct placement of the new battery.
Select the appropriate type and size of battery as specified by the manufacturer. It’s important to use a battery that is compatible with your smoke detector for optimal performance.
Insert the new battery into the compartment, aligning the positive (+) and negative (-) ends with the corresponding markings. Gently push the battery into place until it is securely seated.
If the new battery is connected with wires, carefully connect them to the designated terminal points inside the battery compartment. The wires are usually color-coded to match the terminals, making it easier to ensure correct connections.
Close the battery compartment by either sliding the latch or pressing the release button until it clicks into place. This will ensure the battery is securely fastened inside the smoke detector.
Give the smoke detector a gentle shake to ensure that the battery is properly installed and doesn’t move around inside the compartment.
It’s important to note that not all wired smoke detectors have backup batteries. If your smoke detector does not have a battery compartment, you can skip this step and proceed to the next one.
With the new battery installed (if applicable), you are now ready to reattach the smoke detector to its mounting bracket and restore power to the device.
Step 8: Reattach the smoke detector to the mounting bracket
Now that the necessary electrical connections have been made, it’s time to reattach the smoke detector to its mounting bracket. This step ensures that the smoke detector is securely in place and ready to function properly.
Take the smoke detector and position it directly above the mounting bracket. Align the slots or holes on the smoke detector with the tabs or hooks on the bracket.
Gently push the smoke detector upward and rotate it clockwise until it locks into place. You may hear or feel a slight click when it is securely attached.
Give the smoke detector a gentle tug to ensure it is firmly and properly secured to the mounting bracket. It should not move or come loose easily.
If your smoke detector has any leveling mechanisms, such as a bubble level or rotating base, adjust it as necessary to ensure the detector is level with the ceiling or wall.
Inspect the smoke detector from different angles to make sure it is aligned properly and aesthetically pleasing. Adjust if needed to ensure that it blends seamlessly with your surroundings.
It’s important to note that different smoke detectors have different attachment mechanisms and mounting brackets. Always refer to the manufacturer’s instructions or manual for specific guidelines on how to reattach your particular model.
With the smoke detector securely reattached to the mounting bracket, you are now ready to move on to the final step: restoring power to the device.
Step 9: Restore power
After successfully reattaching the smoke detector to its mounting bracket, it’s time to restore power to ensure the device is fully operational. Restoring power will allow the smoke detector to function as intended and provide the necessary protection for your home.
Make your way back to the electrical panel or circuit breaker box where you previously turned off the power. Locate the circuit breaker that controls the smoke detector.
Switch the circuit breaker back to the “On” position by flipping it in the opposite direction from when you turned it off. Ensure that it is securely in the “On” position.
Once you have restored power, listen for any sounds or beeps coming from the smoke detector. This is an indication that the device is receiving power and initializing.
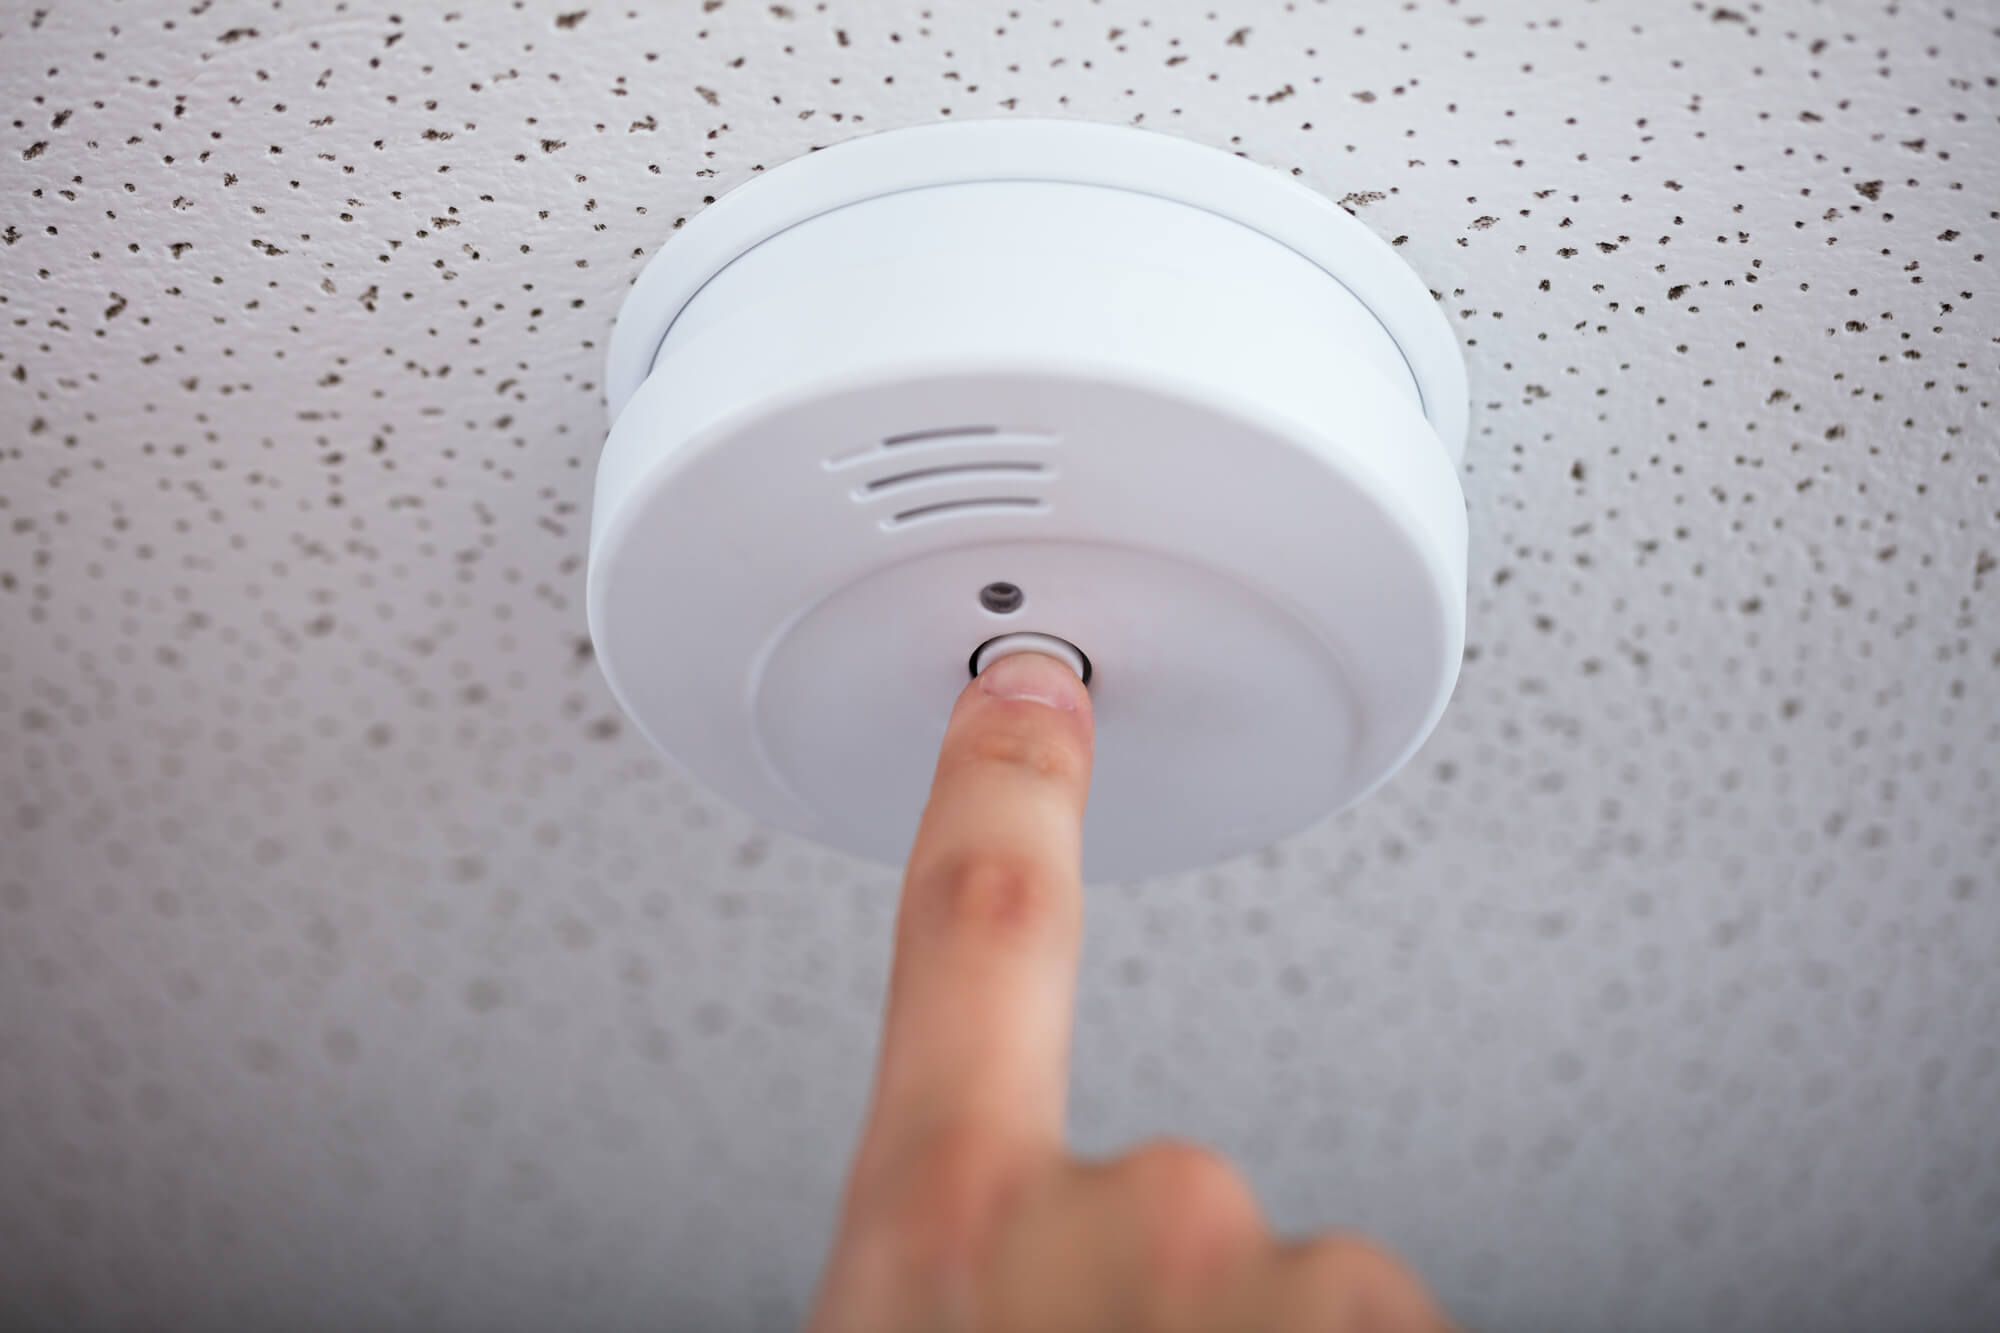
If you have multiple smoke detectors in your home, it can be helpful to test each one individually to ensure that they are all functioning properly. This can be done by pressing the “Test” button on each detector. If all detectors respond with a loud and audible alarm, it’s a good sign that they have been successfully reconnected and restored to functionality.
Take a moment to visually inspect the smoke detector to ensure that it is displaying the appropriate lights or indicators, indicating it is operational and ready for use.
It’s essential to periodically test your smoke detector to ensure it continues to function properly. Most manufacturers recommend testing the devices at least once a month and replacing the batteries annually.
Congratulations! You have successfully unplugged and reconnected a wired smoke detector, ensuring the safety of your household in the event of a fire or smoke emergency.
Remember to always refer to the manufacturer’s instructions and safety guidelines when working with electrical components. If at any point you feel unsure or uncomfortable, it’s best to seek the assistance of a professional electrician.
Stay vigilant in maintaining your smoke detectors and regularly check their functionality to provide optimal fire safety for your home.
Conclusion
Unplugging a wired smoke detector may be necessary for maintenance, replacement, or troubleshooting purposes. While the process may seem daunting at first, following these step-by-step instructions can ensure a safe and successful outcome.
We began by locating the smoke detector in your home and ensuring the power is turned off to avoid any electrical hazards. Then, we proceeded to remove the smoke detector from its mounting bracket and disconnect the wires, taking care to handle them properly.
If your smoke detector has a backup battery, it’s important to remove the old battery before reconnecting the wires. On the other hand, if your smoke detector does not have a battery, you can skip that step and proceed directly to reconnecting the wires.
Next, we installed a new battery (if applicable) and reattached the smoke detector to its mounting bracket. This ensures that the device is securely in place and ready to function effectively.
Finally, we restored power to the smoke detector by flipping the circuit breaker and conducted a quick test to ensure its functionality.
Regularly testing and maintaining your smoke detectors is crucial for the safety and wellbeing of your household. It’s recommended to test the smoke detectors monthly, replace batteries annually, and replace the entire unit every 10 years.
Remember, safety is paramount when working with electrical components. If you encounter any difficulties or are unsure about any step, it’s strongly advised to seek the guidance of a professional electrician.
By following these step-by-step instructions and remaining vigilant in smoke detector maintenance, you can rest assured knowing you have taken the necessary steps to keep your home and loved ones protected from the dangers of fire and smoke.
Frequently Asked Questions about How To Unplug A Wired Smoke Detector
Was this page helpful?
At Storables.com, we guarantee accurate and reliable information. Our content, validated by Expert Board Contributors, is crafted following stringent Editorial Policies. We're committed to providing you with well-researched, expert-backed insights for all your informational needs.


0 thoughts on “How To Unplug A Wired Smoke Detector”