Articles
How To Adjust Hinges On Cabinet Doors
Modified: December 6, 2023
Adjust the hinges on your storage cabinets for smooth operation and perfect alignment. Step-by-step guide on how to adjust hinges on cabinet doors.
(Many of the links in this article redirect to a specific reviewed product. Your purchase of these products through affiliate links helps to generate commission for Storables.com, at no extra cost. Learn more)
Introduction
When it comes to cabinet doors, one common issue that homeowners often face is misaligned hinges. Over time, cabinet doors can become crooked, causing them to not close properly or hang unevenly. This can not only affect the overall functionality of the cabinets but also impact the aesthetic appeal of the kitchen or any other space where cabinets are installed.
Fortunately, adjusting hinges on cabinet doors is a relatively simple task that can be done by anyone with basic DIY skills. In this article, we will guide you through the step-by-step process of adjusting hinges on cabinet doors, helping you restore the proper alignment and functionality to your cabinets.
To successfully adjust hinges on cabinet doors, it’s important to have a good understanding of the different types of cabinet hinges and their functions. There are various hinge styles available, including butt hinges, European hinges, and pivot hinges. Each type of hinge operates differently and may require slightly different adjustment methods. By familiarizing yourself with the specific hinge type used on your cabinet doors, you can ensure that you make the correct adjustments.
Before getting started, gather the necessary tools for the job. While the exact tools needed may vary depending on the type of hinge and cabinet door you have, some common tools you may need include a screwdriver (either a Phillips or flat-head, depending on the screws used), a drill, screws, and a hinge adjustment tool or a shim.
Now, let’s dive into the step-by-step process of adjusting hinges on cabinet doors, so you can regain the functionality and appearance of your cabinets.
Key Takeaways:
- Easily restore proper alignment and functionality to your cabinet doors by following a step-by-step process to adjust hinges, ensuring smooth closure and a renewed appearance for your cabinets.
- Understanding the different types of cabinet hinges and their adjustment mechanisms is crucial for a successful hinge adjustment, allowing you to address misalignments and maintain the functionality and aesthetic appeal of your cabinets over time.
Read more: How To Fix A Cabinet Door Hinge
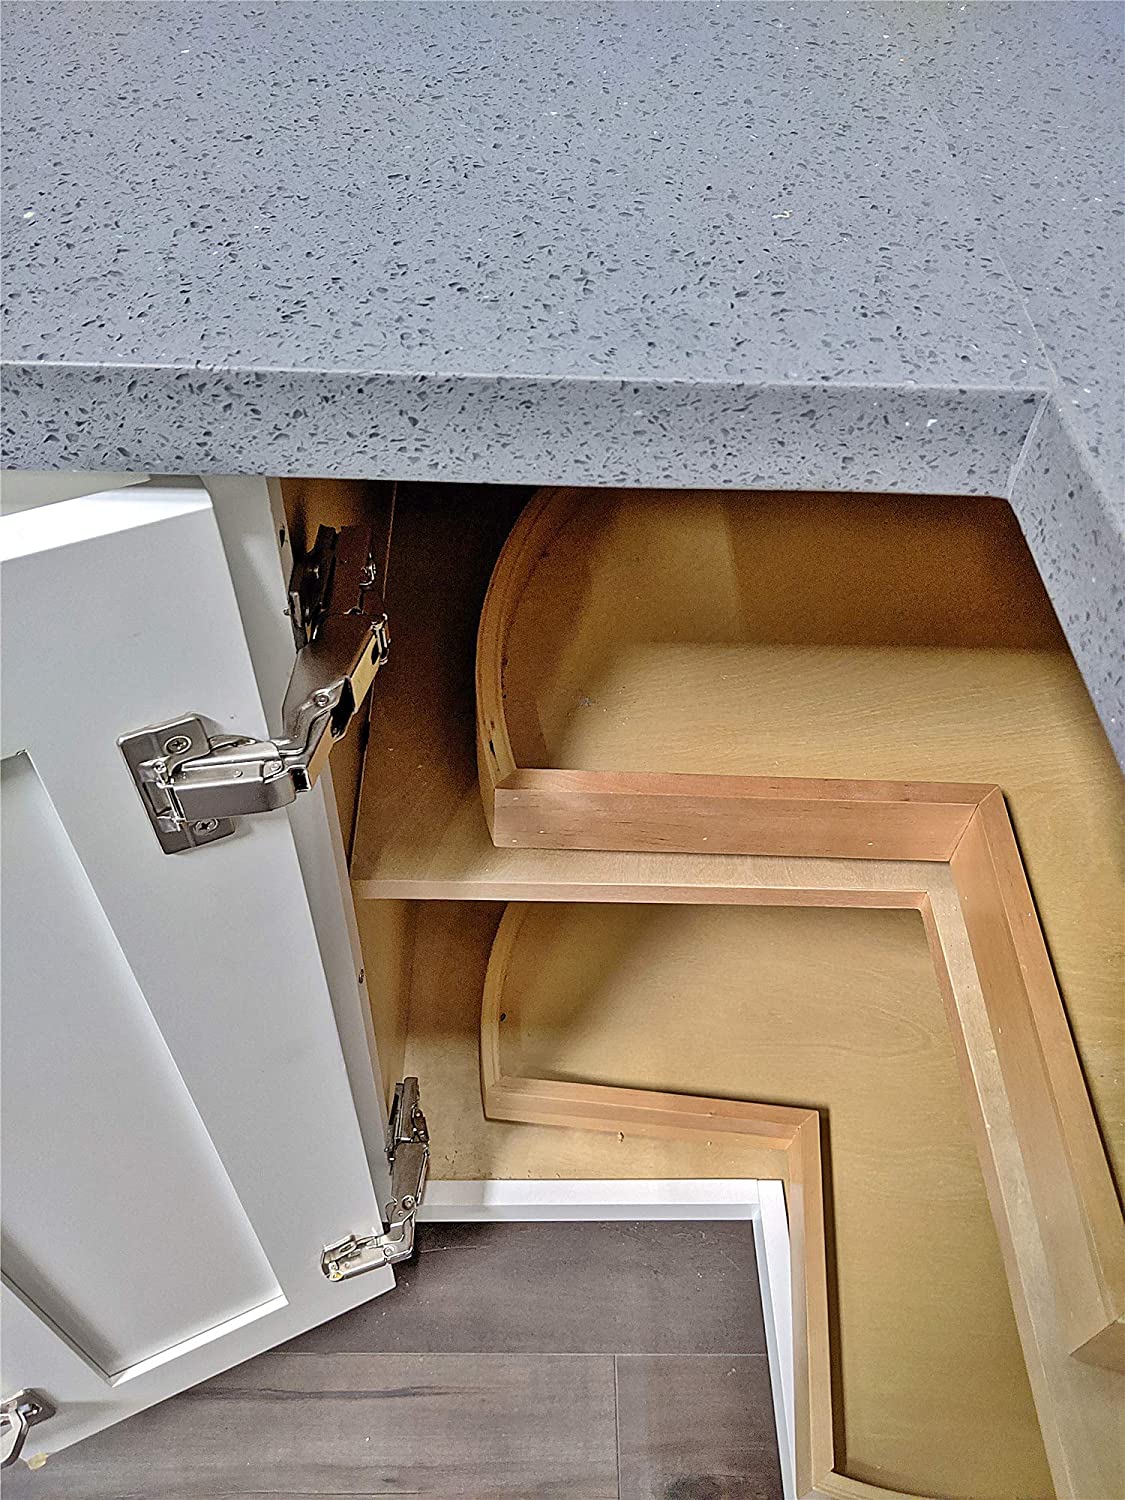
Understanding Cabinet Hinges
Before you can effectively adjust hinges on cabinet doors, it’s important to have a good understanding of how cabinet hinges work and the different types available. Cabinet hinges are the hardware that connect the door to the cabinet frame, allowing it to swing open and shut.
There are several types of cabinet hinges commonly used in residential settings:
- Butt hinges: These are the most basic type of hinge and are visible when the cabinet door is closed. They consist of two plates, one attached to the cabinet frame and the other to the door, which are joined by a pin.
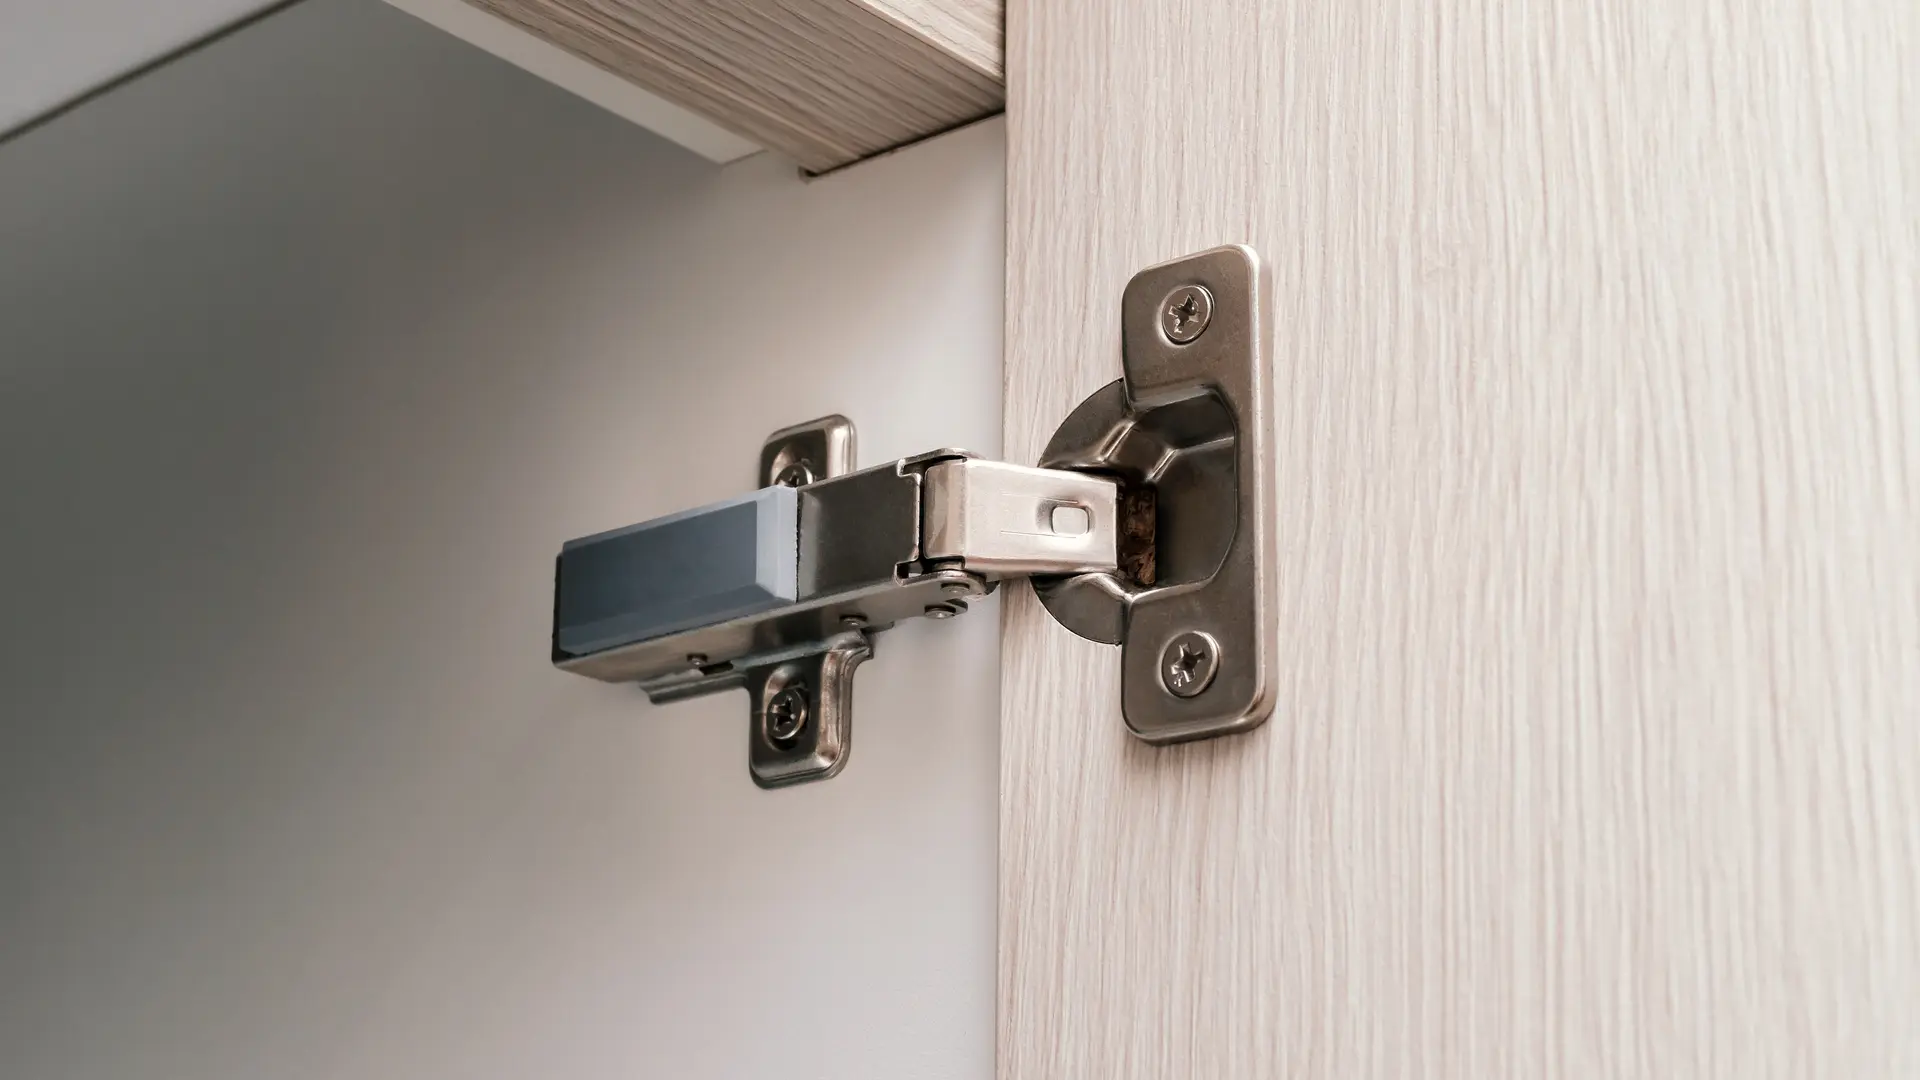
- European hinges: Also known as concealed hinges, these hinges are popular for their sleek, modern appearance. They are concealed when the cabinet door is closed, providing a clean and seamless look.
- Pivot hinges: These hinges are often used for cabinet doors that are heavier or need extra support. They allow the door to pivot open and closed.
In addition to the different hinge types, cabinet hinges also have various adjustment mechanisms. Some hinges allow for vertical adjustment, horizontal adjustment, or both. Understanding the specific type of hinge and adjustment mechanisms used in your cabinet doors will help you make the necessary adjustments effectively.
Why might you need to adjust cabinet hinges? Over time, the weight of the cabinet door and regular usage can cause hinges to become misaligned. This misalignment can lead to problems such as doors that don’t close properly, doors that hang crooked, or doors that don’t align with adjacent cabinets. By adjusting the hinges, you can correct these issues and restore proper functioning to your cabinets.
Now that you have a basic understanding of cabinet hinges and their importance, let’s move on to the step-by-step process of adjusting hinges on cabinet doors.
Tools Required
Before you begin adjusting the hinges on your cabinet doors, it’s essential to gather the necessary tools. Having the right tools on hand will make the process easier and more efficient. While the specific tools you’ll need may vary depending on the type of hinge and cabinet door you have, here are some common tools that often come in handy when adjusting cabinet hinges:
- Screwdriver: Depending on the screws used in your hinges, you’ll need either a Phillips or flat-head screwdriver to loosen or tighten them.
- Drill: If the screw holes in the cabinet frame or door are worn out or enlarged, you may need to drill new pilot holes to ensure a secure fit.
- Screws: It’s a good idea to have extra screws available in case any of the existing screws are stripped or damaged during the adjustment process.
- Hinge adjustment tool or shim: Some hinge types have specific adjustment tools designed to help you move the hinges in the desired direction. If your hinges don’t have an adjustment tool, a shim (a thin piece of material) can be used to fill in gaps and adjust the hinge position.
Having these tools readily available will save you time and help you achieve the desired results when adjusting your cabinet hinges. It’s always a good idea to check the manufacturer’s recommendations for specific tools or adjustment methods for your particular hinge type.
Once you have gathered the necessary tools, you are ready to proceed with adjusting the hinges on your cabinet doors. In the next steps, we will guide you through the process, ensuring that your cabinet doors are aligned properly and functioning smoothly.
Step 1: Assessing the Problem
Before you begin adjusting the hinges on your cabinet doors, it’s important to assess the problem and determine the specific adjustments needed. Taking the time to evaluate the door alignment and identifying the areas that require adjustment will ensure that you make the necessary changes effectively.
Here are a few key points to consider during the assessment process:
- Door alignment: Take a close look at how the cabinet doors are aligned. Are they hanging evenly or are they crooked? Do they meet properly when closed, or is there a noticeable gap between them? Identifying the alignment issues will help you understand which hinges need adjustment.
- Vertical misalignment: Check if the cabinet doors are aligned vertically. Are they at the same level, or is one higher or lower than the other? If there is a vertical misalignment, you will need to adjust the vertical position of the hinges.
- Horizontal misalignment: Examine the horizontal alignment of the cabinet doors. Are they flush with the adjacent cabinets or protruding? If there is a horizontal misalignment, you will need to adjust the horizontal position of the hinges.
- Door closing: Pay attention to how smoothly the cabinet doors close. Are they rubbing against the cabinet frame or catching on anything? This can indicate whether there is a need for adjustment in the depth of the hinges.
By carefully assessing the problem, you can determine which aspects of the hinge alignment need adjustment. This will allow you to proceed with confidence in the subsequent steps of the process.
Once you have evaluated the alignment issues of your cabinet doors, you’re ready to move on to the next step: removing the cabinet doors. In the following step, we’ll guide you through the process of safely and effectively removing the doors for easier hinge adjustment.
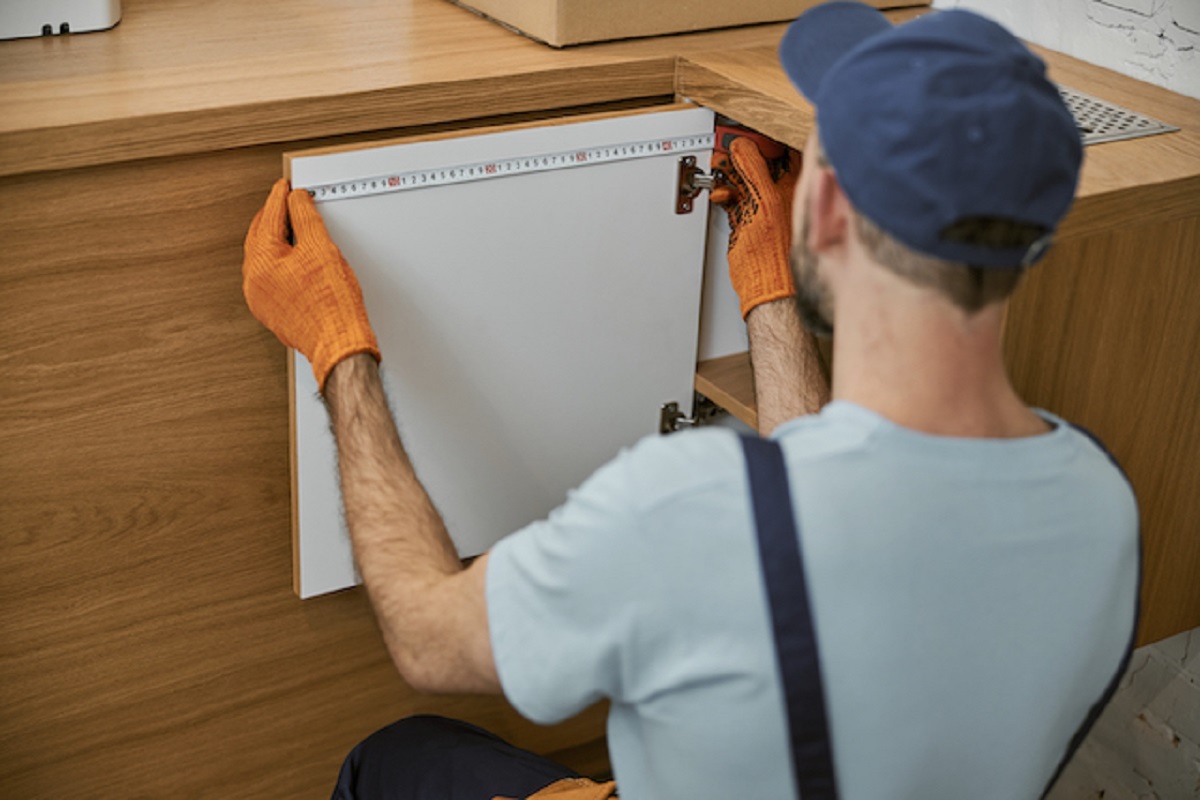
Step 2: Removing the Cabinet Doors
With a clear understanding of the alignment issues and adjustments needed for your cabinet doors, it’s time to remove the doors to gain better access to the hinges. Removing the doors will also prevent any accidental damage that may occur during the adjustment process.
Here’s a step-by-step guide on how to remove the cabinet doors:
- Empty the contents: Before removing the doors, make sure to empty the cabinets of any belongings or items that might obstruct the removal process.
- Mark the doors: To ensure that you can easily reattach the doors in their original position, it’s helpful to mark the doors and their corresponding frames. You can use masking tape and a pen to label each door and its corresponding location on the cabinet frame.
- Locate the hinge screws: Examine the back of the cabinet doors to find the screws that secure the hinges. Depending on the hinge type, there might be multiple screws.
- Loosen the screws: Using a screwdriver, gently loosen the screws that hold the hinges to the cabinet doors. Ensure not to remove the screws entirely, as this may make it challenging to realign the doors later.
- Remove the doors: With the screws loosened, carefully lift the doors off the cabinet frames. Place them on a clean and stable surface, ensuring they are well supported to prevent any damage.
By following these steps, you can safely and effectively remove the cabinet doors. Keep the screws in a safe place, as you will need them later when reattaching the doors after adjusting the hinges.
Now that you have successfully removed the doors, you’re ready to move on to the next step: adjusting the vertical position of the hinges. In the following step, we will guide you through this adjustment process to ensure that your cabinet doors are properly aligned.
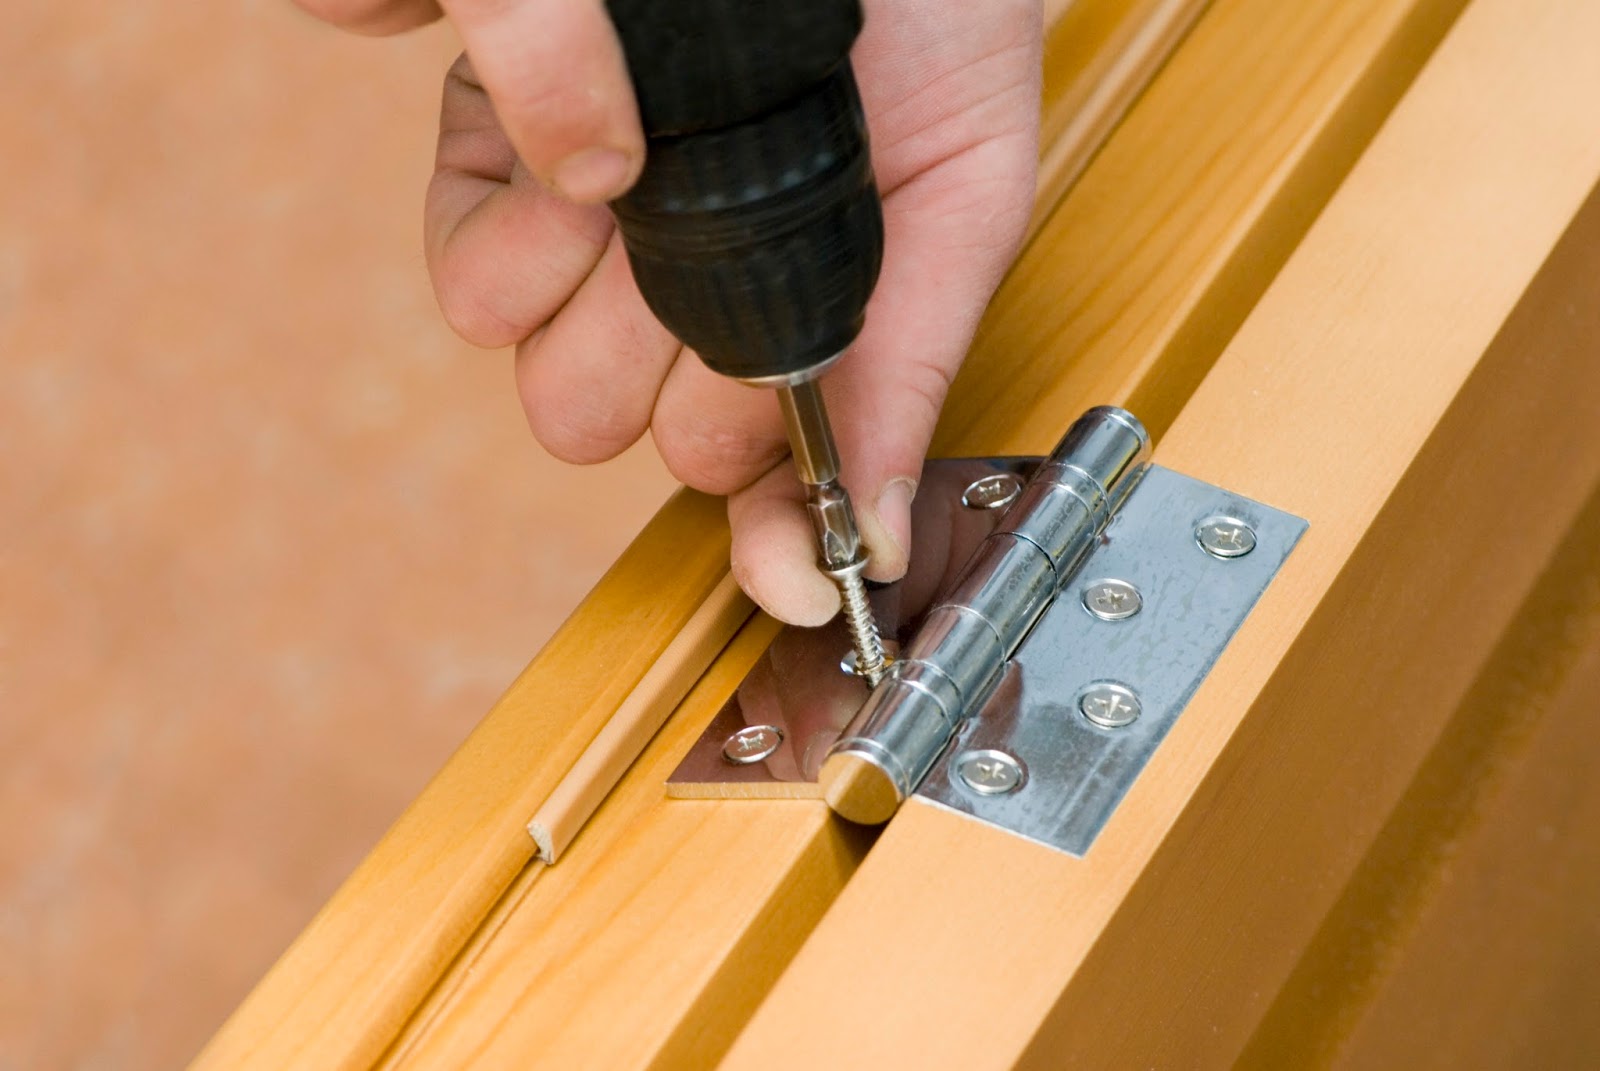
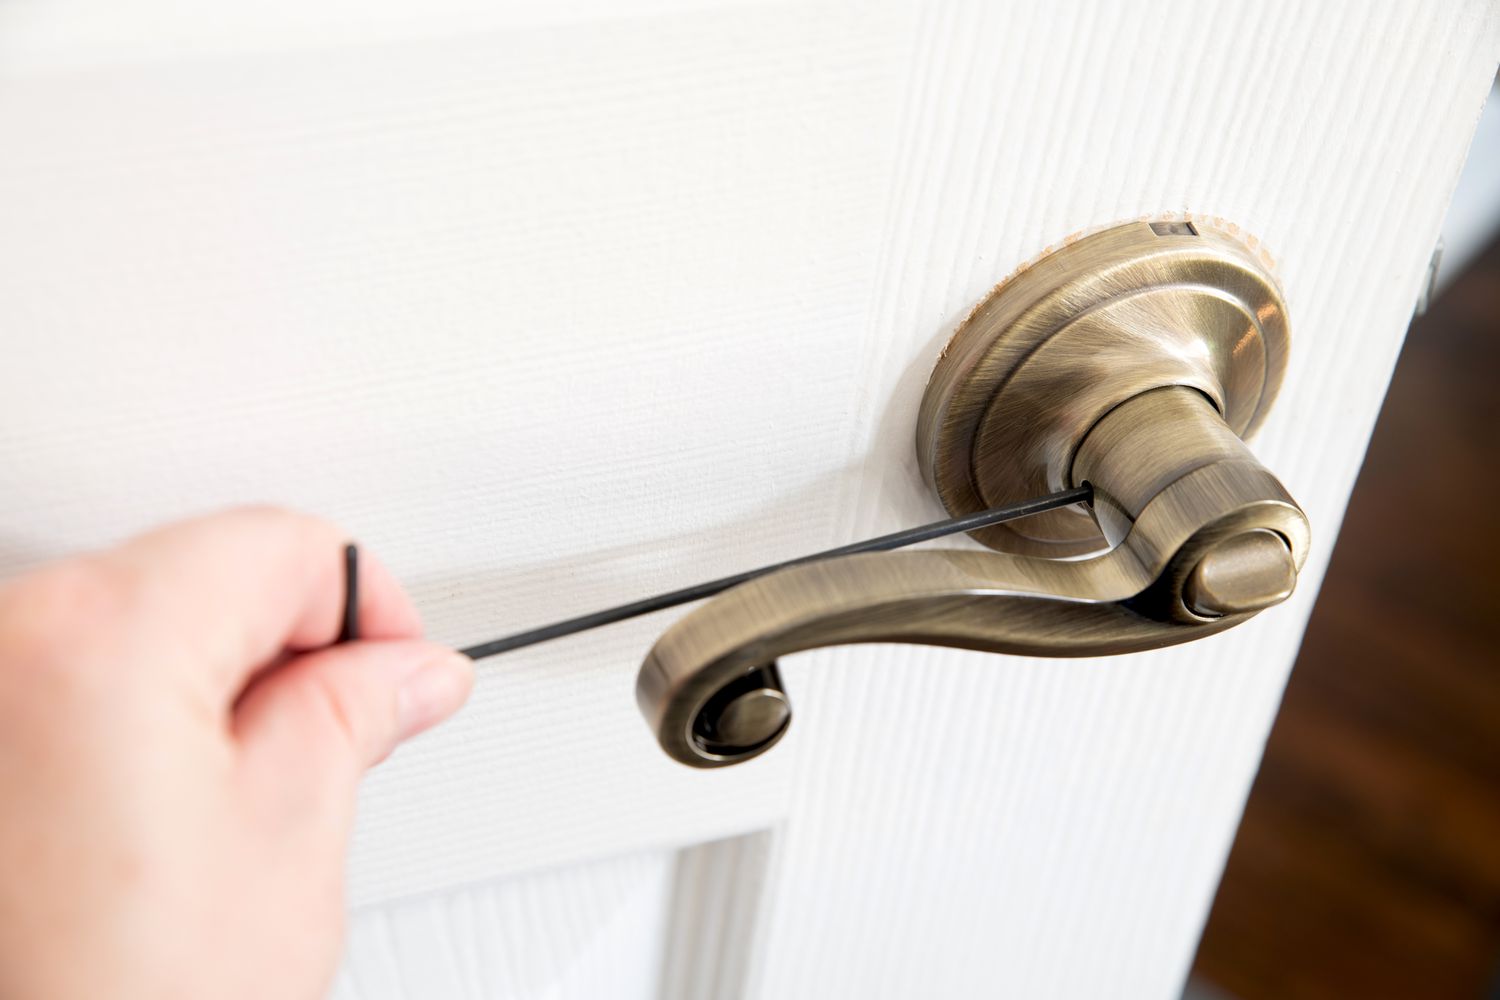
Use a screwdriver to tighten or loosen the screws on the hinges to adjust the position of the cabinet doors. This can help to fix any misalignment or ensure that the doors close properly.
Read more: How To Install Hinges On Cabinet Doors
Step 3: Adjusting the Vertical Position of the Hinges
After removing the cabinet doors, the next step in adjusting hinges is to address any vertical misalignment. This adjustment will ensure that the cabinet doors are level and properly aligned with each other and the surrounding cabinets.
Here’s a step-by-step guide to adjusting the vertical position of the hinges:
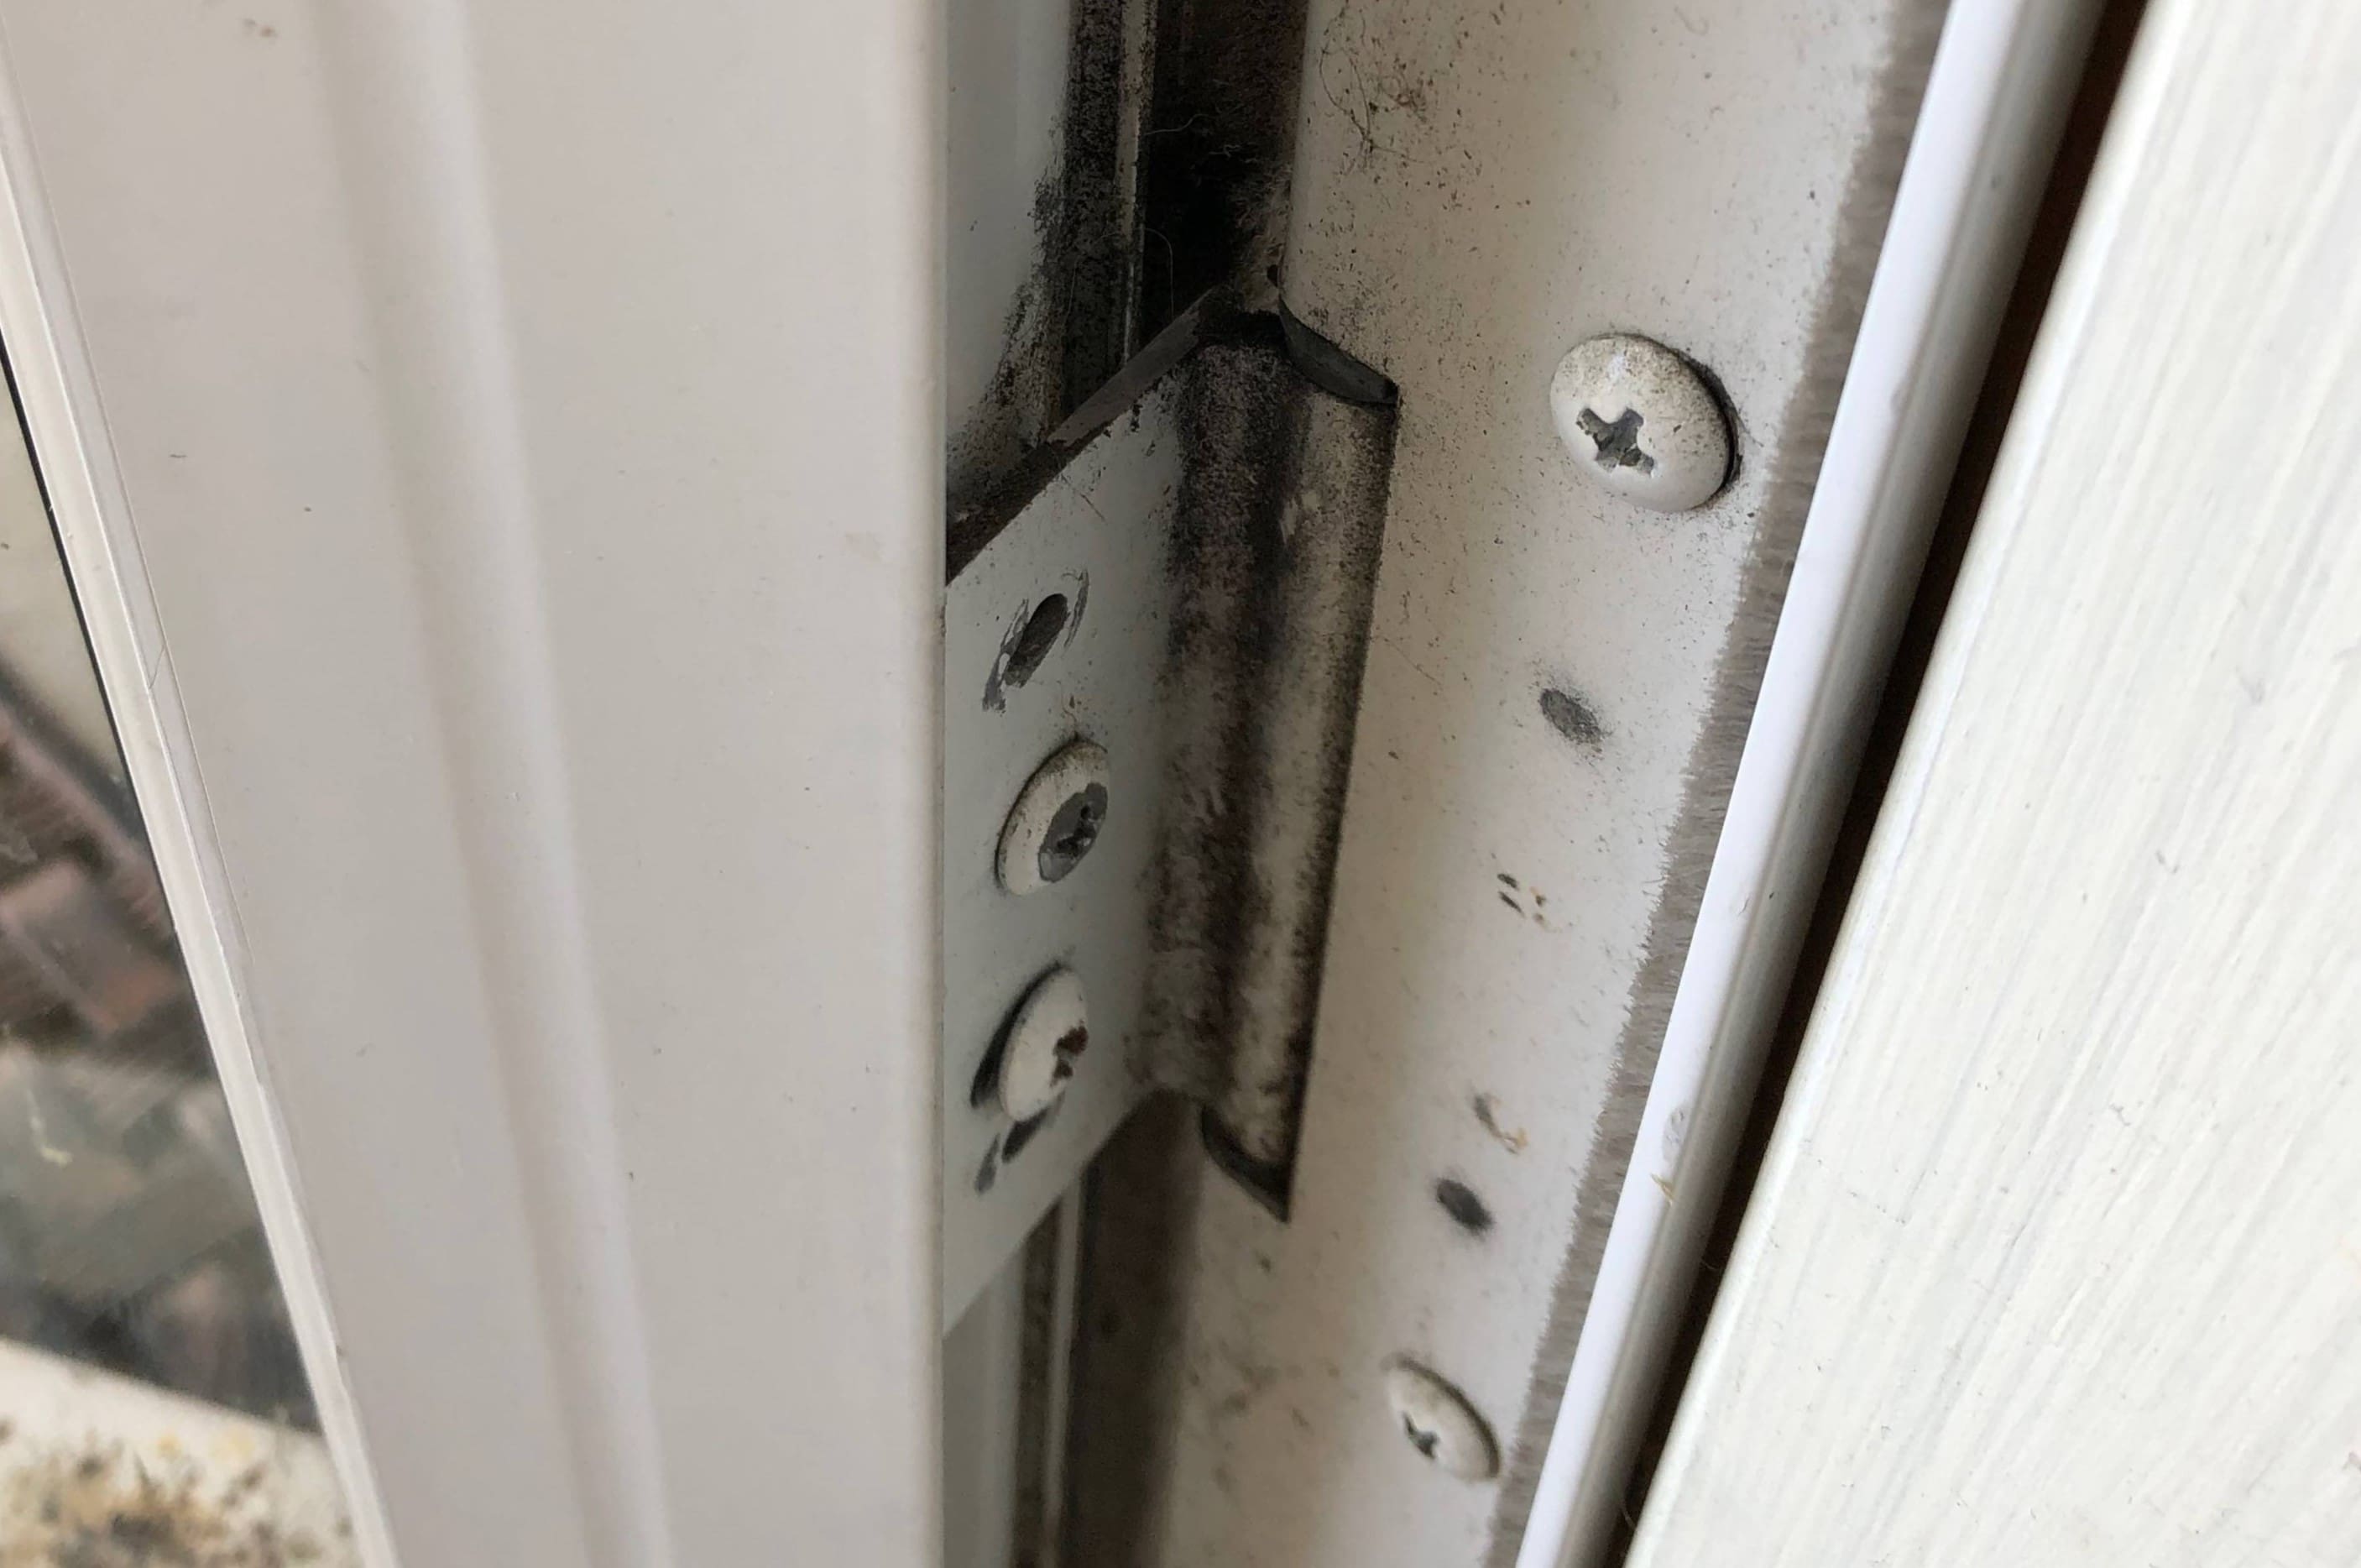
- Identify the adjustment screws: Examine the hinges and locate the adjustment screws that control the vertical position. These screws are typically found on the hinge plates attached to the cabinet frame.
- Loosen the adjustment screws: Using a screwdriver, carefully loosen the adjustment screws just enough to allow for movement. Be cautious not to unscrew them completely.
- Align the doors: With the adjustment screws loosened, align the doors to the desired level. Pay attention to the alignment with the adjacent cabinets and ensure that the doors are level both horizontally and vertically.
- Tighten the adjustment screws: Once the doors are aligned, use the screwdriver to tighten the adjustment screws. Start by gently tightening the screws and then gradually increase the torque until the doors are secure in the new position.
- Check the alignment: Close the doors and check the alignment. If they are still not level or properly aligned, repeat the adjusting process until the desired result is achieved.
Adjusting the vertical position of the hinges will address any misalignment caused by uneven door heights. By following these steps, you can ensure that your cabinet doors hang evenly and align properly with the surrounding cabinets.
Now that you’ve successfully adjusted the vertical position of the hinges, it’s time to move on to the next step: adjusting the horizontal position of the hinges. In the following step, we’ll guide you through the process of achieving horizontal alignment for your cabinet doors.
Step 4: Adjusting the Horizontal Position of the Hinges
After adjusting the vertical position of the hinges, the next step is to address any horizontal misalignment that may be affecting the cabinet doors. This adjustment will ensure that the doors are flush with the adjacent cabinets and properly aligned.
Here’s a step-by-step guide to adjusting the horizontal position of the hinges:
- Identify the adjustment screws: Examine the hinges and locate the adjustment screws that control the horizontal position. These screws are typically found on the hinge plates attached to the cabinet frame.
- Loosen the adjustment screws: Using a screwdriver, carefully loosen the adjustment screws just enough to allow for movement. Take care not to unscrew them completely.
- Align the doors horizontally: With the adjustment screws loosened, align the doors horizontally to achieve the desired flush position with the adjacent cabinets. Ensure that there are no gaps or overlapping between the doors and the cabinets.
- Tighten the adjustment screws: Once the doors are properly aligned, use the screwdriver to tighten the adjustment screws. Start by gently tightening the screws and gradually increase the torque until the doors are securely in place.
- Check the alignment: Close the doors and check for any remaining horizontal misalignment. If needed, repeat the adjustment process until the doors are flush with the adjacent cabinets.
By following these steps, you can achieve proper horizontal alignment for your cabinet doors. This adjustment will enhance the overall aesthetic appeal and functionality of your cabinets.
Now that you’ve successfully adjusted the horizontal position of the hinges, it’s time to move on to the next step: adjusting the depth of the hinges. In the following step, we’ll guide you through the process of achieving the correct depth for your cabinet doors.
Step 5: Adjusting the Depth of the Hinges
After addressing the vertical and horizontal misalignment of the cabinet doors, the next step is to adjust the depth of the hinges. This adjustment is crucial for ensuring that the doors close properly without rubbing against the cabinet frame or catching on anything.
Here’s a step-by-step guide to adjusting the depth of the hinges:
- Identify the adjustment screws: Examine the hinges and locate the adjustment screws or slots that control the depth position. These screws or slots are typically found on the hinge plates attached to either the cabinet frame or the door itself.
- Loosen the adjustment screws: Using a screwdriver or the appropriate tool, carefully loosen the adjustment screws or adjust the slots to allow for movement. Be cautious not to release them completely.
- Adjust the depth position: With the adjustment screws loosened, make slight adjustments to the hinge depth. Move the hinges inward or outward as necessary to ensure that the doors close smoothly and evenly.
- Tighten the adjustment screws: Once the hinges are in the desired depth position, use the screwdriver or tool to tighten the adjustment screws or secure the slots. Gradually increase the torque until the hinges are securely in place.
- Test the door closure: Close the doors and check for any remaining issues such as rubbing or catching. If necessary, make further adjustments to the depth until the doors close properly without obstruction.
By following these steps, you can achieve the correct depth position for your cabinet doors. This adjustment will ensure smooth and seamless door closure, enhancing both functionality and aesthetics.
Now that you’ve successfully adjusted the depth of the hinges, it’s time to move on to the final step: reattaching the cabinet doors. In the following step, we’ll guide you through this process to bring your cabinet doors back to their original position.
Step 6: Reattaching the Cabinet Doors
Now that you have adjusted the hinges on your cabinet doors, it’s time to reattach them to the cabinet frames. Properly reattaching the doors is crucial to ensure that they are securely in place and aligned correctly.
Follow these step-by-step instructions to reattach the cabinet doors:
- Retrieve the doors and screws: Gather the cabinet doors and the screws that were removed earlier.
- Align the doors: Place the doors back onto the cabinet frames, aligning them with the markings or labels you made earlier to ensure they are in their original position.
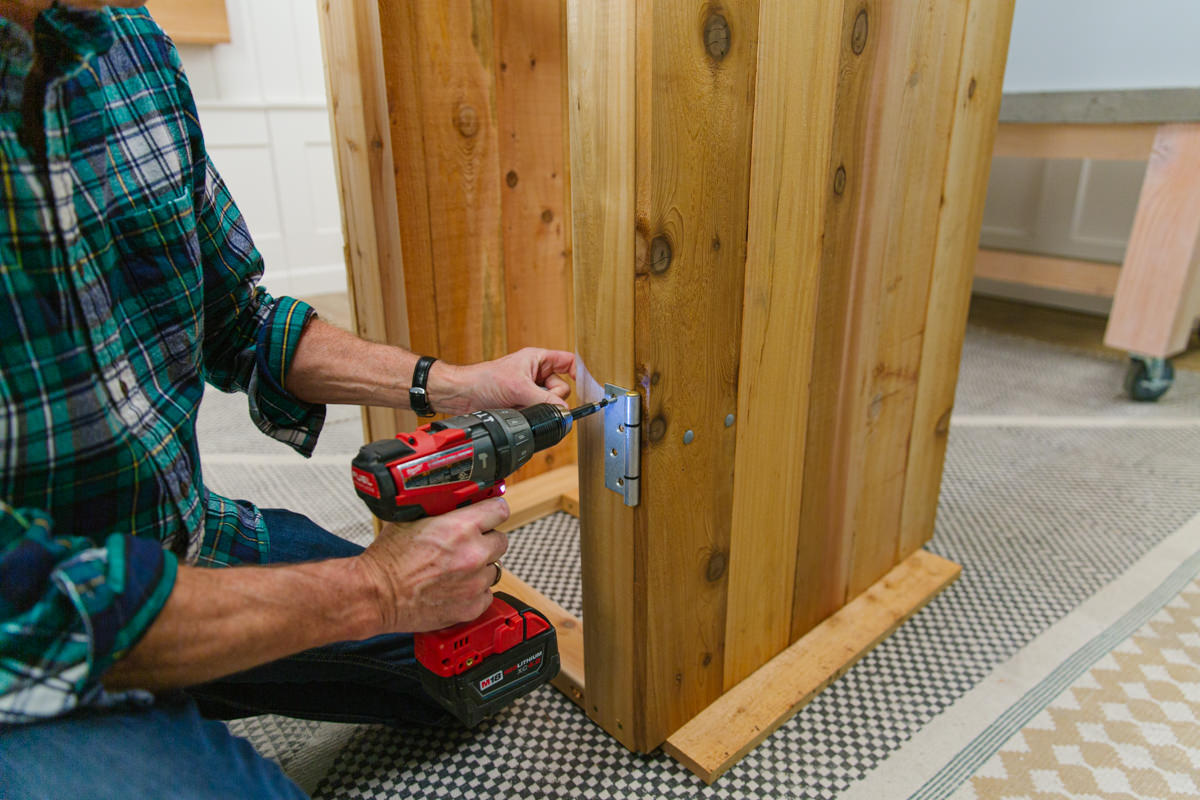
- Secure the hinges: Using a screwdriver, insert the screws into the hinge plates and tighten them to secure the hinges onto the doors. Make sure the screws are tightened securely but avoid overtightening, as this could strip the screw holes.
- Check the alignment: Close the doors and check their alignment. Ensure that they are level, flush with the adjacent cabinets, and close properly without any obstructions.
- Make final adjustments if necessary: If you notice any remaining alignment or operational issues, such as uneven doors or doors that don’t close properly, make minor adjustments as needed. Follow the previous steps to fine-tune the hinge adjustments until the desired results are achieved.
By following these steps, you can successfully reattach the cabinet doors and complete the hinge adjustment process. Take care to ensure that the doors are aligned properly and operate smoothly.
Congratulations! You have now adjusted the hinges on your cabinet doors, restoring their proper alignment and functionality. Enjoy the improved appearance and ease of use of your cabinets!
Remember, regular maintenance and periodic checks for any misalignment will help prevent future hinge issues. If you encounter any difficulties or have specific concerns about your cabinet doors, consult a professional for further assistance.
Thank you for following this step-by-step guide. We hope it has been helpful in guiding you through the process of adjusting hinges on your cabinet doors.
Read more: How To Adjust Glass Shower Door Hinges
Conclusion
Adjusting the hinges on your cabinet doors can make a significant difference in both the functionality and appearance of your cabinets. Misaligned hinges can cause doors to hang unevenly, not close properly, or rub against the cabinet frame. By following the step-by-step process outlined in this guide, you can easily adjust the hinges and restore proper alignment to your cabinet doors.
Understanding the different types of cabinet hinges and their adjustment mechanisms is crucial for a successful hinge adjustment. Take the time to assess the problem, identify the specific misalignments, and gather the necessary tools before starting the adjustment process.
Throughout the adjustment process, take care to make gradual and precise adjustments. Loosen the adjustment screws just enough to allow for movement and tighten them securely once the desired alignment is achieved. Be mindful of the door level, flushness with adjacent cabinets, and smooth closure during each step of the process.
Remember, regular maintenance and periodic checks for any misalignment will help you prevent future hinge issues. By addressing any alignment problems promptly, you can maintain the functionality and aesthetic appeal of your cabinets over time.
We hope this guide has been helpful in guiding you through the process of adjusting hinges on your cabinet doors. Enjoy the renewed functionality and improved appearance of your cabinets!
Thank you for using our step-by-step guide. If you have any further questions or need assistance, don’t hesitate to consult a professional or seek additional resources for guidance.
Frequently Asked Questions about How To Adjust Hinges On Cabinet Doors
Was this page helpful?
At Storables.com, we guarantee accurate and reliable information. Our content, validated by Expert Board Contributors, is crafted following stringent Editorial Policies. We're committed to providing you with well-researched, expert-backed insights for all your informational needs.
0 thoughts on “How To Adjust Hinges On Cabinet Doors”