Home>Articles>How To Paint A Front Door For Quick Curb Appeal
Articles
How To Paint A Front Door For Quick Curb Appeal
Modified: January 20, 2024
Learn how to paint your front door quickly and easily for instant curb appeal. Our articles provide step-by-step instructions and tips for a flawless finish.
(Many of the links in this article redirect to a specific reviewed product. Your purchase of these products through affiliate links helps to generate commission for Storables.com, at no extra cost. Learn more)
Introduction
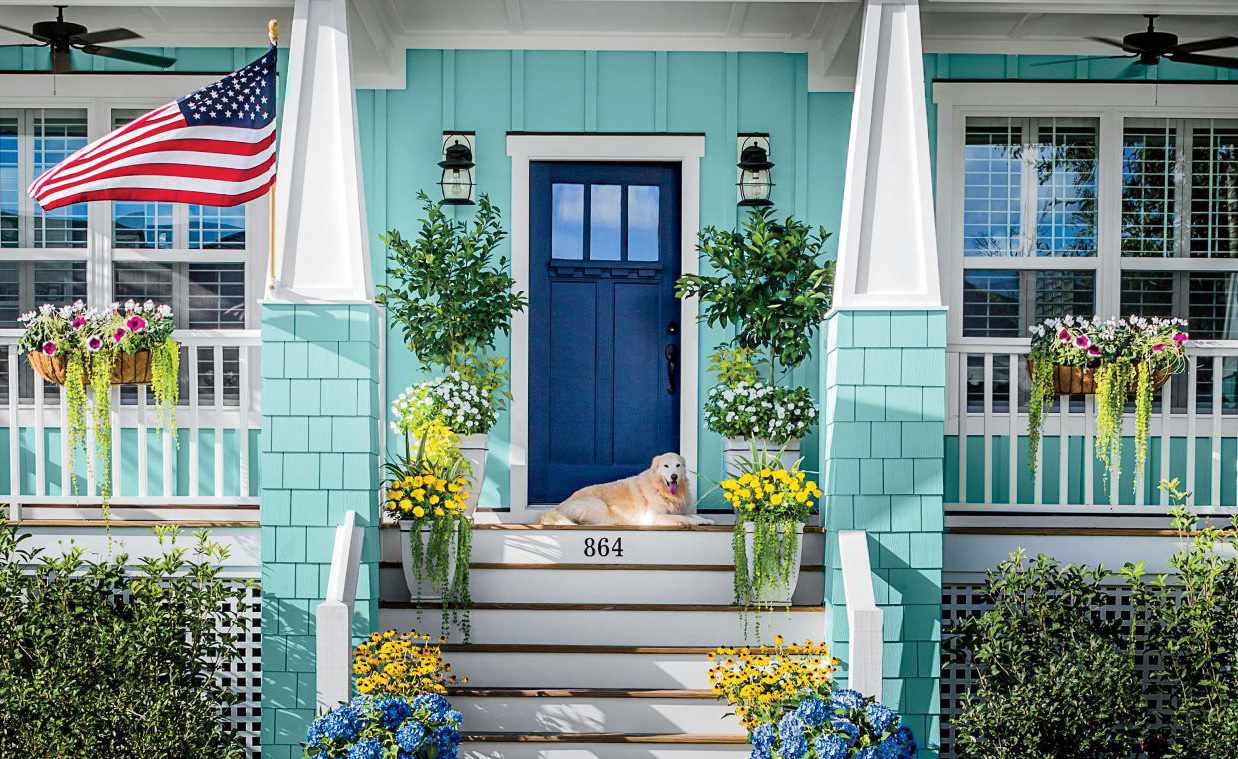
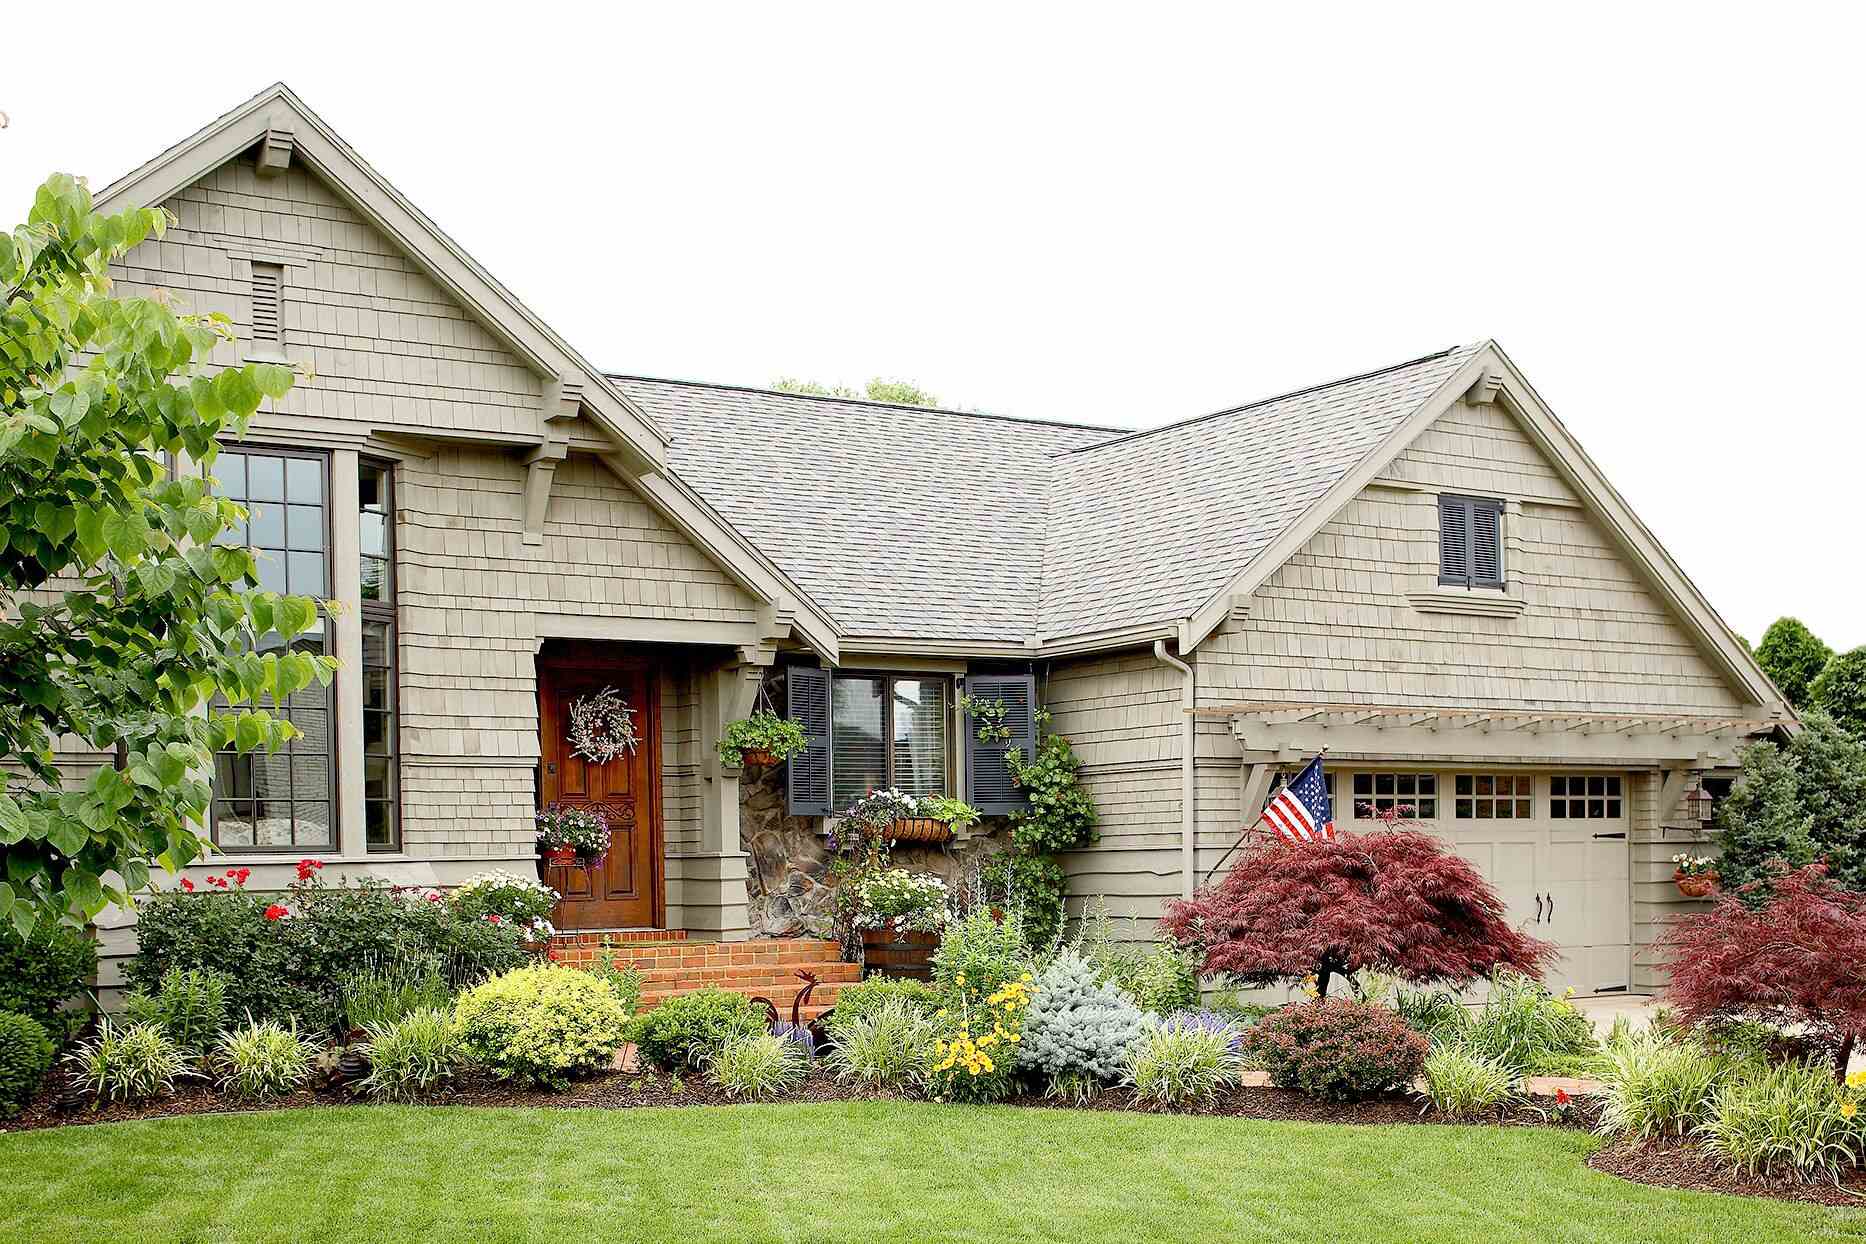
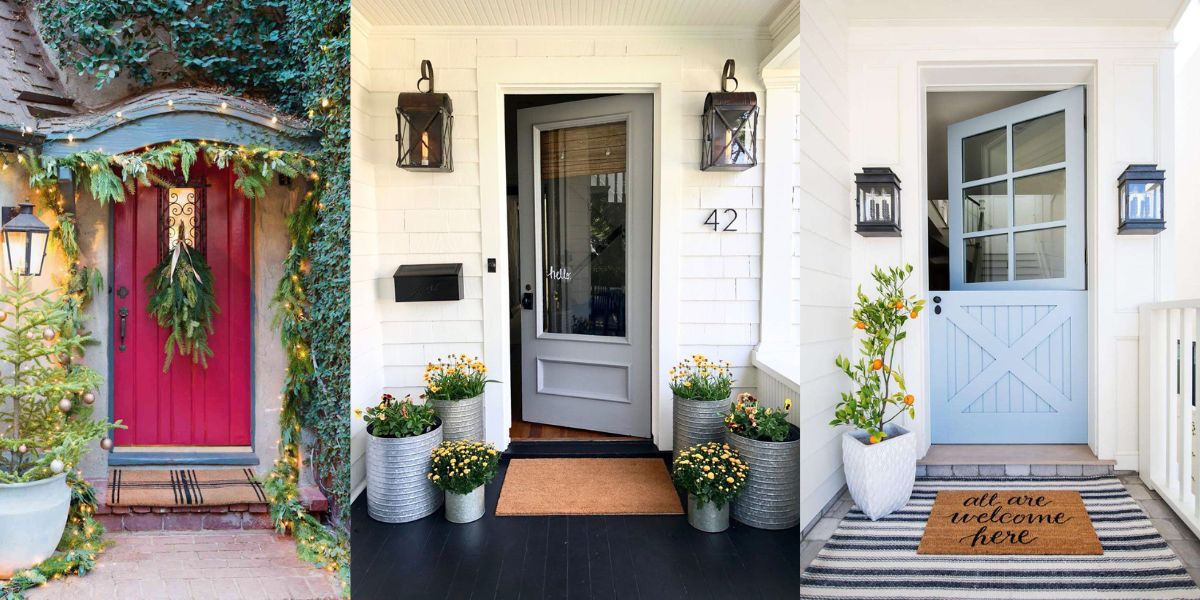
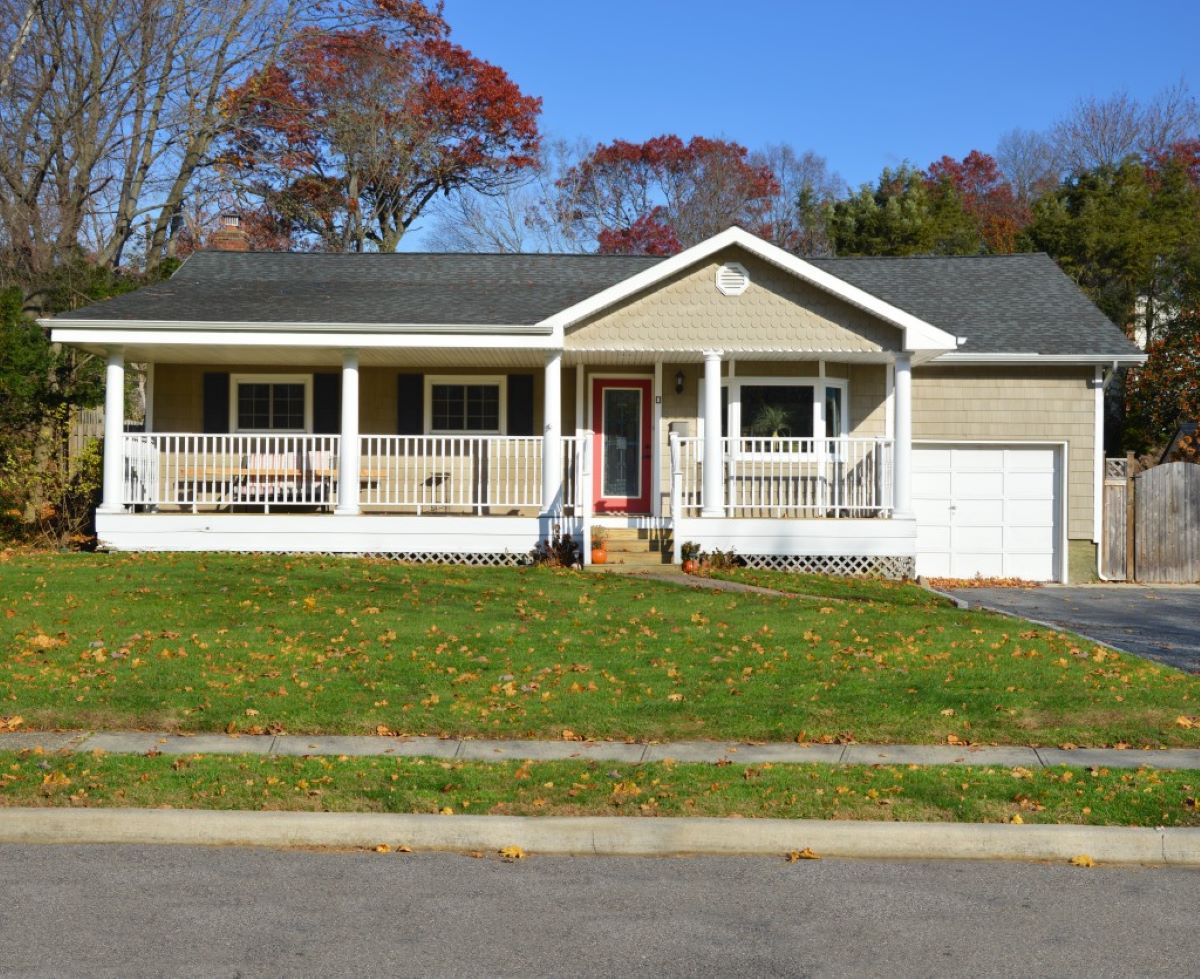
Painting your front door is a simple and cost-effective way to give your home a quick curb appeal boost. Whether you’re looking to freshen up the existing color or completely change it, a fresh coat of paint can make a big difference in the overall appearance of your entryway.
Not only does painting your front door enhance the visual appeal of your home, but it also provides protection against the elements, preventing rot and deterioration. With the right materials and a little bit of effort, you can easily transform your front door into a welcoming focal point that adds value to your property.
In this article, we’ll guide you through the process of painting your front door step by step. From preparing the door surface to selecting the right paint and applying it, we’ll cover everything you need to know to achieve professional-looking results.
So, let’s roll up our sleeves and get ready to give your front door a fresh new look!
Key Takeaways:
- Transform your home’s curb appeal with a freshly painted front door. Follow the step-by-step guide to prep, paint, and add a pop of color for a welcoming and visually appealing entryway.
- Properly preparing, priming, and choosing the right paint color are key to achieving a professional finish. Reattaching the hardware adds the final touch, enhancing both functionality and elegance.
Step 1: Preparing the Door
Before you start painting your front door, it’s important to properly prepare the surface to ensure a smooth and long-lasting finish. Here’s what you need to do:
- Remove any door accessories: Begin by taking off any door accessories such as house numbers, door knockers, and mailboxes. This will make the painting process easier and prevent them from getting damaged.
- Clean the door: Use a mild detergent or a mixture of water and vinegar to clean the door surface. Remove any dirt, dust, and grime by scrubbing gently with a sponge or a soft brush. Rinse it thoroughly and allow it to dry completely.
- Scrape off loose paint or varnish: If there are any areas where the old paint or varnish is peeling or flaking, use a scraper or sandpaper to remove them. Smooth out the surface by feathering the edges of the scraped areas.
- Protect the surrounding areas: To prevent accidental paint splatters, cover the areas around the door with drop cloths or plastic sheets. This will protect your porch or entryway from any potential damage.
- Tape off hardware and windows: If your door has windows or hardware that you don’t want to get paint on, use painter’s tape to cover them. This will ensure clean lines and easy cleanup later on.
By taking the time to properly prepare the door, you’ll create a clean and smooth surface that will allow the paint to adhere better and result in a professional-looking finish.
Step 2: Removing the Hardware
Before you start painting your front door, it’s essential to remove any hardware that is attached to it. This includes doorknobs, hinges, and any other decorative accessories. Here’s why this step is important:
1. Easier Painting: Removing the hardware allows you to paint the door freely without any obstructions. This ensures a smoother and more uniform application of paint.
2. Protecting the Hardware: By removing the hardware, you prevent any accidental paint splatters or drips from ruining the appearance of your doorknobs or hinges. It also makes it easier to clean and maintain the hardware separately.
3. Avoiding Paint Build-Up: When you paint around hardware, you risk the accumulation of excessive layers of paint over time. This can affect the functionality of the hardware and make it difficult to remove in the future.
To remove the hardware from your front door, follow these steps:
- Use a screwdriver to remove the screws attaching the doorknobs and hinges. Place the screws in a safe place so that you can easily find them for reinstallation later.
- If there are decorative plates or coverings over the hardware, gently pry them off using a flathead screwdriver. Be careful not to damage the door or the hardware in the process.
Once you’ve removed the hardware, store them in a safe place where they won’t get lost or damaged. This will also make it easier when it’s time to reinstall them after painting.
Keep in mind that if you’re planning to replace the hardware with a new set, it’s a good idea to measure the dimensions of the existing pieces before you remove them. This will ensure that the new hardware fits properly and saves you from any last-minute surprises.
Step 3: Cleaning the Door
After removing the hardware from your front door, the next step is to thoroughly clean the surface to ensure proper paint adhesion. Cleaning the door will remove any dirt, grease, or grime that could affect the quality of the paint job. Here’s how to clean your door effectively:
- Prepare a cleaning solution: Mix a mild detergent or dish soap with warm water in a bucket. Avoid using abrasive cleaners or harsh chemicals as they may damage the door’s finish.
- Dampen a sponge or soft cloth: Dip a sponge or cloth into the cleaning solution and wring out any excess water. You want the sponge or cloth to be damp, not soaking wet.
- Gently scrub the door surface: Starting from the top, work your way down and scrub the entire door surface with the damp sponge or cloth. Pay attention to any areas with stains or heavy dirt buildup.
- Rinse the door: Once you’ve cleaned the entire door, rinse it thoroughly with clean water. This will remove any residue from the cleaning solution.
- Dry the door: Use a clean, dry cloth or towel to wipe down the door and remove any excess moisture. Allow the door to air dry completely before moving on to the next step.
Cleaning the door not only removes dirt and grime but also helps to smooth out the surface. This will create a clean canvas for the paint to adhere to, ensuring a more even and durable finish.
Remember, it’s important to clean both the interior and exterior of your front door, as both sides contribute to the overall appearance of your home. By taking the time to properly clean the door, you’ll be setting the stage for a successful painting project.
Step 4: Sanding the Door
After cleaning the door, the next step in preparing for painting is to sand the surface. Sanding helps to smooth out any rough areas, removes old paint or varnish remnants, and allows the new paint to adhere better. Here’s how to sand your front door:
- Select the right sandpaper: Choose medium-grit sandpaper (around 120-150 grit) for this step. If there are rough or uneven areas, you may also need a coarser grit sandpaper (around 80-100 grit) to start with.
- Start with the rough areas: If there are any noticeable rough patches or imperfections on the door’s surface, begin by sanding those areas first. Use the coarser grit sandpaper and sand in the direction of the wood grain.
- Sand the entire door: Once you’ve addressed any rough spots, switch to the medium-grit sandpaper. Sand the entire door surface, again following the direction of the wood grain. This will help to create a smooth and uniform surface.
- Remove dust: After sanding, use a clean brush, cloth, or vacuum to remove any dust or debris from the door. It’s important to have a clean surface before moving on to the next step.
Sanding the door helps to create a clean and even surface for the paint. It also removes any glossy finish from previous paint or varnish, allowing the new paint to adhere better. If you’re painting a metal door, sanding will help to create a rough surface that promotes paint adhesion.
Remember to wear protective eyewear and a mask while sanding to avoid inhaling dust particles. Additionally, take care not to oversand the surface, as this can damage the door. Use a light touch and let the sandpaper do the work.
By taking the time to properly sand the door, you’ll ensure that the paint adheres well and creates a professional-looking finish.
Step 5: Filling in Cracks and Holes
Before you proceed with painting your front door, it’s important to inspect the surface for any cracks, dents, or holes. These imperfections can affect the overall appearance and durability of the paint job. Follow these steps to fill in any cracks and holes:
- Clean the areas: Use a damp cloth or brush to clean the areas around the cracks and holes. This will remove any dust or debris, ensuring better adhesion of the filler.
- Select the right filler: Choose an appropriate filler based on the material of your door. For minor cracks and holes in wood, a wood filler or putty can be used. For metal doors, opt for an epoxy-based filler. Read the manufacturer’s instructions for the specific product you are using.
- Apply the filler: Using a putty knife or a spatula, apply a small amount of the filler to the cracks or holes. Smooth it out and ensure that it is level with the surrounding surface. For larger holes, apply the filler in layers, allowing each layer to dry before applying the next.
- Let it dry: Allow the filler to dry completely according to the manufacturer’s instructions. This can take anywhere from a few hours to overnight.
- Sand and smooth the filler: Once the filler has dried, use sandpaper to smooth the repaired areas. Begin with a coarser grit sandpaper and gradually move to a finer grit for a seamless blend with the surrounding surface.
- Remove dust: After sanding, clean the door surface to remove any dust or debris. This will ensure a clean and smooth surface for painting.
Filling in cracks and holes not only improves the appearance of the door but also prevents moisture from seeping into the wood or metal and causing further damage. It’s an essential step to ensure the longevity of your paint job.
Before moving on to the next step, inspect the repaired areas to ensure they are smooth and well-blended with the rest of the door surface. If needed, apply another layer of filler and repeat the sanding process until you achieve the desired result.
When painting a front door for quick curb appeal, make sure to thoroughly clean and sand the surface before applying a high-quality exterior paint for a long-lasting finish.
Step 6: Priming the Door
Now that you have prepared the door surface by cleaning, sanding, and filling in any cracks or holes, it’s time to apply a coat of primer. Primer serves as a crucial step in the painting process as it prepares the surface for better paint adhesion and durability. Follow these steps to prime your front door:
- Choose the right primer: Select a high-quality primer that is suitable for the material of your door. For wooden doors, an oil-based or latex-based primer will work well. For metal doors, opt for a primer designed specifically for metal surfaces.
- Prepare the door: Use a clean cloth or brush to remove any dust or debris from the surface of the door. Ensure that it is completely dry before applying the primer.
- Protect the surrounding areas: Use painter’s tape or masking tape to cover any areas that you want to avoid getting primer on, such as windows or hardware. This will ensure clean lines and easier cleanup.
- Apply the primer: Start with the top panel of the door and work your way down. Use a paintbrush or roller to apply the primer evenly, following the grain of the wood. For metal doors, a brush or spray application may be more suitable.
- Allow the primer to dry: Follow the manufacturer’s instructions regarding the drying time of the primer. Typically, it can take a few hours for the primer to dry completely. Ensure that the door is in a well-ventilated area during this time.
- Inspect and touch up: After the primer has dried, inspect the door surface for any missed spots or uneven application. Touch up those areas with additional primer if needed.
Priming the door provides a smooth and sealed surface for the paint to adhere to, enhancing the overall finish and durability of the paint job. It also helps to prevent any bleed-through of stains or dark colors from the previous coat.
Once the primer is completely dry and you are satisfied with the surface, you are ready to move on to the next step—choosing the right paint color for your front door!
Step 7: Choosing the Right Paint
Choosing the right paint for your front door is crucial for achieving the desired look and ensuring long-lasting results. Consider the following factors when selecting the paint color and type:
- Consider the style of your home: Take into account the architectural style and color scheme of your home when choosing a paint color for your front door. You want the color to complement and enhance the overall aesthetic appeal of your property.
- Think about the surroundings: Consider the surrounding elements such as the landscaping, exterior walls, and other features when selecting a paint color. You want the door color to harmonize with the surroundings and create a cohesive look.
- Assess the durability requirements: The front door is exposed to various weather conditions, so it’s important to choose a paint that is specifically formulated for exterior use. Look for a paint that offers durability, protection against UV rays, and resistance to chipping, fading, and peeling.
- Consider the finish: The finish of the paint can affect the overall appearance of the door. For front doors, satin or semi-gloss finishes are commonly used as they offer a good blend of durability and aesthetics. Satin finishes provide a smoother and more subtle sheen, while semi-gloss finishes offer a slightly higher shine.
- Test the color: Before committing to a color, it’s a good idea to test it on a small area of the door or on a sample board. This will give you a better idea of how the color looks under different lighting conditions and against the rest of your home’s exterior.
Additionally, consult with a paint specialist at your local home improvement store or seek professional advice if you’re unsure about which paint type or color will best suit your door and home.
Remember, the paint color should reflect your personal style and enhance the aesthetic appeal of your home. Take your time in choosing the right paint to ensure that you’re happy with the end result.
Step 8: Applying the Paint
Now that you have prepared the door and chosen the right paint, it’s time to apply the paint and bring your front door to life. Follow these steps to ensure a smooth and professional-looking finish:
- Stir the paint: Use a stir stick to thoroughly mix the paint before you start. This will ensure an even distribution of color and any settling that may have occurred.
- Choose the right tools: Select high-quality brushes or rollers that are suitable for the type of paint you’re using. For smaller surfaces or intricate details, a brush will provide better control. For larger, flat areas, a roller may be more efficient.
- Start with the recessed areas: If your door has raised panels or recessed areas, begin by painting those areas first. Use a brush to apply the paint, following the direction of the wood grain. This allows for better coverage and prevents excess paint from pooling in the recesses.
- Paint the main surface: Once you’ve painted the recessed areas, move on to the main surfaces of the door. Use long, smooth strokes to apply the paint, again following the direction of the wood grain. This will help to prevent visible brush strokes.
- Work in sections: Divide the door into manageable sections and paint one section at a time, ensuring a consistent application of paint. Avoid applying too much paint at once to prevent runs or drips.
- Smooth out any brush marks: If you notice any visible brush marks, lightly go over the painted surface with a brush or foam roller in one direction. This will help to create a smoother finish.
- Allow the paint to dry: Follow the manufacturer’s instructions regarding the drying time of the paint. Depending on the type of paint, it may take a few hours to dry. Avoid closing the door until the paint is completely dry to prevent sticking or smudging.
Remember to maintain a clean and dust-free environment while painting to avoid any particles from getting trapped in the wet paint. It’s also important to work in a well-ventilated area to ensure proper air circulation.
Applying the paint requires patience and attention to detail. Take your time and be mindful of the brush or roller strokes to achieve a smooth and professionally finished front door.
Step 9: Adding a Second Coat
After the first coat of paint has dried, it’s time to add a second coat for a more durable and consistent finish. Applying a second coat of paint will help to enhance the color, cover any missed spots, and ensure a more even appearance. Follow these steps to apply the second coat:
- Inspect the first coat: Before starting the second coat, carefully inspect the first coat of paint. Look for any thin areas, streaks, or visible brush marks that need to be addressed.
- Lightly sand the surface (optional): If you notice any rough or uneven areas on the painted surface, you can lightly sand them with fine-grit sandpaper to create a smoother finish. Be gentle and avoid sanding too much, as this can remove the previous coat of paint.
- Stir the paint: Just as you did with the first coat, give the paint a good stir to ensure proper color consistency.
- Apply the second coat: Use the same tools and techniques you used for the first coat to apply the second coat of paint. Work in the same manner, starting with recessed areas and then moving on to the main surfaces of the door.
- Ensure even coverage: Pay close attention to achieving even coverage across the entire door surface. Double-check for any missed spots or brush strokes, and make necessary touch-ups as you go.
- Allow the paint to dry: Follow the manufacturer’s recommendations for drying time between coats. It’s important to give the second coat adequate time to dry before handling the door.
Applying a second coat of paint adds depth and durability to the finish, resulting in a more professional-looking front door. It’s important to be patient and thorough in this step to achieve the best results.
If you’re uncertain whether a third coat is needed, assess the appearance and coverage of the second coat when it is fully dry. Sometimes, a third coat may be necessary to achieve the desired color or to ensure any unevenness is adequately covered.
By adding a second coat, you’ll ensure that your front door is beautifully coated and protected for years to come.
Step 10: Reattaching the Hardware
After the final coat of paint has dried, it’s time to reattach the hardware to your front door. This step will bring the finishing touches to your newly painted door and restore its functionality. Follow these steps to reattach the hardware:
- Gather the hardware: Locate the screws, doorknobs, hinges, and any other accessories that were removed earlier. Ensure that all the hardware is clean and in good condition.
- Position the hardware: Place the doorknobs and hinges back in their respective positions on the door. Ensure that they are aligned correctly and fit snugly.
- Insert the screws: Using a screwdriver, insert the screws into the pre-drilled holes of the hardware and tighten them securely. Be careful not to overtighten, as it may strip the threads or damage the hardware.
- Test the functionality: After reattaching the hardware, test the doorknob and hinges to make sure they are functioning properly. The door should open, close, and latch smoothly without any obstructions or squeaks.
- Inspect the final result: Step back and inspect your newly painted door with the reattached hardware. Take a moment to admire the refreshed look and appreciate your hard work.
By reattaching the hardware, you bring back the functionality and add the final touches to your front door. The finishing details of the hardware make a significant impact on the overall appearance of your entryway.
Make sure to handle the hardware with care to prevent any scratches or damage. If necessary, use a soft cloth or glove when handling the pieces to avoid leaving fingerprints on the newly painted surface.
Now that you’ve completed all the steps, your front door is ready to welcome guests with its newfound curb appeal. Enjoy the refreshed look and the sense of accomplishment that comes with transforming your front entrance!
Conclusion
Congratulations! You have successfully painted your front door and given your home’s curb appeal a much-needed boost. By following the step-by-step process outlined in this article, you have transformed your entryway into a welcoming and visually appealing focal point.
Painting your front door is not just about aesthetics; it also provides protection against the elements and adds value to your property. The thorough preparation, including cleaning, sanding, and filling in cracks, ensured a smooth and durable surface for the paint to adhere to.
Choosing the right paint color that complements your home’s style and surroundings was essential in creating a cohesive and appealing look. Applying multiple coats of paint, with attention to detail and even coverage, resulted in a professional finish that will stand the test of time.
Reattaching the hardware was the final step, bringing the functionality and finishing touches to your newly painted door. The reattached hardware enhances the overall appearance and adds a touch of elegance.
As you stand back and admire your work, remember the importance of proper maintenance. Regularly cleaning your front door and inspecting for any touch-ups or maintenance needs will ensure its longevity and continued curb appeal.
So, take pride in your freshly painted front door and enjoy the positive impact it has on your home’s exterior. Whether you’re planning to sell, impress guests, or simply enjoy the beauty of your property, a well-painted front door is a worthwhile investment.
Thank you for following this comprehensive guide on how to paint a front door. Now go on and step into the world with a renewed sense of curb appeal!
Frequently Asked Questions about How To Paint A Front Door For Quick Curb Appeal
Was this page helpful?
At Storables.com, we guarantee accurate and reliable information. Our content, validated by Expert Board Contributors, is crafted following stringent Editorial Policies. We're committed to providing you with well-researched, expert-backed insights for all your informational needs.


0 thoughts on “How To Paint A Front Door For Quick Curb Appeal”