Home>Articles>How To Paint Shutters For Quick Curb Appeal Using A Simple Hack
Articles
How To Paint Shutters For Quick Curb Appeal Using A Simple Hack
Modified: December 7, 2023
Learn how to paint shutters for quick curb appeal using a simple hack. Our articles provide step-by-step instructions and expert tips for an easy and effective DIY project.
(Many of the links in this article redirect to a specific reviewed product. Your purchase of these products through affiliate links helps to generate commission for Storables.com, at no extra cost. Learn more)
Introduction
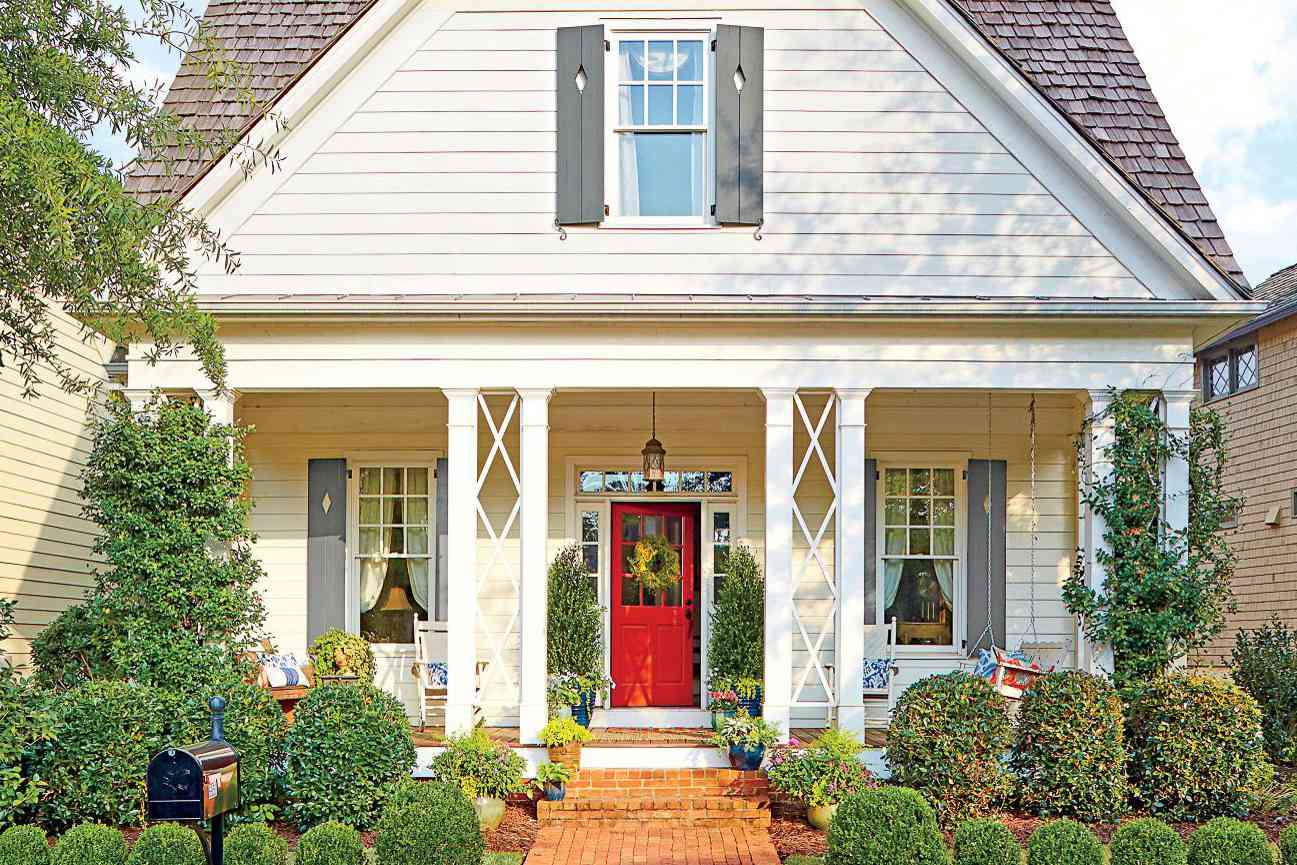
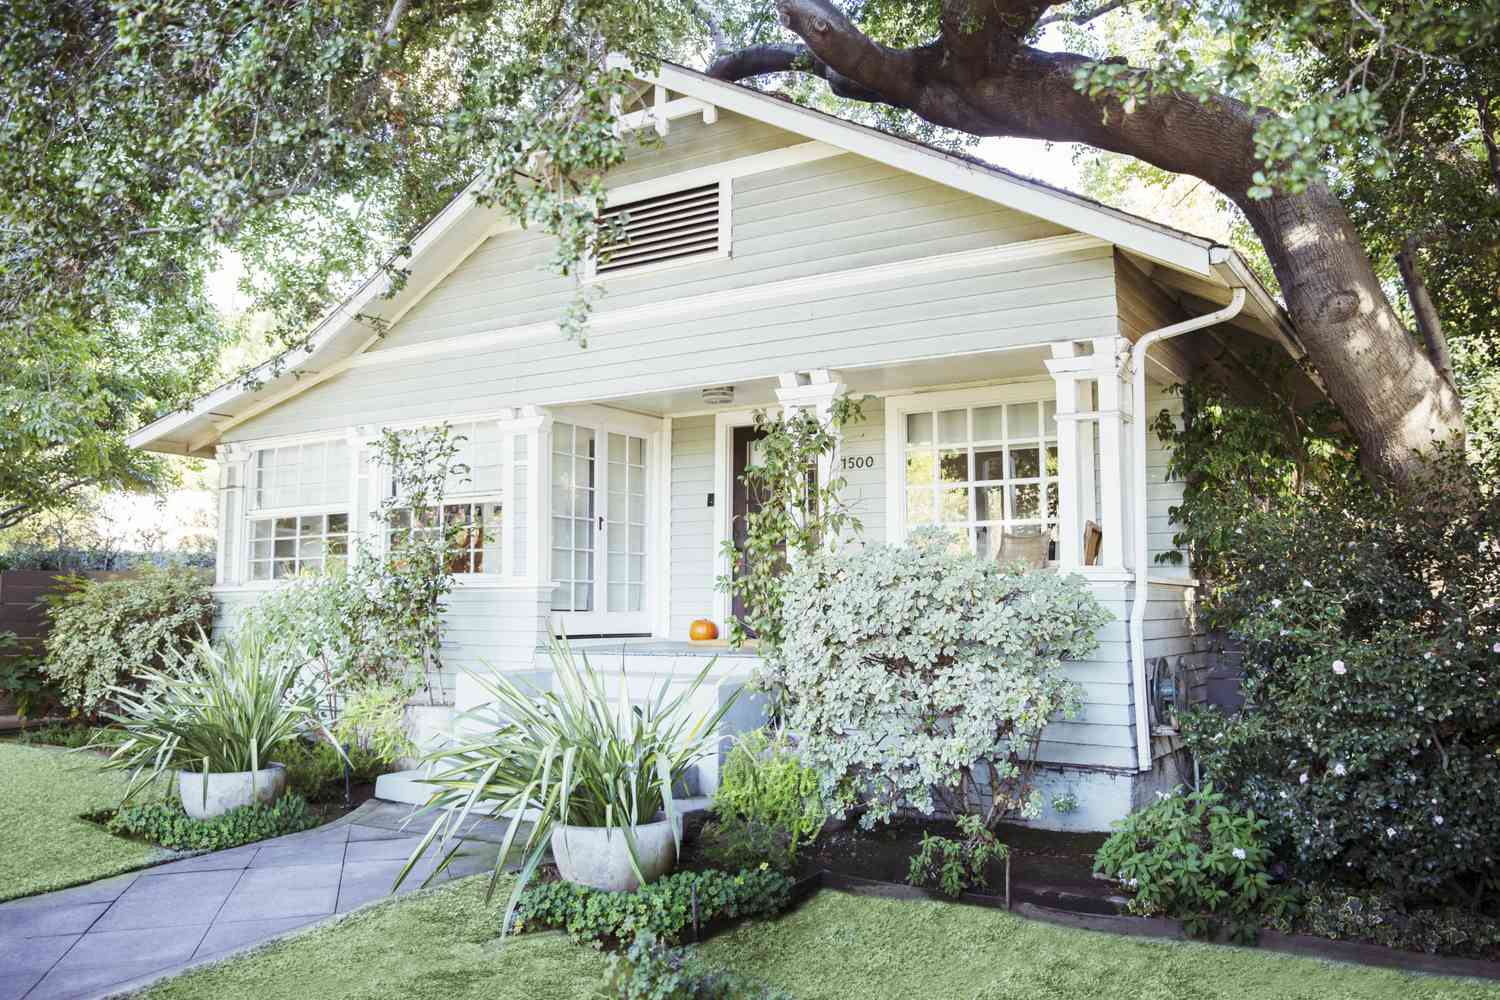
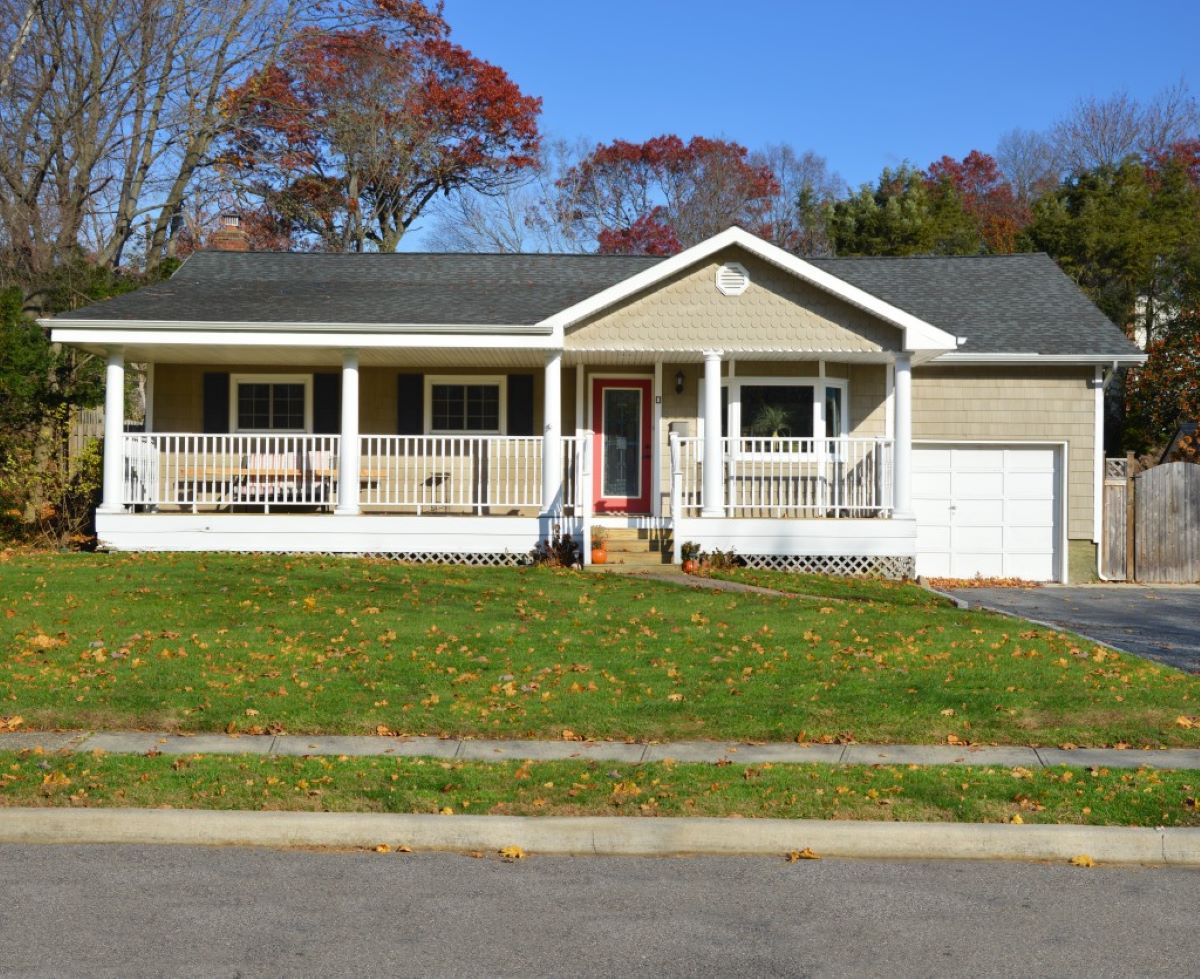
When it comes to enhancing the curb appeal of your home, few things make as big of an impact as freshly painted shutters. Not only can a simple coat of paint breathe new life into your exteriors, but it can also provide a quick and cost-effective way to update the look of your home.
Painting shutters may seem like a daunting task, but with the right materials and a simple hack, you can achieve professional-looking results in no time. In this article, we will guide you through the step-by-step process of painting shutters to give your home a refreshing new look.
Before we dive into the details, let’s take a look at the materials you will need:
- Paintbrushes
- Painter’s tape
- Sandpaper
- Primer
- Exterior paint
- Screwdriver
- Cloth or sponge
- Drop cloth or newspaper
Now that you have your materials ready, let’s get started with the first step: cleaning the shutters.
Key Takeaways:
- Transform your home’s curb appeal with a simple hack for painting shutters. Follow the step-by-step guide to achieve professional results and give your home a fresh, vibrant look.
- Elevate your home’s exterior with freshly painted shutters. From cleaning to choosing the perfect color, this article provides a comprehensive guide for a quick and cost-effective update.
Materials Needed
Before you begin painting your shutters, it’s important to gather all the necessary materials. Here’s a list of what you’ll need:
- Paintbrushes: Choose high-quality brushes in various sizes to ensure smooth and even application of paint.
- Painter’s tape: This will be used to protect the surrounding areas from accidental paint splatters.
- Sandpaper: Select a medium-grit sandpaper (around 120-150 grit) to roughen the surface of the shutters for better paint adhesion.
- Primer: Opt for a high-quality exterior primer suitable for the material of your shutters, such as wood or vinyl.
- Exterior paint: Choose a paint specifically designed for exterior surfaces and ensure it’s compatible with the type of shutters you have.
- Screwdriver: You may need a screwdriver to remove the shutters from their hinges, depending on their installation.
- Cloth or sponge: These will be used for cleaning the shutters and wiping away any dust or debris.
- Drop cloth or newspaper: To protect the ground or surrounding areas from paint splatters.
Make sure you have all these materials ready before you begin, as it will streamline the painting process and ensure you have everything you need at hand.
Step 1: Clean the Shutters
Before you start painting, it’s crucial to clean the shutters thoroughly. Over time, dirt, dust, and grime can accumulate on the surface, which can affect the quality of the paint job. Follow these steps to clean your shutters:
- Begin by removing any loose dirt or cobwebs using a soft brush or cloth.
- Prepare a bucket of warm water with a mild detergent or gentle soap. Avoid using harsh chemicals that may damage the shutters.
- Dip a clean cloth or sponge into the soapy water and gently scrub the surface of the shutters. Pay special attention to any visible stains or spots.
- Rinse the shutters thoroughly with clean water to remove any soap residue.
- Allow the shutters to dry completely before moving on to the next step.
By starting with clean shutters, you ensure a smooth and even application of paint, resulting in a professional-looking finish. Once the shutters are dry, you can proceed to the next step: removing them from their hinges.
Step 2: Remove the Shutters
Now that your shutters are clean and dry, it’s time to remove them from their hinges. This step allows for easier access and a more convenient painting process. Follow these steps to remove the shutters:
- Start by locating the screws or fasteners that hold the shutters in place.
- Using a suitable screwdriver, carefully remove the screws or fasteners one by one.
- Once the screws are removed, gently lift the shutters off the hinges.
- Place the removed shutters on a clean and stable surface.
It’s important to handle the shutters with care during this process to avoid any damage. If your shutters have multiple panels, make sure to remove each panel separately.
By removing the shutters, you’ll have better access to all sides, allowing for easier and more precise painting. Once the shutters are removed, you can move on to the next step: sanding the shutters.
Step 3: Sand the Shutters
Now that the shutters are removed, it’s time to prepare the surface for painting by sanding them. Sanding helps to roughen up the surface, creating a better bond between the primer and the shutters. Follow these steps to sand your shutters:
- Start by selecting a medium-grit sandpaper, typically around 120-150 grit.
- Hold the sandpaper firmly and begin sanding the surface of the shutters in smooth, even strokes. Pay attention to any rough or uneven areas.
- Continue sanding until the surface feels slightly rough to the touch. This will help the primer adhere better.
- Make sure to sand all sides of the shutters, including the edges and corners.
- Once you have finished sanding, use a clean cloth or brush to remove any dust or debris produced during the sanding process.
Sanding the shutters ensures that the paint adheres properly and results in a smoother finish. It also helps to remove any old paint or stains that may be present. Now that the shutters are sanded, we can move on to the next step: applying primer.
Step 4: Apply Primer
After sanding the shutters, the next step is to apply a primer. Primer acts as a base coat, providing a smooth and even surface for the paint to adhere to. Follow these steps to apply primer to your shutters:
- Before starting, ensure that the shutters are clean and free from any dust or debris.
- Using a high-quality exterior primer, apply a thin and even coat to the shutters. You can use a brush or a roller, depending on the size and texture of the shutters.
- Work in small sections, starting from the top and moving downwards. Apply the primer in long, even strokes, following the natural grain of the shutters.
- Allow the primer to dry according to the manufacturer’s instructions. This usually takes around 1-2 hours, but it’s best to check the label for specific drying times.
- Once the primer is dry, inspect the shutters for any missed spots or uneven coverage. If necessary, apply a second coat of primer for better results.
- After the final coat of primer, allow the shutters to dry completely before moving on to the next step.
Applying primer not only helps the paint adhere better to the shutters but also helps to seal any imperfections and create a smooth surface. With the primer applied, we are now ready to choose the paint color in the next step.
When painting shutters for quick curb appeal, consider using a paint sprayer for a smooth and efficient application. This will save time and give a professional finish.
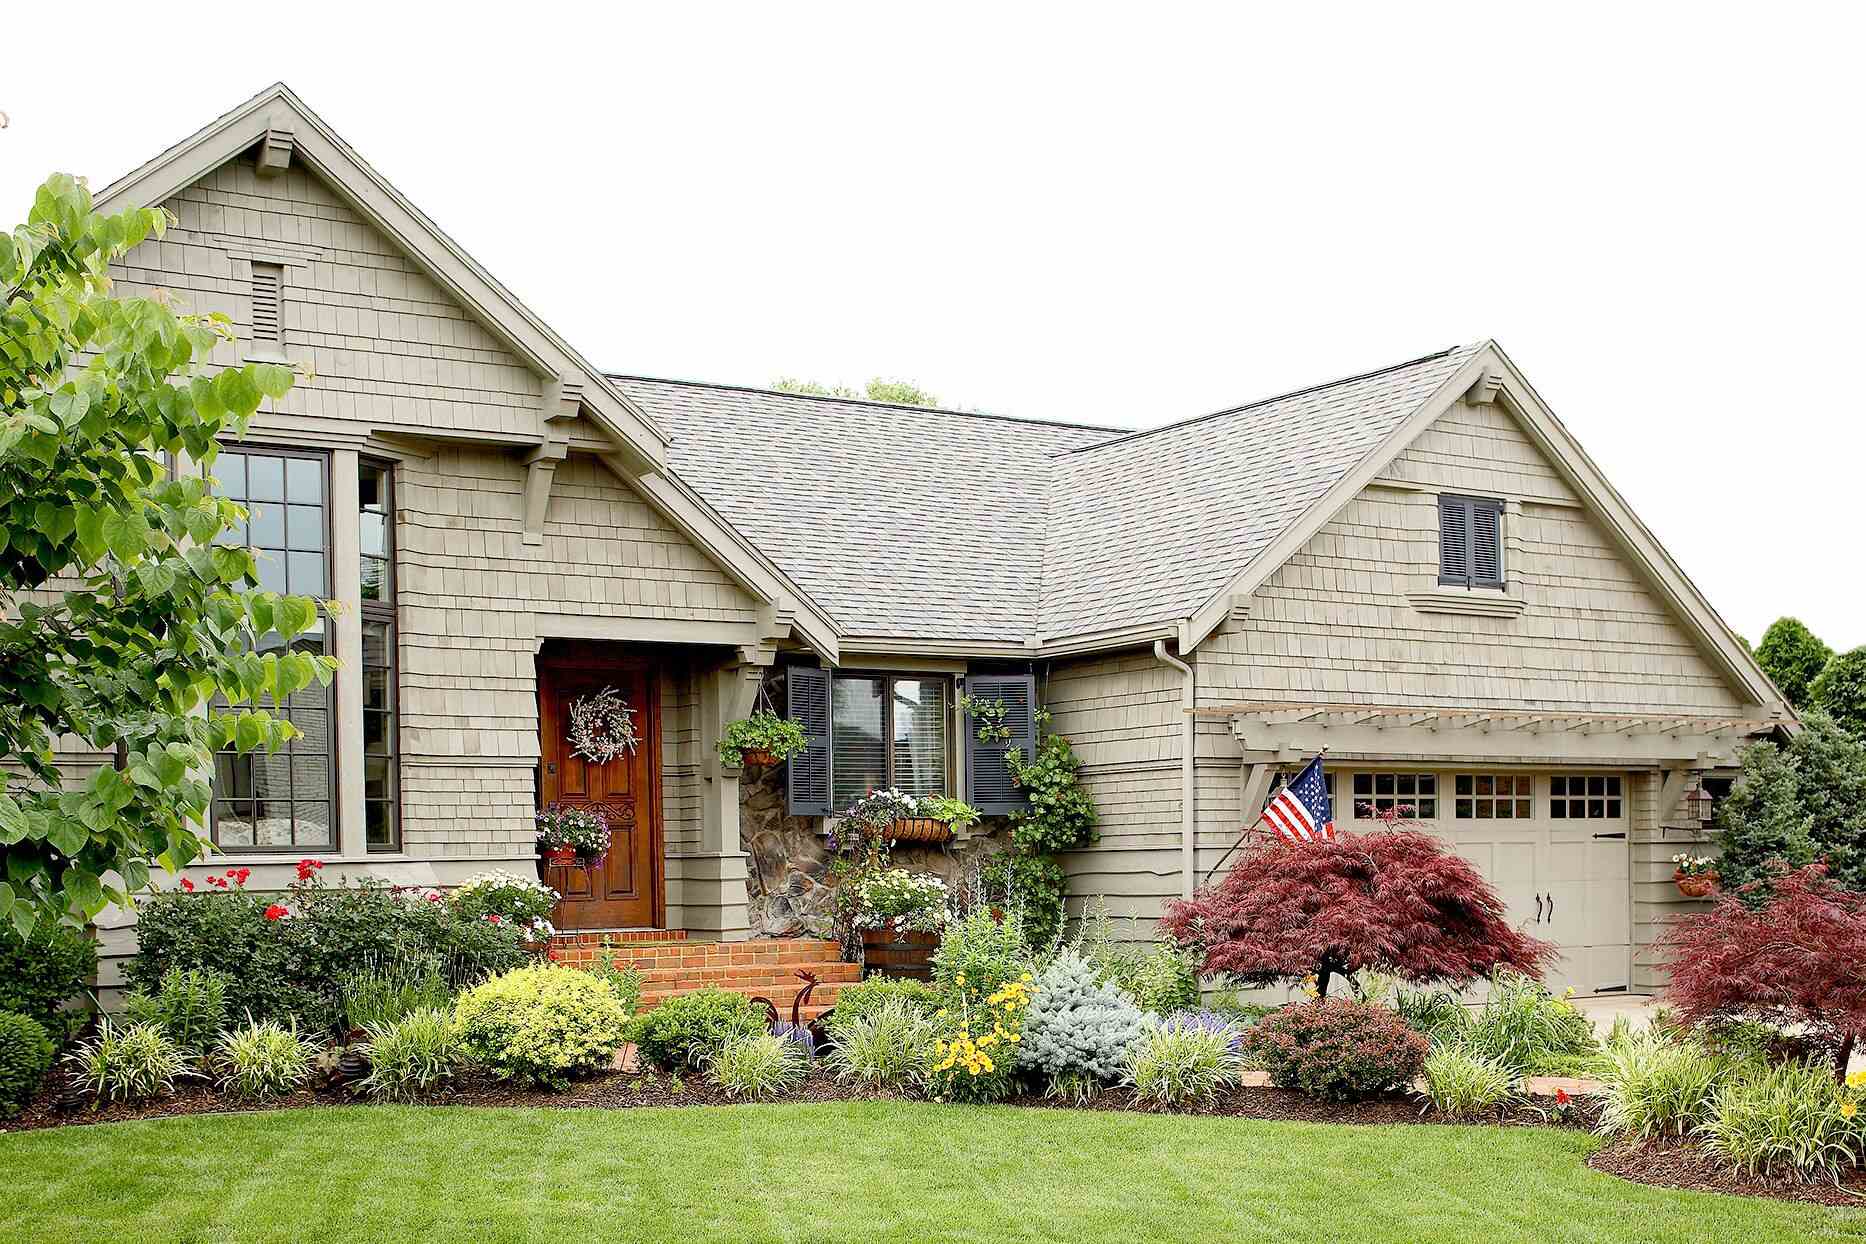
Step 5: Choose the Paint Color
Choosing the right paint color for your shutters can have a significant impact on the overall look and curb appeal of your home. Here are some tips to help you select the perfect paint color:
- Consider the style of your home: Take into account the architectural style of your home and its existing color palette. You want the shutter color to complement the overall aesthetic and not clash with the rest of the exterior.
- Look for inspiration: Browse through home improvement magazines, websites, and social media platforms for inspiration. You can also take a walk around your neighborhood to see if any particular shutter colors catch your eye.
- Consider the surroundings: Take into account the color of your siding, trim, and other exterior elements. You can choose to match or contrast the shutter color with these elements for a visually appealing result.
- Test samples: Once you have a few potential paint colors in mind, purchase samples and test them on a small area of the shutters. This will give you a better idea of how the color will look in different lighting conditions.
- Think about long-term trends: While it’s important to choose a color that you love, it’s also worth considering long-term trends. Opting for a timeless color can ensure that your shutters will remain stylish for years to come.
Remember, there’s no right or wrong color choice. It’s ultimately a personal decision based on your taste and the overall look you want to achieve. Once you’ve selected the perfect paint color, you’re ready to move on to the next step: painting the shutters.
Step 6: Paint the Shutters
Now comes the fun part – it’s time to paint the shutters! Follow these steps to achieve a professional-looking paint job:
- Start by stirring the paint thoroughly to ensure an even consistency.
- Using a paintbrush or roller, begin applying the paint to the shutters. Start from the top and work your way down, making long, smooth strokes.
- Pay attention to the corners and edges, ensuring that the paint is evenly applied in all areas.
- If you’re using different colors for the front and back of the shutters, make sure to paint one side completely and allow it to dry before flipping them over to paint the other side.
- Apply multiple thin coats of paint, allowing each coat to dry before applying the next one. This will ensure a smooth and durable finish.
- Keep an eye out for any drips or runs and immediately smooth them out with a brush or roller.
- Once you’ve finished painting, allow the shutters to dry completely according to the paint manufacturer’s instructions.
Remember to follow all safety guidelines and use proper ventilation during the painting process. It’s also a good idea to protect the surrounding areas with drop cloths or newspapers to prevent any accidental paint splatters.
With the shutters painted and dried, we’re almost done! The next step is to reattach the shutters, which we’ll cover in the next step.
Step 7: Reattach the Shutters
Now that the paint has dried, it’s time to reattach the shutters and bring them back to their rightful place. Follow these steps to securely reattach the shutters:
- Align the shutters with the hinges on the exterior of your home.
- Using a screwdriver, carefully insert the screws or fasteners back into their respective holes to secure the shutters in place.
- Tighten the screws until the shutters are securely attached, but be cautious not to overtighten them and risk damaging the shutters.
- Double-check that the shutters are properly aligned and level. Make any necessary adjustments before tightening the screws completely.
- Once all the shutters have been reattached, give them a gentle push or shake to ensure they are securely in place.
Take a step back and admire your newly painted shutters now that they are back in position. They should add a fresh and vibrant touch to the overall look of your home.
With the shutters securely reattached, we’re almost finished. There’s just one more step left to complete the process: adding those final finishing touches. Let’s move on to the next step.
Step 8: Finishing Touches
Now that your shutters are painted and reattached, it’s time to add those final finishing touches to complete the project. These small details can make a big difference in the overall appearance of your home’s exterior. Follow these steps to add those final touches:
- Inspect the shutters for any touch-ups or areas that may need additional paint. Use a small brush to carefully touch up any imperfections or missed spots.
- Remove any remaining painter’s tape or protective coverings from the surrounding areas, being careful not to damage the newly painted shutters.
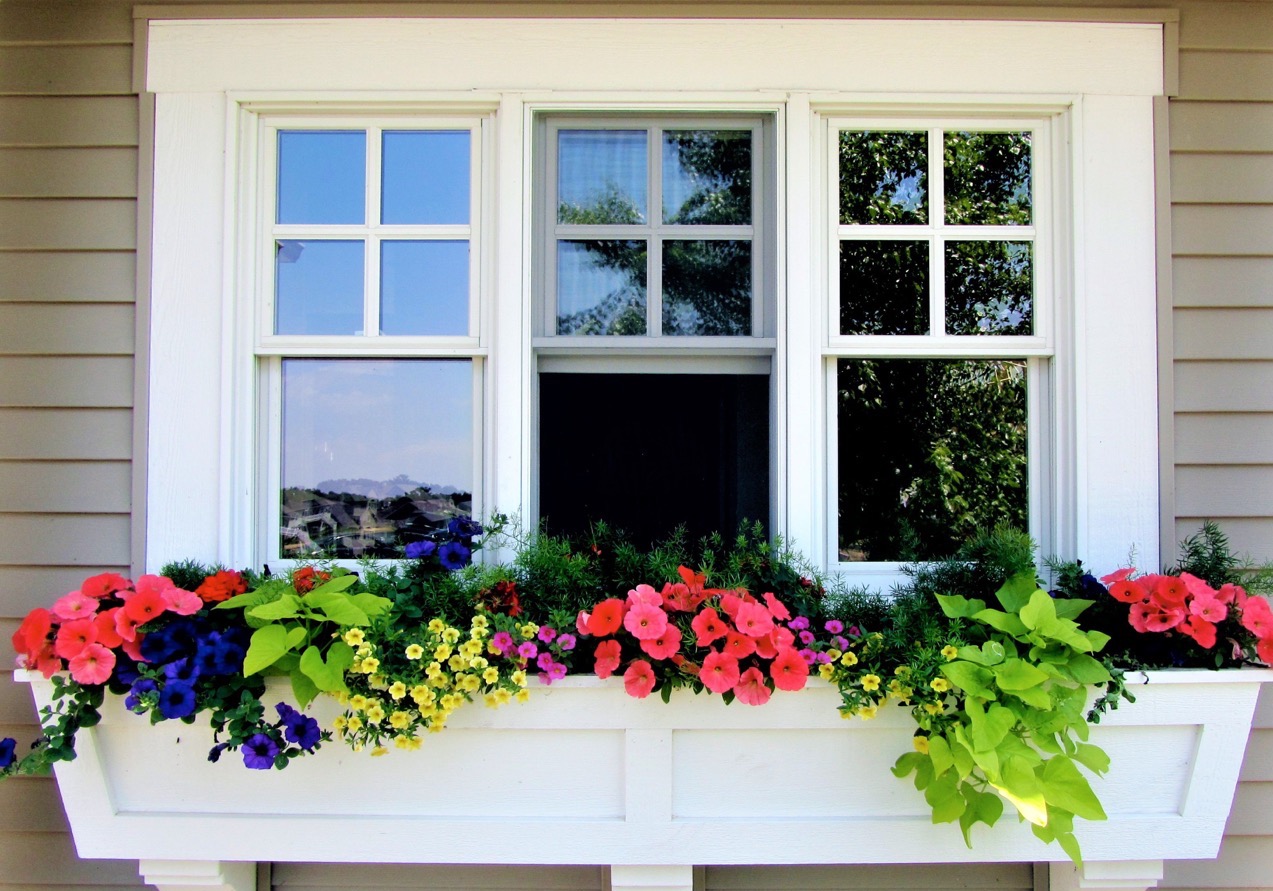
- Clean the windows and frames surrounding the shutters to ensure a crisp and polished look. You can use a glass cleaner and a lint-free cloth to achieve a streak-free finish.
- Consider adding decorative hardware such as hinges, handles, or decorative accents. This can elevate the look of your shutters and add a personal touch.
- Stand back and take a moment to appreciate your newly painted shutters and the instant transformation they have brought to your home’s curb appeal.
Remember that proper maintenance is key to preserving the beauty and longevity of your newly painted shutters. Regularly clean them with a gentle solution and avoid harsh chemicals that may damage the paint.
Congratulations! You have successfully painted and completed the project of enhancing your home’s curb appeal with fresh and vibrant shutters. Take pride in your accomplishment and enjoy the renewed charm and visual appeal your home now possesses.
Lastly, make sure to properly dispose of any paint cans or materials following local regulations. With the project complete, sit back and enjoy your beautifully painted shutters!
Conclusion
Painting shutters can be a simple yet impactful way to enhance the curb appeal of your home. By following the step-by-step process outlined in this article, you can achieve professional-looking results and give your home a fresh, new look.
From cleaning and sanding the shutters to applying primer, choosing the right paint color, and painting the shutters, each step plays a crucial role in ensuring a successful paint job. Taking the time to properly prepare and execute each step will result in a finish that is both visually appealing and long-lasting.
Remember to select high-quality materials, such as brushes, primer, and exterior paint, to achieve the best possible results. Take into consideration the style of your home, surrounding elements, and personal preferences when choosing the paint color for your shutters.
With the shutters reattached and those final finishing touches added, stand back and enjoy the transformation you have made to your home’s exterior. The freshly painted shutters will not only enhance the curb appeal but also increase the overall value of your property.
As with any home improvement project, it is important to prioritize safety, follow the manufacturer’s instructions, and adhere to local regulations. Dispose of any paint cans or materials responsibly.
Now that you have learned how to paint shutters with a simple hack, you have the knowledge and skills to tackle this project and give your home a quick and cost-effective update. So go ahead, grab your paintbrushes, and let your creativity shine as you transform your shutters and elevate the look of your home’s exterior.
Frequently Asked Questions about How To Paint Shutters For Quick Curb Appeal Using A Simple Hack
Was this page helpful?
At Storables.com, we guarantee accurate and reliable information. Our content, validated by Expert Board Contributors, is crafted following stringent Editorial Policies. We're committed to providing you with well-researched, expert-backed insights for all your informational needs.


0 thoughts on “How To Paint Shutters For Quick Curb Appeal Using A Simple Hack”