Articles
How To Paint Calipers Red
Modified: February 22, 2024
Discover the step-by-step guide on how to paint calipers red in this helpful article. Transform your car's appearance with ease.
(Many of the links in this article redirect to a specific reviewed product. Your purchase of these products through affiliate links helps to generate commission for Storables.com, at no extra cost. Learn more)
Introduction
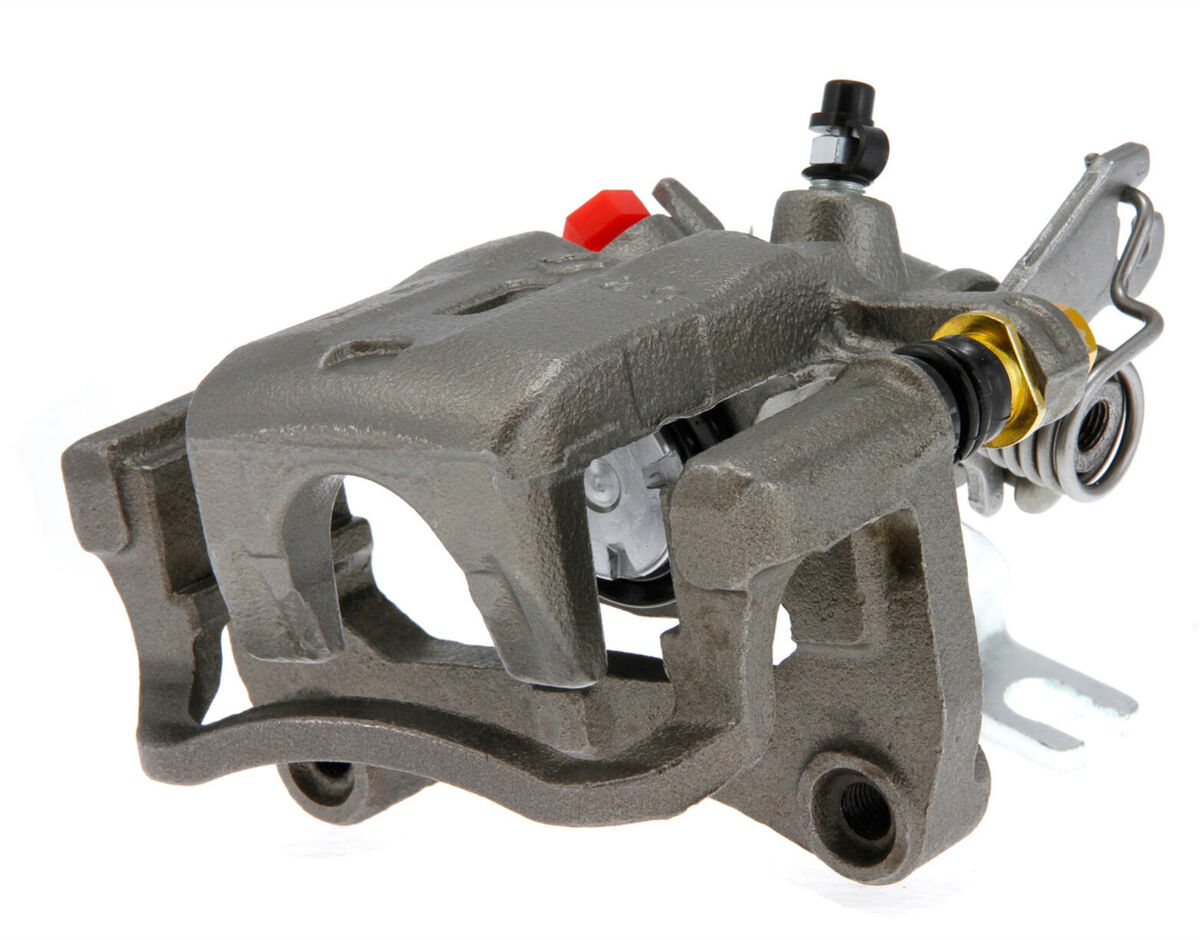
Painting your calipers red is an excellent way to add a pop of color and a touch of personalization to your vehicle. Whether you’re a car enthusiast looking to enhance the appearance of your vehicle or simply want to give your car a unique and stylish upgrade, painting your calipers red can make a significant difference. Not only does it improve the overall aesthetics, but it also provides a layer of protection against corrosion and rust.
In this article, we will take you through the step-by-step process of how to paint calipers red. We will outline all the materials you’ll need, guide you on how to properly prepare the calipers, explain the painting process, and provide tips for a flawless finish. By the end of this guide, you’ll be able to successfully paint your calipers red and showcase your automotive style.
Before we dive into the process, it’s important to note that this DIY project requires some basic mechanical skills and a few hours of your time. If you’re not comfortable working with vehicles or you’re unsure about any step in the process, it’s advisable to consult a professional mechanic. However, if you’re up for the challenge, let’s gather our materials and get started!
Key Takeaways:
- Add a Personalized Touch
Painting your calipers red not only enhances the appearance of your vehicle but also adds a unique and stylish upgrade. It’s a rewarding DIY project that allows you to showcase your automotive style and creativity. - Achieve Professional Results
By following the step-by-step process outlined in this guide, you can achieve professional-looking results and enhance the overall aesthetics of your car. Attention to detail, patience, and proper preparation are key to achieving a durable and visually appealing finish.
Read more: How To Paint Your Calipers
Step 1: Gather the necessary materials
Before you begin the process of painting your calipers red, it’s essential to gather all the necessary materials. Having everything you need on hand will ensure a smooth and efficient painting experience. Here’s a list of items you’ll need:
- Caliper paint kit: Look for a kit specifically designed for painting calipers. These kits usually include high-temperature paint and a brush.
- Masking tape: You’ll need masking tape to protect other parts of your car from overspray.
- Sandpaper: Get sandpaper with different grits, such as 400 and 800, to prep the calipers for painting.
- Cleaner/degreaser: A good cleaner or degreaser will help remove dirt, grime, and brake dust from the calipers.
- Brake cleaner: Brake cleaner is useful for thoroughly cleaning the calipers before painting.
- Disposable gloves: Protect your hands from paint and chemicals by wearing disposable gloves.
- Plastic bags or newspaper: These will come in handy for covering other areas of your car to prevent overspray.
- Brushes or paint applicators: Depending on the kit you choose, you may need brushes or paint applicators to apply the paint to the calipers.
- Respirator or mask: It’s important to protect yourself from fumes and chemical vapors, so wearing a respirator or mask is recommended.
- Safety goggles: Keep your eyes protected from paint particles and debris with safety goggles.
Make sure you have all the materials before you start. If anything is missing, it’s better to get everything you need before proceeding. This way, you won’t have to interrupt the process and potentially compromise the quality of your paint job.
Now that you have all the necessary materials, it’s time to move on to the next step: preparing the calipers for painting.
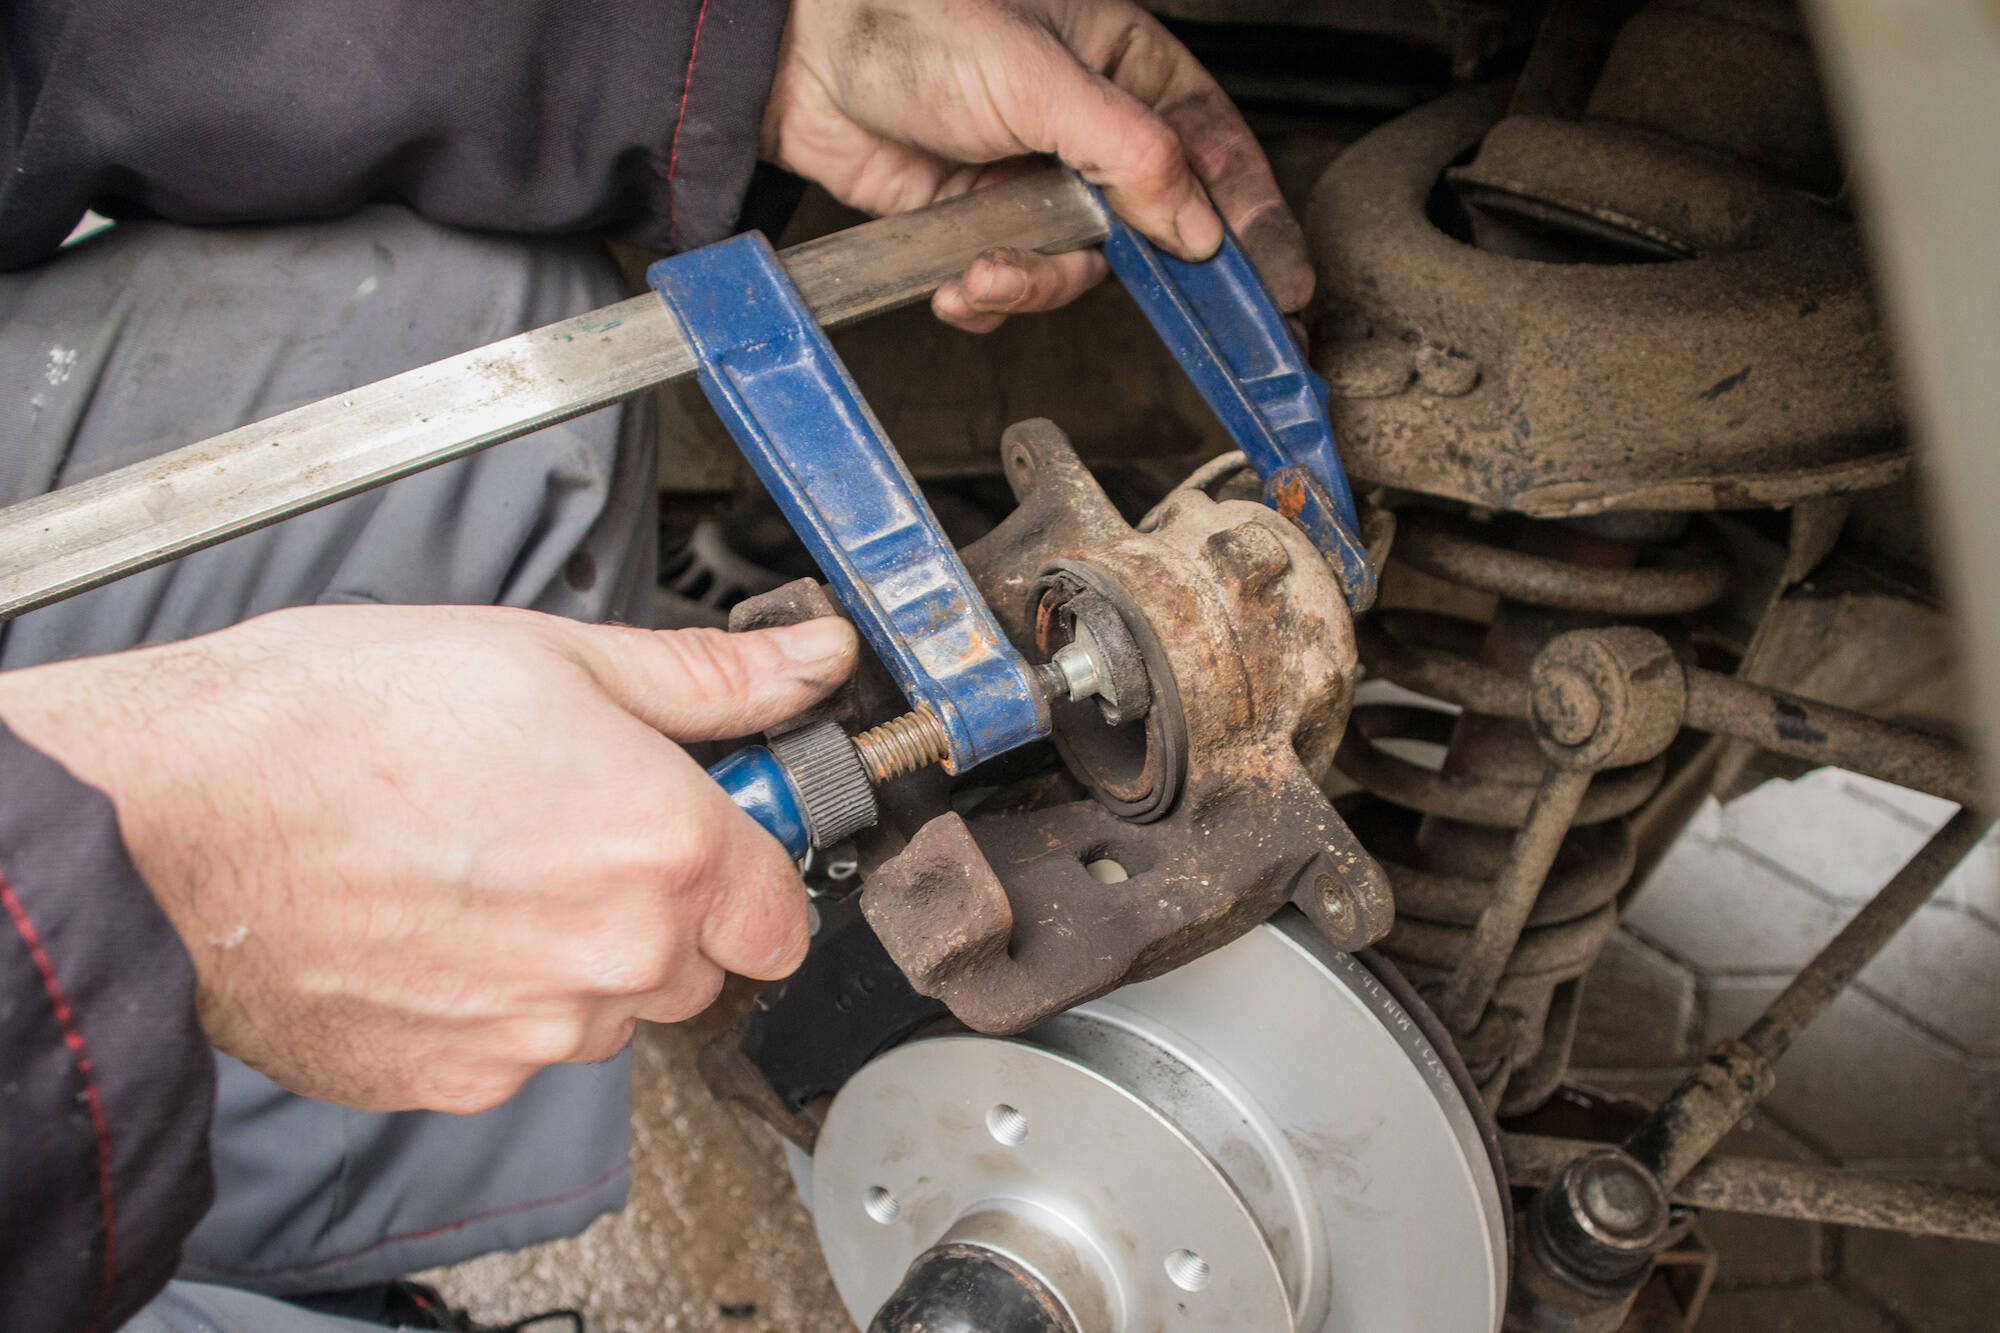
Step 2: Prepare the calipers
Properly preparing the calipers before painting is crucial for achieving a durable and long-lasting finish. Follow these steps to ensure your calipers are ready for a fresh coat of red paint:
- Jack up your car: Before you start working on the calipers, make sure your car is safely lifted off the ground using a jack stand. This will allow you to easily access the wheels and calipers.
- Remove the wheels: Use a lug nut wrench to loosen the lug nuts and remove the wheels. Place them aside in a safe location.
- Protect surrounding areas: Use masking tape and plastic bags or newspaper to cover nearby surfaces such as the rotors, brake pads, and any other parts you want to avoid accidentally painting.
- Clean the calipers: Start by using a cleaner or degreaser to remove any dirt, grime, and brake dust from the calipers. Use a brush or cloth to scrub away stubborn debris. Rinse the calipers with water and allow them to dry completely.
- Sand the calipers: Take your sandpaper and start sanding the calipers gently. This will create a rough surface that allows the paint to adhere better. Begin with a lower grit sandpaper (such as 400) to remove any existing coatings or imperfections. Then, move on to a higher grit sandpaper (such as 800) to smoothen the surface.
- Clean again: After sanding, use brake cleaner and a clean cloth to thoroughly clean the calipers once more. This step removes any residual dust or debris from sanding.
- Inspect for damage: Now is the time to inspect your calipers for any damage or signs of wear. If you notice any cracks, chips, or corrosion, it’s advisable to repair or replace the calipers before proceeding with the painting process.
By properly preparing the calipers, you ensure that the paint adheres well and achieves a professional-looking finish. Once you’ve completed these steps, you’re ready to move on to the next stage of the process: removing the wheels.
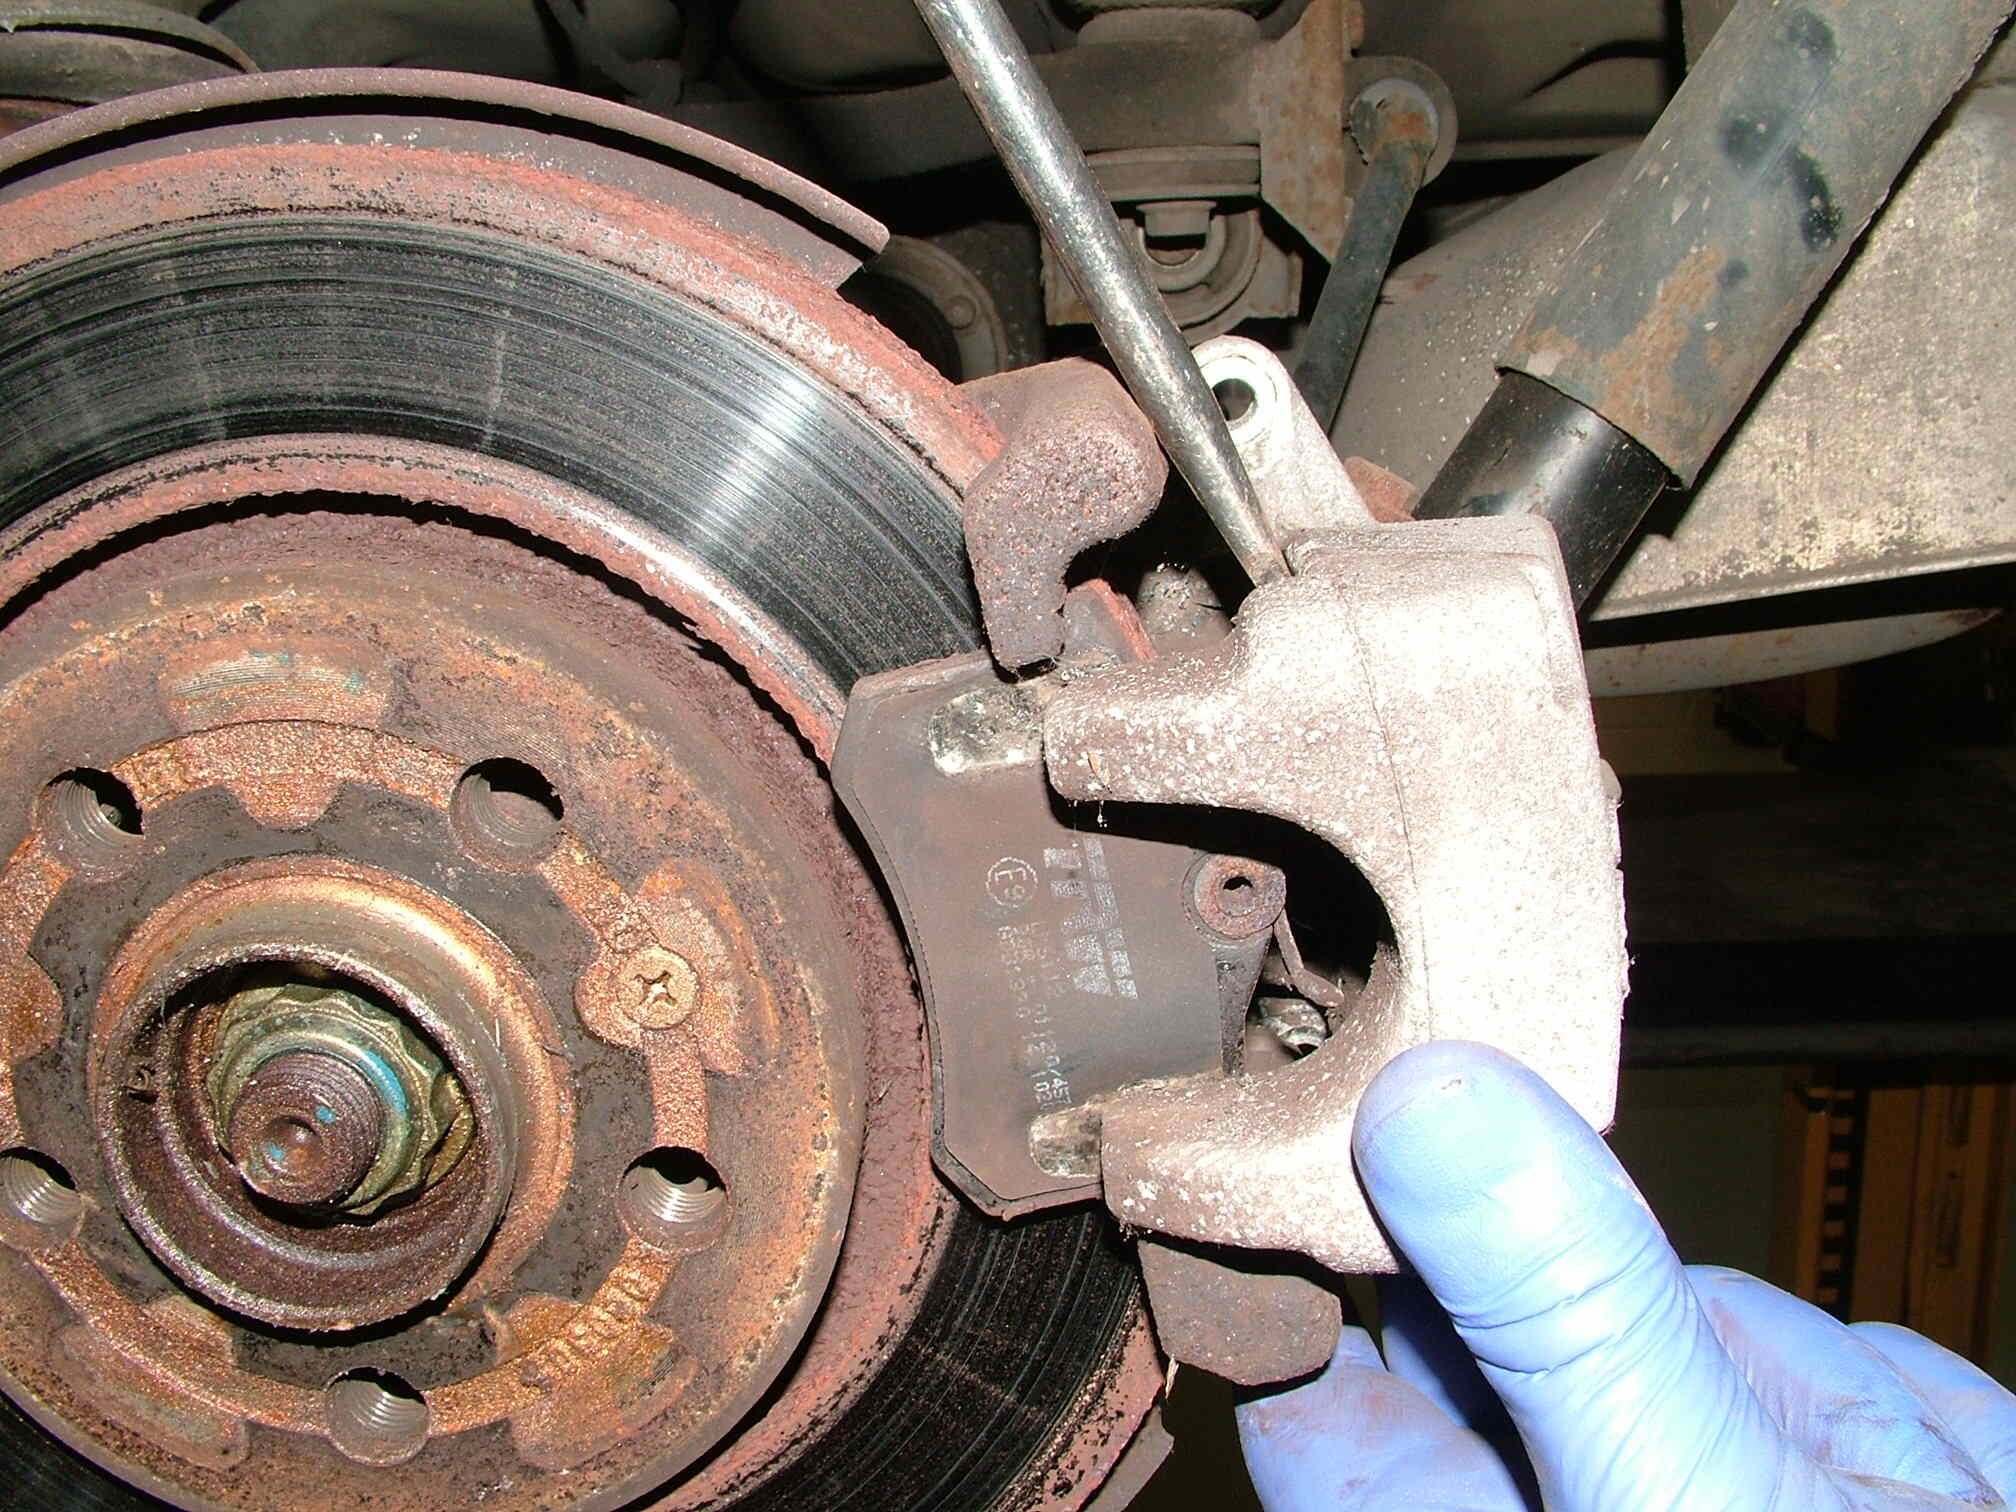
Step 3: Remove the wheels
With the calipers prepared, it’s time to remove the wheels from your vehicle. This step will provide you with easier access to the calipers and ensure that you can paint them evenly and effectively. Follow these steps to remove the wheels:
- Secure your vehicle: Before beginning, ensure that your car is parked on a flat, stable surface. Engage the parking brake to prevent the vehicle from rolling.
- Locate the lug nuts: The lug nuts are what secure the wheels to the vehicle. They are typically located around the edge of the wheels.
- Loosen the lug nuts: Using a lug nut wrench or a suitable socket wrench, start loosening the lug nuts in a diagonal pattern. This helps to prevent the wheel from wobbling as you loosen the nuts.
- Jack up the car: Place the jack in the appropriate spot near the wheel you want to remove. Refer to your vehicle’s manual to identify the correct jacking points to avoid damaging the car’s body.
- Jack up the car: Place the jack in the appropriate spot near the wheel you want to remove. Refer to your vehicle’s manual to identify the correct jacking points to avoid damaging the car’s body.
- Remove the lug nuts and wheels: Once the wheels are off the ground, continue loosening the lug nuts until you can remove them by hand. Set the lug nuts aside in a safe place. Carefully pull the wheel straight toward you to remove it from the car.
- Repeat for all wheels: Follow the same procedure for each wheel, making sure to place the removed wheels in a secure location to prevent them from rolling or falling.
By removing the wheels, you create ample space to paint the calipers without any obstructions. Ensure that you keep the lug nuts and wheels in a safe spot, as you will need them later to reattach the wheels. You’re now ready to move on to the next step: cleaning the calipers.
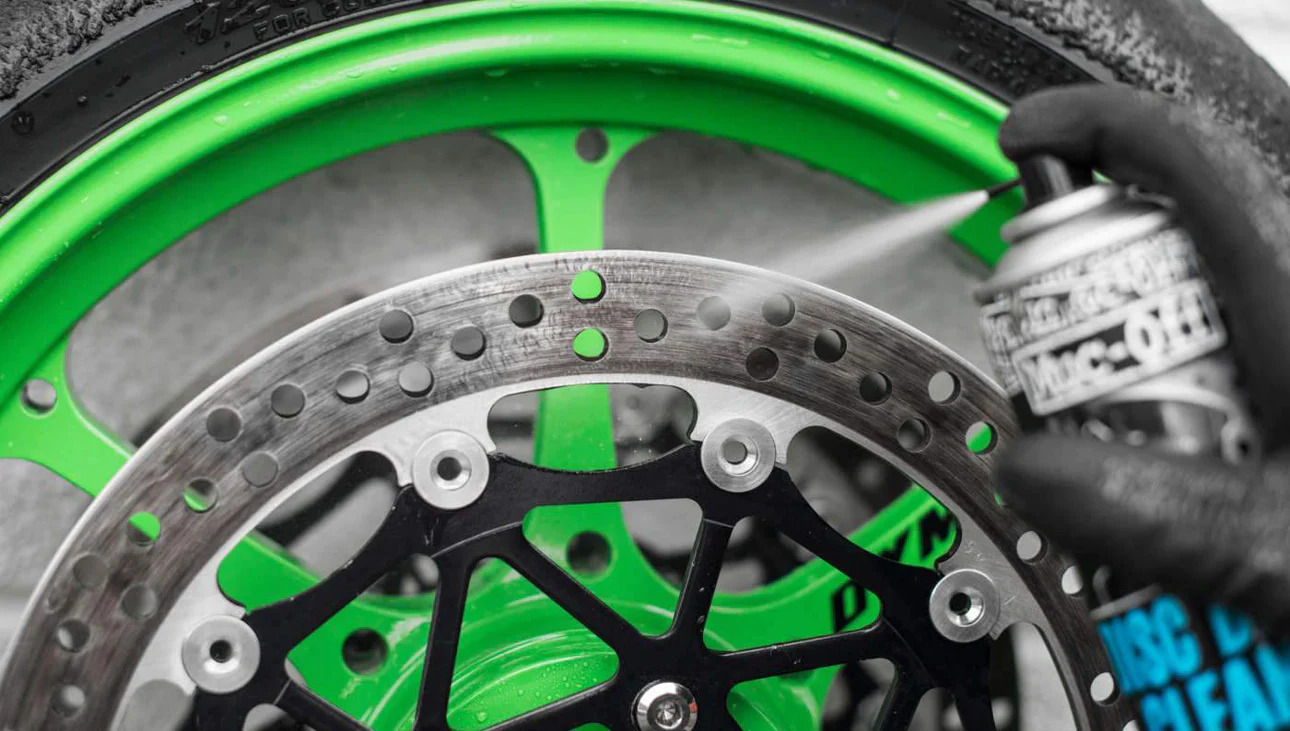
Step 4: Clean the calipers
Now that you have removed the wheels, it’s time to focus on cleaning the calipers. This step is essential to ensure that the paint adheres properly and results in a smooth and even finish. Follow these steps to clean the calipers effectively:
- Prepare the cleaning solution: Start by preparing a cleaning solution. This can be a dedicated caliper cleaner or a mixture of mild soap and water. Dilute the soap in a bucket of water according to the instructions on the product label.
- Apply the cleaning solution: Dip a clean brush or cloth into the cleaning solution and gently scrub the calipers, paying close attention to any areas with dirt or grime buildup. Make sure to cover the entire surface of the calipers.
- Remove stubborn dirt: For stubborn dirt or brake dust, you may need to use a more aggressive cleaner or degreaser. Apply the cleaner to a brush or cloth and focus on the affected areas. Be cautious not to let the cleaner come into contact with other surfaces, such as the paint or rubber components.
- Rinse the calipers: Once you have thoroughly cleaned the calipers, rinse them with clean water. This will remove any remaining cleaning solution or debris. Use a hose or a bucket of water to rinse the calipers, making sure to remove all the soap and cleaner.
- Dry the calipers: After rinsing, use a clean, dry cloth or towel to dry the calipers. Make sure to eliminate all moisture before proceeding to the next step. Any leftover moisture can impact the paint application and adhesion.
By cleaning the calipers properly, you ensure that there are no contaminants that could interfere with the paint. This step is crucial for achieving a professional-looking finish. Once your calipers are clean and dry, you’re ready to move on to the next step: applying the primer.
Read more: Who Paints Calipers Near Me
Step 5: Apply the primer
The next step in painting your calipers red is to apply a primer. The primer creates a smooth and even surface for the paint to adhere to, ensuring better durability and a professional finish. Follow these steps to apply the primer:
- Prepare your work area: Find a well-ventilated and dust-free area to work in. Place a drop cloth or old newspapers beneath the calipers to protect the surrounding surfaces from any priming overspray.
- Shake the primer can: Shake the primer can thoroughly to ensure that the contents are well mixed. This helps to achieve an even application.
- Apply the primer: Hold the can of primer approximately 6 to 8 inches away from the calipers. Begin spraying in a smooth, sweeping motion, moving back and forth to cover the entire surface of the calipers. Apply a thin, even layer of primer, making sure not to oversaturate the calipers.
- Allow the primer to dry: Follow the instructions on the primer can regarding drying times. Typically, the primer should be allowed to dry for at least 30 minutes to an hour. Ensure that the calipers are completely dry and free of any tackiness before proceeding to the next step.
Applying the primer is an important step as it creates a strong bond between the calipers and the paint, ensuring a longer-lasting finish. Once the primer is dry, you’re ready to move on to the exciting part: applying the red paint to your calipers!
When painting calipers red, make sure to thoroughly clean and degrease the surface before applying high-temperature caliper paint. Use multiple thin coats for a smooth and durable finish.
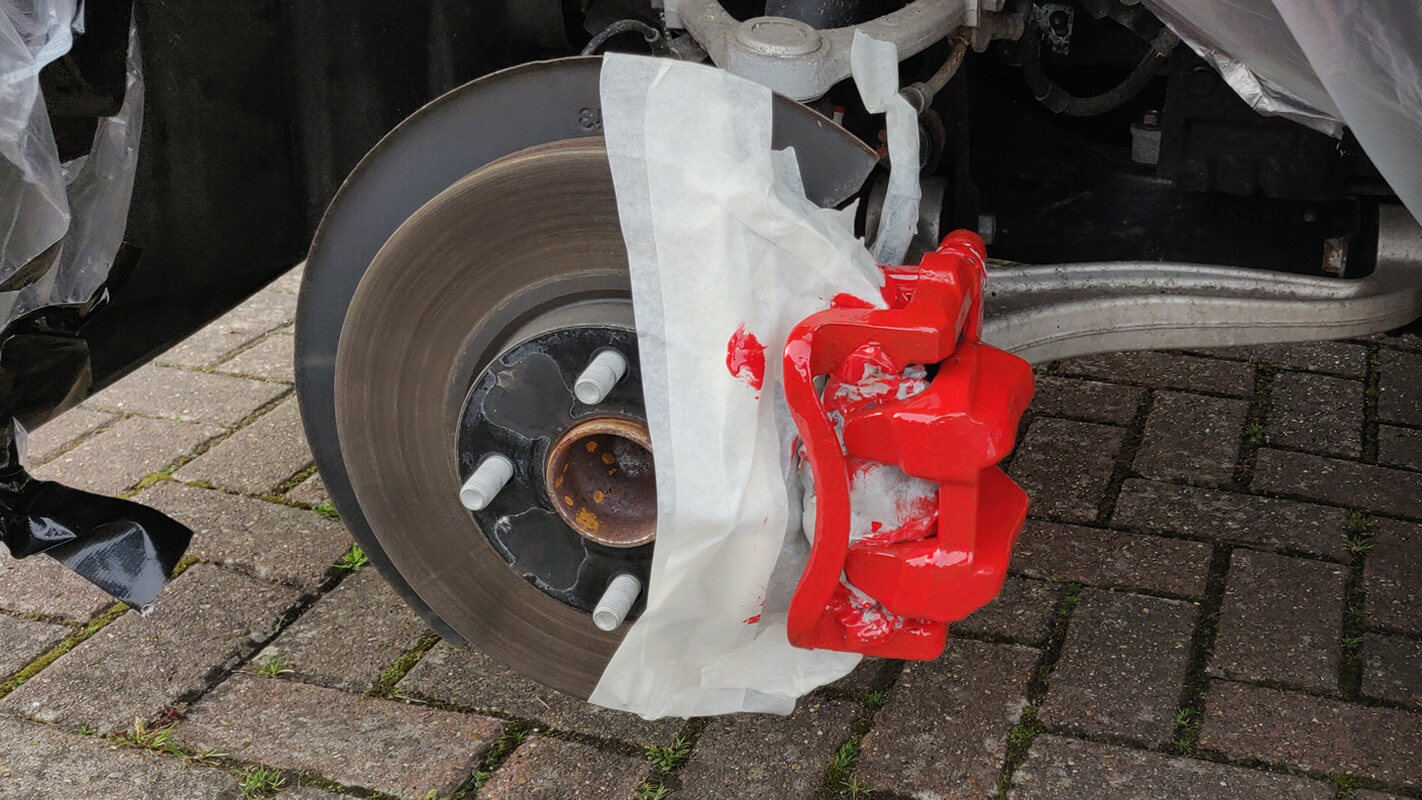
Step 6: Apply the red paint
Now comes the fun part: applying the red paint to your calipers. This step will give your vehicle a bold and eye-catching appearance. Follow these steps to achieve a flawless application:
- Prepare your work area: Just like when applying the primer, make sure your work area is well-ventilated and protected with a drop cloth or newspaper.
- Shake the paint can: Shake the red paint can thoroughly to mix the contents evenly. This ensures a consistent color application.
- Apply the red paint: Hold the can approximately 6 to 8 inches away from the calipers. Begin spraying using smooth, sweeping motions, going back and forth to cover the entire surface. Apply thin, even coats of paint, allowing each layer to dry before applying the next. This will help prevent drips and ensure a smooth finish.
- Check for full coverage: After applying the first coat, inspect the calipers to ensure even coverage. If any spots appear lighter or uneven, apply additional coats until you achieve a uniform red color.
- Let the paint dry: Follow the instructions on the paint can regarding drying times. Typically, the paint will require several hours to fully dry. It’s important to be patient and avoid touching or handling the calipers until they are completely dry.
Remember, it’s better to apply multiple thin coats of paint rather than a single heavy coat. This will result in a smoother and more professional-looking finish. Once the paint is dry, you can move on to the next step: letting the paint cure and dry completely.
Step 7: Let the paint dry
After applying the red paint to your calipers, it’s crucial to let them dry completely. Proper drying ensures that the paint cures and adheres well, resulting in a durable and long-lasting finish. Follow these guidelines for drying your painted calipers:
- Read the paint can instructions: Different paints may have varying drying times. Consult the paint can for specific instructions regarding drying and curing times.
- Allow sufficient drying time: In general, it’s recommended to let the paint dry for at least 24 hours. However, depending on the specific paint brand and environmental conditions, it may take longer for the paint to fully cure. Avoid rushing the drying process, as prematurely handling or installing the calipers can lead to damage or imperfections in the paint.
- Choose an appropriate drying location: Find a clean and dust-free area to place the calipers while they dry. Ensure the location is well-ventilated, as proper airflow aids in the drying process.
- Avoid touching or handling the calipers: During the drying period, it’s important to avoid touching or handling the calipers. The oils and moisture from your hands can interfere with the paint’s adhesion and potentially leave fingerprints or smudges on the surface. Allow the paint to dry undisturbed.
By allowing sufficient drying time, you ensure that the painted calipers achieve their maximum durability and visual appeal. Once the paint is completely dry, you’re ready to reinstall the wheels and admire your freshly painted calipers.
Step 8: Reattach the wheels
Now that the painted calipers are dry and ready, it’s time to reattach the wheels to your vehicle. Follow these steps to securely reinstall the wheels:
- Retrieve the lug nuts: Locate the lug nuts that you set aside earlier. Make sure they are clean and free from any debris or dirt.
- Align the wheel: Carefully align the wheel with the mounting holes on the vehicle. Hold it in place with one hand, ensuring that it sits flush against the hub.
- Hand-tighten the lug nuts: Begin threading each lug nut onto the corresponding bolt by hand. Rotate them in a clockwise direction until they are snug and hold the wheel in place.
- Use a lug nut wrench: Once the lug nuts are hand-tightened, use a lug nut wrench or a suitable socket wrench to further tighten them. Work in a star or cross pattern, tightening each lug nut a little at a time to ensure equal pressure. Be careful not to overtighten, as this can damage the threads.
- Lower the vehicle: Carefully lower the vehicle using the jack until the wheels touch the ground. Remove the jack stand and fully lower the vehicle to the ground.
- Check the lug nuts: Double-check the tightness of the lug nuts after lowering the vehicle. Tighten any lug nuts that may have loosened during the lowering process.
It’s important to follow the manufacturer’s recommended torque specifications when tightening the lug nuts. This helps ensure proper wheel alignment and prevents any issues while driving. Once you have reattached all the wheels and tightened the lug nuts, you can move on to the final step: testing and admiring your newly painted calipers.
Read also: 11 Best Red Paint For 2025
Step 9: Test and admire your newly painted calipers
Congratulations! You have successfully painted your calipers red and reattached the wheels to your vehicle. Now it’s time to test and admire your newly painted calipers. Follow these final steps to ensure everything looks and functions as desired:
- Test the brakes: Before taking your vehicle for a drive, start the engine and press the brake pedal a few times. This will help ensure that the calipers are functioning properly and that there are no strange noises or other issues.
- Inspect the calipers: Take a moment to visually inspect the newly painted calipers. Look for any smudges, runs, or imperfections in the paint. Additionally, check that the paint coverage is even and consistent across all calipers.
- Admire your work: Step back and admire the visual impact of the red calipers against your vehicle’s wheels. The vibrant color adds a stylish and personalized touch to your vehicle’s overall appearance.
- Take a test drive: Once you’ve inspected and admired your painted calipers, take your vehicle for a short test drive. Pay attention to any vibrations, pulling, or unusual noises that may indicate any issues with the calipers or the braking system. If everything feels and sounds normal, you can confidently enjoy your newly enhanced ride.
By testing and inspecting your newly painted calipers, you ensure that they not only look great but also function properly. Take pride in your DIY project and take pleasure in the visual transformation it brings to your vehicle.
Remember to keep your calipers clean and maintain them regularly to preserve the quality and appearance of the paint. With proper care, your red calipers will continue to turn heads and make a statement on the road for miles to come!
Conclusion
Painting your calipers red is a rewarding DIY project that adds a touch of personality and style to your vehicle. By following the step-by-step process outlined in this guide, you can achieve professional-looking results and enhance the overall aesthetics of your car.
Throughout the process, we covered important steps such as gathering the necessary materials, preparing the calipers, removing the wheels, cleaning the calipers, applying the primer, painting with red paint, letting the paint dry, reattaching the wheels, and finally, testing and admiring your newly painted calipers.
Remember, attention to detail and patience are key when painting calipers. Properly preparing the calipers, choosing high-quality paint, and allowing adequate drying time are essential for achieving a durable and visually appealing finish.
As you admire your freshly painted calipers, take pride in the personalization you’ve added to your vehicle. The vibrant red color adds a bold statement and sets your car apart from the rest.
Always remember to test the functionality of the calipers and inspect the paint job before taking your vehicle for a drive. Regular maintenance and care will help preserve the beauty and longevity of your painted calipers.
Now, it’s time to hit the road and enjoy the attention your stylish and vibrant red calipers will undoubtedly draw. Embrace the satisfaction of a job well done and the enhanced appearance of your vehicle. Happy painting!
Frequently Asked Questions about How To Paint Calipers Red
Was this page helpful?
At Storables.com, we guarantee accurate and reliable information. Our content, validated by Expert Board Contributors, is crafted following stringent Editorial Policies. We're committed to providing you with well-researched, expert-backed insights for all your informational needs.

0 thoughts on “How To Paint Calipers Red”