Articles
How To Change Calipers
Modified: February 10, 2024
Learn how to change calipers with these informative articles that provide step-by-step instructions and helpful tips. Improve your automotive skills today!
(Many of the links in this article redirect to a specific reviewed product. Your purchase of these products through affiliate links helps to generate commission for Storables.com, at no extra cost. Learn more)
Introduction
Welcome to our comprehensive guide on how to change brake calipers. Your brake calipers play a crucial role in the braking system of your vehicle, as they are responsible for applying the necessary pressure on the brake pads to bring your vehicle to a stop. Over time, calipers can wear out or become damaged, requiring replacement for optimal braking performance and safety.
In this article, we will take you through the process of changing brake calipers step by step. Whether you are a seasoned automotive enthusiast or a DIY beginner, this guide will provide you with all the information you need to successfully replace your brake calipers.
Before we dive into the details, it’s important to note that working on your vehicle’s braking system requires a certain level of mechanical aptitude and attention to detail. If you feel uncomfortable or unsure about any part of the process, it is always recommended to consult with a professional mechanic. Safety should be the top priority when working on your vehicle.
Now that we have that out of the way, let’s get started on understanding brake calipers and why you might need to replace them.
Key Takeaways:
- Understanding Brake Calipers
Brake calipers are crucial for your vehicle’s braking system, exerting pressure on the brake pads to create friction and slow down the vehicle. Knowing the signs of caliper issues and the different types of calipers can help you identify when replacement is necessary. - Proper Caliper Replacement Process
When replacing brake calipers, it’s essential to choose the right replacement, prepare thoroughly, remove the old caliper safely, install the new caliper correctly, bleed the brake system, and test the new caliper for optimal functionality. Following these steps ensures a successful caliper replacement and maintains your vehicle’s braking performance and safety.
Read more: How To Grease Calipers
Understanding Brake Calipers
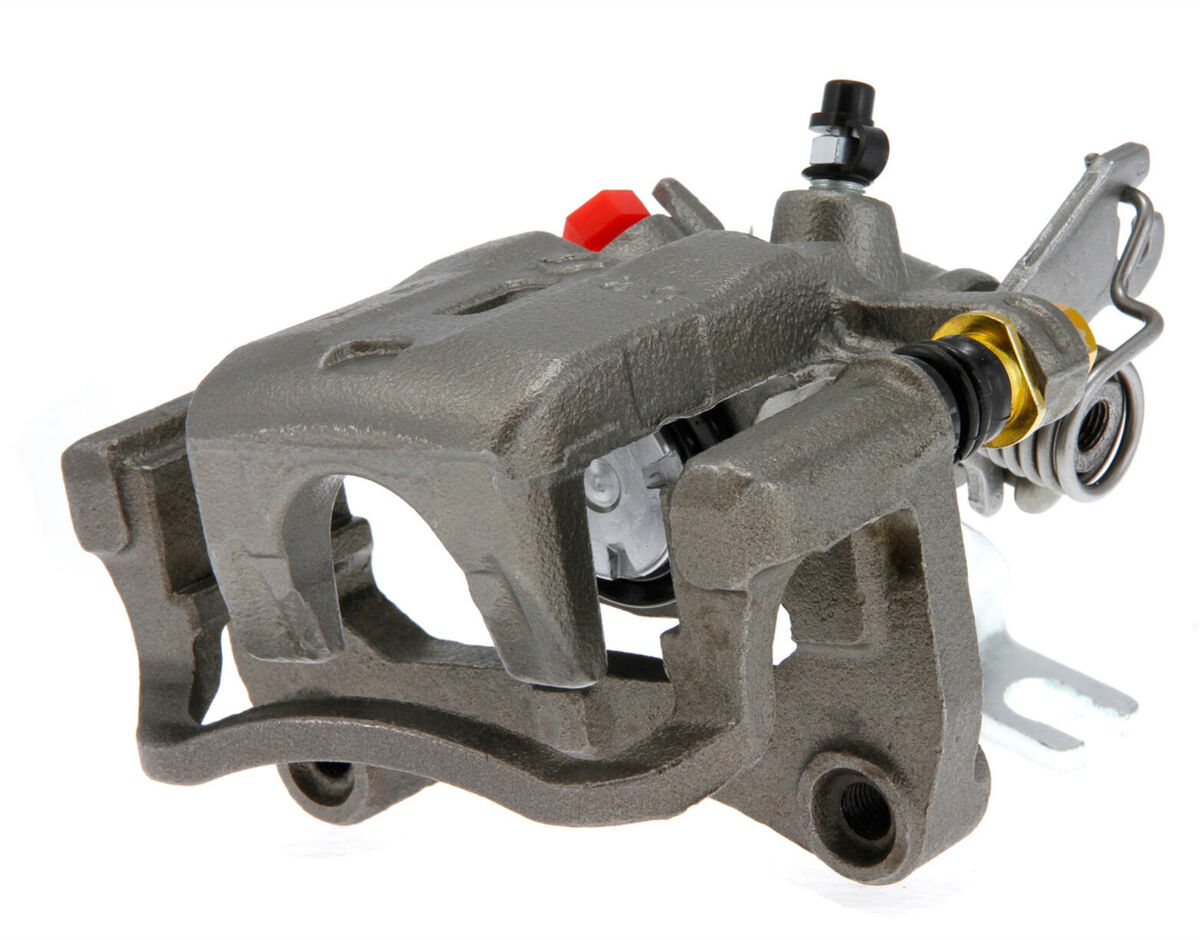
Brake calipers are essential components of your vehicle’s braking system. They are responsible for housing the brake pads and exerting pressure on them to create friction against the brake rotors. This friction is what slows down and eventually stops your vehicle when you press the brake pedal.
Most modern vehicles have disc brakes, which use brake calipers to squeeze the brake pads against the brake rotors to slow down the vehicle. Calipers come in different designs, including floating calipers and fixed calipers.
Floating calipers, also known as sliding calipers, are the most common type of calipers found in vehicles today. They have one or two pistons on one side of the caliper, while the other side floats or slides on pins. When you press the brake pedal, hydraulic pressure from the master cylinder is applied to the pistons, which pushes the brake pads against the rotor to create friction and slow down the vehicle.
Fixed calipers, on the other hand, have pistons on both sides of the caliper. These pistons apply pressure simultaneously, resulting in a more even and balanced distribution of braking force. Fixed calipers are typically found on high-performance vehicles and provide improved braking performance and pedal feel.
Over time, the calipers can wear out or become damaged due to various factors such as heat, corrosion, or general wear and tear. Common signs of caliper issues include uneven brake pad wear, brake dragging or sticking, and a soft or spongy brake pedal feel. If you notice any of these symptoms, it may be time to replace your brake calipers.
Now that you have a better understanding of brake calipers and their importance in the braking system, let’s move on to the next step – choosing the right caliper replacement.
Choosing the Right Caliper Replacement
When it comes to choosing the right caliper replacement for your vehicle, there are a few important factors to consider. By selecting the correct caliper, you can ensure proper fitment, compatibility, and optimal braking performance. Here are some key points to keep in mind:
- Vehicle Compatibility: The first step is to determine the specific caliper model that is compatible with your vehicle. Consult your vehicle’s manual or do some research online to find the correct caliper part number or specifications. It’s essential to match the caliper to your vehicle’s make, model, and year to ensure a proper fit.
- Quality and Reliability: It’s always recommended to choose calipers from reputable brands or original equipment manufacturers (OEMs). This helps ensure that you are getting a high-quality product that meets or exceeds the original specifications. Good quality calipers will offer reliable performance and longevity.
- Rebuilt or New: You have the option of choosing between rebuilt/caliper remanufacturing or purchasing new calipers. Rebuilt calipers are disassembled, cleaned, and inspected for any damaged or worn components before undergoing necessary repairs or replacements. Opting for rebuilt calipers can be a cost-effective choice without compromising quality. However, new calipers offer the advantage of being brand new and may come with additional warranties.
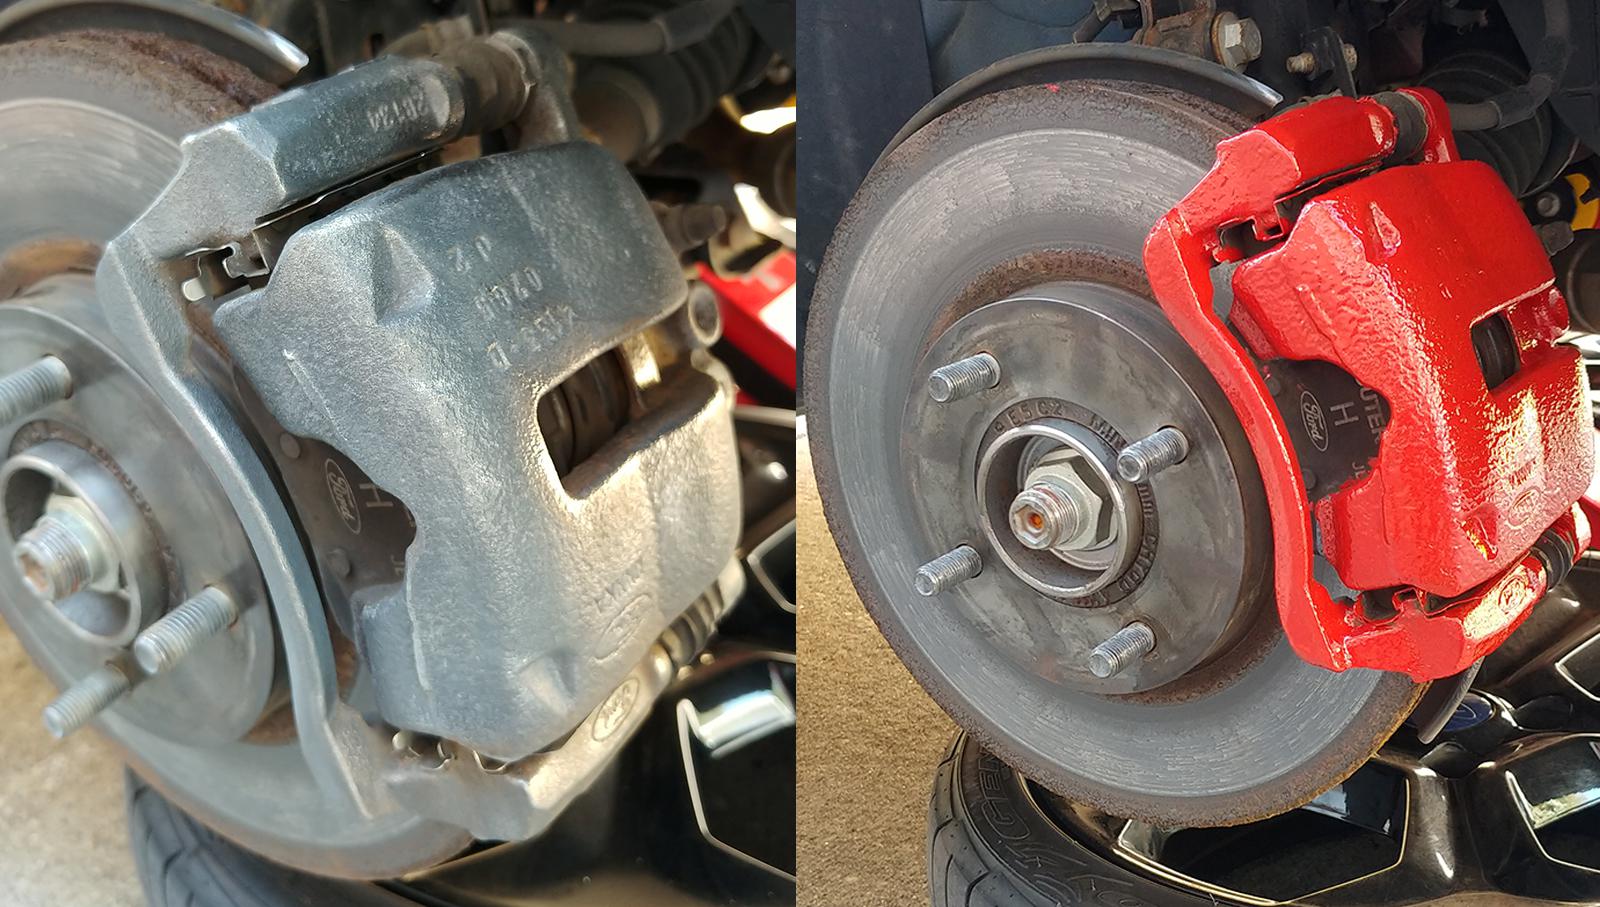
- Coated or Uncoated: Many aftermarket calipers come with a protective coating to prevent corrosion and enhance durability. Consider choosing coated calipers, especially if you live in a region with harsh weather conditions or if your vehicle is prone to corrosion. Coated calipers offer added protection and can help prolong the lifespan of the caliper.
It’s worth mentioning that in some cases, you may only need to replace the caliper piston or seals instead of the entire caliper assembly. This can help save costs while still addressing the issue at hand. However, it’s essential to carefully inspect the caliper and determine whether a full replacement is necessary.
By taking these factors into account and investing in the right caliper replacement, you can ensure a successful brake caliper replacement that restores your vehicle’s braking performance and safety.
Next, we will move on to preparing for the caliper replacement process.
Preparing for the Caliper Replacement
Before diving into the actual caliper replacement process, it’s important to make sure you have all the necessary tools and materials and prepare your vehicle for the task at hand. This will help streamline the process and ensure that everything goes smoothly. Here are a few steps to take to prepare for the caliper replacement:
- Gather the Tools: Start by gathering all the tools you will need for the caliper replacement. This typically includes a set of wrenches, sockets, a brake caliper piston compressor tool, a C-clamp, a torque wrench, a brake fluid bleeder kit, and any other tools specified in your vehicle’s manual for the caliper replacement process.
- Acquire the Replacement Caliper(s): Make sure you have the correct replacement caliper(s) ready before starting the process. Ensure that they are the right fit for your vehicle’s make, model, and year. If you opted for rebuilt calipers, double-check their condition and ensure all necessary repair work has been done.
- Prepare the Work Area: Find a suitable location to work on your vehicle, preferably a clean and well-lit garage or driveway. Make sure you have enough space to maneuver and work comfortably around the brakes. Additionally, consider laying down a protective mat or cardboard to catch any fluids or debris that may fall during the process.
- Lift and Secure the Vehicle: Use a jack to lift the wheel(s) that require caliper replacement off the ground. Secure the vehicle with jack stands for added safety. It’s crucial to follow proper jack and stand placement procedures as outlined in your vehicle’s manual.
- Protect Yourself: Prioritize your safety by wearing appropriate protective gear, including gloves and safety glasses, to protect your hands and eyes from any potential hazards. You may also want to have a first aid kit nearby in case of any injuries.
- Gather Additional Materials: Depending on the condition of your braking system, you may need to gather additional materials such as new brake pads, brake fluid, brake cleaner, and silicone lubricant. These items are commonly recommended for a complete brake job and can help ensure optimal braking performance.
By taking the time to gather the necessary tools and materials, preparing your work area, and ensuring your safety, you will be ready to proceed with the caliper replacement process. In the next section, we will guide you through the steps to remove the old brake caliper.
Removing the Old Brake Caliper
Now that you have prepared for the caliper replacement, it’s time to remove the old brake caliper. Follow these steps to safely remove the caliper from your vehicle:
- Loosen the Lug Nuts: Before lifting the vehicle, use a lug wrench to slightly loosen the lug nuts on the wheel that requires caliper replacement. This will make it easier to remove the wheel once the vehicle is lifted.
- Secure the Vehicle: Use a jack to lift the wheel off the ground, following the proper lifting procedures outlined in your vehicle’s manual. Once the wheel is off the ground, secure the vehicle with jack stands for added safety.
- Remove the Wheel: With the vehicle safely lifted and secured, completely remove the lug nuts and take off the wheel. Set it aside in a safe place where it won’t get damaged.
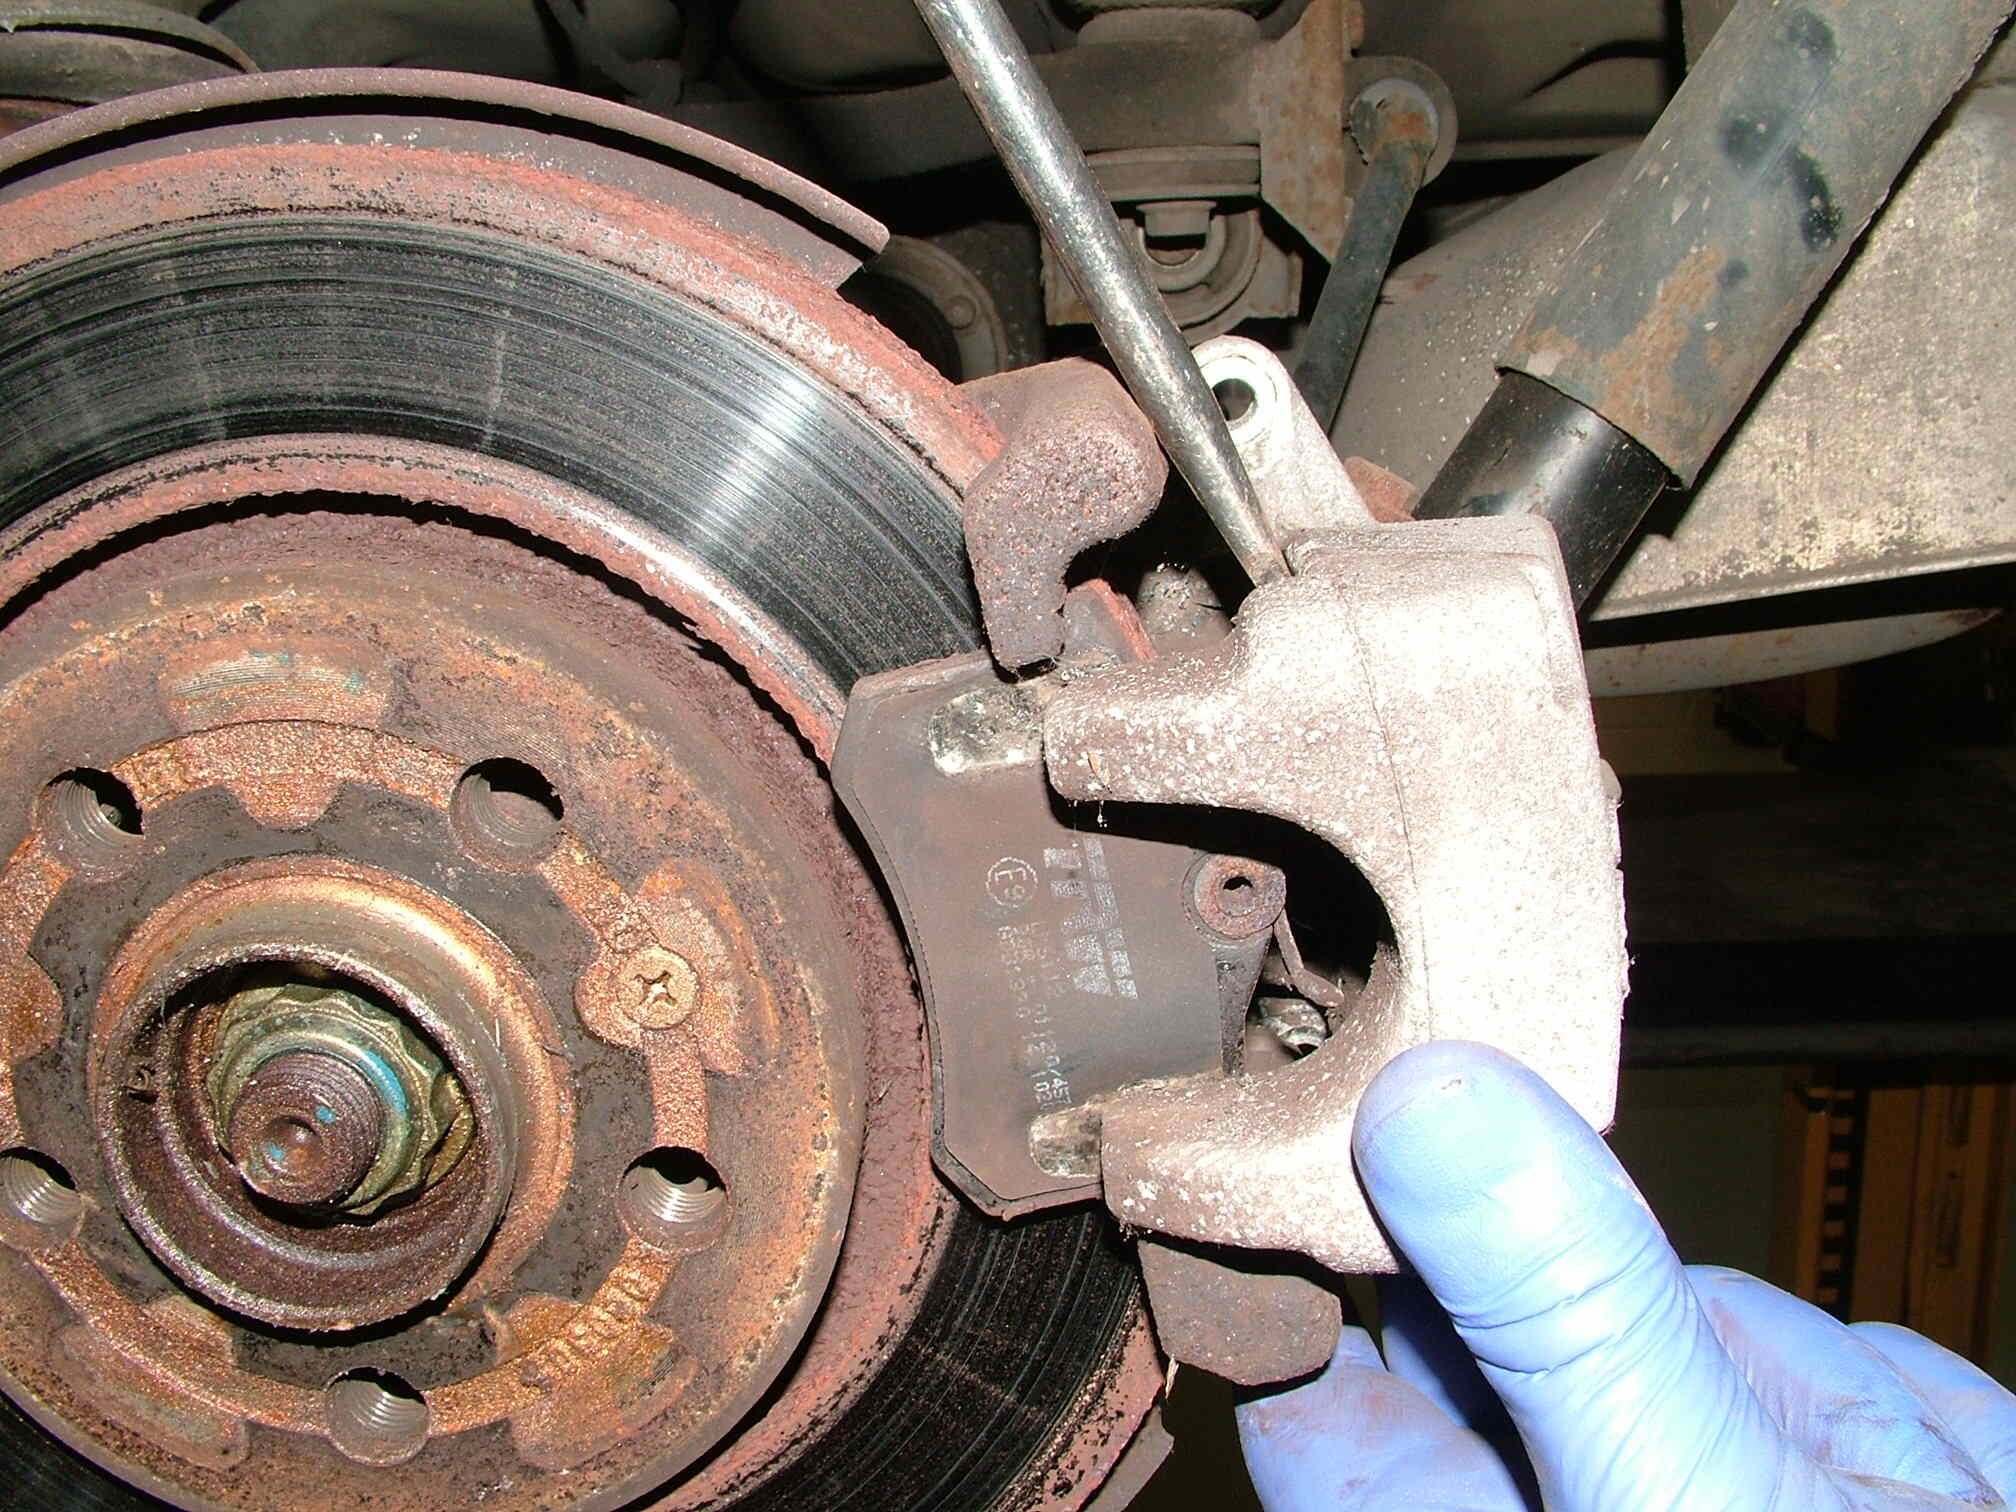
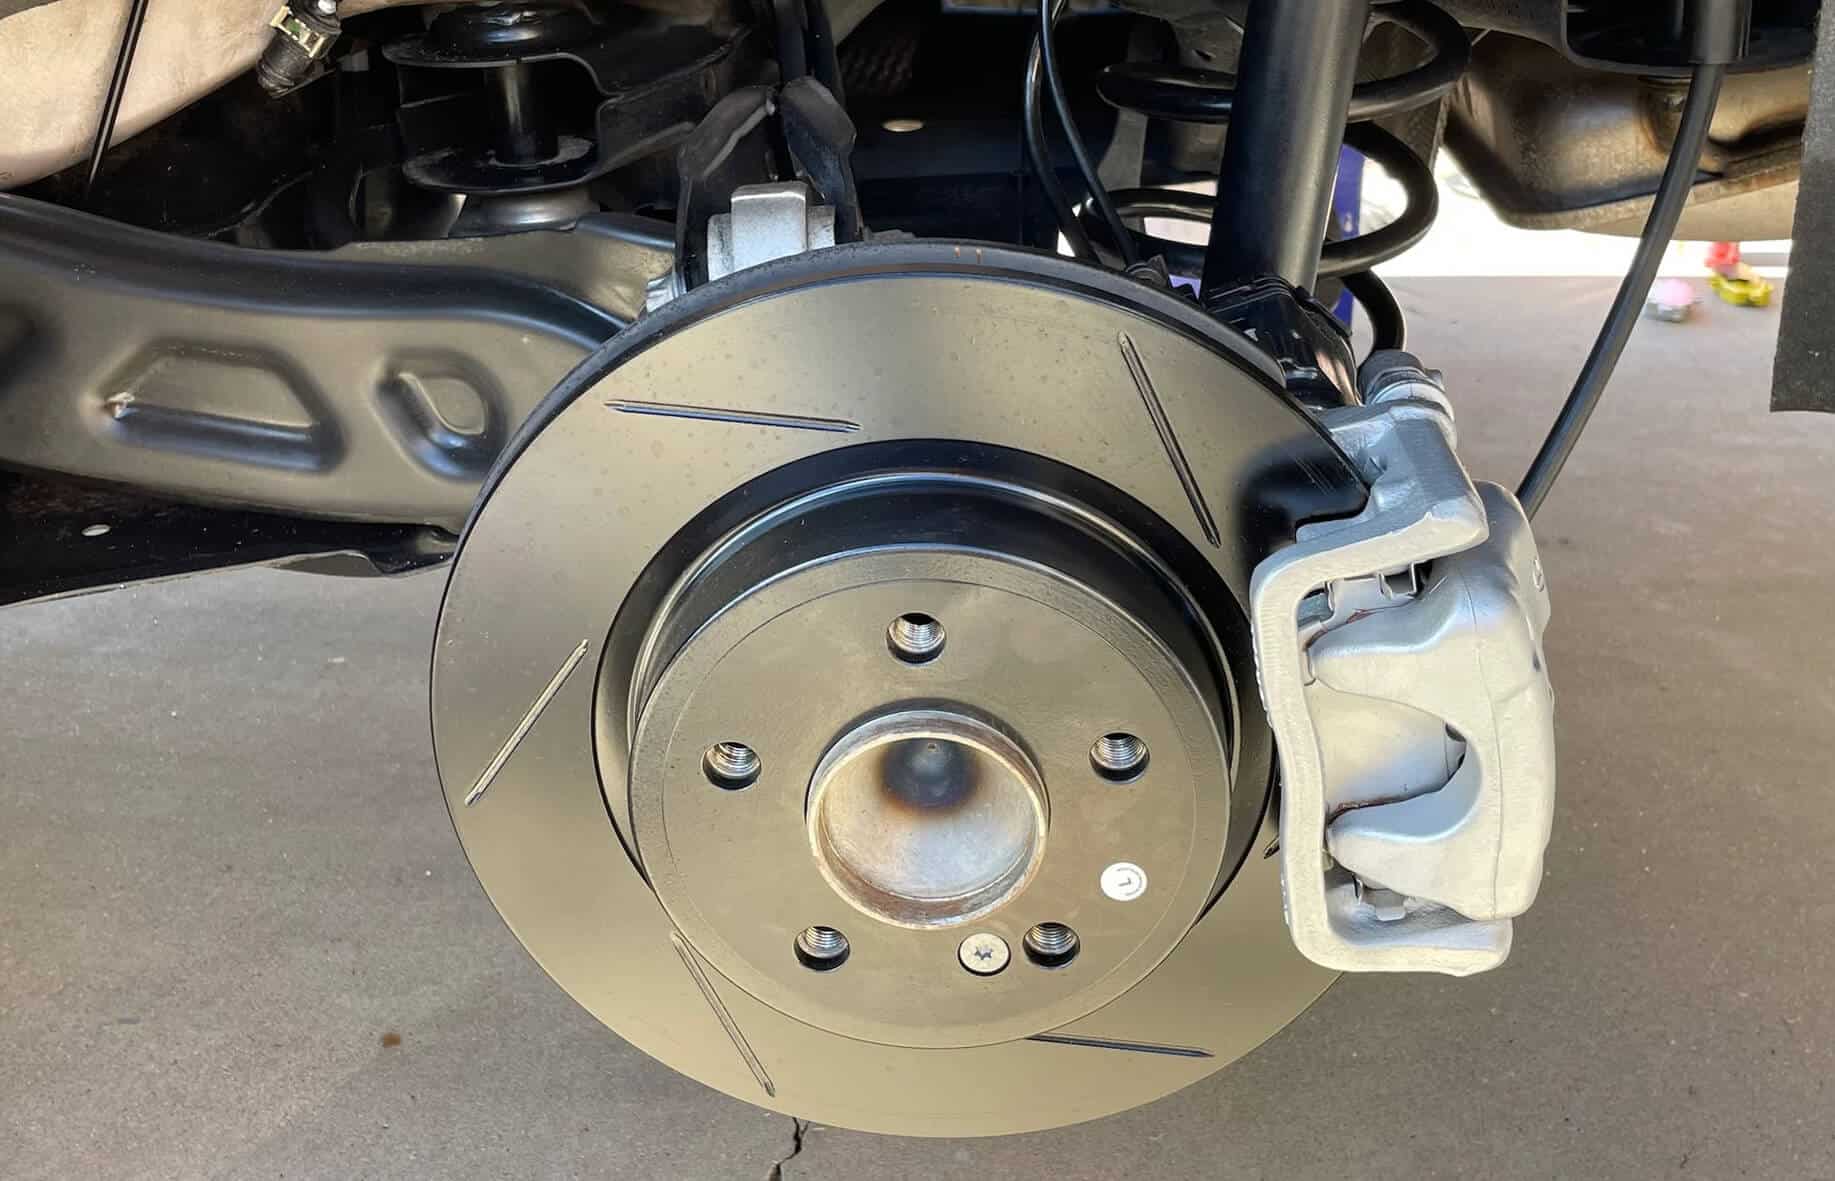
- Locate the Caliper: With the wheel removed, you will have a clear view of the brake caliper. It is typically located behind the rotor and connected to the caliper bracket by a series of bolts.
- Remove the Caliper Bolts: Use an appropriate wrench or socket to remove the caliper bolts that secure the caliper to the caliper bracket. Depending on your vehicle, there may be one or two bolts to remove. Keep the bolts in a safe place as you will need them for reinstallation.
- Detach the Caliper: Once the caliper bolts are removed, carefully detach the caliper from the caliper bracket. You may need to wiggle it or gently pry it off using a flathead screwdriver. Be cautious not to damage any brake lines or hoses connected to the caliper.
- Suspend the Caliper: To prevent strain on the brake hose, avoid letting the caliper hang freely. Use a wire or bungee cord to suspend the caliper from a nearby suspension component or strut tower.
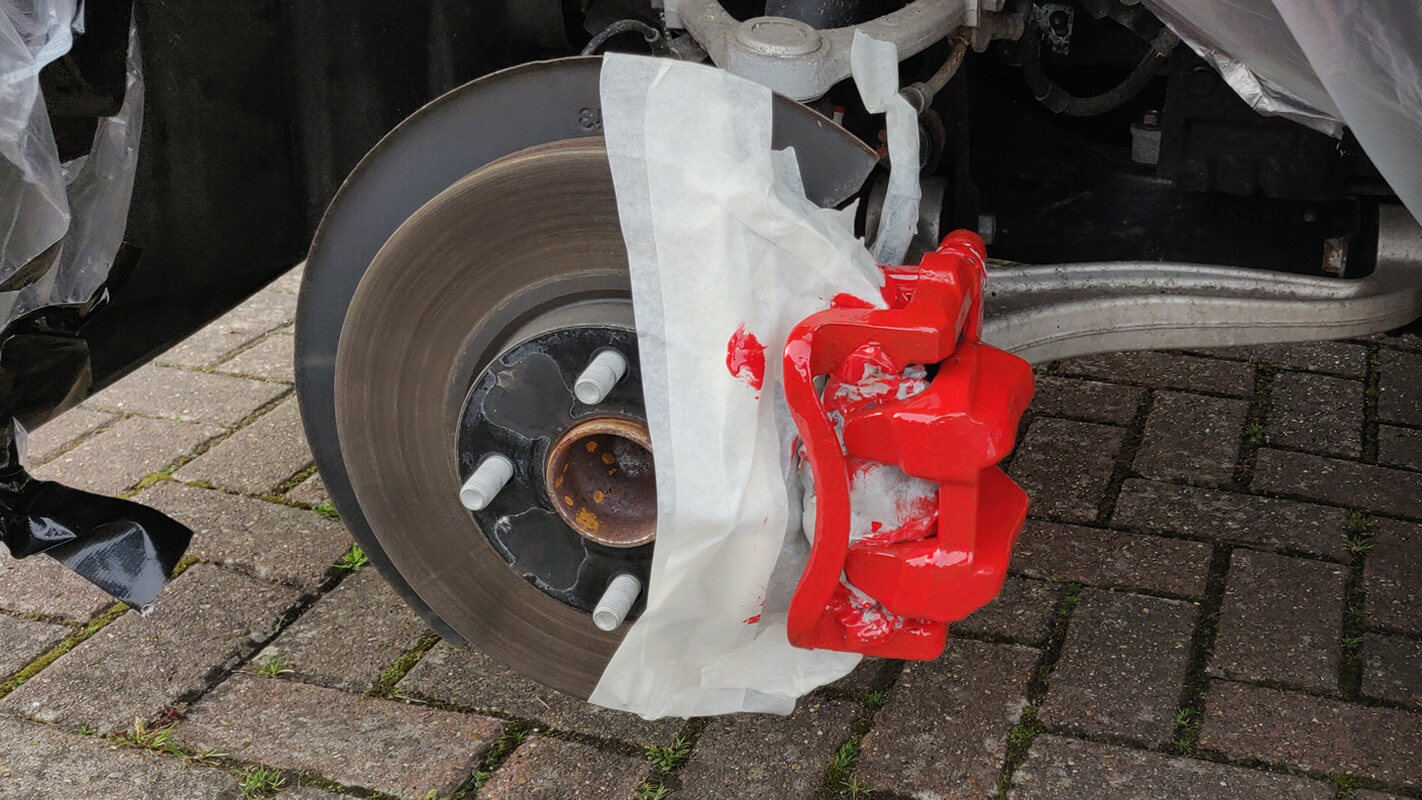
- Inspect the Caliper: With the caliper removed, take a moment to inspect its condition. Look for any signs of damage, such as leaks, cracks, or excessive wear. If the caliper appears to be in poor condition, it may be best to replace it entirely.
By following these steps, you will be able to safely remove the old brake caliper from your vehicle. In the next section, we will guide you through the process of installing the new brake caliper.
When changing calipers, always use a brake caliper tool to compress the piston back into the caliper. This will prevent damage to the caliper and ensure proper installation of the new brake pads.
Read more: How To Compress Calipers
Installing the New Brake Caliper
Now that you have successfully removed the old brake caliper, it’s time to install the new caliper. Follow these steps to properly install the new brake caliper:
- Prepare the New Caliper: Before installing the new caliper, make sure it is clean and free from any debris or packaging material. Check that all necessary components, such as brackets or hardware, are included with the new caliper.
- Remove Caliper Bracket if Necessary: In some cases, you may need to remove the caliper bracket from the steering knuckle or suspension component. Follow the instructions in your vehicle’s manual to safely remove the bracket if needed.
- Attach the Brake Pads: Begin by inserting the brake pads into the caliper bracket. The brake pads should fit snugly and align with the brake rotor. Ensure that the brake pads are properly seated and secured within the caliper bracket.
- Apply Brake Lubricant: Apply a thin layer of brake lubricant to the contact points on the caliper and the brake pads. This will help minimize noise and ensure smooth operation of the brake caliper.
- Position the New Caliper: Carefully position the new caliper over the brake pads and align it with the caliper bracket. Make sure the bolt holes on the caliper align with the corresponding holes on the bracket.
- Insert and Tighten Caliper Bolts: Insert the caliper bolts into the caliper bracket and the caliper, ensuring they are properly aligned. Begin threading the bolts by hand to avoid cross-threading, then use a wrench or socket to tighten them to the manufacturer’s specifications.
- Reinstall Caliper Bracket if Necessary: If you had to remove the caliper bracket earlier, now is the time to reinstall it. Follow the instructions in your vehicle’s manual to securely attach the caliper bracket to the steering knuckle or suspension component.
- Reinstall the Wheel: With the new caliper securely in place, carefully lower the vehicle off the jack stands. Then, reinstall the wheel onto the wheel studs and hand-tighten the lug nuts.
- Torque the Lug Nuts: Once the wheel is back on, use a torque wrench to properly tighten the lug nuts to the manufacturer’s recommended torque specification. This will ensure that the wheel is securely attached to the vehicle.
With the new brake caliper installed and the wheel properly secured, you are one step closer to completing the caliper replacement process. In the following section, we will guide you through the crucial step of bleeding the brake system.
Bleeding the Brake System
After installing a new brake caliper, it is important to bleed the brake system to remove any air that may have entered the system during the caliper replacement process. Air in the brake lines can result in a spongy brake pedal and reduced braking performance. Follow these steps to properly bleed the brake system:
- Gather the Materials: Ensure you have all the necessary materials for bleeding the brake system. This typically includes a brake bleeder kit (which consists of a clear plastic tube, a bleeder valve wrench, and a container to catch the brake fluid), a small bottle of fresh brake fluid that meets the specifications recommended in your vehicle’s manual, and a helper to assist with the bleeding process.
- Locate the Brake Bleeder Valve: Locate the brake bleeder valve on the brake caliper. It is usually located on the backside of the caliper, opposite of where the brake line attaches. The bleeder valve may be covered by a rubber cap that needs to be removed.
- Prepare the Bleeder Valve: Attach the clear plastic tube onto the bleeder valve, ensuring a tight and secure fit. Place the other end of the tube into the container to catch the brake fluid that will be expelled during the bleeding process.
- Observe the Brake Fluid Level: Check the brake fluid reservoir to ensure that it is filled to the recommended level. If necessary, add fresh brake fluid to the reservoir, but be careful not to spill any on painted surfaces, as brake fluid can cause damage.
- Bleed the Brakes: With the help of your assistant, have them press and hold the brake pedal firmly. While the pedal is pressed, slowly open the bleeder valve using the bleeder valve wrench. As the valve is opened, brake fluid and air bubbles will flow through the clear plastic tube and into the container.
- Purge the Air: Instruct your assistant to continue holding the brake pedal down until the flow of brake fluid appears to be clear and free of air bubbles. At this point, close the bleeder valve tightly using the wrench. Release the brake pedal slowly.
- Repeat the Process: Repeat the bleeding process for each brake caliper in the same order specified in your vehicle’s manual. Typically, it is recommended to start with the caliper farthest from the master cylinder and work your way towards it.
- Check Brake Fluid Level: After bleeding all the calipers, check the brake fluid level once again and top it up if necessary. Ensure the reservoir cap is tightly sealed to prevent any contaminants from entering the system.
Bleeding the brake system is an important step to ensure proper braking performance and safety. By following these steps, you can effectively remove any air from the brake lines and restore the functionality of your vehicle’s braking system.
With the brake system properly bled, you are nearing the end of the caliper replacement process. In the next section, we will guide you through testing the new caliper to ensure it is functioning correctly.
Testing the New Caliper
After replacing the brake caliper and bleeding the brake system, it is crucial to test the new caliper to ensure it is functioning correctly. Proper testing will help ensure optimal braking performance and overall safety. Follow these steps to test the new caliper:
- Start the Engine: Start your vehicle’s engine and let it idle for a few minutes. This will allow the brake system to build up hydraulic pressure.
- Check Brake Pedal Feel: Depress the brake pedal gently with your foot and pay close attention to the pedal feel. It should be firm and consistent, with no excessive sponginess or unusual resistance. A spongy or mushy pedal may indicate air still present in the brake lines or other potential issues.
- Observe Brake Operation: With the vehicle in a safe and open area, test the brakes at various speeds and intensities. Listen for any abnormal noises, such as grinding or squealing, indicating improper brake pad contact or other potential issues.
- Check for Brake Drag: While driving at a slow speed, release the brake pedal completely and observe if the vehicle maintains its speed without any signs of brake drag. Brake drag can indicate a sticking caliper, which may result in excessive heat, premature wear, or poor fuel economy.
- Monitor Brake Performance: Pay attention to the vehicle’s stopping distance and overall braking performance. Ensure that the brakes engage smoothly and bring the vehicle to a complete stop without any issues or excessive pedal travel.
- Check for Leaks: After testing the brakes, inspect the brake caliper and surrounding areas for any signs of brake fluid leaks. Leaks can indicate a faulty installation or other issues that need immediate attention.
- Be Mindful of Break-In Period: If you have installed new brake pads along with the new caliper, be mindful of the recommended break-in period. This period allows the brake pads to properly bed-in and establish an optimal friction surface with the rotors. Follow the manufacturer’s recommendations for the specific brake pads you have installed.
By following these testing procedures, you can ensure that the new caliper is functioning as intended. However, it’s important to remember that testing is not a one-time process. Regularly monitor your braking system for any signs of abnormal behavior or changes in performance and address the issues promptly to maintain safe and reliable braking.
Now that you have successfully tested the new caliper and ensured its proper operation, you can conclude the caliper replacement process. In the next section, we will provide a brief summary of the key points covered and conclude this guide.
Conclusion
Replacing a brake caliper is a critical part of maintaining a vehicle’s braking system and ensuring optimal safety on the road. We hope that this comprehensive guide has provided you with valuable insights and step-by-step instructions on how to successfully change brake calipers.
Throughout this guide, we discussed the importance of understanding brake calipers and choosing the right replacement for your vehicle. We also provided detailed instructions on preparing for the caliper replacement, removing the old caliper, installing the new caliper, bleeding the brake system, and testing the new caliper for proper functionality.
Remember, safety should always be a top priority when working on your vehicle’s braking system. If you feel uncertain or uncomfortable during any part of the process, it is recommended to consult with a professional mechanic.
By following the proper procedures outlined in this guide, you can ensure a successful brake caliper replacement, restoring your vehicle’s braking performance and overall safety. Regular maintenance and inspection of your braking system are essential to detect any potential issues before they result in safety risks or costly repairs.
We hope that this guide has empowered you with the knowledge and confidence to tackle the brake caliper replacement process. Whether you are a seasoned automotive enthusiast or a DIY beginner, you are now equipped to take on this task and keep your vehicle’s braking system in optimal condition.
Remember, always be cautious and prioritize safety when working on your vehicle. Happy wrenching!
Frequently Asked Questions about How To Change Calipers
Was this page helpful?
At Storables.com, we guarantee accurate and reliable information. Our content, validated by Expert Board Contributors, is crafted following stringent Editorial Policies. We're committed to providing you with well-researched, expert-backed insights for all your informational needs.
0 thoughts on “How To Change Calipers”