Articles
How To Clean Calipers
Modified: December 7, 2023
Discover effective techniques for cleaning calipers in this informative guide. Read articles and get step-by-step instructions for maintaining your car's braking system.
(Many of the links in this article redirect to a specific reviewed product. Your purchase of these products through affiliate links helps to generate commission for Storables.com, at no extra cost. Learn more)
Introduction
Welcome to the ultimate guide on how to clean calipers. If you’re a car enthusiast or a DIY mechanic, then you know how important it is to maintain your vehicle’s braking system. The calipers play a crucial role in the braking process, as they are responsible for applying pressure to the brake pads and slowing down or stopping the vehicle.
Over time, calipers can accumulate dust, dirt, and brake dust, which can affect their performance and overall appearance. Cleaning your calipers not only helps to keep them in optimal condition but also adds a touch of aesthetic appeal to your vehicle.
In this article, we will take you through a step-by-step process of how to clean your calipers effectively. But before we dive into the details, let’s go over the supplies you’ll need for this task.
Key Takeaways:
- Regularly cleaning and inspecting your calipers is essential for maintaining optimal braking performance and enhancing the aesthetic appeal of your vehicle. Follow the step-by-step guide to ensure your calipers stay in top shape.
- By gathering the necessary supplies, safely lifting the vehicle, and using a suitable cleaning solution, you can effectively clean your calipers and reinstall the wheels with confidence. Enjoy a safer and smoother driving experience with well-maintained calipers.
Read more: How To Change Calipers
Step 1: Gather the necessary supplies
Before you start cleaning your calipers, it’s essential to gather all the necessary supplies. Having everything within reach will make the process more efficient, saving you time and effort. Here’s a list of the items you’ll need:
- Wheel cleaner or degreaser: Look for a cleaner specifically formulated for brake components to ensure effective removal of dirt and grime.
- Soft-bristle brush: Choose a brush with soft bristles to avoid scratching or damaging the calipers.
- Microfiber cloths: These are ideal for gently wiping and drying the calipers without leaving any lint behind.
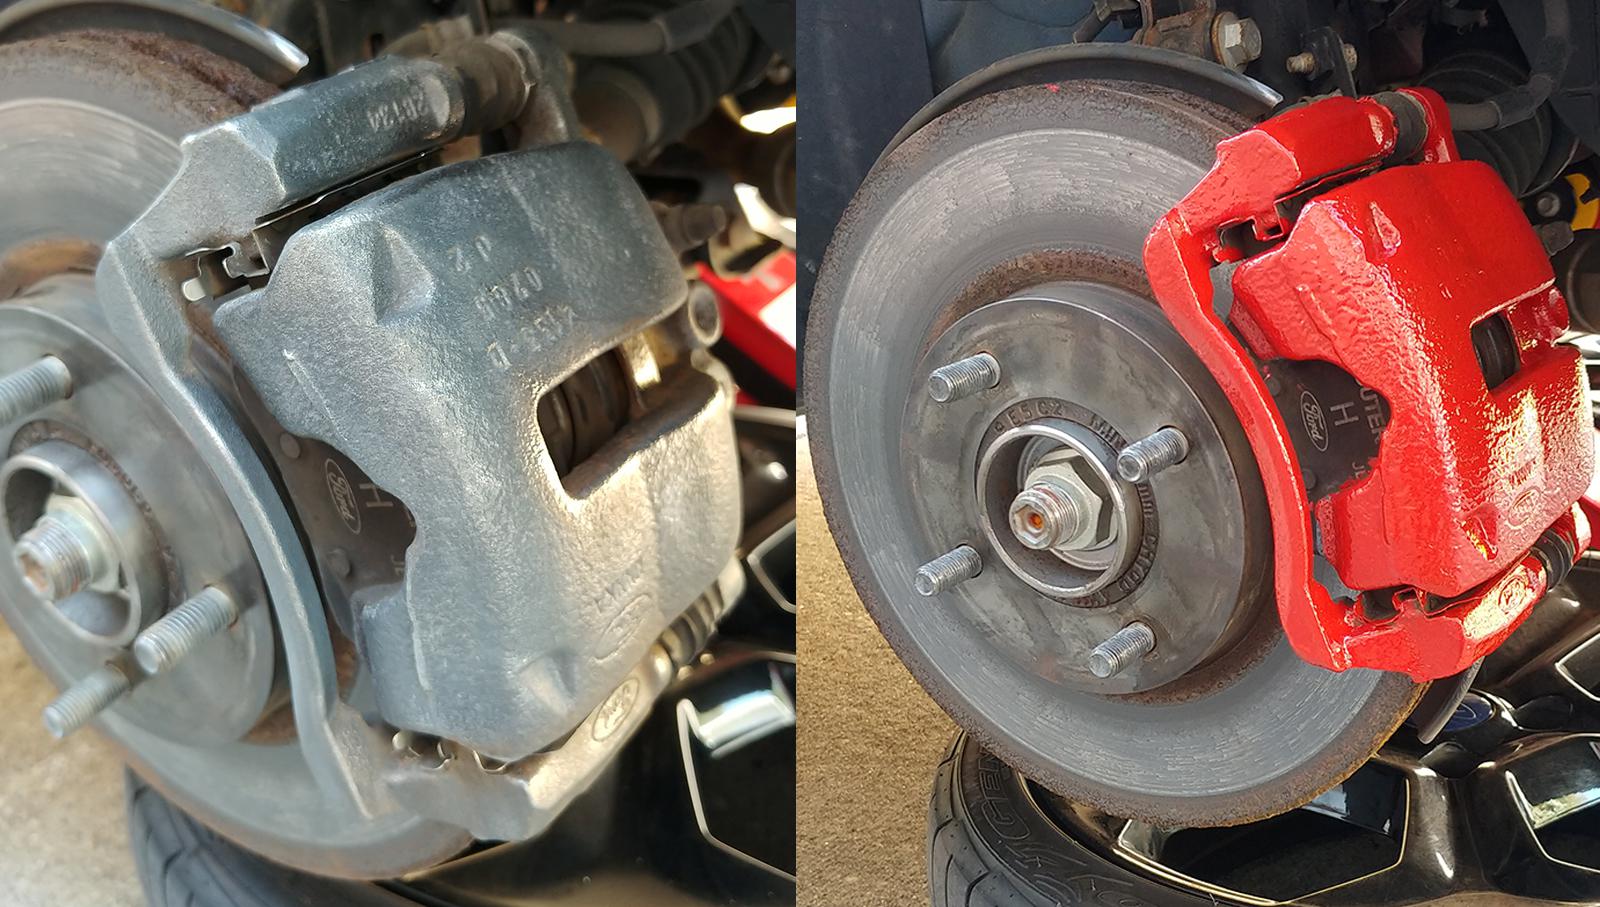
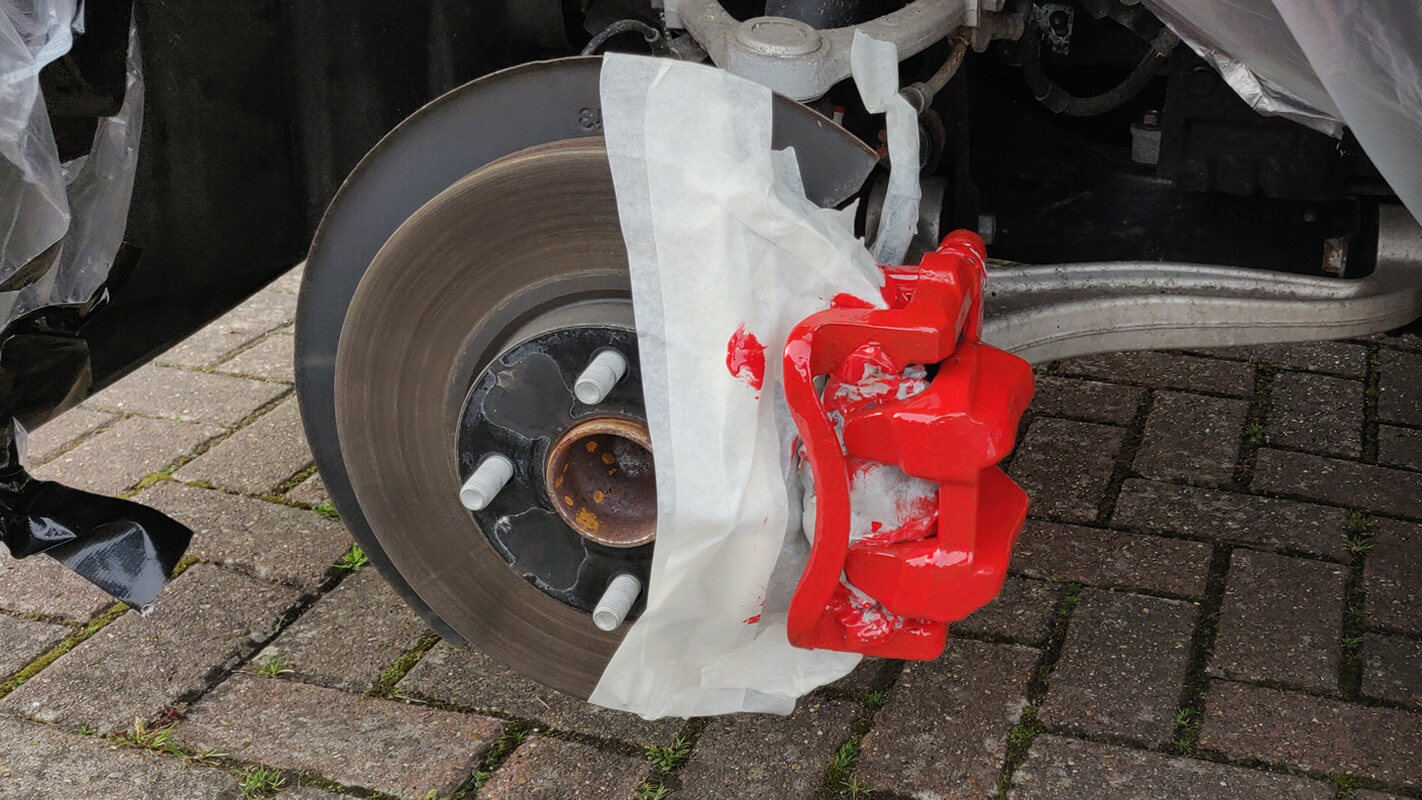
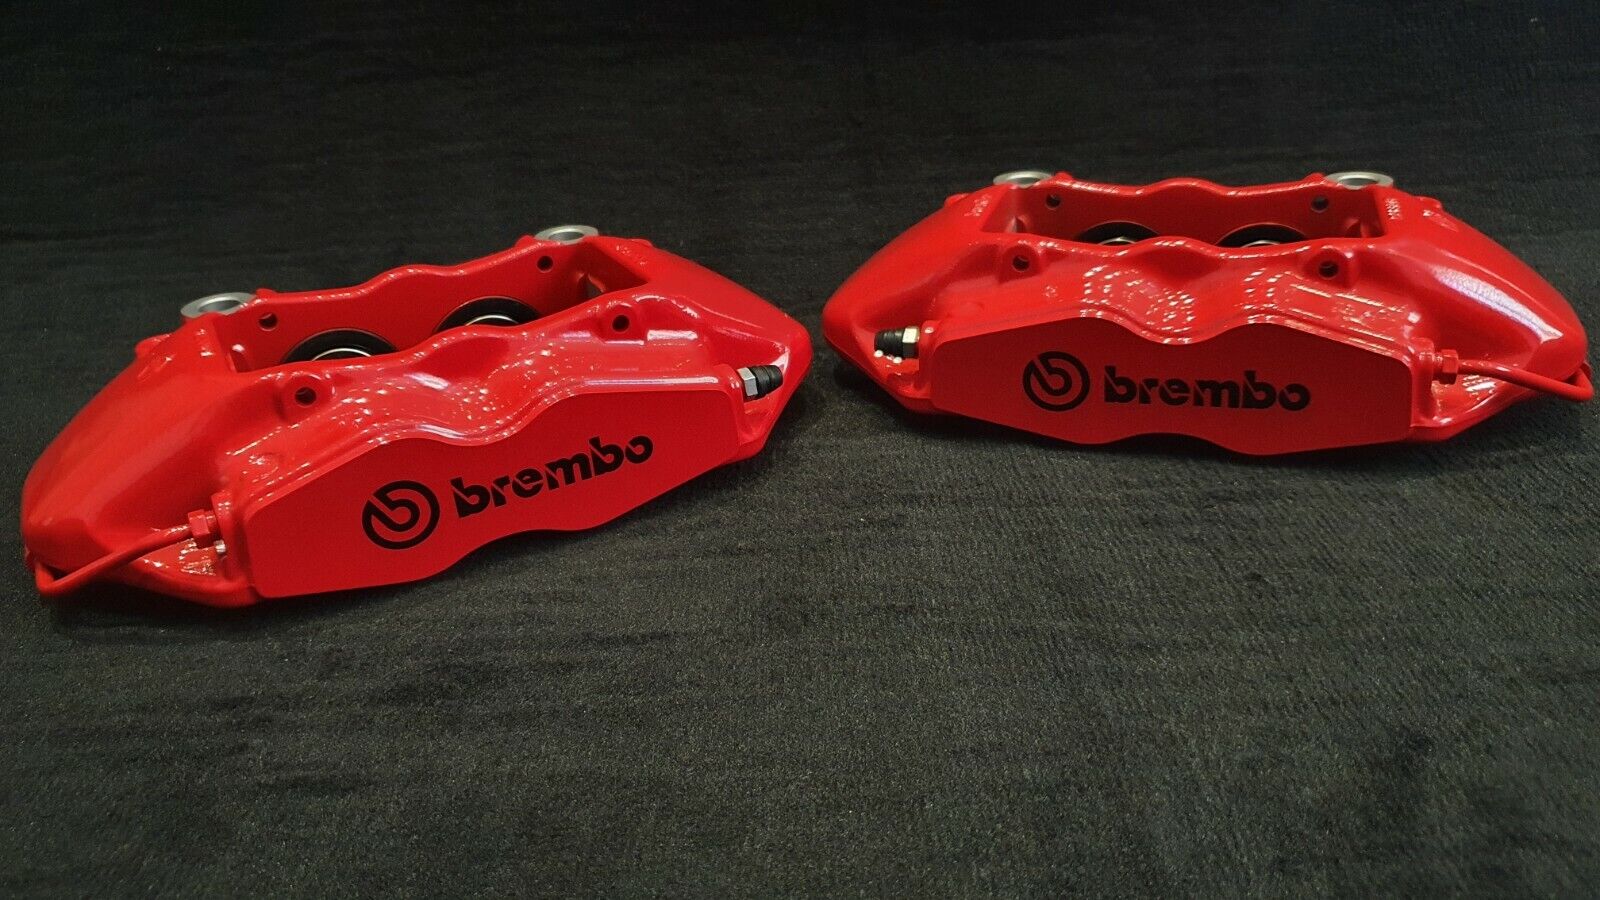
- Brake caliper paint (optional): If you want to restore or enhance the appearance of your calipers, consider using a high-temperature brake caliper paint in the color of your choice.
- Latex gloves: Protect your hands from any chemicals or debris during the cleaning process.
- Jack and jack stands: These are necessary for lifting and securing the vehicle to provide access to the wheels and calipers.
- Safety glasses: Shield your eyes from any potential debris that may fly off during the cleaning process.
- Plastic bags or newspaper: Use these to cover other components or areas you don’t want to get cleaner or paint on.
Once you’ve gathered all the supplies, you’re ready to move on to the next step: lifting the vehicle.
Step 2: Lift the vehicle
Before you can access the calipers, you’ll need to lift your vehicle. Lifting the car provides clearance for removing the wheels and gives you better visibility and easier reach to the calipers. Follow these steps to safely lift your vehicle:
- Find a flat and stable surface: Look for a level ground area that can support the weight of your vehicle.
- Engage the parking brake: Make sure the parking brake is engaged to prevent the vehicle from rolling.
- Chock the wheels: Place wheel chocks behind the tires that are not being lifted to provide extra stability.
- Locate the appropriate lifting points: Refer to your vehicle’s owner manual to identify the recommended lifting points. These are usually marked with designated areas on the frame.
- Position the jack: Place the hydraulic jack under the lifting point and pump the handle until the vehicle starts to rise. Lift the car high enough to provide ample space for wheel removal.
- Secure the vehicle with jack stands: Once the vehicle is lifted, place jack stands on both sides to support the weight. Make sure the stands are positioned on sturdy areas such as the chassis or reinforced sections.
- Slowly lower the car onto the jack stands: Carefully release the hydraulic jack, allowing the vehicle to rest securely on the stands. Give the vehicle a gentle shake to ensure it is stable before proceeding.
With the vehicle safely lifted and secured, you’re now ready to move on to the next step: removing the wheels.
Step 3: Remove the wheels
Now that you have successfully lifted and secured your vehicle, it’s time to remove the wheels. This step is necessary to gain access to the calipers for cleaning. Follow these steps to remove the wheels:
- Loosen the lug nuts: Using a lug wrench or a socket and ratchet, loosen the lug nuts on the wheel. Do not remove them completely at this stage.
- Position a jack stand: Place a jack stand under the vehicle’s frame near the wheel you are removing for added stability.
- Fully remove the lug nuts: Once the jack stand is in place, proceed to fully remove the lug nuts and store them in a safe place.
- Remove the wheel: With the lug nuts removed, carefully lift the wheel off the hub and set it aside. If the wheel feels stuck, gently tap it with a rubber mallet to loosen it.
- Repeat for all wheels: Follow the same steps to remove the remaining wheels, one at a time.
Now that all the wheels have been successfully removed, you have a clear view of the calipers and can proceed to the next step: inspecting the calipers.
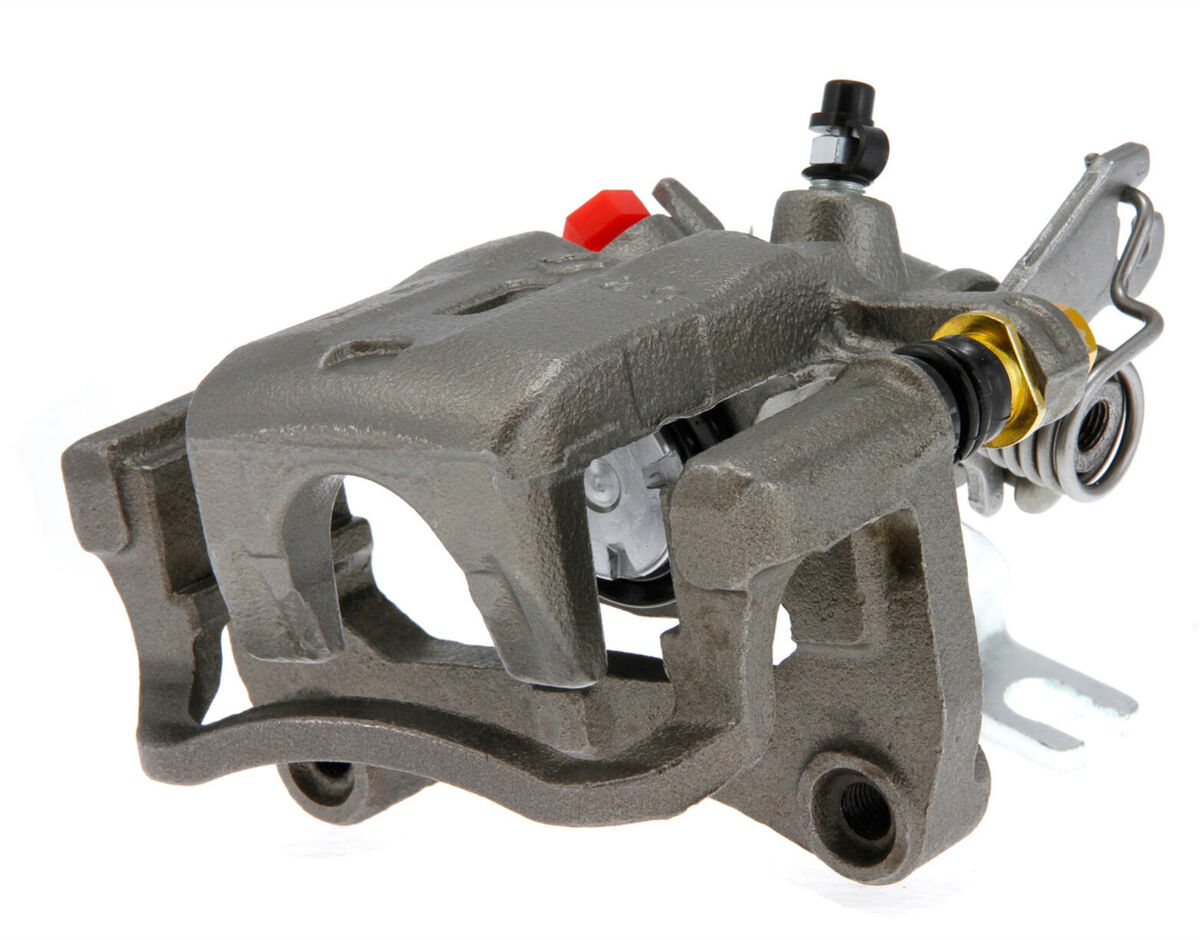
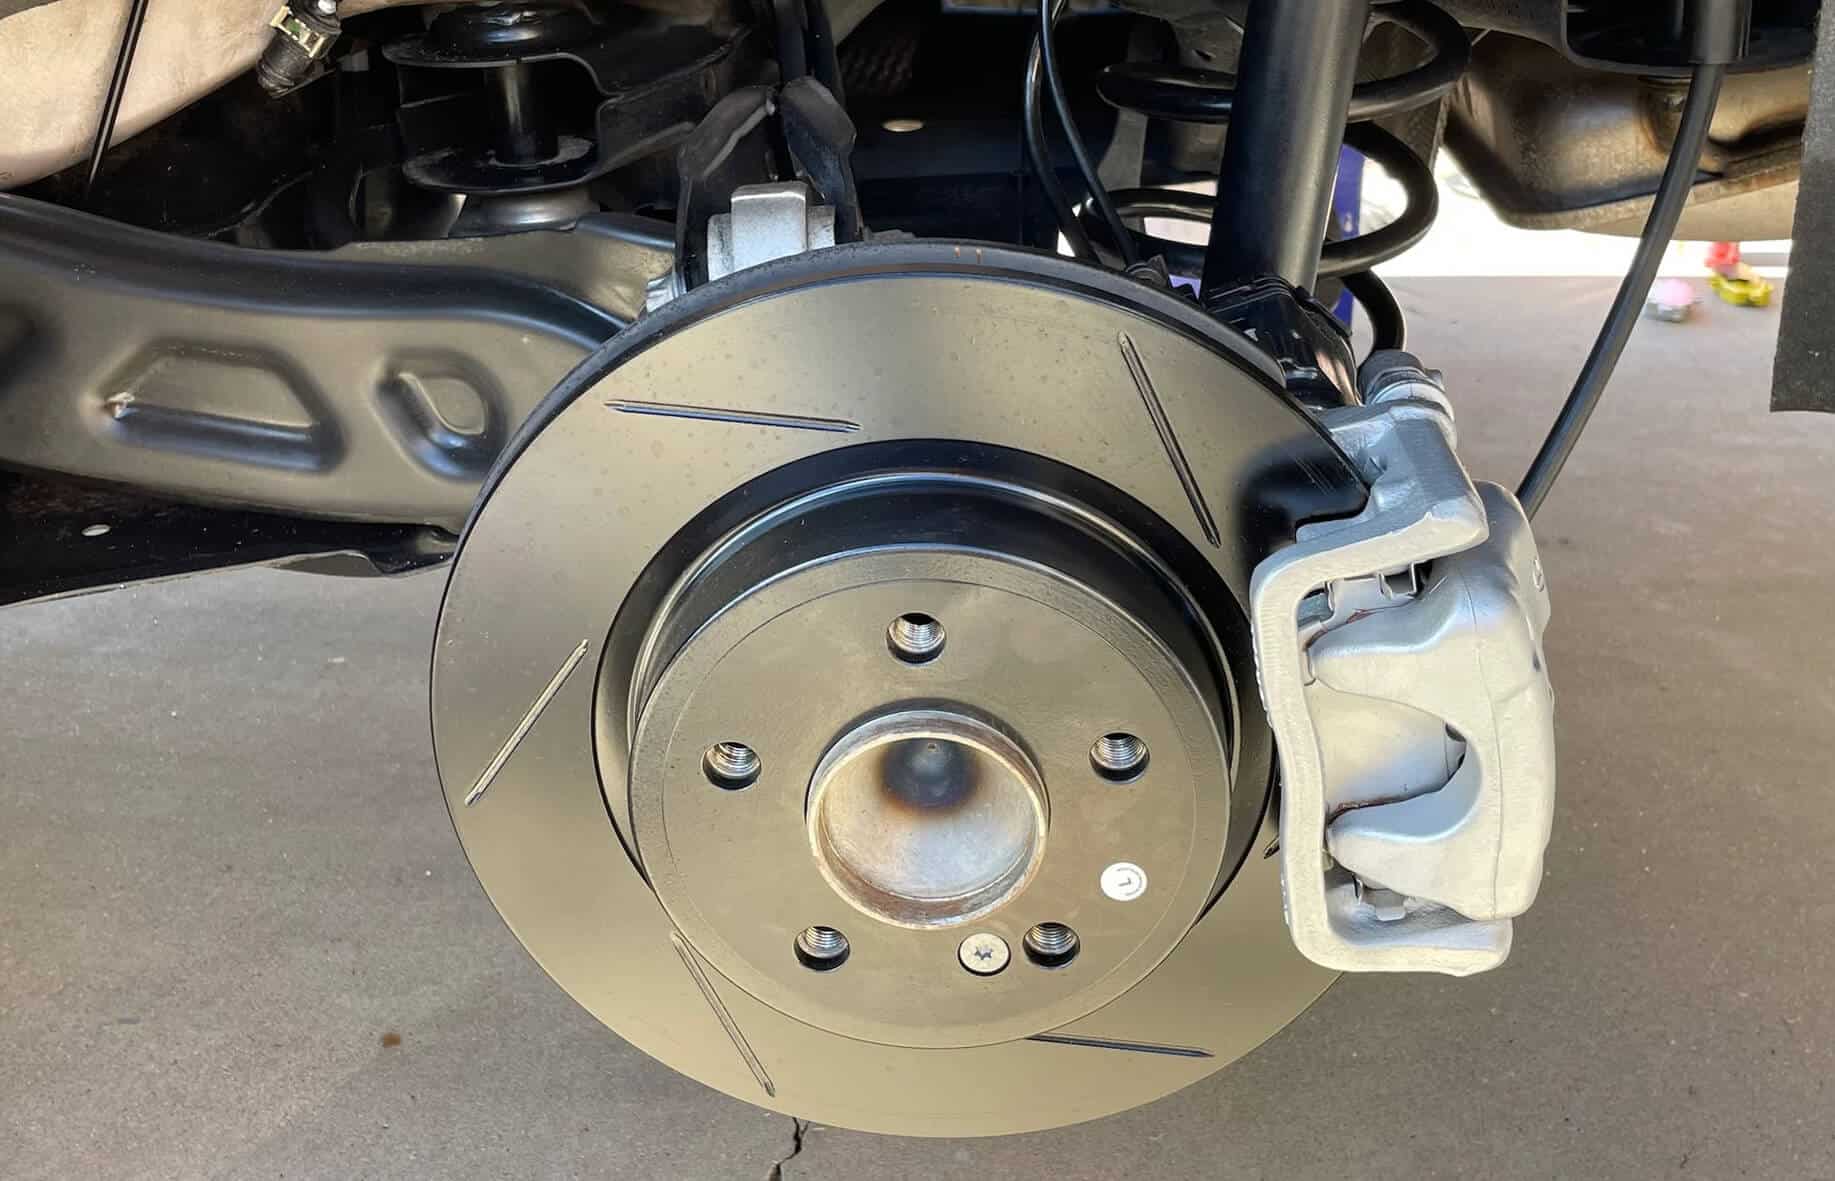
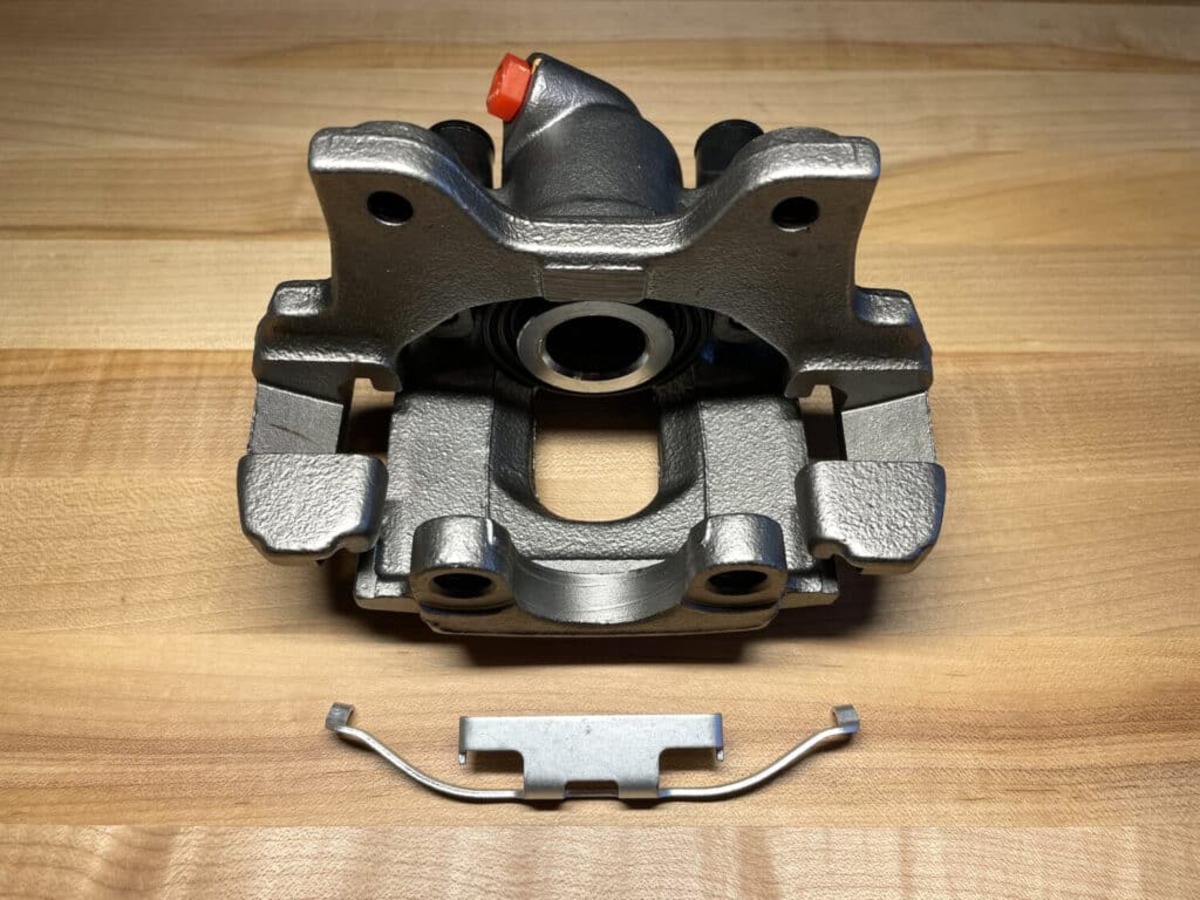
Step 4: Inspect the calipers
Now that you have removed the wheels and have a clear view of the calipers, it’s time to inspect them. This step is important to assess the condition of the calipers and identify any areas that may require special attention. Follow these steps to inspect the calipers:
- Check for signs of damage: Look for any signs of damage such as cracks, leaks, or excessive corrosion. If you notice any serious issues, it may be best to seek professional help or consider replacing the calipers.
- Examine the brake pads: Take a close look at the brake pads and check for even wear. Uneven wear could indicate an issue with the caliper or another component of the braking system.
- Inspect the brake lines: Look for any signs of leaks or deteriorated brake lines. If you notice any fluid leaks, it’s important to address the issue before proceeding with the cleaning process.
- Observe the brake hardware: Check the condition of the caliper pistons, guide pins, and other hardware. Ensure that they are clean and properly functioning.
- Note any areas in need of attention: If you notice any specific areas of buildup or grime on the calipers, make a mental note or mark them for targeted cleaning during the next step.
Once you have thoroughly inspected the calipers, you are ready to move on to the next step: preparing the cleaning solution.
When cleaning calipers, use a wire brush to remove any rust or debris, then wipe them down with brake cleaner to ensure they are free of any contaminants before reassembly.
Read more: How To Grease Calipers
Step 5: Prepare the cleaning solution
Before you can start cleaning the calipers, it is important to prepare a suitable cleaning solution. This solution will help remove any dirt, brake dust, and grime that has accumulated on the calipers. Follow these steps to prepare the cleaning solution:
- Choose a suitable cleaner: Select a wheel cleaner or degreaser that is safe for use on brake components. Look for a product specifically formulated for brake dust and grime removal.
- Read the instructions: Carefully read and follow the instructions on the cleaning product’s packaging. These instructions will provide guidance on how to use the cleaner effectively and any safety precautions to consider.
- Dilute the cleaner if necessary: Depending on the type of cleaner you have chosen, you may need to dilute it with water. Follow the recommended dilution ratios provided on the packaging.
- Transfer the cleaner to a spray bottle: Pour the diluted cleaning solution into a spray bottle for easy application. A spray bottle allows for targeted and controlled application of the cleaner onto the calipers.
Once you have prepared the cleaning solution, you are now ready to move on to the next step: cleaning the calipers.
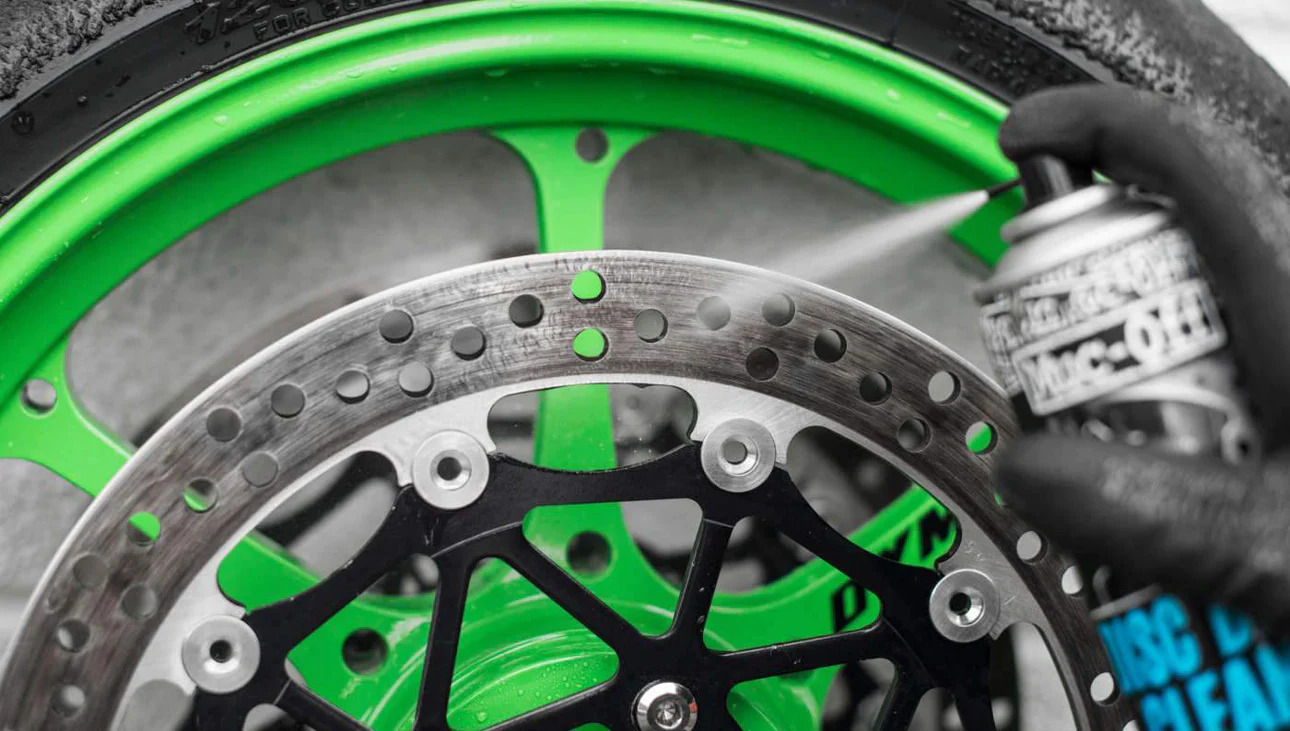
Step 6: Clean the calipers
Now that you have your cleaning solution ready, it’s time to start cleaning the calipers. Follow these steps to effectively clean the calipers:
- Spray the cleaning solution: Begin by spraying the cleaning solution onto the calipers, ensuring that all areas are covered. Pay extra attention to any areas with visible buildup or grime.
- Let the cleaner sit: Allow the cleaning solution to sit on the calipers for a few minutes. This will help to break down stubborn dirt and brake dust, making it easier to remove.
- Use a soft-bristle brush: Take your soft-bristle brush and gently scrub the calipers, working in a circular motion. Focus on areas with more buildup, such as around the pistons and brake pad contact points.
- Pay attention to crevices and grooves: Calipers often have crevices and grooves where dirt can accumulate. Use the brush or a small detailing brush to reach these areas and ensure they are thoroughly cleaned.
- Rinse with water: After scrubbing, rinse off the cleaning solution and loosened dirt with water. Use a low-pressure stream of water, such as from a garden hose or a spray bottle, to avoid damaging any sensitive components.
- Repeat if necessary: If there is still dirt or grime remaining, repeat the cleaning process until the calipers are free from buildup.
Once you are satisfied with the cleanliness of the calipers, you can proceed to the next step: rinsing and drying the calipers.
Step 7: Rinse and dry the calipers
After cleaning the calipers, it’s important to thoroughly rinse off any remaining cleaning solution and ensure they are properly dried. Follow these steps to rinse and dry the calipers:
- Rinse with water: Start by rinsing the calipers with clean water. Use a low-pressure stream of water to remove any residual cleaning solution, dirt, or debris. Ensure that all areas of the calipers are rinsed thoroughly.
- Inspect for cleanliness: Take a moment to inspect the calipers to ensure that they are free from any remaining dirt or grime. If necessary, repeat the cleaning process in specific areas that require further attention.
- Dry the calipers: Using a microfiber cloth, gently pat the calipers dry. Make sure to dry all surfaces, including the crevices and hard-to-reach areas.
- Avoid using compressed air: While it may be tempting to use compressed air to speed up the drying process, it is not recommended. The high-pressure air can push water into sensitive components or cause damage.
Once the calipers are thoroughly rinsed and dried, they will be clean and ready for the next step: reinstalling the wheels.
Step 8: Reinstall the wheels
Now that the calipers are clean and dry, it’s time to reinstall the wheels. Follow these steps to securely and properly reinstall the wheels:
- Position the wheel onto the hub: Carefully align the wheel with the vehicle’s hub, ensuring that it sits flush against the hub and the wheel studs poke through the corresponding holes.
- Hand-tighten the lug nuts: Start by hand-tightening each lug nut in a crisscross pattern. This ensures even pressure is applied to the wheel and helps prevent uneven tightening.
- Tighten the lug nuts with a torque wrench: Use a torque wrench to tighten the lug nuts to the manufacturer’s recommended torque specification. Refer to your vehicle’s owner’s manual for the specific torque value.
- Double-check the lug nut tightness: Once all the lug nuts are tightened, go around in a crisscross pattern with the torque wrench one more time to confirm that all lug nuts are securely fastened.
- Lower the vehicle: Using the hydraulic jack, carefully lower the vehicle until the wheels make contact with the ground. Remove the jack stands and lower the vehicle all the way to the ground.
With the wheels securely reinstalled, take a moment to inspect the wheel installation and confirm that they are snug and sitting properly. Give the wheels a gentle shake to ensure they do not wobble or feel loose.
Congratulations! You have successfully cleaned your calipers and reinstalled the wheels. Take a step back and admire the freshly cleaned calipers, knowing that your braking system is now properly maintained and your vehicle’s appearance enhanced.
It’s always a good idea to regularly clean and inspect your calipers to ensure their optimal performance and longevity. By following these steps, you can keep your calipers in top shape and enjoy a safe and smooth ride.
Remember, if you encounter any issues or are unsure about any step of the process, it’s always best to consult a professional mechanic for guidance.
Happy cleaning!
Read more: How To Compress Calipers
Conclusion
Cleaning your calipers is a crucial part of maintaining your vehicle’s braking system. Not only does it help to ensure optimal performance, but it also adds a touch of aesthetic appeal to your wheels. By following the steps outlined in this guide, you can effectively clean your calipers and keep them in excellent condition.
Remember to gather all the necessary supplies before starting the cleaning process. Be sure to lift the vehicle safely and remove the wheels to gain access to the calipers. Inspect the calipers for any damage or areas that require special attention.
Prepare a suitable cleaning solution and apply it to the calipers, using a soft-bristle brush to scrub away dirt and grime. Rinse the calipers thoroughly with water and dry them using a microfiber cloth. Take your time to ensure that the calipers are free from any remaining debris before proceeding.
Lastly, reinstall the wheels securely and double-check the tightness of the lug nuts. Lower the vehicle and verify that the wheels are properly seated. Regularly cleaning and inspecting your calipers will help maintain their performance and prolong their lifespan.
Remember, if you are unsure or encounter any issues during the process, it is always best to consult a professional mechanic for guidance. They can provide expertise and ensure the proper maintenance of your vehicle’s braking system.
With clean and well-maintained calipers, you can enjoy a safer and smoother driving experience. So, take the time to clean your calipers and give your vehicle the care it deserves!
Frequently Asked Questions about How To Clean Calipers
Was this page helpful?
At Storables.com, we guarantee accurate and reliable information. Our content, validated by Expert Board Contributors, is crafted following stringent Editorial Policies. We're committed to providing you with well-researched, expert-backed insights for all your informational needs.
0 thoughts on “How To Clean Calipers”