Articles
How To Paint Your Calipers
Modified: August 21, 2024
Discover step-by-step articles on how to paint your calipers, including tips and techniques for achieving professional results.
(Many of the links in this article redirect to a specific reviewed product. Your purchase of these products through affiliate links helps to generate commission for Storables.com, at no extra cost. Learn more)
Introduction
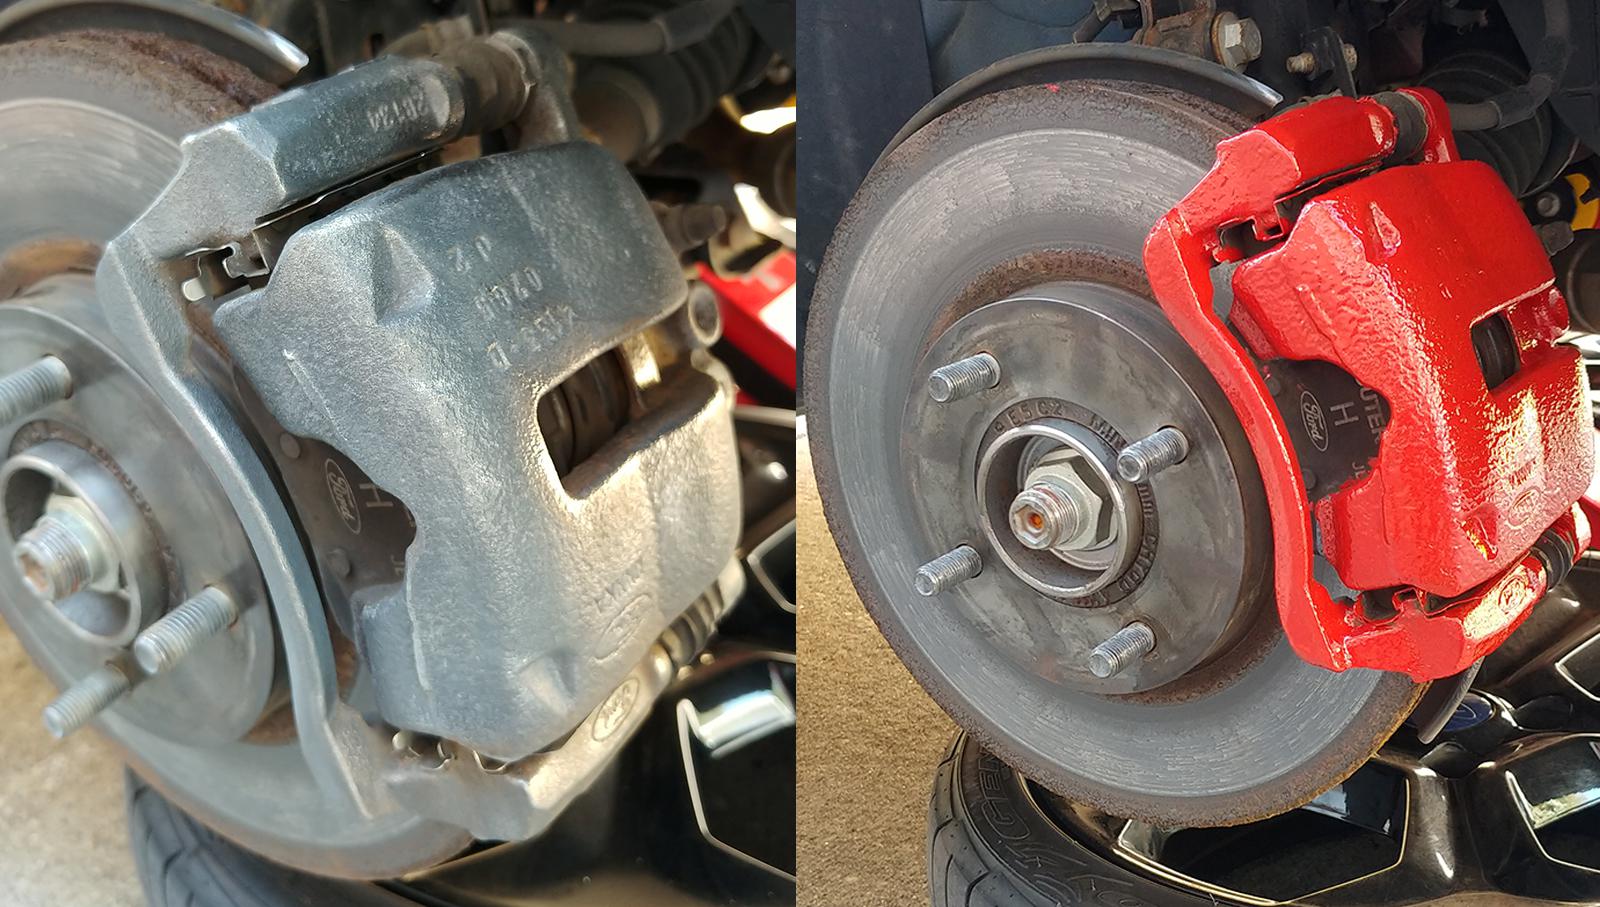
If you’re a car enthusiast or simply want to add a touch of personal style to your vehicle, painting your calipers can be a fun and rewarding project. Not only does it enhance the look of your car, but it also helps to protect the calipers from corrosion and wear.
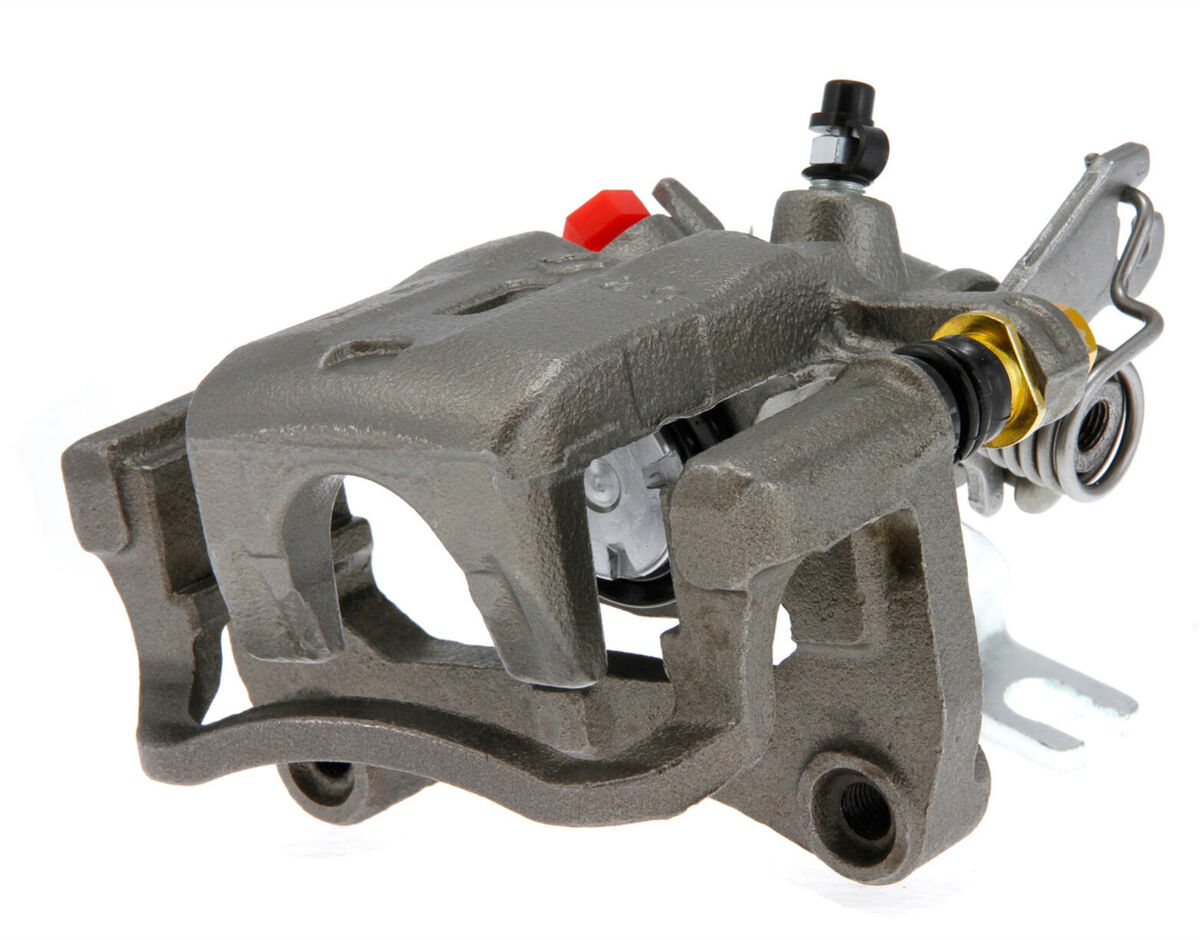
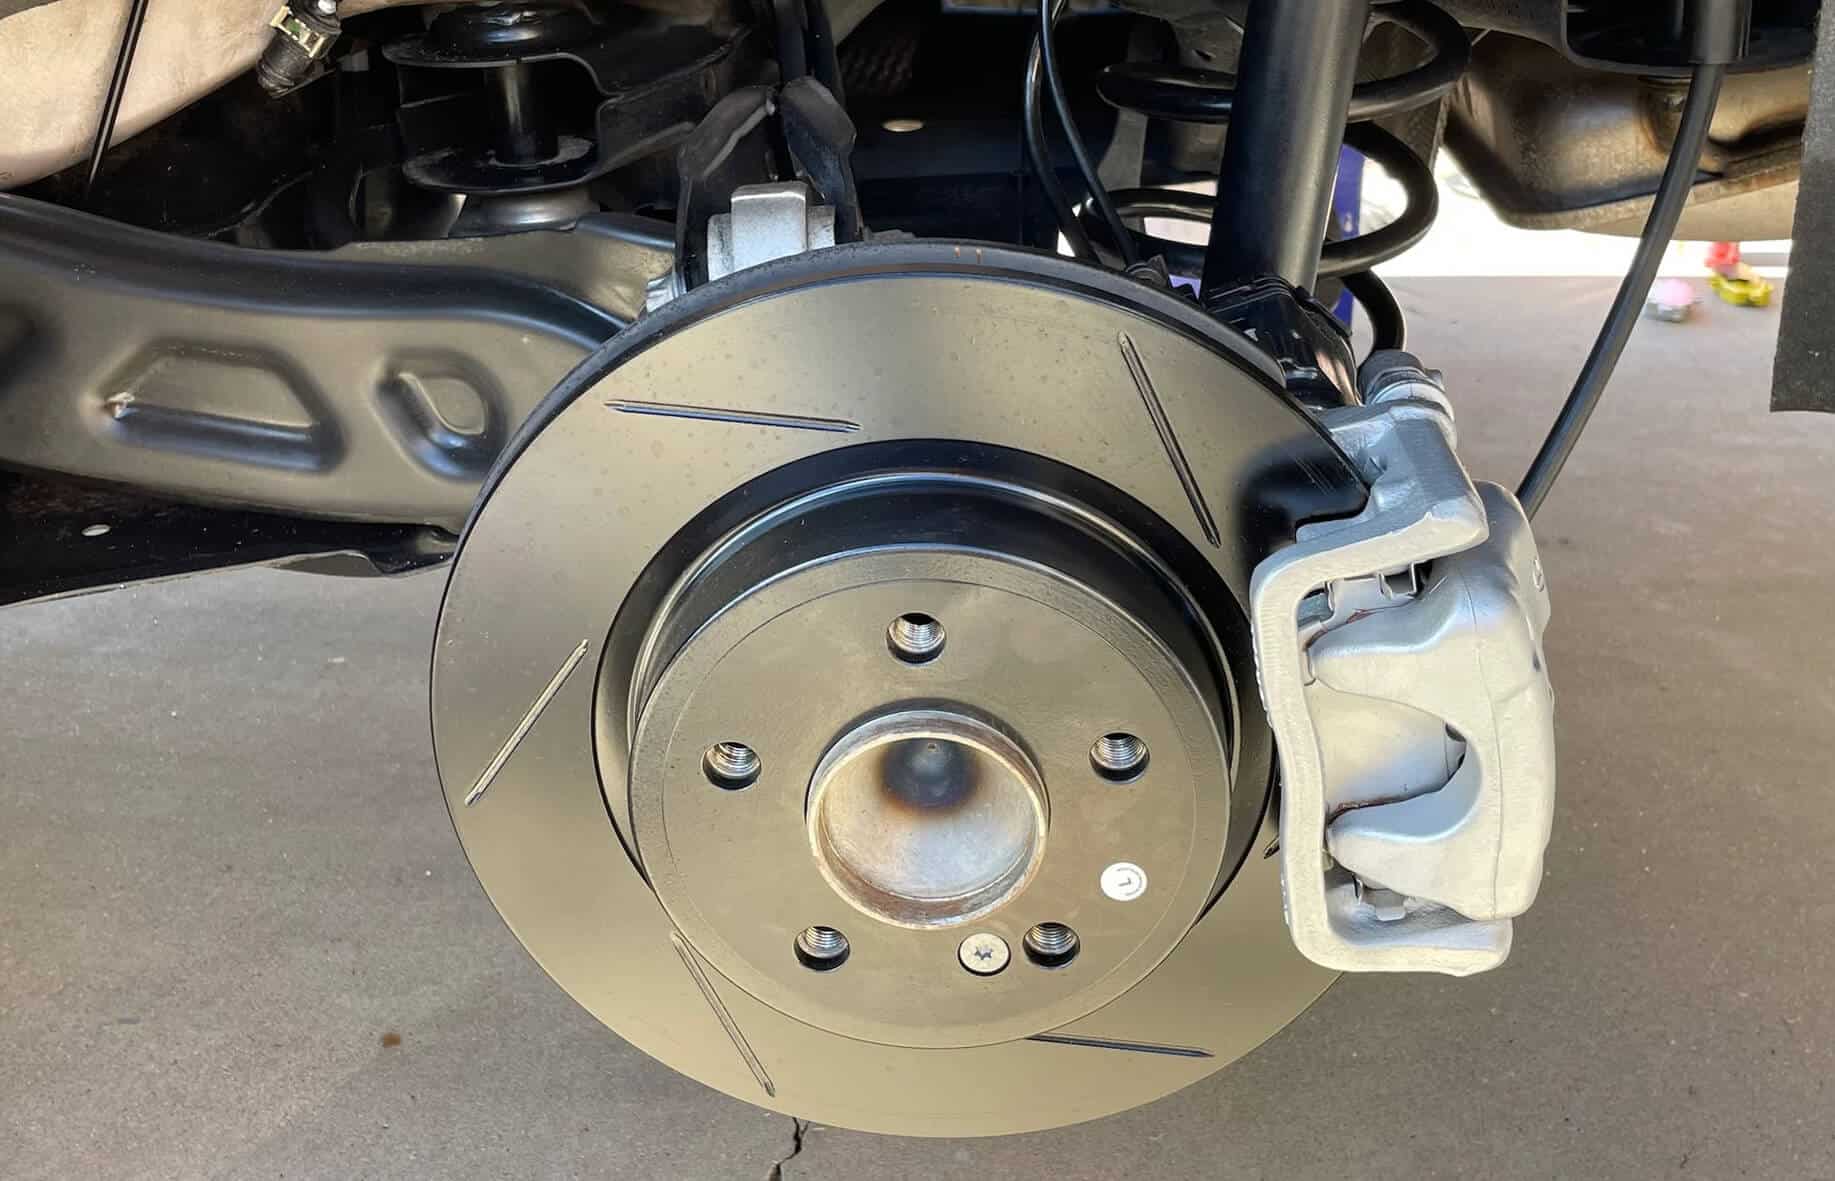
Calipers, which are responsible for gripping the brake discs, are often overlooked when it comes to customizing a vehicle. However, with just a few simple steps and the right materials, you can transform your dull or worn-out calipers into eye-catching and stylish accents that complement your car’s overall aesthetic.
In this article, we will guide you through the process of painting your calipers, from gathering the necessary materials to putting the finishing touches on your freshly painted calipers. So, let’s dive in and learn how to give your calipers a much-needed facelift!
Key Takeaways:
- Transform your car’s calipers from dull to eye-catching with a fun and rewarding painting project. Enhance your vehicle’s style while protecting the calipers from corrosion and wear.
- Gather the right materials, prep the calipers, choose high-temperature paint, and apply it with patience. Enjoy the satisfaction of a job well done and the added flair to your car’s braking system!
Read more: How To Paint Calipers Red
Gathering Materials
Before you can begin painting your calipers, it’s essential to gather all the necessary materials. Here’s a list of what you’ll need:
- Brake cleaner: This is used to remove any grease, dirt, or brake fluid residue from the calipers.
- Sandpaper: You’ll need sandpaper with various grits (such as 400, 800, and 1200) to smooth the surface of the calipers.
- Masking tape: This will be used to protect surrounding areas from overspray.
- Primer: A high-temperature primer is crucial for ensuring the paint adheres properly to the calipers.
- High-temperature paint: Look for specific caliper paint that can withstand the heat generated by your braking system.
- Paintbrush or spray paint: You can choose to apply the paint using a brush or opt for the convenience of spray paint.
- Cardboard or old newspapers: These will serve as a protective layer for the floor or work area.
- Gloves: It’s important to wear gloves to protect your hands from chemicals and paint.
- Shop towels or a lint-free cloth: These will come in handy for wiping and cleaning the calipers.
- Optional: Caliper decals or stickers for added personalization, if desired.
Make sure you have all these items readily available before you begin. It’s best to gather everything upfront to ensure a smooth and uninterrupted painting process.
Now that you have your materials ready, it’s time to move on to the next step: preparing the calipers for painting.
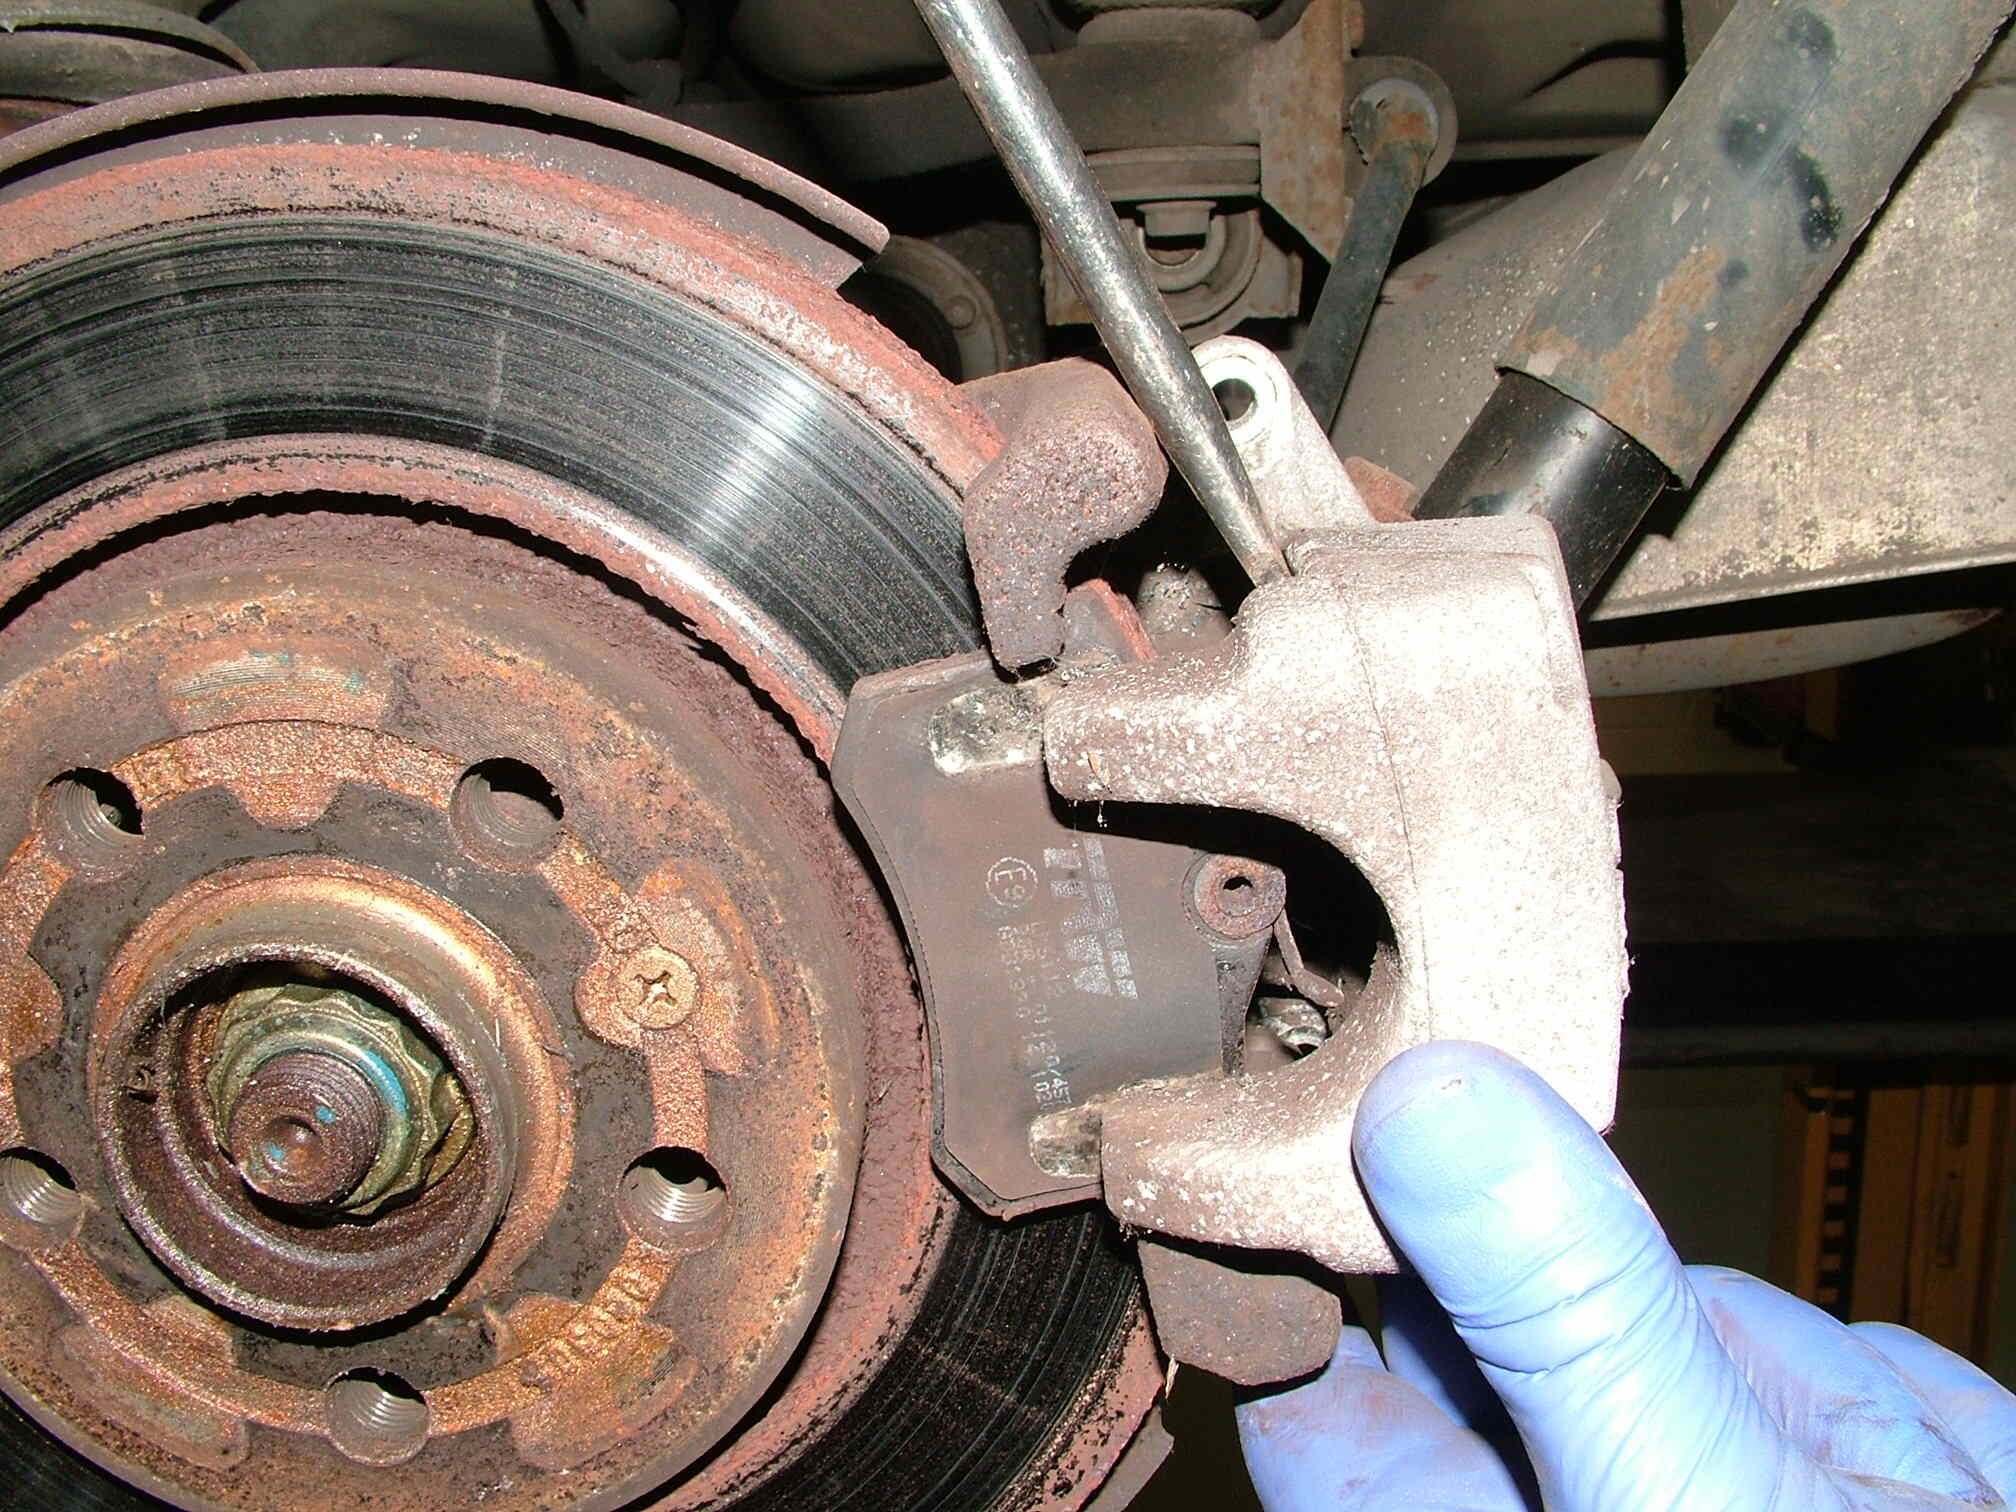
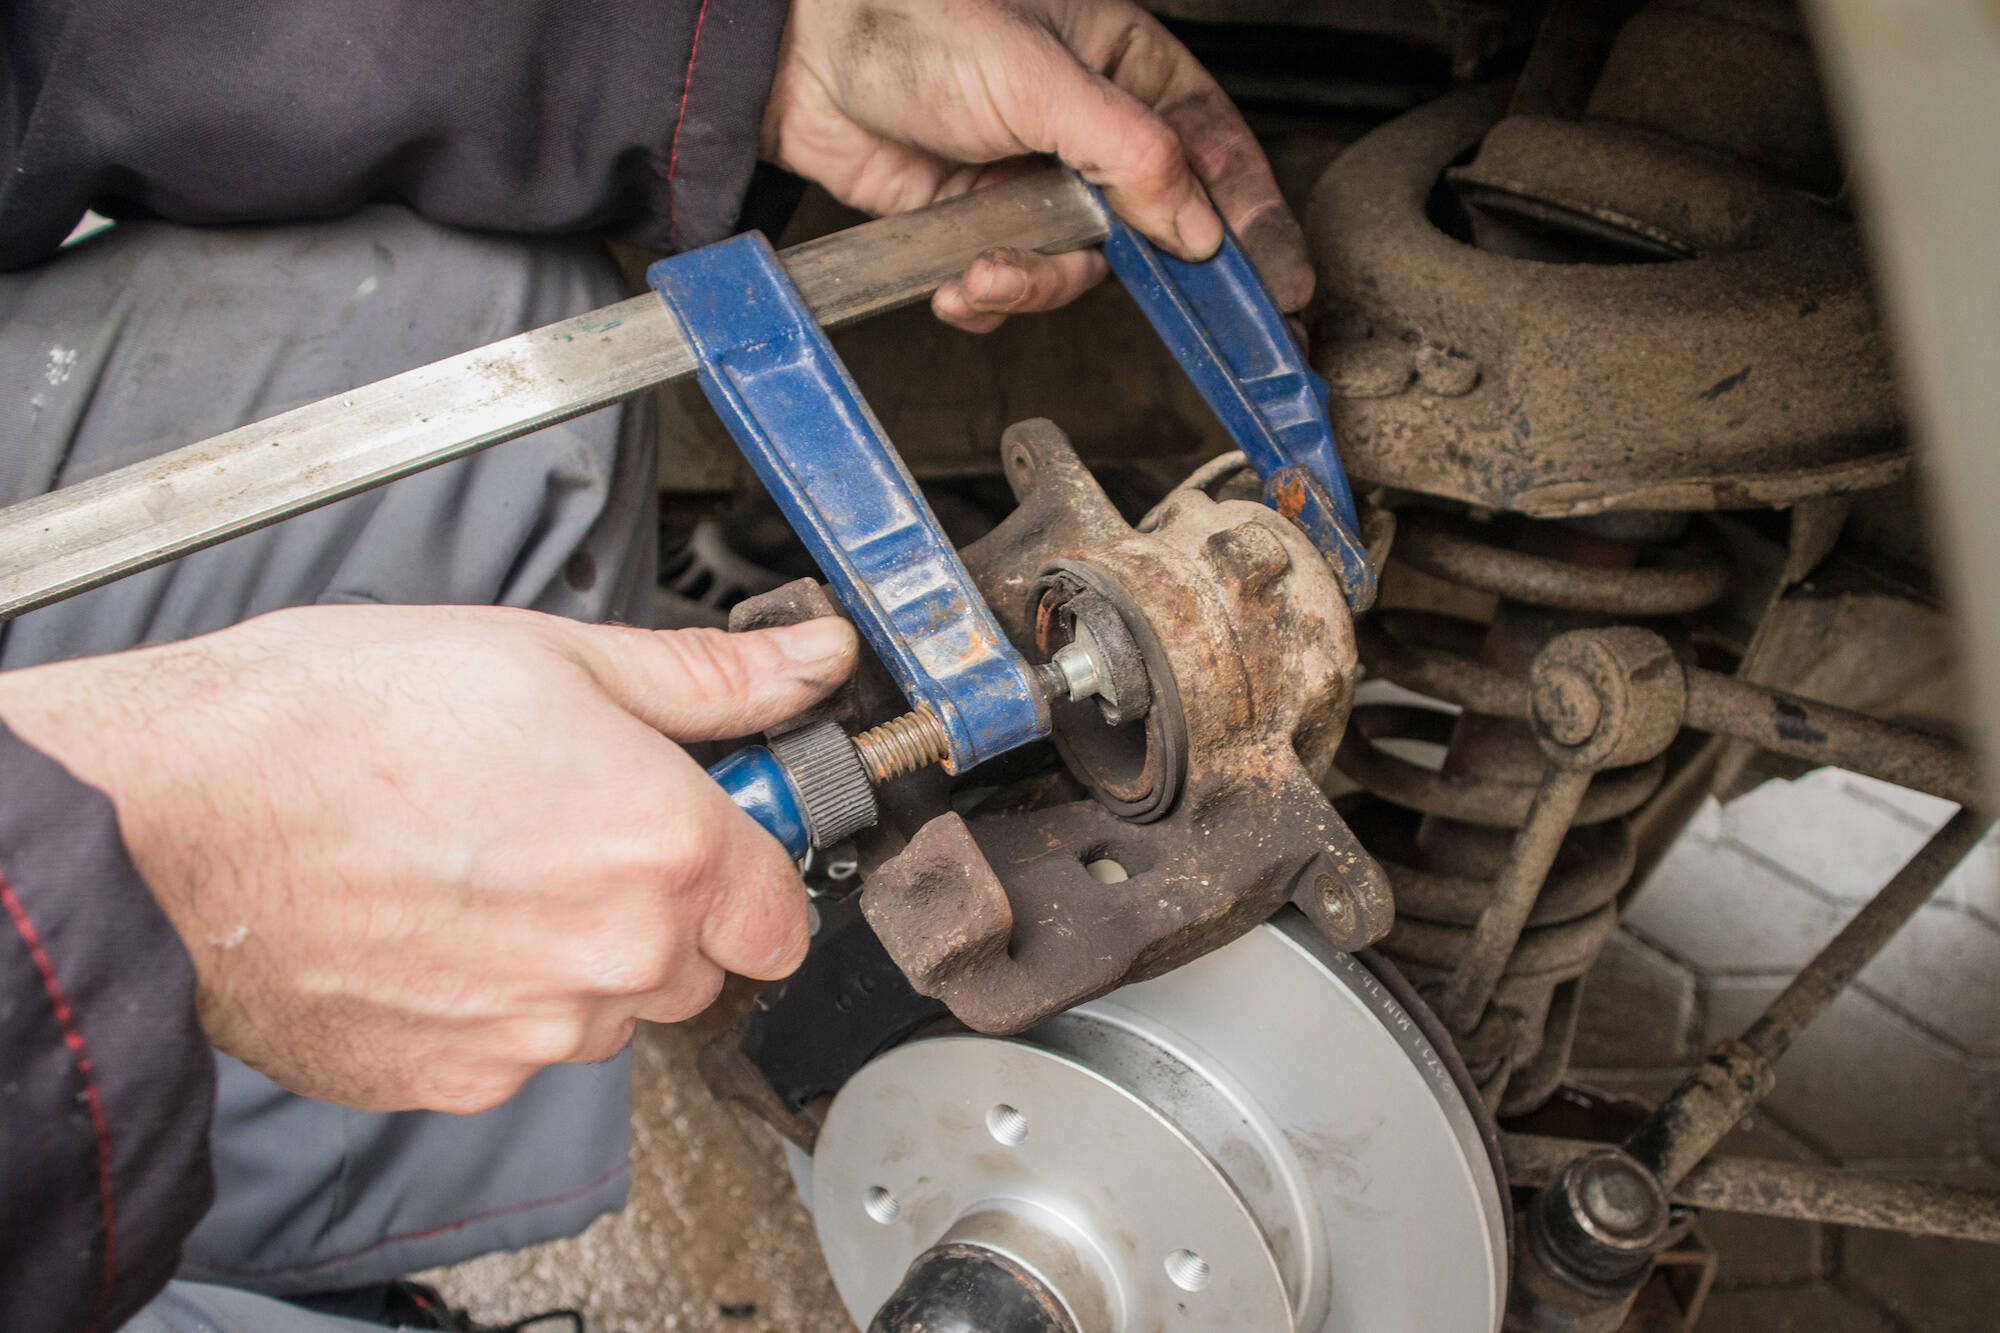
Preparing the Calipers
Before you can start painting the calipers, it’s crucial to prep them properly to ensure the best results. Follow these steps to prepare your calipers:
- Ensure the wheels are securely chocked and the vehicle is on a level surface to prevent any unwanted movement.
- Remove the wheels to gain clear access to the calipers. Refer to your vehicle’s owner manual for instructions on proper wheel removal.
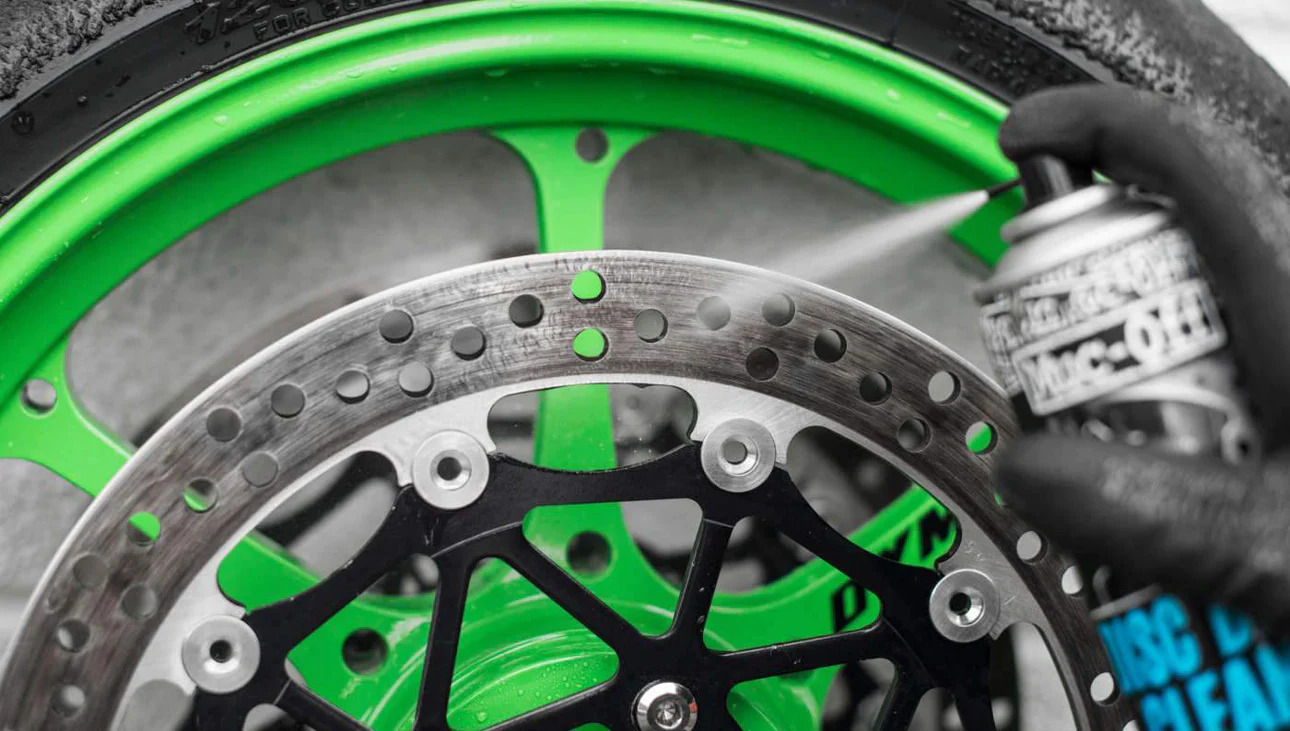
- Use brake cleaner and a lint-free cloth or shop towel to thoroughly clean the calipers. This will remove any brake dust, grease, or dirt that might be present.
- Inspect the calipers for any signs of damage or wear. If you notice any issues, such as leaking brake fluid or damaged seals, it’s best to address these before proceeding with the painting process.
- Use masking tape to cover any nearby areas that you don’t want to get paint on, such as the brake rotors or brake lines.
- Lightly sand the surface of the calipers using sandpaper. This will help remove any existing paint or surface imperfections, allowing the new paint to adhere better.
- Wipe the calipers clean with a lint-free cloth or shop towel to remove any dust or debris left from sanding.
By taking the time to properly prepare the calipers, you are ensuring a clean surface for the paint to adhere to, ultimately resulting in a smoother and more durable finish. Once the calipers are prepped, it’s time to move on to the next step: applying primer.
Applying Primer
Primer is a crucial step in the painting process as it helps to create a smooth and uniform base for the paint to adhere to. Follow these steps to apply primer to your calipers:
- Shake the can of primer well to ensure proper mixing of the product.
- Hold the can about 8-10 inches away from the caliper and begin applying a thin and even coat of primer.
- Make sure to cover all surfaces of the caliper, including the front, sides, and back. Pay extra attention to any crevices or hard-to-reach areas.
- Allow the primer to dry as per the manufacturer’s instructions. This usually takes around 15-30 minutes.
- Inspect the caliper for any areas that may require additional coats of primer. If needed, lightly sand those areas and apply another coat of primer.
- Once all coats of primer are applied, allow the calipers to dry completely before moving on to the next step.
Priming the calipers will not only help the paint adhere better but also create a smoother surface for the final coat. It’s important to follow the instructions provided by the primer manufacturer and allow adequate drying time to ensure the best results.
Now that the primer is applied and dried, it’s time to choose the right paint for your calipers.
When painting your calipers, make sure to thoroughly clean and degrease the surface before applying any paint. This will ensure better adhesion and a longer-lasting finish.
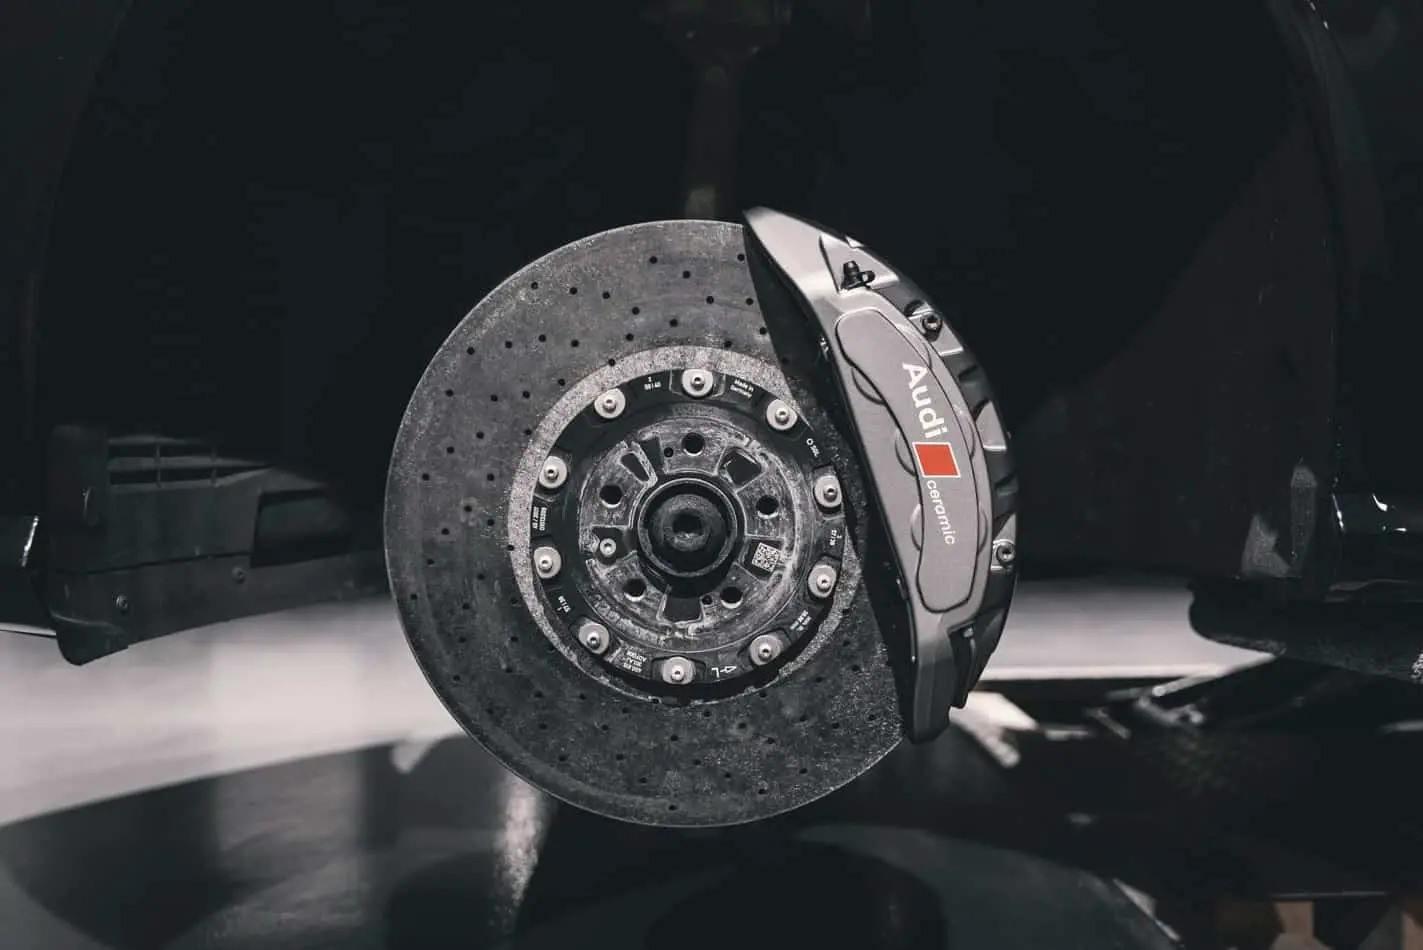
Choosing the Right Paint
When it comes to choosing the right paint for your calipers, it’s important to consider both the aesthetic appeal and functionality. Look for high-temperature paint that is specifically designed for use on calipers, as they can withstand the heat generated by the braking system. Here are a few factors to consider when selecting the paint:
- Heat resistance: Calipers can reach high temperatures when braking, so ensure that the paint you choose is heat-resistant and can withstand temperatures typically experienced by the braking system.
- Durability: Look for paint that is resistant to chipping, fading, and brake fluid to ensure that your calipers will maintain their vibrant appearance for a long time.
- Color options: Choose a color that complements the overall look of your vehicle. From vibrant reds to sleek blacks or even custom colors, there are plenty of options to suit your personal style.
- Brand reputation and reviews: Consider the reputation of the paint brand and read reviews from other users to get an idea of the quality and performance of the paint.
It’s worth investing in high-quality caliper paint to ensure longevity and a professional finish. Using the right paint will not only enhance the appearance of your calipers but also protect them from corrosion and wear.
Once you’ve chosen the paint, it’s time to move on to the exciting part – painting the calipers!
Read more: Who Paints Calipers Near Me
Painting the Calipers
Now that you have gathered all the necessary materials and chosen the right paint for your calipers, it’s time to bring them to life with a fresh coat of color. Follow these steps to paint your calipers:
- Ensure that the calipers are clean and dry before starting the painting process.
- Apply masking tape to any areas that you want to protect from overspray, such as brake lines or nearby suspension components.
- If you are using brush-on paint, dip the paintbrush into the can and apply a thin and even coat of paint onto the caliper’s surface. Make sure to cover all sides, crevices, and edges.
- If you are using spray paint, hold the can about 8-10 inches away from the caliper and apply a light and even coat of paint. Avoid spraying too close to prevent drips or pooling of paint.
- Allow the first coat of paint to dry completely as per the manufacturer’s instructions. This usually takes around 1-2 hours.
- Inspect the caliper for any areas that may require additional coats of paint. If needed, lightly sand those areas and apply another coat of paint.
- Continue applying thin and even coats of paint until you achieve the desired color and coverage. It’s better to apply multiple thin coats rather than one heavy coat to prevent drips or unevenness.
Remember, patience is key when it comes to painting calipers. Allow sufficient drying time between each coat of paint to ensure a smooth and professional-looking finish.
Once you are satisfied with the paint coverage and color, it’s time to move on to the final steps of the painting process – curing and adding finishing touches.
Curing and Finishing Touches
After painting your calipers, it’s essential to allow them to cure properly to ensure a durable and long-lasting finish. Here are the final steps to complete the process:
- Refer to the paint manufacturer’s instructions for the recommended curing time. Typically, it takes around 24-48 hours for the paint to fully cure and harden.
- During the curing process, avoid operating your vehicle or exposing the calipers to any moisture or extreme temperatures.
- Once the paint has fully cured, carefully remove the masking tape from the surrounding areas.
- Inspect the calipers for any touch-ups or uneven areas. If necessary, lightly sand and reapply paint to ensure a seamless and uniform finish.
- If you want to add an extra touch, consider applying caliper decals or stickers to further customize the look of your calipers.
- Lastly, clean the wheels and reinstall them onto your vehicle.
Congratulations! You have successfully painted your calipers and added a stylish and personalized touch to your vehicle. Not only do your calipers look refreshed, but they are also protected from corrosion and wear.
Remember to regularly inspect your calipers for any signs of damage or deterioration and touch up the paint as needed. Proper maintenance and care will ensure that your painted calipers stay looking their best for a long time.
With your newly painted calipers, your vehicle’s appearance is sure to turn heads wherever you go. Enjoy the satisfaction of a job well done and the added flair you’ve brought to your car’s braking system!
We hope this guide has been informative and helpful in guiding you through the process of painting your calipers. Happy painting!
Conclusion
Painting your calipers is a fantastic way to enhance the look of your vehicle and add a personal touch. It not only improves the aesthetic appeal but also helps protect the calipers from corrosion and wear. By following the steps outlined in this article, you can achieve professional-looking results with ease.
Throughout the process, we emphasized the importance of gathering the necessary materials, properly preparing the calipers, choosing the right paint, and applying it correctly. Each step plays a crucial role in ensuring a smooth and durable finish.
Remember to take your time and pay attention to detail. Applying thin and even coats of paint, allowing proper drying time, and performing any necessary touch-ups will contribute to the overall success of your caliper painting project.
Furthermore, don’t forget the importance of maintenance. Regularly inspect your calipers for any signs of damage, wear, or fading. Touching up the paint when needed will help to maintain a fresh and vibrant appearance for years to come.
With your newly painted calipers, your vehicle will stand out from the crowd. Whether you prefer a bold and vibrant color or a sleek and subtle look, the choice is yours. The key is to express your personality and style through your calipers.
We hope this article has provided you with the guidance and knowledge to successfully paint your calipers. Enjoy the transformation and the sense of accomplishment that comes with customizing your vehicle. Now, go out there and showcase your unique style on the road!
Frequently Asked Questions about How To Paint Your Calipers
Was this page helpful?
At Storables.com, we guarantee accurate and reliable information. Our content, validated by Expert Board Contributors, is crafted following stringent Editorial Policies. We're committed to providing you with well-researched, expert-backed insights for all your informational needs.

0 thoughts on “How To Paint Your Calipers”