Articles
How To Grease Calipers
Modified: February 22, 2024
Learn how to grease calipers with our informative articles. Improve your knowledge and skills in automotive maintenance with our expert tips and techniques.
(Many of the links in this article redirect to a specific reviewed product. Your purchase of these products through affiliate links helps to generate commission for Storables.com, at no extra cost. Learn more)
Introduction
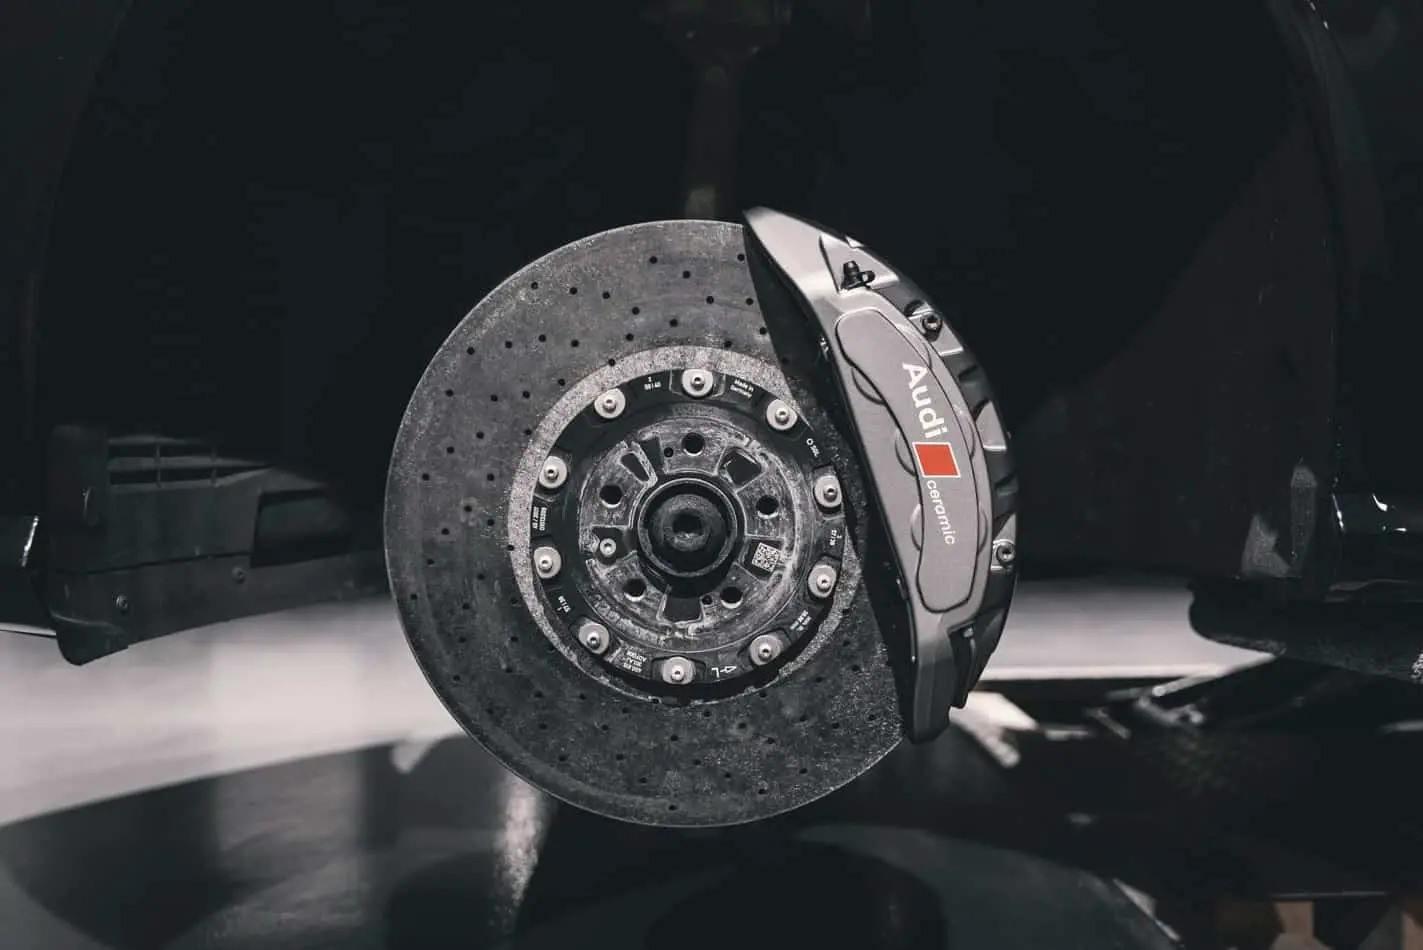
When it comes to maintaining your vehicle’s braking system, one often overlooked but crucial component is the calipers. Calipers play a vital role in the proper functioning of your car’s brakes, as they squeeze the brake pads against the rotors to slow down or stop the vehicle. Over time, calipers can become dirty or develop rust, leading to reduced performance and potential damage to other brake components.
To ensure that your calipers continue to work effectively and smoothly, it is essential to regularly grease them. Applying grease to the calipers helps reduce friction, prevents corrosion, and promotes smooth movement of the caliper pins. In this article, we will guide you through the process of greasing calipers, step by step, so you can keep your braking system in top-notch condition.
Before getting started, let’s take a look at the tools and materials you will need for this task:
- Jack and jack stands or a vehicle lift
- Lug wrench
- Clean rags or paper towels
- Brake cleaner spray
- Caliper grease
- Brake pads (if replacement is needed)
Now that you have gathered all the necessary items, let’s dive into the step-by-step process of greasing your calipers!
Key Takeaways:
- Regularly greasing your calipers is essential for maintaining optimal braking performance, preventing corrosion, and extending the lifespan of your braking system. Invest in the safety and efficiency of your vehicle by following the step-by-step greasing process.
- Prioritize safety and thorough inspection when greasing your calipers. Ensure proper cleaning, application of grease, and reinstallation of brake components to promote smooth and efficient braking. Happy driving!
Read more: How To Change Calipers
What are calipers and why do they need grease?
Before we delve into the process of greasing calipers, let’s first understand what calipers are and why they require regular maintenance. Calipers are a vital component of your vehicle’s braking system, found on each wheel. They are responsible for applying pressure to the brake pads, which in turn press against the rotors to slow down or stop the vehicle.
Calipers come in different types, including floating calipers and fixed calipers. Floating calipers have one or two pistons on one side of the rotor, while fixed calipers have pistons on both sides. Regardless of the type, calipers work by squeezing the brake pads against the rotor, generating friction that slows down the rotating motion.
Over time, calipers can accumulate dirt, debris, and even rust, affecting their performance. If left unaddressed, this buildup can lead to reduced braking efficiency, uneven pad wear, and even damage to other brake components.
This is where caliper grease comes in. Greasing the calipers is a crucial maintenance step that helps ensure smooth and efficient caliper operation. The grease acts as a lubricant, reducing friction between the caliper pins and the brake pad hardware. By doing so, it allows the caliper to move freely and apply the necessary pressure to the brake pads, promoting even wear and optimal braking performance.
In addition to reducing friction, caliper grease also helps prevent corrosion. Moisture and environmental factors can cause the caliper pins and other metal components to rust, hindering their movement. By applying grease, you create a protective barrier that shields the caliper from moisture and prevents rust from developing.
Regularly greasing your calipers not only ensures optimal performance but also prolongs their lifespan and helps avoid costly repairs down the line. It is recommended to inspect and grease your calipers during routine brake maintenance or when replacing brake pads.
Now that we understand the importance of greasing calipers, let’s move on to the step-by-step process of greasing your calipers.
Preparing the necessary tools and materials
Before you begin greasing your calipers, it is essential to gather all the necessary tools and materials to ensure a smooth and efficient process. Here is a list of items you will need:
- Jack and jack stands or a vehicle lift: These are necessary to safely elevate your vehicle off the ground. Make sure to follow proper lifting procedures and safety guidelines.
- Lug wrench: Use the lug wrench to loosen the lug nuts on the wheels before lifting the vehicle. This will make it easier to remove the wheels later on.
- Clean rags or paper towels: These are handy for cleaning and wiping down the calipers, as well as any excess grease or dirt.
- Brake cleaner spray: A brake cleaner spray helps remove any residue, dirt, or grease from the calipers. Look for a brake cleaner specifically designed for automotive use.
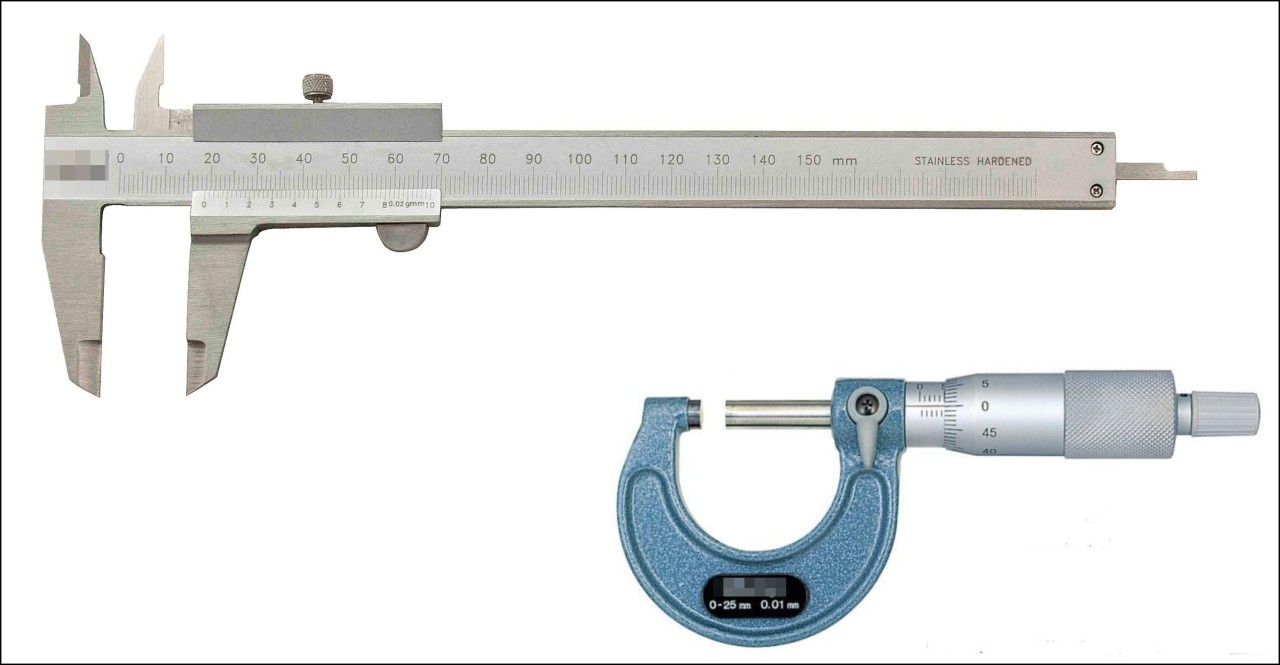
- Caliper grease: Choose a high-quality caliper grease that is compatible with your vehicle’s braking system. Make sure to use a grease specifically formulated for calipers to ensure optimal performance and longevity.
- Brake pads: While not necessary for greasing the calipers, it is a good idea to inspect the brake pads during this process. If the brake pads are worn, damaged, or near their service limit, it is recommended to replace them.
Once you have gathered all the necessary tools and materials, you are ready to proceed with greasing your calipers. It is important to note that safety should always be the top priority when working on your vehicle. Ensure that you are working in a well-ventilated area, wear appropriate protective gear, and follow the manufacturer’s instructions for each tool and product.
Now that you are fully prepared, let’s move on to the step-by-step process of greasing your calipers.
Step 1: Lift and secure the vehicle
Before you can begin greasing the calipers, you’ll need to lift and securely support your vehicle. This will provide you with enough clearance to remove the wheels and access the brake components. Follow these steps to properly lift and secure your vehicle:
- Find a safe and level surface to park your vehicle. Ensure that the parking brake is engaged.
- Locate the jack points on your vehicle. These are typically marked by sections of the vehicle’s frame or designated areas indicated in the owner’s manual.
- Position the jack under the appropriate jack point. It’s essential to use a jack stand or a vehicle lift in conjunction with the jack to provide additional stability and prevent the vehicle from falling.
- Start by using the lug wrench to slightly loosen the lug nuts on the wheel you plan to work on. Do not completely remove the lug nuts at this point.
- Carefully lift the vehicle using the jack until the wheel is off the ground. Be cautious of your surroundings and ensure that the jack is properly positioned.
- Once the vehicle is lifted, place a jack stand under a secure part of the vehicle’s frame or use a vehicle lift to support the weight of the vehicle. It’s important to use multiple jack stands or a vehicle lift to ensure stability.
- Slowly lower the vehicle onto the jack stands or lower the vehicle lift to support the weight.
- Double-check that the vehicle is securely supported by the jack stands or vehicle lift before continuing with the next steps.
By following these steps, you can safely lift and secure your vehicle, providing you with the necessary access to the calipers for greasing. Remember to always prioritize safety and refer to your vehicle’s owner’s manual for specific lifting and jacking instructions.
Step 2: Remove the wheels
Now that you have lifted and secured your vehicle, it’s time to remove the wheels to gain access to the calipers. Follow these steps to safely remove the wheels:
- Using the lug wrench, fully loosen and remove the lug nuts from the wheel you are working on. Place the lug nuts in a safe location to prevent them from getting lost.
- Gently grasp the wheel with both hands and carefully pull it towards you to remove it from the wheel hub. If the wheel feels stuck, you can gently kick the bottom of the tire to loosen it.
- Place the wheel flat on the ground or on a clean surface, making sure it is stable and won’t roll away.
- Inspect the wheel for any signs of damage, such as cracks or bends. It’s also a good opportunity to check the tire’s condition and tread depth. If you notice any significant issues, consult a professional for further assistance.
- Repeat the above steps for each wheel you need to access for greasing the calipers.
By removing the wheels, you create ample space to work on the calipers and ensure a clear view of the brake components. Remember to keep track of the lug nuts and keep them in a safe place to prevent misplacement. Now that the wheels are removed, you can proceed to the next step of inspecting the calipers and brake pads.
Read more: How To Compress Calipers
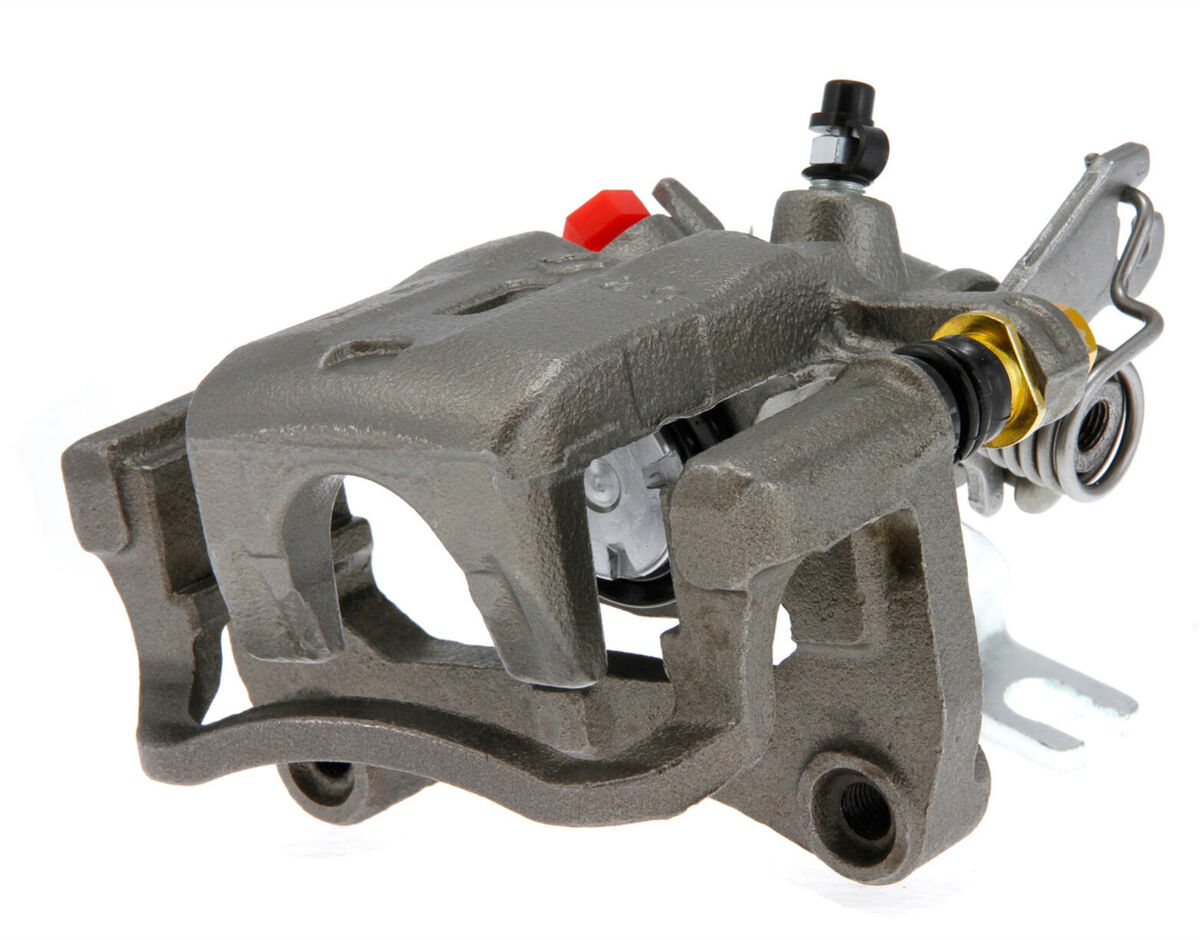
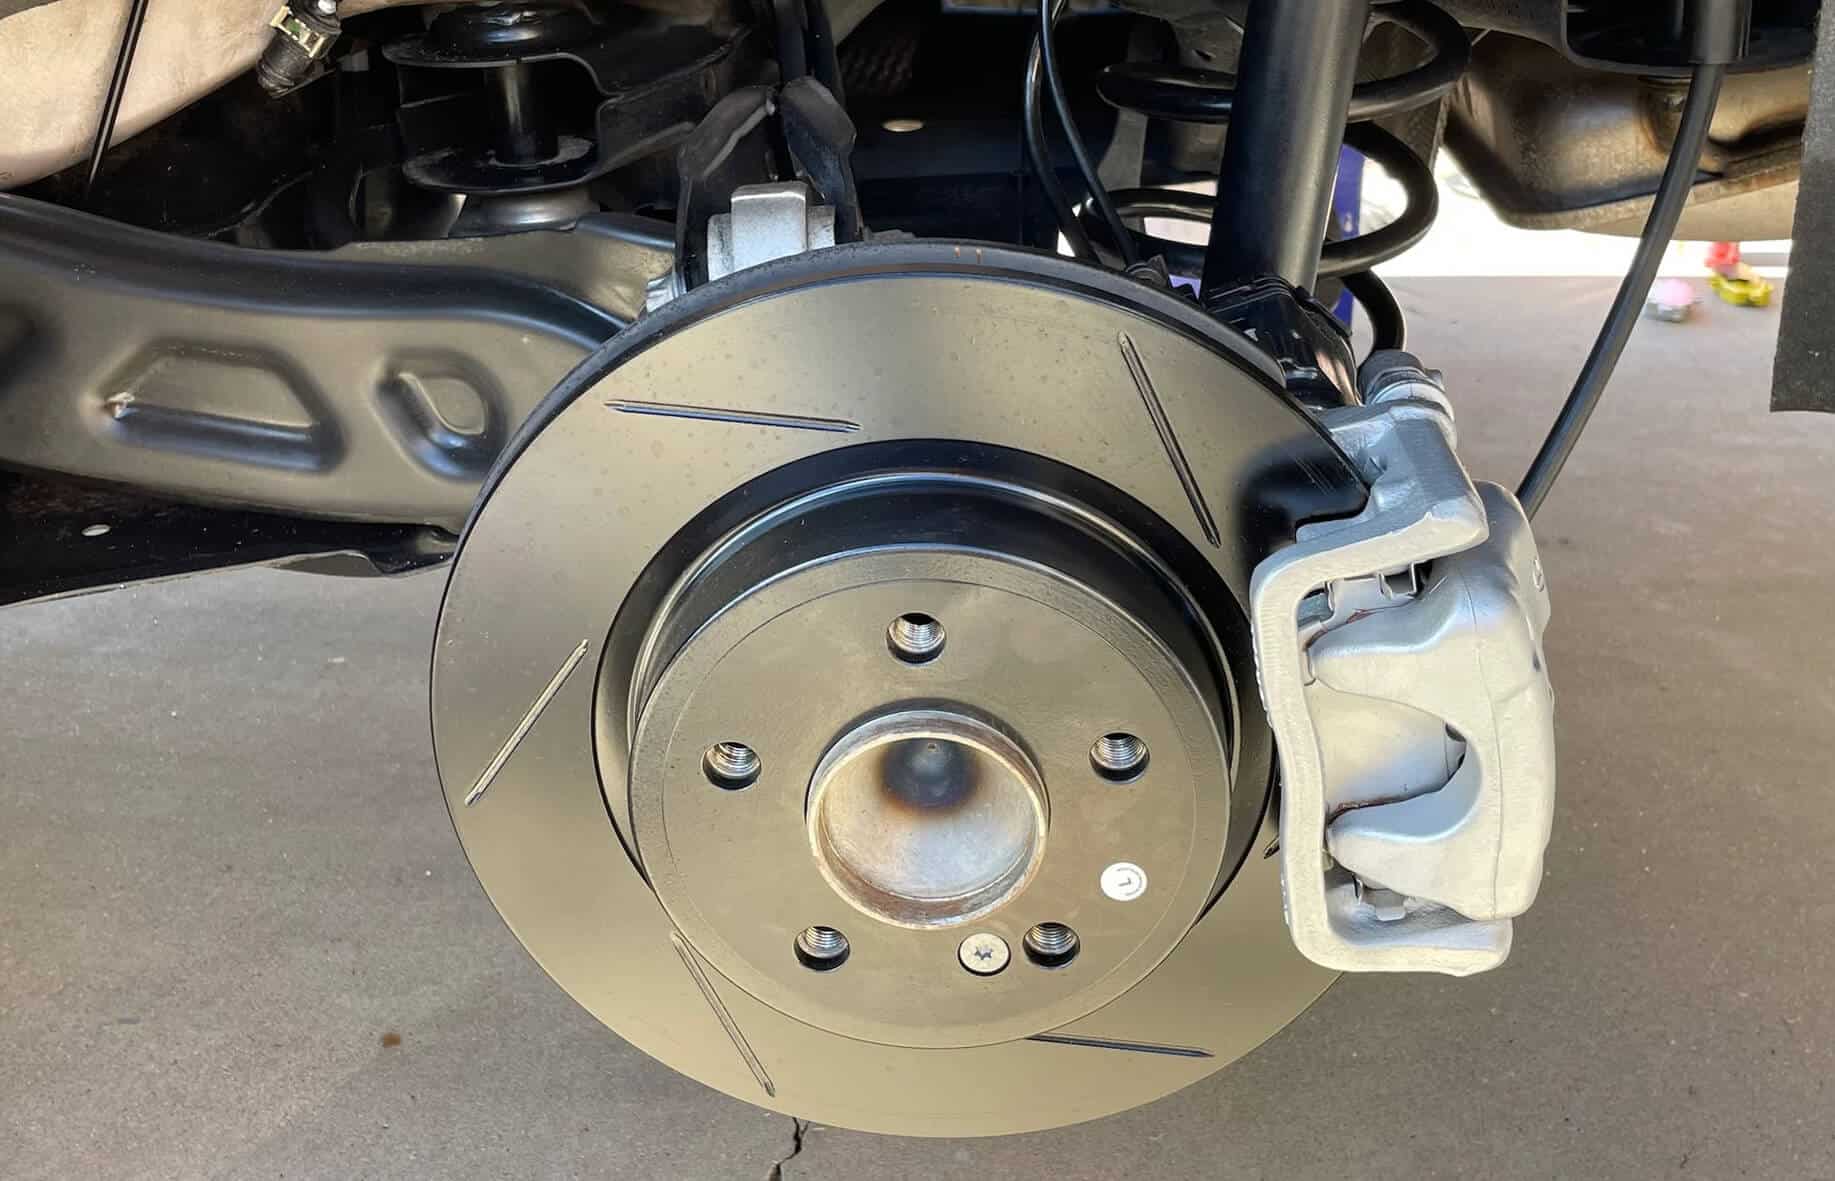
Step 3: Inspect the calipers and brake pads
With the wheels removed, you now have a clear view of the calipers and brake pads. Before greasing the calipers, it’s important to inspect them to ensure they are in good condition and functioning properly. Follow these steps to properly inspect the calipers and brake pads:
- Take a close look at the calipers for any signs of damage or wear. Look for cracks, leaks, or excessive rust. If you notice any of these issues, it may be necessary to consult a professional for further assessment or replacement.
- Examine the brake pads to determine their condition. Check for even wear and measure the pad thickness. If the brake pads appear significantly worn or are nearing their service limit, it is recommended to replace them before greasing the calipers.
- Inspect the caliper pins for any signs of corrosion, debris, or excessive grease buildup. Clean off any dirt or grease using a clean rag or paper towel.
- Check the brake pad hardware, including clips or shims, for any damage or wear. Replace any worn or damaged hardware as necessary.
- Take note of any abnormalities or issues you observe during the inspection. If you have any concerns or doubts about the condition of the calipers or brake pads, it is best to have them professionally inspected.
Inspecting the calipers and brake pads allows you to identify and address any potential issues before applying grease. By ensuring that these components are in good condition, you can maximize the effectiveness and longevity of your braking system. Once you have completed the inspection, you can move on to the next step of cleaning the calipers.
When greasing calipers, use a high-temperature synthetic grease to ensure proper lubrication and protection against heat and friction. Be sure to clean the caliper thoroughly before applying the grease to ensure optimal performance.
Step 4: Clean the calipers
Before you can apply grease to the calipers, it’s important to clean them thoroughly. Cleaning the calipers removes dirt, debris, old grease, and any other buildup that may affect their performance. Follow these steps to properly clean the calipers:
- Start by spraying brake cleaner generously onto the calipers. Focus on the caliper pins, where the grease is applied, as well as other areas with dirt and grease buildup.
- Allow the brake cleaner to penetrate the calipers for a few moments. This will help loosen and dissolve any grime or grease that has accumulated over time.
- Using a clean rag or paper towels, wipe the calipers thoroughly, removing the loosened dirt and grease. Take extra care to clean the caliper pins, ensuring they are free of any residue.
- Inspect the calipers again after cleaning to ensure they are free from dirt, debris, and old grease. If any traces of buildup remain, repeat the cleaning process until the calipers are thoroughly clean.
- Dispose of the used rags or paper towels properly, as they may contain brake cleaner and residual grease, which can be flammable.
Cleaning the calipers is an important step to ensure the proper application of fresh grease and promote optimal performance. It allows the grease to adhere to the calipers effectively and reduces the risk of contamination. Once you have completed the cleaning process, you can proceed to the next step of applying grease to the caliper pins.
Step 5: Apply grease to the caliper pins
Now that the calipers are clean, it’s time to apply grease to the caliper pins. Greasing the caliper pins is essential for smooth and efficient caliper movement, reducing friction and preventing corrosion. Follow these steps to properly apply grease to the caliper pins:
- Apply a small amount of caliper grease onto your clean finger or a disposable glove.
- Coat the entire surface of the caliper pins with a thin layer of grease. Ensure that the grease is evenly distributed and covers the pins completely.
- Make sure to apply grease to both ends of the caliper pins, as well as any other exposed metal parts that come into contact with the brake pad hardware.
- Ensure that you do not apply excessive grease, as it can attract dirt and contribute to brake noise.
- Gently slide the caliper pins back and forth to distribute the grease and ensure smooth movement.
By applying grease to the caliper pins, you are providing lubrication that allows the calipers to move freely and effectively apply pressure to the brake pads. This helps maintain the performance of your braking system and extends the lifespan of your calipers.
Once you have finished greasing the caliper pins, move on to the next step of reinstalling the brake pads and calipers.
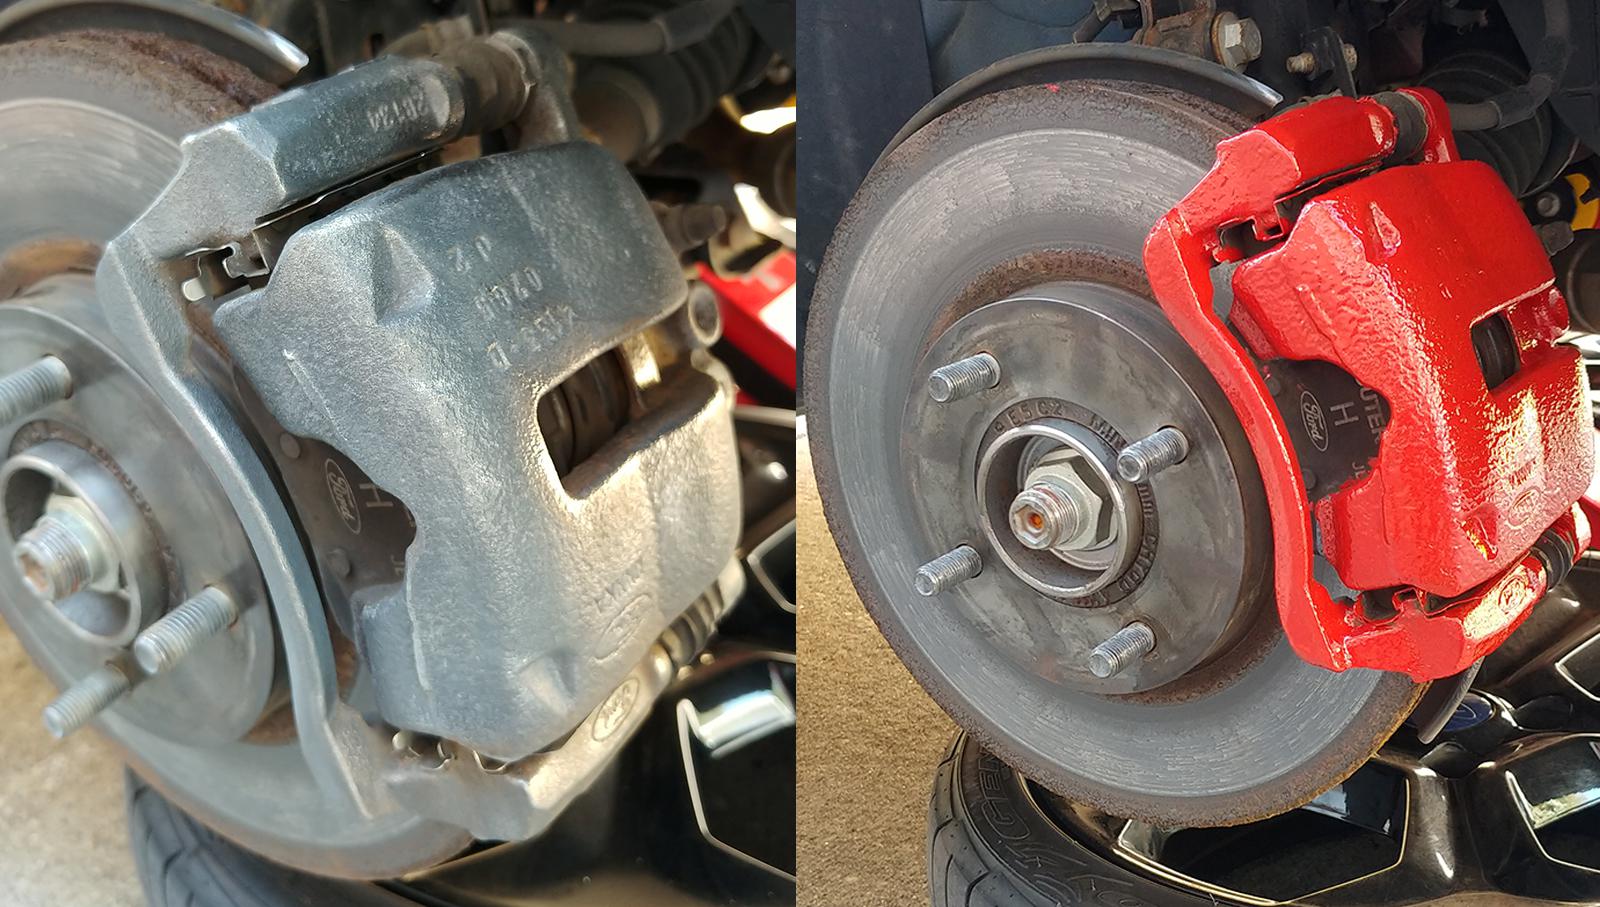
Step 6: Reinstall the brake pads and calipers
With the caliper pins properly greased, you can now proceed to reinstalling the brake pads and calipers. Follow these steps to ensure a smooth and secure reinstallation process:
- Carefully place the brake pad onto the caliper bracket. Ensure that the pad is properly aligned with the rotor and the retaining clips or shims are in place.
- Slide the caliper over the brake pad, aligning it with the caliper bracket. Be cautious not to damage the brake pad or any other components during this process.
- Double-check that the brake pads are seated correctly and the caliper is in the correct position. The caliper should align with the mounting bolts on the caliper bracket.
- Slowly and evenly tighten the caliper mounting bolts using a wrench or socket. Refer to your vehicle’s service manual for the recommended torque specifications.
- Once the caliper is securely fastened, give it a gentle tug to ensure it is properly aligned and attached to the brake pad and caliper bracket.
Reinstalling the brake pads and calipers is a critical step in ensuring the proper function of your braking system. It is important to take your time and ensure that all components are correctly aligned and secured. By doing so, you prevent any unwanted noise, vibration, or potential damage to your braking system.
With the brake pads and calipers reinstalled, you can now move on to the final step of putting the wheels back on.
Read more: How To Clean Calipers
Step 7: Put the wheels back on
With the brake pads and calipers securely reinstalled, it’s time to put the wheels back on your vehicle. Follow these steps to properly mount the wheels:
- Lift the wheel and align it with the wheel studs on the wheel hub. Make sure the wheel is properly seated and centered.
- Thread one lug nut onto each wheel stud by hand, tightening them just enough to hold the wheel in place.
- Continue threading the remaining lug nuts onto the wheel studs, again tightening them by hand.
- Using a lug wrench, tighten the lug nuts in a star pattern. Start with one lug nut, then move to the opposite lug nut, and continue in a crosswise pattern.
- After all the lug nuts are tightened, use the lug wrench to further tighten them until they are snug. Avoid overtightening, as this can warp the wheel or cause other issues.
- Lower the vehicle from the jack stands or vehicle lift, following proper safety procedures.
- Once the vehicle is on the ground, use the lug wrench to fully tighten the lug nuts to the recommended torque specification. Refer to your vehicle’s manual for the specific torque value.
Putting the wheels back on is the final step in the process of greasing your calipers. It’s crucial to ensure that the lug nuts are properly tightened to prevent them from loosening while driving. By following the correct tightening sequence and torque specifications, you ensure the wheels are secure and safe for the road.
Congratulations! You have successfully greased the calipers and reinstalled the wheels. Your braking system is now ready for optimal performance. Remember to double-check your work and perform a test drive to ensure everything is functioning correctly before proceeding.
As always, if you have any doubts or concerns about the process or if you encounter any issues, it’s best to consult a professional mechanic for assistance.
By regularly greasing the calipers, you can maintain the efficiency and longevity of your braking system, ensuring your safety and the safety of others on the road. Happy driving!
Conclusion
Maintaining your vehicle’s braking system is of utmost importance for your safety on the road, and greasing the calipers is a crucial part of that maintenance. By following the step-by-step process outlined in this article, you can ensure that your calipers remain in optimal condition, providing smooth and efficient braking performance.
Throughout the greasing process, we covered various steps, including lifting and securing the vehicle, removing the wheels, inspecting the calipers and brake pads, cleaning the calipers, applying grease to the caliper pins, reinstalling the brake pads and calipers, and putting the wheels back on.
Remember, safety should always be your top priority when working on your vehicle. Follow all safety guidelines, use the necessary tools and materials, and consult your vehicle’s owner’s manual for specific instructions.
Regularly greasing your calipers and performing routine brake maintenance will help extend the lifespan of your braking system, prevent unnecessary wear and tear, and ensure optimal performance. It is essential to pay attention to any signs of damage or wear and address them promptly to avoid potential brake failure.
If you have any doubts or concerns about the greasing process or encounter any issues, it is always advisable to seek professional assistance. A qualified mechanic can provide expert guidance and ensure that the calipers are properly maintained.
By taking the time to grease your calipers, you are investing in the safety and performance of your vehicle. So, gather your tools, follow the steps we’ve outlined, and give your braking system the care it deserves. Safe travels!
Frequently Asked Questions about How To Grease Calipers
Was this page helpful?
At Storables.com, we guarantee accurate and reliable information. Our content, validated by Expert Board Contributors, is crafted following stringent Editorial Policies. We're committed to providing you with well-researched, expert-backed insights for all your informational needs.


0 thoughts on “How To Grease Calipers”