Articles
How To Paint Fireplace Mantel
Modified: August 31, 2024
Discover articles and step-by-step guides on how to paint your fireplace mantel for a stunning transformation. Enhance your home décor with these expert tips.
(Many of the links in this article redirect to a specific reviewed product. Your purchase of these products through affiliate links helps to generate commission for Storables.com, at no extra cost. Learn more)
Introduction
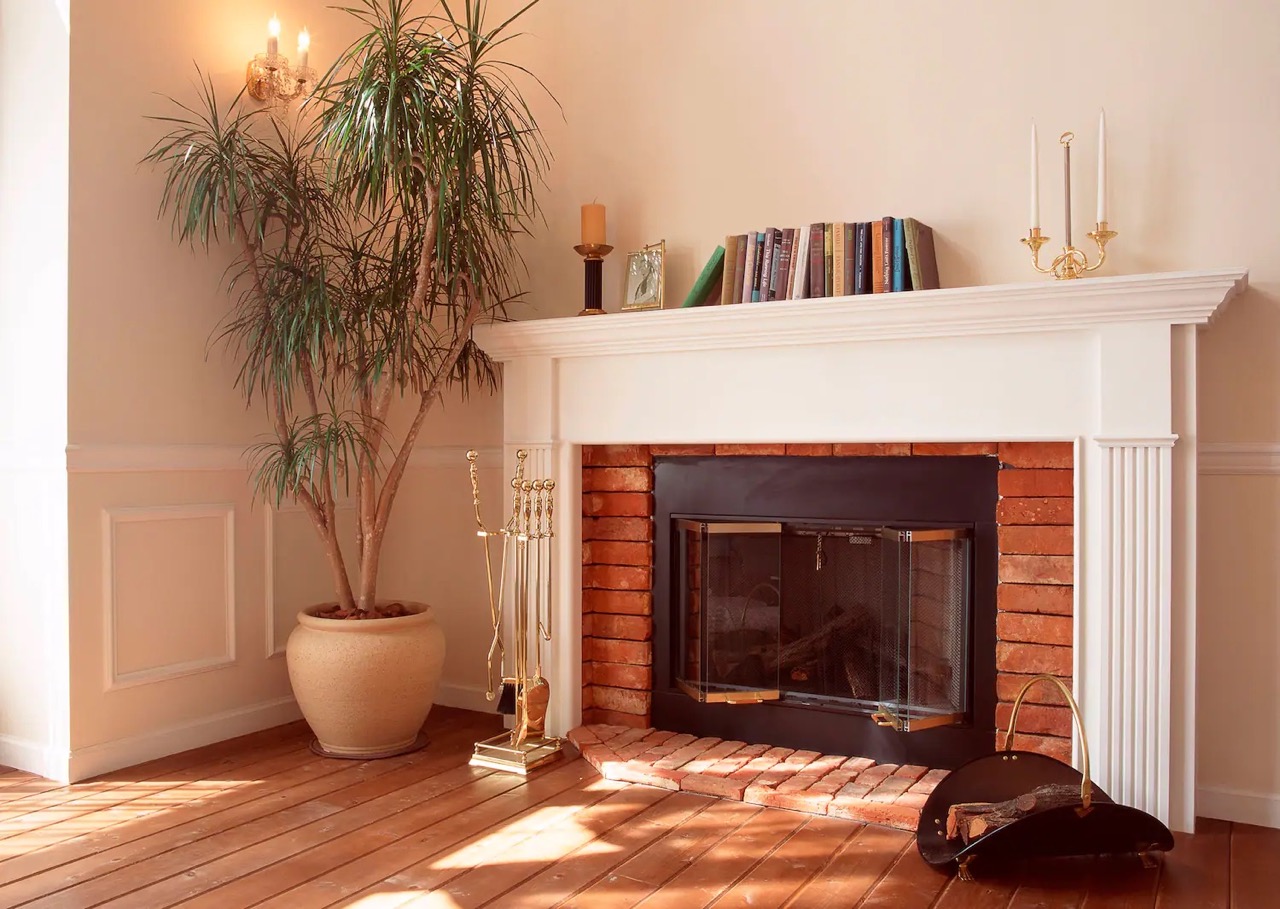
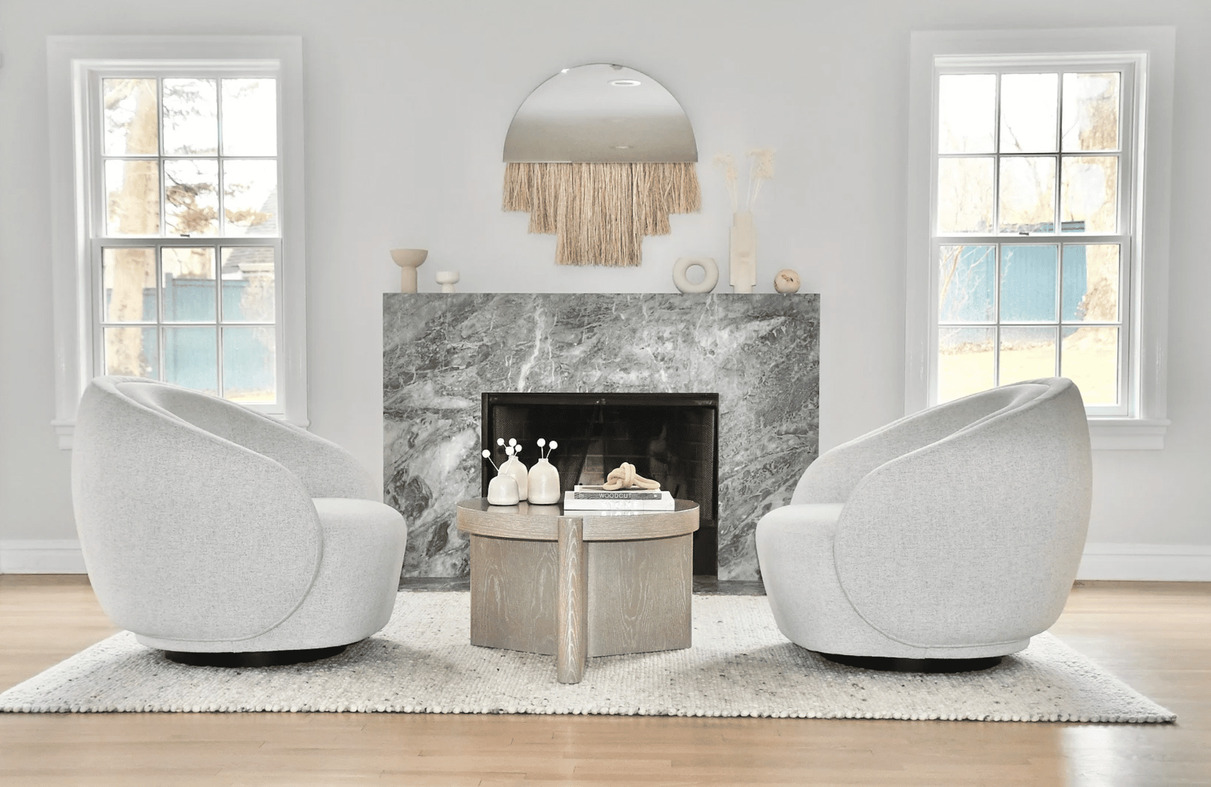
A fireplace mantel can be a beautiful focal point in any home, but over time it may start to look dull or outdated. One way to rejuvenate your fireplace mantel and give it a fresh new look is by painting it. Painting a fireplace mantel not only allows you to update its appearance, but it also provides an opportunity to inject your personal style into your living space.
In this article, we will guide you through the process of painting your fireplace mantel, from preparing the surface to applying the final coats of paint. Whether you have a wooden, marble, or stone mantel, these steps will help you achieve a professional-looking finish.
Before you begin, it’s important to note that the process and materials used may vary depending on the type of mantel you have. Always refer to the manufacturer’s instructions and make sure to take any necessary precautions to protect yourself and your surroundings.
So, if you’re ready to give your fireplace mantel a makeover, let’s dive into the steps needed to transform it into a stunning centerpiece.
Key Takeaways:
- Transform your fireplace mantel into a stunning centerpiece by following these steps for a professional-looking finish that reflects your personal style and enhances your home’s aesthetic.
- Achieve a durable and long-lasting finish by choosing the right paint and supplies, protecting the surrounding area, and adding those final touches for a polished and pristine appearance.
Read more: How To Update A Fireplace Mantel
Preparing the Fireplace Mantel
Before you start painting your fireplace mantel, it’s essential to properly prepare the surface. This preparation will ensure that the paint adheres well and creates a smooth and long-lasting finish.
The first step is to remove any objects or decorations from the mantel. Clearing the area will make it easier to work and prevent any accidental damage to your belongings.
Next, thoroughly clean the mantel to remove any dust, dirt, or grime. Use a soft cloth or sponge dampened with warm water and a mild detergent. Gently wipe down the entire surface and pay special attention to any areas that may have accumulated soot or residue from previous fires.
If your mantel has any rough or uneven areas, you may need to sand it down to create a smooth surface. Use a fine-grit sandpaper and lightly sand the entire mantel, making sure to follow the grain of the wood or the texture of the material. This step will help the paint adhere better and give you a more professional-looking finish.
Once you have finished sanding, use a tack cloth or a damp cloth to remove any dust or debris from the surface. It’s crucial to remove all traces of dust as it can affect the paint’s adhesion and result in a less-than-desirable finish.
Finally, apply painter’s tape to protect any adjacent surfaces or areas that you don’t want to be painted. Use a high-quality painter’s tape and carefully apply it to the edges of the mantel, ensuring that it adheres well and creates a clean, straight line.
By taking the time to properly prepare your fireplace mantel, you will set the foundation for a successful painting project. The extra effort spent on preparation will yield a beautiful and long-lasting finish that you’ll be proud to showcase in your home.
Choosing the Right Paint and Supplies
Choosing the right paint and supplies is crucial when it comes to painting your fireplace mantel. The materials you select will not only impact the final appearance but also contribute to the durability of the finish. Here are some factors to consider when making your choices.
Type of Paint: The type of paint you choose will depend on the material of your fireplace mantel. For wooden mantels, latex or oil-based paint is generally recommended. Latex paint is easier to clean up and has a faster drying time, while oil-based paint provides a smoother and more durable finish. For non-wooden mantels such as marble or stone, look for a paint specifically designed for these surfaces.
Finish: The finish of the paint will also impact the overall look of your mantel. Consider whether you prefer a matte, satin, or glossy finish. Keep in mind that glossy finishes tend to highlight imperfections and can be more challenging to maintain, while matte finishes have a more subtle and forgiving appearance.
Color: The color you choose for your mantel should complement the overall aesthetic of your space. Consider the existing color scheme, furniture, and decor to select a paint color that will enhance the room’s ambiance. Don’t be afraid to experiment with different shades or opt for a bold color to make a statement.
Supplies: In addition to paint, you will need a few essential supplies to complete your painting project. These include high-quality brushes or rollers, a paint tray, drop cloths or plastic sheets to protect the surrounding area, sandpaper or sanding blocks, and painter’s tape. Make sure to choose brushes and rollers appropriate for the type of paint you’re using.
When purchasing your paint and supplies, it’s a good idea to consult with a professional at your local paint store. They can provide expert advice and ensure that you select the right products for your specific needs.
By carefully choosing the right paint and supplies, you’ll set yourself up for a successful painting project and achieve the desired results for your fireplace mantel. The right materials will not only enhance the appearance of the mantel but also contribute to its longevity and durability.
Protecting the Surrounding Area
When painting your fireplace mantel, it’s essential to take precautions to protect the surrounding area. Paint can easily splatter or drip, potentially causing damage to your floors, walls, or furniture. Here are some steps to ensure that your surroundings remain unharmed during the painting process.
Cover the Floor: Start by covering the floor around the mantel with drop cloths or plastic sheets. This will prevent any paint spills or drips from staining or damaging your flooring. Secure the coverings with painter’s tape to keep them in place.
Protect the Walls: Use painter’s tape to cover any adjacent walls or surfaces that you don’t want to be painted. Apply the tape along the edges of the walls, ensuring that it adheres well and creates a clean boundary. This will protect the walls from accidental paint smudges or splatters.
Remove or Cover Furniture: If possible, remove any furniture or decorative items near the mantel. This will give you more room to work and minimize the risk of paint splatter. If moving furniture is not an option, cover it with plastic sheets or drop cloths to protect it from potential paint damage.
Use Protective Sheets: For extra protection, consider using plastic sheets or tarps to cover larger surfaces, such as nearby cabinets or shelves. This added layer of protection will provide peace of mind and prevent any accidental paint damage.
By taking the time to protect the surrounding area, you can avoid unnecessary cleanup or damage to your home. It’s always better to be safe than sorry, and a little extra effort upfront will save you time and frustration in the long run.
Cleaning and Sanding the Mantel
Before you can start painting your fireplace mantel, it’s essential to clean and sand the surface. This step is crucial for achieving a smooth and even finish. Here’s how to properly clean and prepare your mantel for painting.
Cleaning the Mantel: Use a soft cloth or sponge dampened with warm water and a mild detergent to clean the mantel. Gently wipe down the entire surface, removing any dirt, dust, or grease buildup. Pay attention to areas that may have accumulated soot or residue from previous fires. Rinse the mantel with clean water and allow it to dry completely before proceeding.
Sanding the Mantel: If your mantel has any rough or uneven areas, you’ll need to sand it down to create a smooth surface. Start by using a medium-grit sandpaper (around 120 grit) to sand the entire mantel. Sand with the grain of the wood or the texture of the material to avoid scratches or damage. Sanding will remove any imperfections, old paint, or varnish, allowing the new paint to adhere properly. After sanding, switch to a fine-grit sandpaper (around 220 grit) to create a smooth finish. Use a sanding block or a sanding tool to ensure even pressure and consistent results.
During the sanding process, be sure to wear a dust mask and safety goggles to protect yourself from dust particles. Take breaks occasionally to inspect the surface and ensure that you have achieved a smooth and even texture.
Once you have finished sanding, use a tack cloth or a damp cloth to remove any dust or debris from the mantel. It’s crucial to remove all traces of dust, as they can affect the paint’s adhesion and result in an uneven finish.
By thoroughly cleaning and sanding the mantel, you are creating a clean and smooth surface for the paint to adhere to. This step is essential for achieving professional-looking results and ensuring the longevity of your fireplace mantel paint job.
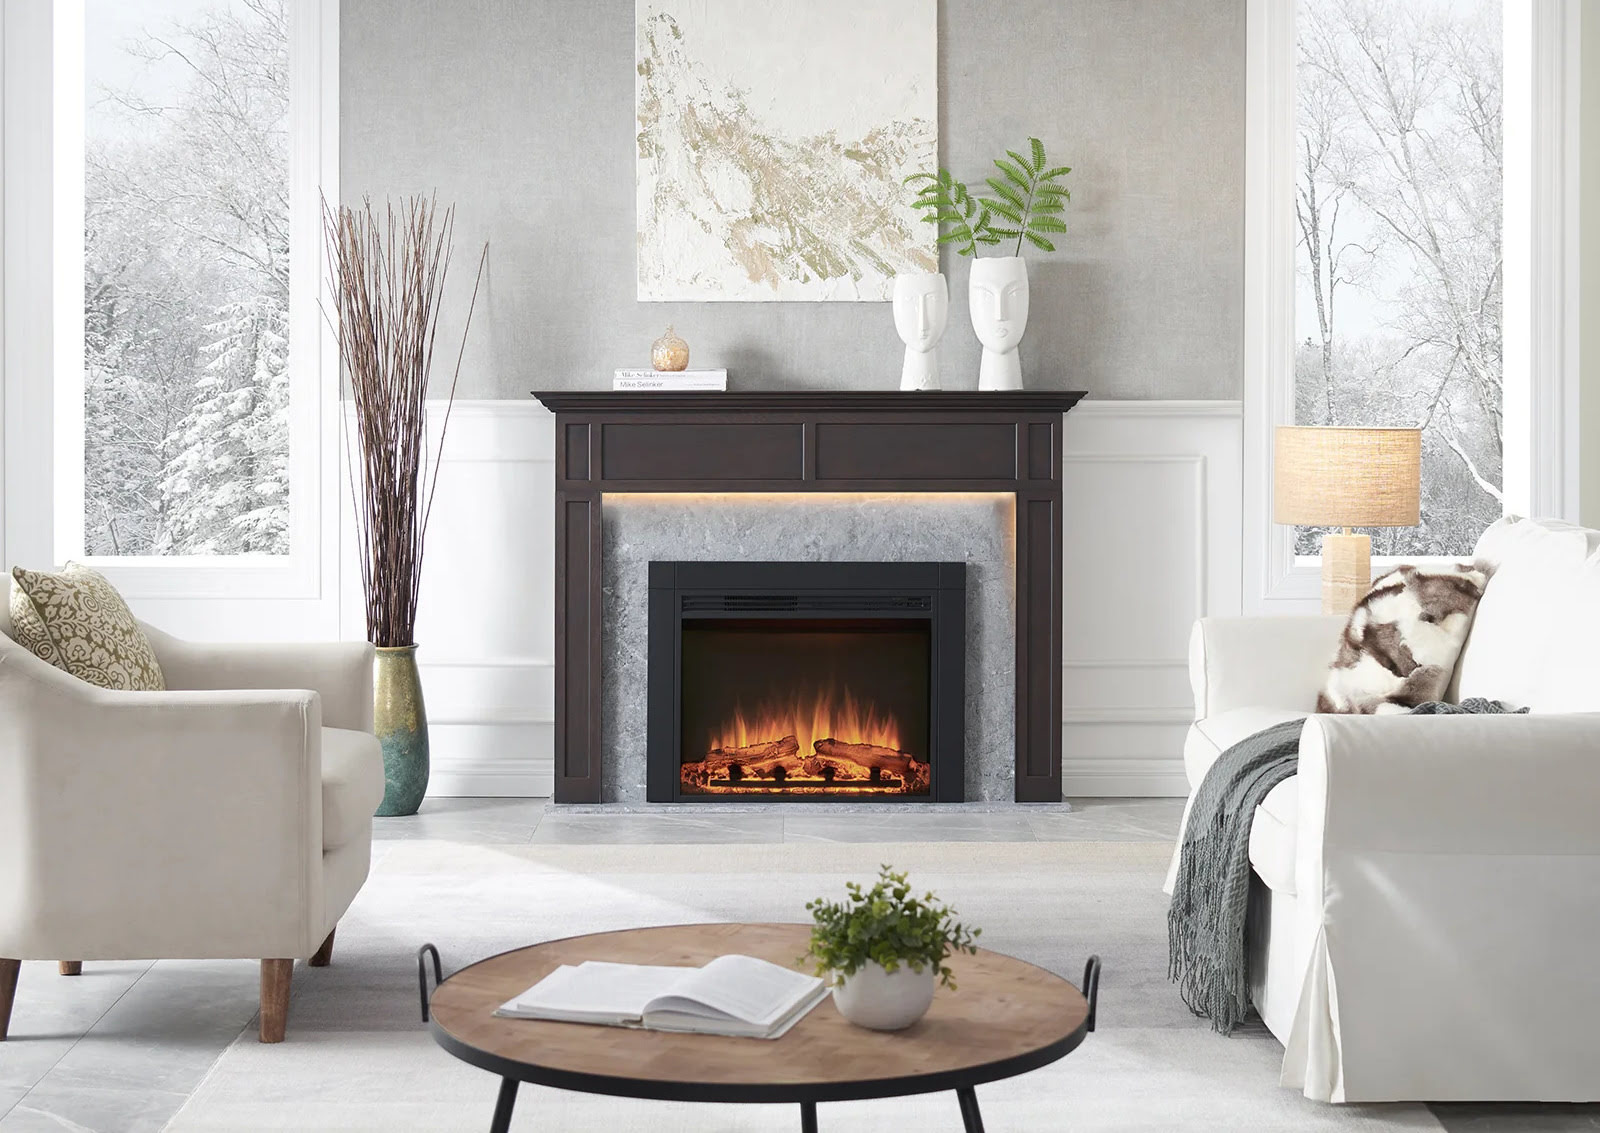
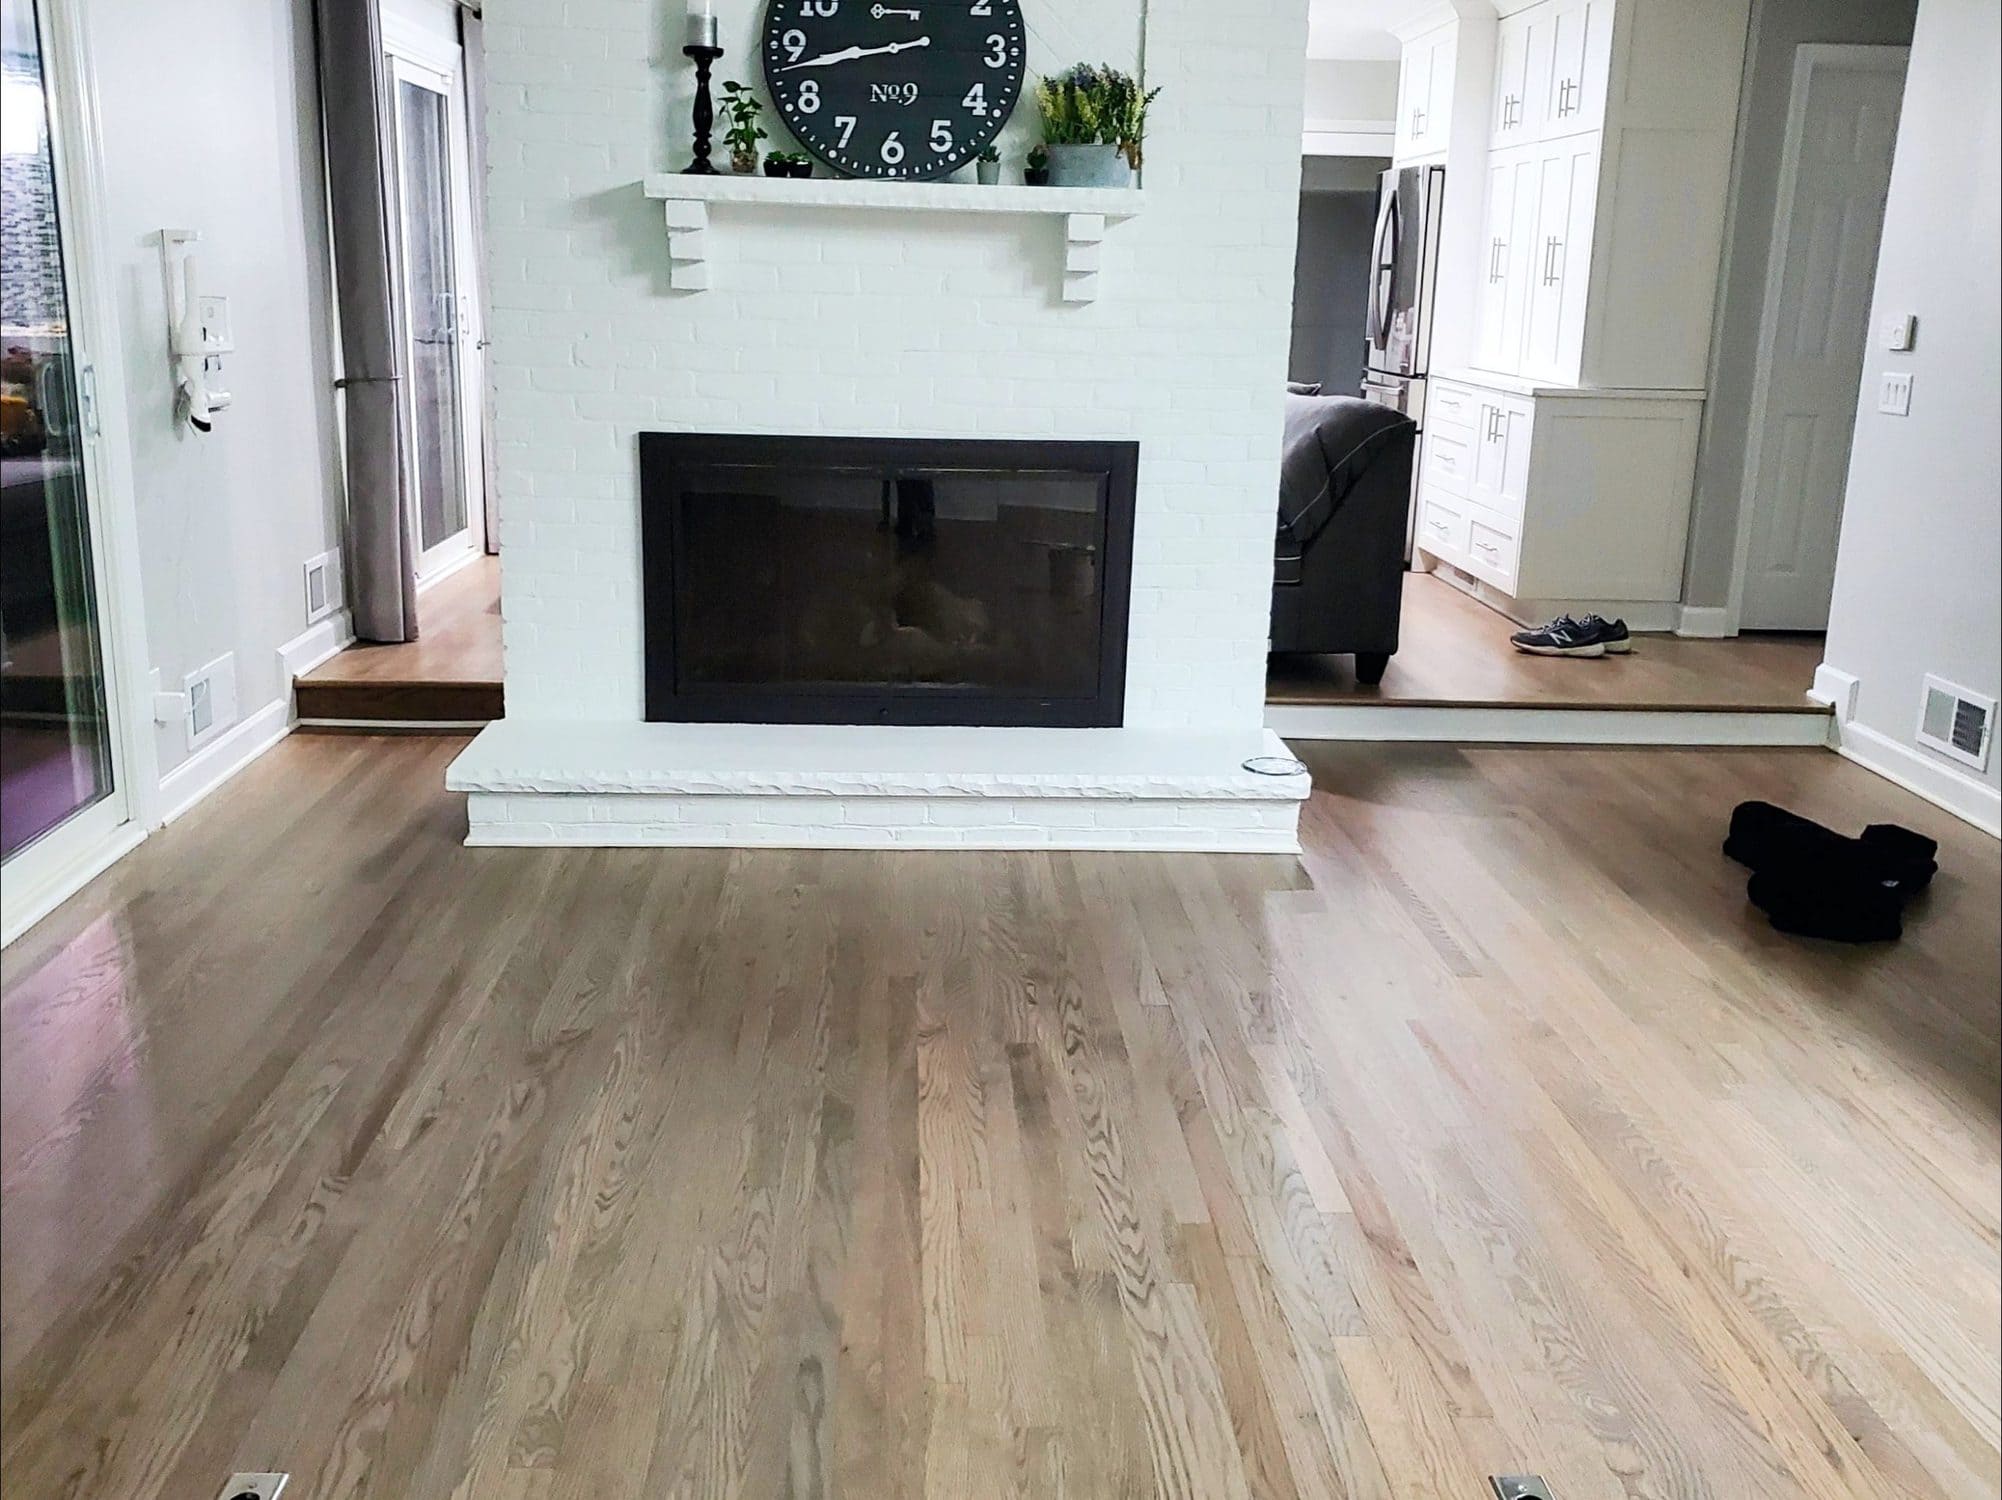
When painting a fireplace mantel, be sure to clean and sand the surface before applying a high-quality primer and paint. Use a small brush for detailed areas and a roller for the flat surfaces to ensure even coverage.
Read more: Where To Buy Fireplace Mantel
Applying Primer
Before you start painting your fireplace mantel, it’s essential to apply a primer coat. Primer helps create a smooth and even surface, improves paint adhesion, and enhances the durability of the final finish. Here’s a step-by-step guide on how to apply primer to your mantel:
- Choose the Right Primer: Select a high-quality primer that is specifically formulated for the type of mantel you have. For wooden mantels, use a wood primer, while non-wooden mantels may require a different type of primer. Consult with a professional at your local paint store to ensure you choose the right product for your specific needs.
- Prepare the Area: Ensure that the surrounding area is properly protected with drop cloths or plastic sheets. Remove any furniture or decorative items from the vicinity to make it easier to work.
- Stir the Primer: Before starting, thoroughly stir the primer to ensure an even consistency. Follow the manufacturer’s instructions on how to properly mix the primer.
- Apply the Primer: Use a high-quality brush or roller to apply the primer to the mantel. Start by painting the edges and corners with a brush, then use a roller to cover the larger surfaces. Work in small sections to ensure that the primer is applied evenly. Use smooth and even strokes, following the grain of the wood or the texture of the material.
- Allow the Primer to Dry: Follow the manufacturer’s instructions regarding the drying time of the primer. Typically, it takes around 2-4 hours for the primer to dry completely. Make sure to allow sufficient drying time before proceeding to the next step.
- Inspect and Sand: Once the primer has dried, inspect the surface for any imperfections or rough areas. If necessary, use fine-grit sandpaper (around 220 grit) to sand the primed surface lightly. This will create a smoother texture and ensure a better foundation for the paint.
- Clean up: After sanding, use a tack cloth or a damp cloth to remove any sanding dust or debris from the surface. Be thorough in your cleaning to ensure a clean and dust-free surface for the next steps.
By applying primer to your mantel, you are creating a solid base for the paint to adhere to. The primer helps to seal the surface and improve paint adhesion, resulting in a smoother and more professional-looking finish.
Painting the Mantel
Now that you’ve properly prepared the fireplace mantel and applied the primer, it’s time to move on to the exciting part – painting! Follow these steps to achieve a flawless finish on your mantel:
- Choose the Paint: Select a high-quality paint that is suitable for your mantel’s material. Use a latex or oil-based paint for wooden mantels, and choose a paint specifically designed for non-wooden mantels like stone or marble. Ensure that the paint color you choose complements your overall design scheme.
- Stir the Paint: Give the paint can a thorough stir before you start. This ensures that the color pigments are evenly distributed throughout the paint.
- Protect the Surrounding Area: Reconfirm that the surrounding area is adequately protected with drop cloths or plastic sheets. This will prevent any accidental paint splatter on the floor, walls, or furniture.
- Begin Painting: Start by using a brush to carefully paint the edges, corners, and any intricate details of the mantel. Use smooth and even strokes, overlapping slightly onto the surface. Once the edges are complete, switch to a roller to cover the larger areas of the mantel. Roll the paint onto the surface in long, even strokes, working in manageable sections.
- Work in Layers: Apply the paint in thin and even layers, rather than trying to achieve full coverage in one coat. This approach will result in a smoother finish and minimize visible brushstrokes. Allow each coat to dry completely before applying the next one, following the manufacturer’s recommended drying time.
- Pay Attention to Details: Keep an eye out for any drips, runs, or uneven coverage as you paint. If you notice any imperfections, gently smooth them out with a brush or roller. Take your time and ensure an even application throughout.
- Apply Additional Coats (If Necessary): Depending on the color and type of paint you’re using, you may need to apply multiple coats for full coverage and a vibrant finish. Allow each coat to dry before applying the next, and assess the color and coverage after each layer.
- Inspect and Touch Up: Once you’ve completed the desired number of coats, inspect the mantel for any missed spots or uneven areas. Use a brush or roller to carefully touch up any imperfections.
Remember to read and follow the manufacturer’s instructions on the paint can regarding recommended drying times, as well as any additional steps or precautions specific to the paint you’ve chosen.
By following these guidelines, you will achieve a beautifully painted mantel that breathes new life into your fireplace space and adds a touch of personal style to your home.
Adding Additional Coats for Desired Finish
Once you have completed the initial painting of your fireplace mantel, it’s time to assess the coverage and decide if additional coats are needed to achieve your desired finish. Adding extra coats of paint can help improve the color saturation, hide any underlying imperfections, and ensure a more durable and long-lasting finish. Here’s how you can determine if more coats are necessary:
- Assess the Coverage: Step back and evaluate the overall coverage of the paint on your mantel. If you notice any areas where the underlying surface is still visible or the color is not as vibrant as you would like, additional coats may be needed.
- Check for Sheen Consistency: Consider the sheen or finish of the paint. Some paints may dry to a slightly different sheen than when wet. If you notice inconsistencies in the sheen across different areas of the mantel, an extra coat or two can help create a more uniform appearance.
- Consider the Color: Depending on the color you selected and the type of surface you are painting, certain colors may require more coats to achieve full opacity. Darker colors, in particular, may need additional coats to reach their true intensity without any streaks or patches.
- Allow Sufficient Drying Time: Before applying additional coats of paint, make sure to allow the previous coat to dry completely. Refer to the paint can for the recommended drying time. Applying new coats over partially dried paint can cause issues with adhesion and affect the final finish.
- Apply Additional Coats: When applying additional coats, follow the same painting techniques used for the first coat. Use a brush for corners and edges, and a roller for larger areas, ensuring smooth and even coverage. Apply the paint in thin layers, allowing each coat to dry before adding the next.
- Inspect and Adjust: After each additional coat, take the time to inspect the mantel for any missed spots or uneven areas. If necessary, use a brush or roller to touch up these areas and make any needed adjustments.
It’s important to note that the number of additional coats required will vary depending on factors such as the type of paint, color intensity, and your personal preferences. Always aim for a consistent and even finish throughout.
By adding extra coats of paint as needed, you can achieve the desired depth, color richness, and overall finish that will make your fireplace mantel truly stand out.
Cleaning Up and Finishing Touches
After you’ve completed the painting process for your fireplace mantel, it’s time to clean up any mess and add those final finishing touches to complete the project. Here are some essential steps to wrap up your painting endeavor:
- Clean Your Tools: Start by cleaning your paintbrushes or rollers. If you used latex paint, simply wash them with soap and water. For oil-based paint, use appropriate solvents or cleaners as recommended by the manufacturer. Thoroughly clean your tools to ensure they are ready for future use.
- Remove Protective Coverings: Carefully remove the drop cloths, plastic sheets, and painter’s tape that were used to protect the surrounding area. Dispose of any debris or used materials responsibly.
- Inspect the Result: Take a step back and examine the finished paint job on your mantel. Look for any areas that might need touch-ups or additional attention. You can use a small brush or a small sponge to carefully touch up any imperfections.
- Reinstall Decorative Items: Once you’re satisfied with the paint job, you can reposition any decorations or objects that were temporarily removed from the mantel during the painting process. Arrange them in a way that enhances the overall appearance and complements the new paint color.
- Clean the Mantel Surroundings: Give the area surrounding the mantel a thorough cleaning. Wipe down surfaces, vacuum or sweep the floor, and remove any dust or debris that may have settled during the painting process.
- Enjoy and Maintain: Stand back and admire your newly painted fireplace mantel. Take a moment to appreciate the transformation it has undergone. To maintain the beauty of your painted mantel, follow any care instructions provided by the paint manufacturer. Avoid placing hot objects directly on the mantel and clean any spills or splatters promptly to prevent staining.
By taking the time to properly clean up and add those final touches, you’ll ensure that your fireplace mantel looks its best and seamlessly integrates into your home’s interior design. Now, sit back, relax, and enjoy the refreshed and rejuvenated focal point of your living space!
Read more: How To Install A Mantel On A Brick Fireplace
Conclusion
Painting your fireplace mantel can breathe new life into your living space by transforming it into a stunning centerpiece. By following the steps outlined in this article, you can achieve a professional-looking finish that reflects your personal style and enhances the overall aesthetic of your home.
Starting with the preparation of the mantel surface, cleaning, and sanding ensure a smooth and clean canvas for the paint. Choosing the right paint and supplies, including the appropriate primer, is crucial for achieving a durable and long-lasting finish.
Protecting the surrounding area during the painting process is essential to avoid any accidental damage to your floors, walls, and furniture. Taking the time to clean up properly and add the final touches will result in a polished and pristine appearance.
Remember to be patient and work in thin, even coats, allowing each layer to dry before applying the next. This approach will help you achieve the desired color saturation and minimize visible brushstrokes or imperfections.
Once your fireplace mantel is painted and the project is complete, take a moment to appreciate the impact it has made on your living space. The fresh new look of your mantel will add character and vibrancy to your home.
We hope that this guide has inspired you to embark on your fireplace mantel painting project and given you the confidence to do so. With careful preparation, attention to detail, and a little bit of creativity, you can transform your fireplace mantel into a focal point that reflects your personal style and brings warmth and beauty to your living space.
Frequently Asked Questions about How To Paint Fireplace Mantel
Was this page helpful?
At Storables.com, we guarantee accurate and reliable information. Our content, validated by Expert Board Contributors, is crafted following stringent Editorial Policies. We're committed to providing you with well-researched, expert-backed insights for all your informational needs.
0 thoughts on “How To Paint Fireplace Mantel”