Articles
How To Build Fireplace Mantel And Surround
Modified: December 7, 2023
Learn how to build a stunning fireplace mantel and surround with these informative articles, packed with tips and advice. Transform your space with expert DIY instructions.
(Many of the links in this article redirect to a specific reviewed product. Your purchase of these products through affiliate links helps to generate commission for Storables.com, at no extra cost. Learn more)
Introduction
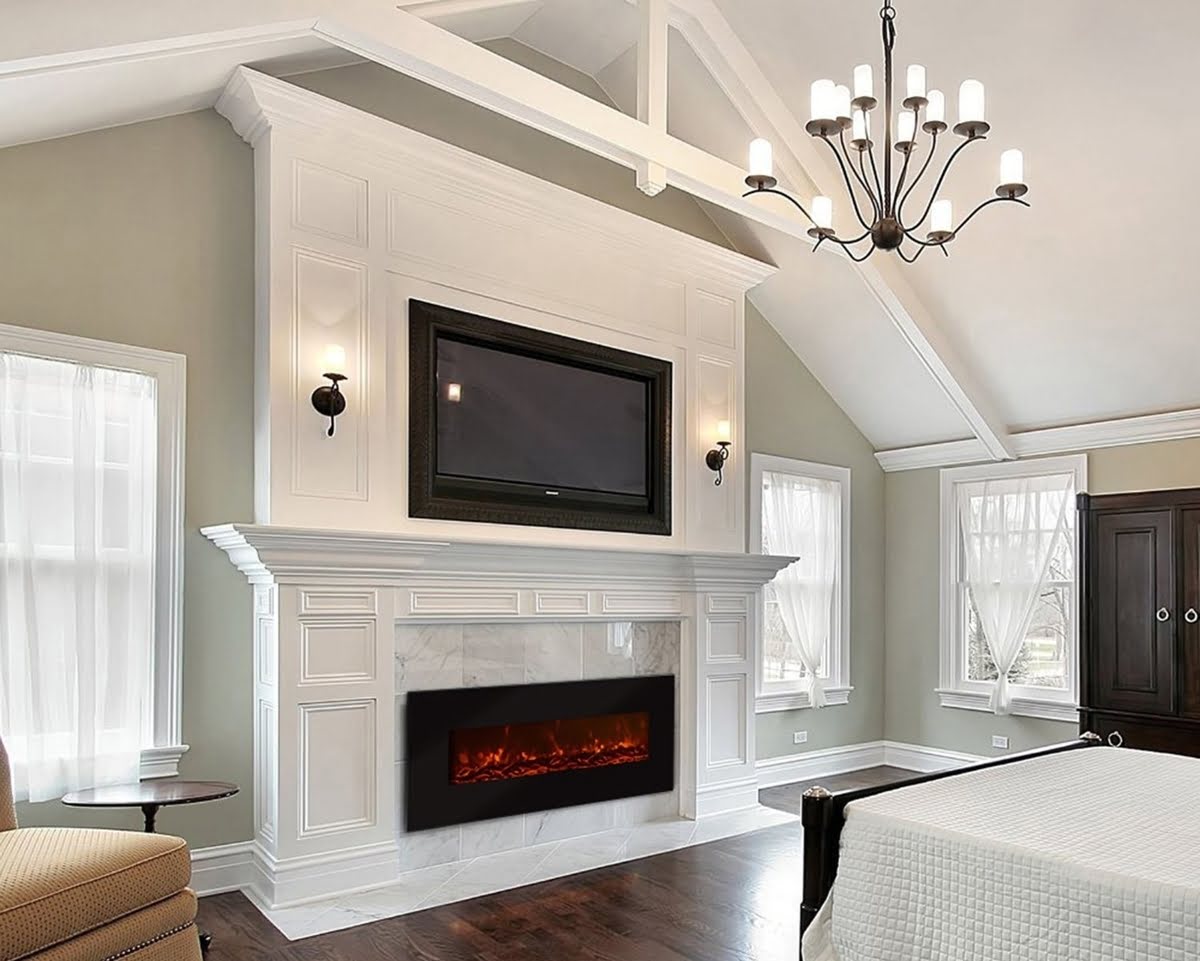
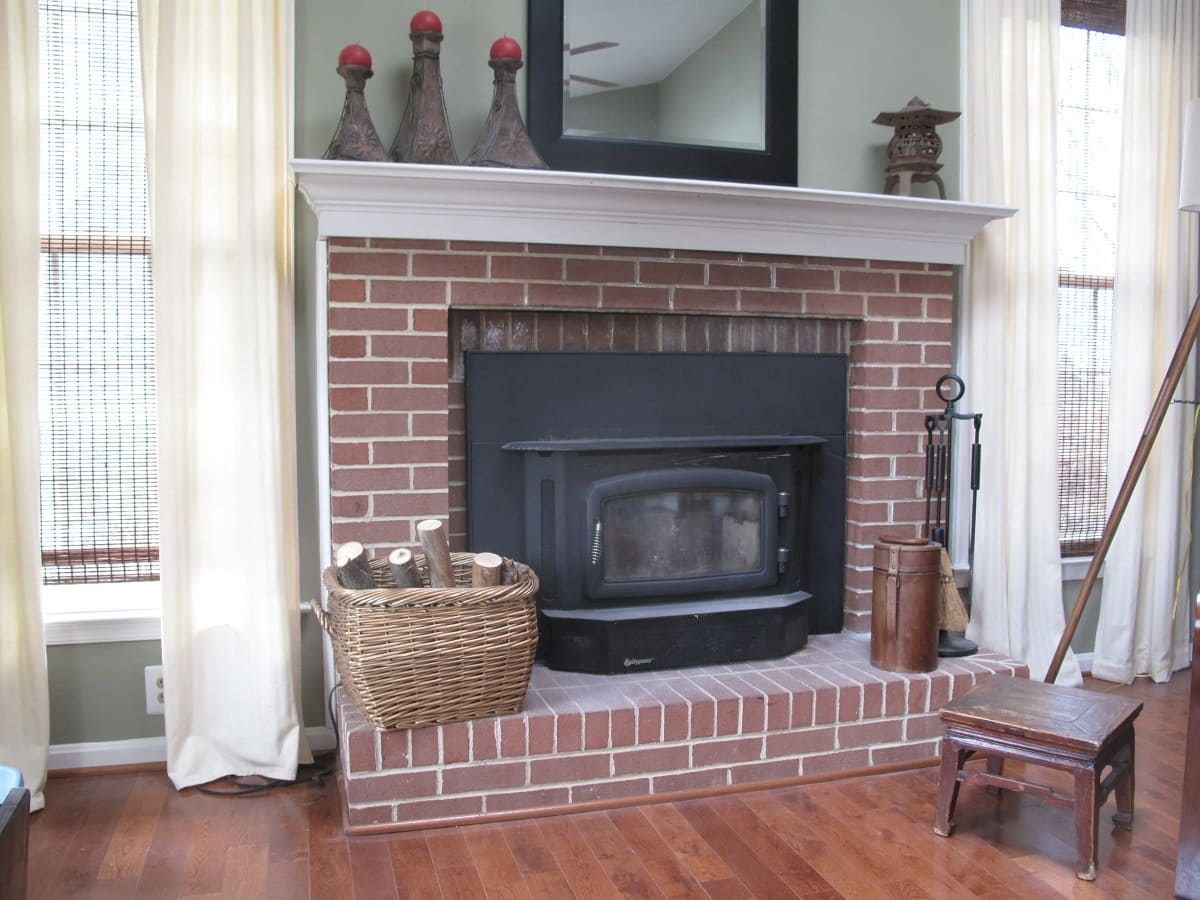
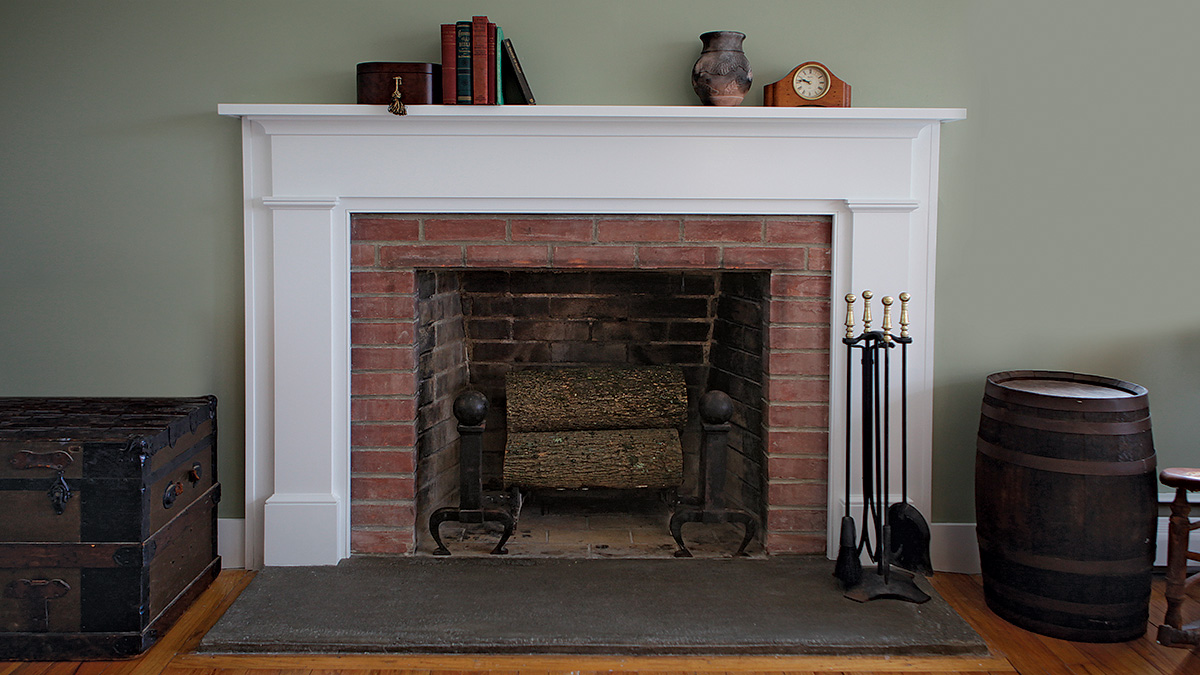
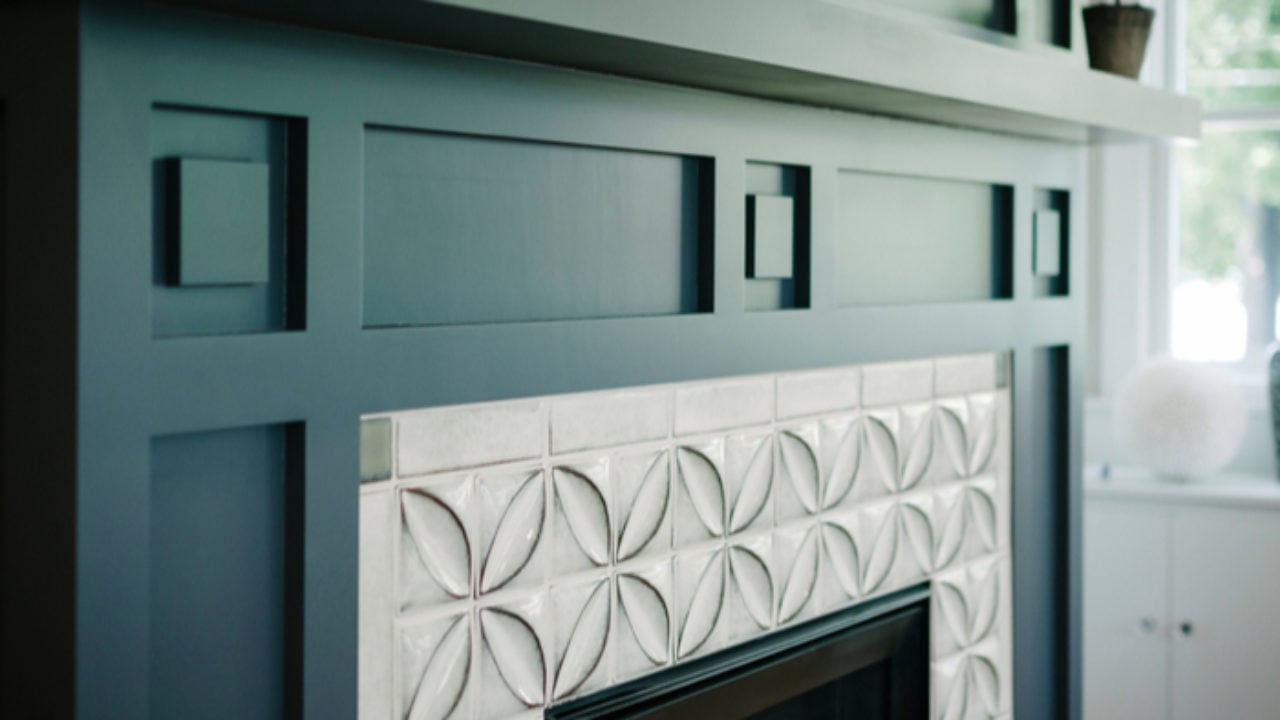
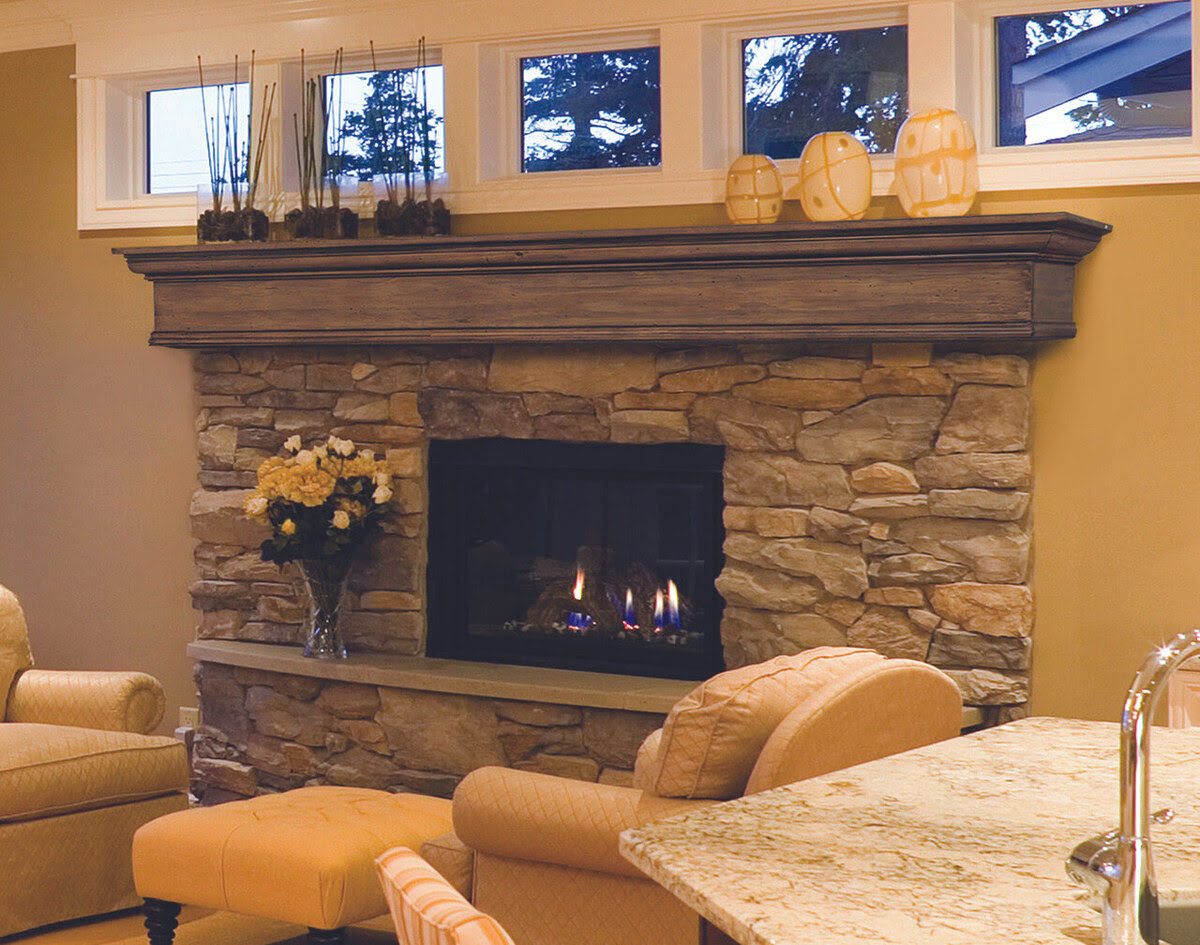
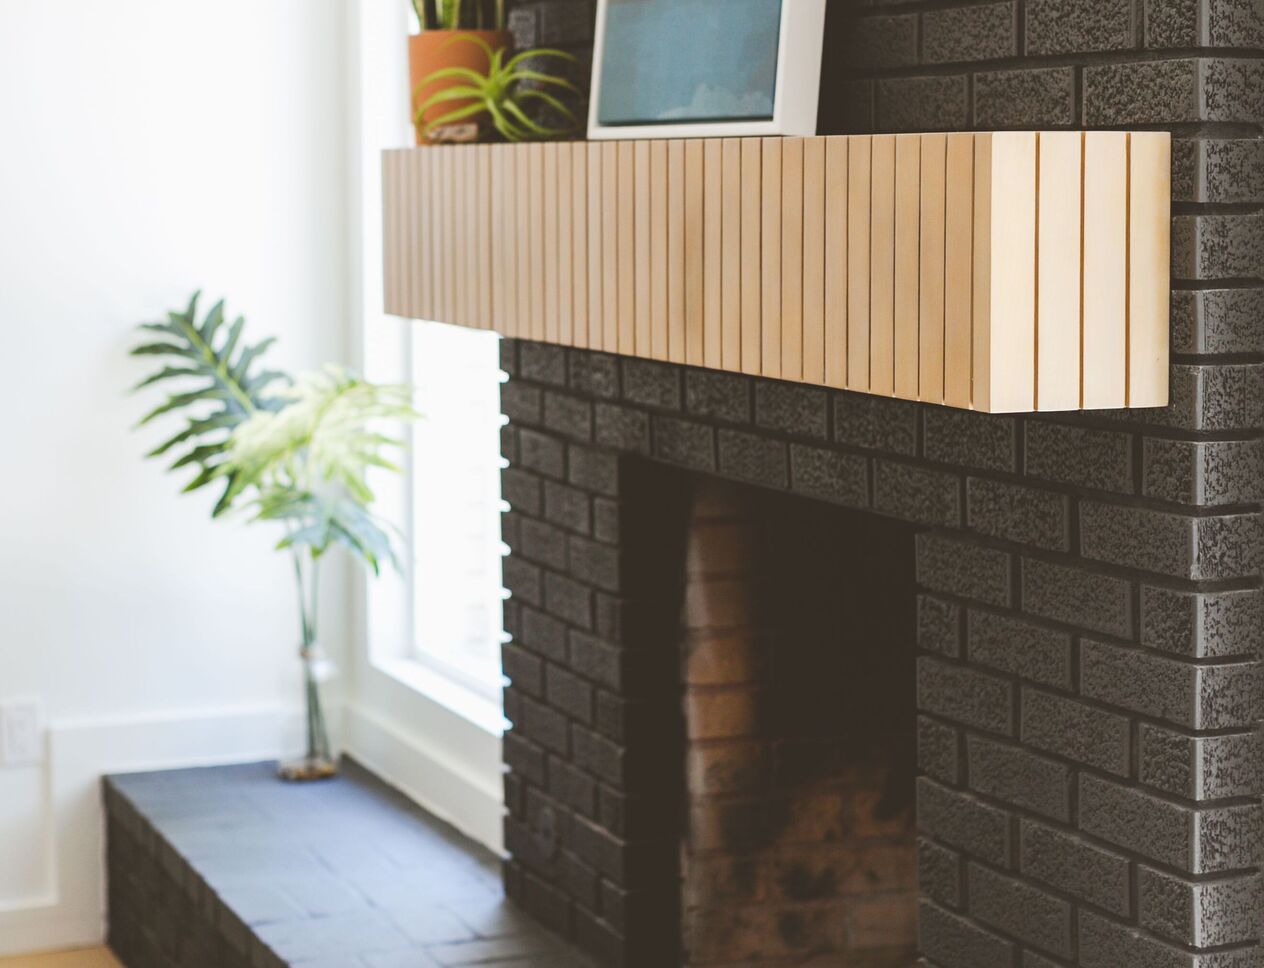
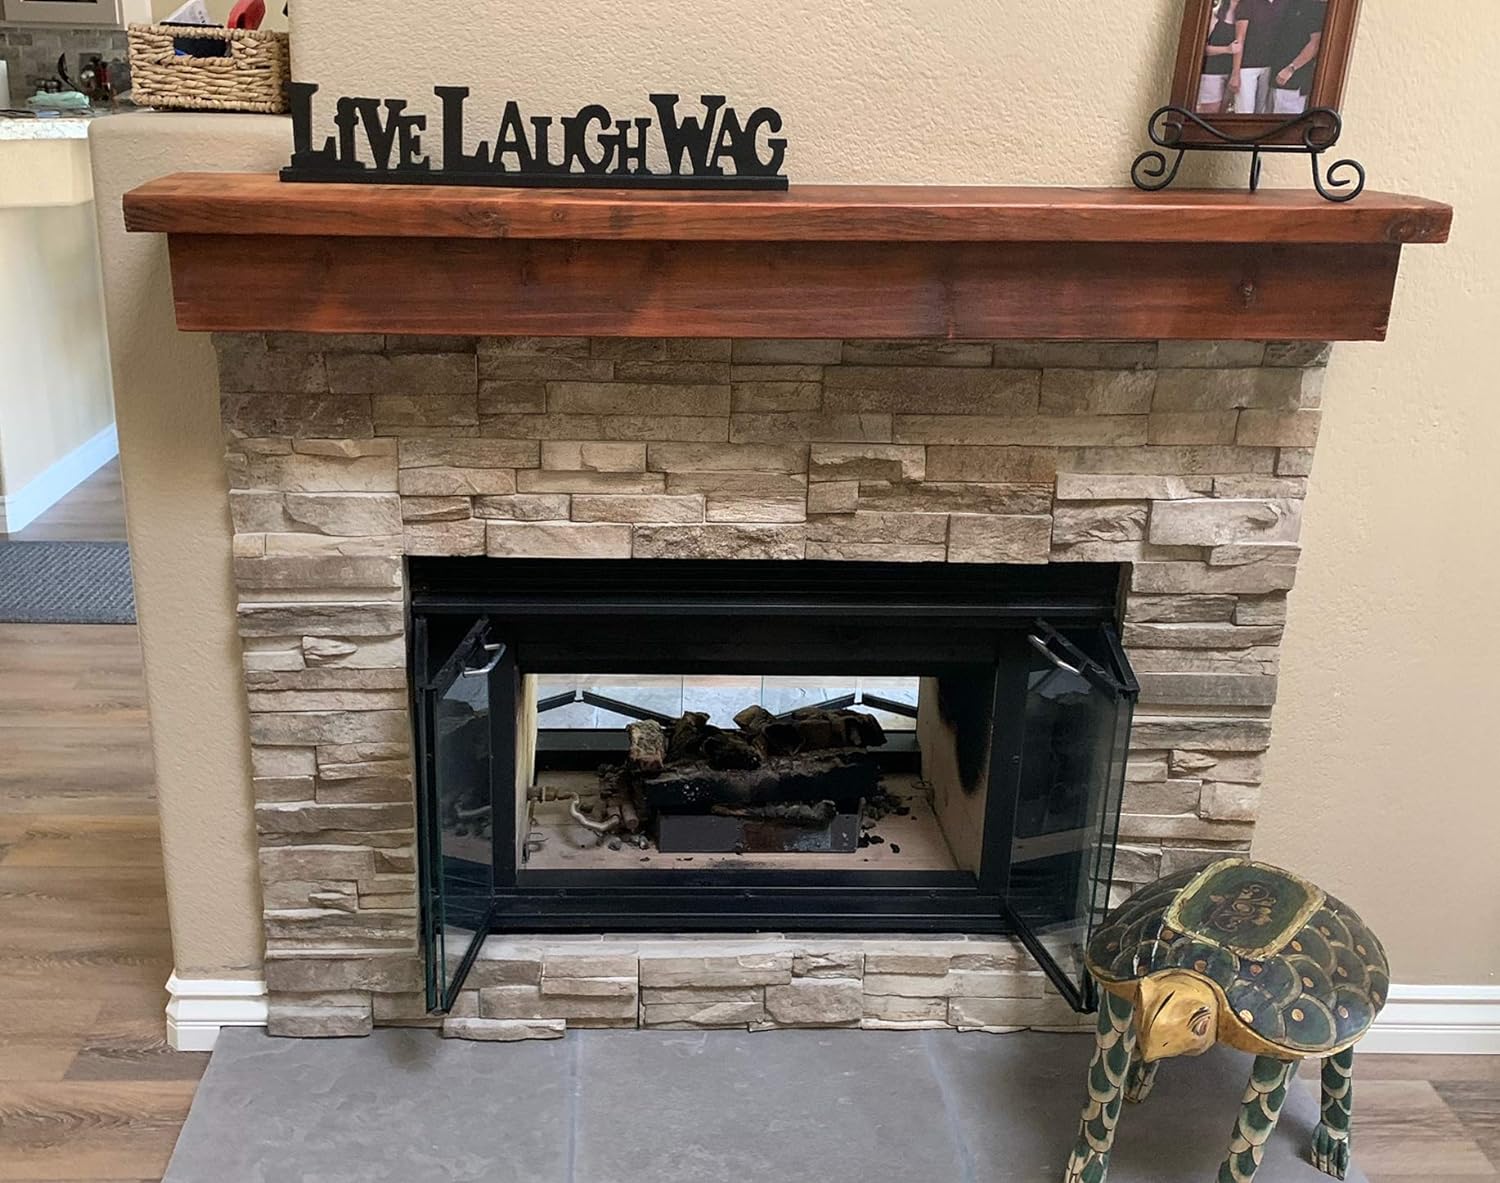
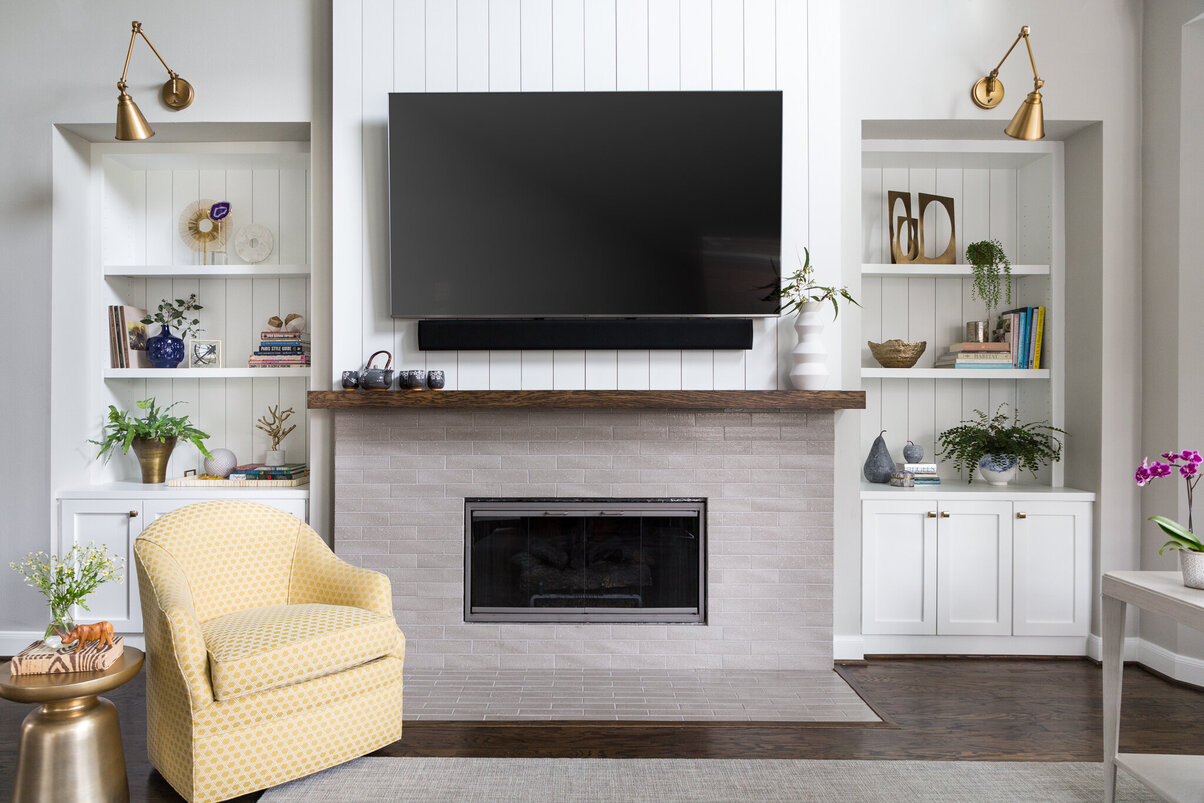
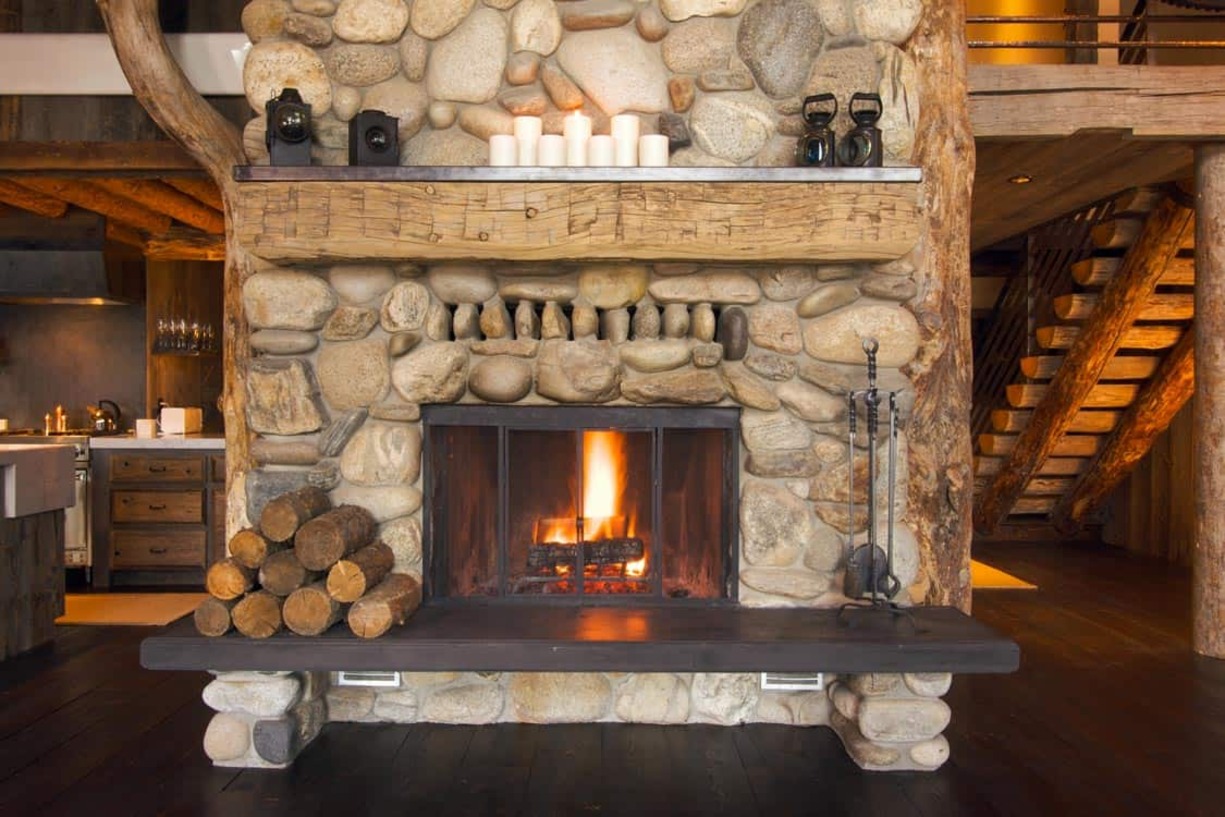
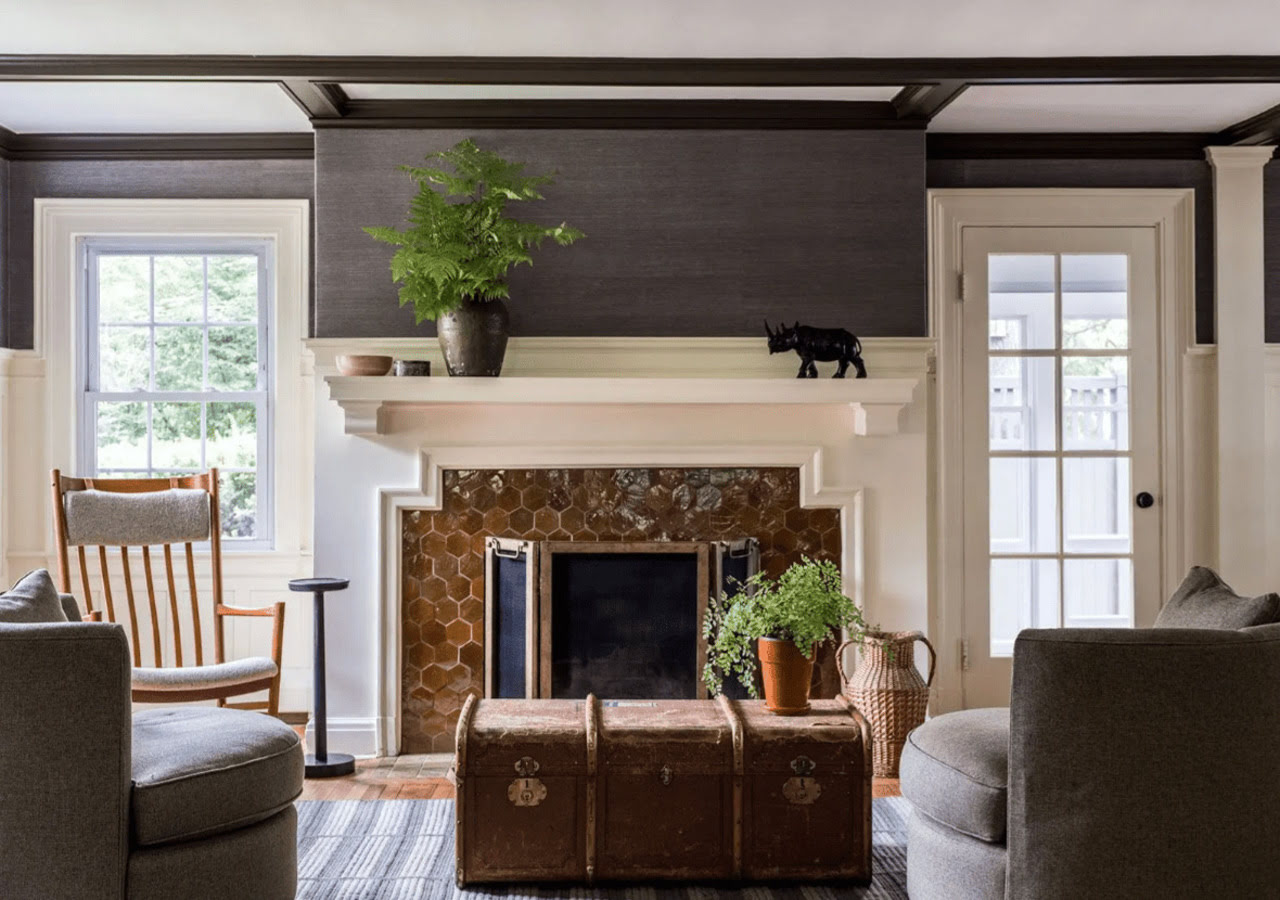
Building a fireplace mantel and surround is a great way to add warmth and character to your home. A fireplace serves as a focal point in any room, and a well-designed mantel can enhance its overall aesthetic appeal. Whether you have just installed a new fireplace or want to update the existing one, building a customized mantel and surround allows you to showcase your personal style and craftsmanship.
In this article, we will guide you through the step-by-step process of building a fireplace mantel and surround. From measuring and planning to the final installation, you will learn all the necessary techniques and skills to create a beautiful and functional fireplace feature in your home.
Before we get started, it’s important to note that building a fireplace mantel and surround requires basic woodworking skills and tools. If you are not comfortable with power tools or carpentry work, it may be best to consult a professional or seek assistance from an experienced handyman.
Now, let’s gather the materials and tools you will need for this project.
Key Takeaways:
- Building a fireplace mantel and surround requires careful planning, precise measurements, and basic woodworking skills. From selecting materials to sanding and finishing, each step contributes to creating a beautiful and functional focal point in your home.
- The process of building a fireplace mantel and surround involves assembling a sturdy frame, securely attaching it to the wall, and constructing a polished surround. Attention to detail and craftsmanship are essential for achieving a professional and visually appealing result.
Read more: How To Build A Fireplace Mantel
Materials Needed
Before you begin building your fireplace mantel and surround, make sure you have all the necessary materials and tools on hand. Here is a list of what you’ll need to complete the project:
- 1. Wood Boards: Choose a high-quality, sturdy wood, such as oak or pine, for the mantel shelf and surround.
- 2. Plywood or MDF: You’ll need this for the back panel of the mantel and surround.
- 3. Crown Molding: Use crown molding to add a decorative touch to the top of the mantel.
- 4. Baseboard Trim: This will be used for the bottom of the surround to create a finished look.
- 5. Wood Screws: Make sure to choose screws that are appropriate for the thickness of the wood you’re using.
- 6. Wood Glue: Use wood glue to secure joints and add strength to the structure.
- 7. Sandpaper: Get a variety of grits to smooth out rough edges and achieve a polished finish.
- 8. Wood Stain or Paint: Decide whether you want a stained or painted finish for your mantel and surround.
- 9. Paintbrushes or Stain Applicators: Use these to apply the stain or paint evenly to the wood surfaces.
- 10. Caulk and Caulk Gun: Use caulk to fill any gaps or seams between the mantel and wall.
- 11. Level: A level is essential to ensure the mantel and surround are installed straight and level.
- 12. Measuring Tape: Use a measuring tape to accurately measure the dimensions of your fireplace.
- 13. Power Tools: You’ll need a circular saw, a miter saw, and a drill to cut the wood and make necessary holes.
- 14. Safety Equipment: Don’t forget to wear safety glasses and gloves to protect yourself while working.
Once you have gathered all the materials and tools, you’re ready to move on to the next step: measuring and planning.
Step 1: Measure and Plan
Before you dive into building your fireplace mantel and surround, it’s crucial to measure your existing fireplace and plan the dimensions of your project. Here’s how to get started:
- Measure the Width: Use a measuring tape to determine the width of your fireplace opening. This will help you determine the size of the mantel shelf and the surround.
- Measure the Height: Measure the height from the hearth to the top of the fireplace opening. This will help you determine the desired height of your mantel.
- Determine the Depth: Measure the depth of your fireplace opening. This will help you determine how far the mantel should extend from the wall.
- Create a Sketch: Use graph paper or a design software to create a sketch of your fireplace and the desired mantel and surround design. This will help you visualize the final product and make accurate measurements.
- Consider Clearances: Make sure to follow local building codes and guidelines for clearances. For example, there may be specific requirements for the distance between the mantel and the fireplace opening.
- Choose a Style: Decide on the style and design of your mantel and surround. Do you prefer a traditional, rustic, or modern look? Consider the overall aesthetic of your home and choose a style that will complement it.
- Select Materials: Based on your desired style, choose the type of wood and finish that will best suit your mantel and surround. Consider factors like durability, maintenance, and compatibility with the rest of your interior.
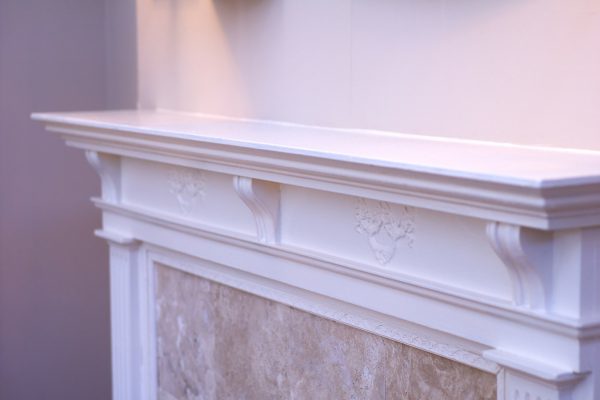
- Brainstorm Details: Think about any additional elements or features you want to incorporate into your mantel, such as corbels, decorative trim, or a mantel shelf with a carved design.
By carefully measuring and planning, you will ensure that your fireplace mantel and surround fit perfectly and meet your design objectives. With your measurements in hand, you’re ready to gather the necessary tools and move on to the construction phase.
Step 2: Gather Tools
Now that you have measured and planned your fireplace mantel and surround, it’s time to gather the necessary tools for the construction process. Here are the tools you’ll need:
- 1. Circular Saw: This power tool will be used to cut the wood boards to the required dimensions.
- 2. Miter Saw: A miter saw is essential for making precise angled cuts, especially for the crown molding and trim.
- 3. Drill: You’ll need a drill to make pilot holes for screws and any necessary installations.
- 4. Screwdriver: Choose a screwdriver that matches the type of screws you will be using.
- 5. Tape Measure: Accurate measurements are crucial, so make sure you have a reliable tape measure.
- 6. Carpenter’s Square: This L-shaped measuring tool will help ensure square and straight cuts.
- 7. Wood Clamps: Clamps are useful for holding pieces together tightly as you work on assembly.
- 8. Sanding Block: Use a sanding block or sandpaper to smooth out rough edges and surfaces.
- 9. Level: A level will help you make sure that the mantel and surround are installed straight and level.
- 10. Safety Equipment: Remember to have safety glasses and gloves to protect yourself while working.
Having the right tools will make the construction process smoother and more efficient. If you don’t already have these tools, consider borrowing or renting them to ensure you have everything you need.
With your tools ready, you’re prepared to move on to the next step: cutting the wood pieces for your mantel and surround.
Step 3: Cut Wood Pieces
With your tools gathered, it’s time to start cutting the wood pieces for your fireplace mantel and surround. Follow these steps to ensure accurate and precise cuts:
- Measure Twice: Double-check your measurements before making any cuts. Remember the adage, “Measure twice, cut once.” Take your time to ensure accuracy.
- Set Up a Workstation: Find a sturdy and flat surface to set up your workstation. A workbench or sawhorses will provide a stable area to cut the wood.
- Prepare the Wood: If your wood boards are rough or have imperfections, you may want to sand them first to create a smoother surface.
- Mark the Wood: Use a pencil or marking tool to indicate the measurements on the wood boards. Clearly mark the length, width, and any angles or notches that need to be cut.
- Use the Proper Blade: Install the appropriate blade on your circular saw or miter saw. For clean and accurate cuts, a fine-toothed blade is recommended.
- Secure the Wood: Before cutting, make sure the wood is securely clamped or held in place. This will prevent it from moving during the cutting process and ensure precise cuts.
- Make the Cuts: Carefully follow your marked lines and use steady, controlled movements to guide the saw through the wood. Take your time and let the blade do the work.
- Check and Adjust: After making each cut, check the piece for accuracy. Use a carpenter’s square or a level to ensure the cuts are straight and align properly.
- Repeat for Each Piece: Repeat the cutting process for all the wood pieces needed for your mantel and surround, including the mantel shelf, surround panels, and any decorative trim.
Remember to prioritize safety while cutting the wood. Wear safety glasses, keep your hands clear of the blade, and be aware of your surroundings.
Once all the wood pieces are cut, you’re ready to move on to the next step: assembling the mantel frame.
When building a fireplace mantel and surround, be sure to measure the dimensions of your fireplace carefully to ensure a proper fit. It’s also important to use fire-resistant materials and follow local building codes for safety.
Read more: How To Build A Brick Fireplace Surround
Step 4: Assemble Mantel Frame
Now that you have cut all the necessary wood pieces, it’s time to assemble the frame for your fireplace mantel. Follow these steps to ensure a solid and sturdy structure:
- Layout the Pieces: Lay out all the cut wood pieces on your work surface, ensuring that you have everything you need.
- Start with the Mantel Shelf: Begin by assembling the mantel shelf. Align the front and side pieces, ensuring they are flush with each other.
- Secure with Screws: Pre-drill pilot holes on the inside of the shelf pieces, then use wood screws to secure them together. Make sure the screws are countersunk to create a clean finish.
- Attach the Back Panel: Stand the assembled mantel shelf upright and attach the back panel. Use wood glue and screws to secure the panel to the shelf and support the structure.
- Add Side Panels: Attach the side panels to the back panel, again using wood glue and screws. Ensure the edges are flush and the frame is square.
- Install Support Braces: Depending on the size and design of your mantel, you may need to add support braces to ensure stability. Measure and cut the braces, then attach them to the frame.
- Secure the Crown Molding: If you are adding crown molding, measure and cut the pieces to fit. Attach them to the top of the mantel frame using wood glue and finishing nails.
- Check for Squareness: Use a carpenter’s square to check that all corners are square and the frame is aligned properly.
- Make Adjustments if Needed: If any pieces don’t fit perfectly or the frame is not square, make necessary adjustments before proceeding.
Take your time during the assembly process to ensure a sturdy and precise frame. Once you are satisfied with the mantel frame, you’re ready to move on to attaching the mantel to the wall.
Step 5: Attach Mantel to Wall
Once you have assembled the mantel frame, it’s time to attach it securely to the wall above your fireplace. Follow these steps to ensure a safe and secure installation:
- Find the Studs: Use a stud finder to locate the studs in the wall where you will be mounting the mantel. Mark the locations of the studs with a pencil.
- Position the Mantel: With the help of a friend or family member, hold the mantel frame against the wall, ensuring it is level and centered above the fireplace opening.
- Mark the Mounting Holes: Once the mantel frame is in the desired position, use a pencil to mark the locations of the mounting holes on the wall. These holes should align with the studs you identified earlier.
- Pre-Drill Pilot Holes: Use a drill with a suitable drill bit to pre-drill pilot holes at the marked locations. The pilot holes should be slightly smaller than the screws you will be using.
- Attach the Mantel: With the pilot holes drilled, have your helper hold the mantel frame in place while you drive wood screws through the mounting holes and into the wall studs. Make sure the screws are tightened securely but be careful not to overtighten and damage the wood.
- Check for Level: Use a level to ensure that the mantel frame is still level after securing it to the wall. Make any necessary adjustments by slightly loosening the screws and repositioning the frame if needed.
- Fill Screw Holes: If desired, you can use wood filler to fill the screw holes and create a seamless finish. Allow the filler to dry according to the manufacturer’s instructions, then sand it smooth.
- Touch Up the Finish: If any damage or marks occurred during the installation process, touch up the finish on the mantel frame using stain or paint that matches the rest of the mantel.
By following these steps, you will ensure that your fireplace mantel is securely and properly attached to the wall. Once the mantel is securely in place, you’re ready to move on to constructing the surround.
Step 6: Build Surround
With the mantel securely attached to the wall, it’s time to build the surround that will frame your fireplace and complete the look. Follow these steps to build a professional-looking surround:
- Measure and Cut Side Panels: Measure the height and width of the fireplace opening, then cut the side panels accordingly. Use a circular saw or a miter saw to make straight and precise cuts.
- Measure and Cut Top Panel: Measure the distance between the two side panels at the top of the fireplace opening. This will be the width of the top panel. Cut the top panel to the appropriate width.
- Attach Side Panels to the Wall: Place the side panels against the wall, ensuring they are flush with the mantel and level. Use a level to confirm their alignment. Pre-drill pilot holes, then secure the side panels to the wall using screws.
- Attach Top Panel to the Side Panels: Position the top panel on top of the side panels. Ensure it is centered and aligned properly. Pre-drill pilot holes, then attach the top panel to the side panels using screws.
- Add Trim or Molding (Optional): To enhance the aesthetics of the surround, you can add trim or molding along the edges of the panels. Measure and cut the trim pieces to fit, then attach them using wood glue and finishing nails.
- Fill Gaps and Nail Holes: Use wood filler to fill any gaps between the panels and trim. Also, fill in any nail holes. Follow the manufacturer’s instructions for drying time and sand the wood filler until it is smooth.
- Sand and Finish: Sand the entire surround to ensure a smooth and even surface. Start with a coarser grit sandpaper and gradually work your way to a finer grit. Wipe away any dust with a clean cloth. Apply the desired finish to match the mantel and the rest of your interior.
By following these steps, you will be able to build a beautiful and cohesive fireplace surround that complements your mantel and adds a polished look to your living space.
Once the surround is complete, you’re ready to move on to the final step: sanding and finishing.
Step 7: Sand and Finish
After building the fireplace mantel and surround, it’s important to sand and finish the wood surfaces to achieve a smooth and polished look. Follow these steps to ensure a professional finish:
- Start with Coarser Grit Sandpaper: Begin by sanding the wood surfaces with a coarser grit sandpaper, such as 80 or 100 grit. This will help remove any rough edges, imperfections, or uneven surfaces.
- Sand in the Direction of the Grain: Always sand in the direction of the wood grain to avoid creating scratches or visible sanding marks. Use steady and even strokes while applying light pressure.
- Switch to Finer Grit Sandpaper: Once the initial sanding is complete, switch to a finer grit sandpaper, such as 120 or 150 grit. Continue sanding the wood surfaces to further smooth out the wood grain and achieve a refined finish.
- Remove Dust: After sanding, use a clean cloth or a vacuum with a brush attachment to remove all the sanding dust from the wood surfaces. It’s important to have a clean surface before applying any finish.
- Choose the Right Finish: Decide whether you want to stain or paint the mantel and surround. Staining highlights the natural beauty of the wood, while painting offers more color options and allows for a different look.
- Apply the Finish: If you choose to stain, apply the stain with a paintbrush or a cloth, following the manufacturer’s instructions. Allow the stain to penetrate the wood, and wipe off any excess with a clean cloth. If you choose to paint, use a paintbrush or a roller to apply an even coat of paint. Let it dry completely before applying additional coats, if desired.
- Add a Protective Topcoat: To protect the wood and enhance the durability of the finish, consider adding a clear topcoat. Apply the topcoat according to the manufacturer’s instructions, ensuring an even and smooth application.
- Allow for Drying Time: Give the finish and topcoat ample time to dry and cure. This will vary depending on the specific product used, so refer to the instructions for the recommended drying time.
Sanding and finishing the mantel and surround will not only bring out the natural beauty of the wood but also provide a protective layer that withstands daily use and enhances the overall appearance of your fireplace.
Once the finish has dried, you’re ready for the final step: installing the mantel and surround in your living space.
Read more: How To Update A Fireplace Mantel
Step 8: Install Mantel and Surround
After completing the construction, sanding, and finishing of your fireplace mantel and surround, it’s time to install them in your living space. Follow these steps to ensure a secure and visually pleasing installation:
- Enlist Help: Installing the mantel and surround can be a two-person job. Enlist the help of a friend or family member to assist you during the installation process.
- Position the Mantel: Carefully position the mantel on the wall, aligning it with the pre-drilled holes or mounting brackets. Use a level to ensure it is straight and level.
- Mark the Mounting Holes: With the mantel in position, use a pencil or a marker to mark the locations of the mounting holes on the wall. These marks will guide you during the installation.
- Pre-Drill Holes: Use a drill with an appropriate drill bit to pre-drill the marked holes on the wall to ensure precise placement of the screws or mounting hardware.
- Attach the Mantel: With the holes drilled, have your helper hold the mantel in place while you insert screws or secure the mounting brackets through the pre-drilled holes. Tighten them securely but be cautious not to overtighten and cause damage.
- Install Surround Panels: After the mantel is securely attached, position the surround panels on the wall, aligning them with the mantel and the side panels. Use a level to ensure they are vertically even and level with the mantel.
- Attach the Surround Panels: Pre-drill holes through the surround panels and into the wall using an appropriate drill bit. Secure the panels with screws, making sure they are snug and flush with the wall.
- Inspect and Adjust: Once everything is installed, step back and inspect the mantel and surround for any adjustments needed. Use a level to ensure they are straight, aligned, and visually appealing.
- Caulk and Fill Gaps: Use caulk to fill any gaps or seams between the mantel, surround panels, and the wall. Smooth out the caulk with a caulk tool or your finger for a clean and finished look.
- Final Touches: Once the installation is complete, do a final inspection of the mantel, surround, and wall. Touch up any paint or stain if needed, and clean up any debris or dust.
By following these steps, you will have successfully installed your fireplace mantel and surround, creating a beautiful and functional focal point in your living space.
Now, it’s time to step back and enjoy your newly completed fireplace mantel and surround. Admire your craftsmanship and let it add warmth and character to your home.
Frequently Asked Questions about How To Build Fireplace Mantel And Surround
Was this page helpful?
At Storables.com, we guarantee accurate and reliable information. Our content, validated by Expert Board Contributors, is crafted following stringent Editorial Policies. We're committed to providing you with well-researched, expert-backed insights for all your informational needs.

0 thoughts on “How To Build Fireplace Mantel And Surround”